Today, Leica has released firmware updates for its popular Q2 and Q2 Monochrom full-frame fixed lens cameras. Firmware version 4.0 for the color Q2 and version 2.0 for the black and white Q2 Monochrom share the same feature additions and improvements. Here's a quick rundown.
Download Firmware Files
To download the firmware file, simply click the button below. You'll need to drag and drop the downloaded firmware file onto an SD card which was freshly formatted in the Q2 / Q2 Monochrom, then insert the card into your camera with a fully charged battery. Navigate to the Camera Information menu to access the firmware update option. Don't try to open the firmware file on your computer – just copy it onto the SD card into the root directory. Full step-by-step instructions are below
List of Improvements
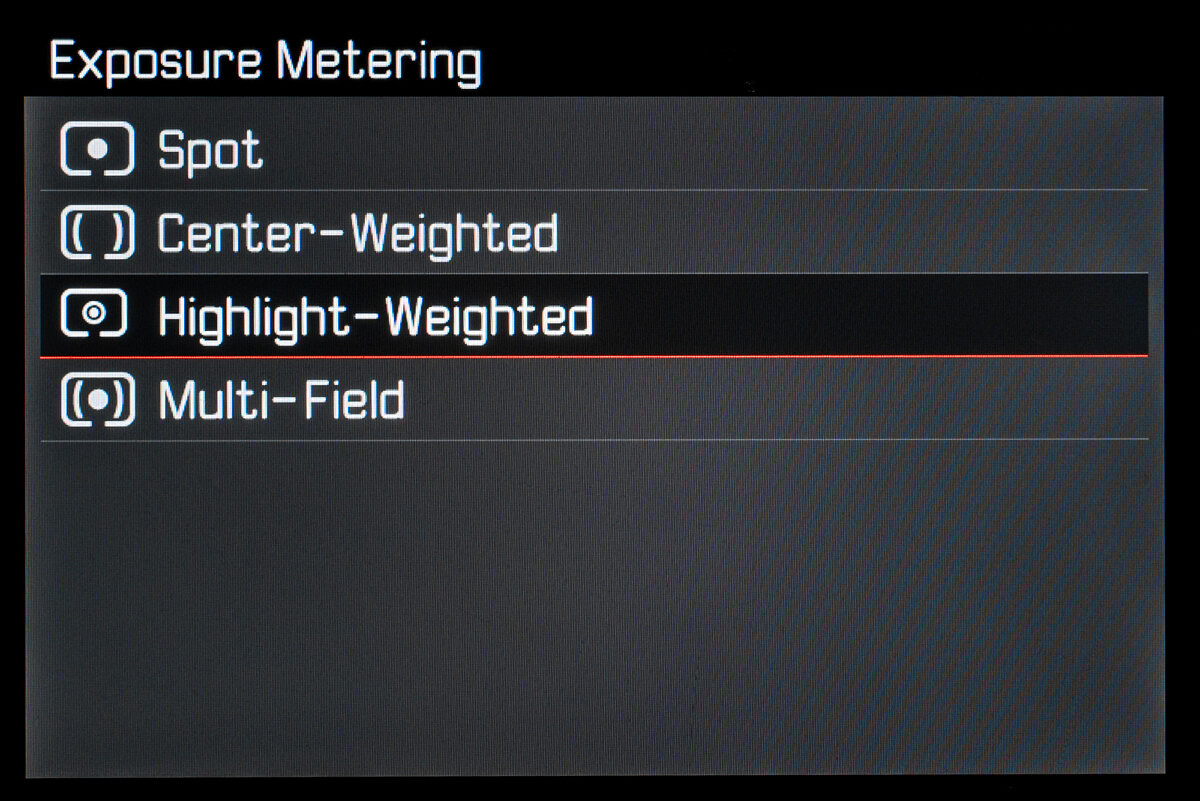
Highlight-Weighted Exposure Metering
For us, this is undoubtedly the headlining feature addition in the new firmware. We strongly recommend and regularly employ Highlight-Weighted metering on the SL2 and SL2-S, and are ecstatic to see the option now offered on the Q2 and Q2M. Versus the more traditional Center-Weighted or Multi-field Metering modes, which seek to achieve an average mid tone balance, Highlight-Weighted metering looks at the brightest parts of the image and sets the exposure to prevent these areas from blowing out. Especially when shooting in DNG (RAW), shadows contain much information than in highlights, so it's always better to err on the side of underexposure and pull up shadows rather than even slightly overexpose and lose all highlight information.
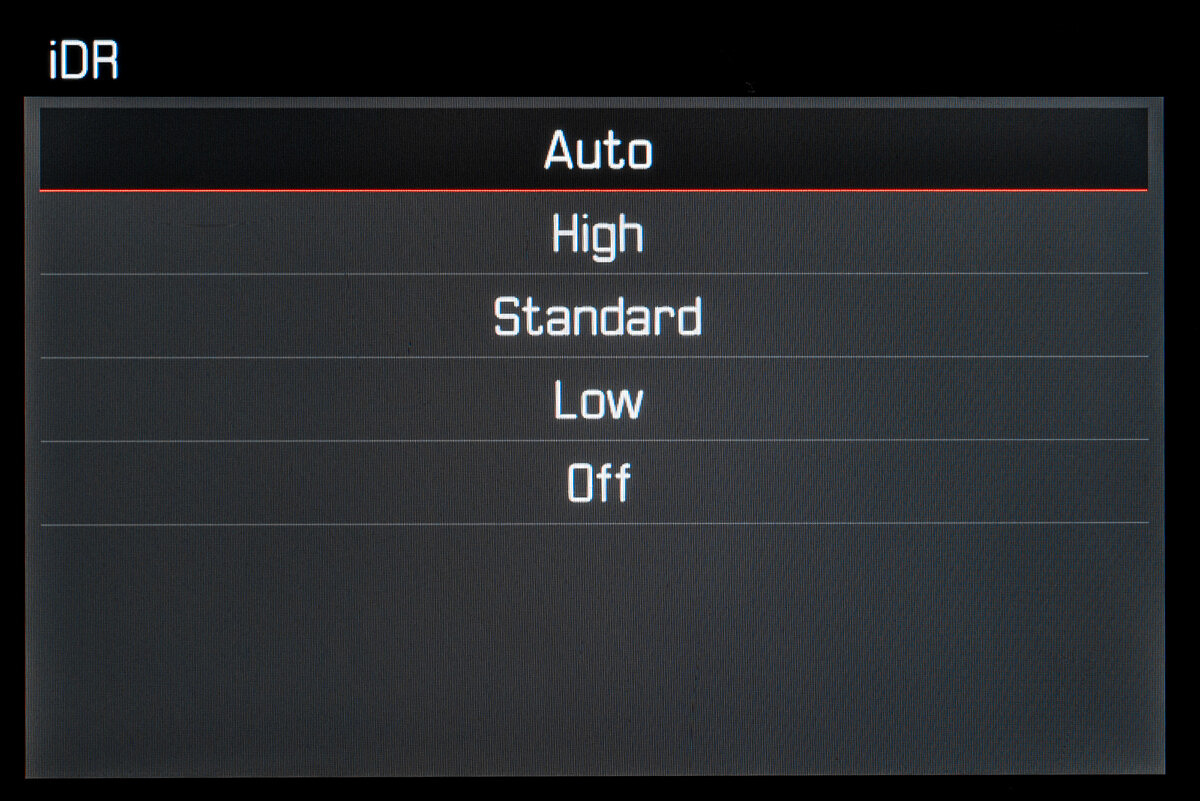
iDR (Intelligent Dynamic Range) for optimization of darker areas
Enabling iDR will allow for more shadow detail when shooting in JPG or recording video, especially in scenes with contrasty lighting. While this feature doesn't add any more dynamic range to DNG files if you're a RAW shooter, there is good reason to turn it on. The live view image will show more apparent dynamic range, providing a better approximation of what your DNG files will look like after post-processing, similar to using a Monochrome Film Style on a color camera for previewing final results in black and white.
The level of iDR can be set to Auto, High, Standard, Low or Off. The new factory default is Auto which will adjust the aggressiveness of iDR to each scene dynamically.
Firmware update via Leica FOTOS app
Rather than downloading future firmware updates to your computer and transferring them to an SD card, you will be able to install directly via the Leica FOTOS app from your phone or iPad.
Playback mode sorting by capture time
While we haven't encountered behavior other than sorting by capture time in image playback, clearly someone has. Probably not a major feature addition here – rather just fixing an edge use case.
Improved Geotagging via Leica FOTOS app / Bluetooth connection optimization
Even though the Q2 and Q2 Monochrom don't have built-in GPS receivers, when paired with the Leica FOTOS app on your mobile device, pictures will be tagged with your current GPS coordinates. The camera uses an optimized Bluetooth LE mode to maintain a connection without using much power.
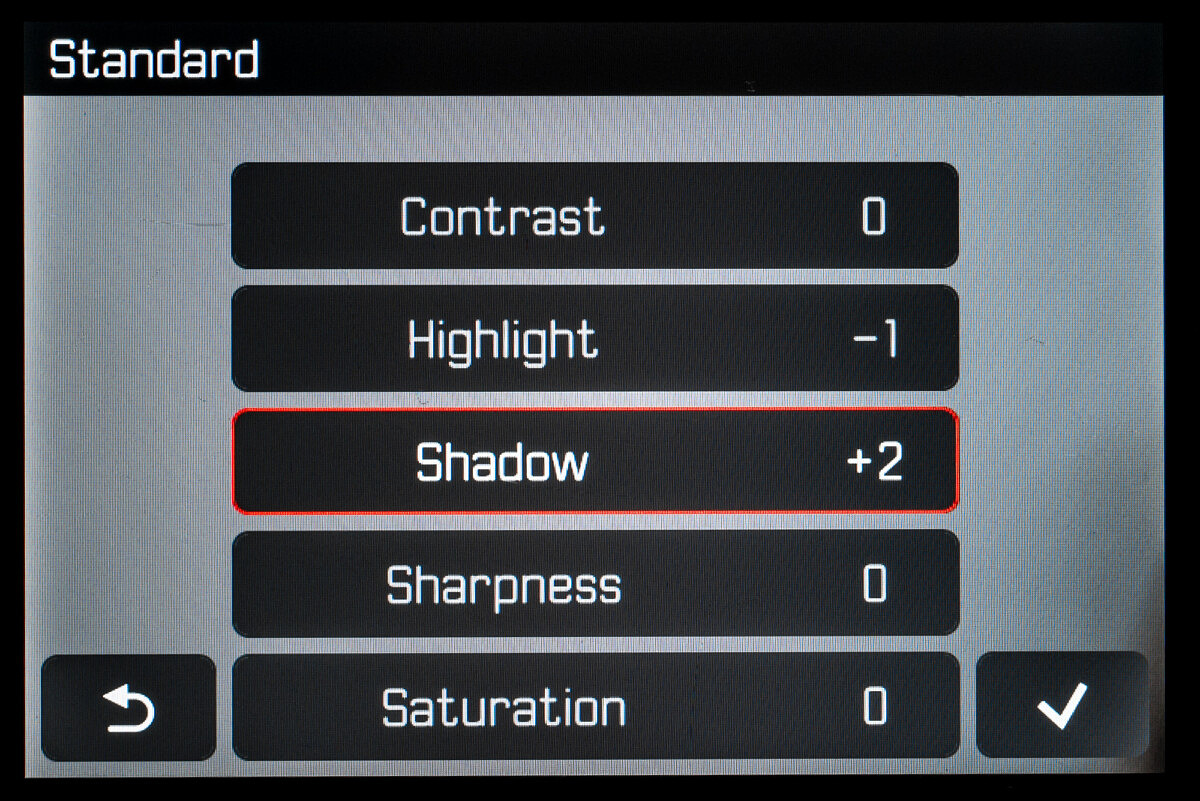
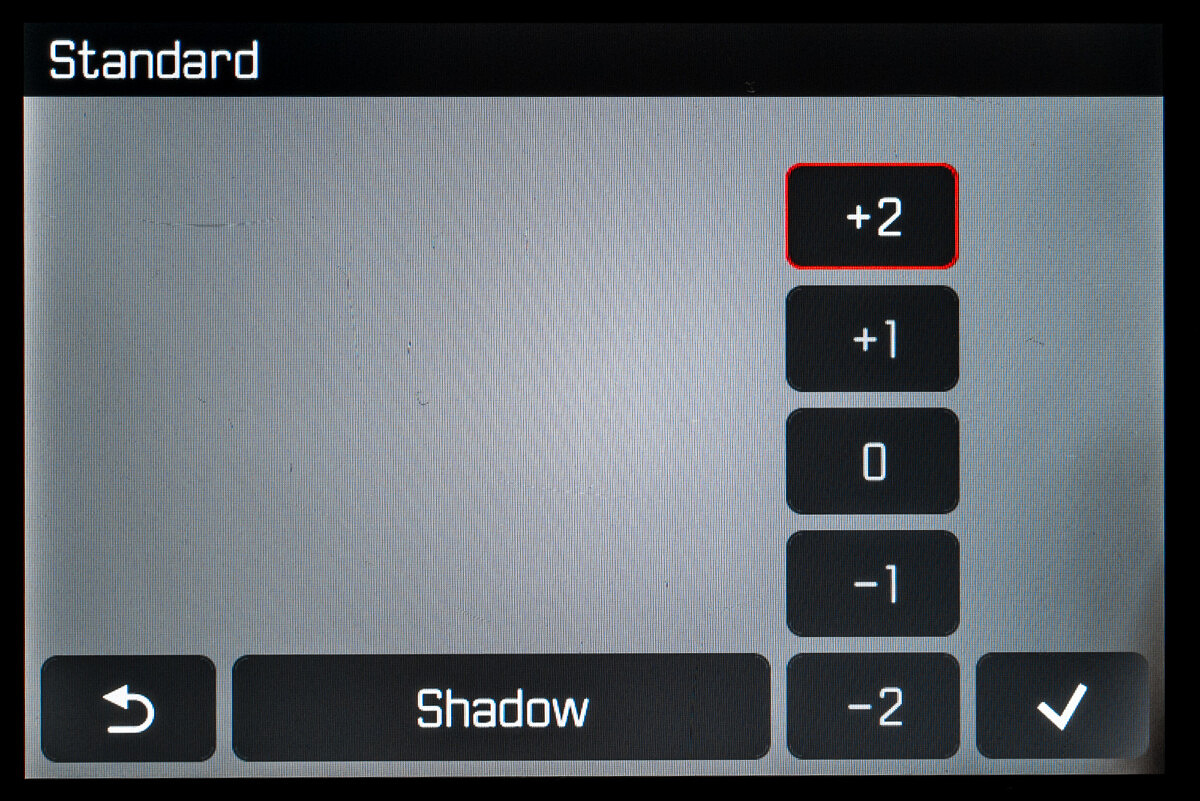
Extended Image properties
JPG and Video captures can be adjusted to taste using the Film Style Settings menu for photos or Video Style Settings for video. Previously, only Contrast, Sharpness and Saturation (in the Q2) were available. Now, Highlight and Shadow settings have been added. Each one can be set from -2 to +2 with negative values making these areas darker and positive values lightening.
Additional video formats
Prior to this update, the Q2 and Q2M did offer up to C4K24 and FHD120, but now you can select to record in MOV or MP4 at a wider range of settings. Slow motion capture up to 180 fps has also been added. With high quality 4:2:2 10-bit recording, paired with the exceptional sensor and lens combination, in such a small package, a Q2 or Q2M could make for a very capable B-cam even on serious shoots.
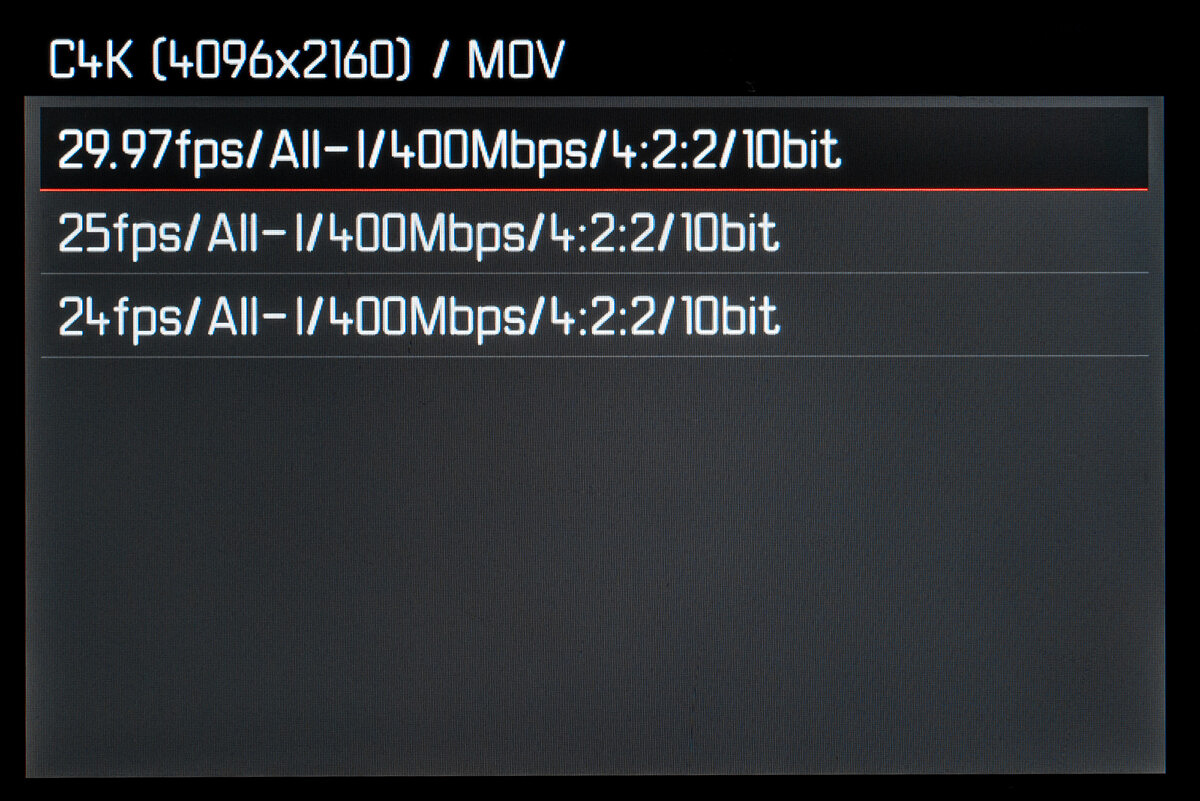
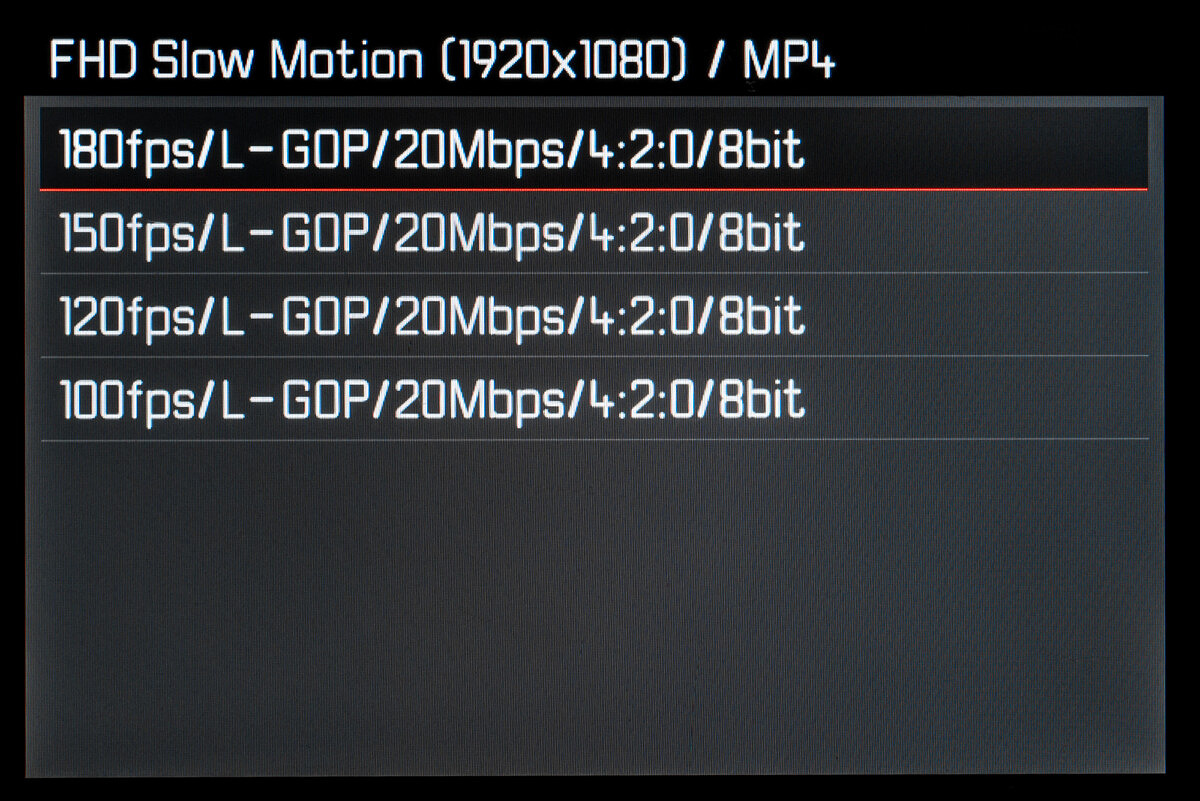
Here's a listing of all the video formats now available in the latest firmware:
| MOV | |||||
|---|---|---|---|---|---|
| C4K | 29.97 fps | 4:2:2 / 10 bit | H.264 | ALL-I | 400 Mbps |
| 25 fps | 4:2:2 / 10 bit | H.264 | ALL-I | 400 Mbps | |
| 24 fps | 4:2:2 / 10 bit | H.264 | ALL-I | 400 Mbps | |
| 4K | 29.97 fps | 4:2:2 / 10 bit | H.264 | ALL-I | 400 Mbps |
| 25 fps | 4:2:2 / 10 bit | H.264 | ALL-I | 400 Mbps | |
| 24 fps | 4:2:2 / 10 bit | H.264 | ALL-I | 400 Mbps | |
| FHD | 29.97 fps | 4:2:2 / 10 bit | H.264 | ALL-I | 400 Mbps |
| 25 fps | 4:2:2 / 10 bit | H.264 | ALL-I | 400 Mbps | |
| 24 fps | 4:2:2 / 10 bit | H.264 | ALL-I | 400 Mbps |
| MP4 | |||||
|---|---|---|---|---|---|
| 4K | 29.97 fps | 4:2:0 / 8 bit | H.264 | Long GOP | 100 Mbps |
| 25 fps | 4:2:0 / 8 bit | H.264 | Long GOP | 100 Mbps | |
| FHD | 180 fps | 4:2:0 / 8 bit | H.264 | Long GOP | 20 Mbps |
| 150 fps | 4:2:0 / 8 bit | H.264 | Long GOP | 20 Mbps | |
| 120 fps | 4:2:0 / 8 bit | H.264 | Long GOP | 20 Mbps | |
| 100 fps | 4:2:0 / 8 bit | H.264 | Long GOP | 20 Mbps | |
| 29.97 fps | 4:2:0 / 8 bit | H.264 | Long GOP | 20 Mbps | |
| 25 fps | 4:2:0 / 8 bit | H.264 | Long GOP | 20 Mbps |
Improved data management
In order to not have repeating image numbers for larger capacity SD cards, the image counter now goes to 9999 before resetting back to 0001. Similarly, the folder numbers now go up to 999. This should help out those high volume shooters who often encounter duplicate image numbering.
Installation Instructions
- Recharge the battery to 100% and insert the battery into the camera.
- Remove the SD card from the camera.
- Prepare a SD card for installation:
a. It is recommended to format the memory card inside the camera.
b. Please make sure that the card contains at least 200 MB of free disk space.
c. Copy the firmware file to the root directory of the SD card.
d. Insert the SD card into the camera. - Switch on the camera.
- Open the “Camera Information” menu item in the main menu. Under “Camera Firmware Version” you can see the version of the currently installed firmware and you can install the new firmware under “Start Update”.
- Confirm the update process if you want to start.
a. The camera will guide you through the process of updating your camera.
b. Please confirm to save your current settings to SD card before proceeding with the update.
c. The camera starts the update process and informs you when finished.
d. Restart the camera; do not eject the SD card.
e. After the welcome video you can select the language.
f. You now can do some settings via the Leica FOTOS App by connecting the camera with the app. If you have already connected the Q2 to the app, delete it from the app and connect the camera again - The update process is completed successfully.
- If you want to load your user profiles go to the menu item “User Profile” in the main menu and then “Manage Profiles”. With “Import Profiles” you can restore your profiles to the camera again.
After updating, I’m finding my Q2 to be a little sluggish after taking photos and reviewing them.
I found the opposite, mine is like lightning!
I’m brand new to Leica. I have the 4.0 firmware on the SD card, but it won’t update through the menu. What is the “record” button that you press when you turn it on (from the reddot you tube video)? Maybe that will auto start the firmware update. Many thanks–Tom
I was able to update the firmware to ver 2.0 but my Q2 Monochrom won’t find ver 4.0 either. Did you find a fix?
So the part where you can adjust the shadows and highlights is only for video?
For photos I always bump the shadows and take back the highlights on all my photos in post. Would be cool to have it automatically do it in camera.
nice
ME ES IMPOSIBLE INSTALAR la nueva vesrion.. simpore me dice que no reconce ela rchivo.. le cambio el nombre pero tampoco.. alguno le paso?
I have the previous Leica Q with firmware v 3.1 is the Q2 firmware v 4.0 compatible for my camera or is it a dead-end for it ?