Today, Leica has released a major firmware update for the M11 family of digital rangefinder cameras. The v2.0.1 update includes Leica Content Credentials functionality for the M11-P, new Extended Dynamic Range optimization, tethering support for Capture One and Lightroom, performance improvements for FOTOS, nice UI tweaks, along with some bug fixes. As always, we recommend staying up to date on all firmware updates. Direct download link and installation instructions below. Read on for a breakdown of these new features.
Improvements
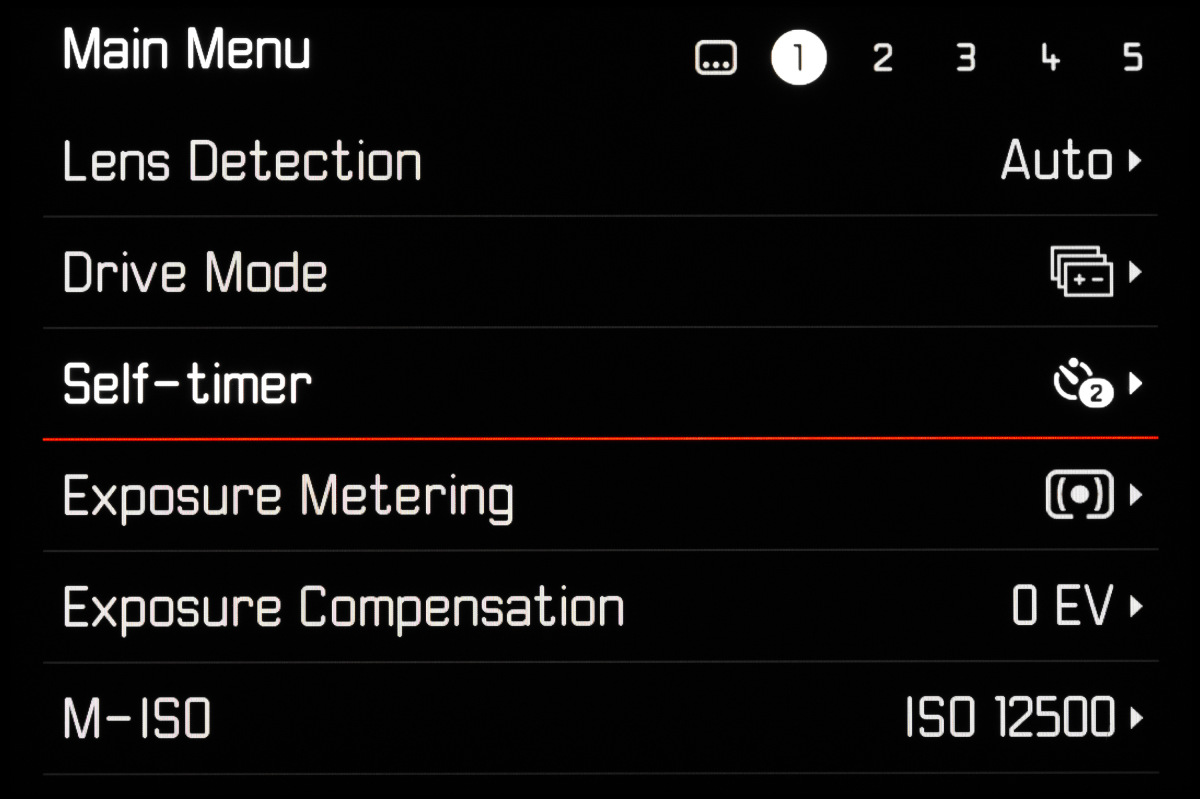
Self Timer gets its own menu
Previously, self timer was included as an option in Drive Mode. If you wanted to use exposure bracketing at slow shutter speeds on a tripod, this posed an issue, since you couldn't use both at the same time. Thankfully, self timer has been moved to its own menu option, allowing it to be used with any drive mode, including exposure bracketing.
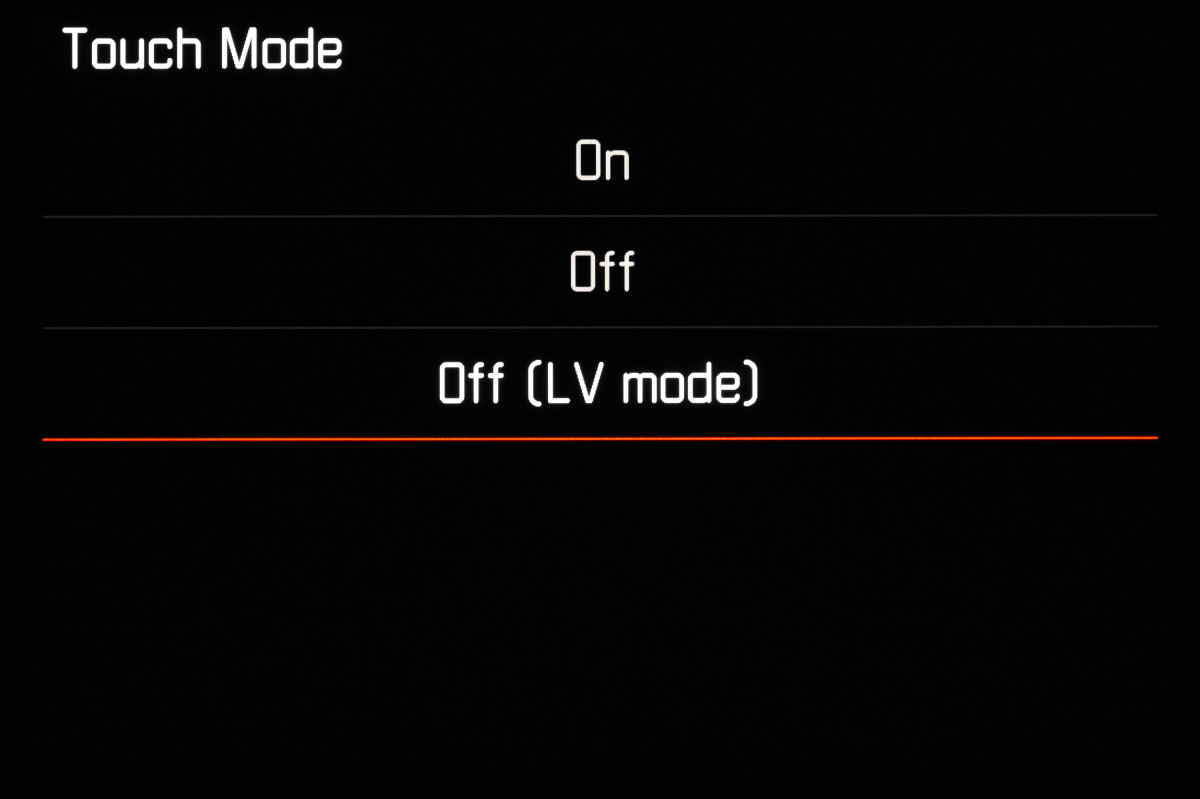
Touch Mode is now configurable
A touchscreen is great for navigating the camera, be it for playback or for setting a magnification point. But many users have encountered accidental presses while the camera is being used. This leads to some unexpected behavior and can go from a convenience to a nuisance. Now, you can choose to leave touch on all the time (previous behavior), turn it off completely, or just disable it in live view.
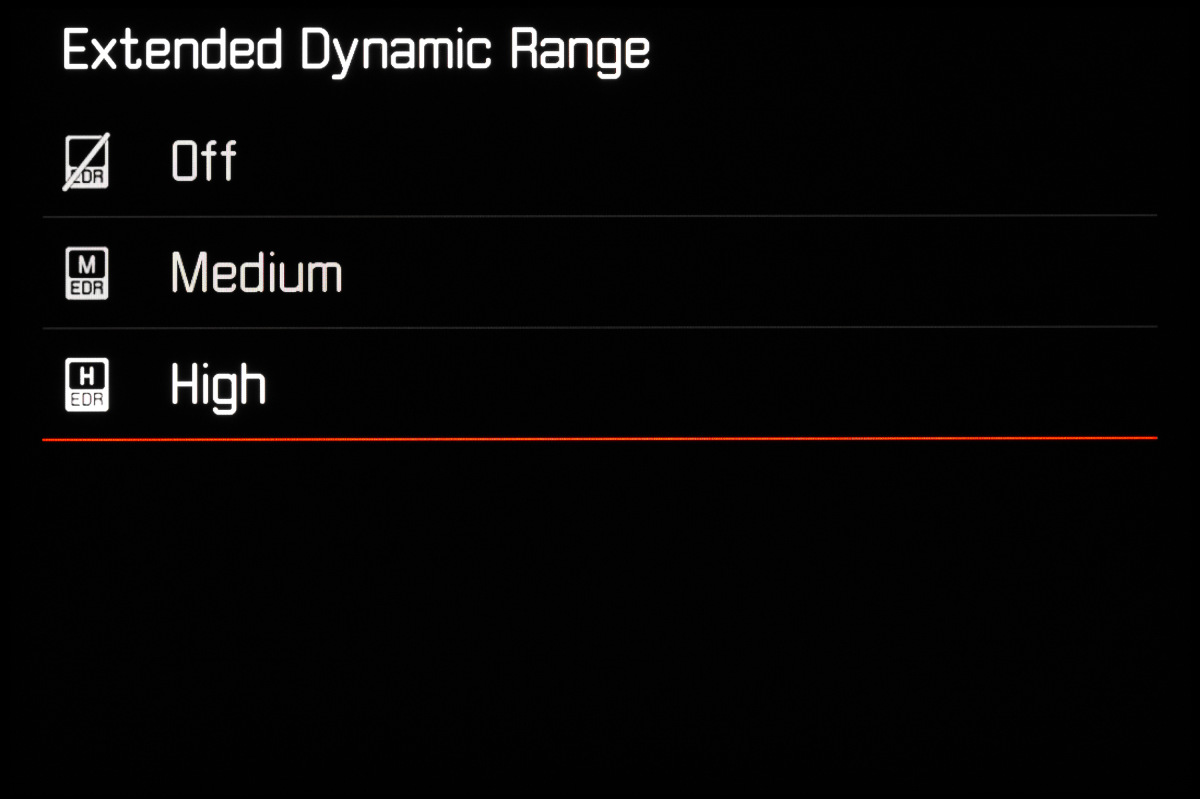
Extended Dynamic Range (M11-P and M11 Only)
A new feature, similar to iDR, allows for optimization of highlights and shadows in high contrast scenes. The setting will only impact JPG images, not DNG files. But, enabling this option can allow for a better live view experience. The M11 boasts an incredible 15-stop dynamic range, but in-camera live view can be deceptively contrasty. Using EDR will help visualize the information lurking in the final image, following processing. Note that this feature isn't available on the M11 Monochrom.
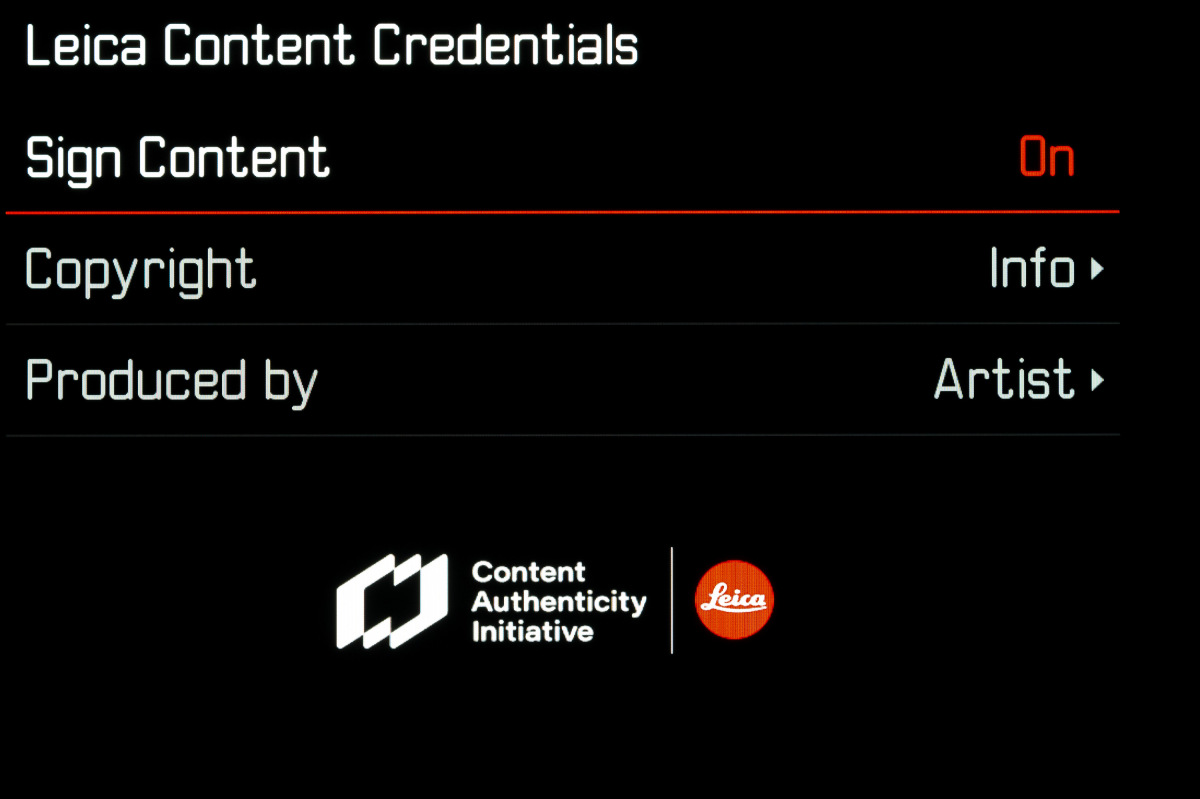
Leica Content Credentials (M11-P Only)
This firmware adds Leica Content Credentials for the just-launched M11-P. The M11-P is the first camera to fully integrate Content Credentials through the Content Authenticity Initiative, spearheaded by Adobe. With a dedicated secure chipset inside the camera storing a trusted certificate, each image is digitally signed using a C2PA confirmed algorithm. The encrypted metadata guarantees content integrity and origin verification. These credentials can't be modified without re-signing since the image and digital signature are cryptographically sealed together, ensuring that image provenance is accurate and protected. Over 300 companies have joined the Content Authenticity Initiative (CAI), but Leica is the first camera manufacturer to implement this technology at the hardware level.
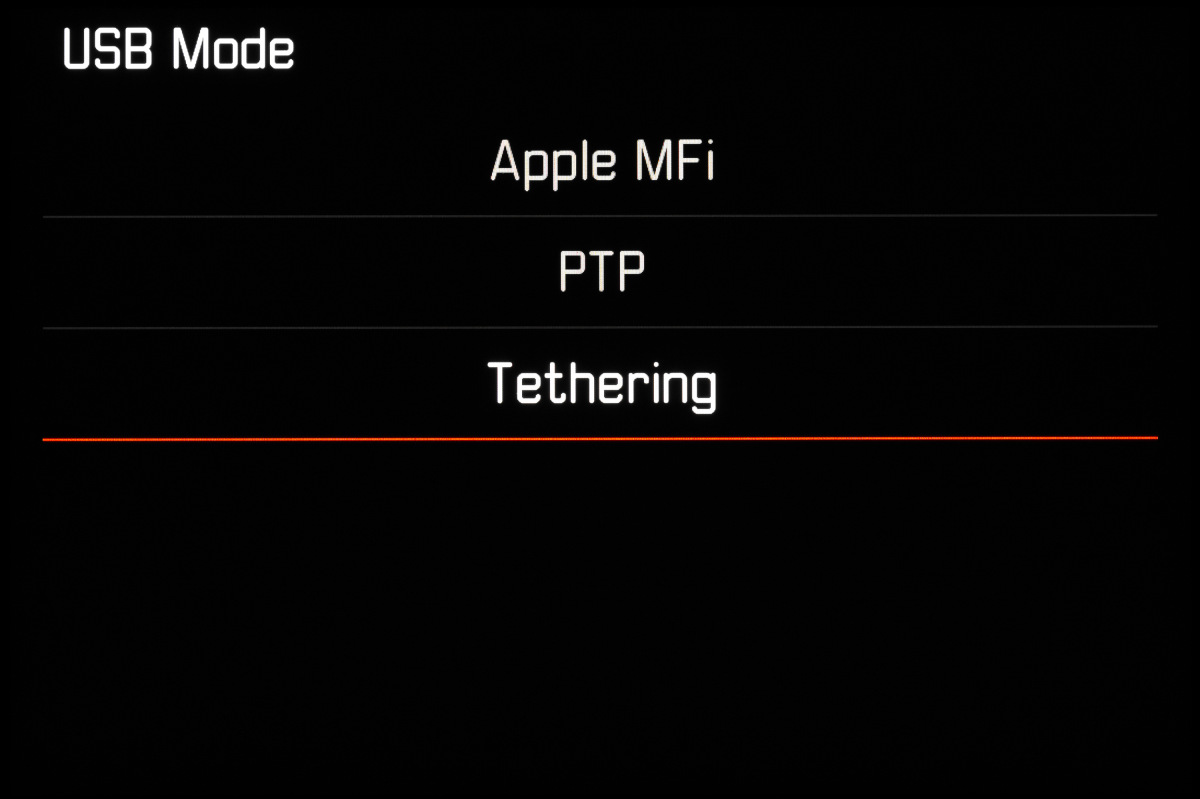
Tethering
While the SL2 and SL2-S have supported tethered shooting for a while now, the feature is being introduced on the M11-family of rangefinders for the first time. Once selecting the correct USB mode, tethering over USB-C will now work with Adobe Lightroom Classic and Capture One Pro. At least a 10Gb USB-C cable is highly recommended for stable data transfer and you should never unplug the cable while files are being sent from camera to computer.
Full List of Additions and Improvements
EXTENDED FUNCTIONALITY FOR M11-P
- Images can now be signed with content copyright verification (Leica Content Credentials)
- New function “Extended Dynamic Range” for the optimization of shadows and highlights in JPG files
- The first three characters of the file name are now editable
- The Touch Mode is now selectable: On, Off, LV Off
- The function “Self-Timer” is a standalone menu item and can therefore be combined with the modes Single and Exposure Bracketing
- The new menu item “Tethering” in USB mode allows tethered shooting via USB cable in combination with the Capture One Pro and Adobe Photoshop Lightroom apps (Necessary plugins available on Leica corporate website)
EXTENDED FUNCTIONALITY FOR M11
- New function “Extended Dynamic Range” for the optimization of shadows and highlights in JPG files
- The first three characters of the file name are now editable
- The Touch Mode is now selectable: On, Off, LV Off
- The function “Self-Timer” is a standalone menu item and can therefore be combined with the modes Single and Exposure Bracketing
- The new menu item “Tethering” in USB mode allows tethered shooting via USB cable in combination with the Capture One Pro and Adobe Photoshop Lightroom apps (Necessary plugins available on Leica corporate website)
EXTENDED FUNCTIONALITY FOR M11 MONOCHROM
- The first three characters of the file name are now editable
- The Touch Mode is now selectable: On, Off, LV Off
- The function “Self-Timer” is a standalone menu item and can therefore be combined with the modes Single and Exposure Bracketing
- The new menu item “Tethering” in USB mode allows tethered shooting via USB cable in combination with the Capture One Pro and Adobe Photoshop Lightroom apps (Necessary plugins available on Leica corporate website)
IMPROVEMENT
- The camera shutter will now be closed during a lens change
- Faster connection to Leica FOTOS
- The remote control function for the camera via Leica FOTOS was accelerated significantly
ERROR CORRECTION
- Various errors in the firmware were fixed
Important Information regarding memory card use
- In rare cases, the use of UHS-I SD may result in some technical issues. An optimization for these SD cards is planned for a later firmware update. Leica recommends using UHS-II cards to generally avoid these issues, and to guarantee the best possible performance for your camera.
Download Firmware v2.0.1
To download the firmware file, simply click the button below. You'll need to drag and drop the downloaded firmware file onto an SD card which was freshly formatted in the camera, then insert the card into your Leica M with a fully charged battery. Navigate to the Camera Information menu to access the firmware update option. Don't try to open the firmware file on your computer – just copy it onto the SD card into the root directory.
Note that while the version number is the same, there are three separate firmware files, one for each specific camera model. Be sure to download and install the corresponding update.
How to Update
EXECUTING A FIRMWARE UPGRADE
Any interruption of a running firmware update may cause serious and irreparable damage to your equipment!
You will therefore have to take particular note of the following, when carrying out a firmware update:
- Do not switch off the camera!
- Do not remove the memory card!
- Do not remove the rechargeable battery!
- Do not remove the lens!
Notes
- A warning message will appear if the battery is insufficiently charged. Recharge the battery and then repeat the process described above.
- You will find additional device and country-specific registration marks and numbers in the Camera Information submenu.
PREPARATION
- Fully charge and insert the rechargeable battery
- Any stored firmware files on the memory card must be removed
- We recommend saving any images on the memory card and reformatting it before the update.
(Caution: Loss of data! All data stored on the memory card will be lost during formatting.) - Make sure to back up any files saved to the internal memory as a precaution.
- We recommend saving any images on the memory card and reformatting it before the update.
- Download the latest firmware version
- Save the download to the memory card
- The firmware file must be stored in the main directory of the memory card (not in a sub-directory).
- Insert the memory card into the camera
- Switch the camera on
UPDATING THE CAMERA FIRMWARE
- Preparation (see steps above)
- Select Camera Information in the main menu
- Select Camera Firmware Version
- Select Firmware Update
- A prompt with information about the camera is displayed.
- Check the version information
- Select Yes
- The prompt: “Do you want to save profiles on SD card?” appears.
- Select Yes/No
- The update will start automatically.
- The lower status LED will flash during this process.
- Once the process has completed successfully, a relevant message will appear and the camera will restart.
Notes
- Date & time, as well as the preferred language will have to be set up again after the restart. Relevant prompts will appear on screen.
Leave a Reply