Today, Leica has released the first major firmware update for its flagship professional mirrorless camera, the SL2. Along with several bug fixes and a few performance improvements, the headlining news for version 2.0 is the introduction of the highly-anticipated high resolution multi-shot functionality. Ever since the camera was introduced, Leica has promised this feature and now they've delivered on that commitment. Keep reading for a full rundown on multi-shot and all the other updates in SL2 firmware v2.0.
Multi-shot
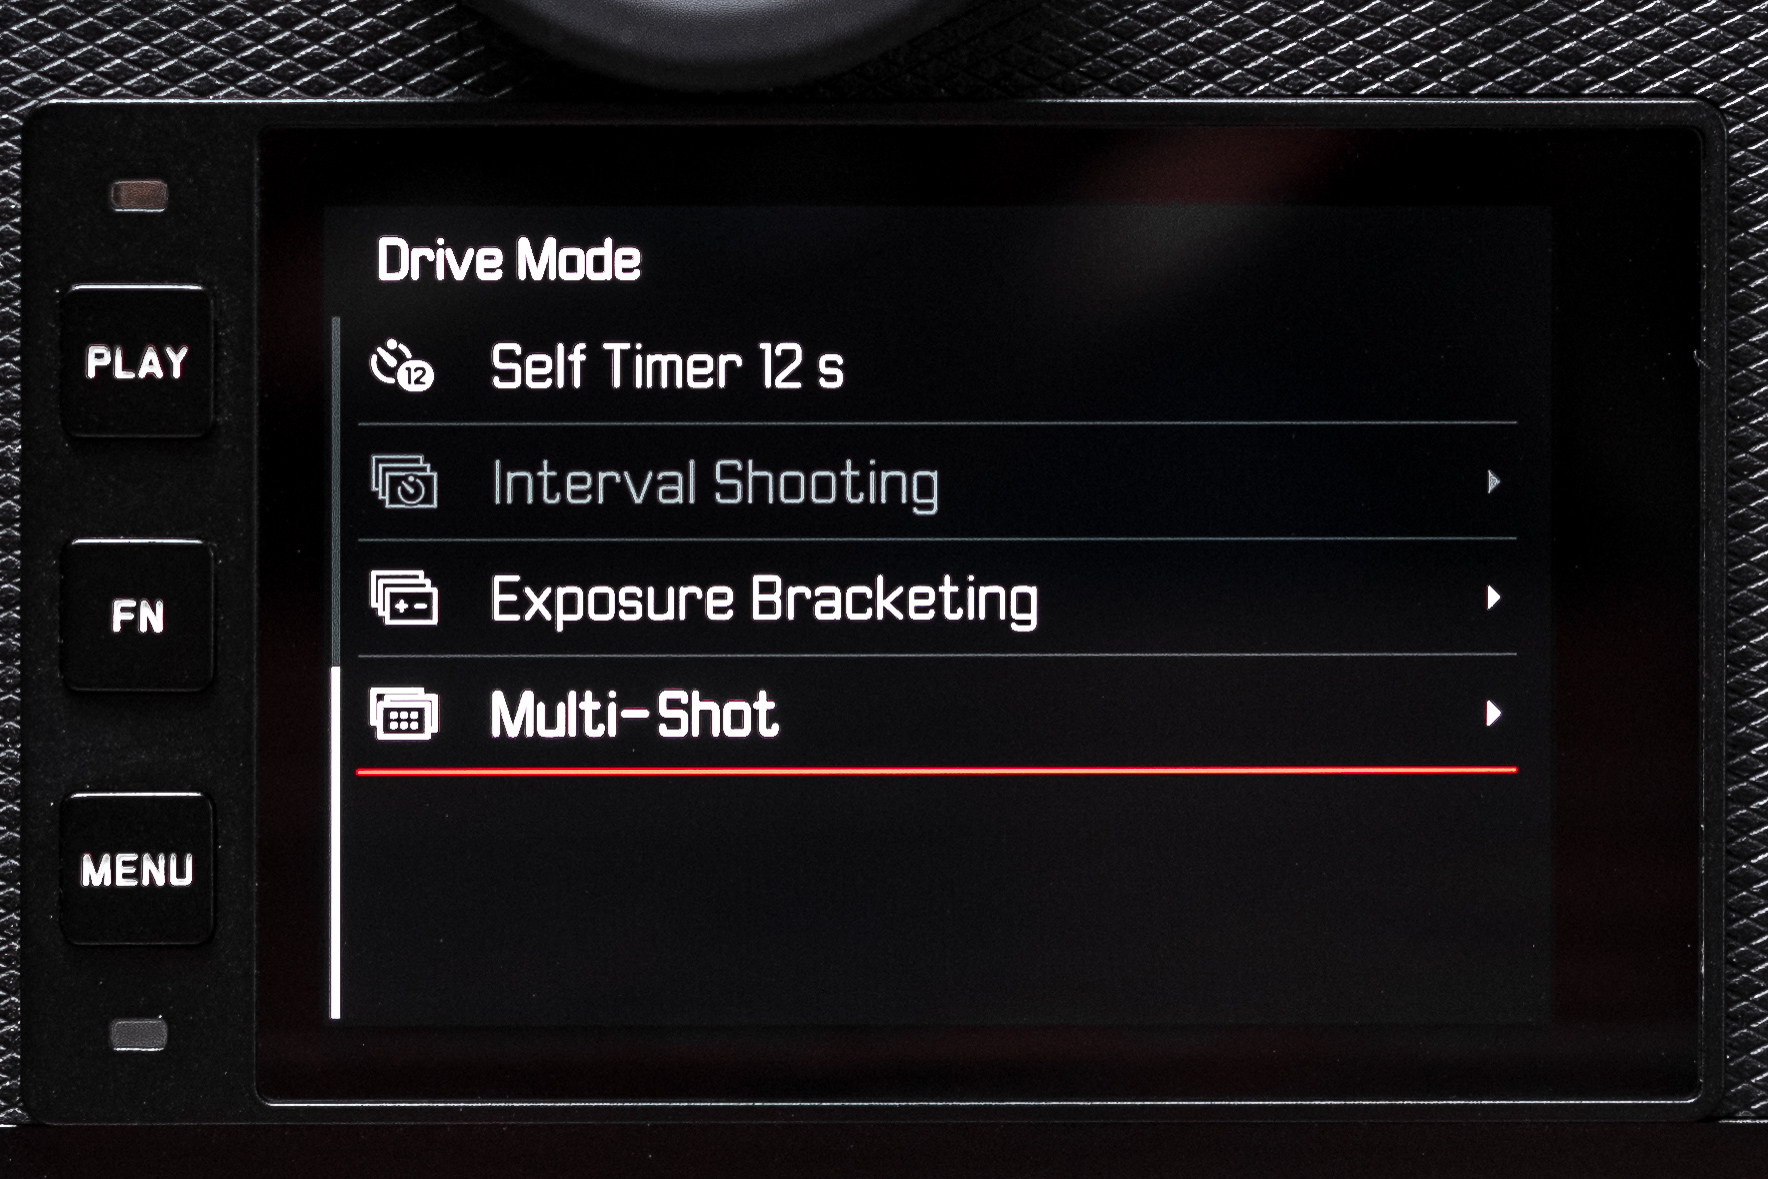
Multi-shot takes the already impressive single-shot 47 megapixel resolution of the SL2 and, by capturing a series of eight exposures in rapid succession, stitches them together to create a single, mind-boggling 187 megapixel DNG file. To do this, the camera repurposes its in-body image stabilization (IBIS). Instead of moving the sensor to counteract motion and reduce camera shake, the sensor is shifted by mere microns to record ever so slightly different images. When all eight shots are combined, the resulting 187 megapixel images display a staggering amount of image detail (see below for samples). You can find the new multi-shot function in the Drive Mode sub menu, on the second page.
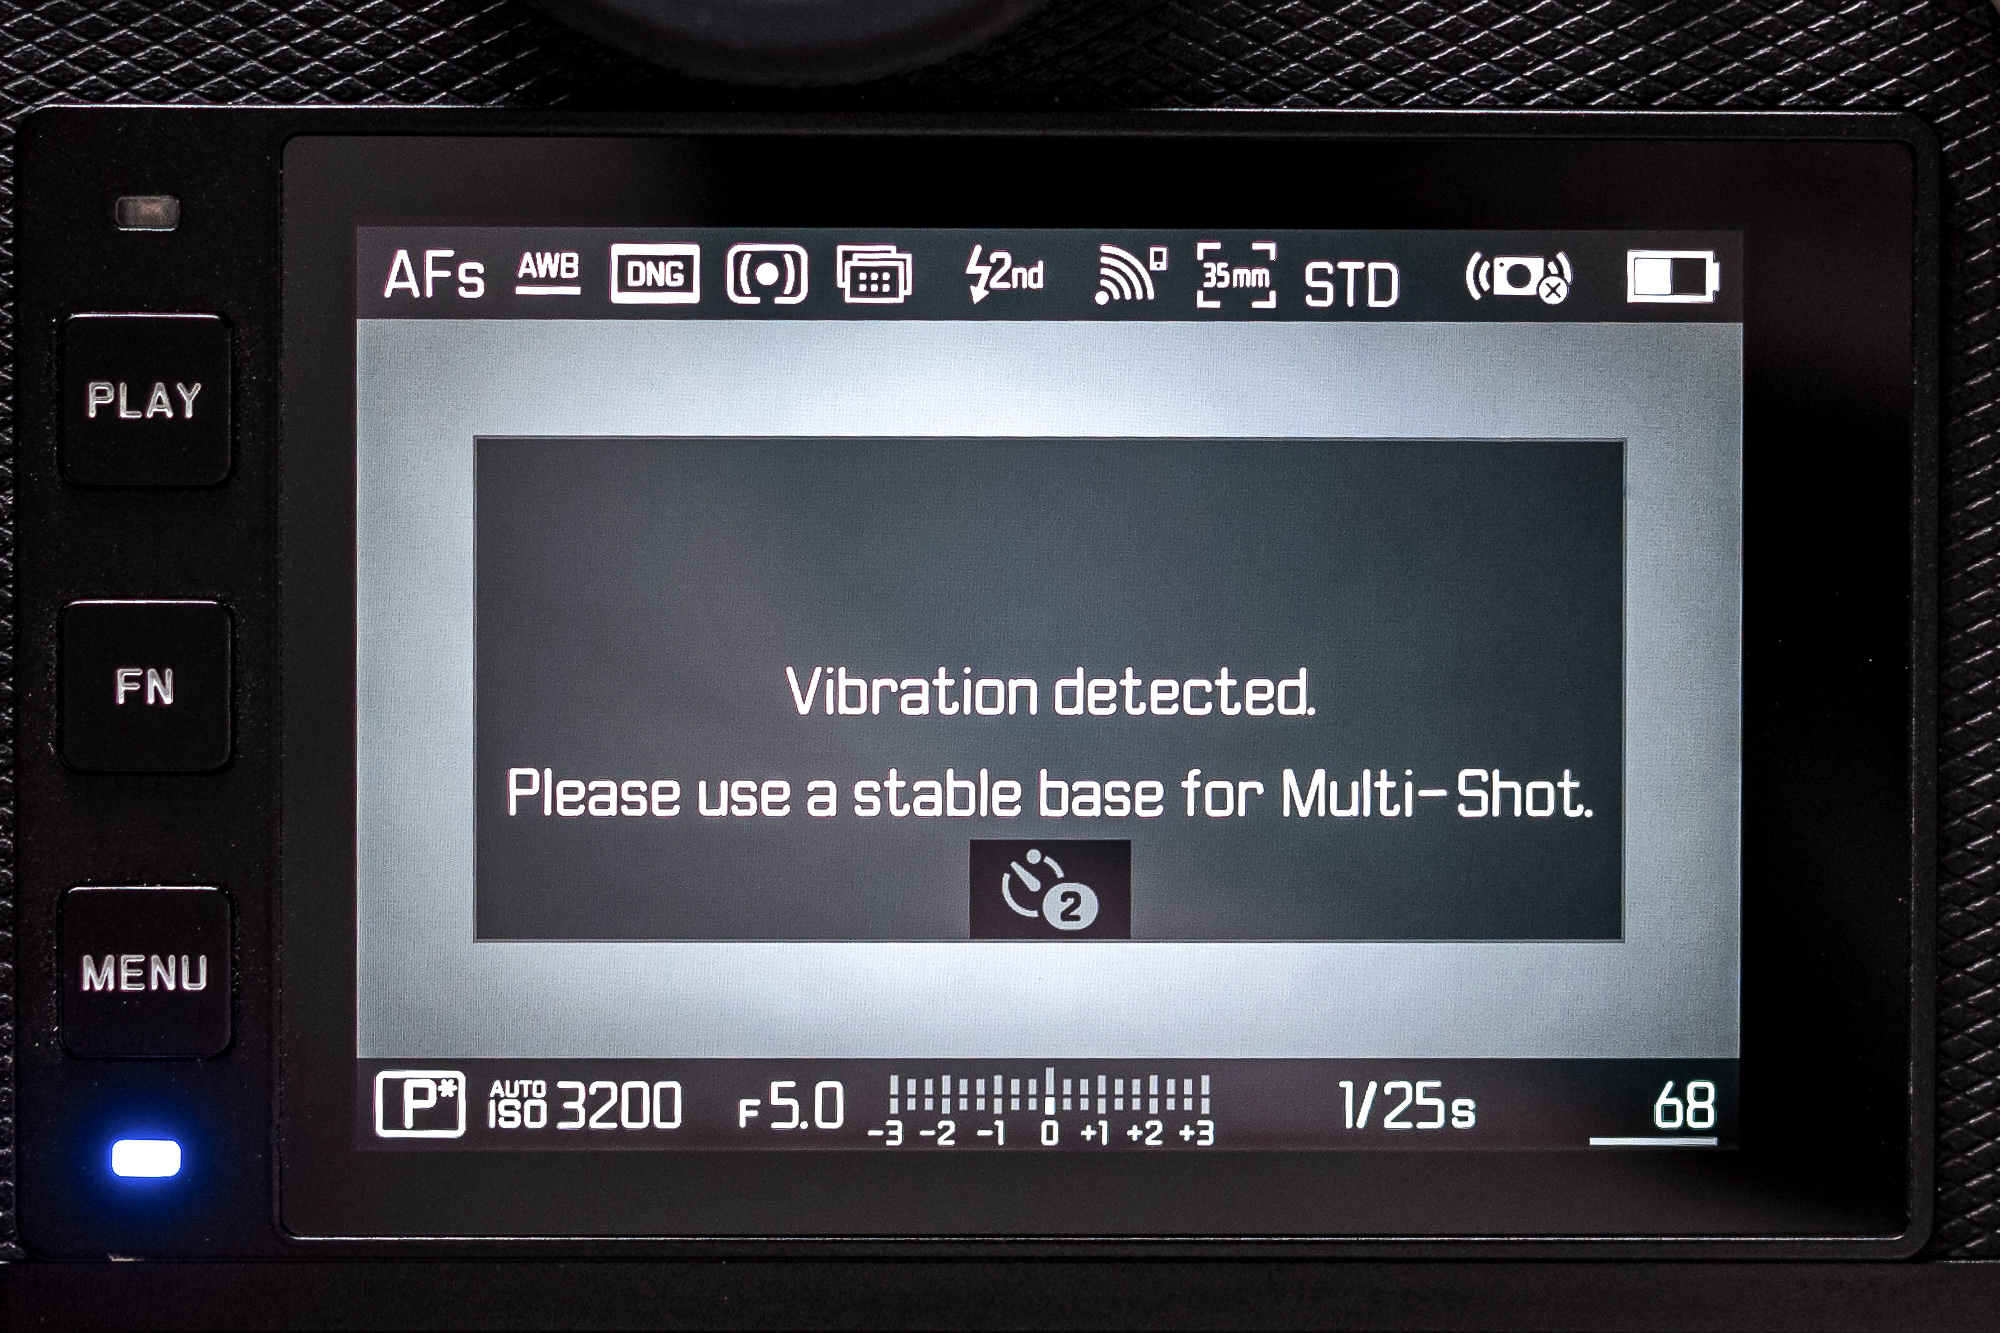
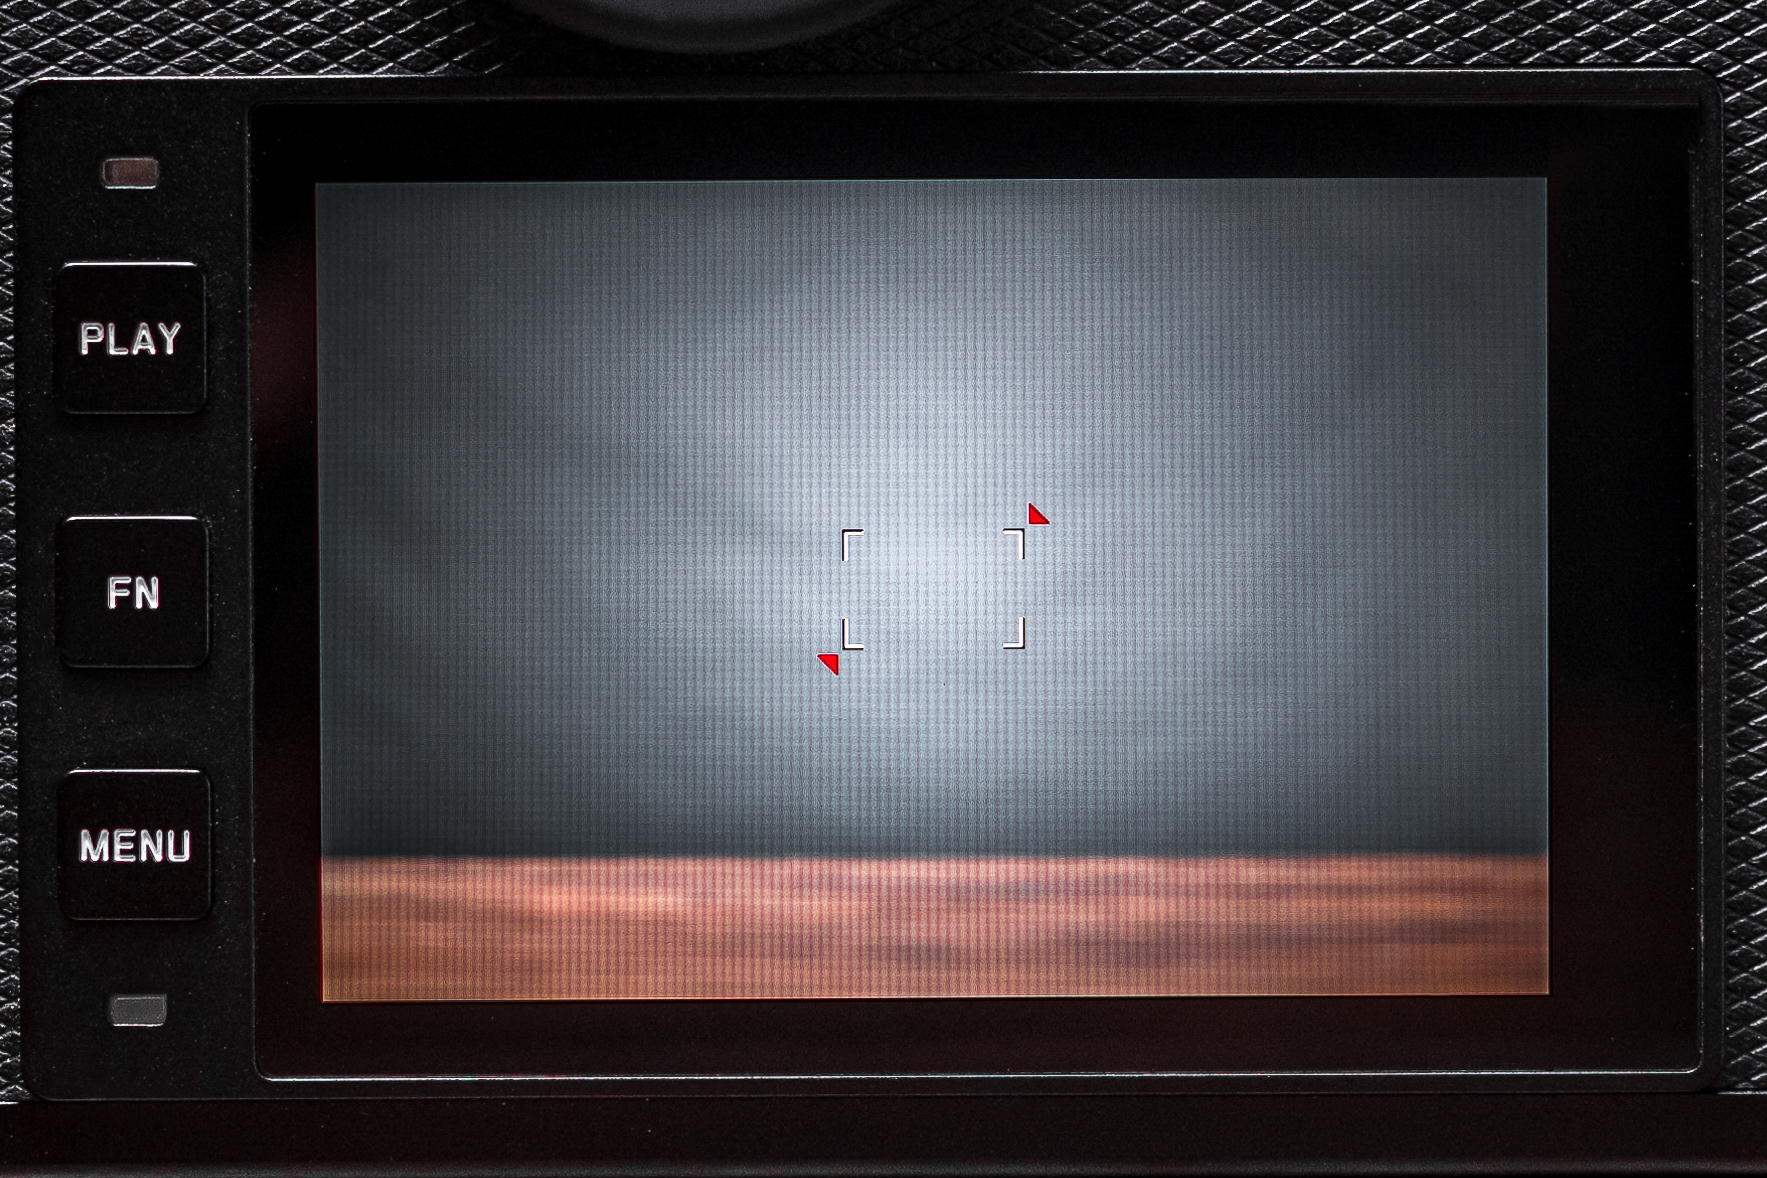
There are a few caveats when using the new multi-shot feature. Because the IBIS mechanism is being utilized for pixel shifting, all image stabilization is disabled. Also, only full frame lenses can be used, so TL glass won't work here. Other restrictions are that the maximum ISO is limited to 3200, the longest shutter speed is capped to one second, you can't use strobe, and electronic shutter is always used. All of these make sense given what the camera is doing during the capture process. And of course, you'll want to be locked down on a sturdy tripod and shooting a non-moving subject. In fact, if you're not on a tripod, the camera will detect movement and display the following error message.
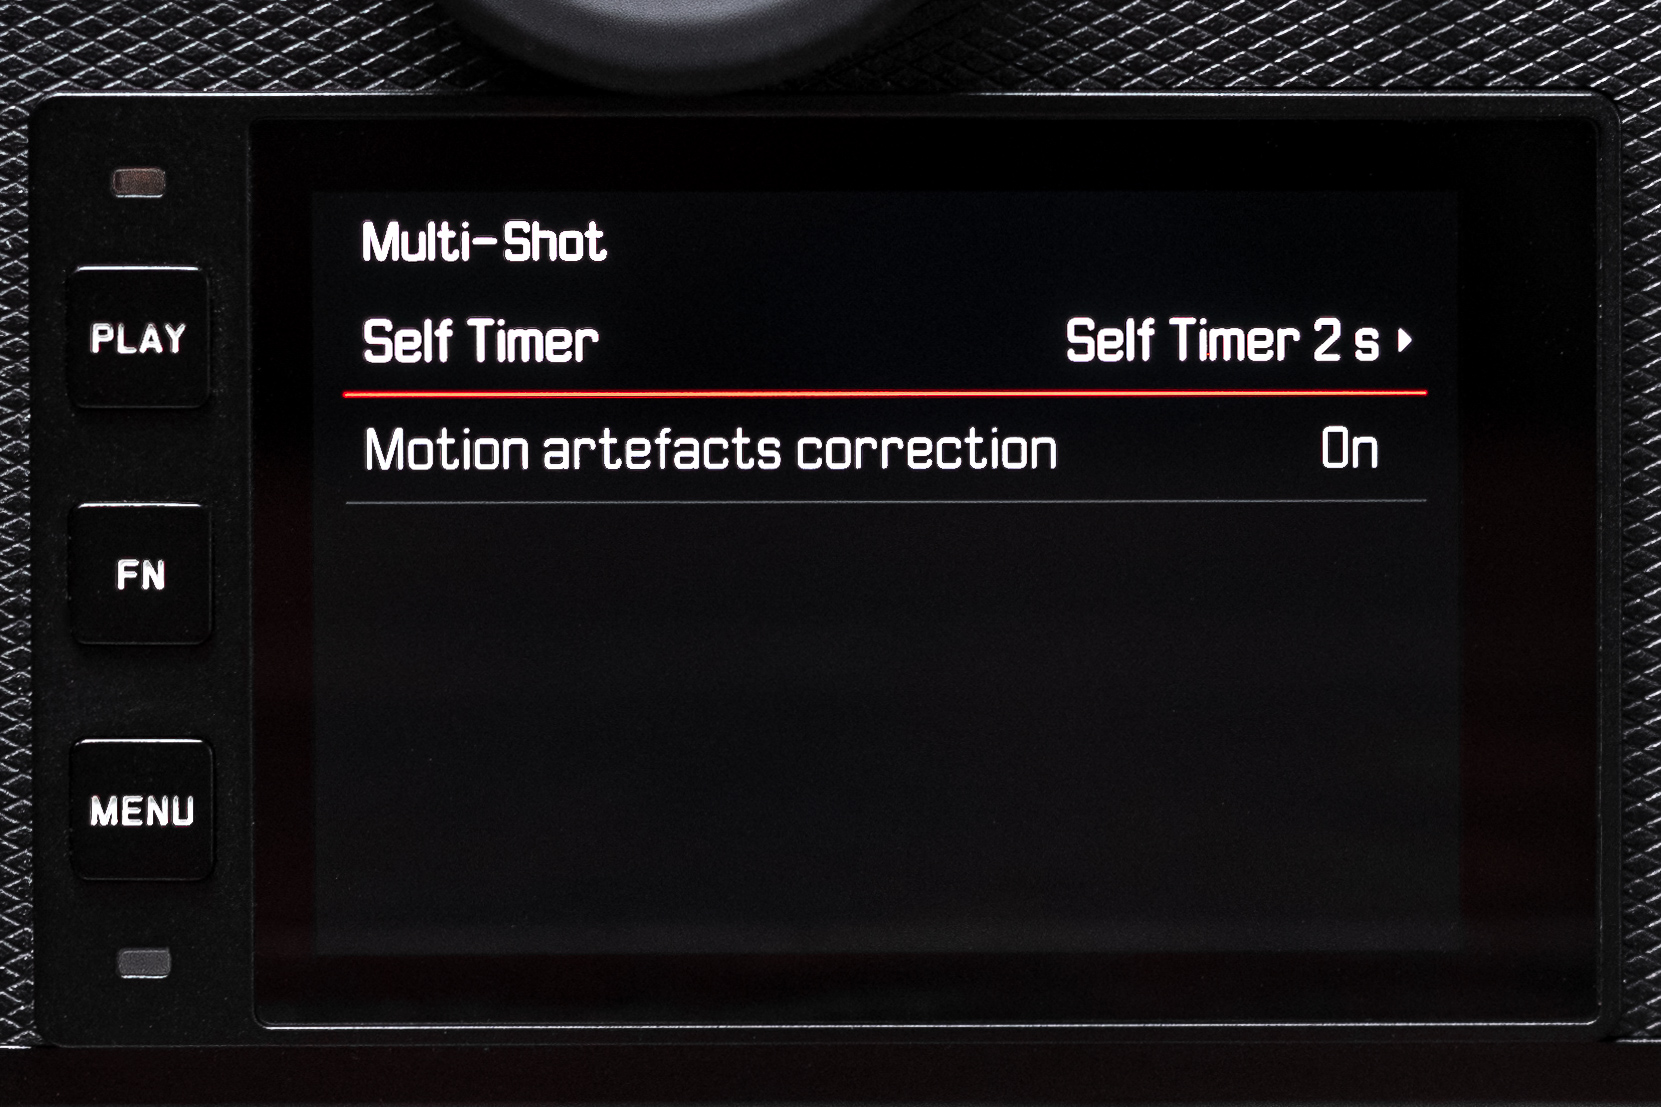
Note that each time you take an image in multi-shot mode, you'll end up with two images, one combined 187 megapixel image and one standard 47 megapixel. Even though the camera has the option of Motion Artifacts Correction in the multi-shot menu, if there is significant shot-to-shot movement in your resulting image that can't be corrected, it's certainly nice to a have usable full resolution image as a backup.
Testing Multi-Shot
Of course, I had to try out the new multi-shot capability and see just how much additional detail you can capture. For a super-quick test, I simply set up a balsamic vinegar bottle that I used during my latest B&W ISO showdown comparison article, put the SL2 on a tripod and mounted the outstanding APO-Summicron-SL 75mm. All these shots are 2000 x 3000 pixels, which is probably larger than your display. Be sure to right-click and select Open Link in New Tab so you can view the full resolution image. Here, you can see the full frame test setup, shot at f/5.6 and ISO 100.

And here's a 100% crop from the single frame capture. Certainly, the SL2 at 47 megapixels is no slouch, resolving plenty of detail and texture. The 75mm APO is a flawless performer.

Next we have a 100% crop from the 187 megapixel multi-shot capture using the exact same setup. Holy. Cow. The level of detail is simply insane. This isn't even a macro shot, yet you can clearly see the texture of the paper, slight imperfections in the glass bottle and dot gain from the printing process. I cannot wait to use this function for my landscape work.

Just in case the previous examples weren't impressive enough, I combined both crops into a single image so you can see just how much more detail the SL2 is resolving in multi-shot mode. Both images are scaled to 100% or 1:1.

Improvement on the Video Menu GUI
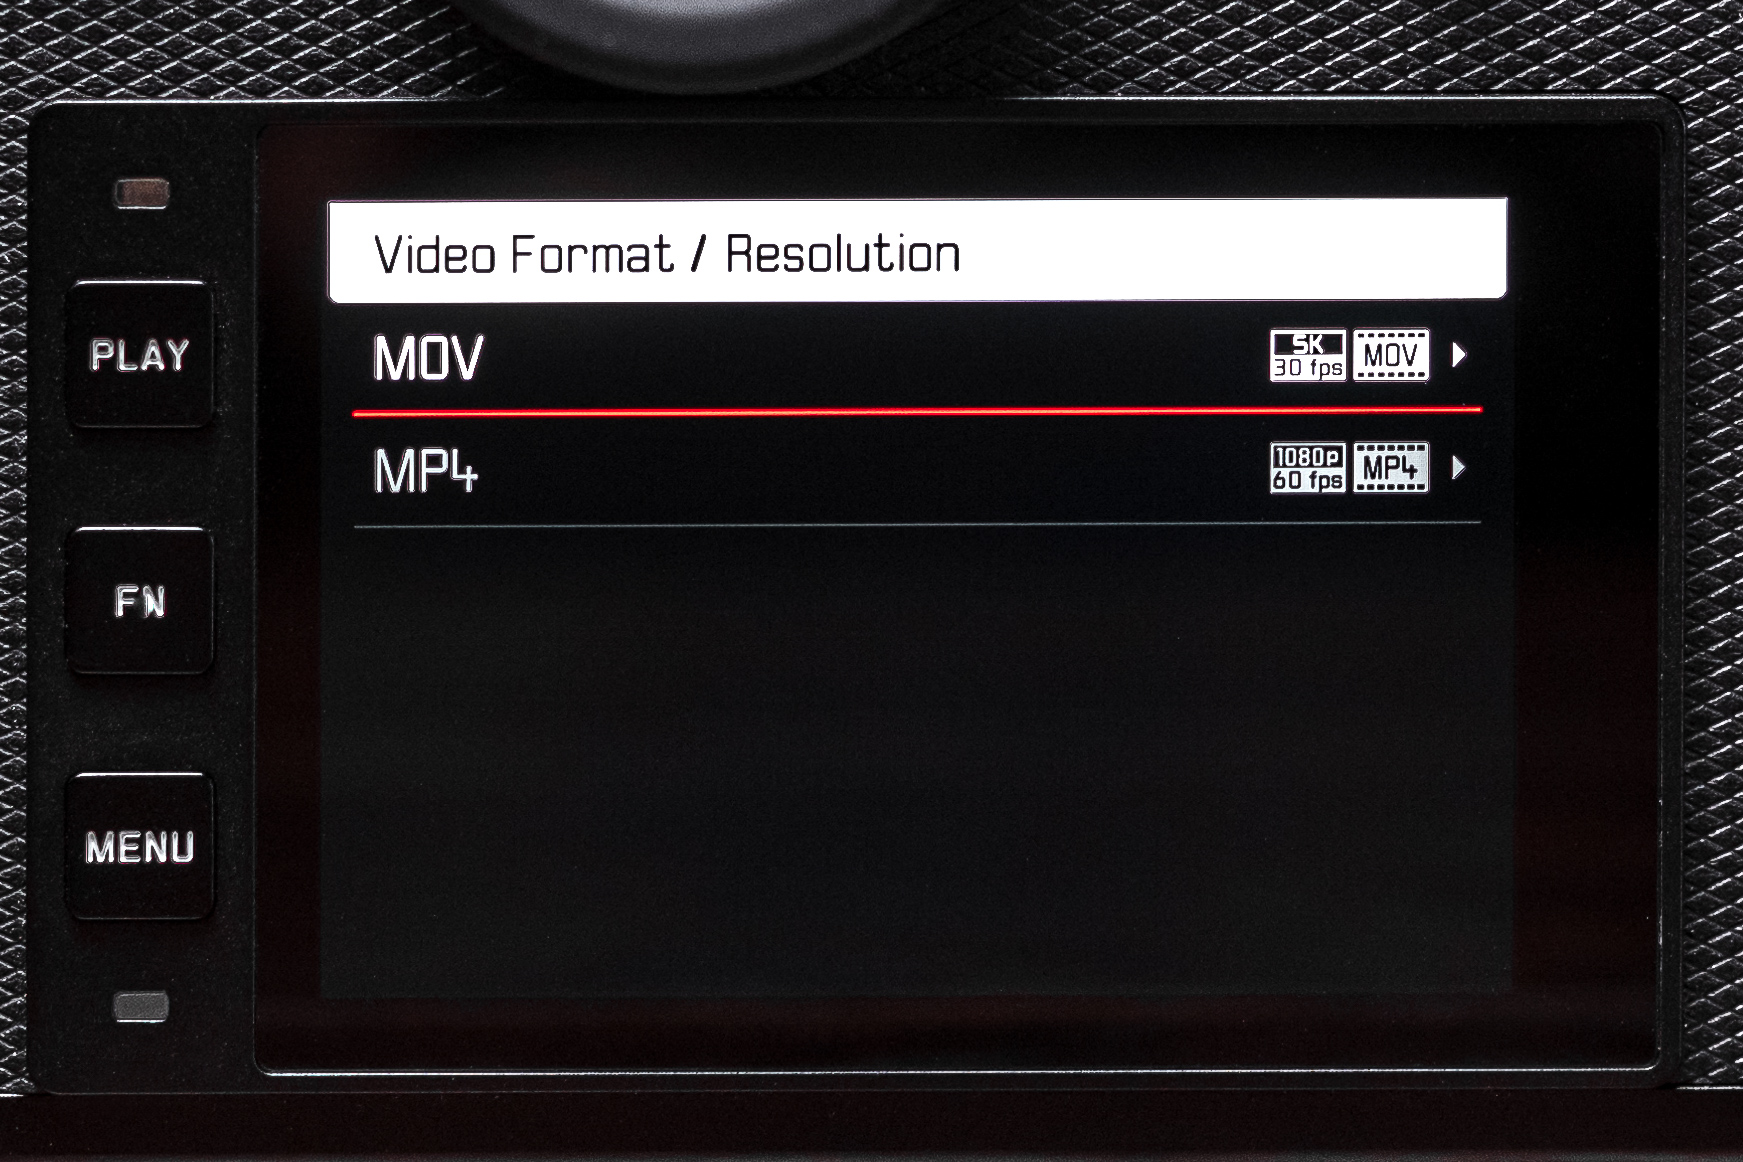
Some users have found it difficult to determine if the options they are changing are for stills or video. Since the camera stores different settings for each mode, this can be an inconvenience. Leica made a small, but meaningful change to the menu UI. When in a sub menu for video, the heading now has a white background, similar to the main video touch menu. Just remember, a dark background is for still photos and a white background is used when in video mode.
Improvement on the AF field size setting
Another small change, but one requested by users is to be able to change the AF-field size more easily. Now, the AF-field size can be changed with a long tap on the touchscreen without moving the selected AF field.
SD Card naming
For easier identification if using more than one camera, the SL2 now sets the name of the SD card to “Leica SL2” after formatting in camera.
Bug Fixes
Detection of M-Lenses:
6-bit coded M lenses will be recognized at all times with M-Adapter L.
Elimination of artifacts on very fast continuous shooting:
In the drive mode “Continous – Very High Speed” there were artifacts in the DNG under certain settings, which have now been removed.
Correction of the focus distance value in feet:
The focus distance on the top display has been corrected and now shows the correct values.
Connectivity enhancements with Leica FOTOS and Image Shuttle:
General improvements for a faster and more stable connection between camera and smartphone or computer.
Download v2.0 firmware
To download the firmware file, simply click the button below. You'll need to drag and drop the firmware file onto an SD card which was freshly formatted in the SL2, then insert the card into your Leica SL2 with a fully charged battery. Navigate to the Camera Information menu to access the firmware update option. Don't try to open the firmware file on your computer – just copy it on to the SD card into the root directory.
Installation Instructions
- Recharge the battery to 100% and insert the battery into the camera.
- Remove all SD cards from the camera.
- Prepare a SD card for installation:
a. It is recommended to format the memory card inside the camera.
b. Please make sure that the card contains at least 200 MB of free disk space.
c. Copy the firmware file to the root directory of the SD card.
d. Insert the SD card into slot 1 of the SL2-camera. - Switch on the camera.
- Open the “Camera Information” menu item in the main menu. Under “Camera Firmware Version” you can see the version of the currently installed firmware and you can install the new firmware under “Start Update”.
- Confirm the update process if you want to start.
a. The camera will guide you through the process of updating your camera.
b. Please confirm to save your current settings to SD card before proceeding with the update.
c. The camera starts the update process and informs you when finished.
d. Restart the camera; do not eject the SD card.
e. After the welcome video you can select the language.
f. You now can do some settings via the Leica FOTOS App by connecting the camera with the app. If you have already connected the SL2 to the app, delete it from the app and connect the camera again - The update process is completed successfully.
- If you want to load your user profiles go to the menu item “User Profile” in the main menu and then “Manage Profiles”. With “Import Profiles” you can restore your profiles to the camera again.
This is a huge upgrade. I hope even Q2 gets this update as well since they have same image processor and sensor. 🙂 super excited
Firmware updates are camera specific. While some improvements for the SL2 may translate to the Q2, many others would not due to hardware differences between the two cameras.
Slow to the party. But, I can’t wait to download this update!