-
Leica Store wrote a new post 15 years, 10 months ago
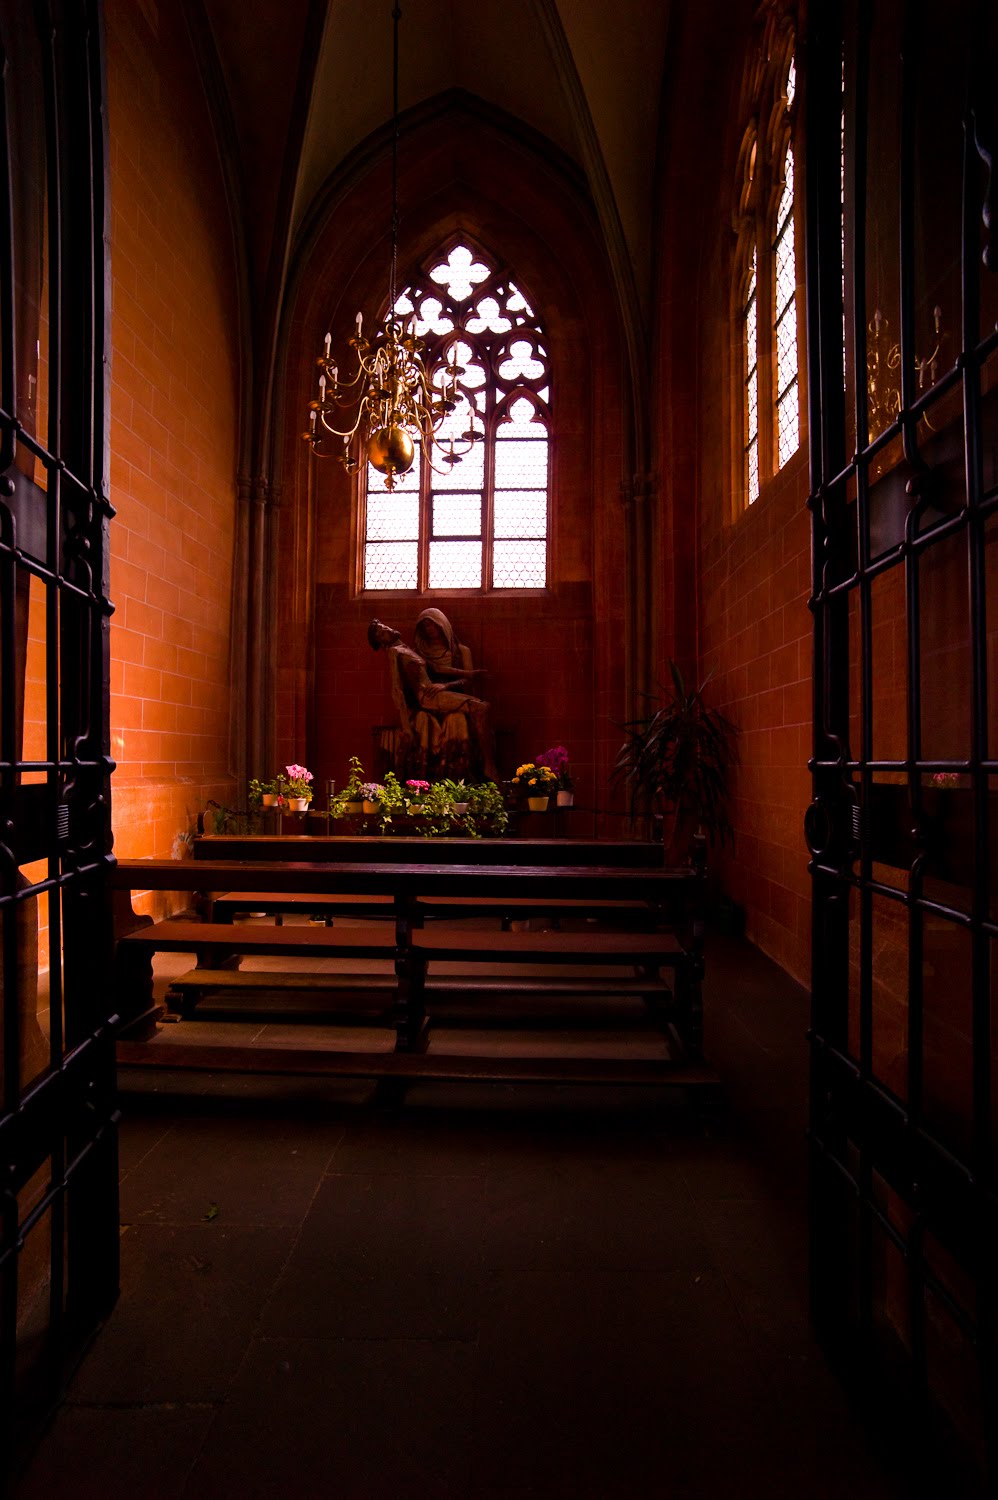
[LEFT][COLOR=#000000][FONT=Times New Roman][COLOR=#333333][FONT=Trebuchet MS]I am currently in Wetzlar, Germany attending the LHSA Annual Meeting. I left Cologne early on Friday and returned back to the show for several hours yesterday to catch all the areas I hadn't seen during the week. [/FONT][/COLOR]
[COLOR=#333333][FONT=Trebuchet MS] [/FONT][/COLOR]
[COLOR=#333333][FONT=Trebuchet MS] I will certainly be posting the remaining updates on Day 3 and 5, but am attending some all-day programming and bus tours without Internet access. So, please be patient and stay tuned. There is some pretty exciting stuff coming.[/FONT][/COLOR]
[COLOR=#333333][FONT=Trebuchet MS] [/FONT][/COLOR]
[COLOR=#333333][FONT=Trebuchet MS] I'd recommend following my Twitter feed to be alerted to updates posted on my blog.[/FONT][/COLOR]
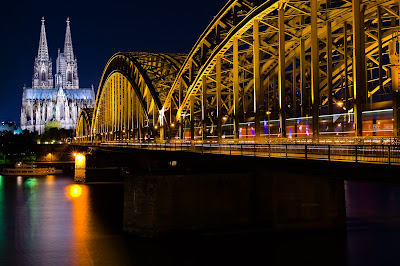
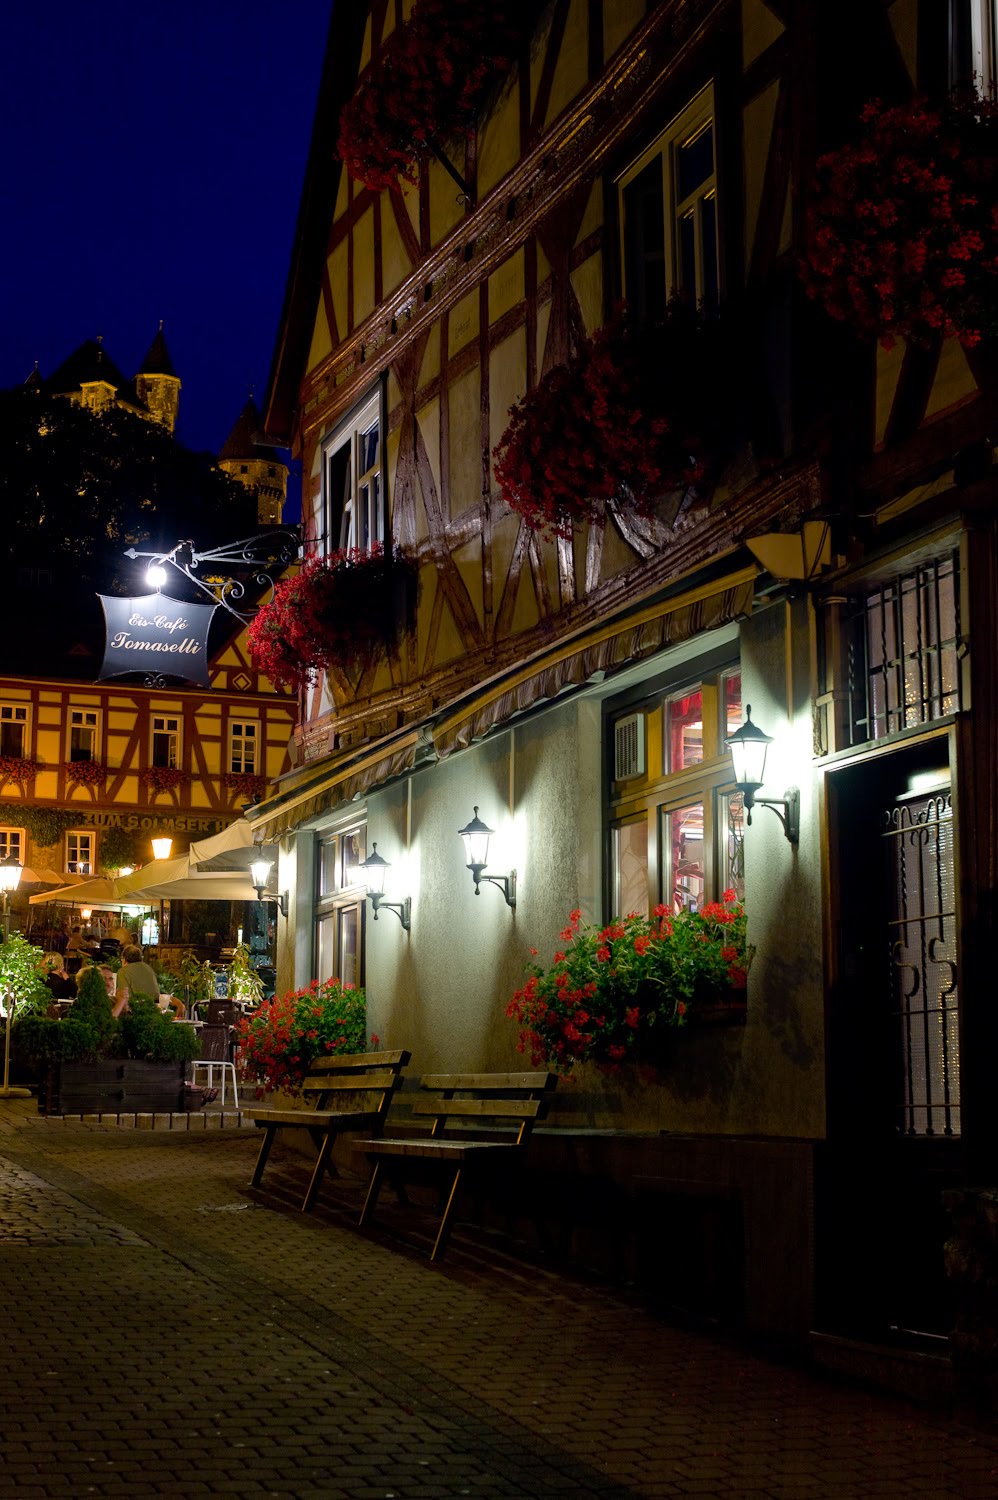
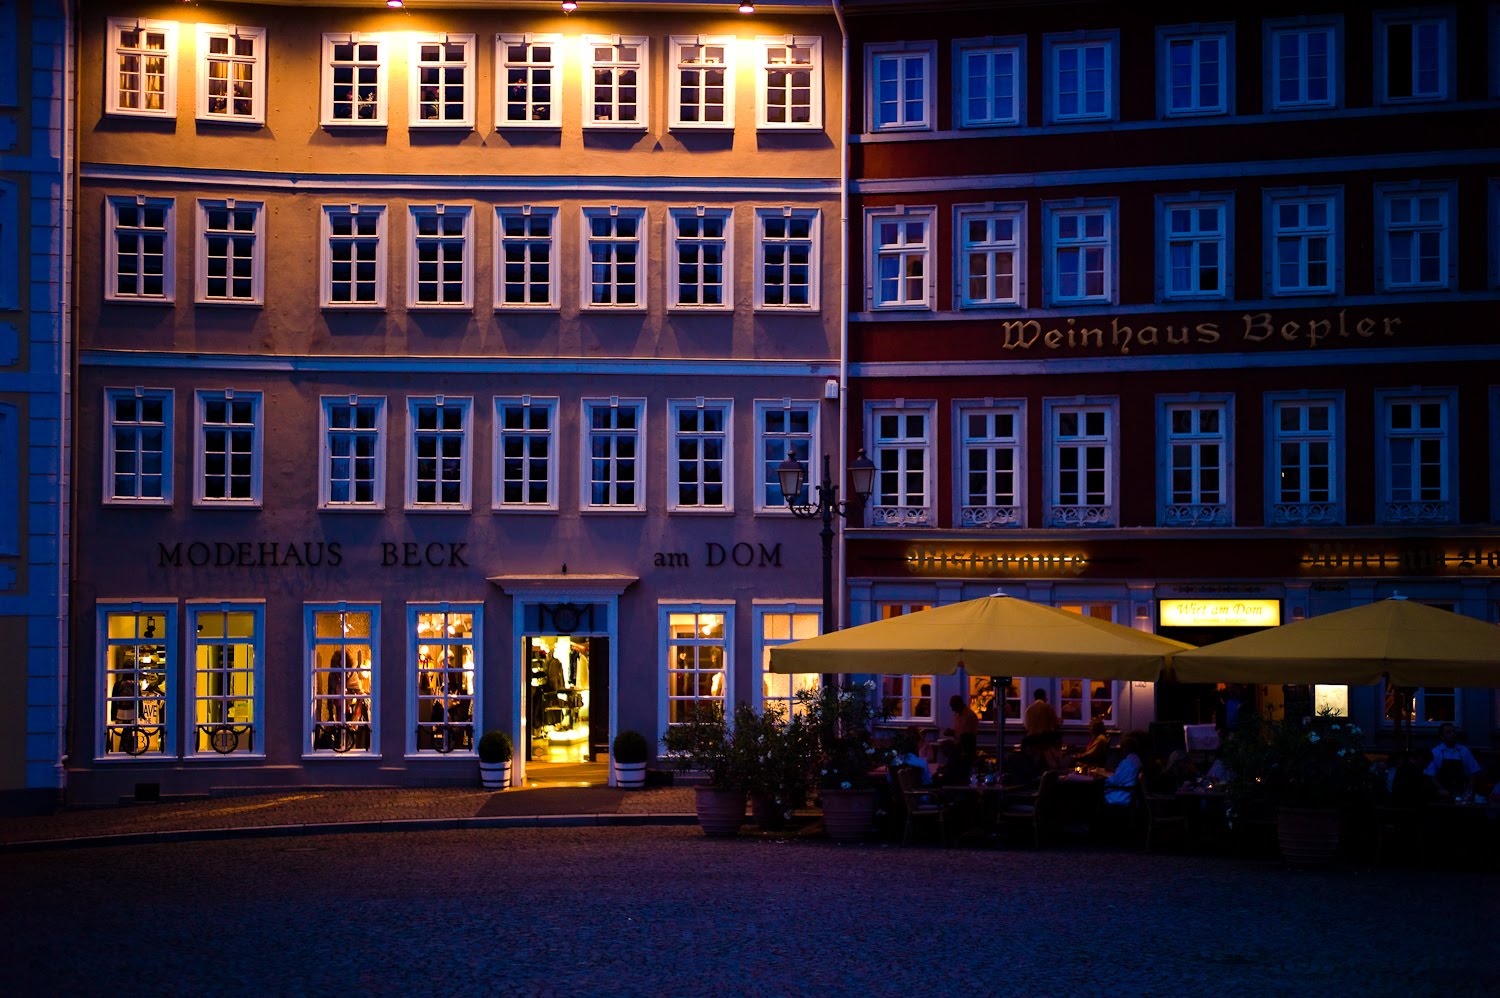
Cologne at night – shot with Leica S2 and 70mm Summarit-S ASPH
32 sec @ f/11, ISO 160[/LEFT]
[/FONT][/COLOR] -
Leica Store wrote a new post 15 years, 10 months ago
[COLOR=#333333][FONT=Trebuchet MS]
Cologne at night – shot with Leica S2 and 70mm Summarit-S ASPH
32 sec @ f/11, ISO 160I am currently in Wetzlar, Germany attending the LHSA Annual Meeting. I left Cologne […]
-
Leica Store wrote a new post 15 years, 10 months ago
[COLOR=#333333][FONT=Trebuchet MS]With all day yesterday spent at the Leica booth and with Hasselblad's announcements today, I figured I'd try to check out the S2's main competition.
Phase One

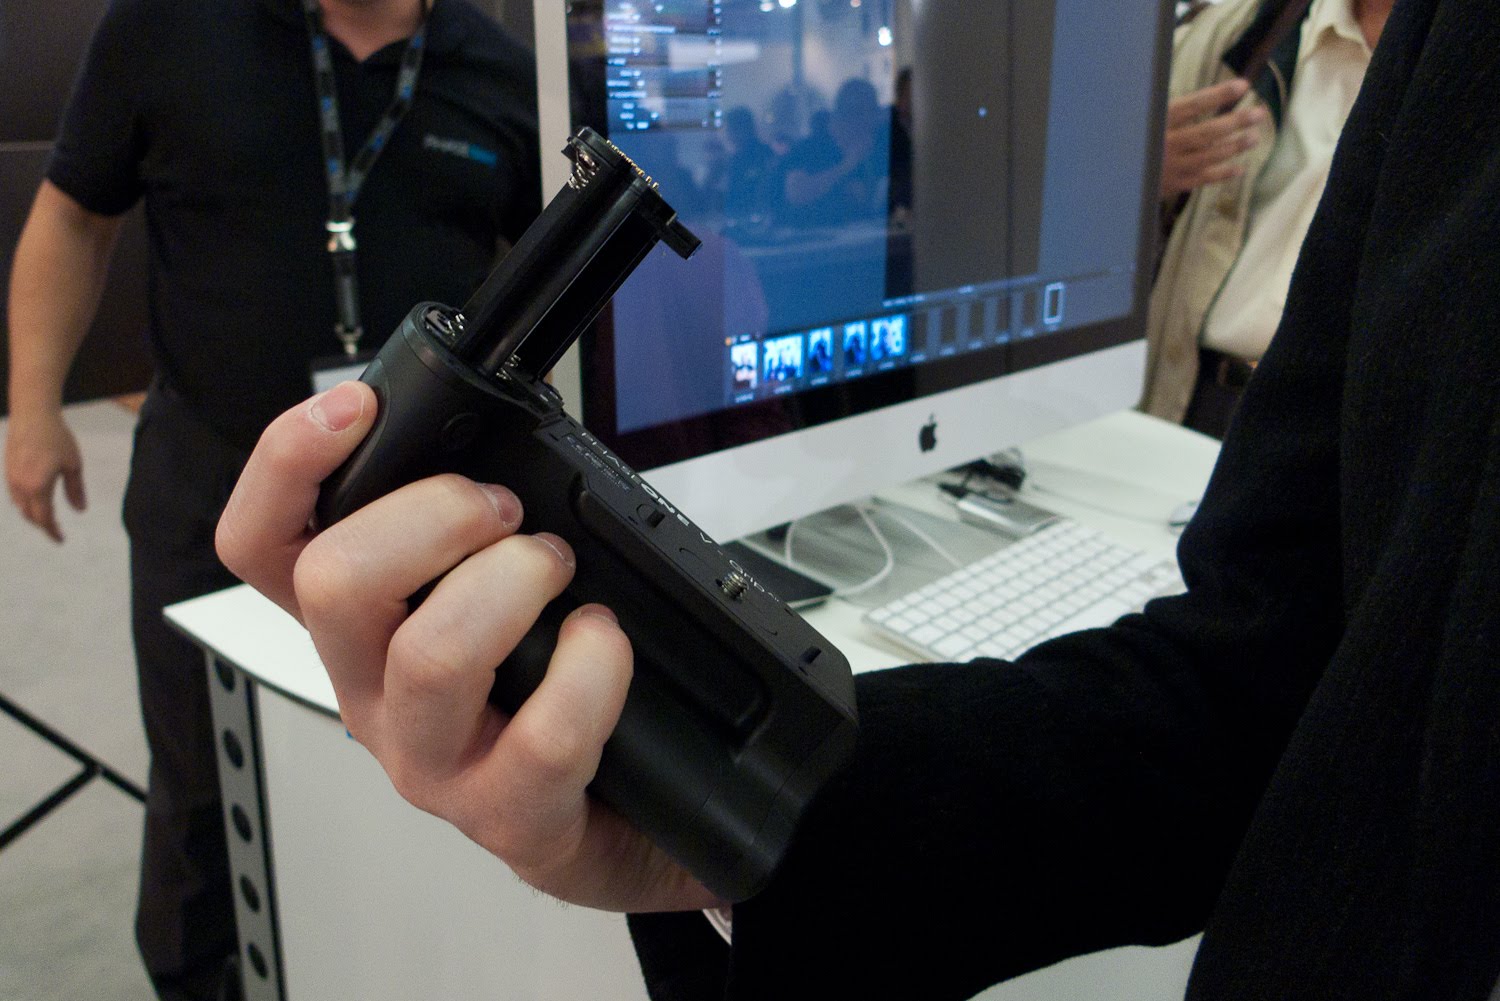
First on the tour was Phase One. Their booth was much smaller and more basic for this show than they had in the past. Not too much product, not a lot of visitor space, mostly meeting tables. There was a live photo area with a model sporting biker wear and attitude, as well as a still life setup. The new Schneider 120mm T/S was being shown, but not the newly announced autofocus 120mm Macro or 35mm D. The main attraction seemed to be the V-Grip Air vertical grip for the Phase One 645DF (Mamiya 645DF). Sporting a serial number of C00001, I'm assuming this is the first one of its kind, but not the only one.
The grip feels to be made out of the same plastic and rubber material as the DF body and does match nicely with the camera. It is wide and tall, with a sharp recess for your fingers in the front. They've done a nice job of cutting out resting finger positions on the front as well as the rear for your thumb. I did find it a bit odd and non-ergonomic that the rear thumb dial and AF/AE button were placed so far to the right of your resting thumb position. Given the weight of the camera and torque exerted when holding the camera in vertical, you would lose your balance by moving your thumb out of the rear groove to the outside of the grip in order to access these controls.


The front shutter button placement is good, with a little function button accessible on the underside of the front of the grip which you can activate with your middle finger.

On the rear of the V-Grip are controls for switching the camera power source from the lithium battery inside the grip or the AA batteries inside the riser portion. This marks the first time that 645DF users can use the same battery type to power the camera as they do for the back, without having to carry AA cells. But of course, for those still yearning for nostalgia and extra weight and bulk, the AA option remains. I didn't notice if the camera top status LCD had a battery status, but I do think it would be a smart idea if the V-Grip/DF body could auto switch between battery types. When I picked up the camera with the grip on, the back was powered on, but the camera wouldn't turn on. There were no AA installed, but the selector switch was in the AA position. The camera powered on after the switch was flipped over to Li+, but this seems an unnecessary step to take, especially if there is no indication without physically removing the V-Grip from the camera to check for batteries.
To the right of the power selector switch is the thumb dial for attaching the unit to the base of the camera. Standard issue and no surprises here. To the right of that is a switch allowing for either standard or fast Profoto Air Sync.On the left-hand side is a flip-out access door, under which the lithium battery goes in. Also there is a dial control for the Air channel from 1 to 8 as well as off. A mini-USB port provides the user, for the first time, the ability to upload firmware to the camera without having to send the body in to service.
[LEFT]


The particular unit I had powered the camera, but the shutter release would not activate. I was instructed to use the camera's main release button instead and that this was just trade show quirkiness.
Holding the camera by the grip felt okay, but the camera is quite top-heavy in horizontal which is fine, but when rotated, exerts a fair amount of left-pulling torque on your right wrist. It is a similar feel to holding a Hasselblad H body with a heavy lens mounted. Fine for a short duration, but could start to be a strain if shooting for extended periods of time. For the price ($1290), the grip feels a bit plastic, but it does offer 645DF owners a good way to rid themselves of AA batteries, offers the unique Profoto Air triggering, and the ability to perform body firmware updates themselves. If previous Phase One marketing strategy holds true, I'm sure it will end up being bundled with a standard camera, back and 80mm lens for much less than if purchased separately.
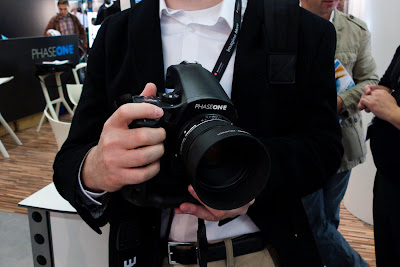
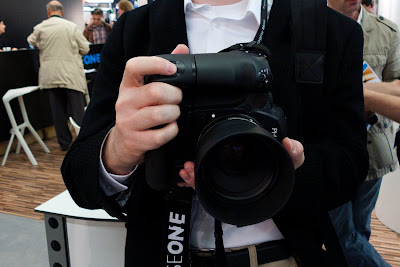
I didn't shoot with the 120mm T/S lens or see the quality it produced, but I did hold it in my hands to get an idea of the size and weight. As mentioned previously, the lens is extremely large but very, very light. For those needing such a lens for field work, the weight will not be a problem, but some might find the bulk to be a factor. I'll be interested to see what kind of results this lens is capable of.
Hasselblad
Leaving Phase, I ventured onward and headed over to the Hasselblad booth. These guys always have a great stand at Photokina and this year is no exception. It also was a bit smaller than the one in 2008, but the size was compensated by the presence of a sweet Ferrari convertible and regularly scheduled runway models mugging for cameras. Compared to Phase, there were a lot more people packed into the booth looking at a lot more product. Hasselblad had no shortage of display product or helpful people to answer any questions.
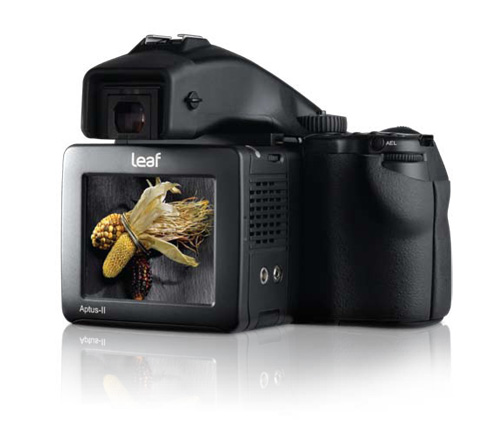
I handled the H4D-40, 50 and 60, which are all basically the same, except for the sensor inside. I've used most of the HC lenses before and I am very familiar with the H3 body, so no surprises here. The main difference between the H3 and the H4 is True Focus, which is Hasselblad's clever way to compensate for focus shift during focus-and-recompose using accelerometers to record camera rotation during reframing and compensating focus on the fly before taking the picture. I think that Hasselblad should be applauded for bringing some ingenuity to the medium format party.I was very curious on the H4D60 to see how the “double-res” LCD looked, both relative to the “single-res” screen on every other H back or the same-sized S2 LCD. The new LCD offers some improvement in terms of resolution, but I still feel that the color saturation and contrast of the screen is lacking. It still looks a bit hazy, not as much as the Leaf Aptus II LCD, but not nearly as clear and nice as the Leica S2's screen. I read and hear a lot of complaints about medium format LCD quality, yet strangely, the manufacturers are still unresponsive to this request. Phase One seems to be the worst of the bunch, still offering an LCD that looks like it came from a Nikon D70 c. 2004.

I was also interested to see playback speed and zoom on the rear LCD of the H4D versus the S2. Preview images display in 1-2 seconds, so this is pretty quick. Hassy has certainly made some significant speed improvements on this latest generation of backs, but there is still about a 5-6 second delay when zooming in to 100% to check focus. The S2 by comparison zooms in to the image in real time, without delay.Hasselblad announced some new products for Photokina today. The first is a “new” camera, the H4D31. This is a new entry-level kit that combines the exact same back as the H3DII-31 with the latest H4 camera with True Focus. They are looking to sell this kit for 10,000 EUR, which should translate to about $13,000 USD, but US pricing hasn't been set yet.
The HC 50mm f/3.5 and the HC 120mm f/4 Macro have been redesigned. Both lenses look identical to the previous (current) models, except for the “II” designation in the name. All of the changes are internal. The 50mm brings an increase in resolution and corner performance, while the 120mm Macro improves color performance, eliminating axial chromatic aberration. As digital sensor increase in resolution and physical size, more and more demand is being placed on the lenses. It is nice to see Hasselblad focus on optical improvement rather than a software correction approach.


They also announced a 200MP virtual resolution camera, the H4D50MS. The MS stands for multi-shot, meaning that while remaining perfectly still, the sensor shifts in microscopic increments to introduce more information. The process of shooting six exposures takes about two minutes. Applications for this would be things like artwork reproduction where the subject, camera, and illumination source all remain consistent. Not so well suited for any subject which moves or where lighting can't be controlled precisely.And, for lovers of the V system, Hassy has a got a new back, the CFV50 featuring the same Kodak sensor found in the H4D50. This should be nice as the sensor is physically larger than the CFVII-39, giving some more utility to wide-angle lenses like the 40mm CFE-IF.
Last, but not least, Hassy is introducing a special edition Ferrari camera. Painted in Ferrari Red and limited to 499 pieces, price is “available upon request.” I didn't request it. See, Leica isn't the only company offering special edition cameras.

I also had never tried the 35-90 lens and I have been hearing good things about it. It's really, really huge. Not as bulky as the 50-110, but big. I'm not sure how comfortable I'd be carrying this around all day.

Leaf
From Hall 2.1 where Leica, Hasselblad and Phase One are located, I ventured to Hall 9 where I will be going tomorrow to look at lighting, supports, and other photo accessories. Amidst the sea of photo accessories and off-brand monlolights was the Leaf booth. I honestly couldn't believe this booth wasn't packed. The Leaf Aptus-II 12 has set a new level of resolution with 80 MP in a full-sized 645 chip, but the booth was quiet.
I spoke to product manager Yair Shahar, who couldn't have been nicer. He recognized me from my photo online and the two of us have crossed paths on online photography forums many times. It was nice to finally put a face to a name.He told me about the new Dalsa sensor in the Aptus-II 12. The sensor has a 5.2 µm pixel pitch and features next-generation imaging performance. They worked closely with Dalsa to develop this sensor and I get a sense that Leaf, and by association, Phase One, will have some period of time of exclusivity on the technology. Already, Hasselblad lagged for almost two years behind Phase One's P65+ with their H4D60, which has just recently come to market (even though it was announced at the last show). I expect to see a similar situation here. I asked about smaller sensors being offered with the 5.2 µm pixels. Yair seemed to feel that the goal has always been getting to full frame and that they should stay there.

We looked at some images on a computer screen from the new 80MP back. They do look like multi-shot images I have seen and that is Leaf's claim. The sample was a picture of a bunch of fabrics and there was no moiré. Every time I moved the image to scroll around, it Leaf Capture software would have to re-render that new section and the system was clearly dragging. Yair said that the support for the back is still in beta and he feels this is just an early software glitch. I was wondering if these kind of files were just too unwieldy for the iMac to handle.

I do wish that Leaf would put more effort into updating the camera interface, speed of operation, battery life and the quality of the LCD. They were one of the first companies making medium format digital backs and have made some significant technological advances. Faster processing, better LCD and more robust battery life would all be welcome by Leaf shooters. In the case of the new back, the LCD, interface and battery life remain the same as the rest of the lineup. This is not anything new for medium format backs and is not exclusive to Leaf. You could change the sticker on any Phase P back and impress your friends and clients – they'd never know your five-year old P25 isn't really a P65+.Leica – Something new

I stopped in at the Leica booth as I had some follow-up meetings. I saw a small still life diorama in a box with an S2 pointed at it, which was tethered to an adjacent PC, looking very much like a science fair display. The young lady who was running the demo is a student at Cologne University of Applied Science. Leica works closely with this school to develop both algorithms and talent. Many of the top engineers and product managers came from the school.
So, what was the science project about? High Dynamic Range, more commonly referred to as HDR. This got my interest, so I requested the full demo.
Working with a modified version of Leica Image Shuttle, a new HDR tab has been added. With a single click, the camera will first shoot one or two shots to analyze the scene and determine how many shots and with what exposure parameters are required to deliver the entire luminance range of the scene, then actually fire off the sequence automatically. Once the button was clicked, the camera went into autopilot and shot six frames with three stop spacing. Sure, anyone can do exposure bracketing then blend the resulting captures in Photoshop or Photomatix, but here is the best part of all: the resulting file is a 24-bit per pixel DNG file. Yes, 24-bit raw file with the same handling of any DNG from the S2. After the sequence was completed, a progress bar showing “merging” completed. We opened the file in Photoshop's ACR window and the image didn't look artificial as so often happens with tone mapping. We were able to white balance, adjust exposure sliders, etc. The scene had a clear light bulb in it with an exposed filament. The resulting photo had detail on the filament as well as detail in the dark patches of the color card. No user intervention was required. This tech rocks!

I spoke to the two people in the R&D department about my excitement with this technology. They said that it might be possible to add this technology into the firmware, so that all sequencing and processing is handled in camera. They wanted to know if I thought this would be a worthwhile addition. Let's just say that I voted emphatically YES.More to come tomorrow…..
[/LEFT]
[/FONT][/COLOR] -
Leica Store wrote a new post 15 years, 10 months ago
-
Leica Store wrote a new post 15 years, 10 months ago
[COLOR=#000000][FONT=Times New Roman][COLOR=#333333][FONT=Trebuchet MS]
 [/FONT][/COLOR]
[LEFT]Another Photokina has begun. Walking up the steps into the Koelnmesse and into Photokina felt great. Not only was it a beautiful day this morning, but the sheer amount of photo goodies awaiting you inside can boggle the mind and cause even the most seasoned industry veteran to get a little giddy with anticipation.

My first stop, naturally, was Leica. Coming down the escalator into the usual spot of hall 2.1, the Leica booth was buzzing with activity and excitement. The M counter was swamped. The S counter was swamped. Hordes of people swarmed around the compact camera islands. Journalists were queued up to gain access to the press area. Leica employees (the ones with the red dot lapel pins) were manning their posts and obviously enjoying Leica's somewhat new found popularity.


After a few quick greetings, I made a beeline for the S system counter. I wanted to see the 120 macro again and see what else might be waiting to be discovered. Well, I was satisfied on more than one account. There were plenty of 120 Macro lenses to go around as well as the newly released multifunction handgrip.
The most I'd ever seen of the grip was a solid block mock-up. The grips that were on the cameras here were most certainly not mock-ups. I was surprised by the weight, or rather lack thereof. Made of aluminum and magnesium alloy, the grip is solid and sturdy but extremely lightweight. The textured rubberized covering is the same as that of the S2 itself. Somewhat of a surprise to me was the change from the one-handed quick release attachment method to the more tried-and-true screw-in approach with a large thumb wheel. I found out later that when putting the lever solution through quality assurance, Leica engineers were not satisfied with the security and reliability of the locking mechanism. They went back to the drawing board and redesigned the grip with a more robust solution. At first I was disappointed as this was always such a cool concept, but I suppose I would take a more mainstream approach rather than have my S2 fall to the ground while I was shooting vertical. Gotta have priorities, right?

The base of the grip has two tripod mounting holes, ¼”-20 and 3/8″, both with corresponding anti-twist holes. Also on the base in a somewhat unusual position is the switch to enable or disable grip control. It is recessed nicely and I highly doubt the possibility of any accidental switch flipping.

On the left-hand side is a battery compartment door, with a nice metal turning latch. The door reminds me of the battery cover on the Nikon D3, except much finer construction and more sturdy. When you turn the release, the door flips down and reveals the battery, which sits flush in the case. Next to the battery is a metal push button, with releases the battery with the same clever safety feature of the camera's main battery. The cell pops out about a quarter of an inch and requires a short, soft inward press to fully release. This keeps batteries from inadvertently falling on the floor, or off a cliff (if you so happen to venture near cliff edges while changing batteries). The S2 will pull power from the battery in the grip first, then switch to the battery in the body. In Leica's testing, they found that the combined battery life with the grip was over 5,000 shots. Not bad!


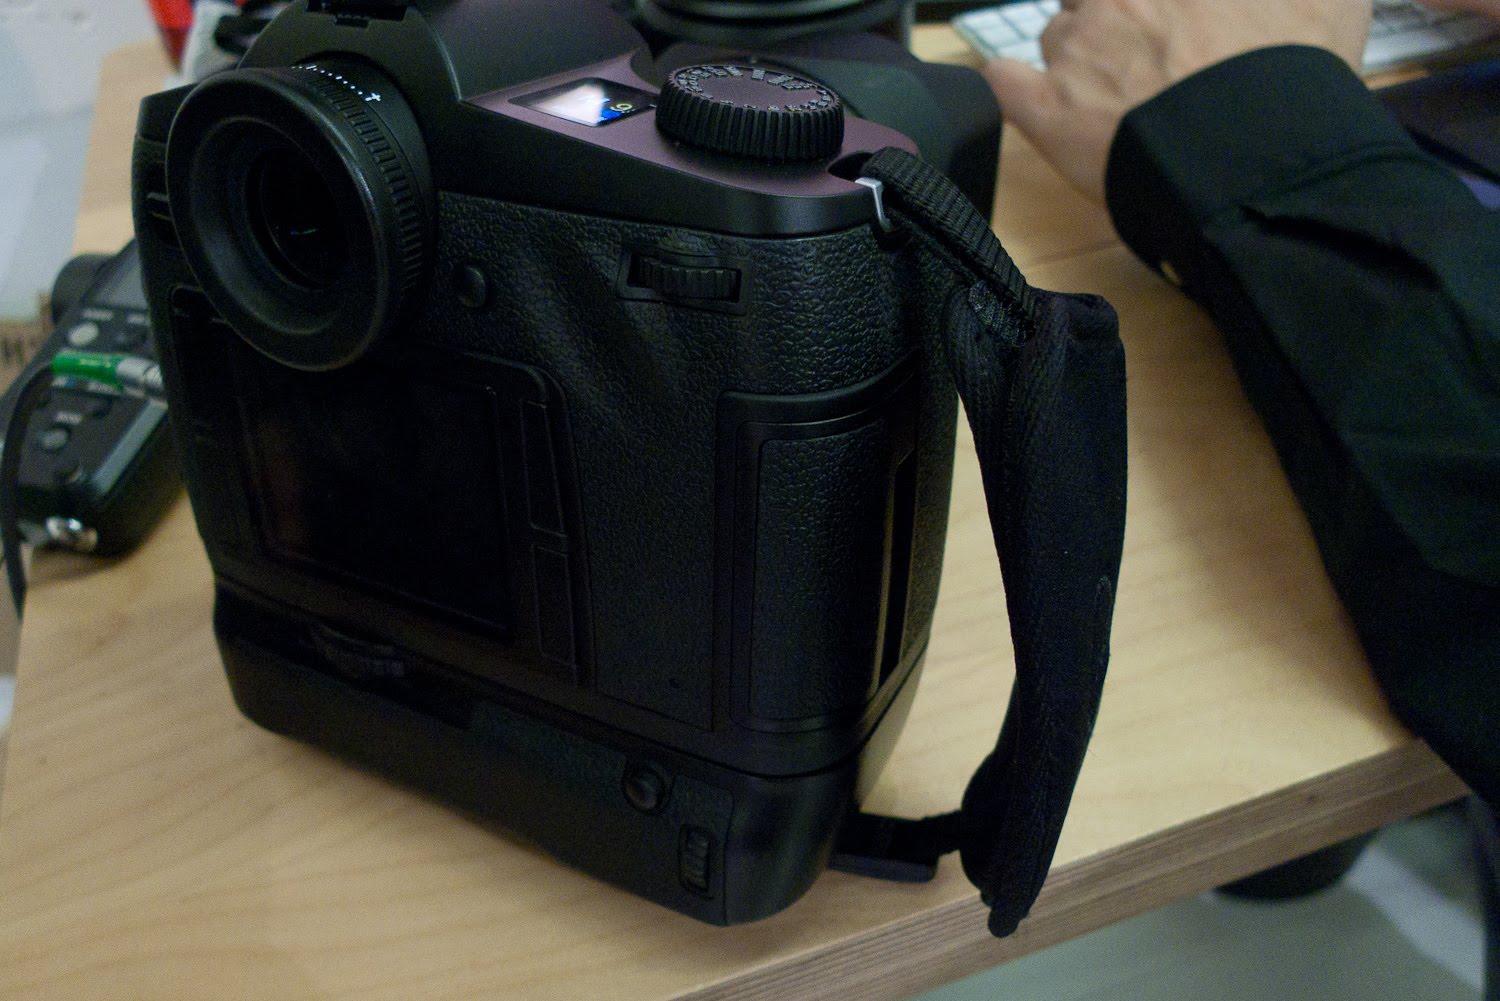
On the right side of the grip are the shooting controls, similar to those on the S2. On the front, the same metal shutter release button. On the rear, the same clickable scroll wheel with a AE-L/AF-L button just to the left of the wheel. In the hand, the grip feels great for vertical shooting. The balance is just about perfect and in landscape orientation, with the extra volume on the base of the camera adding a nice steadiness. Also, with the grip attached, you can use the new hand strap. Very comfortable. I want one.

At the counter, I had a nice chat with Wanja Szypura, who is an image processing engineer in the R&D division at Leica. This is one of the best parts of Photokina. You will often find that the people showing you products at the counters are not sales staff, but rather those that are deeply involved with the design of the equipment itself. In addition to writing image processing algorithms for the S2's firmware, Wanja is the point person for the collaboration with Adobe. He verified for me that Adobe does in fact have two S2s systems, one is in California for the tethering team to work with and the other is in Seattle for the image processing team to work with. Just in our brief chat, it is quite clear that the relationship between Leica and Adobe is a strong and important one for both companies. He also mentioned that Leica will probably offer users ICC camera profiles for Capture One and Adobe will roll out lens profiles for ACR and LR most likely in the next release. All good news for S2 users.For further S2 enlightenment, I joined S2 product managers Stephan Schulz and Toni Felsner in the S2 studio inside the press area. Professional photographers were carrying out shoots in Leica's trade-show studio. Leica again partnered with German studio lighting company Briese to build and equip the studio.


Amidst the shoot, Stephan demonstrated the new Leica Image Shuttle software, which introduces a preview function. Click the little eyeball icon under the FPS button in Shuttle and a second free-floating window appears. In this latest version of Image Shuttle, a 2 megapixel image is sent over the USB connection immediately after the shot is taken. After about 1.5 seconds, the image pops up in the review window. While not high enough resolution to check critical focus, it is sufficient to judge lighting, expression (for people shots), exposure and color. The previewed image is extremely close to the final color rendering and looks pretty good. Stephan took my picture to demonstrate. Ideally, Leica is working towards allowing the user to use Image Shuttle for camera control and rapid preview, but still allow the direct tethering connection into Lightroom for DAM and image processing. I think this is a great solution, as the integrated design of the S2 allows Shuttle to control every setting in the camera remotely. Used combined with Key Lock, this could be a digital tech's best friend on a fast paced shoot. Then, combined with the speed increases and imaging tools in LR, the photographer or tech has a great tool.
On the subject of speed, one of the features we have been clamoring for is a compressed DNG. Well, the soon-to-be-released 1.0.1.0 S2 firmware allows the user to select losslessly compressed DNG files. This is not the same square root compression algorithm used on the M8 and M9, but a newly developed one that is 100% lossless.The S2's Maestro image processing chip allows the camera to execute much more advanced algorithms than possible using the M9's generic DSP. File size will vary between 35-50MB depending on subject matter. I didn't settle in for a timed test, but watching the photographer shoot and seeing the image display on the monitor, I think there was a speed increase. So, now we get slightly faster tethering with image transfers averaging 2.5 seconds per image as well as reduced storage demands on hard drives and CF cards.

The new firmware also has some substantial improvements in other areas as well. Here's a breakdown of what I have seen so far:- Option for compressed DNG files (explained above)
- Storage mode changes from External to Internal Sequential if USB cord is removed from the camera mid-session. Currently, the camera will remain in External storage mode. The new firmware automatically switches the camera from External to CF or SD internal storage.
- The new Clipping Definition menu option allows the user to define the thresholds for highlight and shadow warnings. You can set the shadow level from 0-20 and the highlight level to 200-255. Neat feature.

- When in Bulb setting on the shutter speed dial, by pressing the thumbwheel in, a control displays on the rear LCD allowing shutter speeds from 8 sec to 125 sec to be dialed in. This is really cool.

- Now the rear thumb button can be controlled more finely. Currently, in MF mode, the rear thumb button activates AF, but only in AFc. This can now be adjusted to be AFs or even add AE-lock at the same time. Good addition.


- Added electronic focus confirmation for use with adapters and manual focus lenses
- Refined autofocus (again), by making the AF active area dynamically larger for closer distances and smaller for further ones. This should help isolate subjects even when a background is just a few feet behind them when at middle distances.
- Added support for hand grip
Some hardware goodies, besides the grip and strap, were some real, honest-to-goodness CS lenses. No, I'm not kidding. I even got to shoot off a few frames with one. Stephan explained that they are tweaking the timing of the focal plane shutter and central shutter to coincide very close to each other. This will reduce the mirror/shutter blackout to a minimum. When asked when these will be available, I was told “Spring 2011”.

A physically small, but functionally big item was a split image/microprism focusing screen. Wow. This was perhaps the brightest, easiest-to-nail-focus screen I have ever used. The standard screen in the S2 is incredible, but can be challenging for manual focus. This one makes manual focus a dream. You can immediately and positively see the exact point of focus. I took a picture through the S2 viewfinder, but it doesn't quite do it justice.

 Saw the Pro Charger in action. Small, light, multivoltage with quick charging of two batteries, each with its own digital charge readout.

After the show and tell, we moved on to discuss lenses. Leica is putting an obvious emphasis on wide angle lenses for the S2. Adding to the brilliant 35mm f/2.5 will be a 24mm f/3.5 and a 30mm f/2.8. The decision to go with a 30mm when there already is a 35mm lens might seem a bit odd, but after Stephan explained the approach, it made good sense to me. The 30mm will be equivalent to a 24mm for full frame 35mm. The 35mm is a 28mm. Classically, photographers tend to choose either a 24 or a 28 for their wide angle work. They plan to leverage the existing design of the 35mm lens with some repositioning of the elements. What this will mean is that the 30mm will also be offered in a CS version, making it a great choice for wide-angle fashion shots. The 24mm, as discussed last summer, will be equivalent to a 19mm ultrawide. I haven't seen one at the show, and I don't really expect to. I do expect the 24 and the 30 to be available sometime next year.
In other lens news, Leica is in the process of designing adapters for other medium format lenses. Stephan confirmed that they have made some early prototypes of a Hasselblad V to S2 and a Pentax 67 to S2. There might be others in the works, but only the V and P67 adapters were confirmed. Things are looking up for the S system on all fronts it would seem.
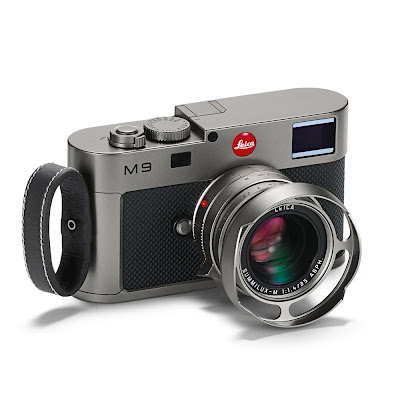
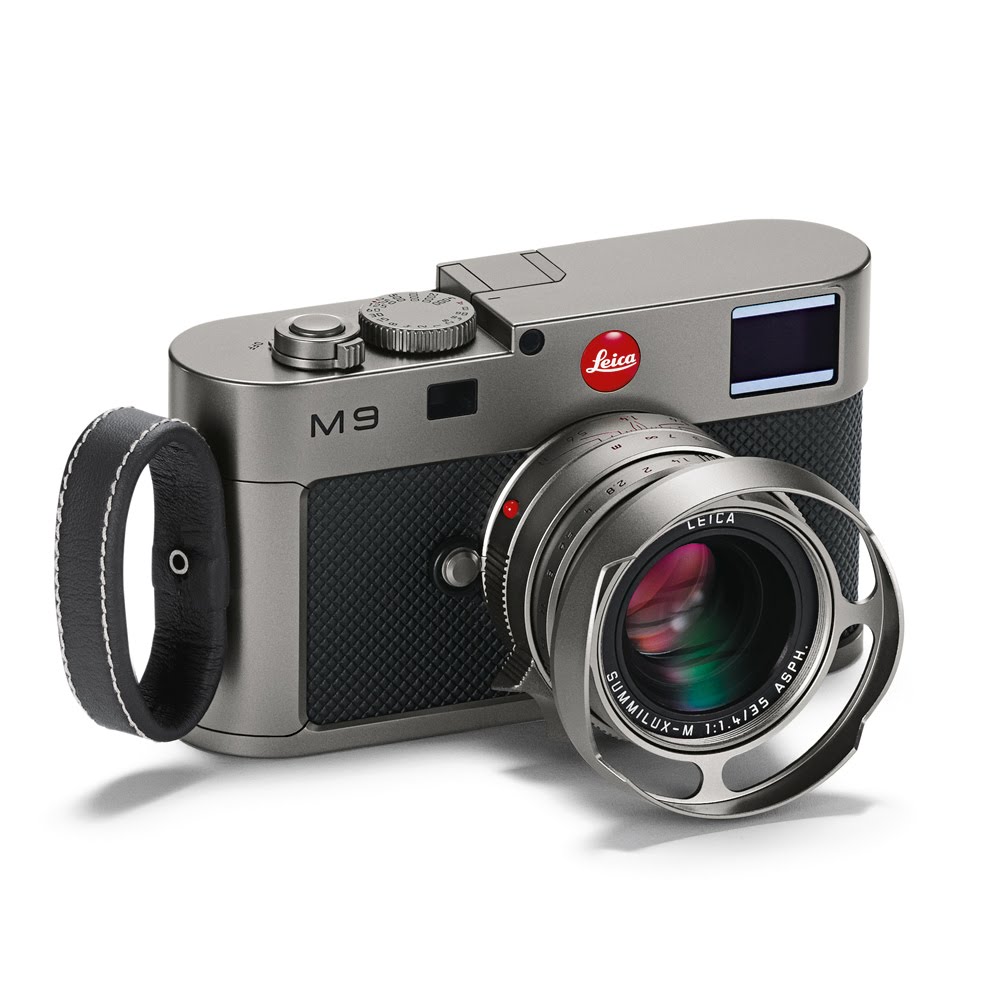
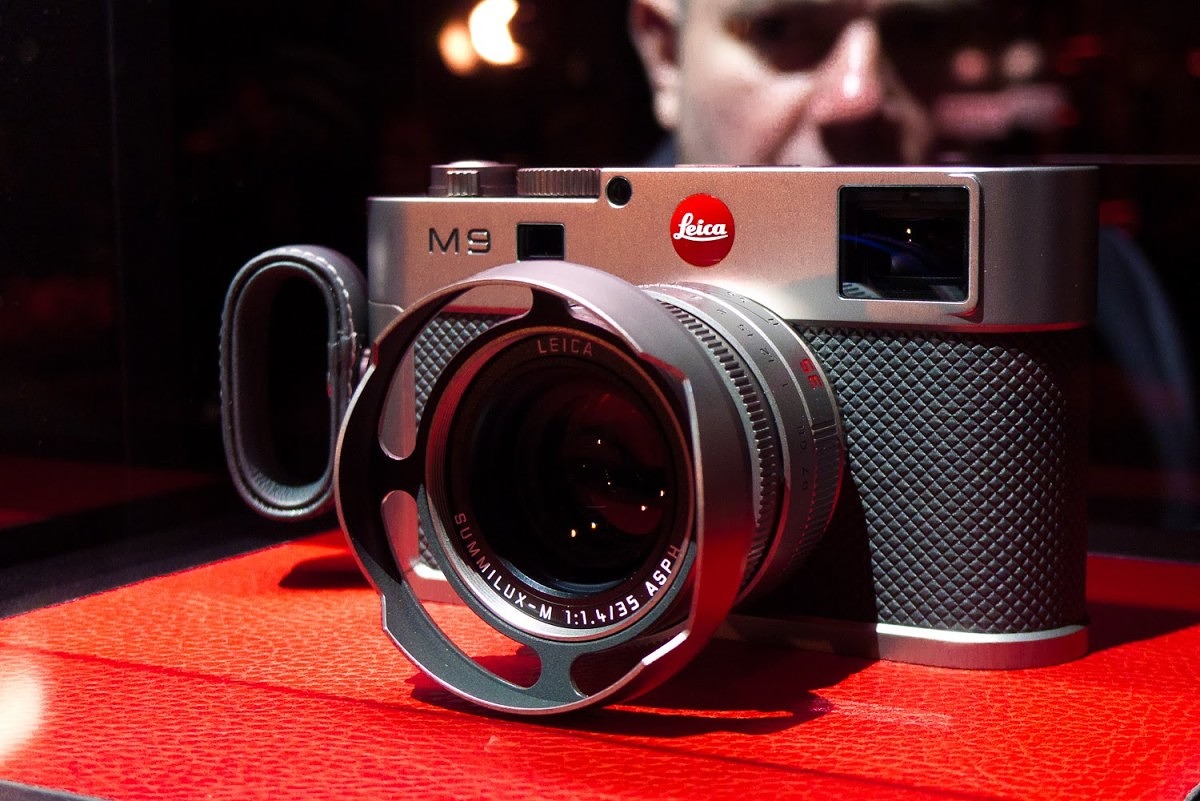
In one of my meetings during the day I had the opportunity to try out the M9 Titan. The camera is really a work of art and looking through the viewfinder and its bright red frame lines, I felt like I was targeting a missile or the like. I took a picture through the viewfinder for good measure. I'm a bit tired to go into too much more detail on the M9 Titan right now, so for now, these photos will have to suffice.


Until tomorrow…..
[/LEFT]
[/FONT][/COLOR] -
Leica Store wrote a new post 15 years, 10 months ago
-
Leica Store wrote a new post 15 years, 10 months ago
-
Leica Store wrote a new post 15 years, 10 months ago
I arrived in Cologne early this morning. The weather is amazing, with clear blue skies and temperatures hovering around 70 deg F. After the usual two hours sleep on the plane, I took a three-hour nap in the hotel. […]
-
Leica Store wrote a new post 15 years, 11 months ago
[COLOR=#333333][FONT=Trebuchet MS]

Photokina is the world's largest photo industry trade show. So large, in fact, that it is only held once every two years. With only two weeks before Photokina 2010 opens its doors, I am once again preparing to make pilgrimage to Cologne, Germany to blog about all the photo gear goodness I can get my hands on. I'll do my best to blog daily and provide the most accurate and in-depth information available online. No cut-and-paste press release filler here – I’ll have plenty of hands-on photos and gather information directly from product managers and engineers.Photokina is really too big to see everything, so I will be focusing on what I think are the most interesting products. Of course, being the Leica nut I am (and one of the largest Leica dealers in the USA), I will spend a considerable amount of virtual ink covering any announcements or new products at the Leica stand. I will have my trusty Blackberry with me and will be monitoring comments and emails on the show floor. If there is any specific product I should look at or questions I can answer, please send them my way and I will do my best to do so.
So, stay tuned!
[/FONT][/COLOR] -
Leica Store wrote a new post 15 years, 11 months ago
-
Leica Store wrote a new post 15 years, 11 months ago

[COLOR=#333333][FONT=Trebuchet MS]Well, this was a pleasant surprise. I launched Lightroom a little while ago and was greeted with an update available message. Upon checking out Adobe's Lightroom Journal, I […]
-
Leica Store wrote a new post 15 years, 11 months ago
[COLOR=#333333][FONT=Trebuchet MS]
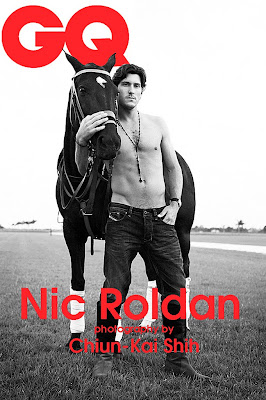
Back in early May, GQ Taiwan contributing editor and photographerChiun-Kai Shih expressed an interest in using the Leica S2 on some upcoming shoots he had down in South […] -
Leica Store wrote a new post 16 years ago
I'd like to introduce Josh Lehrer, a relatively new addition to our team at Dale Photo and Digital. He is a recent graduate of RIT in commercial photography and had been working in New York City as a photo […]
-
Leica Store wrote a new post 16 years, 1 month ago
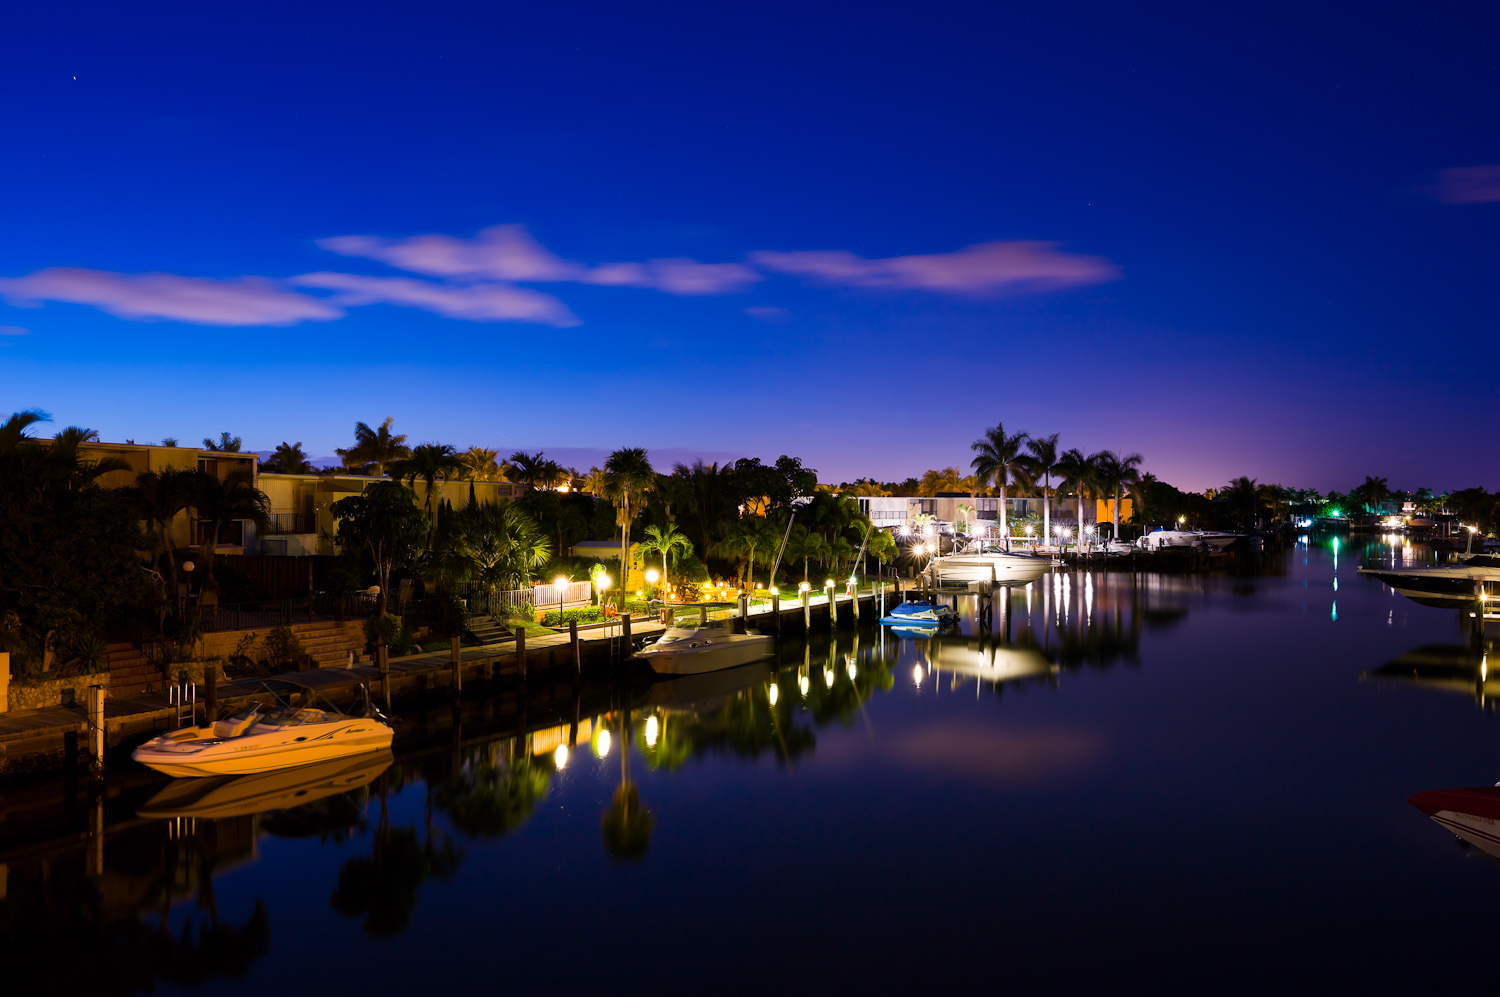
The long-awaited Leica Summarit-S 35mm f/2.5 ASPH lens is finally shipping, with the first units going to customers this week. Many have hoped this lens would be one of the best wide-angle offerings for medium […]
-
Leica Store wrote a new post 16 years, 2 months ago
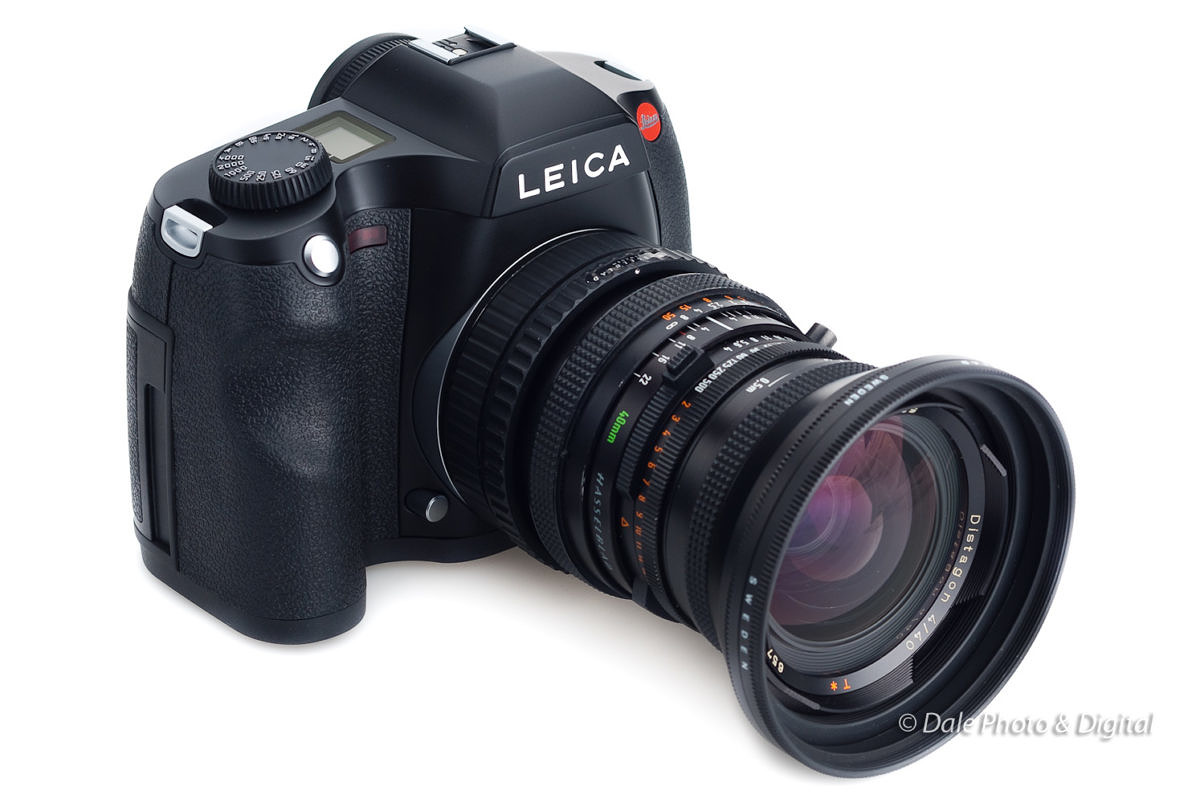
Do not adjust your monitor. That is indeed a Hasselblad 40mm V lens on a Leica S2.
More to come….
-
Leica Store wrote a new post 16 years, 3 months ago
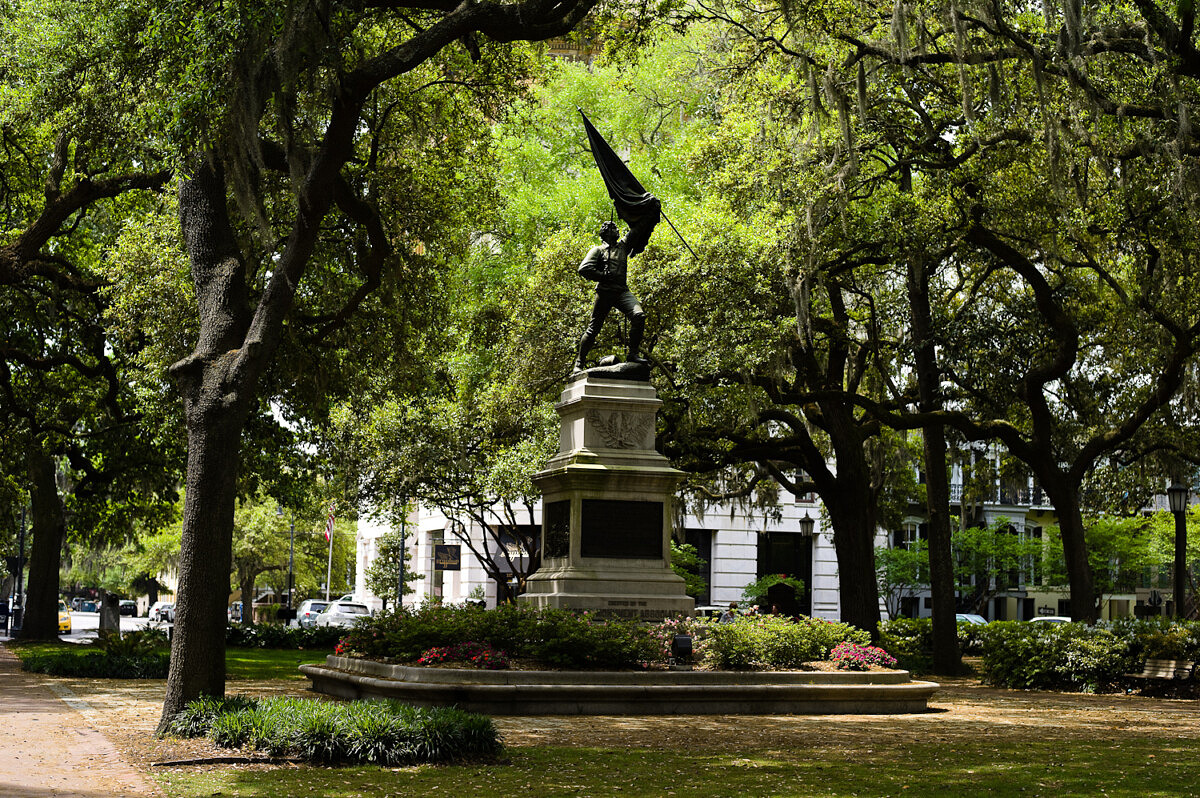
Two weeks ago I attended the 2010 LHSA Spring Shoot in lovely Savannah, GA. I've gone to almost every meeting since going to my first one four years ago. The LHSA (Leica Historical Society of America) has about […]
-
Leica Store wrote a new post 16 years, 3 months ago

[LEFT][COLOR=#333333][FONT=Trebuchet MS]Today, Leica released a new firmware update for the S2, which addresses a wide variety of issues and adds additional functionality. I would have like to have this firmware […] -
Leica Store wrote a new post 16 years, 8 months ago
Leica sent us a final production S2 for our studio event and demo day this past weekend. So, I took the opportunity to head down to South Beach for some hometown shooting. I'm not quite sure why, but I decided to […]

-
Leica Store wrote a new post 16 years, 9 months ago
If you read my M9 review, you already know that I traveled to Germany in mid-August to test both the M9 and the S2. I was invited as part of a group of online journalists, consisting of myself, Michael […]
-
Leica Store wrote a new post 16 years, 11 months ago
The Leica M9 could very well be the most anticipated Leica M ever. With film users holding out for a full-frame digital M before making the switch, the tens of thousands of existing M8 users waiting to upgrade, and photographers new to Leica waiting patiently for a camera that wowed them, the M9 has generated an unbelievable response. One of the most frequent questions I've received over the last six months has been, “When will Leica come out with an M9?” My honest answer has always been that I didn't know, just that the M9 was a top priority for Leica. What we didn't know was that they have been quietly working on one since April of last year. Then, back in July I was invited to make a pilgrimage to Germany and get a rare opportunity to test out the S2. No I didn't just make a typo. Yes, this is an M9 review.
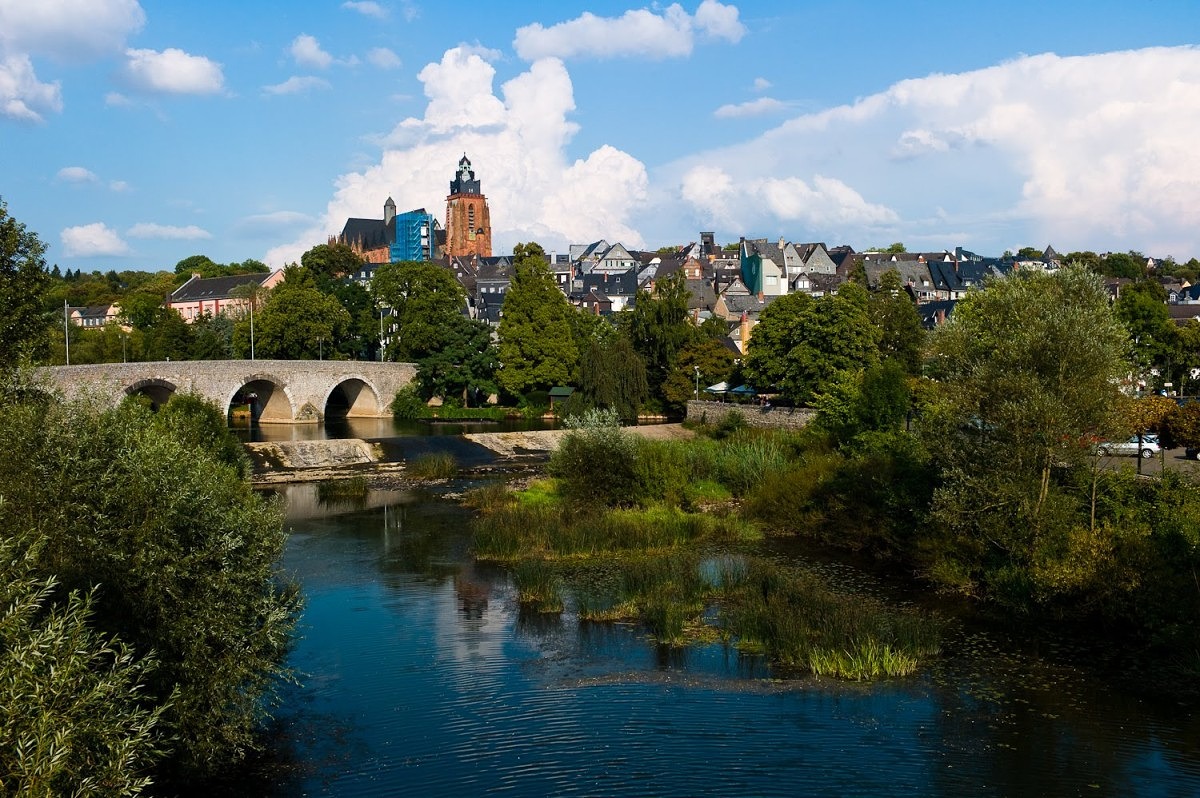
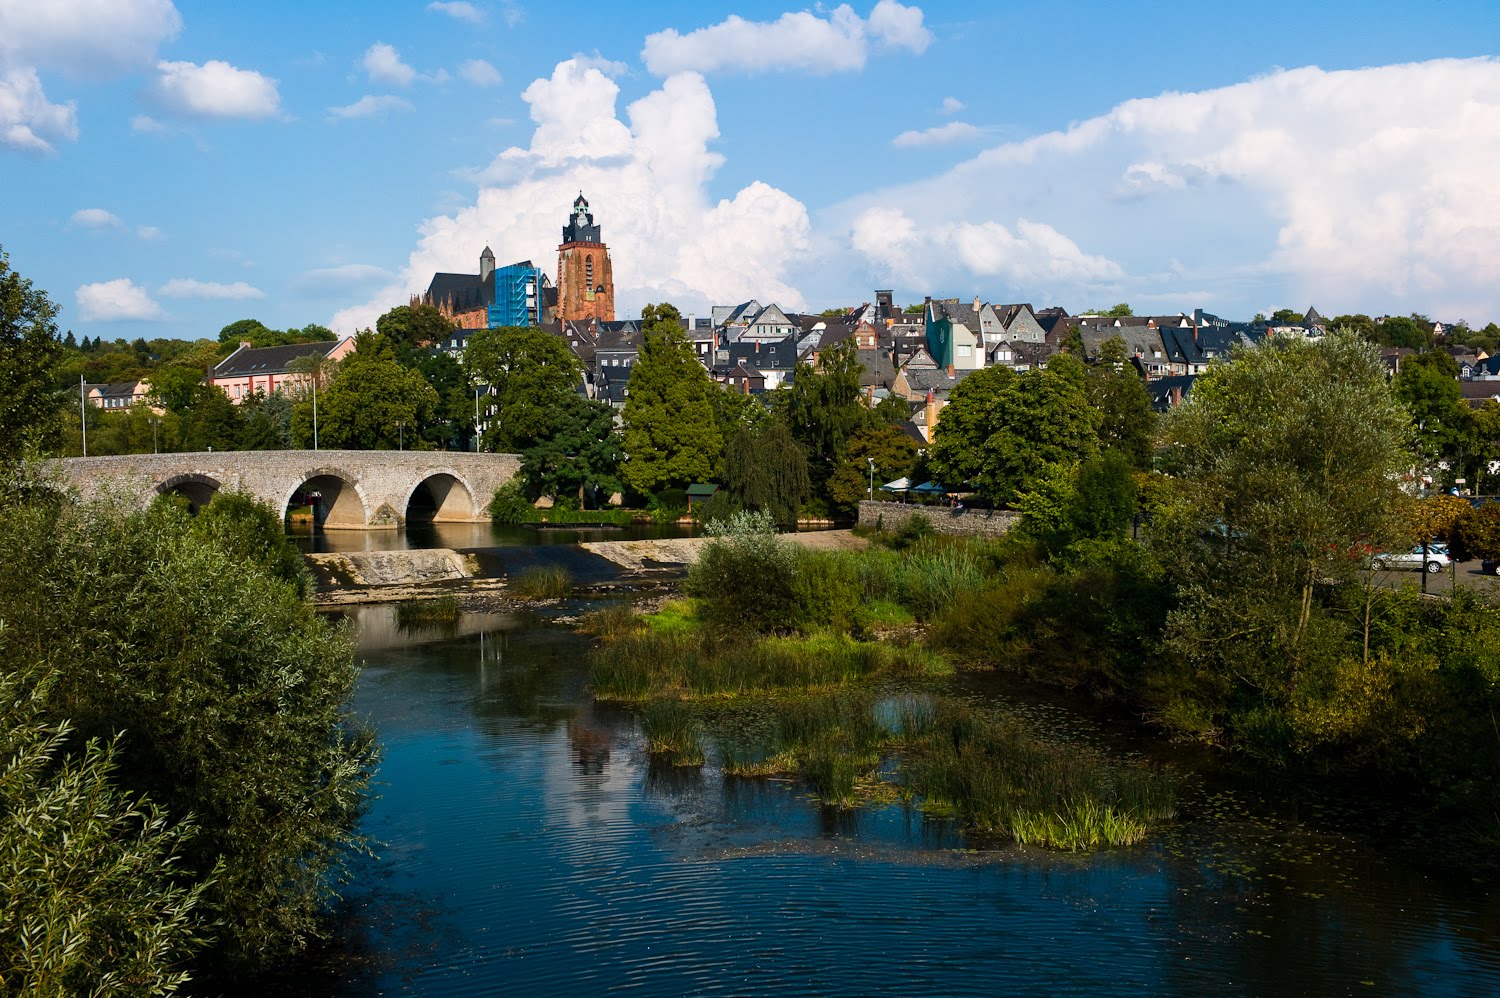
Wetzlar's Old Town M9 with 35mm Summicron ASPH, ISO 160, 1/500th at f/5.6
If you've been reading my blog you have a pretty good idea of how much I've been looking forward to the Leica S2. I had been at the VIP Launch Event in Cologne on the eve of Photokina when the S2 was unveiled. The following days at the show I spent countless hours exploring the camera and gathering information from patient Leica employees. Back in March, I headed out to Las Vegas to get some more answers directly from the S2 product managers and give an update on the status of the camera. All along, I've tried to provide the most in-depth coverage of the S2. Then, I was offered the chance to actually shoot an S2.
How could I refuse such a unique opportunity? I cashed in the frequent flyer miles, cleared my schedule, and prepared for some serious fun. Little did I know that there was more in store for me. Not only would I be working with a production-level S2, but I'd also be shooting with the P864, known more commonly these days as the Leica M9. In this first installment, I'll be covering my experience with the M9, as it seems to really be the main focus at this time and the camera is already en route to dealers around the world. In about a week, I'll be putting up part 2, that focuses in-depth on the S2.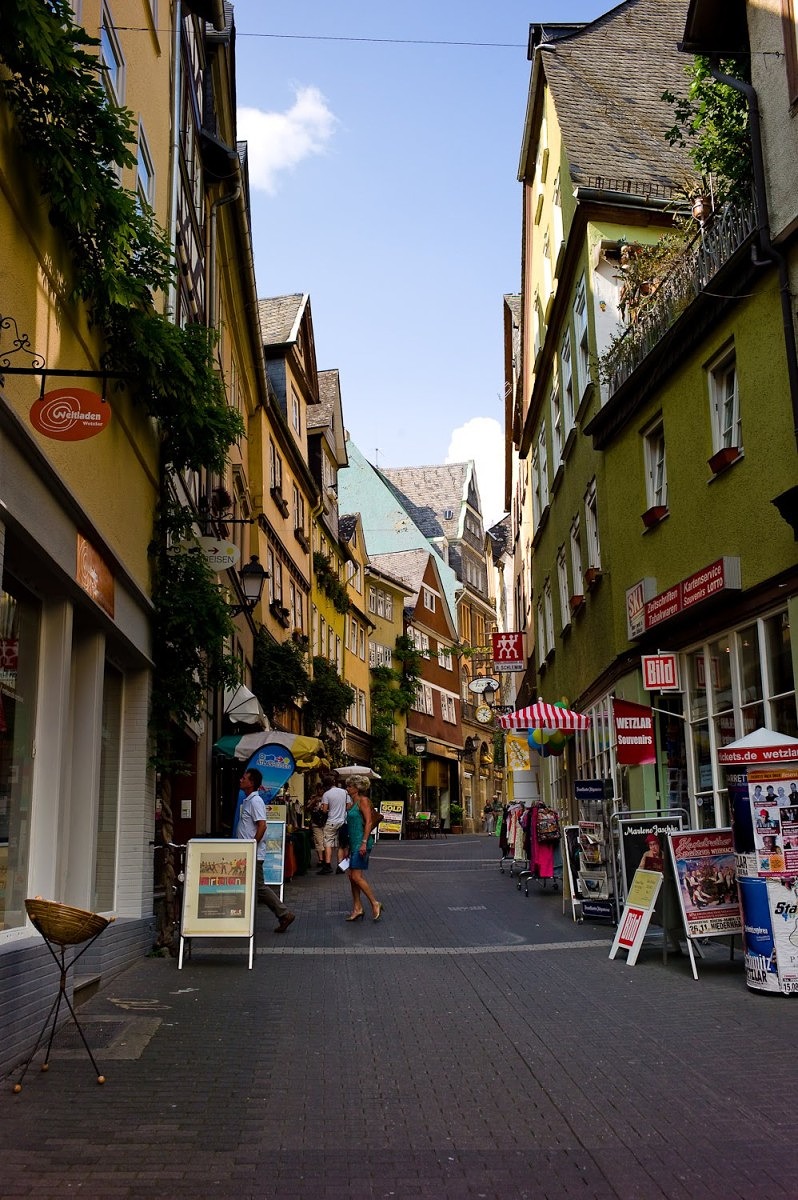
M9 with 35mm Summicron ASPH, ISO 160, 1/350th at f/5.6
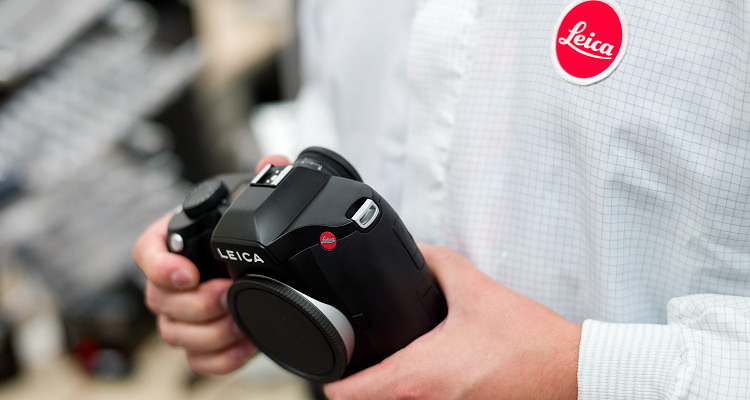
In addition to shooting over 1800 pictures with the two cameras over the course of four days, I also got an all-access pass behind the scenes at the factory in Solms. Typically, the factory has a no photography policy (ironic when you think about it). But, I was allowed to shoot both still images (all with the M9, of course) as well as video. This was quite a treat and I even got to don the quintessential white lab coat, complete with light grey check pattern and red Leica dot. Unfortunately, I didn't get to keep it as a souvenir. Following all my camera reports, I'll have a factory tour post.
This trip wasn't done solo. Three other journalists were invited as well: the insightful Michael Reichmann, of Luminous Landscape fame, Sean Reid, the esteemed reviewer of Reid Reviews, and the precocious Phil Askey, creator of one of the largest photo sites on the planet, DPReview. The four of us obviously approach things from different perspectives and I felt fortunate to be among such a venerable crowd. Whether out shooting or just shooting the breeze over good German beer, you couldn't have asked for better companions. We've all enjoyed each other's writing over the years and it was fun to put faces to Internet bylines. Our hosts from Leica were Christian Erhardt, the always likeable and cheery VP of Marketing for Leica Camera USA and our new friend Amy Kosh, S2 product specialist for the US.
Christian Erhardt M9 with 50 Summilux ASPH, ISO 160, 1/1400th at f/2
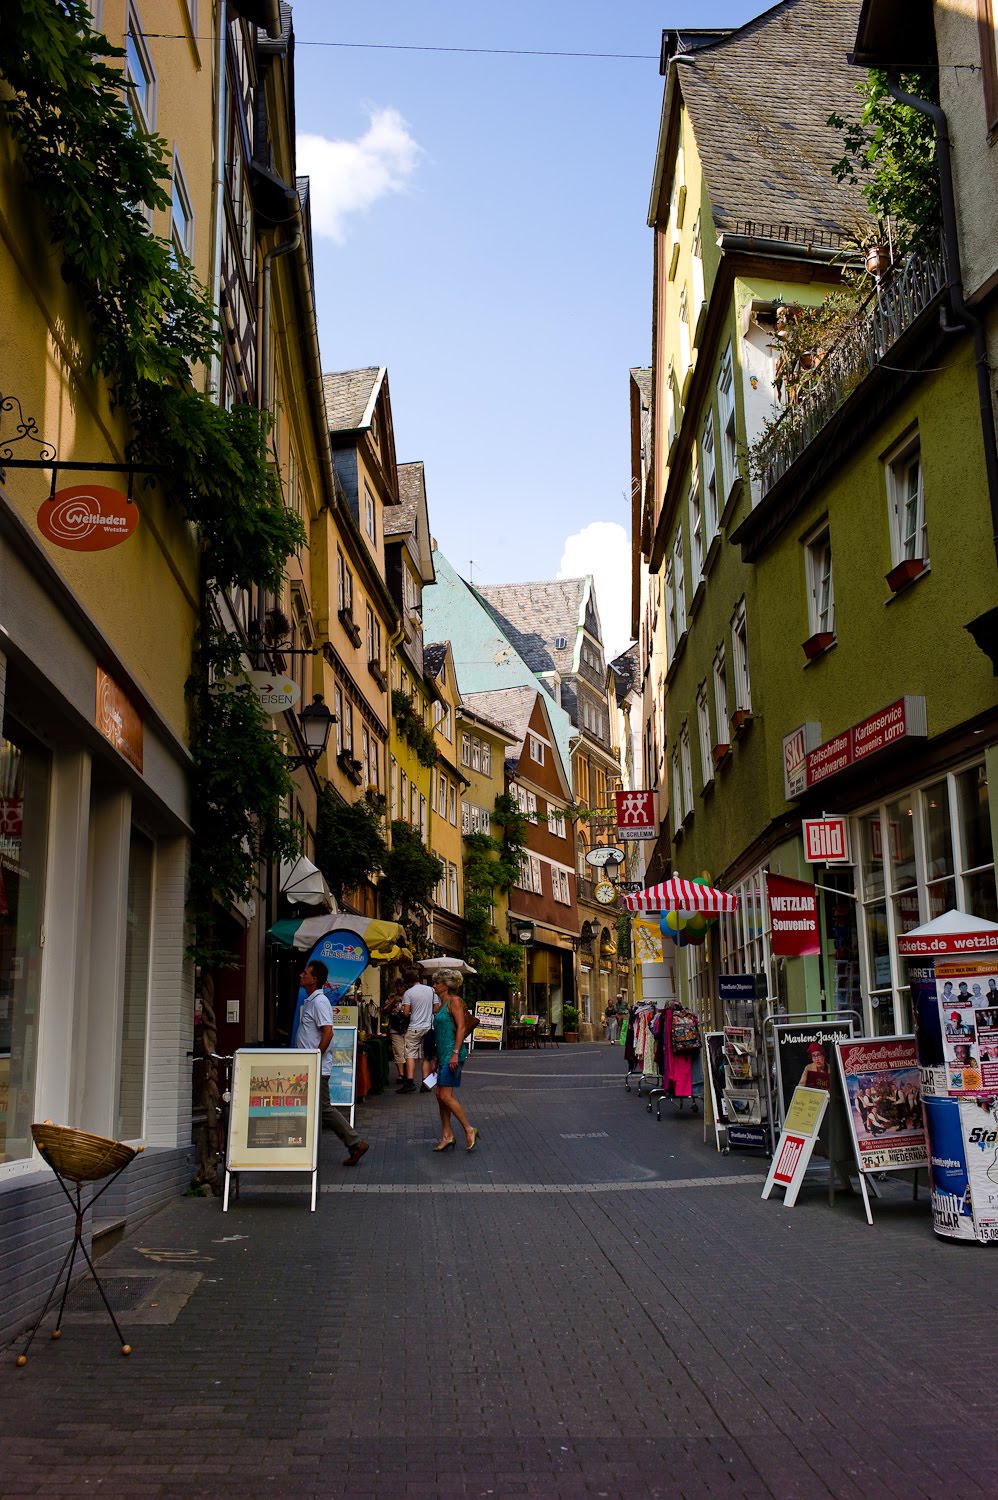
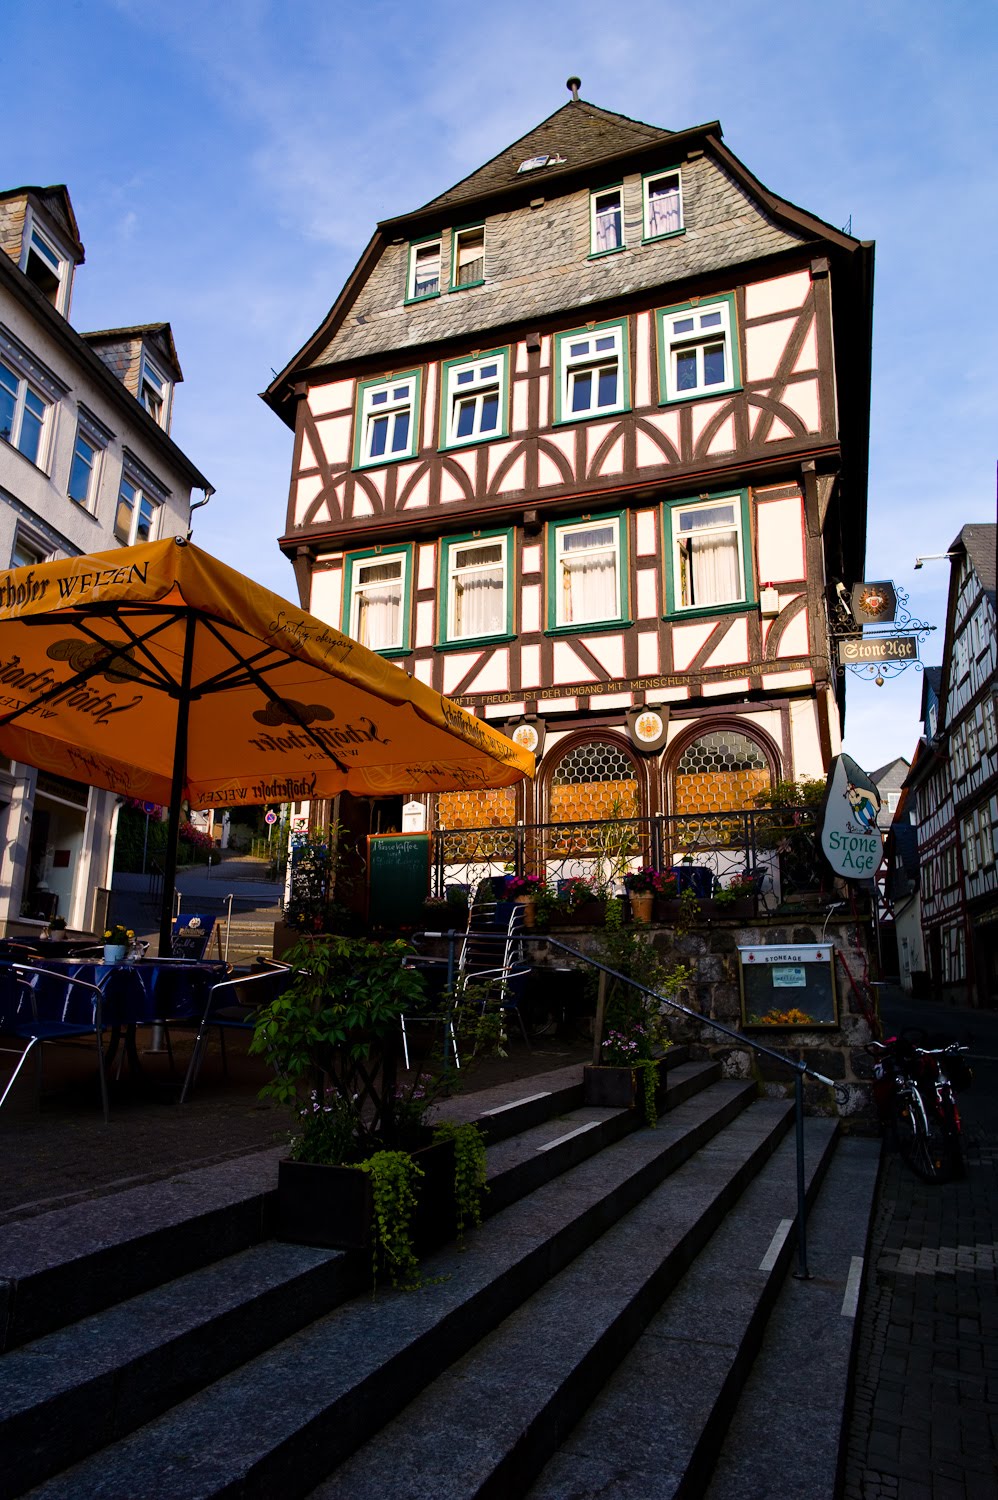
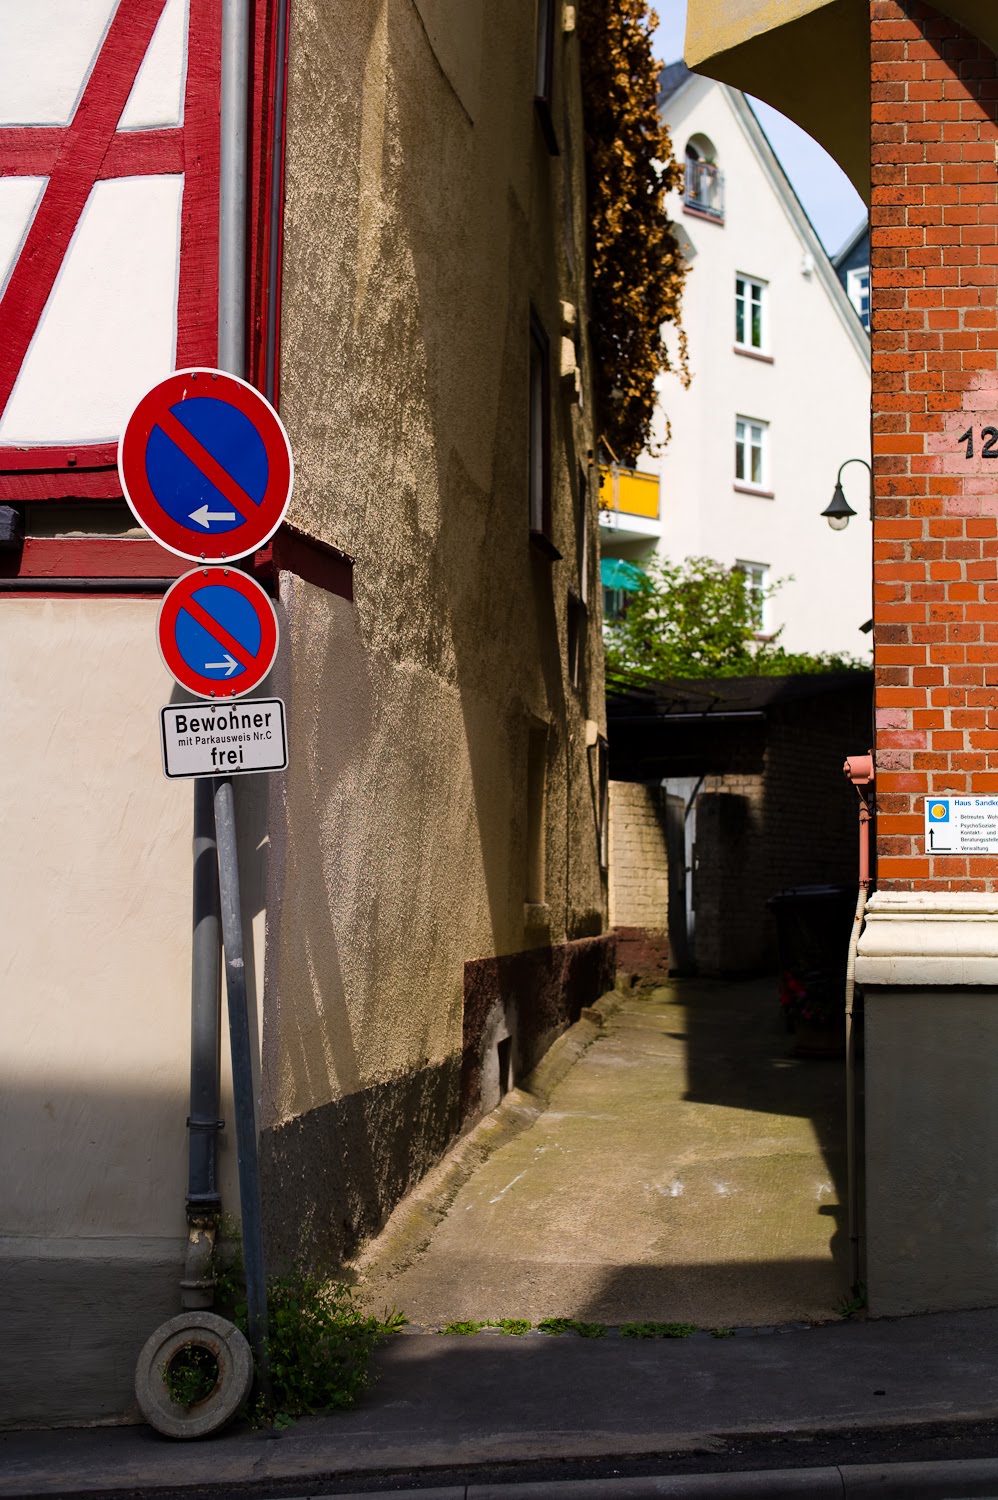
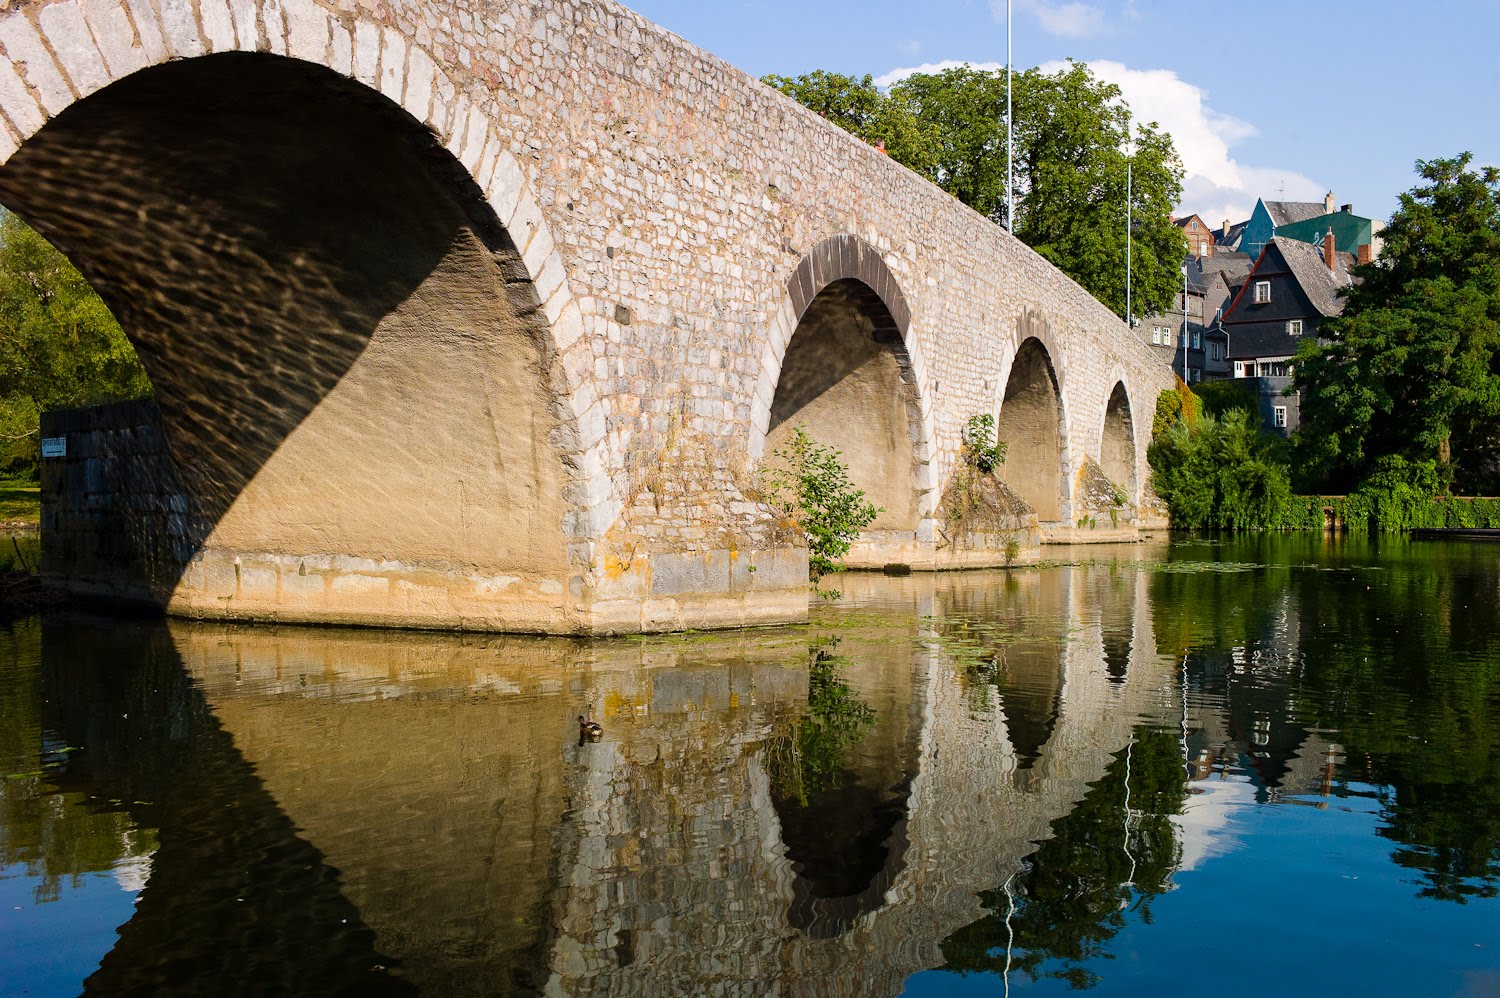
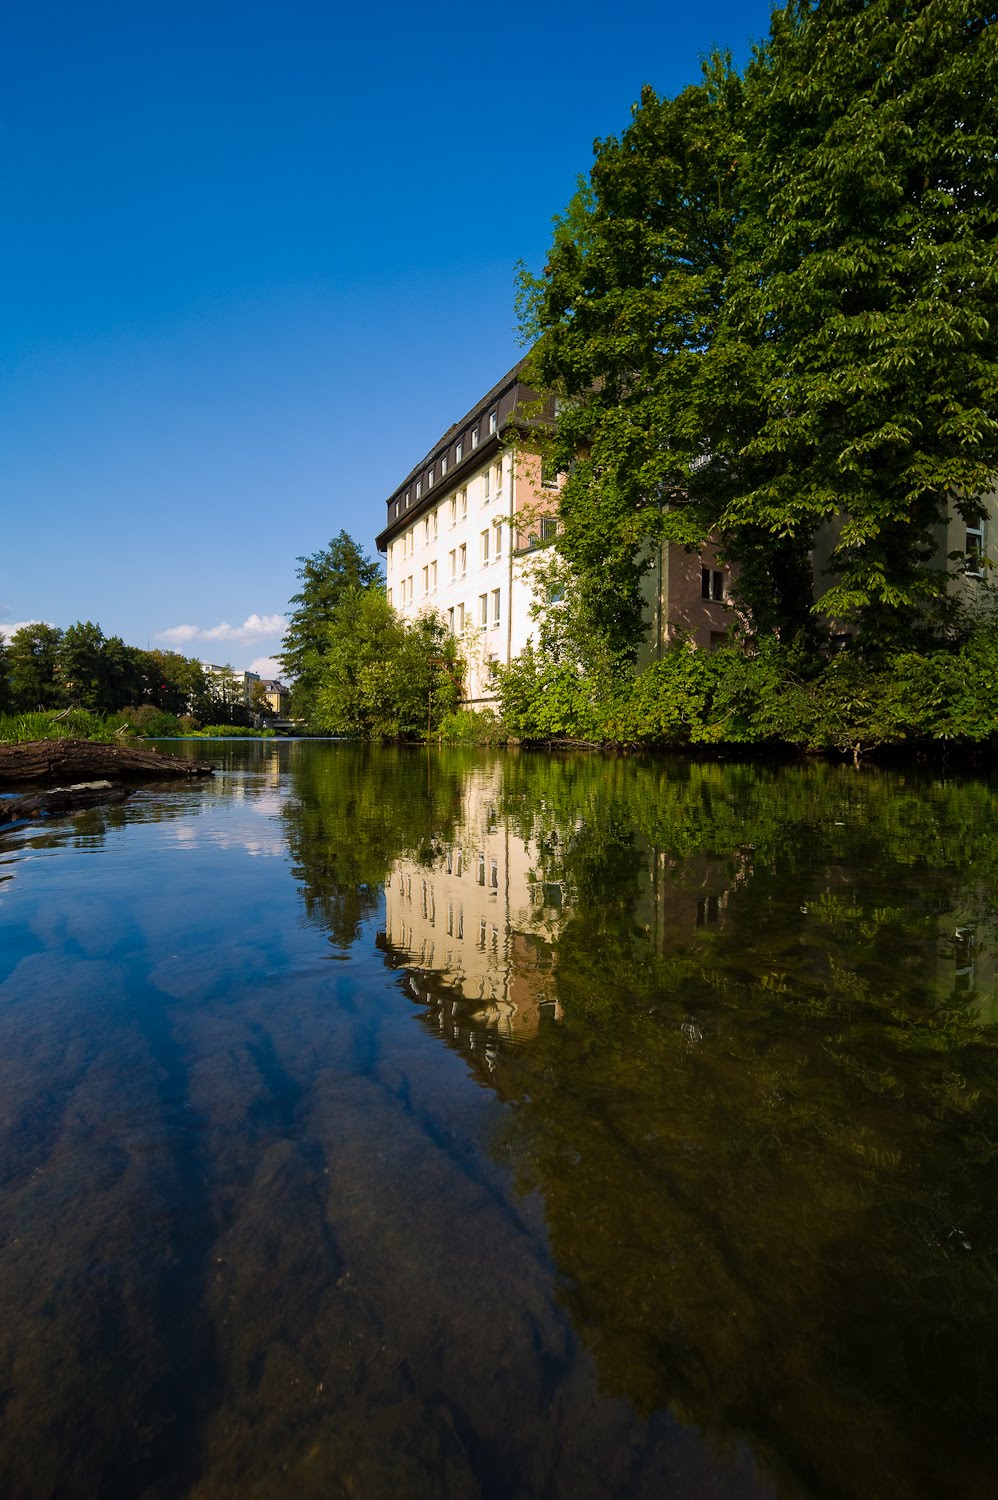
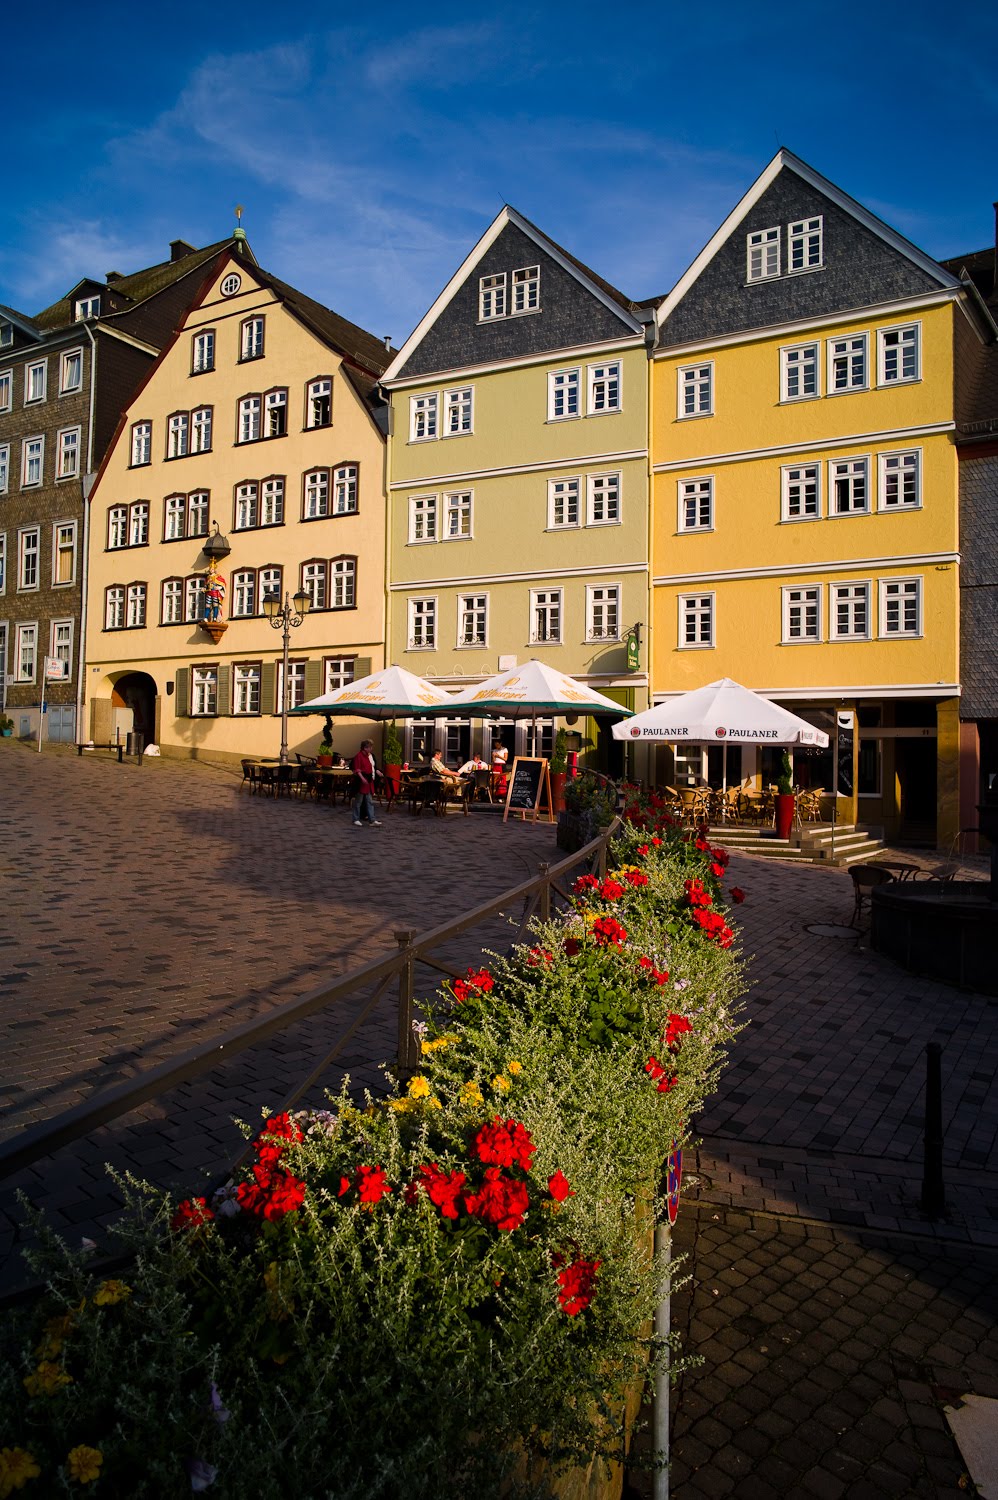
Midday on Sunday, August 16th, we all met up in the hotel lobby to take a stroll around Wetzlar's old town. Christian played tour guide and showed us the major sights. For the others, it was their first time. This was my third time there and I always enjoy coming back. If you haven't been to Wetzlar, it is certainly worth a visit. Very friendly people, excellent food, great beer, charming winding cobblestone alleys amongst half-timbered (and some very crooked) houses, all leading down to the river Lahn with a classic arched stone bridge and flanked by lush public parks with shady walking paths. Really nice place. The LHSA Annual Meeting for 2010 is tentatively scheduled for Wetzlar. I attended the last meeting held there, in September 2006 and had a wonderful time. So, if you like Leica and you want to visit its birthplace with a group of like-minded photo enthusiasts, I highly recommend checking it out.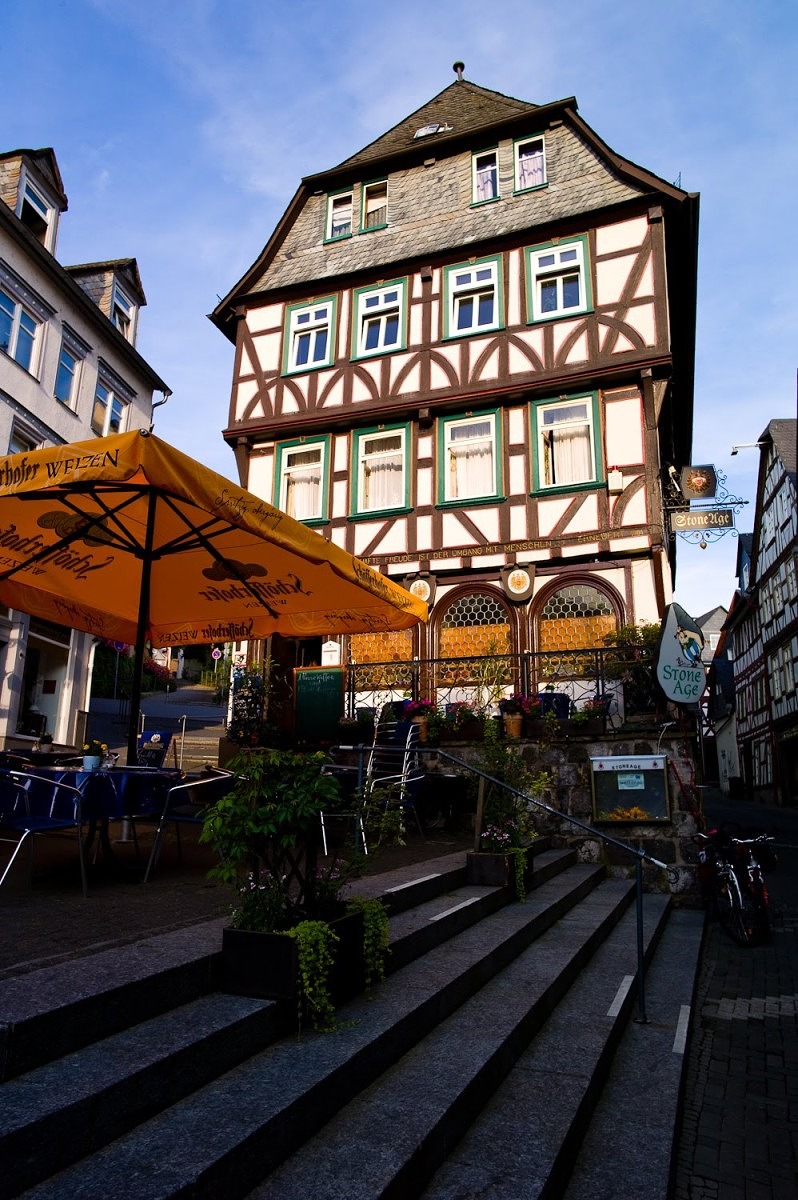
M9 with 24mm Summilux ASPH, ISO 160, 1/350th at f/5.6
Getting an M9 in my hands, finally
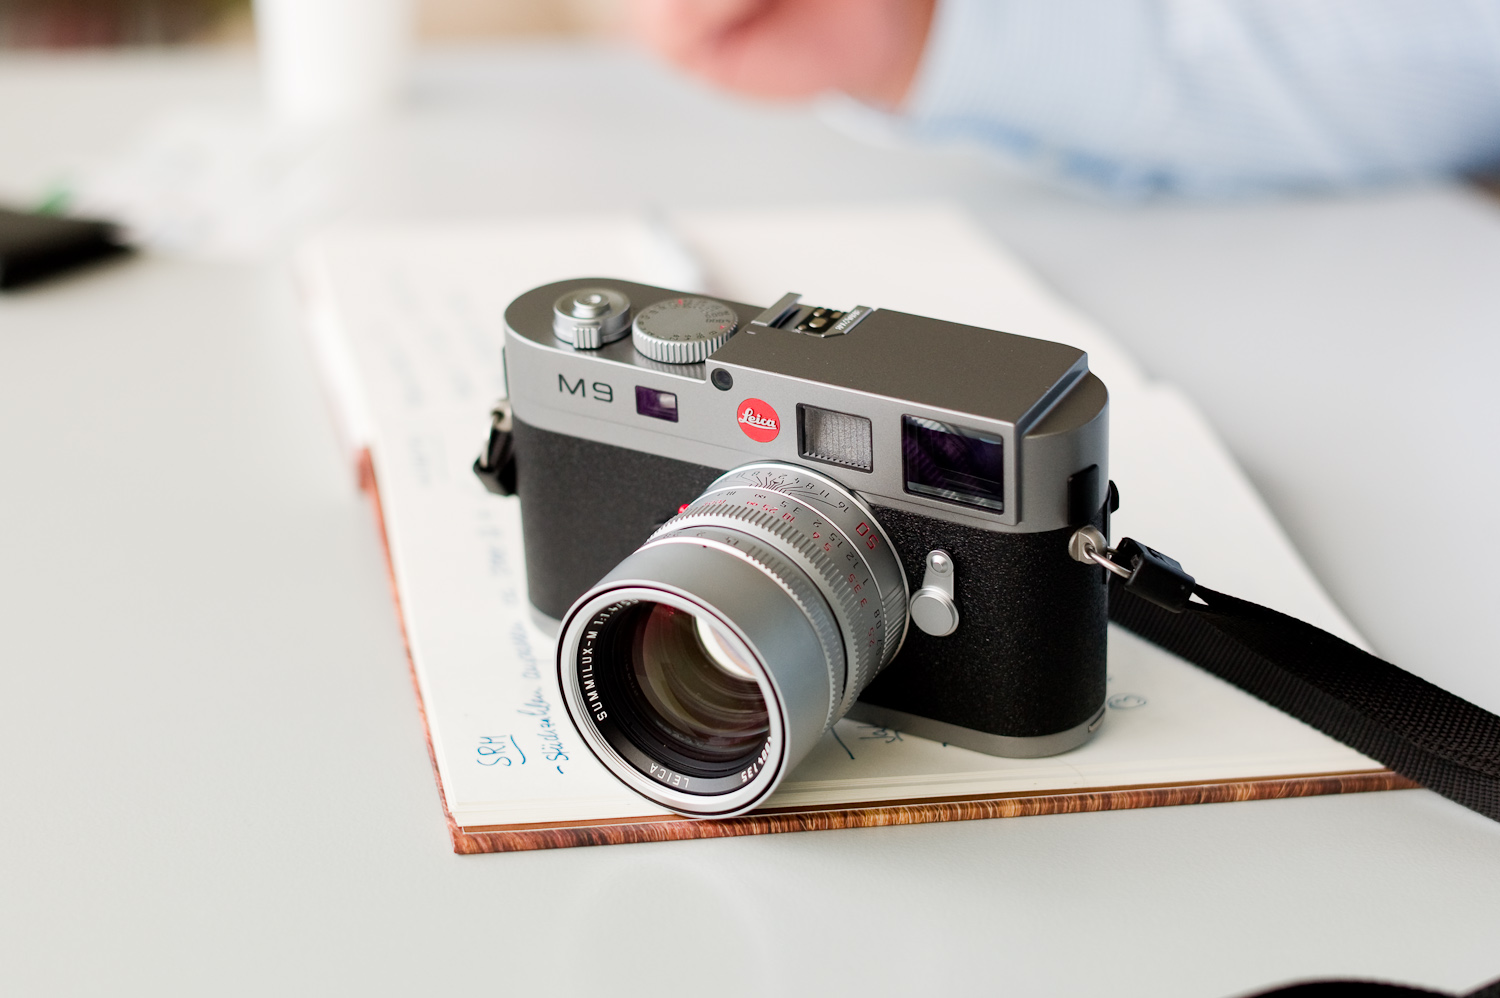
We got an early start on Monday morning, August 17th, and headed over to the Leica Akademie in the neighboring hamlet of Altenberg . Ralph Hagenauer of Leica was there to present each of us with a loaner M9 (err.. P864) for use during our entire stay. We had our pick of lenses as well, but I had already brought a full set. I had the Wide Angle Tri-Elmar 16-18-21mm f/4 ASPH (known to many as the WATE),Summilux 24mm f/1.4 ASPH (was really curious how this would do on full frame), Summicron 35mm f/2 ASPH (my go-to lens on the M8.2), the always amazing Summilux 50mm f/1.4 ASPH, and my trusty Elmarit 90mm f/2.8 (why did they stop making this one again?). I did opt to borrow a Universal Wide Angle Viewfinder (known to some as the Frankenfinder, although not to me), as I usually just use a Zeiss 21mm external finder on the M8.2 for my WATE.After removing all my IR filters and stowing them away (hooray!), we headed out on the Akademie's grounds for half an hour or so just to get familiar with the camera. This proved to be quite easy as it felt and sounded just like my M8.2. The body is the exact same with a cosmetic change to the top plate. The circular frame counter and battery status LCD has been removed and the end now features a stair-step rounded cutout. Leica felt that this makes the M9 feel less blocky and look more like the M7 (sans rewind crank, of course).

M9 with 90mm Elmarit, ISO 160, 1/125th at f/2.8
So, while on this topic, what exactly are the changes from the M8/M8.2 to the M9? Starting with the cosmetics, the top plate is shaved down a bit on one side, as I mentioned above, the Protect button on the rear is now the ISO button (see, Leica was listening), the black dot that used to be a red dot is now a red dot again and the black hot shoe that used to be silver is silver again as well. What we ultimately end up with is a black paint original M8 with a profile like an M7 and Vulcanite covering like an M8.2. Confused? Oh, and let's not forget the addition of the steel grey paint finish option, which looks pretty sharp. It has a smooth surface, almost identical to the black paint, just differing in color and featuring the “smooth sandpaper” finish of the original M8. Ah, and there is one more thing. In order to make the M9 more affordable, there is no more Sapphire Glass LCD screen. I actually like this feature on my M8.2, and Leica has stated that it might be offered as an optional upgrade at a later point. The actual LCD is improved, though. Still 235,000 pixels, the screen is now visible in bright sunlight. After using the M9 for several very bright summer days I can attest to Leica's claim. The screen is extremely good outside.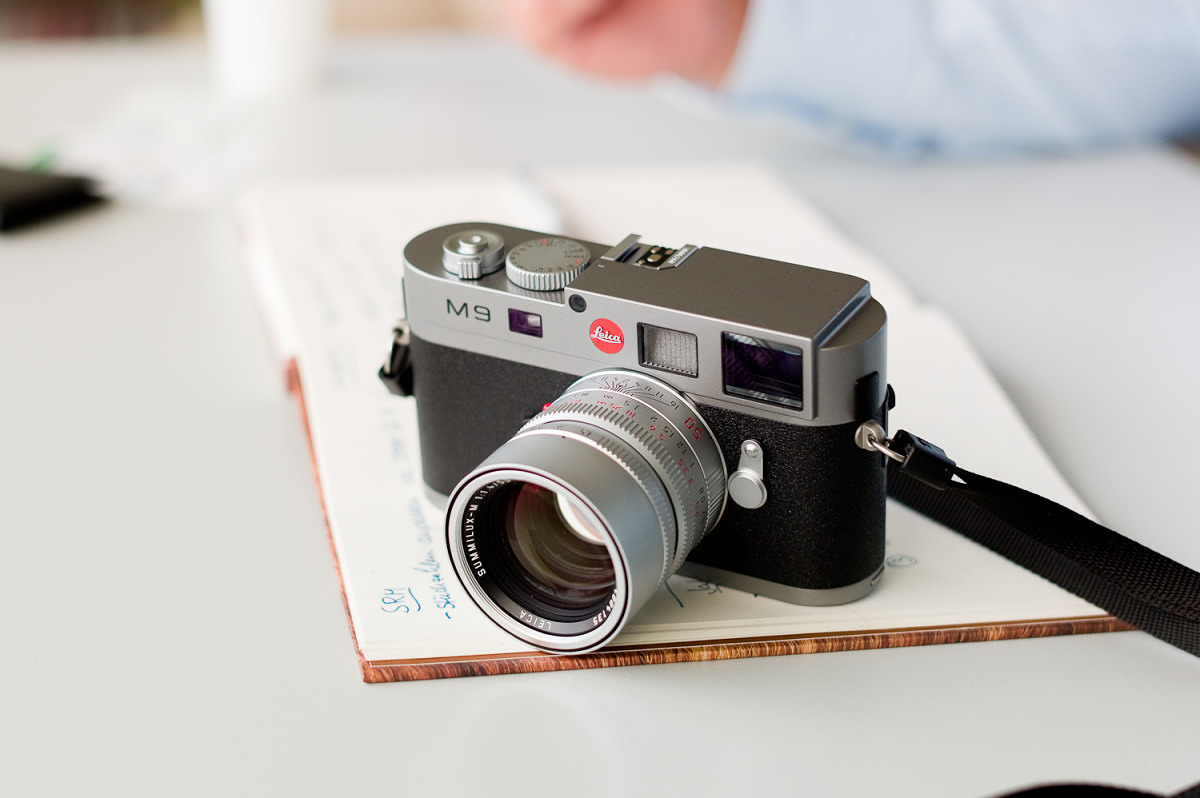
M9 in Steel Grey with Silver Chrome 50mm Summilux ASPH
Now, under the hood. The M9 is packing the Kodak KAF-18500 CCD, which is an 18.5 MP full frame (24x36mm) sensor. It features a new offset microlens structure, revised 0.8mm IR cover glass, and new red filter in the Bayer color filter array. The sensor is capturing 14-bits per pixel, and supports an ISO range of 80-2500 (base of 160), with the promise of 1-1.5 stops of improved high ISO performance. In order to accommodate 80% more data throughput, Leica is now sporting twin DSPs and upped the RAM to accommodate nine shots with almost double the pixels in the buffer . The main PCB board and image processing algorithms are still developed by Jenoptik, the same partner as the original M8.
Many had thought (including myself) that the M9 would feature the Maestro ASIC chip, but Leica felt that in order to expedite development, staying with the same partner and building on the existing framework of the M8 would be a better approach. Some things were taken from the S2 project, like the algorithms for high-ISO optimization, which were shared with Jenoptik. Leica has branched out to the academic community as well, working closely with some talented image processing experts from the University of Cologne for noise reduction algorithms. With the amount of talk on high-ISO, you can see that Leica has placed a large emphasis in this area.Meeting with Stefan Daniel
After departing the Akademie with gear and goodies, we headed over to the factory in Solms for a meeting with Stefan Daniel, Product Manager for the M System and super-nice guy. That day was actually Stefan's 25 year anniversary with Leica. He started as an apprentice in the machine shop when he was just 16 years old, and has now worked his way up to manage Leica's largest product family. Additionally, Stefan has the added responsibility of overseeing all products (not just M) as the Director of Product Management.

Stefan Daniel M9 with 50mm Summilux ASPH, ISO 250, 1/180th at f/1.4
Stefan gave us the lowdown on all the changes and improvements, as well as some of the thinking behind the M9 development. We also discovered (later at dinner) the origin of the P864 moniker. P stands for project (kind of obvious) and 864 is the product of 24 and 36 (not as obvious, but clever nonetheless). Funnily enough, the name was cryptic enough that certain journalists (we won't mention names…protect the innocent…all that) couldn't keep the numbers straight, so everyone just started changing the name at random, until finding one we all really latched onto to: the B-52, or “bomber.” Close enough. But my experience with the camera tells me that the M9 will be anything but a bomb.
The two most significant advances from the M8 are pretty obvious: it offers a full-frame 24x36mm capture and doesn't suffer from IR sensitivity. So, no crop factor and no IR filters, precisely what the Leica community has been hoping for. Leica has been telling us for quite some time that both of these items were near impossible obstacles to overcome. So, what happened? The first step was to go further with offset micro lenses. In the Kodak KAF-18500 CCD, the pixel spacing is increased towards the corners to accommodate even greater offsets. The second step was to increase the thickness of the IR cover glass from 0.5mm to 0.8mm, which, combined with a new type of IR-absorbing glass, eliminates IR bleed and still preserves red channel information into the corners. With a new red color filter in the Bayer matrix, the red channel performance is improved further, increasing accuracy and tonal range.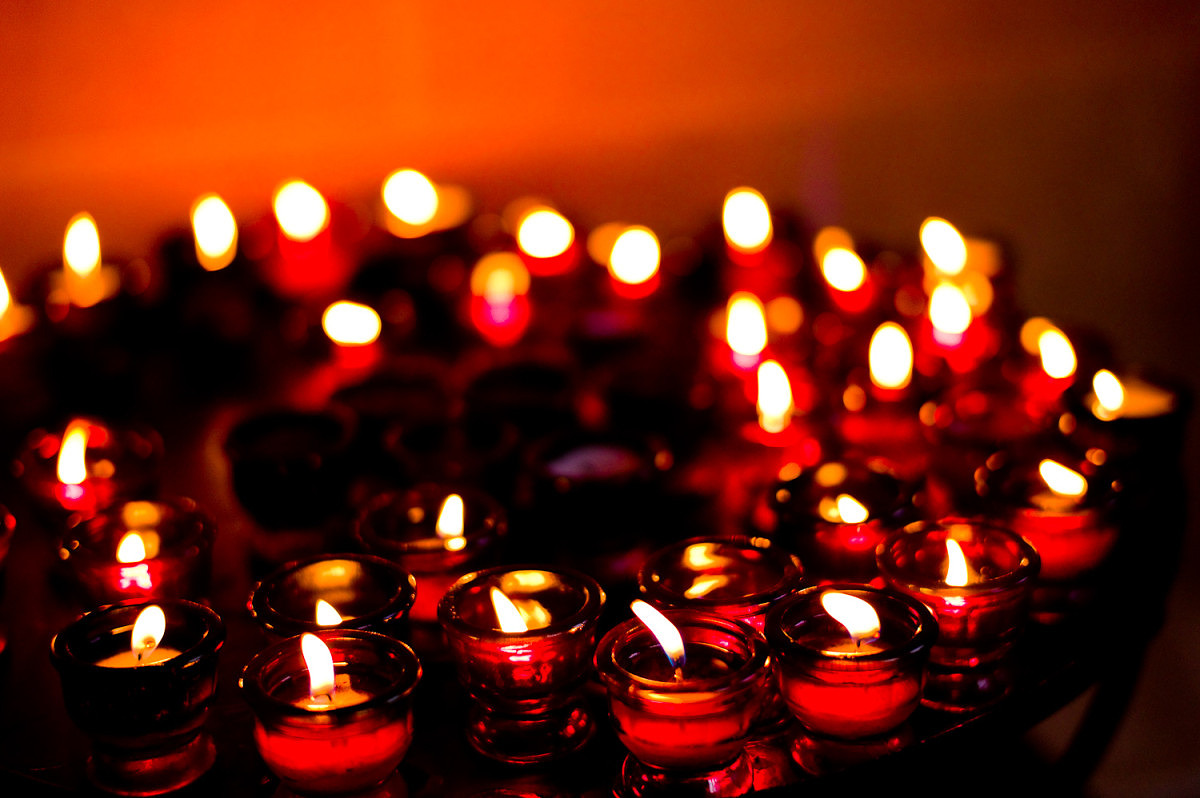
No green reflections from an IR filterM9 with 50mm Summilux ASPH, ISO 160, 1/350th at f/1.4
6-Bit coding and manual lens selection
Even with the revisions to the sensor and cover glass, cyan drift is still an issue in the corners due to the steep angle of incidence. A brief trip back to high school geometry and the Pythagorean Theorem teaches us that the light rays striking the corner of the sensor travel a greater distance through the IR filter than the light rays striking the center. As such, the M9 uses 6-bit coding data to correct for both vignetting and cyan drift. Don't have a 6-bit coded lens? No problem. Leica has finally implemented a manual lens selection option. This has been on the most-requested feature list for quite some time, and, with new firmware development, could finally be implemented on the M9. Apparently, retrofitting the M8 firmware with this option wasn't a practical possibility. With 36 different manual lens selection options (yes, I counted them), every lens from the WATE at 16mm to the 135mm APO-Telyt are covered. Lenses are organized by focal length, then maximum aperture and include Leica model numbers for easy identification.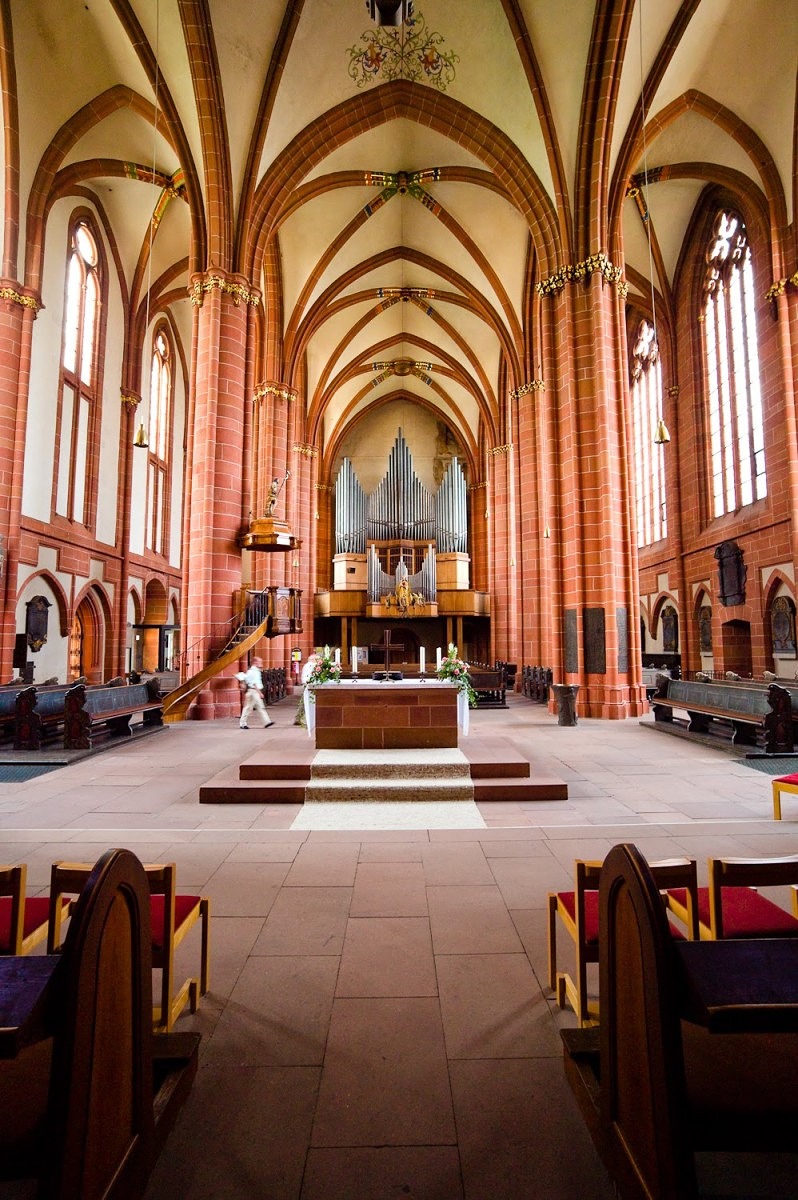
M9 with Wide-Angle-Tri-Elmar @16mm, ISO 1250, 1/10th at f/6.3, handheld
I must admit to a bit of user error here. Shooting inside the Wetzlar Dom, I used the manual lens selection to set my WATE at 16mm when I noticed the camera didn't prompt me like the M8 does. Then, after I changed lenses and headed back outside, I forgot to set the camera back to Auto. So, I have a good number of shots that are meta-tagged as 16mm that were really shot on my 35 and 50 lenses. Incidentally, the correction being done is so non-aggressive that I don't see any real problems (red corners, etc) with these files. I found out later that in Auto mode, when the WATE is mounted, the 18mm setting is selected by default as it works well for all three focal lengths.
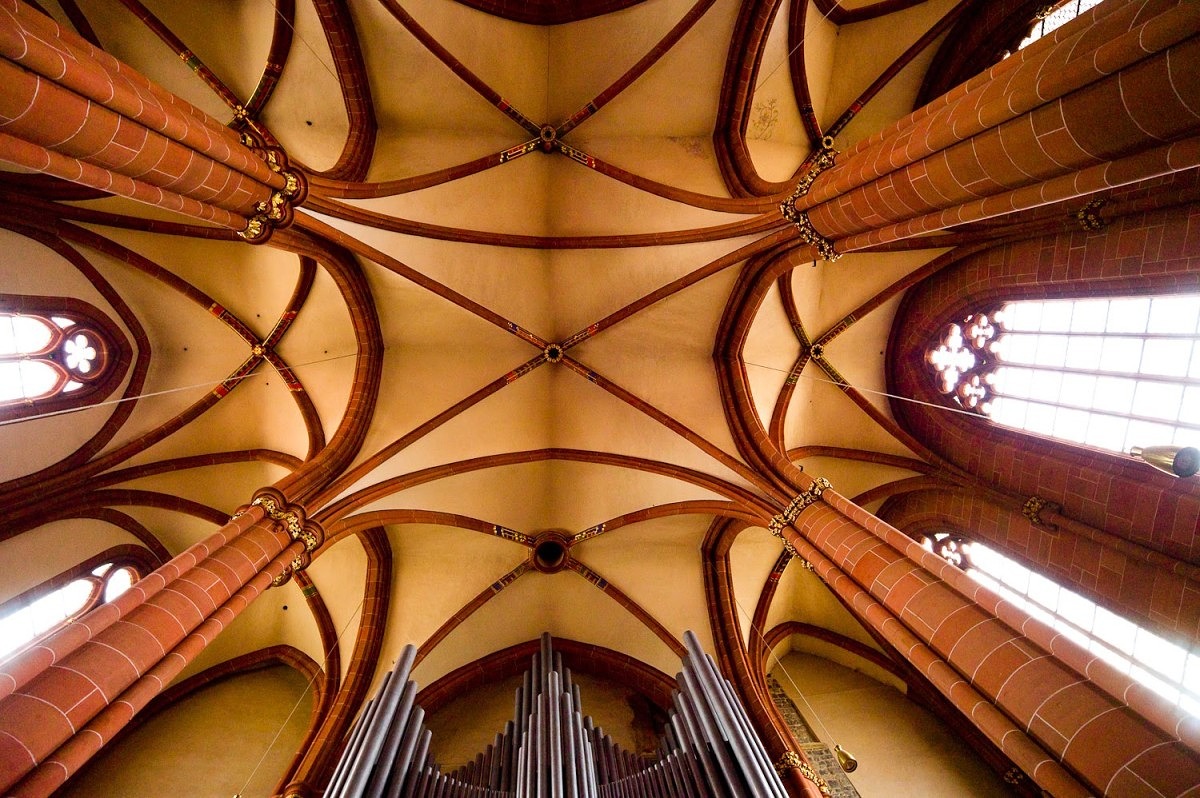
M9 with Wide-Angle-Tri-Elmar @16mm, ISO 1600, 1/30th at f/5.6, handheld
A suggestion that I made to Stefan later than night was to have an option or default behavior that would either alert the user when a non-matching 6-bit coded lens was mounted in Manual mode or just reset it back to Auto. Personally, I'd prefer the latter option as I'd want any 6-bit coded lens to be recognized when I forget to reset the menu (similar to Nikon's handling of Non-CPU lenses). Currently, the selected lens is retained even when switching between Manual and Auto and back again. With the failsafe, this behavior could be kept. We may see some slight tweaking to this functionality in future firmware releases, but as it is, most users will be extremely happy.
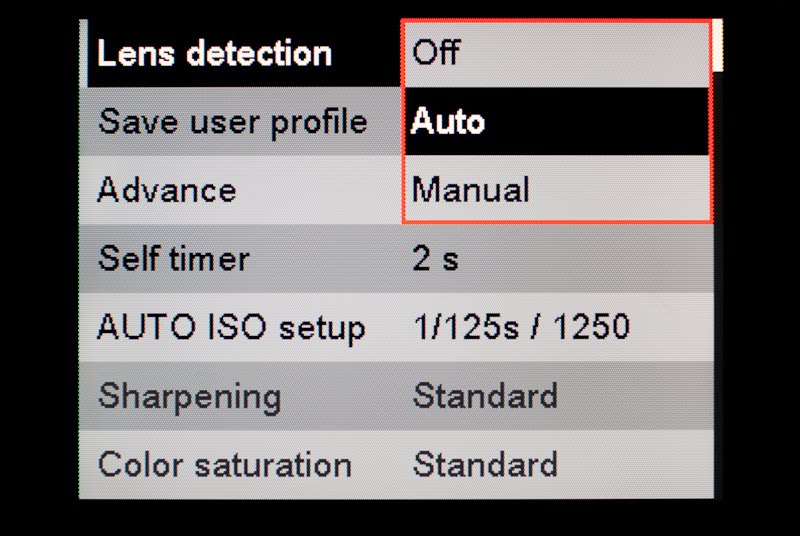
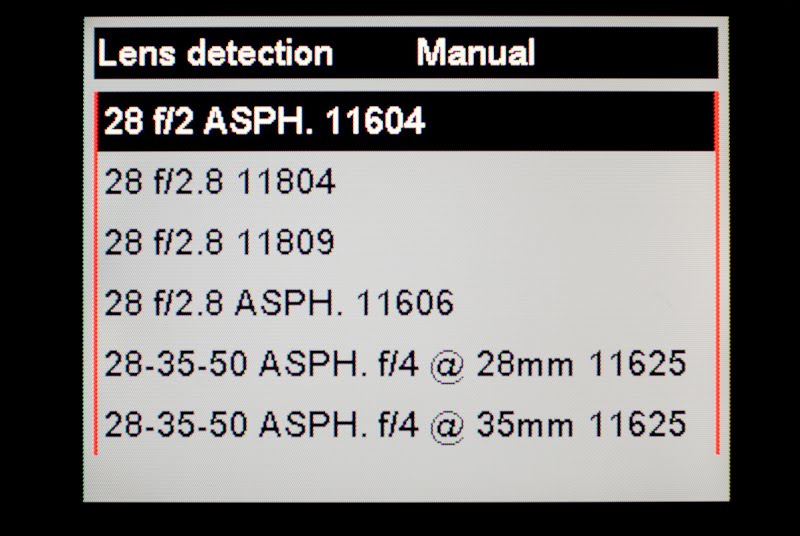
I won't bore you with all the manual lens selection menus, but there are 36 lens choices available
A closer look through the viewfinder (rev. 3)
The M9 uses the same viewfinder from the M8 and M8.2, with a 0.68x magnification. The thickness of the body, which is the exact same as the M8, dictates that the eyepiece have a negative magnification. This also allows for greater eye relief, nice for eyeglass wearers like myself. Of course, with a larger sensor comes larger frame lines. For me, the 35mm lines are already close to the periphery, while the 28mm lines are out of view unless I look side-to-side and up-and-down. I'd say that the 28mm lines on the M9 are further out than the 24mm lines on the M8. I thought that perhaps the new 18mm viewfinder might be a nice solution for me, allowing me to have a small, compact viewfinder for my WATE, while also providing the inner (M8) frame lines for use with my 24mm Lux. The other two options which I'm considering are the Universal Wide-Angle Viewfinder or the 21-24-28mm Vario Finder. Either way, for eyeglass wearers who want to shoot wide angle lenses on the M9, I think that external viewfinders are going to be a fact of life.
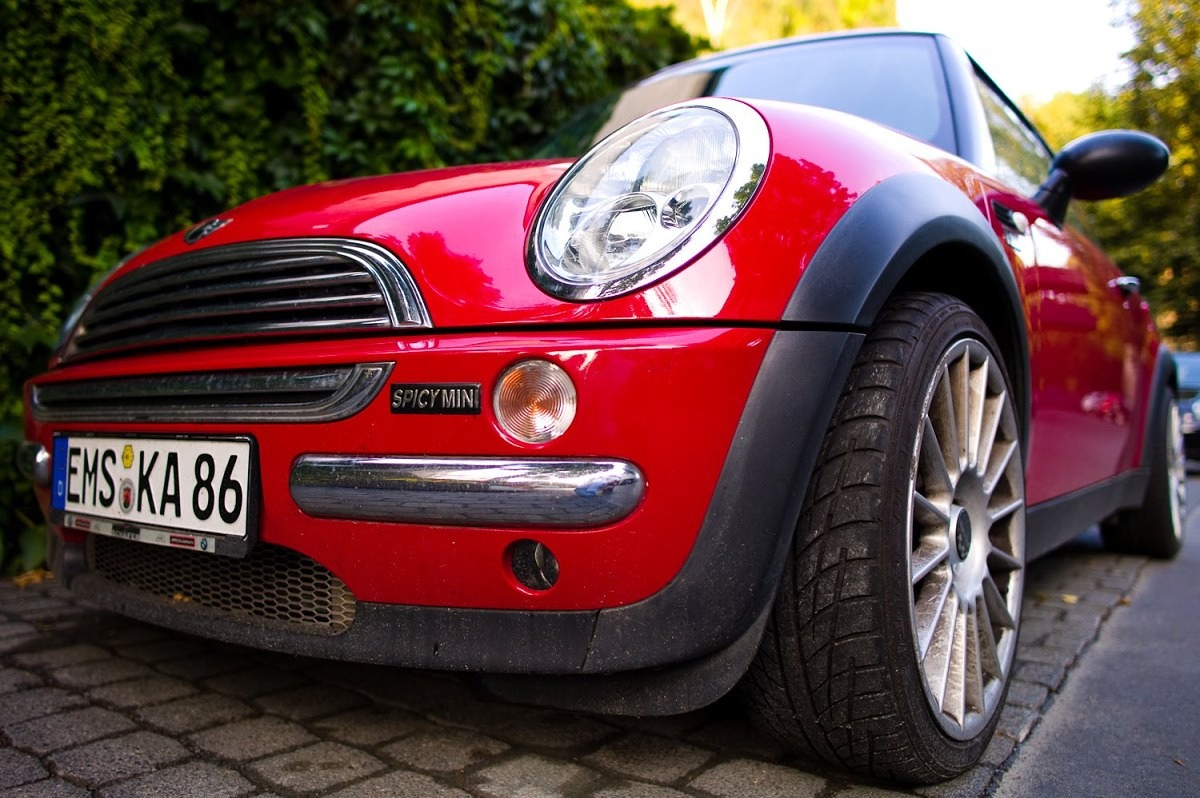
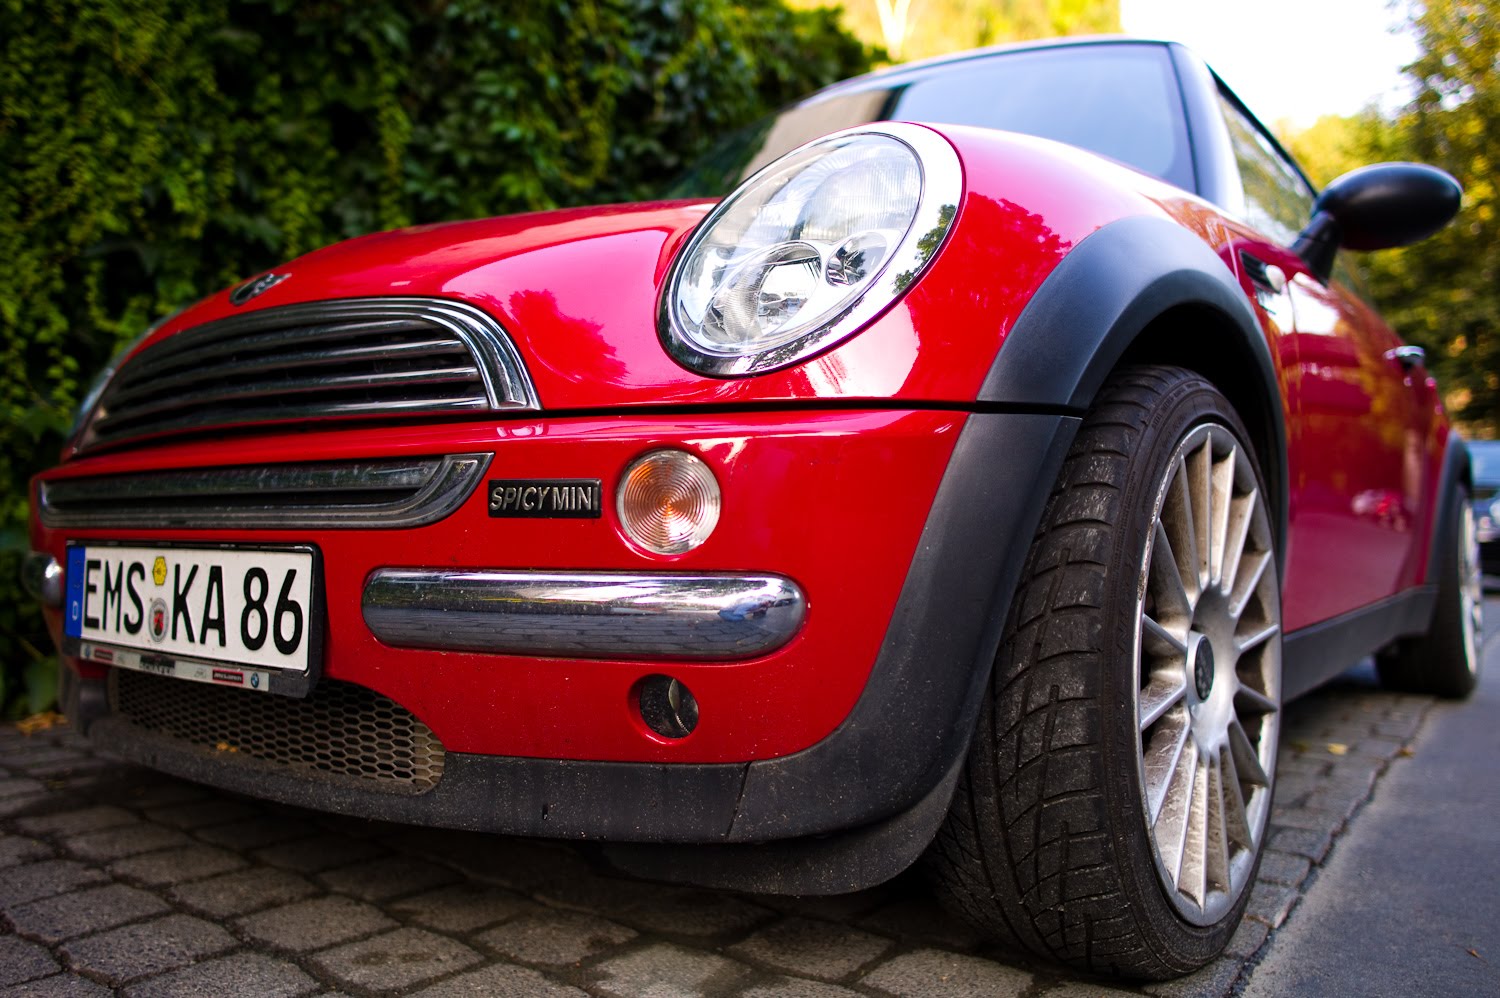
Tight wide-angle framing: Spicy MiniM9 with 24mm Summilux ASPH, ISO 160, 1/180th at f/2
With the elimination of the 24mm lines and addition of the 135mm frame, the alignment has changed as well. On the M8, we had wildly inaccurate framing set for a distance of 0.7m. Then, the M8.2 brought salvation with a distance setting of 2m. Apparently, perfect at 2m and beyond wasn't good enough. The M9 now has its frame lines calibrated for 1m, somewhere between the two previous attempts. How was rev. 3? Well, not too bad. Close-up was perfect, medium distance was very close and infinity gave just a bit more than I saw. All-in-all, this wasn't a step backwards for me. Leica felt that the 1m distance was a decent compromise and allows for more accurate framing for close quarters shooting, and I have to agree. Maybe the next round could be 1.5m, just to cover the whole gamut, or maybe 1m really is the sweet spot. The M7 and MP are set at 1m, and I never had any issues when shooting with these.
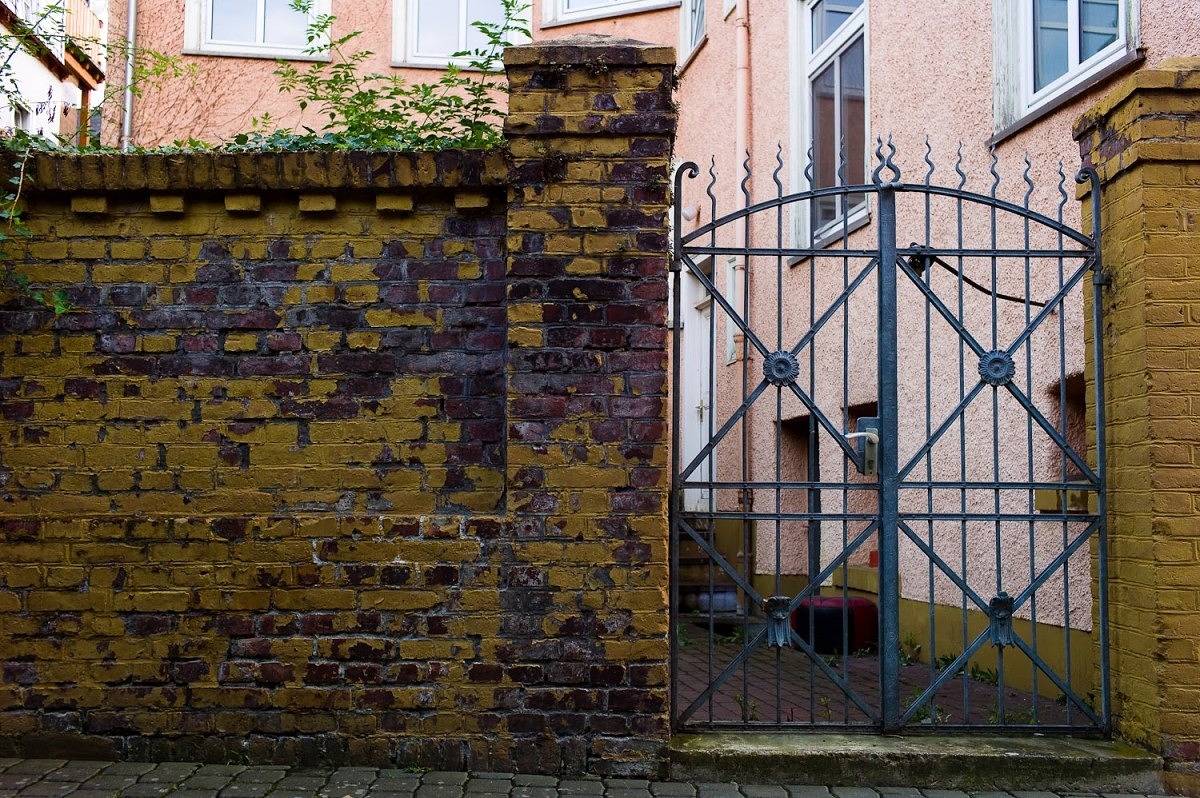
Framing is accurate enough for my brick wall testM9 with 35mm Summicron ASPH, ISO 400, 1/125th at f/4
Bigger frame, different meter
Another consequence of increasing the sensor size was accuracy of metering. If the M8 meter was kept, it would be less center-weighted and act more like a spot meter, given the larger capture area. So, Leica went again to the M7 for inspiration. The M9 uses an elliptical-shaped center-weighted meter, very similar to its film brethren. To accommodate the larger active area, the shutter blades above and below the white-striped center blade are colored a middle gray tone. This mixture gives the M9 a feathered, center-weighted pattern which proved to be very accurate in my test shooting.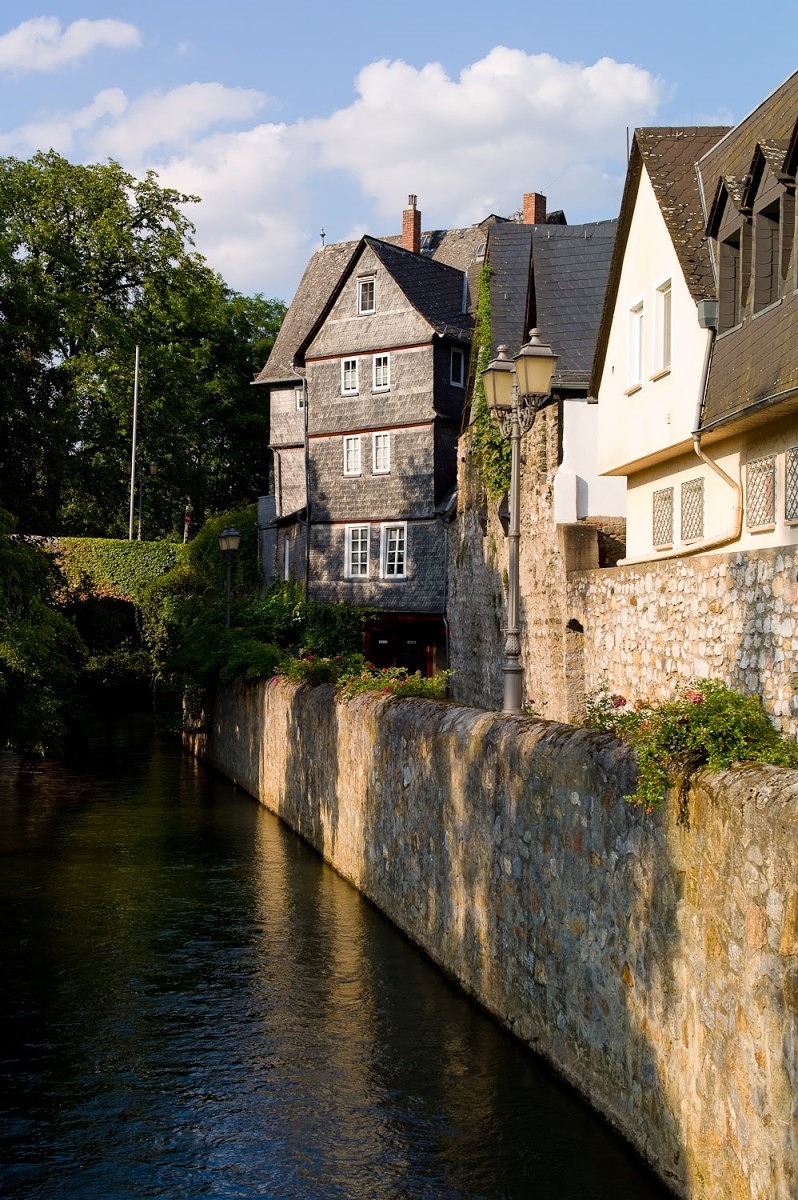
M9 with 50mm Summilux ASPH, ISO 160, 1/250th at f/5.6
No top LCD, new Info screen
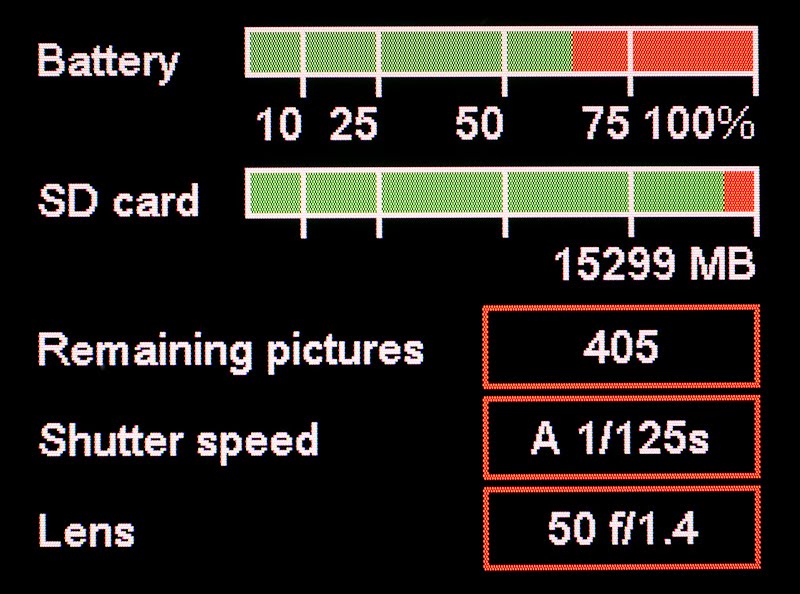
For styling purposes, Leica changed the top plate. For usability reasons, they removed the top deck, circular status LCD screen. Truthfully, with a lack of illumination, limited accuracy of battery life indication, and a three digit limit on the frame counter, the LCD had some shortcomings. Some people had thought that the top-deck color OLED of the S2 might find its way onto the M9. Well, this didn't happen and while the OLED is very cool, the clean design of the M9 is welcome in a very digital world. In lieu of a top-deck LCD or OLED, Leica opted to use the Info button and provide a new status screen. In regular shooting mode, just press the Info button to activate it. On the rear LCD, you get two horizontal bars, one for battery life and the other for SD memory card capacity, with green to indicate level remaining and red to show amount depleted. The bars are broken into 25% increments, with an additional marking at 10%. Actual MB remaining on the SD card is displayed directly below the visual indicator bar. Directly under this is a remaining pictures counter, a live shutter speed readout (when the meter is active), and a display of what lens is on the camera. The lens is either read through the 6-bit code in Auto mode or shows the current manual lens selection. The display is easy to see at a glance, with good use of color and the combined analog-style bar-charts and digital counter readouts. I did have to catch myself on multiple occasions though. Out of habit, I'd lightly depress the shutter release and glance down at the top of the camera to see battery and CD card status. Even after a few days with the M9, I continued to do this, but was able to train myself to use the Info button instead.
The M gets bracketing
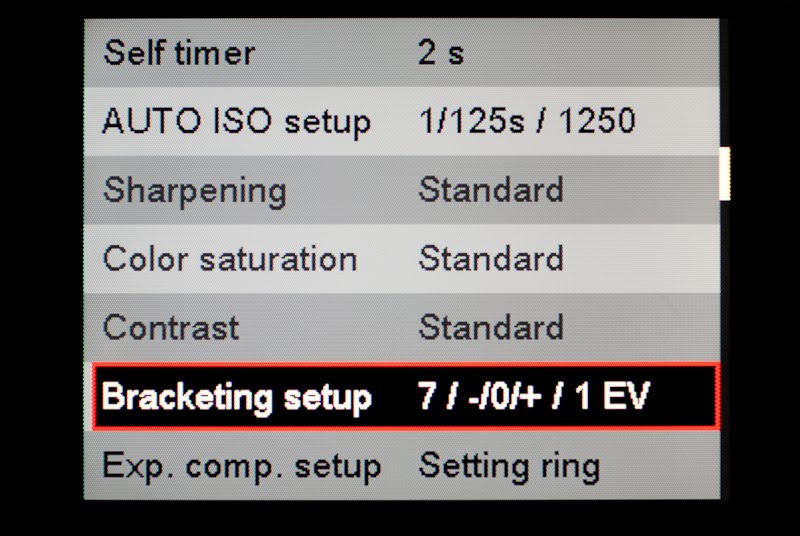
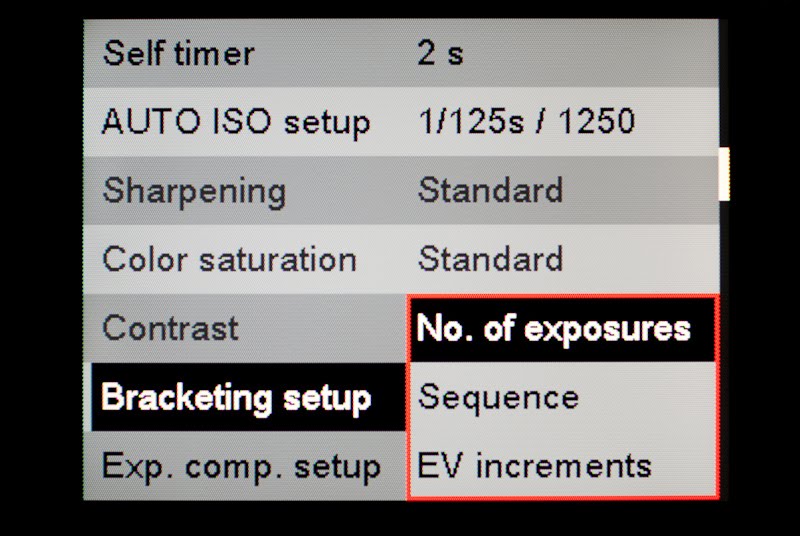
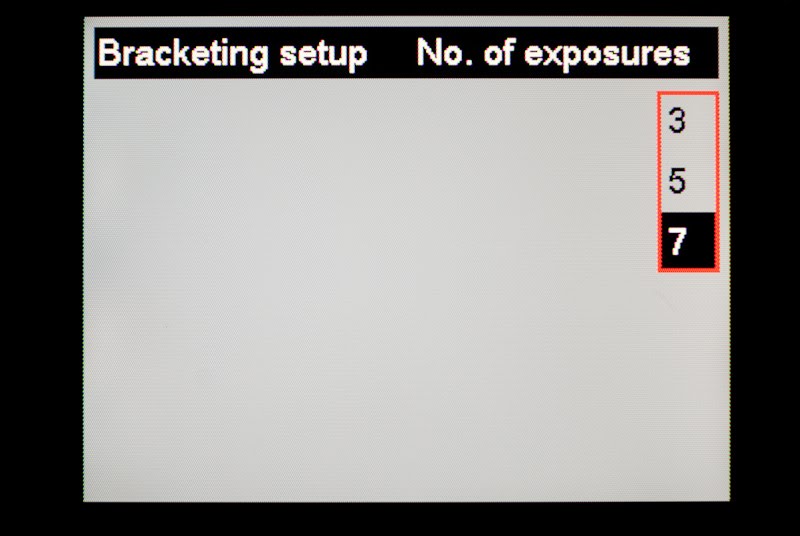
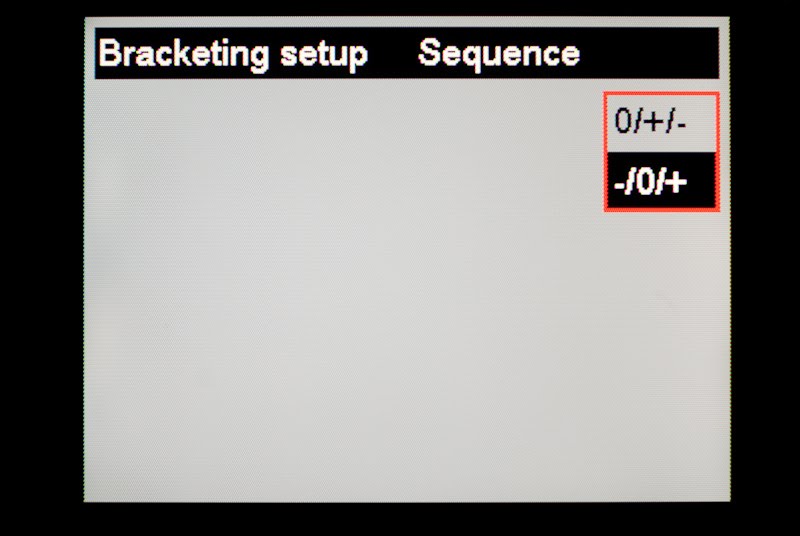
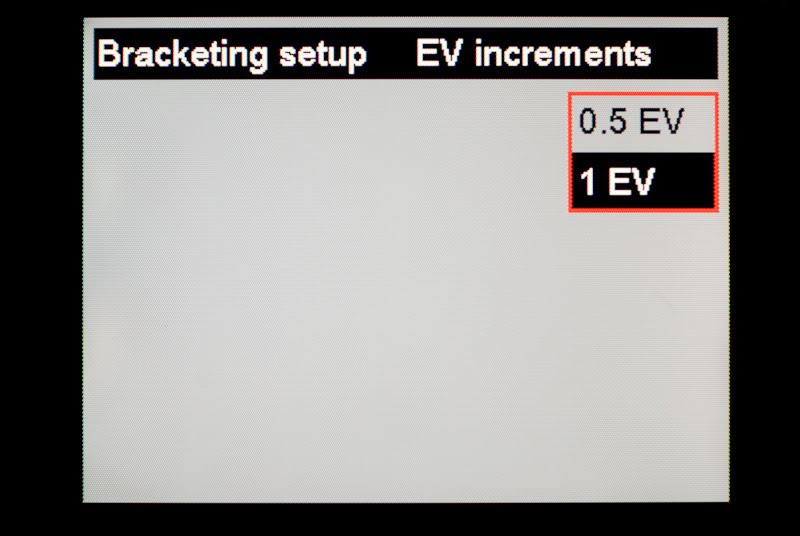
The M9's auto bracketing feature is really, really cool. In the menu, you select the number of frames, either 3, 5 or 7, the sequence (-/0/+ or 0/-/+) and the EV steps (0.5, 1, 1.5, or 2EV). In the SET menu, you have the option to turn bracketing on or off. Just turn this option to On and press the shutter release, or do as I do and use the 2 sec self-timer. The camera automatically shoots the bracketing sequence just by varying shutter speed. I did notice, though, that when shooting at night, the camera opted to shoot a sequence one image short. I discovered that the last shot would have required a shutter speed longer than 32 seconds, which is the maximum in A mode. So, I don't classify this as a bug, just something to be aware of.
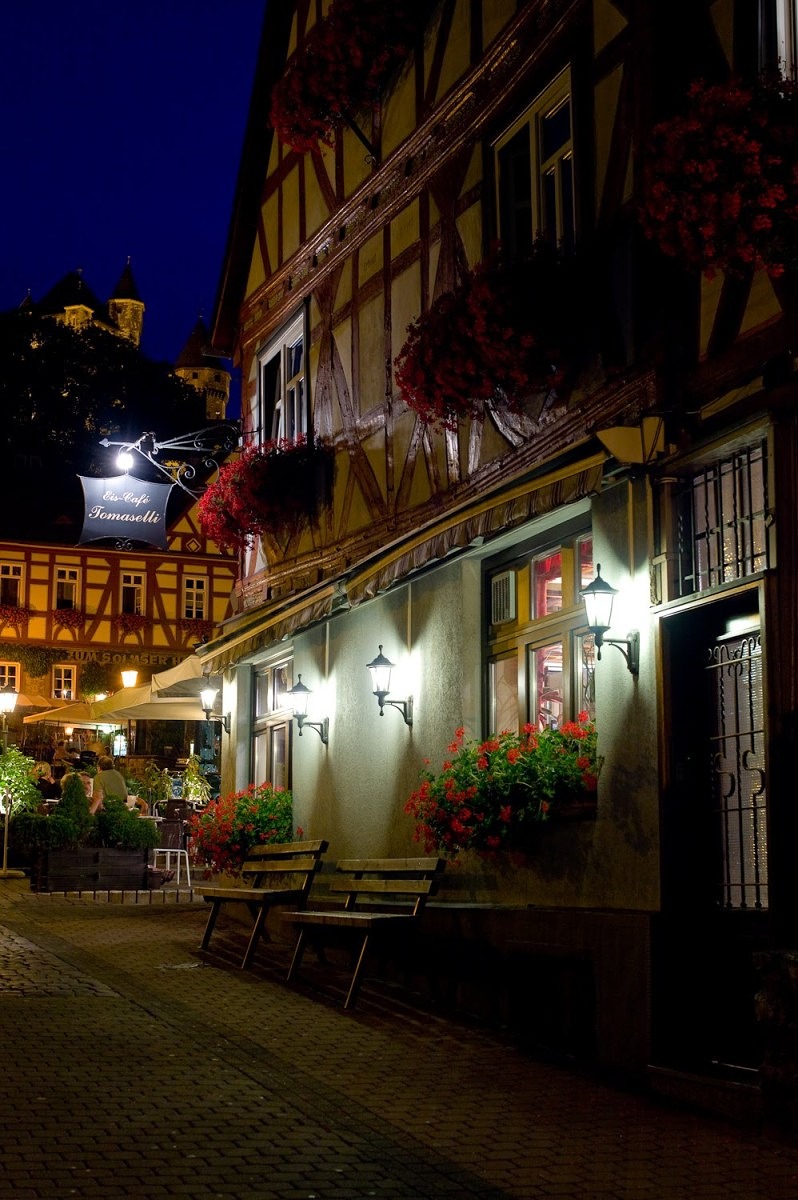
M9 with 50mm Summilux ASPH, ISO 160, 1/2 sec at f/5.6, tripod and auto bracketing
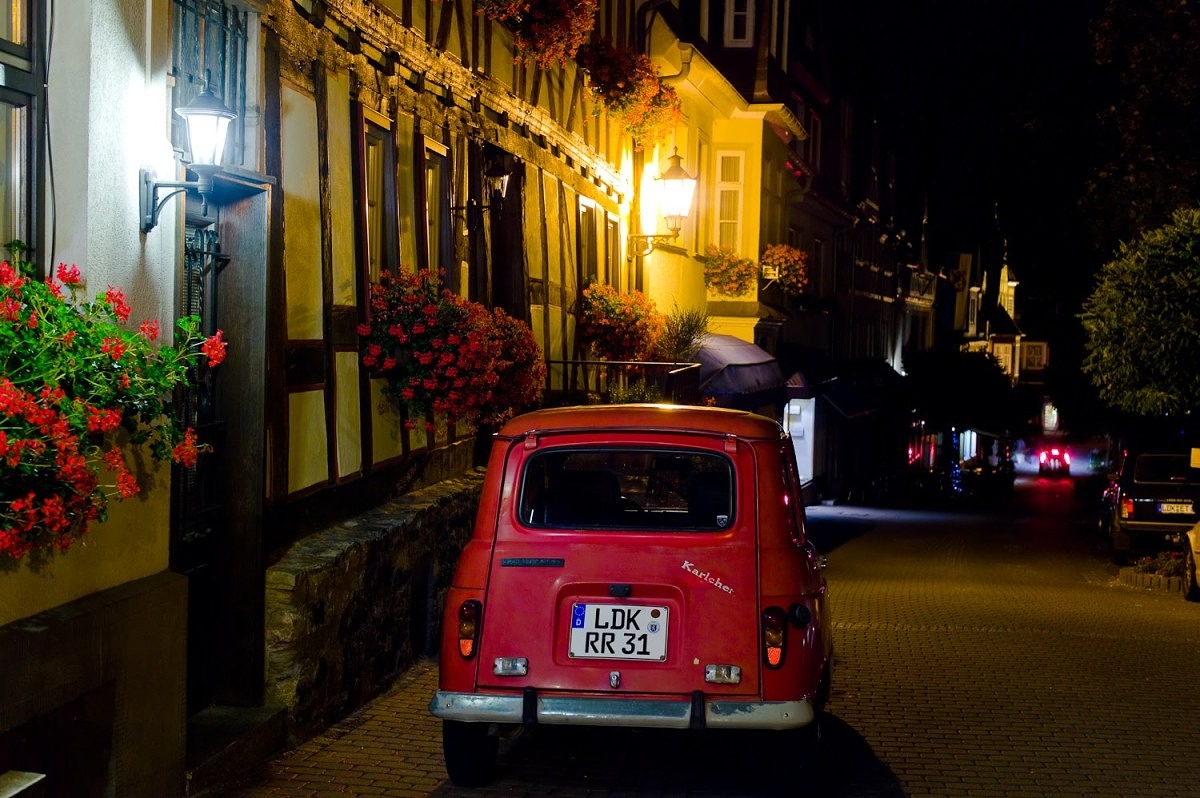
M9 with 35mm Summicron ASPH, ISO 160, 1 sec at f/5.6, tripod and auto bracketing
Also note that all of the EV steps aren't always available, depending on your settings. The bracketing range is +/- 3EV, meaning that if you chose to shoot 7 frames, you won't be able to use 1.5 or 2EV steps, only 0.5 or 1EV. For 5 frames, you could go up to 1.5EV steps and for 3 frames, you can utilize 2EV steps. I found the auto bracketing feature extremely useful for night shooting on a tripod. While it does create a fair amount of extra data, you don't have to be so precise in tricky lighting situations.
Soft release and/or discrete… choices, choices
A new feature introduced on the M9 is the really nice soft release option. The shutter release button has multiple activation points as you press down. The very first press activates the meter and wakes the camera from a power-saving sleep. The second position usually enables AE lock and the third releases the shutter. Some users felt that pressing down the entire way created unnecessary movement on slower shutters speed (ie. The stabbing effect). Leica responded to this by having the camera fire when you get to the second shutter release spot, requiring very little pressure and consequently allowing for smoother triggering. When you combine the Soft option with Discrete advance, you get the ultimate stealth machine – a hair trigger and a separate advance.
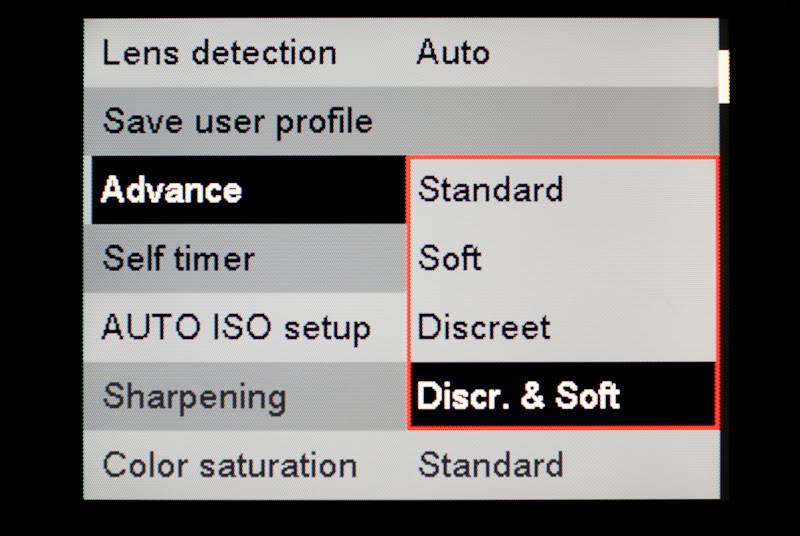
At first the Soft mode felt too sensitive, so I just used the camera in my usual Discrete mode. But, after a short period of trying out the Soft mode again, I felt it gave me a real advantage for hand-holding at slower speeds and I started using it for all my shooting. If you give this option a chance, I think you'll have a hard time turning it off. The only drawback is the loss of the AE lock, which is solved by the ever-so-sweet revised Exposure Compensation.
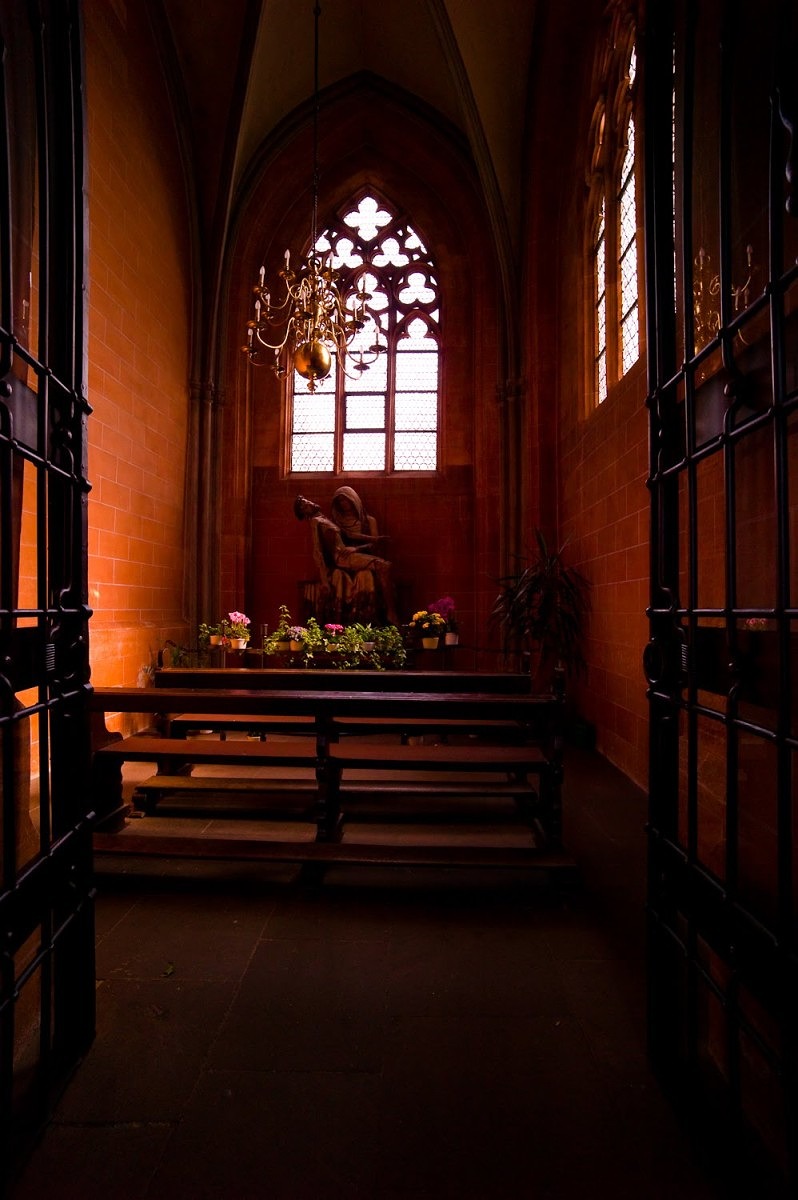
Soft release helps M9 with 24mm Summilux ASPH, ISO 640, 1/30th at f/2.8, handheld
Really sweet Exp Comp options
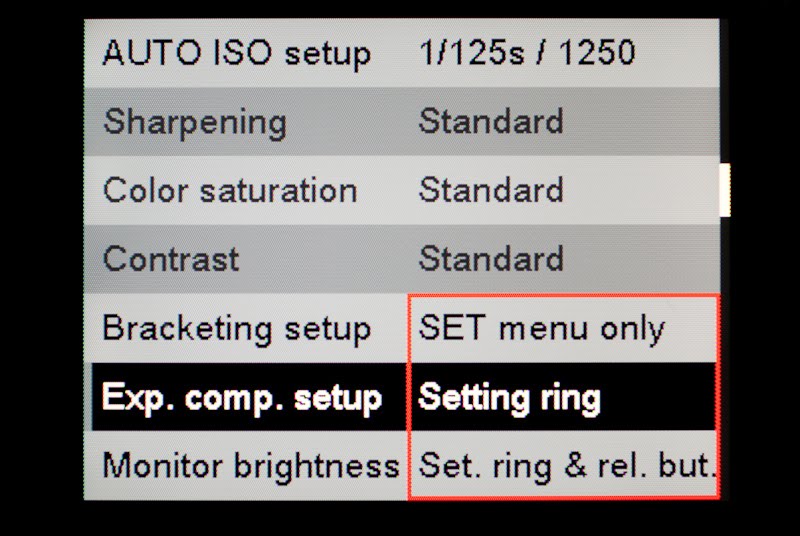
In the M8.2, Leica added the ability to half-press the shutter and turn the rear wheel to effect an EV change which you could see in the viewfinder. This sounded so nice in theory, but in practice just never worked for me. The touch had to be just right on the shutter release and the contorted position my hand took trying to keep light pressure on the button, while attempting to spin the thumb wheel, just wasn't very comfortable or natural. A new option in the M9's menu made me a very happy shooter. You can now select EV comp through the menu only (like M8), using the thumb wheel only (called setting ring in menu), or the wheel plus shutter release (Like M8.2). That middle option is one of the best improvements on the M9. Seriously. Look through the viewfinder and lightly spin the thumb wheel. EV compensation is displayed clearly in the viewfinder and no right hand acrobatics are necessary. The thumb wheel adjustment proved to be a valuable asset for my shooting style, especially when combined with the soft release.
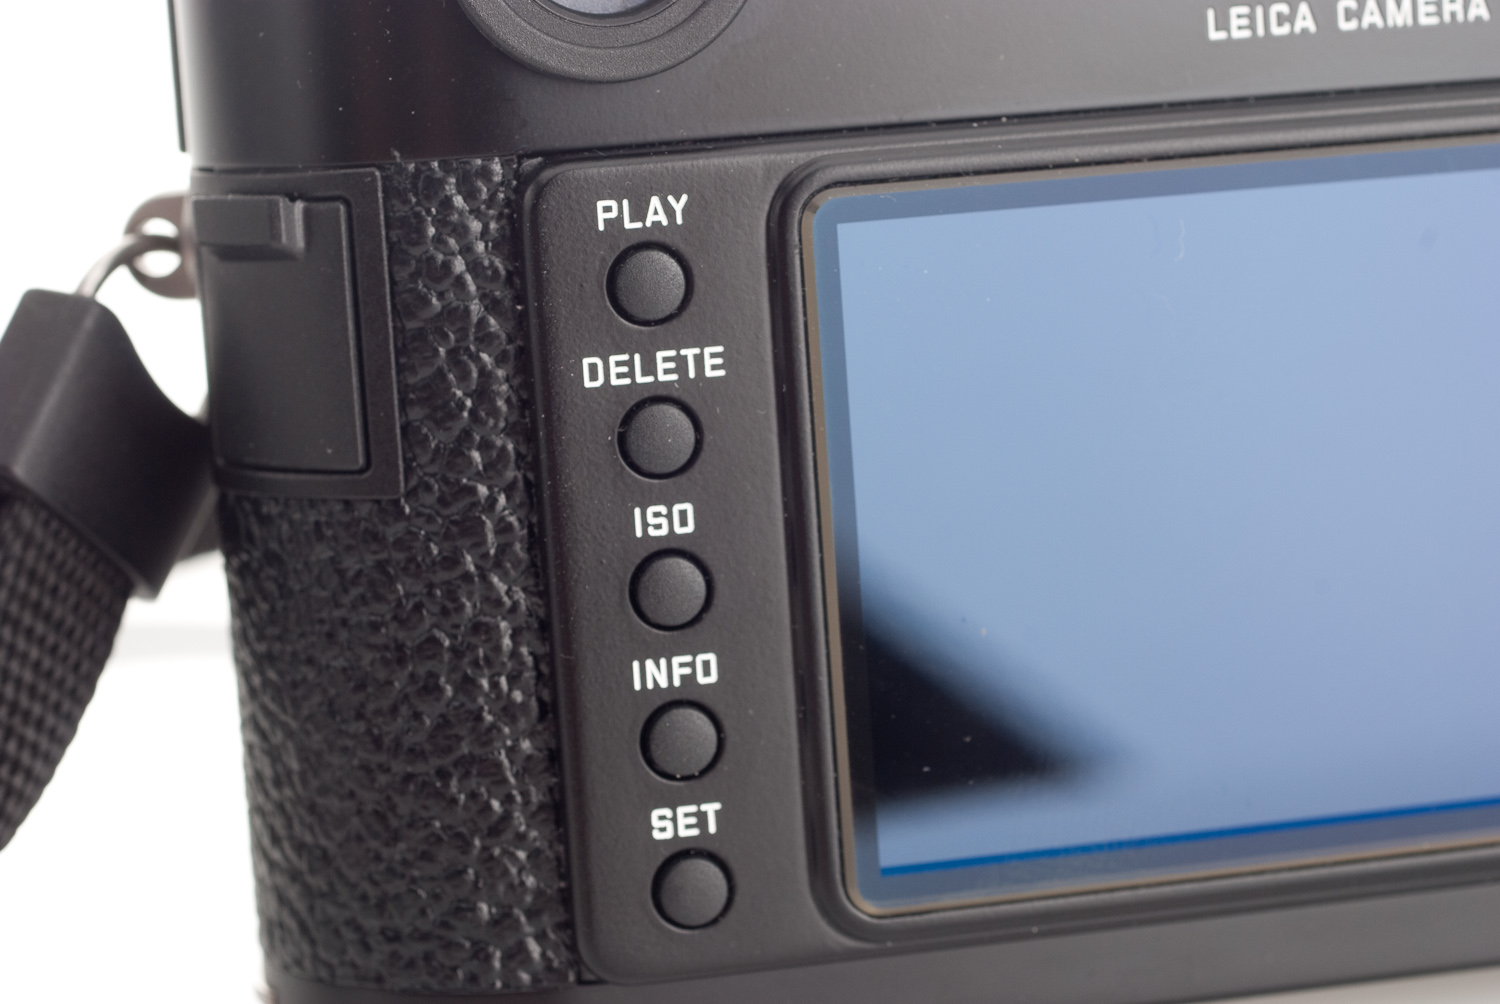
Direct ISO controlI think I still hear the cheers on this one. One of the first things you notice is the ISO button on the left side of the LCD. Gone is the little-used Protect button (you can still access protect functionality in playback via the SET button, if you must). To change the ISO, just push the ISO button and turn the thumb wheel or use arrow keys to select. Options include Auto ISO, Pull 80, then 160 through 2500 in 1/3 stops, arranged in a three by five grid. Just like other menus, you can navigate by the thumb wheel or the direction keys.
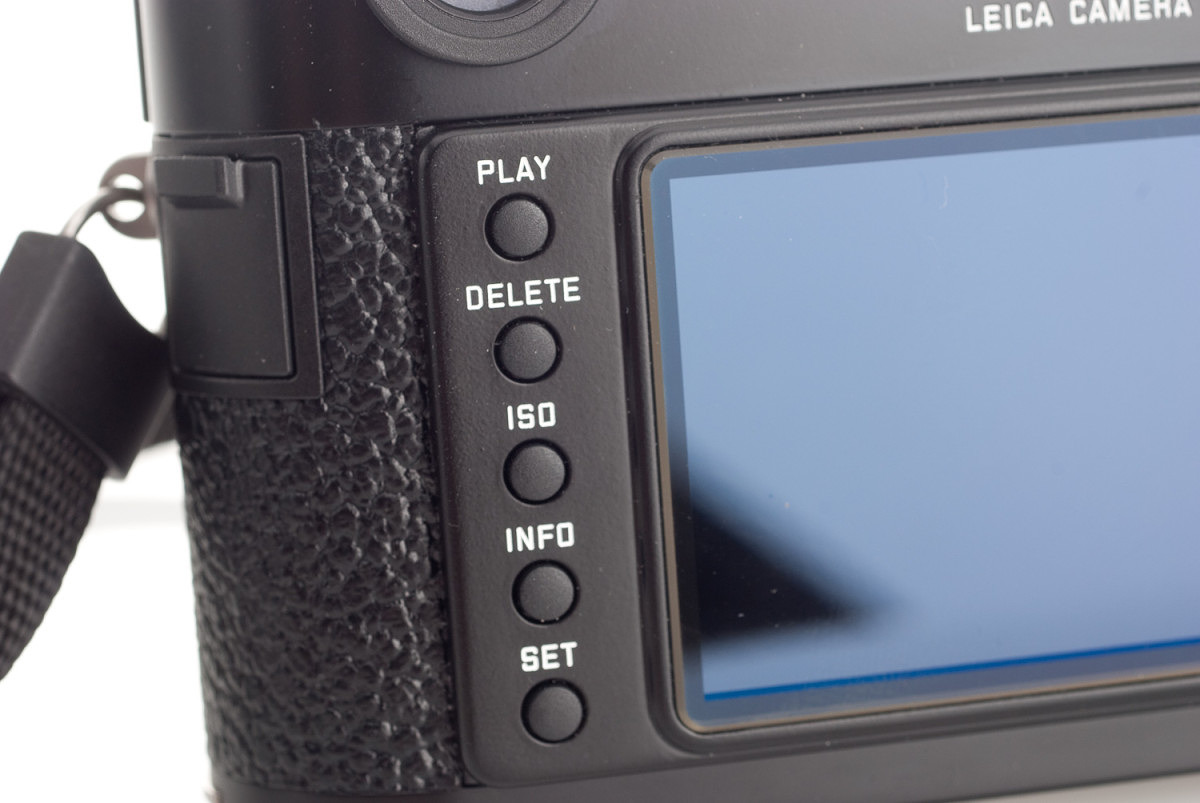
Direct ISO control on a button
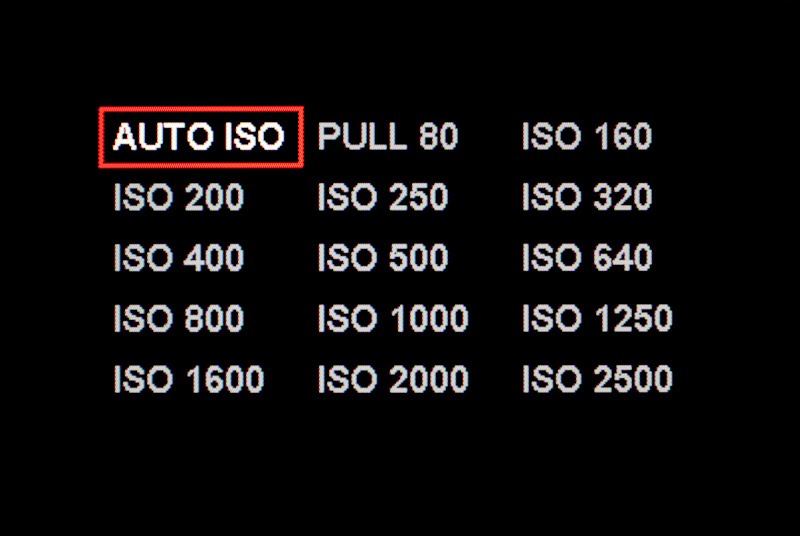
ISO menu in 1/3rd stops
Another new item is the Pull 80 ISO setting. The native sensitivity of the sensor is 160, not 80, so this setting is not going to improve noise or sharpness. In fact, the dynamic range will be slightly less as a result of the 1 stop pull. What’s nice, though, is the ability to shoot f/1.4 in bright daylight without an ND filter. And, in my testing, I found the ISO 80 setting to be very good quality. Get out those fast luxes.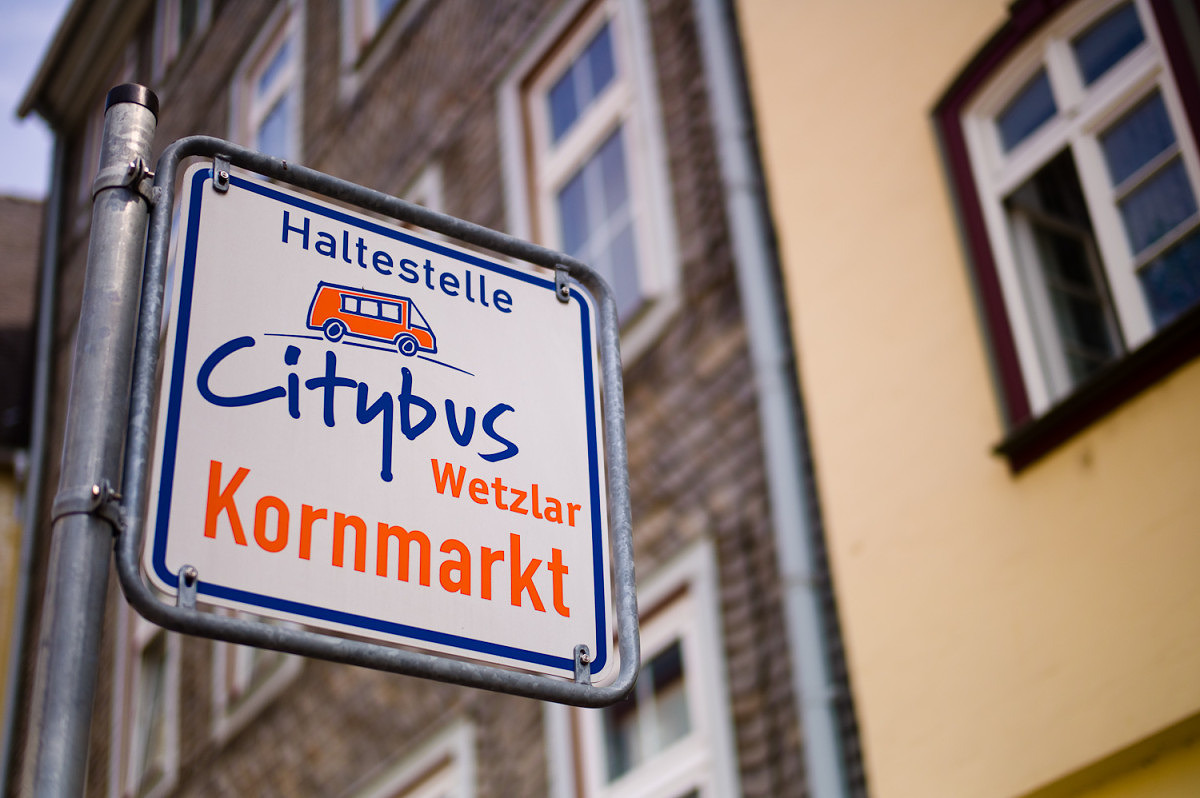
M9 with 50mm Summilux ASPH, ISO Pull 80, 1/4000th at f/1.4
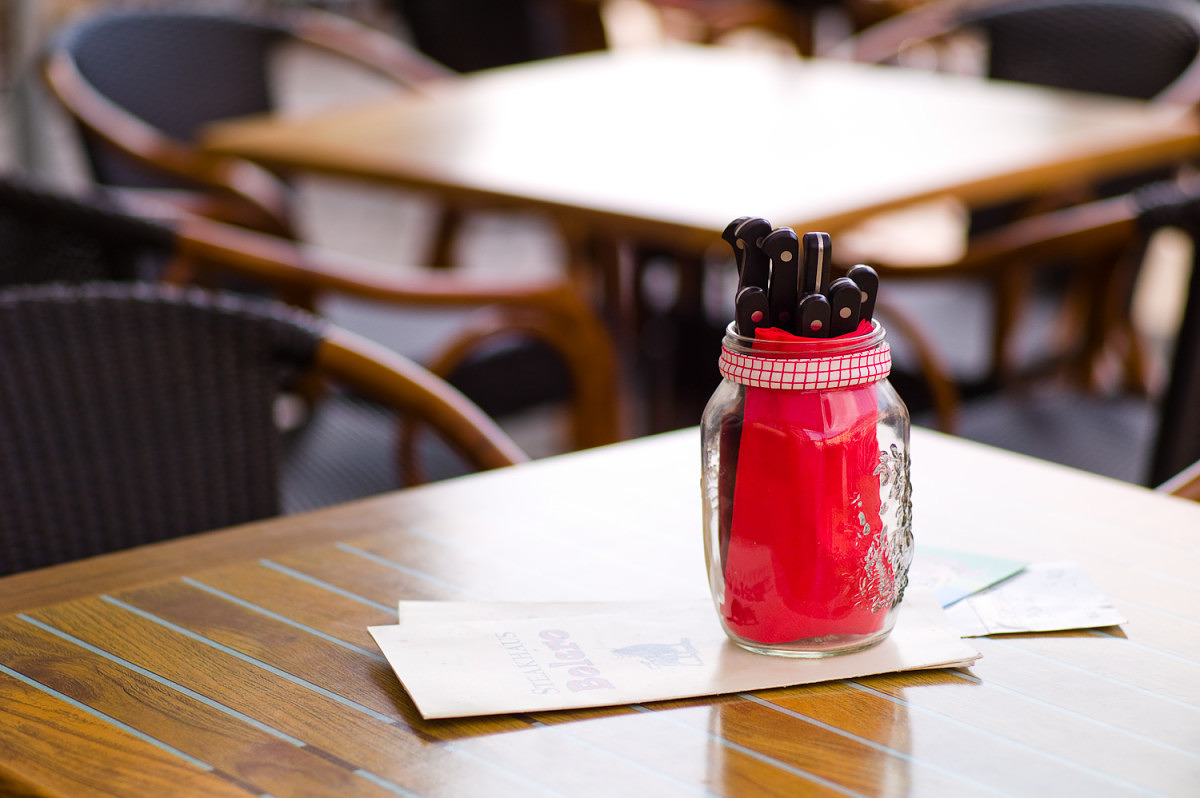
M9 with 90mm Elmarit, ISO Pull 80, 1/1000th at f/2.8
A few other odds and ends
Because we've all missed a shot or two by flipping the shooting mode selector switch to self-timer by accident, Leica has come to the rescue with a 0 sec self-timer menu setting. In other words, it disables the self-timer and makes the shutter release behave like it would in single shot mode. Just another example of working to address user concerns.The addition of a Mass Storage USB mode should make Mac users happy (the three that are using USB anyway) as OS X had issues with the PTP protocol.
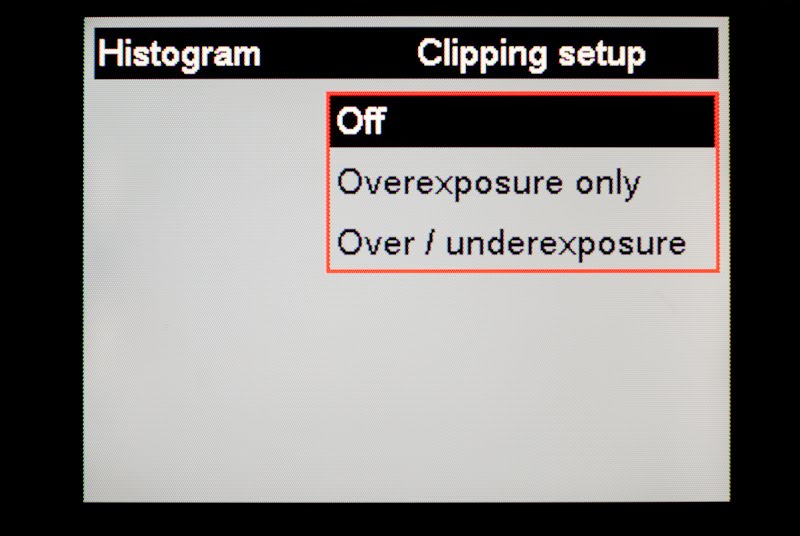
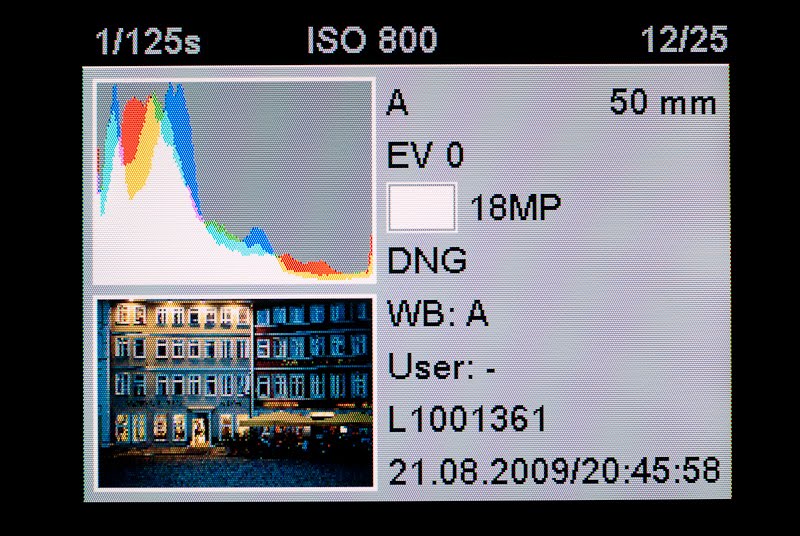
The histogram setup is revised, adding options for clipping settings. You can choose for the camera to warn you on over and underexposures, on just overs, or not at all. Other histogram features like single channel or RGB, and duration are unchanged. Zooming in on an image in Info Playback still changes the histogram to reflect the zoomed portion, which is helpful for challenging contrast ratios.
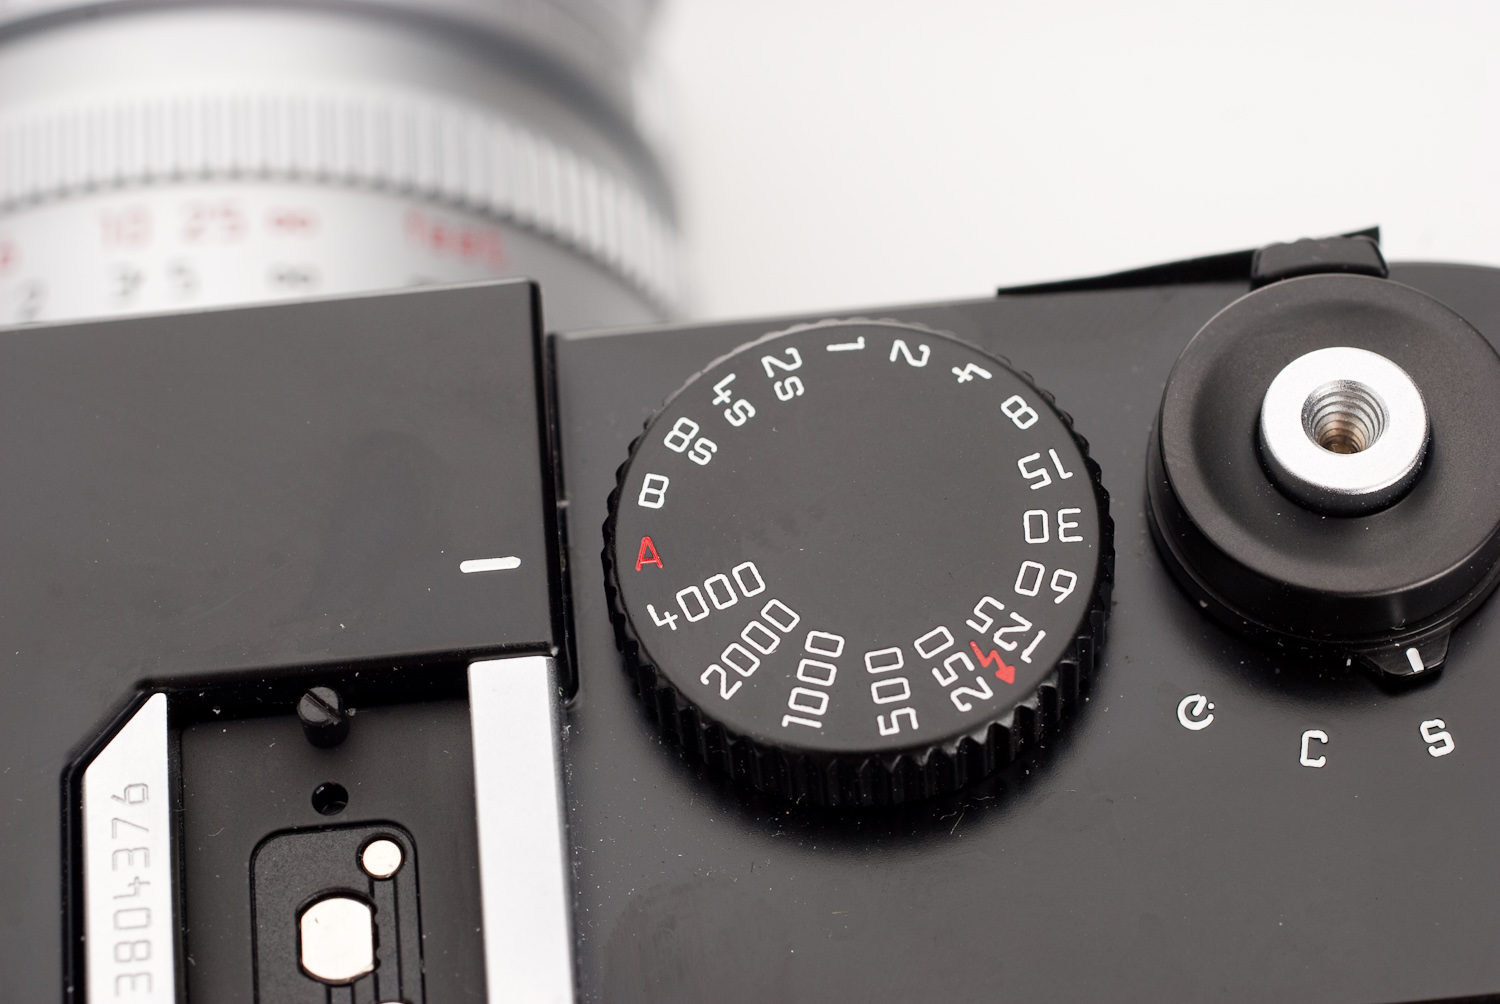
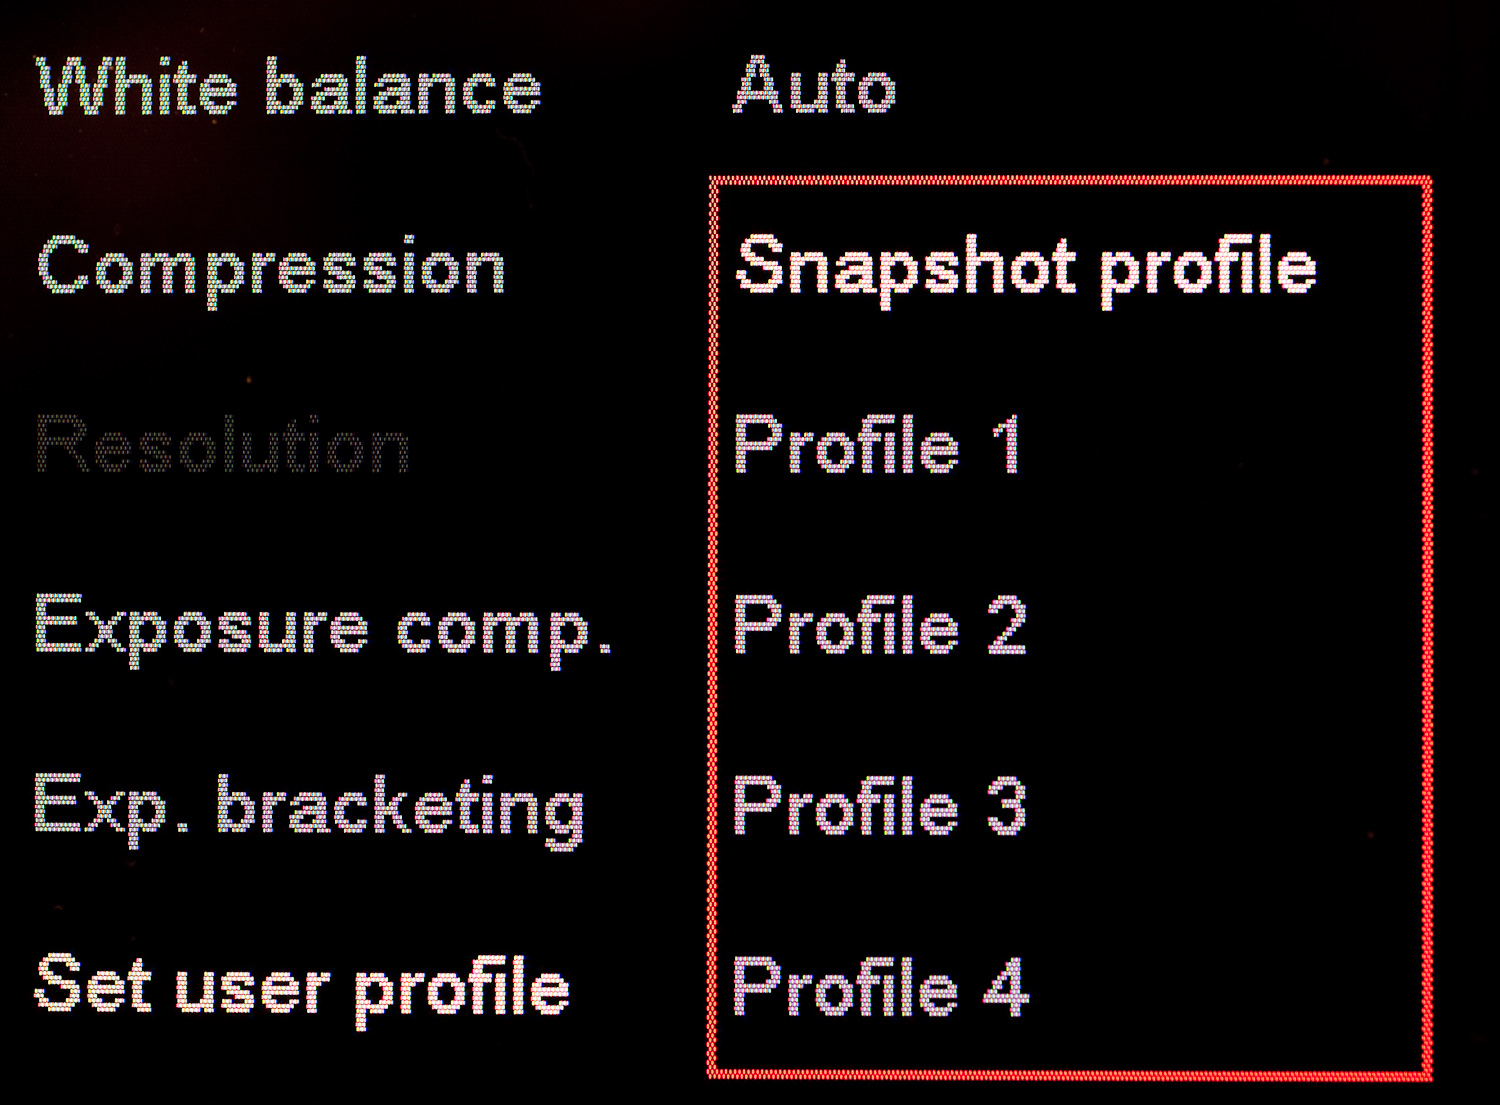
Did I mention that the S mode is gone from the shutter speed dial? Well, not on the dial at least. Leica buried it as the Snapshot Profile under Set User Profiles in the SET menu, for those special times when you really want to…hmm…. I actually can't think of any times to use it. Well, let's just rejoice in the fact that it's mostly gone and we gain 8sec on the dial, great for manual night shooting.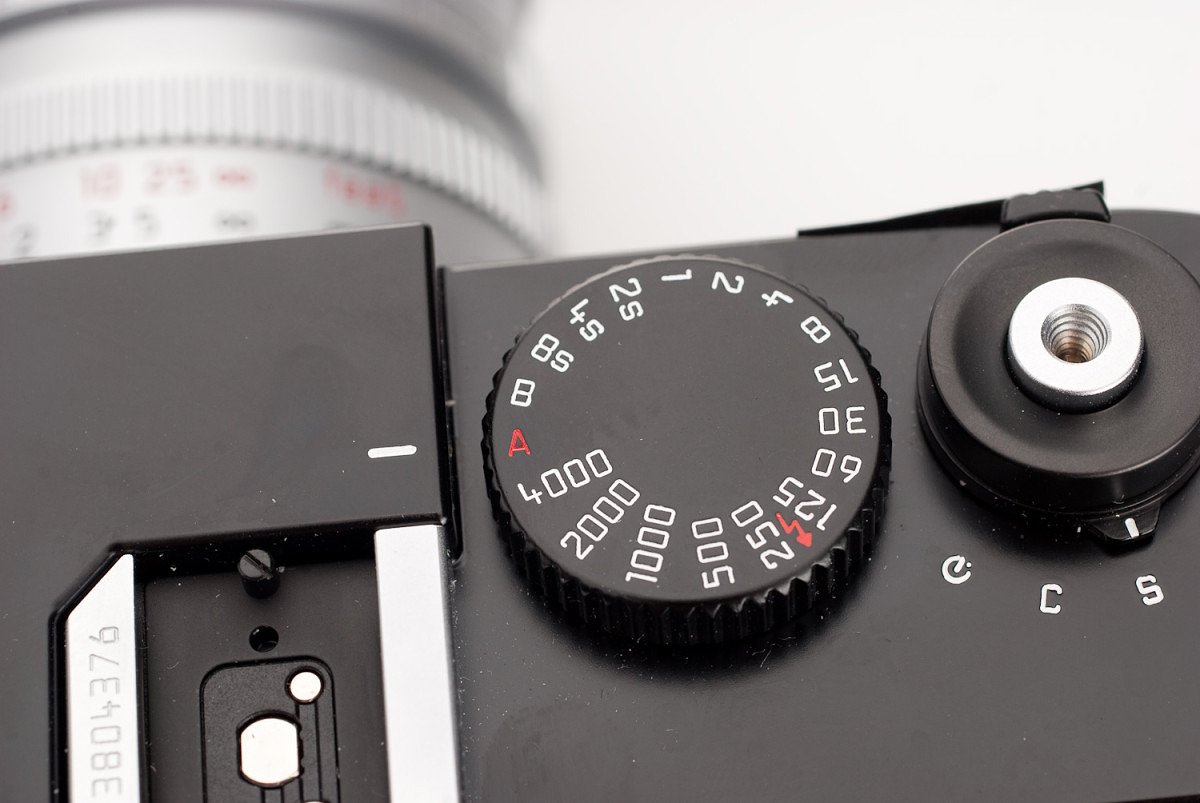
No “S”
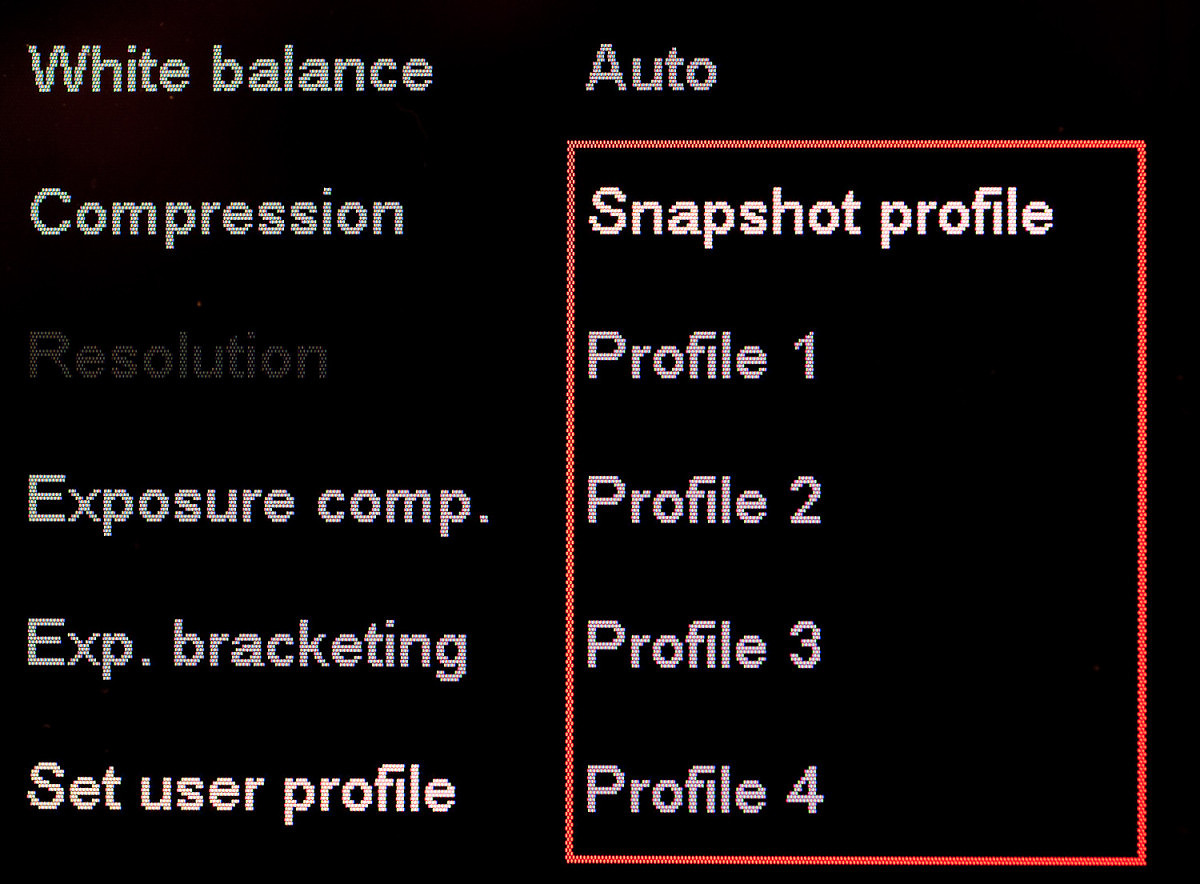
And last, but certainly not least is the option to store either compressed 8-bit DNGs or uncompressed 16-bit DNGs. Hmm. Let me think about this one for a second to see which I'd recommend. Of course, if you are looking to get the most quality out of the M9, you should only shoot uncompressed DNGs. The DMR had 16-bit RAW files, then the M8 limited us to non-linear compressed 8-bit DNGs. While I certainly have no complaints about the quality of my M8 files, I have always wondered what I was missing out on. Now, I don't have to wonder anymore. With just shy of 1,000 M9 files under my belt and in my Lightroom Catalog I have a pretty good feel for what the files are capable of handling, which brings me conveniently to the real test – actual shooting. After lunch and an incident involving a wasp, a hat, a salad, and my lap, we headed back to Wetzlar for a change of clothes and five hours of wandering and shooting.
Shooting with the M9
Shooting with the M9 was a blast. It was so familiar coming from the M8.2, yet the subtle improvements were welcome. The revised LCD was so easy to see in the bright sun. The direct ISO button with 1/3 stop increments was convenient, as was the revised EV compensation control. Manual lens selection was good, but could potentially lead to a bit of user error (as happened with this user – see above). I could also immediately see that the M9 was holding more highlight detail in high-contrast, mid-day lighting situations. If I had to guess, I'd say that DR was increased by 1 stop in the highlights. So far, so good.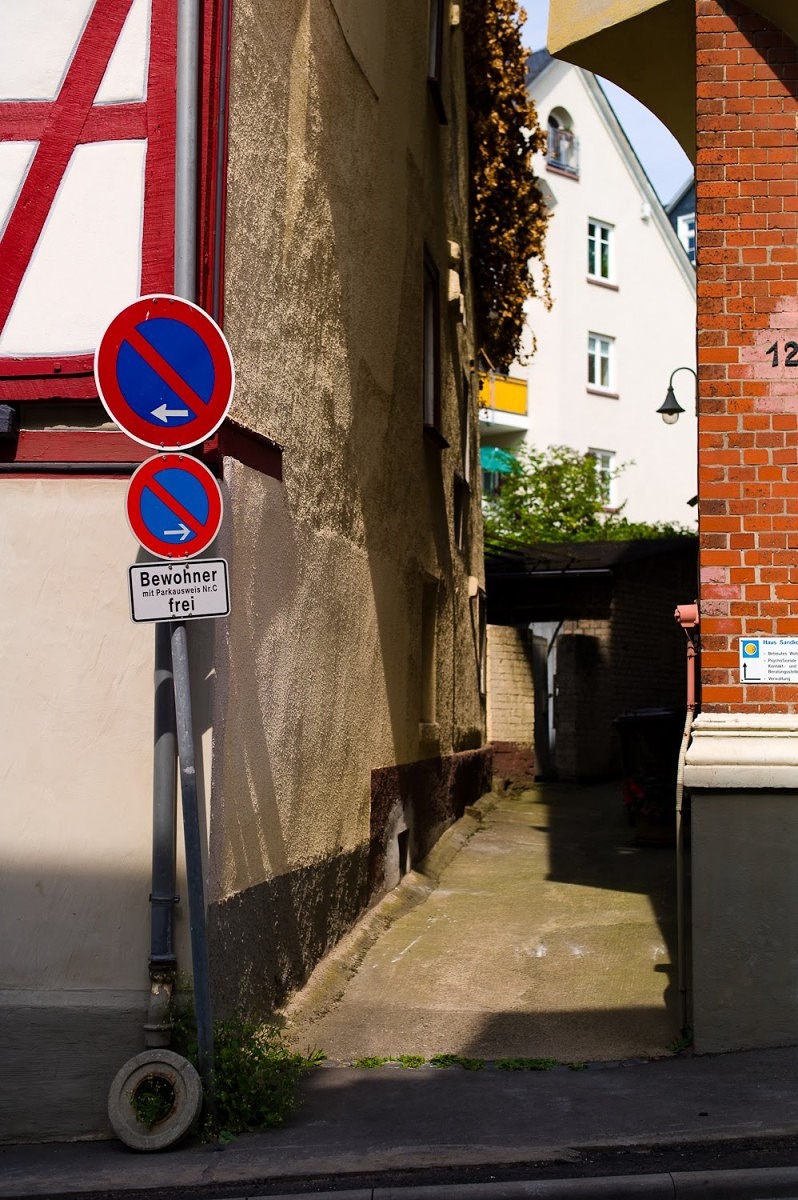
Better dynamic range – On an M8, this shot would be blown out. M9 with 50mm Summilux ASPH, ISO 160, 1/1400th at f/4
Lenses on full-frame, again
Mysteriously (or not so mysteriously), the 50 Lux ASPH just kept finding its way back onto the front of my loaner M9. While the 35 Cron ASPH has been my go-to lens for the last couple of years on the M8, it felt much wider than I was used to. I had to literally relearn what focal lengths I liked on full frame, which is crazy considering I've been shooting film since I was 7 years old and only stopped four years ago.
M9 with 50mm Summilux ASPH, ISO 160, 1/710th at f/2.8
The 90 felt a bit short and I had wished that I borrowed a 135 APO-Telyt to try out. The WATE was really, really wide, but quite fun. And that 50 Lux ASPH was just marvelous as it stretched its legs on full frame again. I did end up finding a place for my initially neglected 35, and it served well as a moderate wide-angle, just as it was designed to do. In fact, I found the 35 Cron ASPH to be one of the sharpest lenses I used on the M9 with its characteristic color and snap that I love so much. Ultimately, this lens will stay in my bag, just serving a different role.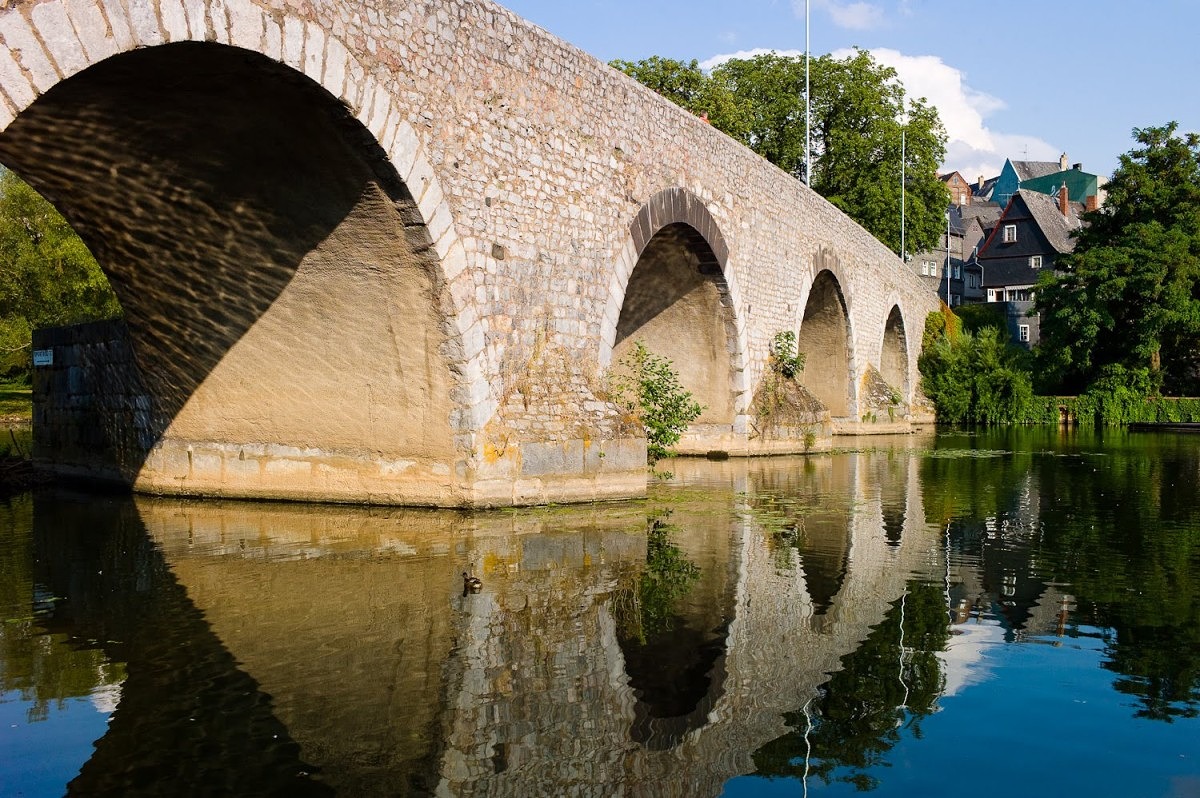
M9 with 35mm Summicron ASPH, ISO 160, 1/1000th at f/4.8
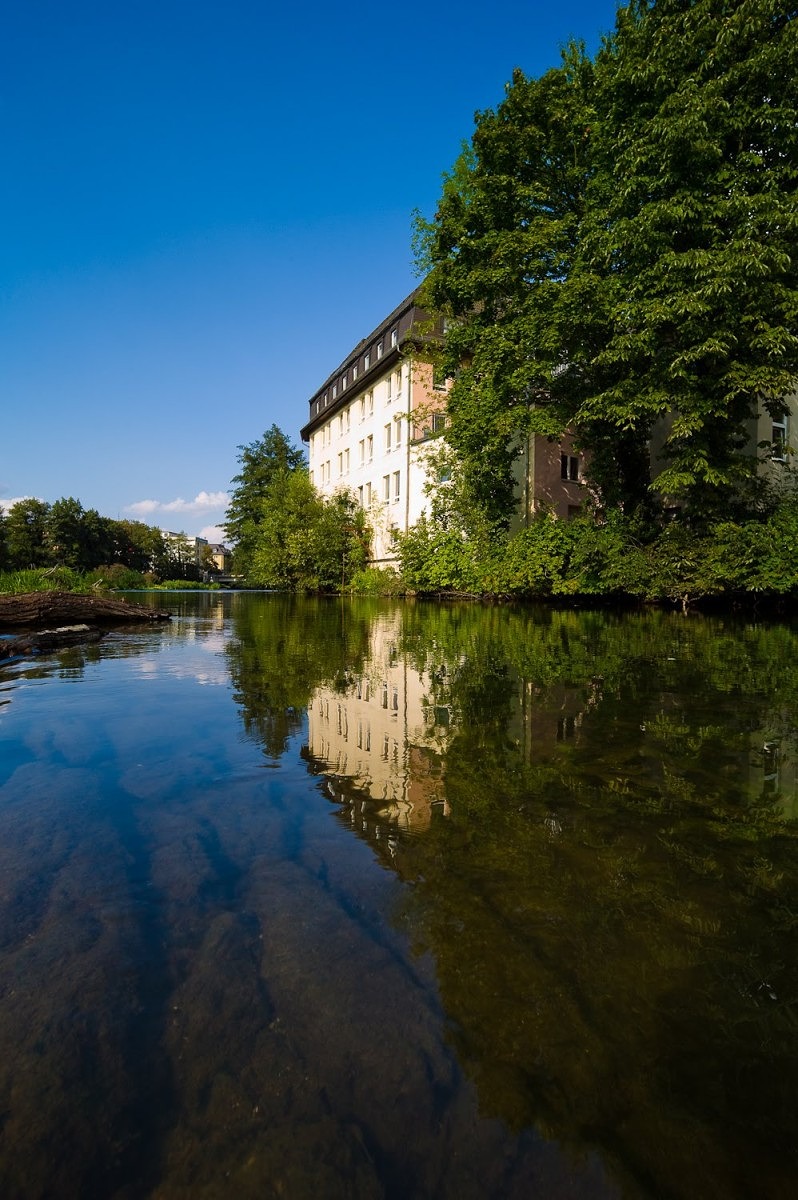
M9 with Wide-Angle-Tri-Elmar @ 16mm, ISO 160, 1/180th at f/11, Leica mini-tripod
The 24 Lux on the M9 behaved like the 18 on the M8, which is to say it felt very wide for me. I can see the new 21 and 24 Luxes being popular for low-light reportage photography and opening up some really interesting creative possibilities, but for most the 28 will probably become the most popular wide-angle lens choice. With the compact, distortion-free, and affordable 28 Elmarit ASPH and the stunning and not much larger 28 Cron ASPH to choose from, this won't be too much of a problem. 28 was another focal length that I wish I tried out during my test run with the M9, but unfortunately Leica didn't offer me a Sherpa to carry the entire arsenal of Leica M glass. I had to carry what I wanted to use, and I limited myself to five lenses, which is the limit of what I'd normally pack in my bag.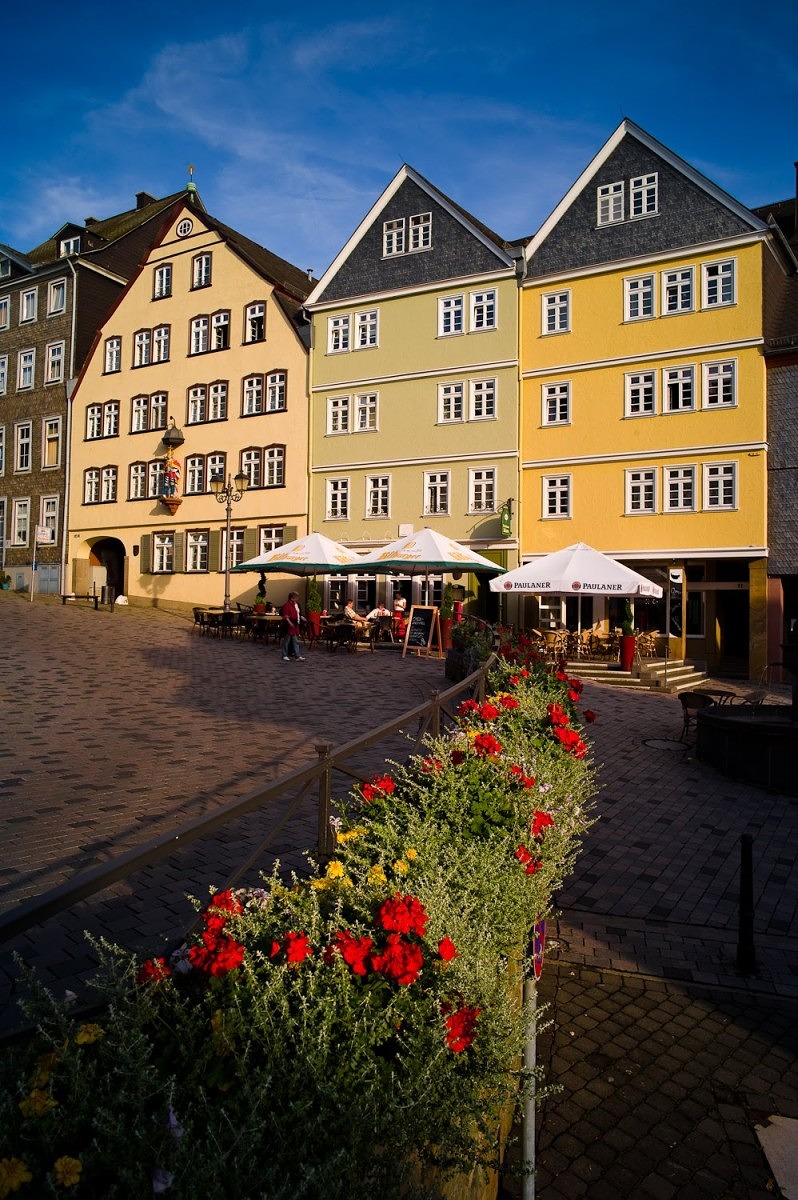
M9 with 24mm Summilux ASPH, ISO 160, 1/350th at f/8
I predict a fair amount of shifting around of lenses when people start really using the M9. I imagine many will once again adopt the 28, 35, 50, 90 pantheon. For some, the 35 will be the main attraction. For others, like myself, the 50 will shine. The wider lenses, like the 18, 21, and 24 will still find a place for full frame shooters. M9 users will reap the benefits of the recent focus on spectacular wide-angle lens options developed since the introduction of the M8, like the WATE, 18 Super-Elmar, 21 Lux, 24 Lux, and 24 Elmar. I'll be curious to see how lenses like the 75 APO-Summicron and 75 Summarit fare, as 75 will be 75 again, rather than 100. I could see those wishing to minimize going to a 35 and 75 combo, which was the equivalent of 28 and 50 on the M8. I'll be trying out more lens combinations as I start to use the M9 as my daily shooter.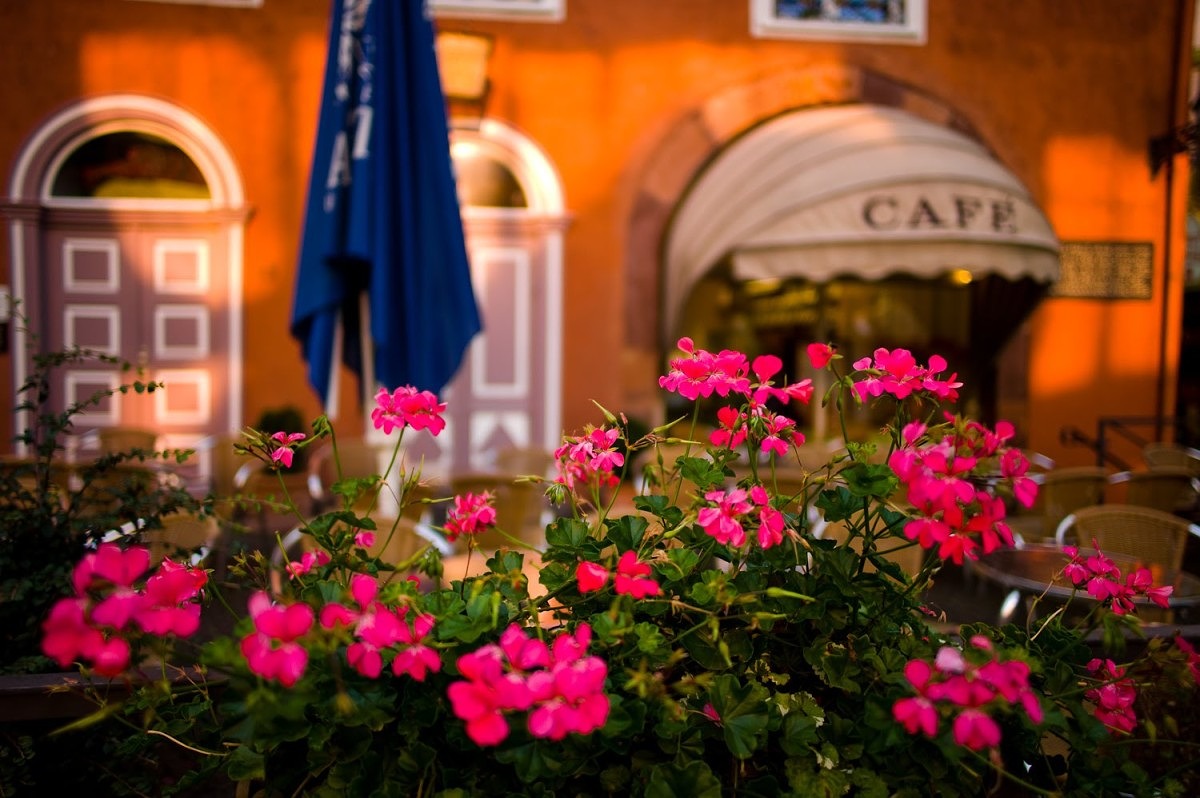
M9 with 24mm Summilux ASPH, ISO 160, 1/710th at f/2
Performance and speed
Even though the M9 is pushing 80% more pixels, it does feel a little faster than the M8. By doubling the processing power and using twin DSPs instead of one, Leica is able to eek out a small performance gain. My camera had the latest (at the time) firmware version 0.912, in other words, a pre-release version. Stefan assured us that optimizations were still being done to improve image playback and review speed at 100% view. If I had to put a number to it, I'd say that the M9 felt about 25% faster than the M8 with this early firmware, which is certainly not earth-shattering, nor anywhere as fast as the S2. Unfortunately, this was a case of sticking with the tried and true in order deliver a full-frame digital M to market in a timely way. As I mentioned before, switching to the Maestro chip, while being much faster and more powerful, would have also meant much more development time. Had Leica gone this route, we probably wouldn't have seen the M9 till Photokina 2010, a full year longer. The other advantage of staying the course with regards to CCD sensor architecture, image processing and working with Jenoptik, is that the files coming out of the M9 look like M8 files with more pixels. This point is important. I've read so many comments online about wanting this exact result. The M8 is a phenomenal image maker. The quality of the files bests cameras with significantly higher numbers in the megapixel department. So, to have the M9 produce an almost identical per-pixel look and feel is great news for Leica digital shooters, especially considering the jump from 10 to 18MP.
M9 with 50mm Summilux ASPH, ISO 640, 1/125th at f/1.4
Battery life is quite good. I found that my battery life tracked my 16GB SDHC card almost perfectly on the info display. At a bit over 400 pictures on this card, it's not too bad considering the size of the images. And yes, the battery is identical to the battery used in the M8. This is excellent news for people like me who have a fair amount of extra batteries laying around.
Image qualityYes, the image quality is excellent. No, there are no surprises. No IR issue. No green blobs. No freezing cameras. As Stefan put it, the M9 in the prototype stage is well ahead of where the M8 was at launch. They have learned quite a lot in the last three years.
I shot with the M9 over the course of a few days, shooting in bright sun, indoors, and at night. I used the ISO range from 80 to 1600. My impressions when looking at the files on my laptop in Lightroom over in Germany were very good. Now that I've had some more time with them and had a chance to make a bunch of 20×30 inch prints, I'm pretty confident in the conclusion I mentioned earlier, but I think bears repeating: The M9 files look almost identical to M8 images on a per-pixel level and when viewed in print up to 20×30.
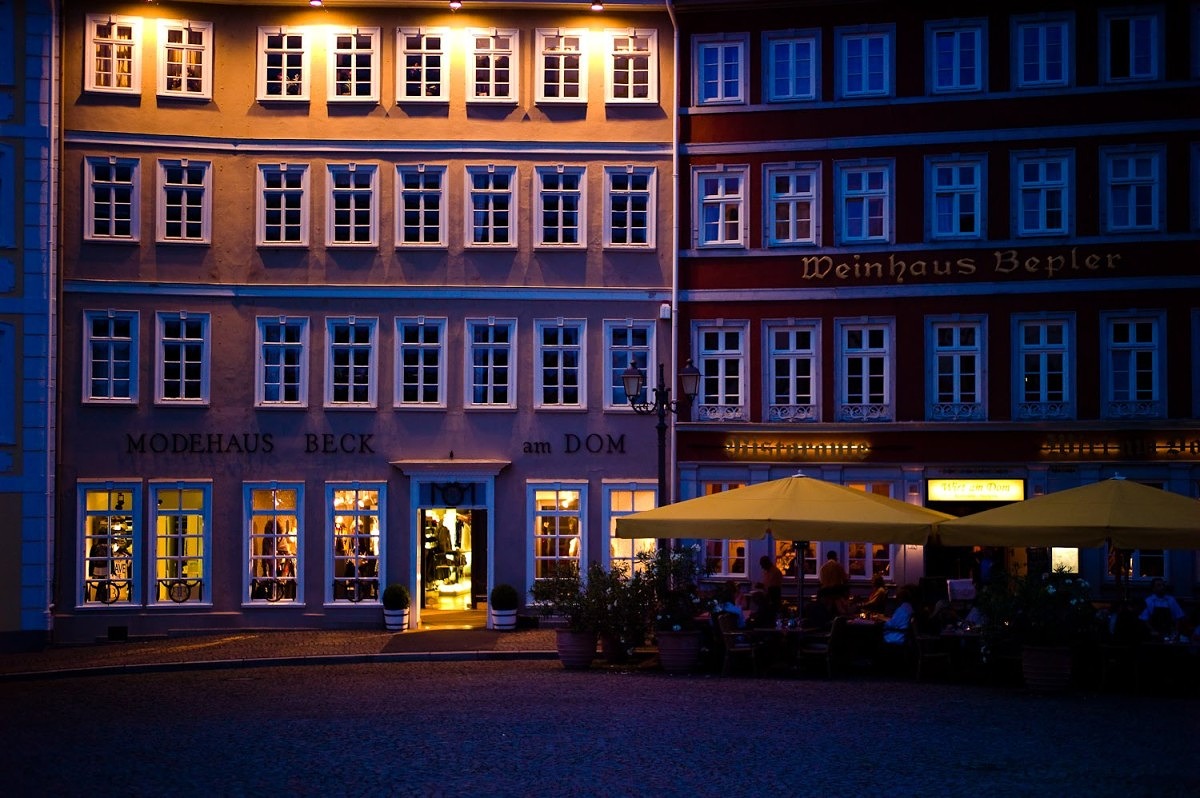
M9 with 50mm Summilux ASPH, ISO 800, 1/125th at f/1.4
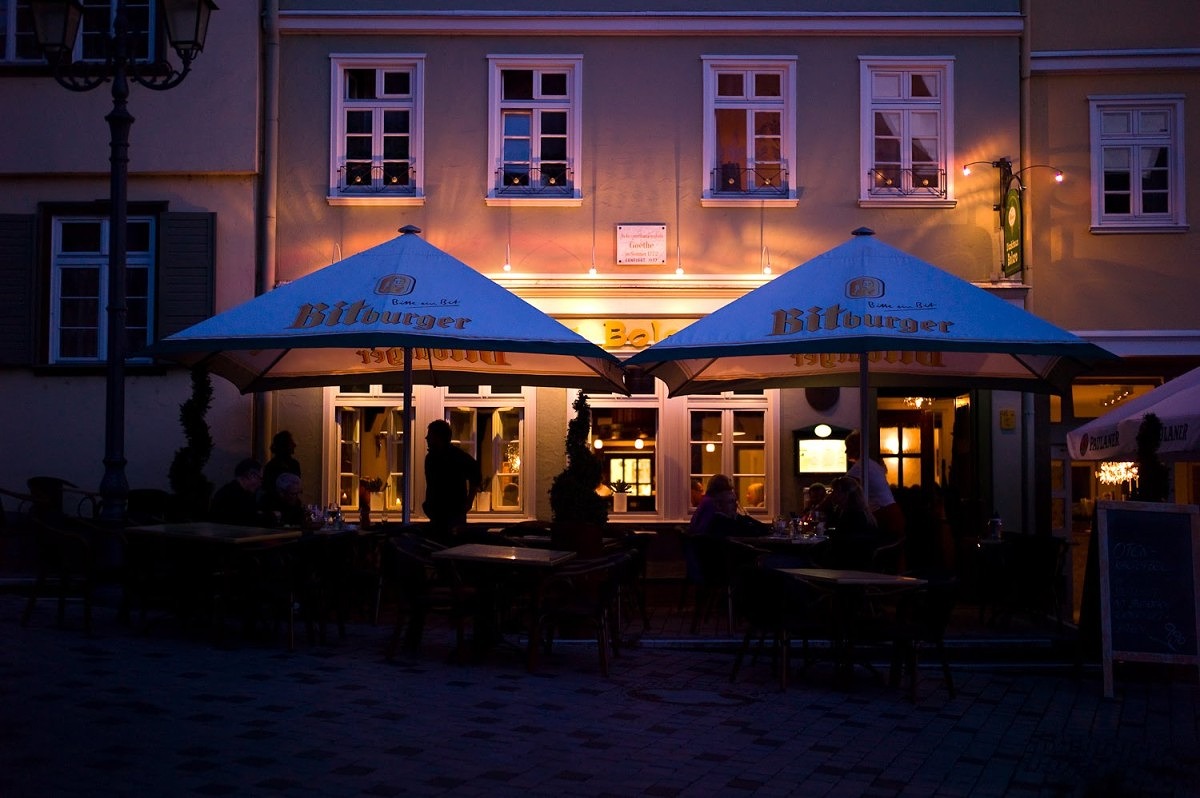
M9 with 50mm Summilux ASPH, ISO 800, 1/180th at f/1.4
There is a noticeable improvement in the ability to hold highlights and the high ISO performance is also improved, although not by a huge amount, in my initial opinion. I can't speak authoritatively on this topic quite yet. All my M8/M8.2 processing over the last three years has been in Capture One and all my M9 images are going through Lightroom, which was lacking cameras-specific profiles during my test. I'd hope that fully tweaked, the noise performance will be even better than what I've been seeing. While the current C1 v4.8.2 doesn't recognize M9 files for import, the previous v4.8.1 does (you can download previous versions from the archive). I played briefly with some ISO 1600 shots in both programs. C1 offers some more aggressive noise reduction adjustments and really cleans up shadows at the slight expense of fine mid tone detail. LR has more clumpiness in shadows, but the details and overall image look more natural and pleasing. I didn't go so far as to try specialized software like Noise Ninja or Nik Define. The bottom line here is that we're certainly not looking at Nikon D3 low light ability, but I think that with proper workflow (and expected profiles for the M9 from Adobe) as well as good exposure, 1250 ISO should be comparable to the 640 ISO we have on the M8.2 today. Proper exposure plays an important role. If your high ISO shots are even the tiniest bit underexposed, noise becomes a real issue when boosting exposure back up in post.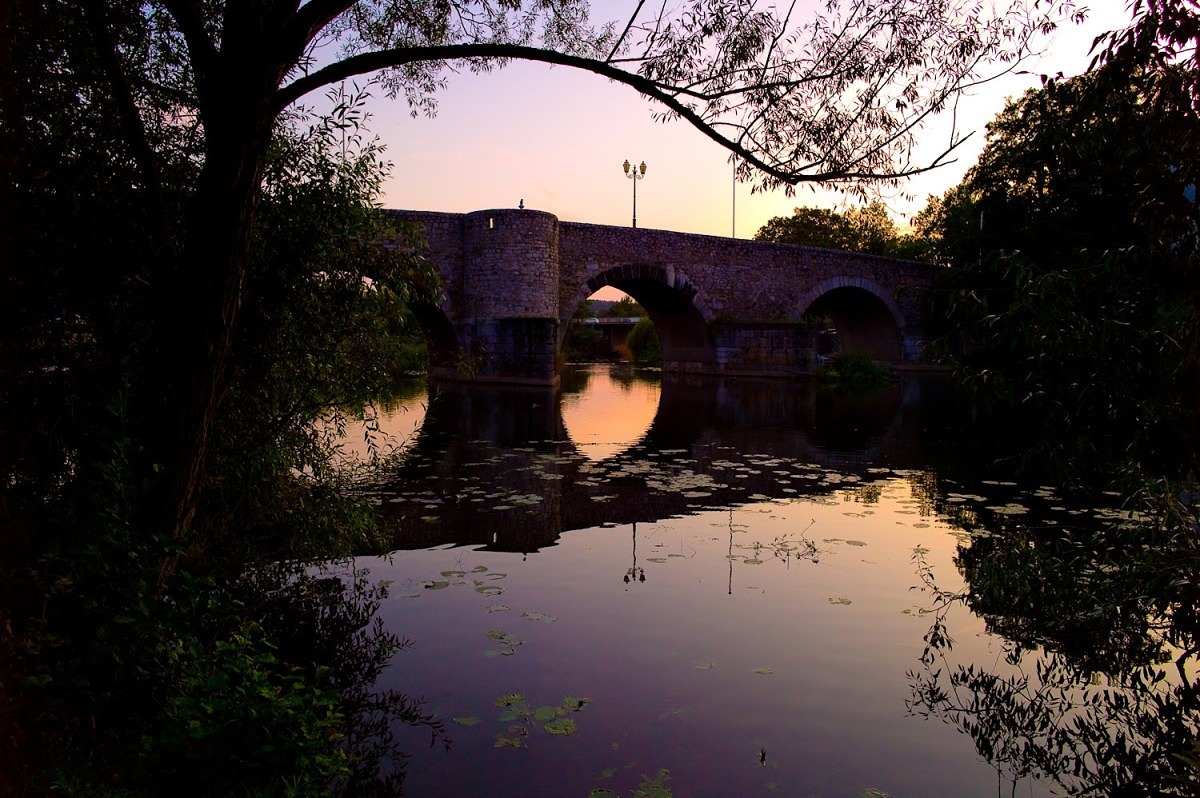
M9 with 24mm Summilux ASPH, ISO 400, 1/125th at f/5.6
Also, because of the pixel count increase, I didn't need quite as much enlargement for each given print size. I found some 20x30s I ran from ISO 1250 files looked every bit as clean and detailed from M8 prints shot at ISO 640. So, while you can get an overall feel for image quality by pixel peeping on screen, nothing will tell you the final print quality besides actually printing big and looking at it.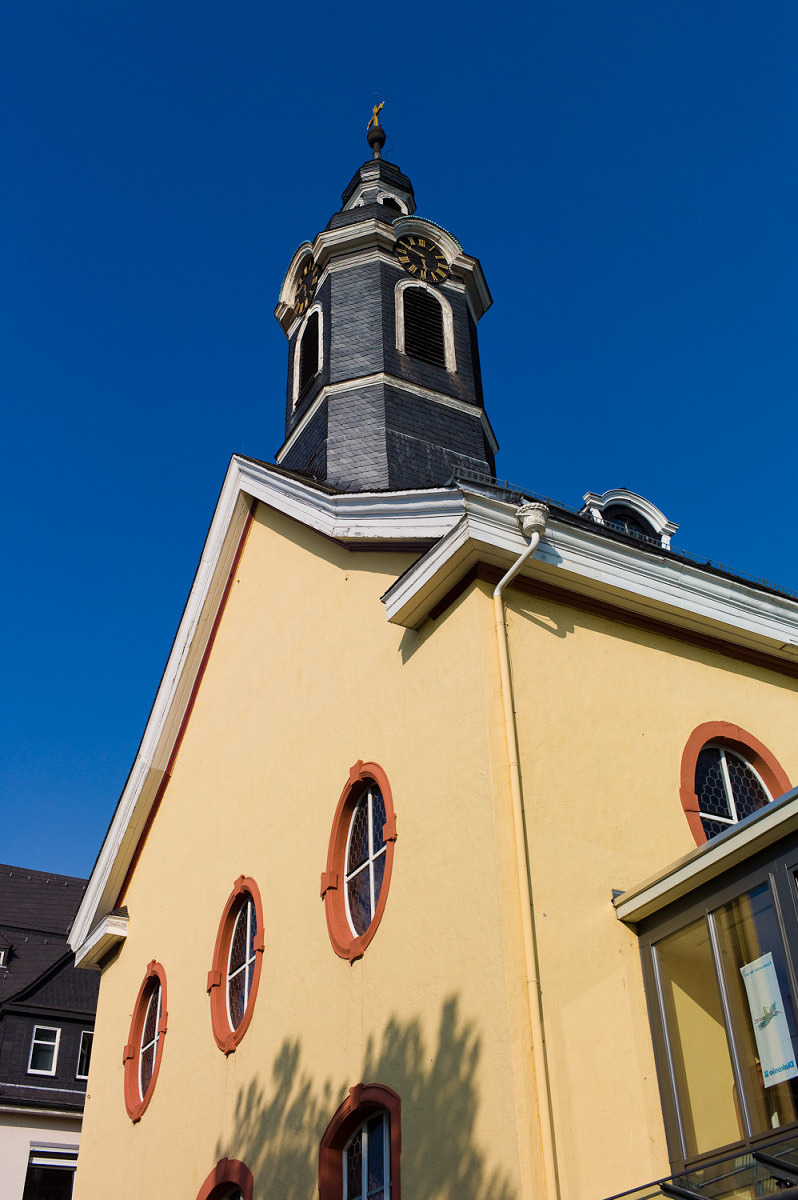
M9 with 35mm Summicron ASPH, ISO 160, 1/710th at f/5.6
Overall, the color tones and feel echo the M8, which is my basic point. The M9 produces M8 quality with more pixels, slightly less noise and more dynamic range. One caveat, though. With all this shooting, I never shot a single JPG. Not one. Considering that Stefan told us that the JPG output had been significantly improved over the M8, I really should have. The reality is that I shoot an all-RAW workflow and I believe most people looking to get the most out of the camera will do the same. Once I get my M9 in the next few weeks (customer orders come first, after all), I plan on experimenting with in-camera JPGs vs. LR-processed DNG files.
ConclusionI fully expect the M9 to be a home run for Leica. Just about every user request made since the M8 came to market has been addressed and implemented. Full frame? Check. No IR filters? Check. Ability to use non-coded lenses? Check. Direct ISO button? Check. Better LCD? Check. Better ISO performance? Check. More megapixels? Check. Soft release? Check. It's all in there. If the M8 represented a pivotal move to digital, the M9 shows the full potential of what is possible in a digital M body. While not revolutionary, this natural evolution is exactly what 99% of M users have been waiting for. Taken as a whole, the Leica M9 is the most compact, highest quality image-making tool on the market, with a full frame sensor looking through gorgeous Leica M glass. And isn't that what it's all about anyway?
- Load More