@david-farkas
active 2 years ago-

David Farkas wrote a new post, Leica M Monochrom (Typ 246) Review 10 years, 7 months ago
Many in the photographic community have speculated that it was only a matter of time until Leica made a monochrome version of the M (Typ 240), more commonly known as the M240. The original M Monochrom, perhaps now […]
-
David Farkas commented on the post, Photokina 2014: Day 2 – Everything you need to know about the Leica S (Typ 007) 10 years, 8 months ago
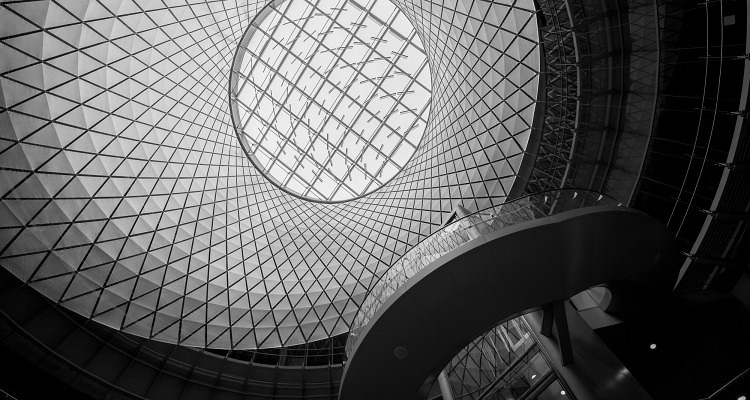
In reply to: David Farkas wrote a new post, Photokina 2014: Day 2 - Everything you need to know about the Leica S (Typ 007) With my focus on the M yesterday, I wanted to dedicate my second day at the show to the new Leica S (Typ 007). As the third generation in the S family (I’m not counting the old S1 as it’s a totally different animal), Leica stepped up their game pretty significantly with the S 007. The new S ticks a lot of boxes on users’ wish lists. I got a chance to sit down with Stephan Schulz, Director of Professional Photo Products, and Toni Felsner, Project Manager of the S System to go over all of the changes on the new S.The S 007 isn’t the first…or second or even third…medium format digital camera to transition from a CCD to a CMOS sensor. Hasselblad, Phase One and Pentax all got there first earlier this year by using the 44x33mm 50MP Sony sensor. But, like one of my favorite sayings goes, “The early bird may get the worm, but the second mouse gets the cheese.” The Leica S is now the fastest MFD system in the world, boasting a frame rate of 3.5 FPS, which is blazingly fast thanks to the new Maestro II image processor under the hood and the rapid-fire, lightweight shutter making light work of exposing the new CMOSIS-produced CMOS sensor at the heart of the S. The camera also is the first to shoot 4K video and use the full width of the sensor to produce 1080p video. It’s got 802.11n Wi-Fi, built-in GPS, UHS-I dual card support, HDMI out, much faster autofocus and focus tracking, USB 3.0, a new and quite large daylight-viewable transflective top display, 60fps live view with focus peaking, DOF calculations clearly indicated, a whole host of video features and incredibly fast image processing.
Lots of interest at the S stand, even from Phase One...
Handling the camera is not too different than the S (Typ 006) that I have used extensively. The size and shape are familiar, which is to say, still one of the most comfortable and ergonomic camera bodies I’ve ever used. The camera is built like a rubber-encased tank and has seen upgrades in the durability category in addition to all the under-the-hood changes. The entire lens mount, and not just the mounting ring, is now solid stainless steel. So are the strap lugs. The mount now has a polished sheen of indestructability. The new faster, quieter shutter is now rated at 150,000 actuations, up from the already respectable 100,000 on the S (Typ 006). While the bulk of the body remains the same, the entire top plate is brand new. The round knob-like GPS nub of the S (Typ 006) is replaced by a black gloss rounded rectangle that sits flush with the top of the camera. At first glance, it looks like a second status screen and seemed somewhat out of place, but it does fit the design quite well after some getting used to. The top status color OLED of the S (Typ 006) is now traded out for a handsome transflective monochrome LCD that is at least double the size. Information is clear and crisp with white lettering against a deep blue background, and the transflective screen, while still having a built-in backlight, actually increases in readability under bright light. The screen is reminiscent of those used in car dashboard displays.
Live view controls
The shutter speed dial is now updated as well. No speed markings grace the dial any longer. The dial is smaller in diameter, has been moved forward towards the front edge and is much easier to turn. The concept is to have multiple functions for this control element and to be easy to turn by your forefinger while gripping the camera. Both were achieved here as I found it easy to use and comfortable to access while shooting. In playback mode, the top dial now controls zoom, with the rear thumb dial taking care of scrolling. This makes playback and review of images much quicker and more intuitive. The last changes to the top plate are two steel buttons that sit to the right of the large top LCD and behind the top dial. The one with the red dot on it is to activate video recording and the other unmarked button is to turn on live view. While not readily apparent from looking at the back of the camera, the onscreen GUI has gotten a nice facelift. Leica designers have traded rounded, dark gray selections to a more modern flat design, more similar to what you might see in iOS 7 or Windows 8. The look is clean and readable and functionally perhaps just a little easier to navigate given the improved menu organization. You also can update firmware within the menu without having to power cycle the camera and hold any buttons for x amount of seconds.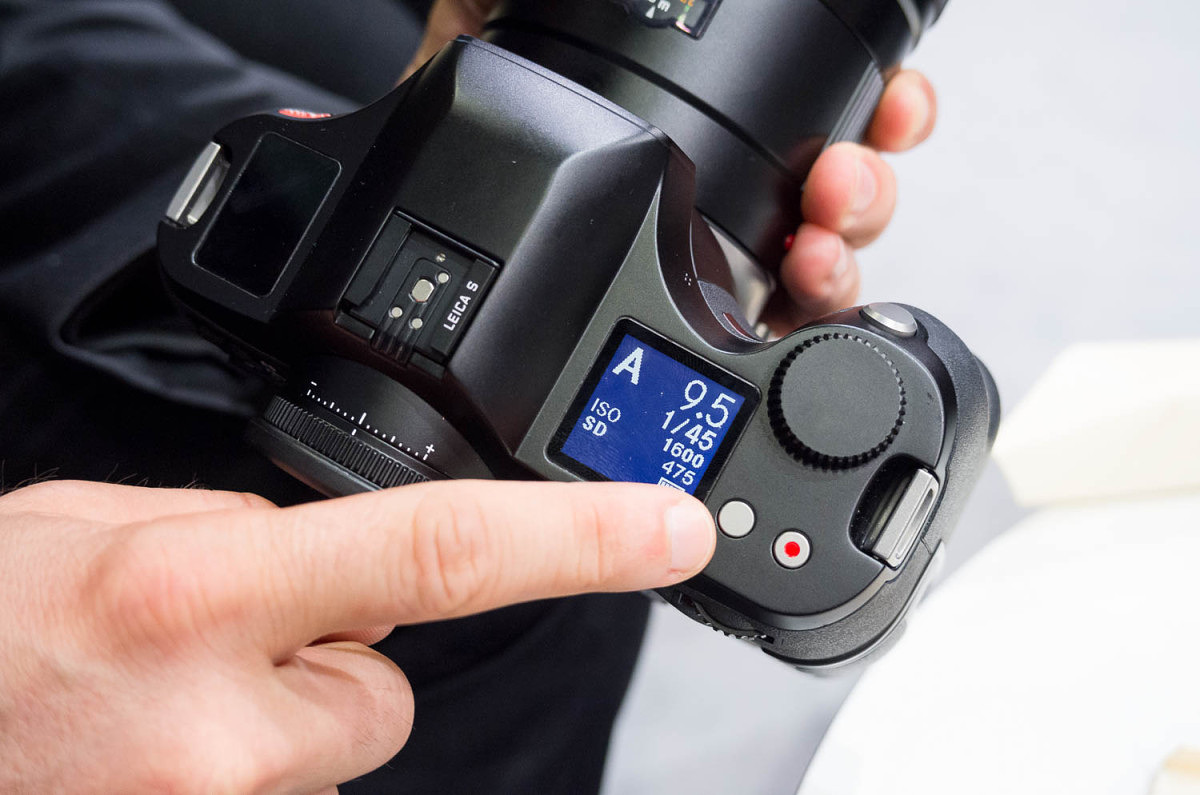
New top transflective LCD
The battery has gotten its own update. Visibly indistinguishable from its predecessor, the new battery boasts an increase in capacity in order to run the live view and video features of the S 007. The really great news for existing S2 and S 006 owners is that the battery is backwards compatible, meaning you can use it to get even longer battery life. It can be used in the Multifunction Grip, which is unchanged, as well as being charged using the same Pro Charger. Just don’t mix the old and the new battery in the grip. The warning I received about this reminded me a part in the movie Ghostbusters of when Egon warns his comrades about not crossing the streams, so we’ll leave it at that. Included with the camera is a new piece of hardware, called the Leica Audio Adapter-S. This small dongle attaches to a locking LEMO port on the side of the camera and has three ports, two 3.5mm audio jacks, one for microphone in, the other for audio out, as well as an RCA connector for importing timecode from an external generator.
New status screen
A lot of focus has been given to providing professional video features in the new S. As I already mentioned, the camera can shoot Digital Cinema 4K and 1080p FullHD. The 4K is actually wider than that used on televisions and computer monitors, measuring 4096 x 2160 pixels. The 4K video is captured at 1:1 on the sensor, meaning that each pixel on the sensor yields one pixel on the final video. So, to this end, the 4K capture area is a cropped section on the larger sensor. While I was pretty excited about the prospect of 4K on such a large sensor, from a quality perspective, this approach is a better one. In 1080p FullHD mode the entire area of the sensor, cropped to 16:9, is used. I imagine video guys everywhere drooling over the prospect of shooting on such a large sensor through the incredible range of S glass. Video can be recorded to either a local CF or SD card, or simultaneously to a computer or recorder via the HDMI port. Output from the HDMI port is limited to 1080p only, as Leica is using HDMI v1.3 which cannot carry 4K signals. The video feed is clean, stripped of any overlays or other information, allowing it to be recorded and ported as necessary. Quality of video should prove to be excellent, whether recorded to card or over HDMI. 4:2:2 sampling is used for best color fidelity and Leica engineers are targeting a bit rate of 50 Mb/s.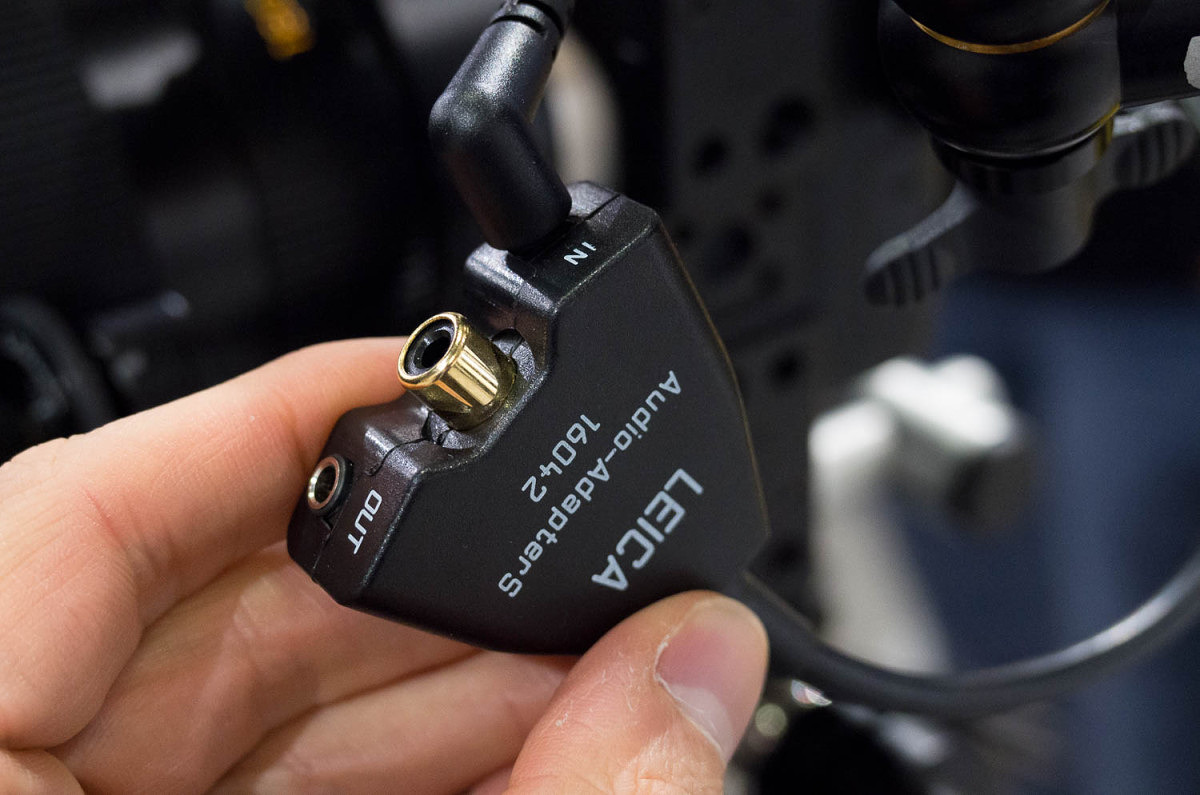
Audio Adapter S with audio and timecode connections
Besides video features, the two main focuses of the S product team has been to overcome two of the challenges historically found in medium format digital systems, namely speed and low light performance. The S has seemed to come out on top on both accounts. At 3.5 fps, the S shoots roughly three times faster than a Hasselblad or Phase One camera. This frame rate is possible with the new shutter and with the upgrade to the Maestro II. The first Maestro processor, care of chip maker Fujitsu, was already quite capable, chugging through 160MP/s. It powered the S2, the S 006 and most recently the M (Typ 240). While a specific speed isn’t being disclosed right now, the second generation ASIC chip is on the order of 2.5-3x faster than its predecessor. Along with support for Wi-Fi, USB 3.0, live view, 4K video and a blazingly-fast frame rate, the new processor also boasts improved image performance and enhanced in-camera RAW noise reduction. This goes to address the second goal, low light performance. Even though the sensor architecture is roughly the same as the one used in the M 240, these improved algorithms and image processing will result in even less noise at equivalent ISOs to the M. We are talking about very good and usable full res ISO 6400! The S is no longer relegated to being used in full light or being confined to a tripod. Coupled with the 30-90mm Vario lens, this beast could easily serve as a general purpose shooter, with similar handling and capabilities to that of a pro 35mm DSLR, but offering the advantages of medium format with a sensor area 60% larger.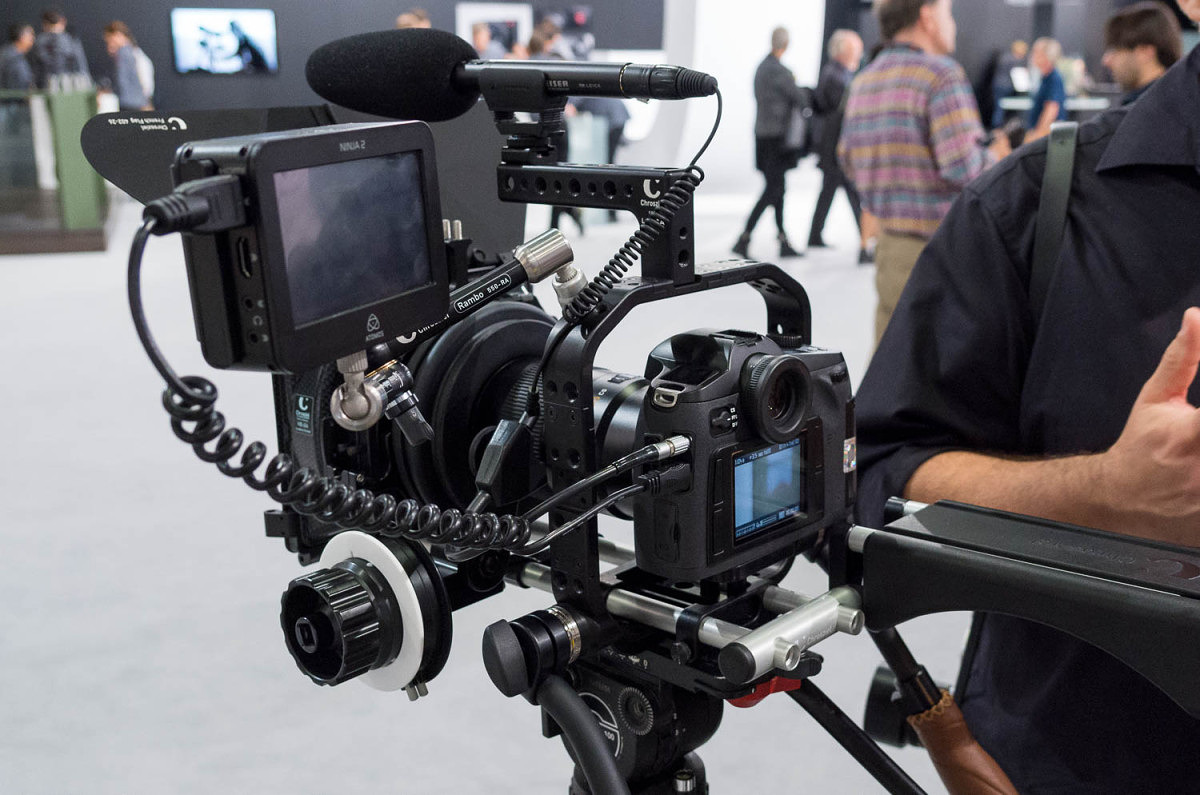
Full video rig
Along the same lines of speed comes an entirely redesigned AF system. While still featuring a single cross-type sensor in the center of the frame rather than a few closely spaced points, the already good AF speed and accuracy is now improved by a full 50% increase in both. This is not a small incremental bump, but rather feels totally different. I tried it out and even the previously mediocre AFc tracking mode is really good now. I’m told that it can easily track a subject walking or jogging toward the camera, even in the close range. And, you don’t even need to buy a new S 007 to take advantage of the speed increase. Here’s how it works. In the old system, the AF sensor when activated would tell the motor to start moving towards the target distance. When it reached that point, the AF sensor would measure again, then start the motor again to adjust for precision, and repeat as necessary until 100% perfect. But this starting and stopping proves to be a little inefficient. In the new system, the AF module stays active during the entire travel of the lens, constantly measuring and providing real-time instructions to the focus motor. Also new is the ability to finely vary the speed of the motor, slowing down and starting up gradually to minimize any jerkiness and increase movement efficiency. Apparently, the hardware to control motor speed through pulse width modulation and maintain AF measurements throughout the range have been there since the S 006, just not the software. So the new firmware just released for the S 006 upgrades the AF to the new standard. Unfortunately, given the hardware differences, the S2 cannot take advantage of this. Leica’s been doing a fantastic job providing ongoing support and expanding functionality for existing customers. Also included as part of that AF package is a faster time to shoot. In AFs mode, when you press the shutter, the mirror actually starts to move before the lens motor has fully stopped. The system knows where the point of focus will be and will continue to finalize focus while the mechanical exposure sequence starts. This leads to a feeling of much more responsiveness. Another huge item is live view functionality. With a 60 fps refresh rate off the sensor, live view looks amazing. Clear, bright and fluid. Unlike the M 240 or the T, which only allow for zooming in to the center of the image, the S 007 allows you to pan anywhere in the image at 100% view. And, you can use a spot cursor to use contrast detect AF anywhere in the image which in live view. There is also focus peaking and the focus spot can be combined with the spot meter to meter anywhere in the frame as well. Very nice implementation.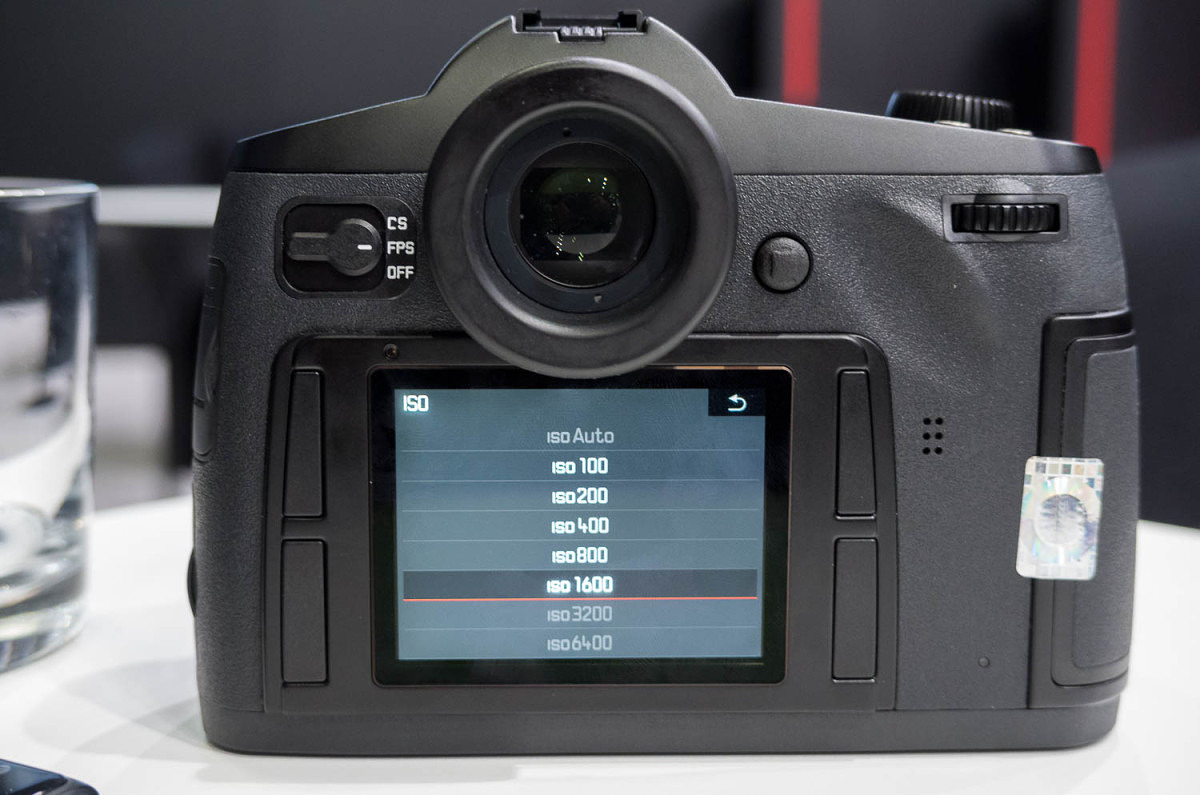
High ISO range? Yes, please.
Like the T, the S can now use the Leica Shuttle app for iPhone or iPad to remotely control the camera and stream a live feed from the sensor. If you have a weak connection, the frame rate will drop, but the camera will still communicate. All image controls as well as relevant menu items can be accessed remotely and high-res JPGs can be streamed while shooting, all while the camera records to the internal memory or to a tethered connection over USB. Great feature for both the commercial studio as well as in the field for landscape applications. And, just like the T app, you’ll be able to browse and evaluate all the images on the card. Some of my long-term wish items have been granted. In speaking with the Toni, he said that there were some “David Farkas wish items” on the new camera. One of my long-term wishes for landscape photography was to have the ability to determine hyperfocal distance. The S offers such a full system integration between lens aperture, precise focus distance and the camera that I reasoned it should be possible to calculate and display a DOF range. I’m happy to say that this is now a standard feature on the S 007. Whenever you are in manual focus mode or when performing a manual focus override in AF, three numbers show on the top display: the focus setting, front focus and back focus. So, to get hyperfocal, just turn the lens until the back value reads at infinity. Done and done. Love it.
Spot AF and spot metering in live view
Another item that I’ve requested is the ability to write DNG to both the CF and SD cards at the same time. Not only does the camera do this with ease, but in Backup mode as it’s called now, the S will also write DNG+JPG to both cards or store DNG files on card while shooting tethered. This last point is great. If the S2 or the S 006 got disconnected during a tethered shooting session, the camera would be fine, but the images in the buffer and in transit would be lost. Now, the S 007 in the same situation would just continue shooting to the internal card storage. Leica is also teaming up with some experienced video accessory companies to create a full shooting package around the S. Rigs, matte boxes and follow focus controls from Chrosziel, microphones from Sennheiser and digital capture from Atomos are all in the works. In fact, Atomos is planning a firmware update that will allow the S to be controlled by the recorder’s touch screen when connected via HDMI.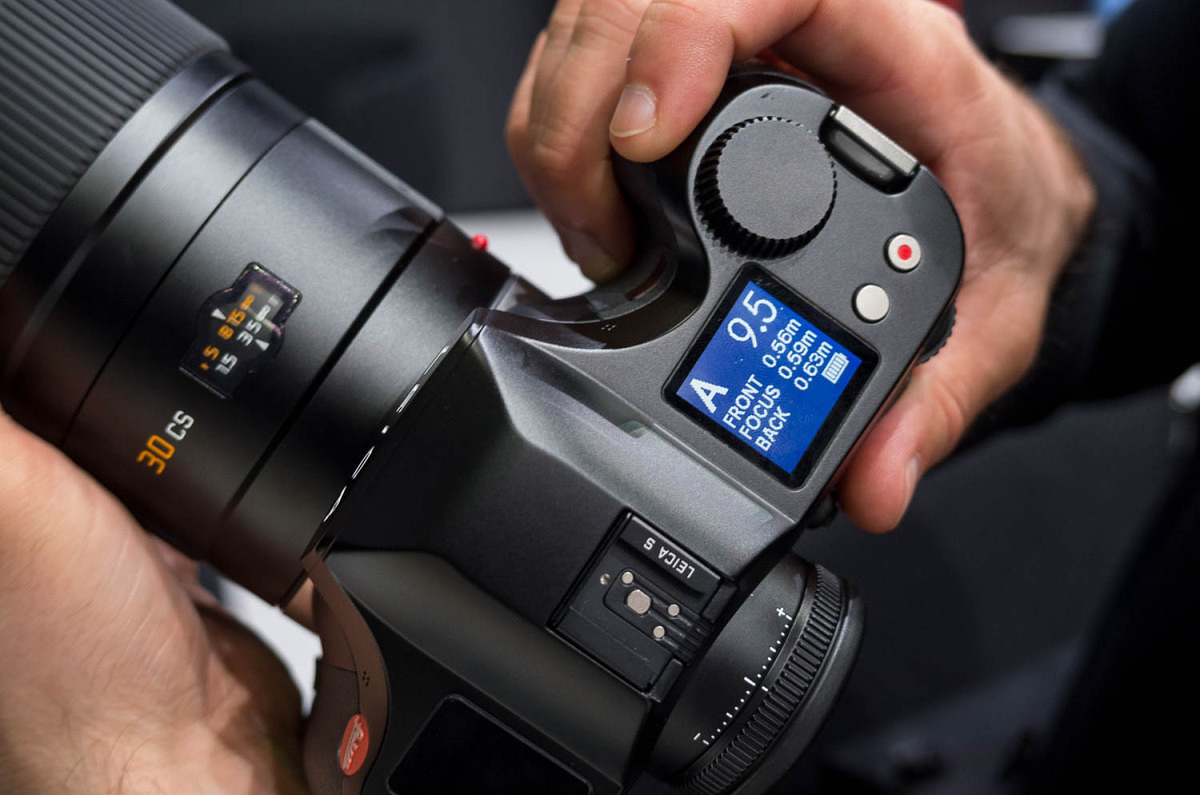
Distance readings for DOF
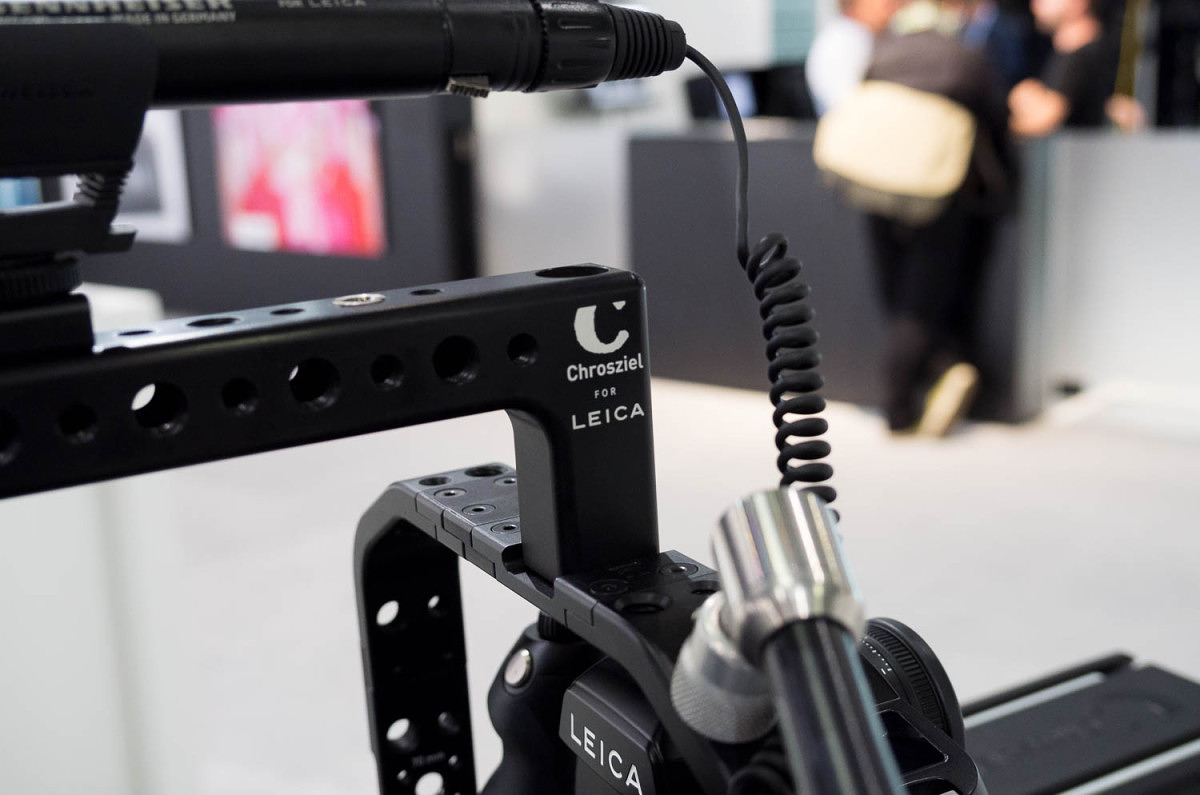
Chrosziel rig... for Leica!

Sennheiser mic.... for Leica!
All-in-all, the S (Typ 007) seems to really deliver. Some might be disappointed by Leica’s decision not to bump the resolution slightly to 50MP, but to reiterate Stephan’s point, Leica is focused on delivering practical, real-world quality and usability. To add a tenth lens to the system, Leica is also imminently releasing the gorgeous 100mm Summicron-S ASPH. This is now the fastest medium format lens produced and will equal the depth of field of an f/1.6 on 35mm full frame. It focuses down to 0.7 m and according to Peter Karbe, head of optics at Leica, it is an amazing optic, delivering almost perfect performance wide-open at every distance. He seemed especially proud of this new lens design and has made it clear to me in the past that the S lenses are the showpieces of Leica optical design. And, lastly, in keeping with the trend of taking the previous generation and rebranding it as an “essential” model, the S (Typ 006) will get a makeover and name change to the Leica S-E. Dressed up in anthracite gray with silver controls, the S-E is like an M-E on steroids. At about $10,000 less than the S (Typ 007), it can still serve the needs of those photographers not needing video, live view, fast frame rate or low light performance, while offering a more attractive price point.
Atomos Ninja hooked up to S with HDMI cable

Leica S-E
The S System continues to mature and shows Leica’s long term commitment to constant improvement and continued support. The lenses continue to be among the best that Leica has produced for any system and now the upcoming camera offers medium format without compromise. It’s incredible that it’s only been six years since Leica first announced the S System and less than five years since it started shipping the S2. There has been so much improvement and a rapid build-up of lenses to meet most every need that the S is truly a flagship system for Leica. Stay tuned for more Photokina updates! Don't forget, you can follow me on Instagram @leicastoremiami and on Twitter @reddotforum.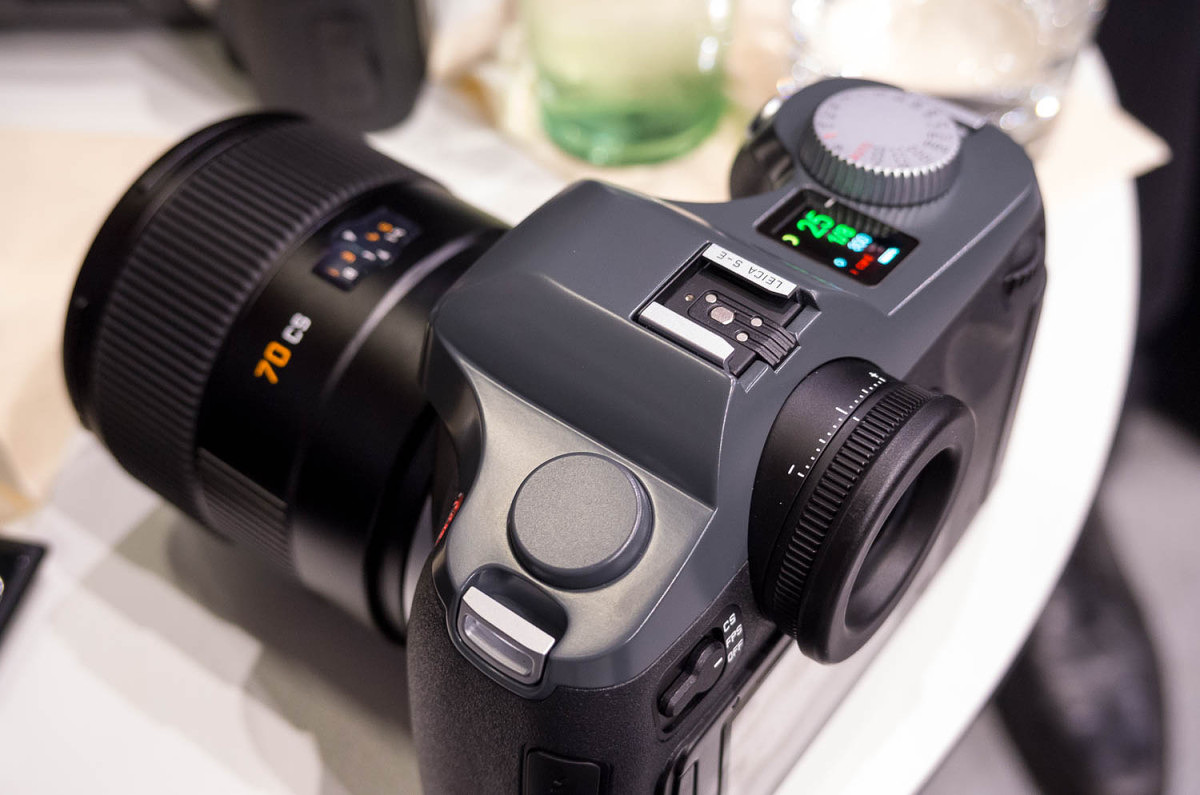
Leica S-E
View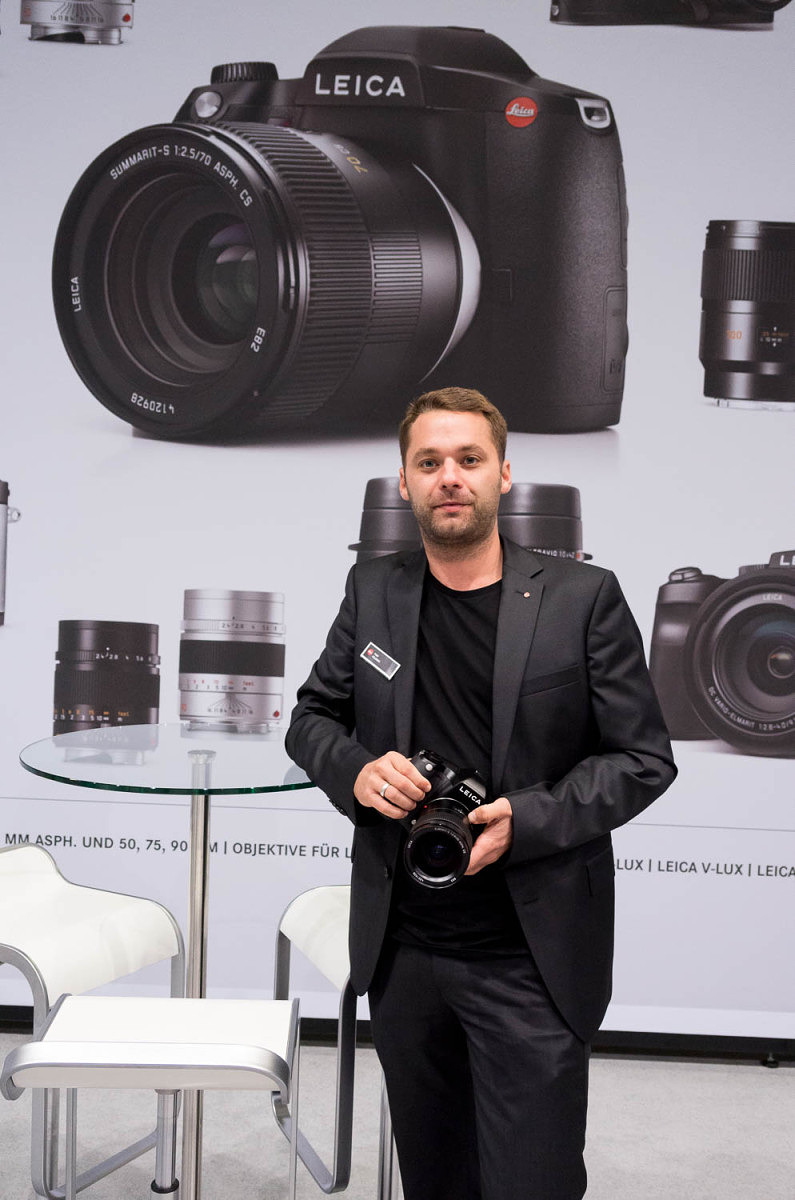
S Product Manager Toni Felsner
Scott,
My understanding is that the live DOF readout will not be able to be added via firmware to the S 006 and will only be available on the new S 007. Of course, Leica was able to incorporate the new AF algorithms into the S 006 with the latest firmware, so there might be a way. We will have to see.
-
David Farkas commented on the post, The Great Debate: CCD vs. CMOS – Part 3 10 years, 8 months ago
In reply to: David Farkas wrote a new post, The Great Debate: CCD vs. CMOS - Part 3 The results are in! Thanks so much to everyone who cast their votes in both Part 1 and Part 2 of this experiment. The Experiment To recap, I was testing the theory that images from a Leica CCD-based camera have a unique and instantly identifiable look and feel to the images. Many who hold this belief feel that this look cannot be achieved with a CMOS-based camera, regardless of post-processing efforts. To conduct the test, I ventured out with both an M9 and an M240 while I was visiting San Francisco with my family for a couple of days at the end of February. After taking an image with one camera, I’d quickly swap lenses to shoot roughly the same picture with the other body using the same lens and equivalent settings. Part 1: Head-to-Head Comparisons For Part 1, I first processed the M9 files to look like what I’d expect M9 images to look like using my preset and personal preference. I then used the M9 images as a reference to adjust the corresponding M240 files and tried to achieve a rough match. Rather than use all the tools at my disposal to create an exact match, I opted instead to impose some limits. In the spirit of the experiment, I wanted to see if a match could be achieved without using any localized adjustments. No masking. No selections. No adjustment or gradient brushes. Instead, I used only overall image slider adjustments in Adobe Lightroom. After all, this test was not about how good my post processing skills are when given any and all tools and unlimited time. I wanted it to be realistic so that almost anyone with moderate Lightroom skills could produce the same results as I did. The pairs were then posted without metadata and were randomized in the order displayed. Part 1: The Results The results were certainly interesting. On the direct comparisons in Part 1, only 7 out of 19 (36%) match-ups were correctly identified. This is pretty telling. I received feedback from some users that they started taking the test and just gave up halfway through as they couldn’t see any significant differences and felt they were merely guessing. This is visible in the voting numbers, with almost 800 votes for the first set and about 450 for the last set (as of this writing). There were some surprises for me, though. I was amazed that so many were able to accurately identify the M9 images in the Streetcar and Apartment sets. Roughly two thirds of the voters picked correctly on these. On the flip side, I was equally stunned that so many guessed incorrectly on two images which I felt were bound to be easier to pick due to their color ranges: Red Cards and Lombard Street. Most other pairs of images came in very close to 50/50. Keep in mind that this test wasn’t to determine which camera was more capable. It was to merely test the “CCD look” theory. The conditions purposely favored the M9, as the comparisons featured images taken in good quality, directional natural light with vibrant colors, and defined contrast. These kinds of punchy images at low ISO almost always look great from the M9. Here are the raw voting results as of March 6, 2015: Thumbnail Which one was M9? Votes M9 M240 Margin Correct? Streetcar - 1
796
60.7%
39.3%
21.4%
Yes
Streetcar - 1
796
60.7%
39.3%
21.4%
Yes
 Fishing Dock -1
735
56.1%
43.9%
12.2%
Yes
Fishing Dock -1
735
56.1%
43.9%
12.2%
Yes
 Life Preserver - 1
703
56.3%
43.7%
12.6%
Yes
Life Preserver - 1
703
56.3%
43.7%
12.6%
Yes
 Fishing Boat Bows - 2
670
47.6%
52.4%
-4.8%
No
Fishing Boat Bows - 2
670
47.6%
52.4%
-4.8%
No
 Bay Boat Tour - 2
620
46.5%
53.5%
-7.0%
No
Bay Boat Tour - 2
620
46.5%
53.5%
-7.0%
No
 Sailboats in front of Alcatraz - 1
563
46.7%
53.3%
-6.6%
No
Sailboats in front of Alcatraz - 1
563
46.7%
53.3%
-6.6%
No
 Magenta Tulips - 1
557
49.2%
50.8%
-1.6%
No
Magenta Tulips - 1
557
49.2%
50.8%
-1.6%
No
 Steps - 2
533
47.5%
52.5%
-5.0%
No
Steps - 2
533
47.5%
52.5%
-5.0%
No
 Pier 39 - 1
518
54.2%
45.8%
8.4%
Yes
Pier 39 - 1
518
54.2%
45.8%
8.4%
Yes
 Church Windows - 2
505
49.9%
50.1%
-0.2%
No
Church Windows - 2
505
49.9%
50.1%
-0.2%
No
 Scarves - 1
489
52.6%
47.4%
5.2%
Yes
Scarves - 1
489
52.6%
47.4%
5.2%
Yes
 Red Cards in Bin - 2
460
43.0%
57.0%
-14.0%
No
Red Cards in Bin - 2
460
43.0%
57.0%
-14.0%
No
 Slippers - 2
450
45.8%
54.2%
-8.4%
No
Slippers - 2
450
45.8%
54.2%
-8.4%
No
 Skyscraper - 1
443
46.5%
53.5%
-7.0%
No
Skyscraper - 1
443
46.5%
53.5%
-7.0%
No
 Modern Building - 2
438
47.5%
52.5%
-5.0%
No
Modern Building - 2
438
47.5%
52.5%
-5.0%
No
 Gate - 2
430
48.8%
51.2%
-2.4%
No
Gate - 2
430
48.8%
51.2%
-2.4%
No
 Apartments - 1
418
62.7%
37.3%
25.4%
Yes
Apartments - 1
418
62.7%
37.3%
25.4%
Yes
 Walkway with Purple Flowers - 2
437
51.9%
48.1%
3.8%
Yes
Walkway with Purple Flowers - 2
437
51.9%
48.1%
3.8%
Yes
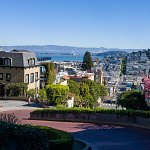 Lombard Street - 2
458
42.4%
57.6%
-15.2%
No
Part 2: Single Images
For Part 2, I wanted to take a slightly different approach. I was on vacation and as such, didn’t shoot soley for the sake of making image comparison sets. At a certain point, this kind of shooting gets fairly tedious. Once I knew I had enough material for the test, I just focused on having fun taking pictures like I would normally do in a great shooting locale like San Francisco on a gorgeous day.
For these single images, I processed with respective presets for each camera and my personal taste, picked some of my favorites and posted individual photos. The challenge this time was to correctly identify which camera was used to produce each image. And because, for me, the head-to-head test was over, I allowed myself to seek out a broader range of subjects and more candid scenarios that didn’t only suit the M9. Shots were taken at night, at high ISO, and indoors under artificial lighting. As indicated by the votes on the images, most people erred on the side of picking the M240 for these types of shots. And even with these obvious examples, only 55% of the images were correctly identified. I will say, though, that swings in preferences were much more pronounced than in the head-to-head comparisons of Part 1.
Part 2: The Results I didn’t set out to make this a segment full of trick questions, but unfortunately, I only had two images from the M9 during my free shooting time that I felt were worthwhile to post. Why? Well, frankly, the M240 was more fun to shoot with, so that’s what I used for 90% of my shooting even though I carried both cameras with me. It’s faster. I can use the EVF for precise composition. The LCD screen allows more accurate review. And, ironically, the CMOS sensor fares far better in poor and mixed light and is vastly superior for high ISO shooting. So, if you voted/guessed that every image was taken with the M240 you’d have scored way, way above the average. Here are the raw voting results, again from March 6, 2015: Votes M9 M240 Margin Correct? Which Camera? Cigar Store Café 314 41.4% 58.6% 17.2% Y M240 Washington Square Park 300 62.3% 37.7% -24.6% N M240 Julie on Cable Car 303 30.7% 69.3% 38.6% Y M240 Yellow Tulips 280 45.0% 55.0% 10.0% N M240 Two Guys at the Pier 281 62.6% 37.4% 25.2% Y M9 Red and White Fleet Sign 272 45.6% 54.4% -8.8% N M9 Red Light Gauges 258 33.7% 66.3% 32.6% Y M240 Old Dial pn Sub 261 41.8% 58.2% 16.4% Y M240 Sub Engine Gauges 256 55.9% 44.1% -11.8% N M240 Battle Telephone 243 46.5% 53.5% 7.0% Y M240 SS-383 Conning Tower 251 58.2% 41.8% -16.4% N M240 Leaving Museum 243 62.6% 37.4% -25.2% N M240 Pier at Sunset 253 35.6% 64.4% 28.8% Y M240 Ghiradelli Square at Night 246 48.4% 51.6% 3.2% Y M240 Sunset on the Beach 239 56.9% 43.1% -13.8% N M240 Sophia with Hat 245 37.6% 62.4% 24.8% Y M240 Angled Street 228 45.2% 54.8% 9.6% Y M240 City View out of Round Window 221 62.4% 37.6% -24.8% N M240 Coit Tower Windows 224 57.6% 42.4% -15.2% N M240 Coit Tower Looking Up 223 40.8% 59.2% 18.4% Y M240 Red Car 227 51.1% 48.9% -2.2% N M240 Modern House on Lombard 222 60.8% 39.2% -21.6% N M240 Loading Bay 218 44.0% 56.0% 12.0% Y M240 Parking 217 42.4% 57.6% 15.2% Y M240 Hallway 199 43.7% 56.3% 12.6% Y M240 Fishmonger 206 50.5% 49.5% -1.0% N M240 Drydock 203 40.9% 59.1% 18.2% Y M240 The Embarcadero 200 55.5% 44.5% -11.0% N M240 Roll Your Own 207 59.9% 40.1% -19.8% N M240 Red Door 205 47.3% 52.7% 5.4% Y M240 Shadow Tree 217 56.7% 43.3% -13.4% N M240 Admittedly, many of the M240 images do indeed look like they were taken with the M9. This wasn’t because I was trying to play games or fool anyone. The files ended up this way because I liked the way they looked. Remember, on these images I didn’t have a known aim point. Processing, for me, as I imagine for many other photographers, is highly personal and subjective. Very, very few areas of photography benefit from “accurate” color or tone. Almost all disciplines of our fair art form take liberties to represent our own unique visions. Even before digital, we used filters to alter color or contrast, shot various film types with no two emulsions offering the same visual fingerprint, employed different chemistry to achieve a specific look, and messed around in the darkroom for hours to create our desired finished vision. I make no apologies for editing my images to suit my tastes. And, furthermore, I think that the pursuit of a mythical “accurate” or “neutral” result out of camera with no processing doesn’t jive with the most basic tenets of photography, be it film or digital. This quixotic quest, while appearing reasonable and noble, doesn’t make better photographs. But I digress.
Lombard Street - 2
458
42.4%
57.6%
-15.2%
No
Part 2: Single Images
For Part 2, I wanted to take a slightly different approach. I was on vacation and as such, didn’t shoot soley for the sake of making image comparison sets. At a certain point, this kind of shooting gets fairly tedious. Once I knew I had enough material for the test, I just focused on having fun taking pictures like I would normally do in a great shooting locale like San Francisco on a gorgeous day.
For these single images, I processed with respective presets for each camera and my personal taste, picked some of my favorites and posted individual photos. The challenge this time was to correctly identify which camera was used to produce each image. And because, for me, the head-to-head test was over, I allowed myself to seek out a broader range of subjects and more candid scenarios that didn’t only suit the M9. Shots were taken at night, at high ISO, and indoors under artificial lighting. As indicated by the votes on the images, most people erred on the side of picking the M240 for these types of shots. And even with these obvious examples, only 55% of the images were correctly identified. I will say, though, that swings in preferences were much more pronounced than in the head-to-head comparisons of Part 1.
Part 2: The Results I didn’t set out to make this a segment full of trick questions, but unfortunately, I only had two images from the M9 during my free shooting time that I felt were worthwhile to post. Why? Well, frankly, the M240 was more fun to shoot with, so that’s what I used for 90% of my shooting even though I carried both cameras with me. It’s faster. I can use the EVF for precise composition. The LCD screen allows more accurate review. And, ironically, the CMOS sensor fares far better in poor and mixed light and is vastly superior for high ISO shooting. So, if you voted/guessed that every image was taken with the M240 you’d have scored way, way above the average. Here are the raw voting results, again from March 6, 2015: Votes M9 M240 Margin Correct? Which Camera? Cigar Store Café 314 41.4% 58.6% 17.2% Y M240 Washington Square Park 300 62.3% 37.7% -24.6% N M240 Julie on Cable Car 303 30.7% 69.3% 38.6% Y M240 Yellow Tulips 280 45.0% 55.0% 10.0% N M240 Two Guys at the Pier 281 62.6% 37.4% 25.2% Y M9 Red and White Fleet Sign 272 45.6% 54.4% -8.8% N M9 Red Light Gauges 258 33.7% 66.3% 32.6% Y M240 Old Dial pn Sub 261 41.8% 58.2% 16.4% Y M240 Sub Engine Gauges 256 55.9% 44.1% -11.8% N M240 Battle Telephone 243 46.5% 53.5% 7.0% Y M240 SS-383 Conning Tower 251 58.2% 41.8% -16.4% N M240 Leaving Museum 243 62.6% 37.4% -25.2% N M240 Pier at Sunset 253 35.6% 64.4% 28.8% Y M240 Ghiradelli Square at Night 246 48.4% 51.6% 3.2% Y M240 Sunset on the Beach 239 56.9% 43.1% -13.8% N M240 Sophia with Hat 245 37.6% 62.4% 24.8% Y M240 Angled Street 228 45.2% 54.8% 9.6% Y M240 City View out of Round Window 221 62.4% 37.6% -24.8% N M240 Coit Tower Windows 224 57.6% 42.4% -15.2% N M240 Coit Tower Looking Up 223 40.8% 59.2% 18.4% Y M240 Red Car 227 51.1% 48.9% -2.2% N M240 Modern House on Lombard 222 60.8% 39.2% -21.6% N M240 Loading Bay 218 44.0% 56.0% 12.0% Y M240 Parking 217 42.4% 57.6% 15.2% Y M240 Hallway 199 43.7% 56.3% 12.6% Y M240 Fishmonger 206 50.5% 49.5% -1.0% N M240 Drydock 203 40.9% 59.1% 18.2% Y M240 The Embarcadero 200 55.5% 44.5% -11.0% N M240 Roll Your Own 207 59.9% 40.1% -19.8% N M240 Red Door 205 47.3% 52.7% 5.4% Y M240 Shadow Tree 217 56.7% 43.3% -13.4% N M240 Admittedly, many of the M240 images do indeed look like they were taken with the M9. This wasn’t because I was trying to play games or fool anyone. The files ended up this way because I liked the way they looked. Remember, on these images I didn’t have a known aim point. Processing, for me, as I imagine for many other photographers, is highly personal and subjective. Very, very few areas of photography benefit from “accurate” color or tone. Almost all disciplines of our fair art form take liberties to represent our own unique visions. Even before digital, we used filters to alter color or contrast, shot various film types with no two emulsions offering the same visual fingerprint, employed different chemistry to achieve a specific look, and messed around in the darkroom for hours to create our desired finished vision. I make no apologies for editing my images to suit my tastes. And, furthermore, I think that the pursuit of a mythical “accurate” or “neutral” result out of camera with no processing doesn’t jive with the most basic tenets of photography, be it film or digital. This quixotic quest, while appearing reasonable and noble, doesn’t make better photographs. But I digress.
M240 with 24mm Elmar
Looking at the results from Part 2, images like Washington Square Park, Roll Your Own, Modern House on Lombard and City View Out of Round Window fooled around two thirds of voters. Other images that are well-suited to the M240, like Julie on Cable Car, which was taken at ISO 1000 shooting into a heavily-backlit scene seemed a bit more obvious with almost 70% picking that one accurately. From my experience, an M9 would not have been so graceful here. Likewise, most people picked the M240 for the submarine interior shots, which were handheld at ISO 1600, except for Red Light Gauges, which was taken at ISO 2500. Shots where I left the files more open and airy, rather than pulling down the darker midtones like Coit Tower Looking Up, were also correctly identified as M240. The reality is that I am quite fond of images that I’ve taken with both the M9 and the M240. I never really took to direct comparisons as I wasn’t displeased with the different look offered by the M240. In my particular workflow, I apply my own homegrown import presets based on camera model when I bring my DNG files into Lightroom. I have presets for S, M9, M240, M Monochrom, X Vario, T and D-Lux. If you don’t already use presets, I urge you to incorporate these into your own workflow. By applying baseline corrections and settings that you’d use anyway, you’ll save considerable time when processing a large number of files. And, perhaps more important to me, is that I am able to get a better idea of an image’s worth as the untouched files already have a look that I like and expect. This makes selection and editing a more streamlined process.
M240 with 35mm Summilux
No such thing as out of camera In spite of what you may have heard, there is no such thing as “out-of-camera.” It doesn’t exist. A sensor is a collection of monochrome pixels. The Bayer filter, or color filter array (CFA), over the sensor allows the camera to see color. But, only 1/3 of the color information is actually being captured. The rest is interpolated. This process of interpolation is called demosaicing, whereby a coherent full-color image is generated from the individually colored pixels. The software opening the RAW file performs the interpolation and renders colors based on input profiles and the type of algorithm used, along with any “secret sauce” the software might put in. For Leica M files, Lightroom has two different built-in profiles (Embedded and Adobe Standard), or you can make your own. You can also change the rendering process version (2012, 2010, 2003) and see different results. So much is done to manipulate the file before you ever open it in Lightroom or ACR or Capture One or Aperture. Pretending that what the program shows you by default is somehow virginal or unmolested is the stuff of fantasy. Does it benefit the photographer when the default image shown in Lightroom is close to the look they want without much editing? Of course, and this is a testament to the program’s algorithms and camera profile. But, it isn’t everything. Users can make their own camera profiles and their own presets to change the default “out-of-camera” behavior. Personally, I don’t take much stock in tests talking about or showing out-of-camera results with no post processing of any kind (although there is always much processing performed before this by the software), just as I never took to judging negatives off the processing line, without first making prints with my own set of corrections. Lessons Learned I learned quite a lot about both the M9 and M240 during this test. I was pleasantly surprised to rediscover the M9. The camera can indeed produce some really stunning images under the right conditions. To its credit and, in line with what CCD supporters say, the color palette produced by default in Lightroom (after my preset application) is extremely pleasing in most cases. Images have a bite and saturation that is very attractive. Deep blues, thick midtones and punchy highlights add to the M9’s inherent per-pixel sharpness. In daylight shooting with good, directional light and a scene with saturated colors, the M9 is truly hard to beat. Even though the camera is going on six years old, it still produces images that keep pace with the best. Its weakness, due to its CCD sensor, is low light performance. If your shooting needs don’t dictate the need for ISO 3200 and you've got some fast M glass to boot, well, by all means, the M9 can still work its magic for you. The M240, for its part, puts out smoother, more nuanced files that hold more dynamic range, a gentler highlight roll-off and cleaner shadow information. Blowing highlights on the M240 can be done without ruining the entire image as there is a certain glow and transition, rather than a clipped, sharp edge look as in the M9. Shooting strongly backlit subjects or even directly into bright light sources is a fun and fruitful experience, not a painful one, especially when paired with highly flare-resistant lenses like the 35mm f/1.4 Summilux-M ASPH FLE.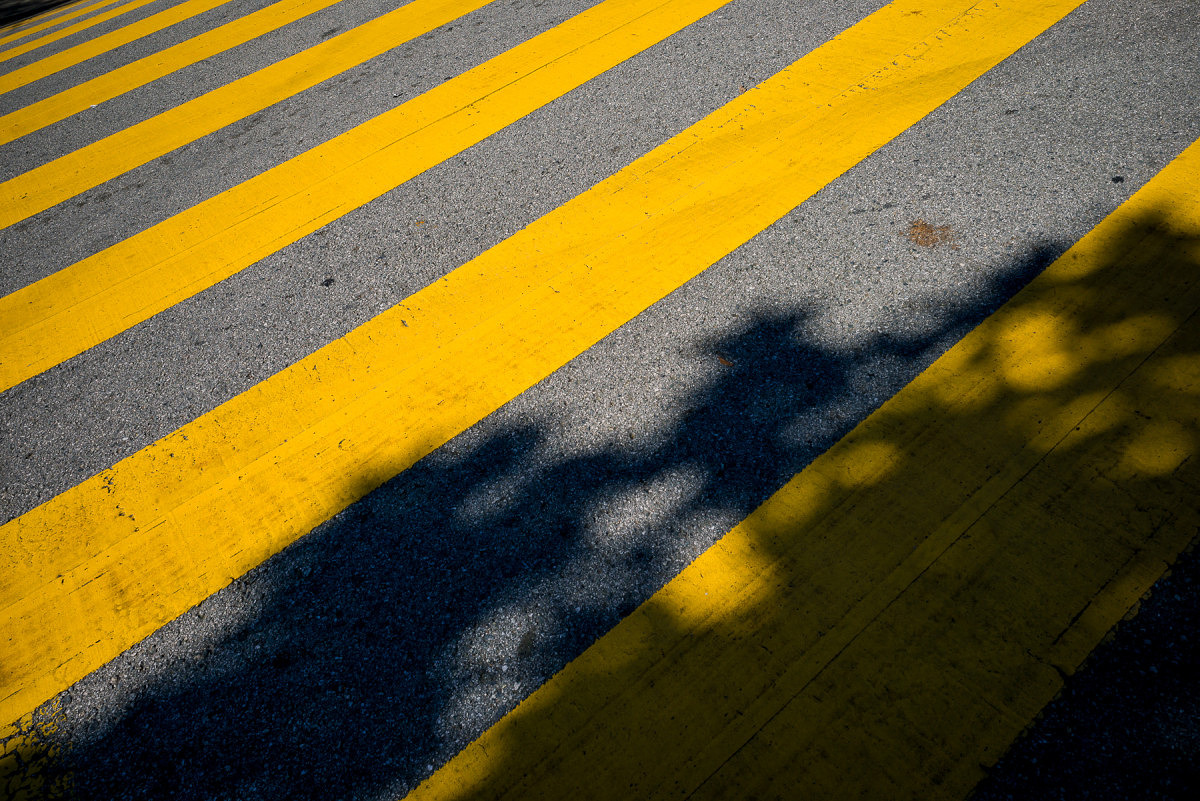
M240 with 24mm Elmar
Under less-than-ideal scenarios in artificial or low light, the M240 wins hands-down. It handles mixed light sources better, although its AWB seems to be slightly on the warm side under most scenarios. A WB Adjust feature on the camera could easily solve this tendency. Shadow noise is well-controlled at higher ISO settings, as is overall image tonality. In post processing, the M240 files can withstand much more modification without breaking down. They have more highlight and shadow recoverability and more malleability overall. This test, at the very least, demonstrated the relative ease in which the M240 files could be made to mimic M9 images. This isn’t to say that you have to make M240 images into M9 ones, just that you can, if this is the look you prefer. What exactly did I have to do to the M240 to make them look like M9 ones? Much of the variance between the two files relates to the openness/lightness of the M240 images. Drop the overall exposure about a stop, pull the blacks down while opening shadows a bit, bump the whites while pulling in the highlights and you are getting close. I also noticed that M9 images tended to have warmer highlights with neutral/cool shadows. To achieve this, I warmed up the white balance and counteracted the warm shadows by using the Split Toning tool to cool the shadows off a bit using no more than 7% saturation. The blues on the M9 images also have a certain deeply saturated look. To hit these tones, I used the HSL tool to increase saturation, drop luminosity and very slightly push the hue towards cyan on the blue channel. There is nothing wrong with the more pure blues of the M240, but to emulate the Kodachrome-like blues of the M9 takes mere seconds, if that's your speed. For images with deep reds and purples, a little hue modification on the red, purple and magenta channels did the trick, but such changes are only necessary if you are really trying to get a close match. Doing so isn’t needed to fix any deficiency. To put it simply, I feel that the biggest differences in the two files could be erased with more shadow contrast, running the exposure darker and applying a slightly different white balance. I ended up making a preset that worked on most files, with only minor tweaking required past that. I also needed to adjust the white balance to match as both cameras were shot with AWB. Personally, I find that merely adjusting WB by eye, rather than using the eyedropper is more effective. Again, the most accurate result isn’t always the most pleasing one.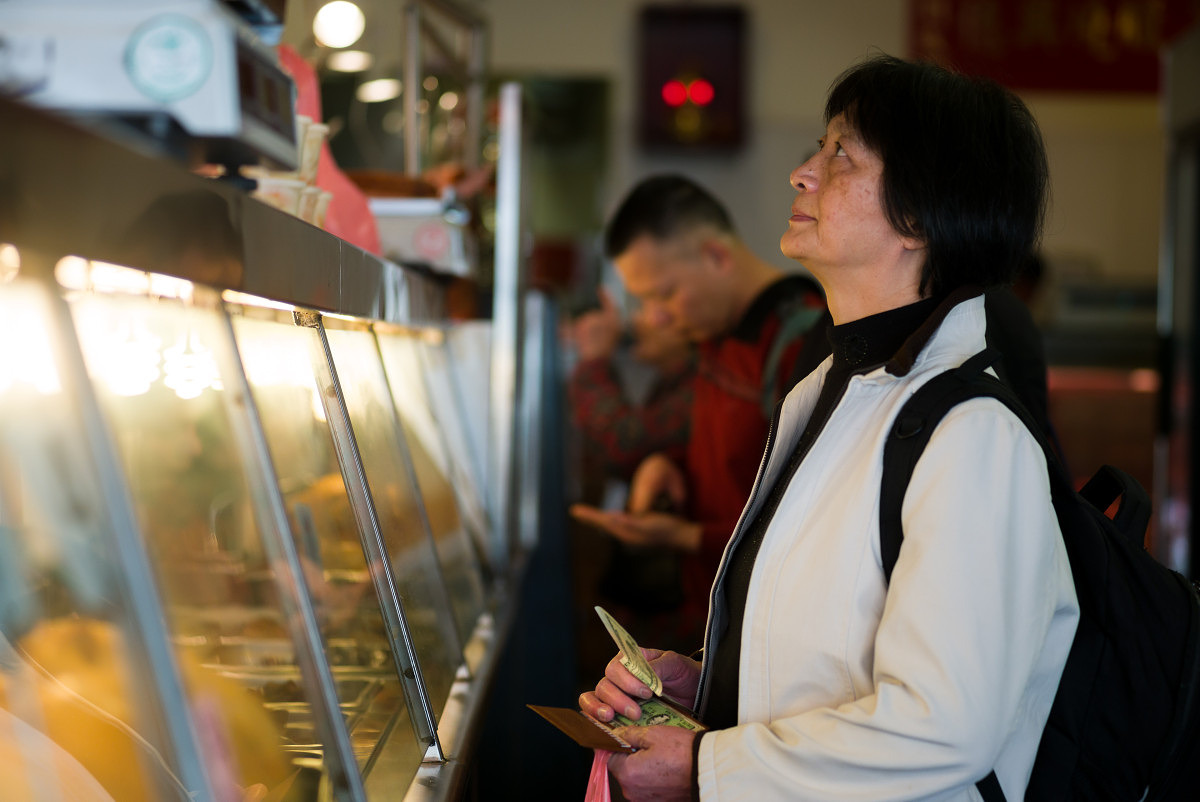
Mixed light sources and blown highlights on M240

M240 file as it opens in Lightroom with no user corrections
Why did I post the images in sRGB? There were some concerns that I used sRGB to display the image comparisons. The reality is that almost all people participating in this test used either a MacBook Pro or iMac with Retina screen. These screens are calibrated to provide 99% sRGB with some level of accuracy. Yes, I’m sure some viewers are using NEC Spectraview and Eizo monitors with AdobeRGB (1998) color gamut, but these would be the exception, not the rule. Posting the images in AdobeRGB (1998) might have caused color inaccuracies for most users and resulted in very little additional color information. Most printing is severely gamut limited as well, with CMYK offset printing offering far less than sRGB. Photographic printing techniques using laser or LED illumination are closer to sRGB, but still shy of this gamut. Some inkjet printer/paper combinations offer a gamut closer to AdobeRGB (1998) but again, this is isn’t necessarily how most are viewing or displaying work. My working space wasn’t sRGB, which definitely would have restricted the available colors from the files. Rather, the output space was sRGB while the working space within Adobe Lightroom was ProPhoto RGB. Remember the original hypothesis being tested was to see whether there was a clearly identifiable difference between the images produced by the CCD-based M9 and the CMOS-based M240. If the “CCD-ness” is so obvious, being displayed in sRGB would hardly affect the outcome.
M240 image with preset applied, WB adjusted, exposure pulled down and blue channel tweaked
Final Thoughts For me, and I imagine for many others who couldn’t tell a definitive difference between either the head-to-head match-ups in Part 1 or the individual shots in Part 2, the results of the experiment are fairly clear. To restate: the hypothesis being tested was to see if the CCD look is real, unmistakable and couldn’t be emulated in post processing. To this end, I think I have at least demonstrated that with just a small amount of global adjustments in Lightroom, M240 files could make for some convincing M9 shots. And while I will give credit to the M9 for the great images it is capable of capturing, the M240 is still a better overall system. I would advise against forsaking the usability and image quality benefits of the newer generation CMOS-based camera based on the conviction that the CCD-based M9 offers superior color rendering. As I already mentioned above, the M9 can turn out gorgeous images. This was never up for debate. In fact, for those that absolutely, positively, just adore the look of CCD, and hold the results of this test as even greater evidence of its superiority, then there is good news. Used M9s can be had for around $3,000 and Leica still offers a CCD-based camera brand new, the Leica M-E for $4,995. But, I do believe that much of the public perceived shortcomings of the M240 look come from its inherent higher dynamic range, the resulting flatter default files, and some users not taking full advantage of both the malleability of the M240 DNG files and the flexibility afforded them in Lightroom. We live in a wonderful time for photography. Our tools in the field and in the digital darkroom are better and more elastic than they've ever been. As photographers, our vision is only limited by our own creativity. Perhaps it's time to put the CCD vs. CMOS debate to rest and just go out and shoot. Thanks again to everyone who participated in this little experiment. View
M9 or M240? Exactly.
Ernie,
Check your email.
-
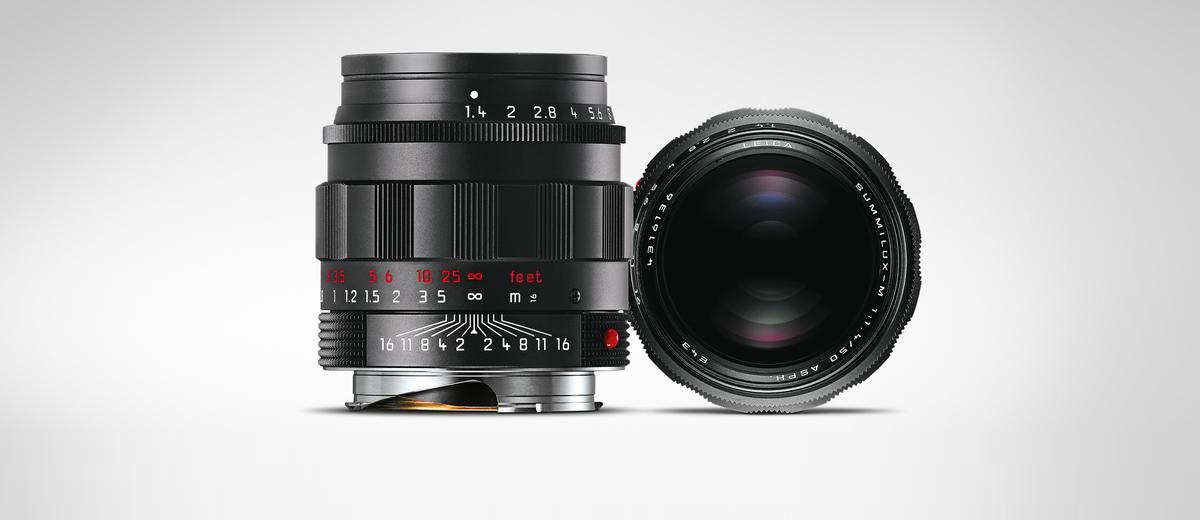
David Farkas wrote a new post, Two Leica Lenses Announced in Black Chrome Finish – Only 500 of Each Will Be Produced 10 years, 9 months ago
Leica has announced that the Summicron-M 35 mm/f2 ASPH and the Summilux-M 50 mm/f1.4 ASPH are now available in a black chrome finish with red focusing scales. The 50mm Summilux is particularly interesting, as i […]
-
David Farkas wrote a new post, The Great Debate: CCD vs. CMOS – Part 3 10 years, 9 months ago
The results are in! Thanks so much to everyone who cast their votes in both Part 1 and Part 2 of this experiment.
The Experiment
To recap, I was testing the theory that images from a Leica CCD-based camera have a unique and instantly identifiable look and feel to the images. Many who hold this belief feel that this look cannot be achieved with a CMOS-based camera, regardless of post-processing efforts.
To conduct the test, I ventured out with both an M9 and an M240 while I was visiting San Francisco with my family for a couple of days at the end of February. After taking an image with one camera, I’d quickly swap lenses to shoot roughly the same picture with the other body using the same lens and equivalent settings.
Part 1: Head-to-Head Comparisons
For Part 1, I first processed the M9 files to look like what I’d expect M9 images to look like using my preset and personal preference. I then used the M9 images as a reference to adjust the corresponding M240 files and tried to achieve a rough match. Rather than use all the tools at my disposal to create an exact match, I opted instead to impose some limits. In the spirit of the experiment, I wanted to see if a match could be achieved without using any localized adjustments. No masking. No selections. No adjustment or gradient brushes. Instead, I used only overall image slider adjustments in Adobe Lightroom. After all, this test was not about how good my post processing skills are when given any and all tools and unlimited time. I wanted it to be realistic so that almost anyone with moderate Lightroom skills could produce the same results as I did. The pairs were then posted without metadata and were randomized in the order displayed.
Part 1: The Results
The results were certainly interesting. On the direct comparisons in Part 1, only 7 out of 19 (36%) match-ups were correctly identified. This is pretty telling. I received feedback from some users that they started taking the test and just gave up halfway through as they couldn’t see any significant differences and felt they were merely guessing. This is visible in the voting numbers, with almost 800 votes for the first set and about 450 for the last set (as of this writing).
There were some surprises for me, though. I was amazed that so many were able to accurately identify the M9 images in the Streetcar and Apartment sets. Roughly two thirds of the voters picked correctly on these. On the flip side, I was equally stunned that so many guessed incorrectly on two images which I felt were bound to be easier to pick due to their color ranges: Red Cards and Lombard Street. Most other pairs of images came in very close to 50/50. Keep in mind that this test wasn’t to determine which camera was more capable. It was to merely test the “CCD look” theory. The conditions purposely favored the M9, as the comparisons featured images taken in good quality, directional natural light with vibrant colors, and defined contrast. These kinds of punchy images at low ISO almost always look great from the M9.
Here are the raw voting results as of March 6, 2015:
Thumbnail
Which one was M9?
Votes
M9
M240
Margin
Correct?
Streetcar – 1
796
60.7%
39.3%
21.4%
Yes
Fishing Dock -1
735
56.1%
43.9%
12.2%
Yes
Life Preserver – 1
703
56.3%
43.7%
12.6%
Yes
Fishing Boat Bows – 2
670
47.6%
52.4%
-4.8%
No
Bay Boat Tour – 2
620
46.5%
53.5%
-7.0%
No
Sailboats in front of Alcatraz – 1
563
46.7%
53.3%
-6.6%
No
Magenta Tulips – 1
557
49.2%
50.8%
-1.6%
No
Steps – 2
533
47.5%
52.5%
-5.0%
No
Pier 39 – 1
518
54.2%
45.8%
8.4%
Yes
Church Windows – 2
505
49.9%
50.1%
-0.2%
No
Scarves – 1
489
52.6%
47.4%
5.2%
Yes
Red Cards in Bin – 2
460
43.0%
57.0%
-14.0%
No
Slippers – 2
450
45.8%
54.2%
-8.4%
No
Skyscraper – 1
443
46.5%
53.5%
-7.0%
No
Modern Building – 2
438
47.5%
52.5%
-5.0%
No
Gate – 2
430
48.8%
51.2%
-2.4%
No
Apartments – 1
418
62.7%
37.3%
25.4%
Yes
Walkway with Purple Flowers – 2
437
51.9%
48.1%
3.8%
Yes
Lombard Street – 2
458
42.4%
57.6%
-15.2%
NoPart 2: Single Images
For Part 2, I wanted to take a slightly different approach. I was on vacation and as such, didn’t shoot soley for the sake of making image comparison sets. At a certain point, this kind of shooting gets fairly tedious. Once I knew I had enough material for the test, I just focused on having fun taking pictures like I would normally do in a great shooting locale like San Francisco on a gorgeous day.
For these single images, I processed with respective presets for each camera and my personal taste, picked some of my favorites and posted individual photos. The challenge this time was to correctly identify which camera was used to produce each image. And because, for me, the head-to-head test was over, I allowed myself to seek out a broader range of subjects and more candid scenarios that didn’t only suit the M9. Shots were taken at night, at high ISO, and indoors under artificial lighting. As indicated by the votes on the images, most people erred on the side of picking the M240 for these types of shots. And even with these obvious examples, only 55% of the images were correctly identified. I will say, though, that swings in preferences were much more pronounced than in the head-to-head comparisons of Part 1.
M240 with 24mm Elmar
Part 2: The Results
I didn’t set out to make this a segment full of trick questions, but unfortunately, I only had two images from the M9 during my free shooting time that I felt were worthwhile to post. Why? Well, frankly, the M240 was more fun to shoot with, so that’s what I used for 90% of my shooting even though I carried both cameras with me. It’s faster. I can use the EVF for precise composition. The LCD screen allows more accurate review. And, ironically, the CMOS sensor fares far better in poor and mixed light and is vastly superior for high ISO shooting. So, if you voted/guessed that every image was taken with the M240 you’d have scored way, way above the average.
Here are the raw voting results, again from March 6, 2015:
Votes
M9
M240
Margin
Correct?
Which Camera?Cigar Store Café
314
41.4%
58.6%
17.2%
Y
M240Washington Square Park
300
62.3%
37.7%
-24.6%
N
M240Julie on Cable Car
303
30.7%
69.3%
38.6%
Y
M240Yellow Tulips
280
45.0%
55.0%
10.0%
N
M240Two Guys at the Pier
281
62.6%
37.4%
25.2%
Y
M9Red and White Fleet Sign
272
45.6%
54.4%
-8.8%
N
M9Red Light Gauges
258
33.7%
66.3%
32.6%
Y
M240Old Dial pn Sub
261
41.8%
58.2%
16.4%
Y
M240Sub Engine Gauges
256
55.9%
44.1%
-11.8%
N
M240Battle Telephone
243
46.5%
53.5%
7.0%
Y
M240SS-383 Conning Tower
251
58.2%
41.8%
-16.4%
N
M240Leaving Museum
243
62.6%
37.4%
-25.2%
N
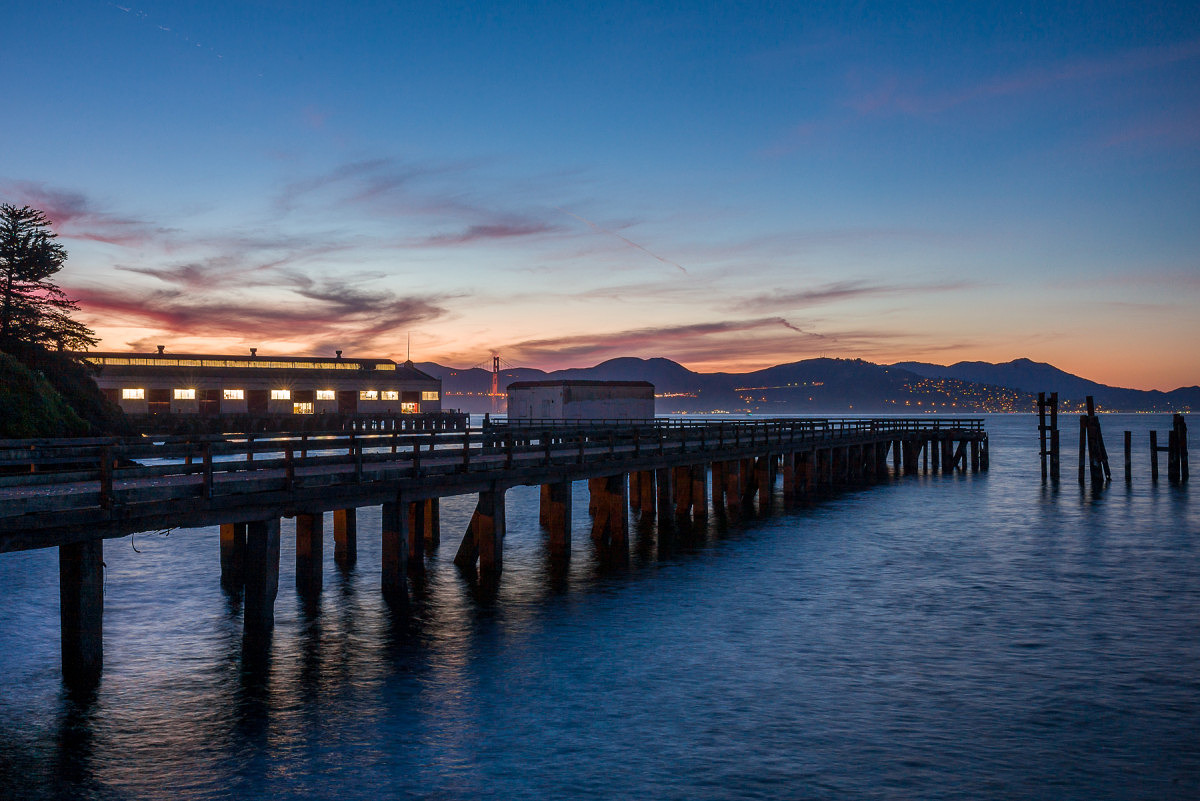
M240Pier at Sunset
253
35.6%
64.4%
28.8%
Y
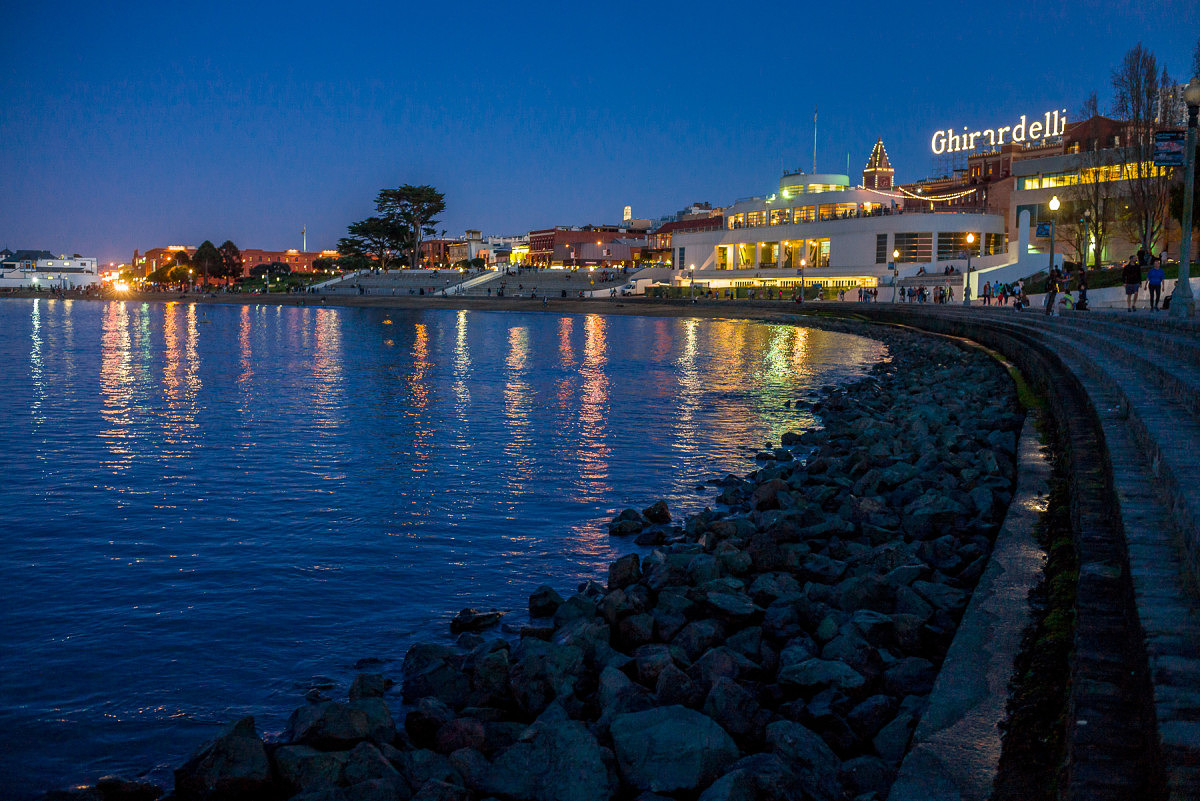
M240Ghiradelli Square at Night
246
48.4%
51.6%
3.2%
Y
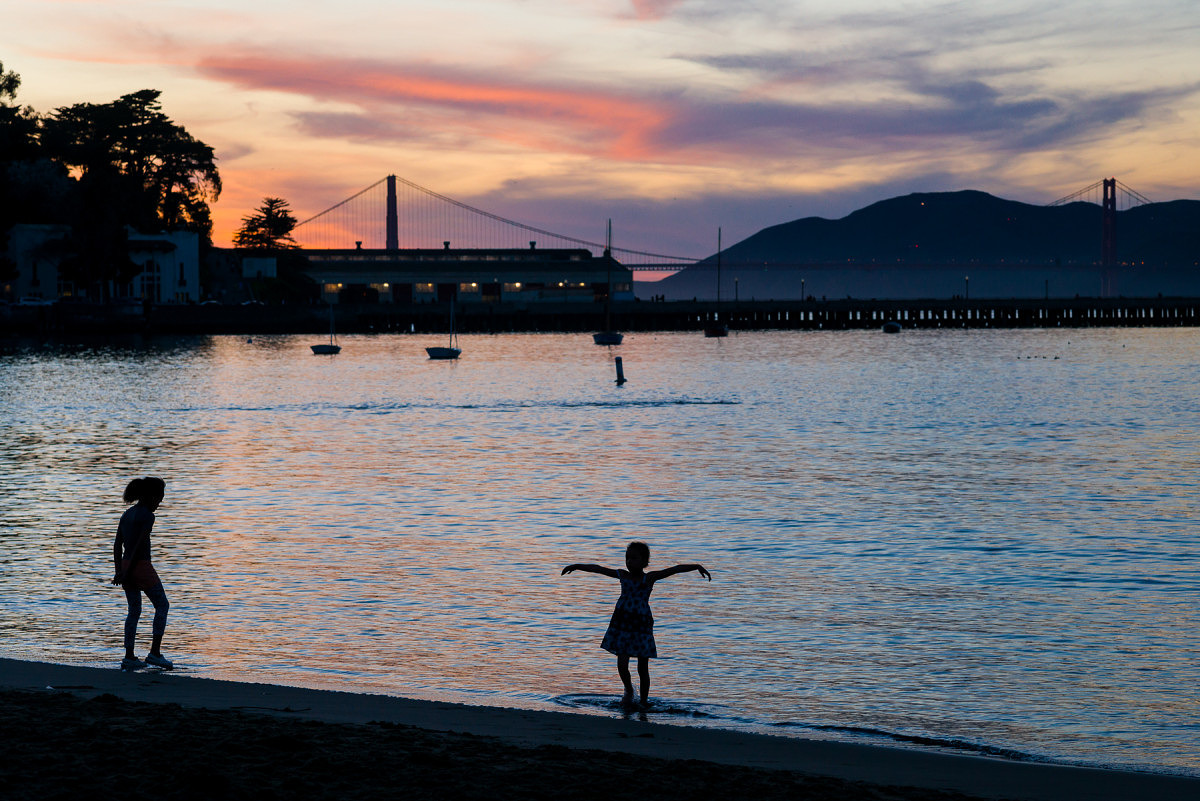
M240Sunset on the Beach
239
56.9%
43.1%
-13.8%
N
M240Sophia with Hat
245
37.6%
62.4%
24.8%
Y
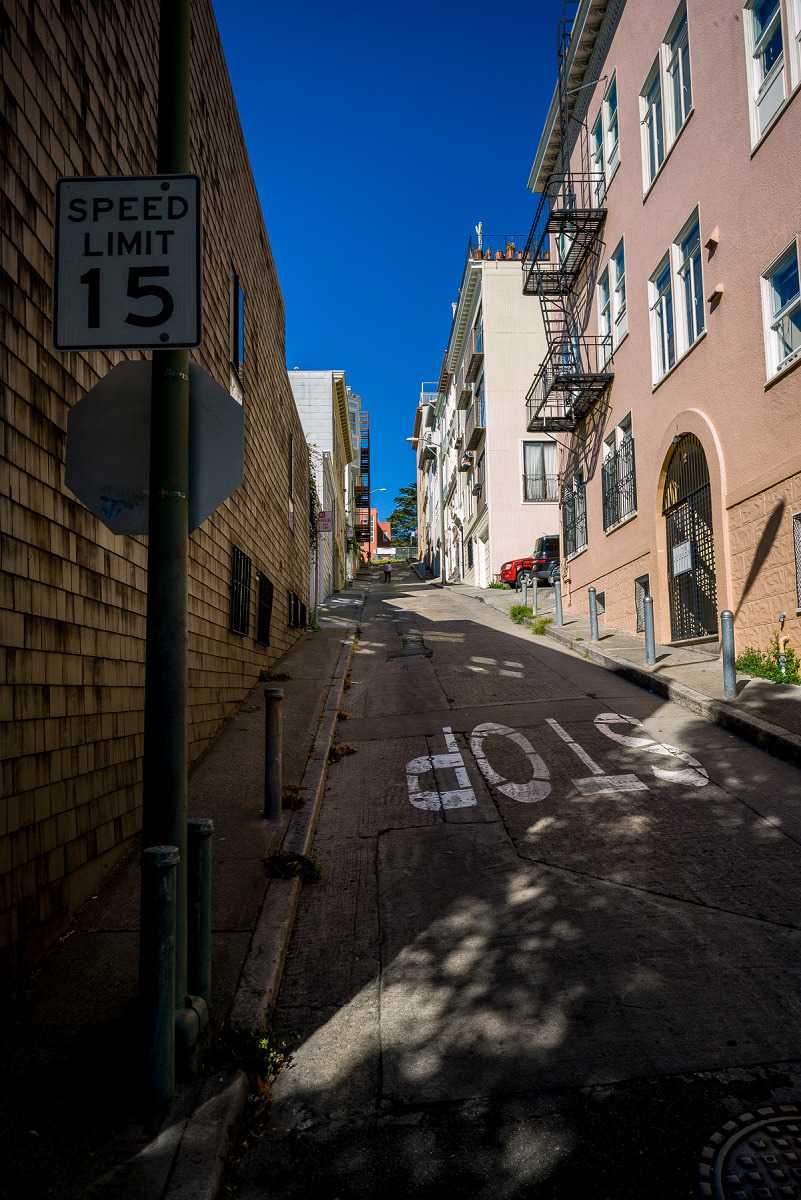
M240Angled Street
228
45.2%
54.8%
9.6%
Y
M240City View out of Round Window
221
62.4%
37.6%
-24.8%
N
M240Coit Tower Windows
224
57.6%
42.4%
-15.2%
N
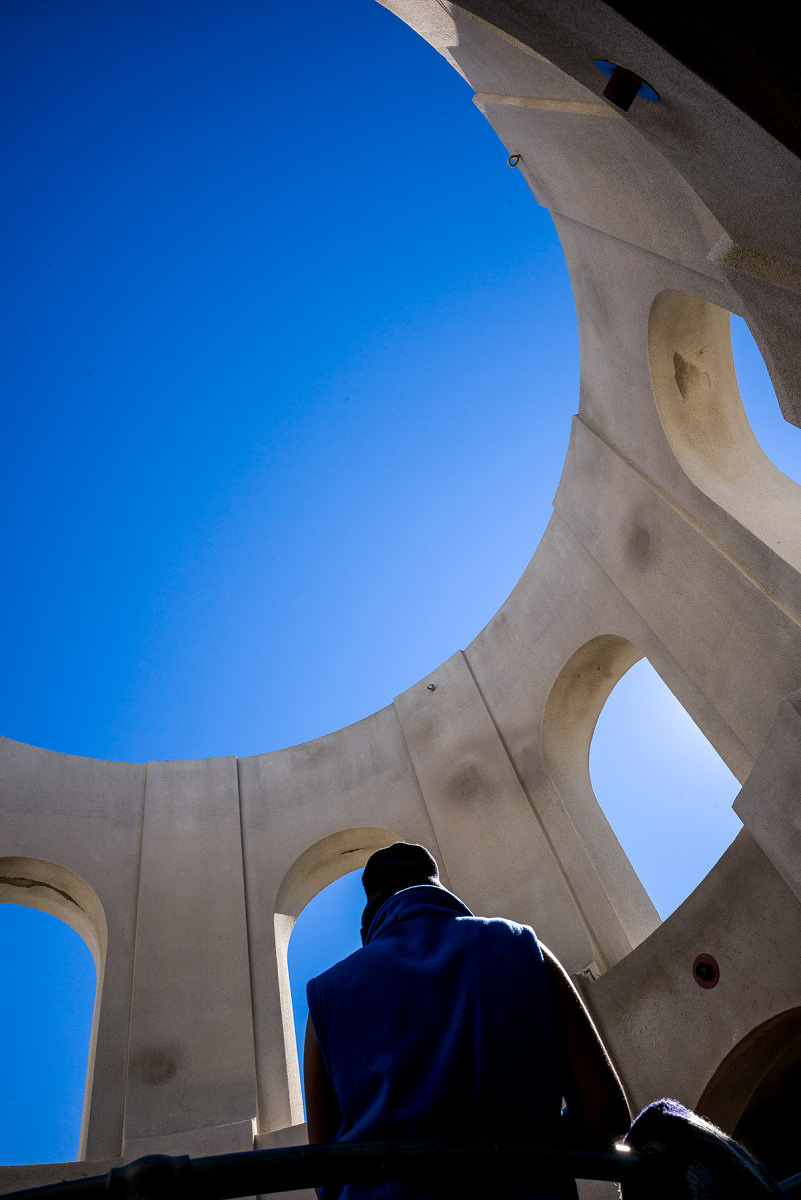
M240Coit Tower Looking Up
223
40.8%
59.2%
18.4%
Y
M240Red Car
227
51.1%
48.9%
-2.2%
N
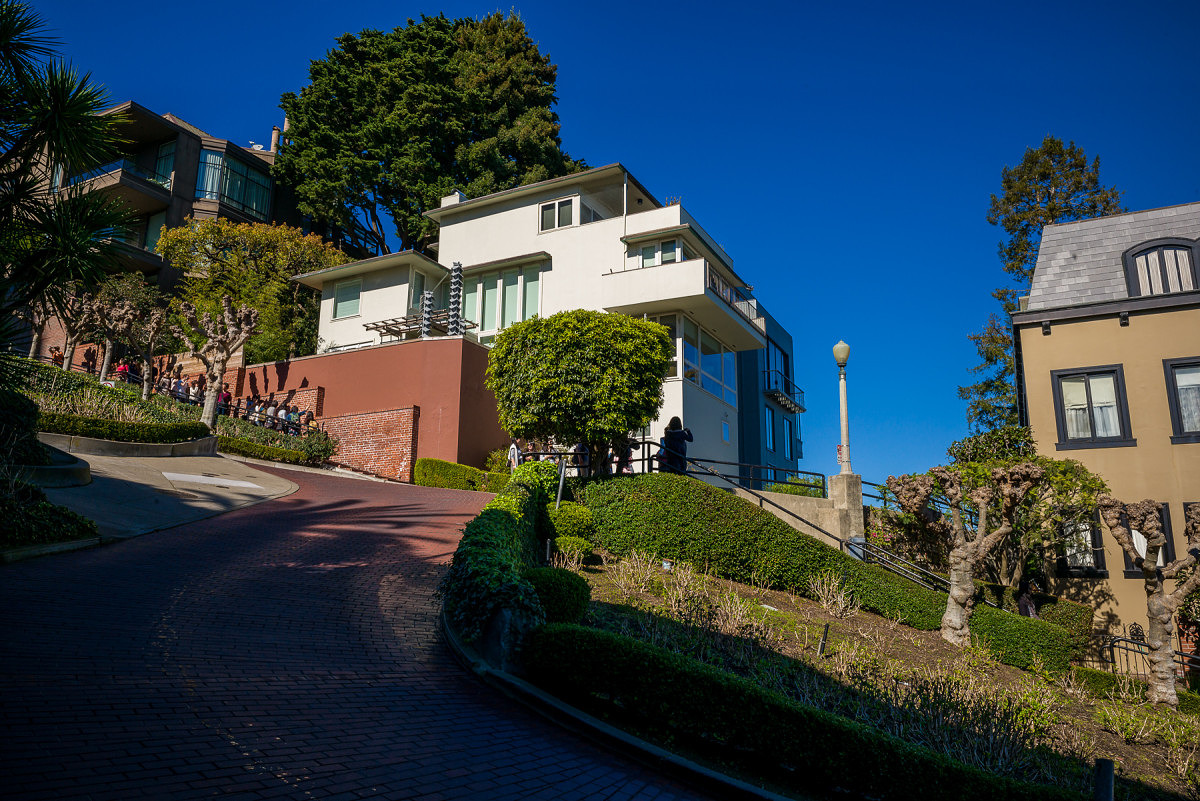
M240Modern House on Lombard
222
60.8%
39.2%
-21.6%
N
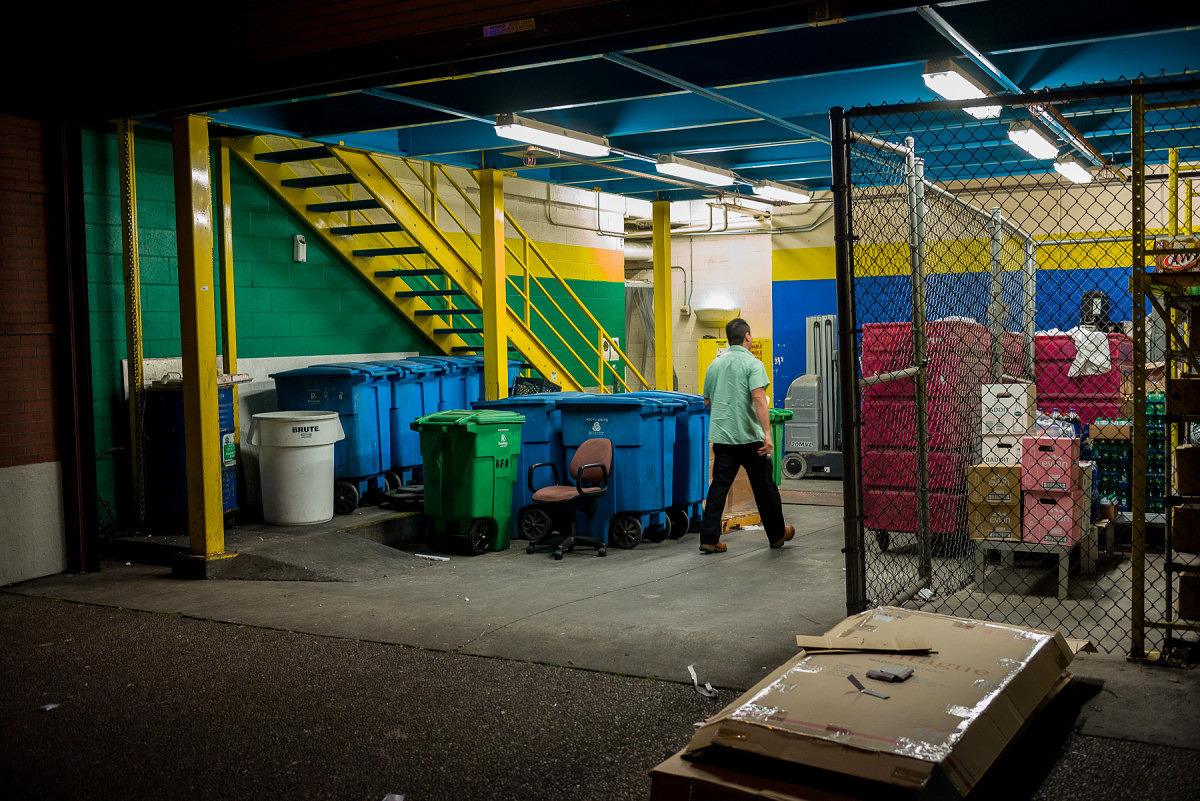
M240Loading Bay
218
44.0%
56.0%
12.0%
Y
M240Parking
217
42.4%
57.6%
15.2%
Y
M240Hallway
199
43.7%
56.3%
12.6%
Y
M240Fishmonger
206
50.5%
49.5%
-1.0%
N
M240Drydock
203
40.9%
59.1%
18.2%
Y
M240The Embarcadero
200
55.5%
44.5%
-11.0%
N
M240Roll Your Own
207
59.9%
40.1%
-19.8%
N
M240Red Door
205
47.3%
52.7%
5.4%
Y
M240Shadow Tree
217
56.7%
43.3%
-13.4%
N
M240Admittedly, many of the M240 images do indeed look like they were taken with the M9. This wasn’t because I was trying to play games or fool anyone. The files ended up this way because I liked the way they looked. Remember, on these images I didn’t have a known aim point. Processing, for me, as I imagine for many other photographers, is highly personal and subjective. Very, very few areas of photography benefit from “accurate” color or tone. Almost all disciplines of our fair art form take liberties to represent our own unique visions. Even before digital, we used filters to alter color or contrast, shot various film types with no two emulsions offering the same visual fingerprint, employed different chemistry to achieve a specific look, and messed around in the darkroom for hours to create our desired finished vision. I make no apologies for editing my images to suit my tastes. And, furthermore, I think that the pursuit of a mythical “accurate” or “neutral” result out of camera with no processing doesn’t jive with the most basic tenets of photography, be it film or digital. This quixotic quest, while appearing reasonable and noble, doesn’t make better photographs. But I digress.
M240 with 35mm Summilux
Looking at the results from Part 2, images like Washington Square Park, Roll Your Own, Modern House on Lombard and City View Out of Round Window fooled around two thirds of voters. Other images that are well-suited to the M240, like Julie on Cable Car, which was taken at ISO 1000 shooting into a heavily-backlit scene seemed a bit more obvious with almost 70% picking that one accurately. From my experience, an M9 would not have been so graceful here. Likewise, most people picked the M240 for the submarine interior shots, which were handheld at ISO 1600, except for Red Light Gauges, which was taken at ISO 2500. Shots where I left the files more open and airy, rather than pulling down the darker midtones like Coit Tower Looking Up, were also correctly identified as M240.
The reality is that I am quite fond of images that I’ve taken with both the M9 and the M240. I never really took to direct comparisons as I wasn’t displeased with the different look offered by the M240. In my particular workflow, I apply my own homegrown import presets based on camera model when I bring my DNG files into Lightroom. I have presets for S, M9, M240, M Monochrom, X Vario, T and D-Lux. If you don’t already use presets, I urge you to incorporate these into your own workflow. By applying baseline corrections and settings that you’d use anyway, you’ll save considerable time when processing a large number of files. And, perhaps more important to me, is that I am able to get a better idea of an image’s worth as the untouched files already have a look that I like and expect. This makes selection and editing a more streamlined process.
M240 with 24mm Elmar
No such thing as out of camera
In spite of what you may have heard, there is no such thing as “out-of-camera.” It doesn’t exist. A sensor is a collection of monochrome pixels. The Bayer filter, or color filter array (CFA), over the sensor allows the camera to see color. But, only 1/3 of the color information is actually being captured. The rest is interpolated. This process of interpolation is called demosaicing, whereby a coherent full-color image is generated from the individually colored pixels. The software opening the RAW file performs the interpolation and renders colors based on input profiles and the type of algorithm used, along with any “secret sauce” the software might put in. For Leica M files, Lightroom has two different built-in profiles (Embedded and Adobe Standard), or you can make your own. You can also change the rendering process version (2012, 2010, 2003) and see different results.
So much is done to manipulate the file before you ever open it in Lightroom or ACR or Capture One or Aperture. Pretending that what the program shows you by default is somehow virginal or unmolested is the stuff of fantasy. Does it benefit the photographer when the default image shown in Lightroom is close to the look they want without much editing? Of course, and this is a testament to the program’s algorithms and camera profile. But, it isn’t everything. Users can make their own camera profiles and their own presets to change the default “out-of-camera” behavior.
Personally, I don’t take much stock in tests talking about or showing out-of-camera results with no post processing of any kind (although there is always much processing performed before this by the software), just as I never took to judging negatives off the processing line, without first making prints with my own set of corrections.
Lessons Learned
I learned quite a lot about both the M9 and M240 during this test. I was pleasantly surprised to rediscover the M9. The camera can indeed produce some really stunning images under the right conditions. To its credit and, in line with what CCD supporters say, the color palette produced by default in Lightroom (after my preset application) is extremely pleasing in most cases. Images have a bite and saturation that is very attractive. Deep blues, thick midtones and punchy highlights add to the M9’s inherent per-pixel sharpness. In daylight shooting with good, directional light and a scene with saturated colors, the M9 is truly hard to beat. Even though the camera is going on six years old, it still produces images that keep pace with the best. Its weakness, due to its CCD sensor, is low light performance. If your shooting needs don’t dictate the need for ISO 3200 and you've got some fast M glass to boot, well, by all means, the M9 can still work its magic for you.
The M240, for its part, puts out smoother, more nuanced files that hold more dynamic range, a gentler highlight roll-off and cleaner shadow information. Blowing highlights on the M240 can be done without ruining the entire image as there is a certain glow and transition, rather than a clipped, sharp edge look as in the M9. Shooting strongly backlit subjects or even directly into bright light sources is a fun and fruitful experience, not a painful one, especially when paired with highly flare-resistant lenses like the 35mm f/1.4 Summilux-M ASPH FLE.
Mixed light sources and blown highlights on M240
Under less-than-ideal scenarios in artificial or low light, the M240 wins hands-down. It handles mixed light sources better, although its AWB seems to be slightly on the warm side under most scenarios. A WB Adjust feature on the camera could easily solve this tendency. Shadow noise is well-controlled at higher ISO settings, as is overall image tonality.
In post processing, the M240 files can withstand much more modification without breaking down. They have more highlight and shadow recoverability and more malleability overall. This test, at the very least, demonstrated the relative ease in which the M240 files could be made to mimic M9 images. This isn’t to say that you have to make M240 images into M9 ones, just that you can, if this is the look you prefer.
What exactly did I have to do to the M240 to make them look like M9 ones?
Much of the variance between the two files relates to the openness/lightness of the M240 images. Drop the overall exposure about a stop, pull the blacks down while opening shadows a bit, bump the whites while pulling in the highlights and you are getting close. I also noticed that M9 images tended to have warmer highlights with neutral/cool shadows. To achieve this, I warmed up the white balance and counteracted the warm shadows by using the Split Toning tool to cool the shadows off a bit using no more than 7% saturation. The blues on the M9 images also have a certain deeply saturated look. To hit these tones, I used the HSL tool to increase saturation, drop luminosity and very slightly push the hue towards cyan on the blue channel. There is nothing wrong with the more pure blues of the M240, but to emulate the Kodachrome-like blues of the M9 takes mere seconds, if that's your speed. For images with deep reds and purples, a little hue modification on the red, purple and magenta channels did the trick, but such changes are only necessary if you are really trying to get a close match. Doing so isn’t needed to fix any deficiency.
To put it simply, I feel that the biggest differences in the two files could be erased with more shadow contrast, running the exposure darker and applying a slightly different white balance.
I ended up making a preset that worked on most files, with only minor tweaking required past that. I also needed to adjust the white balance to match as both cameras were shot with AWB. Personally, I find that merely adjusting WB by eye, rather than using the eyedropper is more effective. Again, the most accurate result isn’t always the most pleasing one.
M240 file as it opens in Lightroom with no user corrections
M240 image with preset applied, WB adjusted, exposure pulled down and blue channel tweaked
Why did I post the images in sRGB?
There were some concerns that I used sRGB to display the image comparisons. The reality is that almost all people participating in this test used either a MacBook Pro or iMac with Retina screen. These screens are calibrated to provide 99% sRGB with some level of accuracy. Yes, I’m sure some viewers are using NEC Spectraview and Eizo monitors with AdobeRGB (1998) color gamut, but these would be the exception, not the rule. Posting the images in AdobeRGB (1998) might have caused color inaccuracies for most users and resulted in very little additional color information. Most printing is severely gamut limited as well, with CMYK offset printing offering far less than sRGB. Photographic printing techniques using laser or LED illumination are closer to sRGB, but still shy of this gamut. Some inkjet printer/paper combinations offer a gamut closer to AdobeRGB (1998) but again, this is isn’t necessarily how most are viewing or displaying work. My working space wasn’t sRGB, which definitely would have restricted the available colors from the files. Rather, the output space was sRGB while the working space within Adobe Lightroom was ProPhoto RGB.
Remember the original hypothesis being tested was to see whether there was a clearly identifiable difference between the images produced by the CCD-based M9 and the CMOS-based M240. If the “CCD-ness” is so obvious, being displayed in sRGB would hardly affect the outcome.
M9 or M240? Exactly.
Final Thoughts
For me, and I imagine for many others who couldn’t tell a definitive difference between either the head-to-head match-ups in Part 1 or the individual shots in Part 2, the results of the experiment are fairly clear. To restate: the hypothesis being tested was to see if the CCD look is real, unmistakable and couldn’t be emulated in post processing. To this end, I think I have at least demonstrated that with just a small amount of global adjustments in Lightroom, M240 files could make for some convincing M9 shots. And while I will give credit to the M9 for the great images it is capable of capturing, the M240 is still a better overall system. I would advise against forsaking the usability and image quality benefits of the newer generation CMOS-based camera based on the conviction that the CCD-based M9 offers superior color rendering. As I already mentioned above, the M9 can turn out gorgeous images. This was never up for debate. In fact, for those that absolutely, positively, just adore the look of CCD, and hold the results of this test as even greater evidence of its superiority, then there is good news. Used M9s can be had for around $3,000 and Leica still offers a CCD-based camera brand new, the Leica M-E for $4,995.
But, I do believe that much of the public perceived shortcomings of the M240 look come from its inherent higher dynamic range, the resulting flatter default files, and some users not taking full advantage of both the malleability of the M240 DNG files and the flexibility afforded them in Lightroom. We live in a wonderful time for photography. Our tools in the field and in the digital darkroom are better and more elastic than they've ever been. As photographers, our vision is only limited by our own creativity. Perhaps it's time to put the CCD vs. CMOS debate to rest and just go out and shoot.
Thanks again to everyone who participated in this little experiment.
-
This is a very well-done study and should — but unofrtunately probably will not — quell the CCD proponents who insist that it is “better” than CMOS. Maybe different, but even the differences are small and to most human eyes, indistinguishable. That is proven by this little study. One of other the critical points David makes is that “out of camera” is pretty meaningless to discuss and that the image is a product of the system, including all of the processing done when the image is opened in a computer. That leads to his recommendation to profile to your taste, and I could not agree more.
The “out of camera” discussion led me to think about my old days with film (I started in 1959). Even with film there was no such thing as out of the camera. You could use different film developers, change dilutions, change development time, change agitation, etc. etc. And that just got you to a negative. Then you could use difference papers, filters in the enlarger, exposure time in the enlarge, developer bath for prints, etc etc. And that was for black and white too. Color just added to the variables. Everybody developed to their taste; there was no “right” or “wrong”. So too with digital. Better to spend time taking photos than debating CCD vs CMOS. Or D76 vs. Acufine (you have to be a certain age to know what that means).
-

I am assuming that this would be the same for the S 006 vs the S 007, so you don't have to do the test all over again with two S cameras.
But since the sensor in the 007 is not merely a bigger sensor than in the 240 but has other advances you have hinted about, I will look forward to you demonstrating the 007 sensor is much better, not just that it can mimic the 006.
-

Excellent David – Nicely done, but sadly I fear it won't make a jot of difference to the argument in general, It's hard to convert someone from an act of faith with an exercise in logic!
All the best
-
Ernie,
Check your email.
-
Hi David
I am evaluating whether to purchase an M240 or an M9 and a while I experiment with the machines of some of my friends.
I could also have the presets that you have created to emulate the M9 on M240 ?
Thank you
Antonio -
I really love these acticles about debate between CCD and Cmos. Very helpful.
I prefer CCD actually, but what you have done indeed fresh my impression with M240.
Since I sold my M9 and got a M-P, I really miss my M9.
Could you also kindly share the preset?
Thanks a lot!
-
-
I never really could care less what technology a sensor was using. I used a Leica M Monochrom and Nikon Df as my primary cameras, and recently sold the Df and Nikon glass to go all Leica (I also use Leica X Vario and X 113 for non-photography travel). With the Nikon gone, the choice was between a Leica M240 and M-E for color use alongside the M Monochrom.
CCD or CMOS wasn't even a factor. I went with the M-E in large part because I wanted a new camera instead of a used one and it was much more affordable, but also in part because it uses the same batteries and has the same menus as my M Monochrom, making it easier to switch between them. I recognize that the M240 has capabilities that the M-E does not, but other than higher ISO and dynamic range I really am not interested in any of those capabilities.
-
David
I too would like some help and would really value the presets you used. I've had my 240 for about a year now and its taken me ages to get to grips with so many differences especially focus, I had Nikon SLR before, so was really used to point and shoot. I had real worries for a while, but I've even got used to walking backwards and forwards!
Lightroom has been another trial and revealation, my poor wife's become a Lightroom widow.Kind regards
Simon
-
Simon,
No worries. I'll email you the presets to play around with.
-
-
No problem. I'll email them over to you.
-
The point isn't to say that there is anything wrong with the look of the M240 files. I like M240 files. I was attempting to demonstrate that perhaps the “CCD look” that some users love can be replicated in post processing from a CMOS sensor. In my mind, one is not necessarily better than the other. If you like the default rendering of the M240, use that. If you grew accustomed to M9 images, the same look can be achieved in Lightroom.
-
The M8 and the M9 have similar looks, but not the same. Some find that the M8 actually has slightly more per-pixel acuity, but the M9 also offered 80% more pixels so overall detail is superior with the M9. The M9 also has better noise performance and slightly more dynamic range than the M8.
-
David,
Excellent article.
If possible could I also get a copy of your LR presets?
I am debating on selling my M9 and picking up a used M240. Prices on M240 seem to be dropping pretty quickly I assume because of the new Q and the rumors of a new M coming out.Thanks again for all you do for the Leica community
-
06/05 /2015
Hello David , Really appreciate the article. Very much a no non-sense approach. I will be keeping my m9 but would love to have the pre set to see if they will assist with my other Leica tools. Thanks -

CMOS has come a long way in improvements, especially in Low light environments. All the HD Sony cameras we use, are CMOS now because they out perform CCD during strobe and light blooming from stage lighting. Going from crazy LED and Laser lighting to balanced Spots really tests the performance of the camera. Here is the example I use in the film classes https://youtu.be/kYFsFcIuBis
-
Hi David
I have re-read this article several times as I'm considering trading in my M240P for a M9 as i'm not totally satisfied with the files I'm getting from my M. After reading this article I believe it must be down to my Lightroom skills. I'm a novice when it comes to Lightroom; for this reason I have found myself shooting more film.
Would you also be so kind to email the presets for Lightroom so that I can experiment before I go and make an expensive mistake.
Great web site with very in depth articles.
Thank you.
-
Wonderful review of CCD vs Cmos comparison. I'm almost temted to use my m240 as i've been shooting m9 all along. Inspiring post processing work, well done! This article shows how it could be done with today's revolutionary digital darkroom that's available to us to create any “look” we want. I've try to emulate the m240 files to look like from ccd and couldnt find a solution to retire my troublesome ccd sensor for a while now. Your article is a true revelation to me. I am wondering If I can ask for your “presets” for M9 and m240 if possible. Thank you so much again!
-
Perhaps, but not everyone is adept at creating camera profiles. My goal was to see how close I could get the files using standard, everyday methods – ones which any Lightroom user could reasonably perform.
-
I just read this article and have been struggling with moving up to the 240 from my m9p. What a terrific job you did! Would you be so kind as to send the presets you used for m240. Regards, Jack
-
Thanks for the feedback. Presets on the way!
-
David, great! Will be using them right away!
-
-

No in 2020, I wonder how it would be compared to the M10, Which I think I've read somewhere that was designed with the M9 look in mind.
-
Of course, every camera looks a bit different. But, really, the M10 has some of the best color of all the digital M cameras. For presets, including the emulation preset, you can head over to my Lightroom Presets for Leica Cameras article. I've provided download links and usage instructions.
-
-
David Farkas wrote a new post, Oliver Kaltner Named New CEO at Leica Camera AG 10 years, 9 months ago
 The Supervisory Board of Leica Camera AG has appointed Oliver Kaltner (46) as the new chairman of the executive board with effect from 1 April 2015.
Alfred Schopf, chairman of the Executive Board of Leica […]
-
David Farkas posted an update 10 years, 9 months ago
Working on Part 3 of our CCD vs. CMOS challenge….
-
David Farkas wrote a new post, The Great Debate: CCD vs. CMOS – Part 2 10 years, 10 months ago
Make sure you read and vote on Part 1 of the Great Debate: CCD vs. CMOS before venturing on to this test.
In the first installment, I published various sets of images, each containing one shot from the Leica M9 and one from the Leica M (Typ 240). The premise was to see if I could use basic post-processing techniques in Lightroom to make an image captured with a CMOS sensor (M240) match one taken with a CCD (M9). Many have stated that there is a defining “CCD Look” and that it was impossible to achieve this with a CMOS sensor, even with processing. So, I put it up for a vote.
So far, as of this writing, the results have been very interesting. Counting statistical margin of error, almost all of the images are running at a 50/50 ratio or very close to it. Of course, the images I first posted were taken in conditions favoring the M9: natural, directional light at lower ISOs. I didn't want the comparisons to be about dynamic range or low noise or artificial light performance. This was just an exercise to see if there was indeed a “CCD Look” and if such a look was only inherent in CCD-based cameras. Some have requested that I publish images under more challenging lighting conditions and with skin tones.
In this second (and final) round of testing, I'm putting forth a selection of single images shot with the M9 and M240. The test this time is to see if, without a direct comparison, the “CCD Look” can be identified. Please note that I didn't take comparison shots for any of these images. I shot normally, just with two bodies. And, I didn't attempt to match to a particular look. Instead, I merely processed each file to my taste.
Without further ado, please cast your votes below. Yes, I know that there are a lot of images. I wanted to give a wide variety of scenarios to gather the most accurate data possible. Answers for both Part 1 and Part 2 will be revealed, along with my analysis, in Part 3.
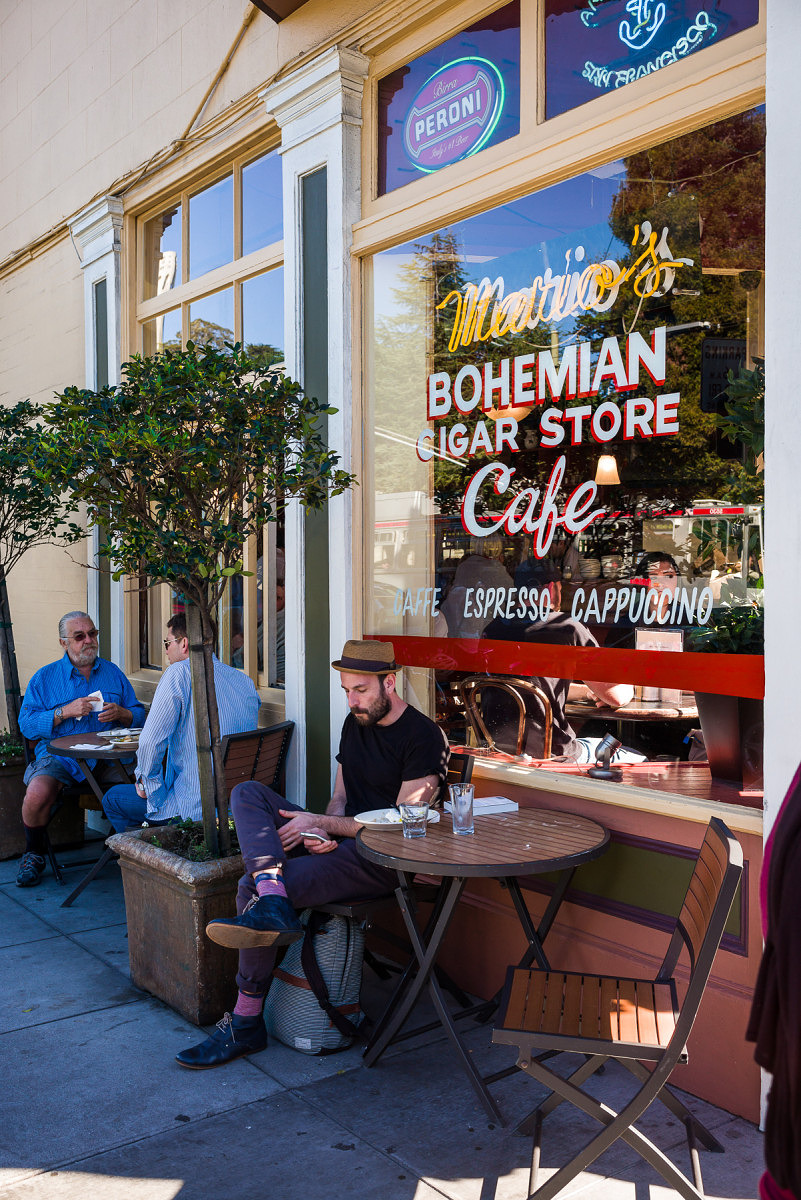
Cigar Store Cafe
Which camera was used for the above image?

Washington Square Park
Which camera was used for the above image?

Julie on Cable Car
Which camera was used for the above image?

Yellow Tulips
Which camera was used for the above image?
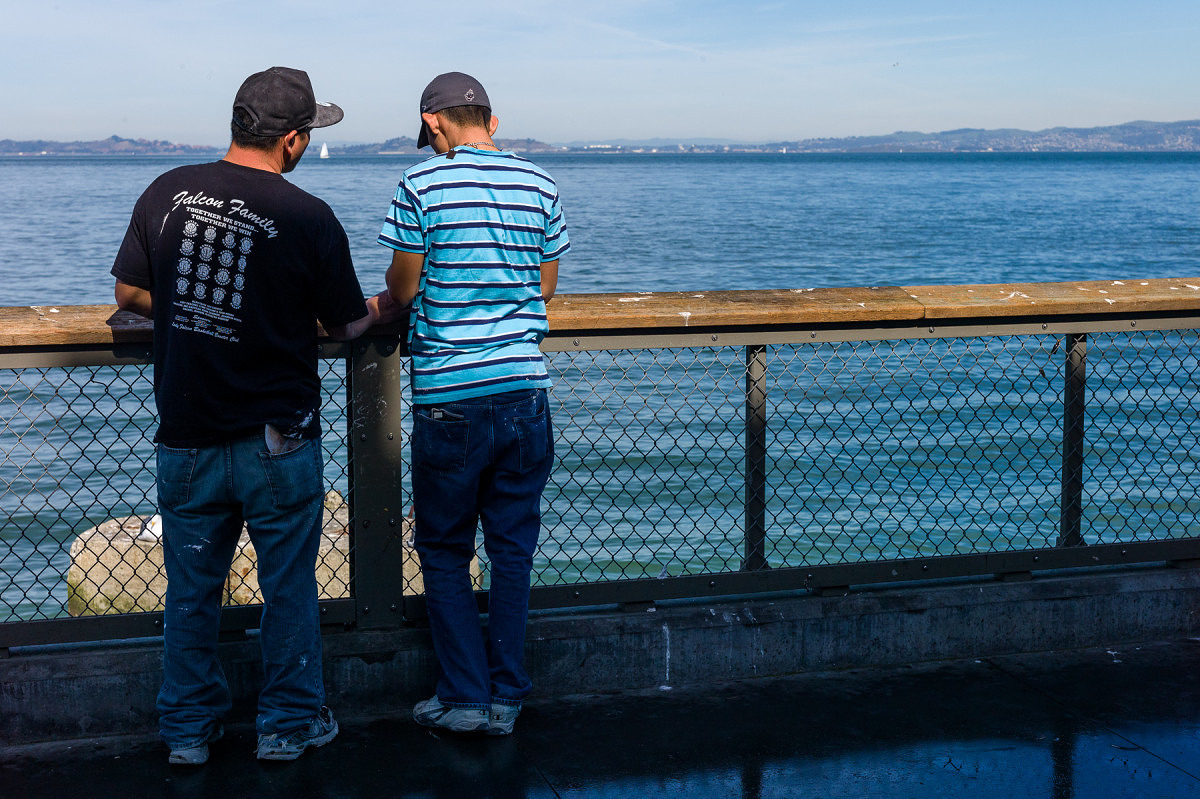
Two Guys at the Pier
Which camera was used for the above image?

Red and White Fleet Sign
Which camera was used for the above image?
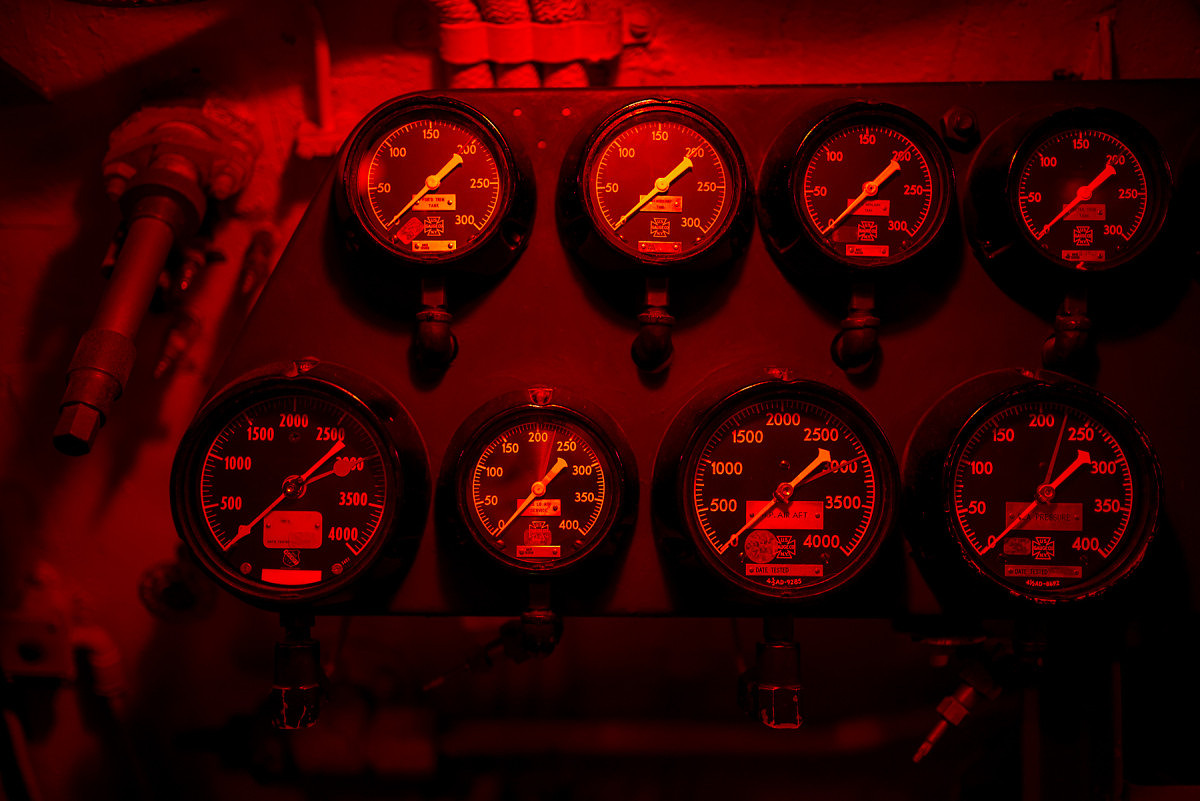
Red Light Gauges
Which camera was used for the above image?

Old Dial on Sub
Which camera was used for the above image?
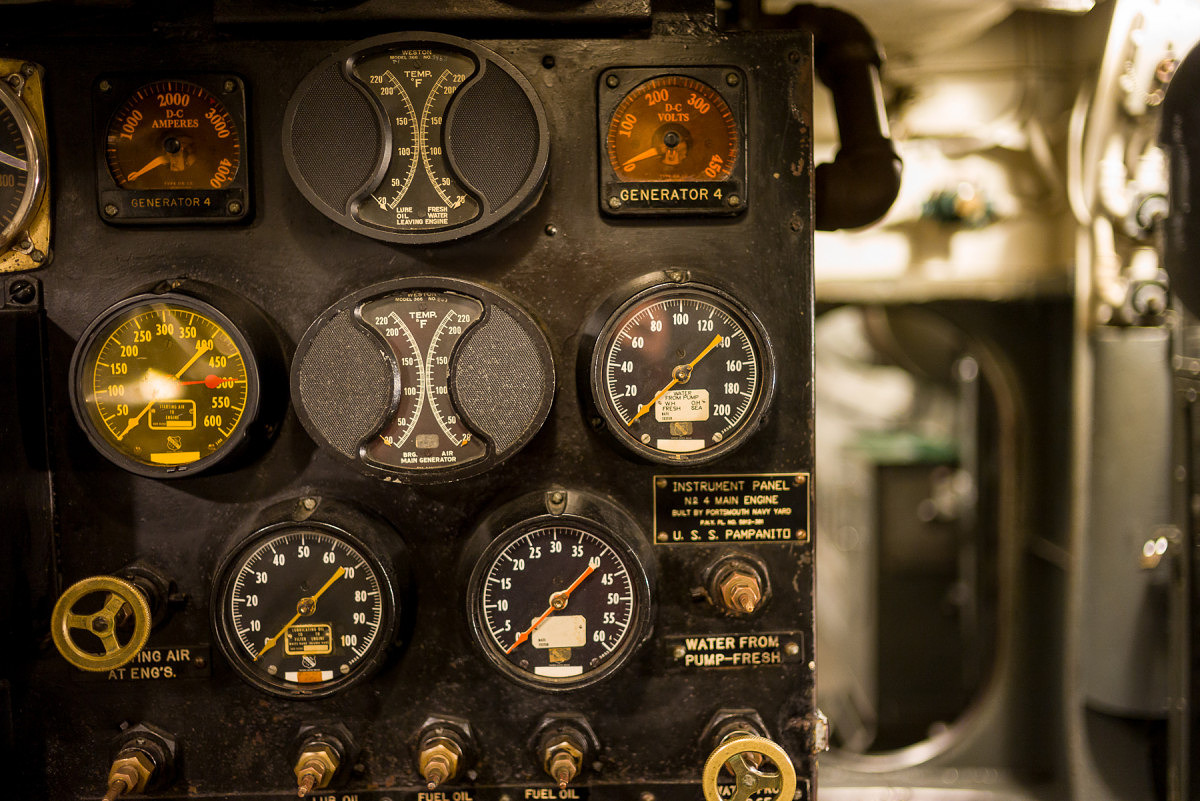
Sub Engine Gauges
Which camera was used for the above image?
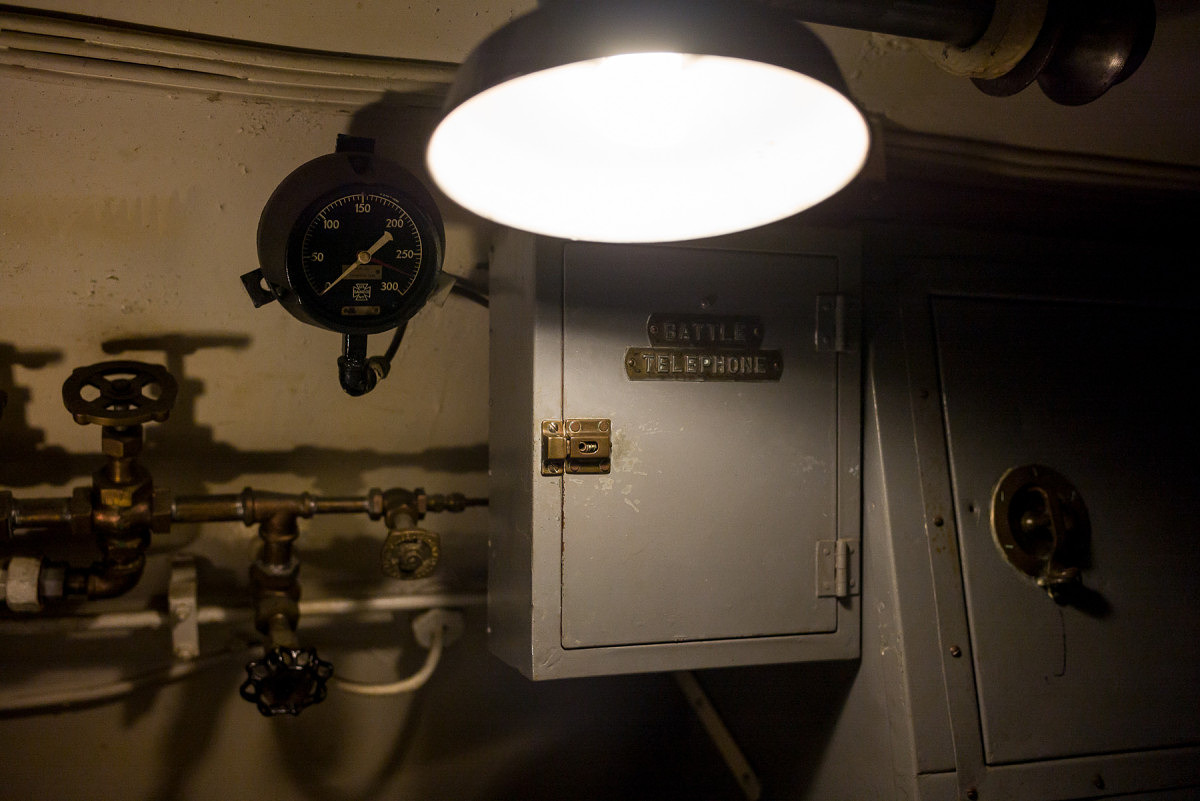
Battle Telephone
Which camera was used for the above image?

SS-383 Conning Tower
Which camera was used for the above image?

Leaving Museum
Which camera was used for the above image?
Pier at Sunset
Which camera was used for the above image?
Ghirardelli Square at Night
Which camera was used for the above image?
Sunset on the Beach
Which camera was used for the above image?

Sophia with Hat
Which camera was used for the above image?
Angled Street
Which camera was used for the above image?

City View out of Round Window
Which camera was used for the above image?

Coit Tower Windows
Which camera was used for the above image?
Coit Tower Looking Up
Which camera was used for the above image?

Red Car
Which camera was used for the above image?
Modern House on Lombard
Which camera was used for the above image?
Loading Bay
Which camera was used for the above image?

Parking
Which camera was used for the above image?

Hallway
Which camera was used for the above image?

Fishmonger
Which camera was used for the above image?

Drydock
Which camera was used for the above image?
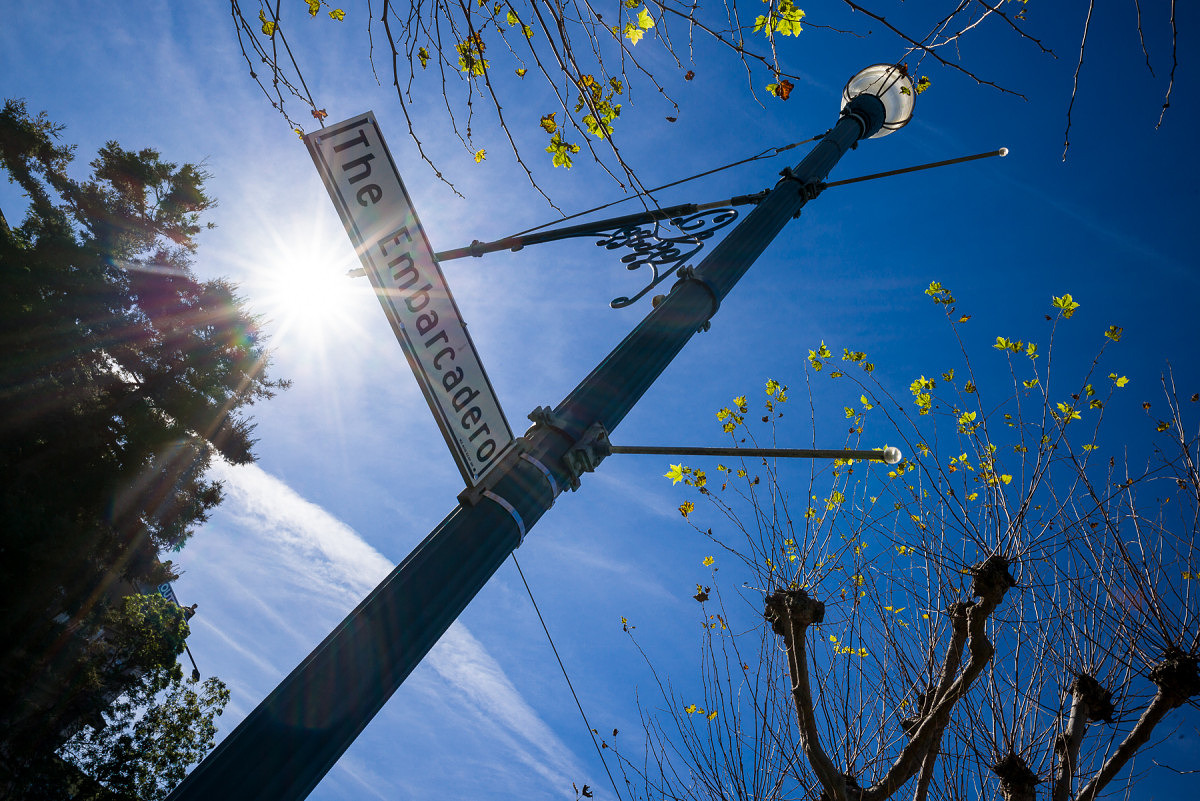
The Embarcadero
Which camera was used for the above image?

Roll Your Own
Which camera was used for the above image?

Red Door
Which camera was used for the above image?
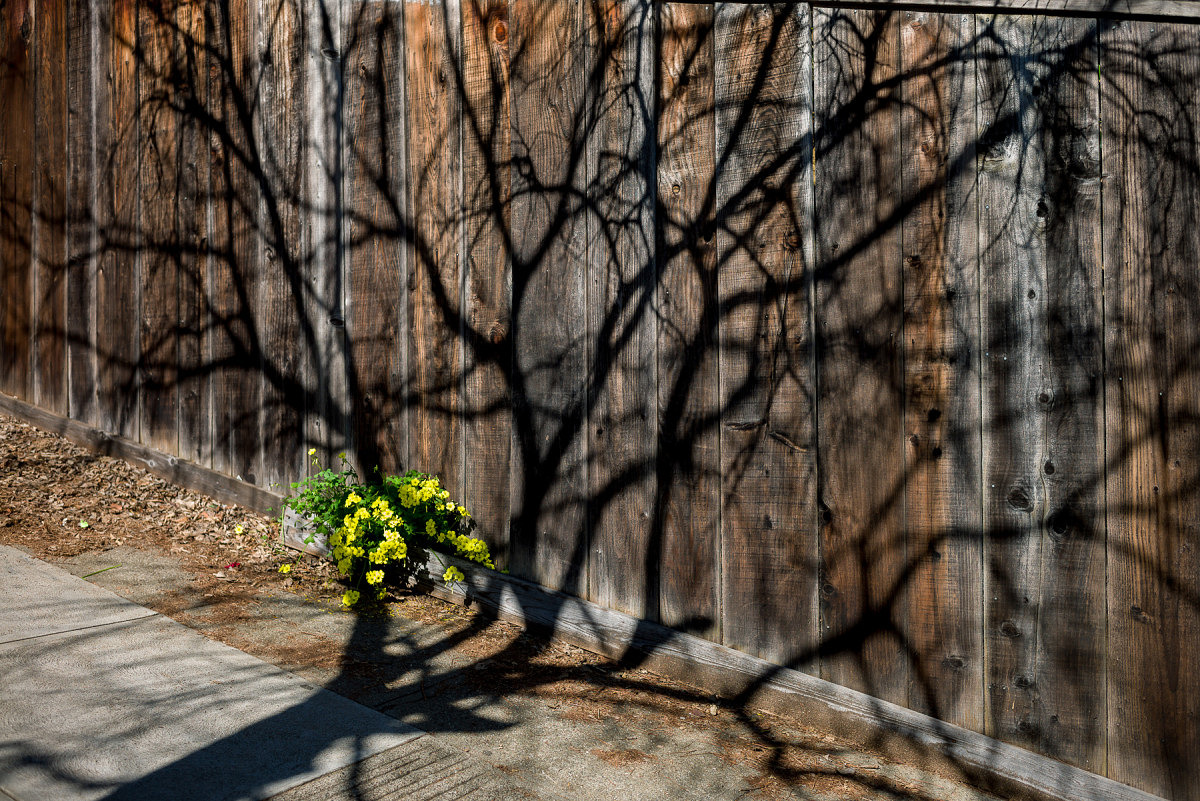
Shadow Tree
Which camera was used for the above image?
Update (3/9/15): Part 3 is now online. Check out the answers and my analysis.
-
Wonderful exercise and please do more of this type of analysis.
-
Yes, there are differences. But the images are SO similar after appropriate adjustment that the sensor differences are at most a very insignificant part of the rendering.
G
-
Yes, I show all the answers and the data collected in Part 3 here: The Great Debate: CCD vs. CMOS – Part 3
-
-
David Farkas wrote a new post, The Great Debate: CCD vs. CMOS – Part 1 10 years, 10 months ago
Since the Leica M (Typ 240) was introduced, there's been an ongoing debate regarding the merits of CCD vs. CMOS sensors. From a technological and marketing viewpoint, Leica needed to make the move from CCD to CMOS in order to offer live view and better low light performance. Live view has facilitated the easier use of ultra wide-angle lenses and opened up the possibility of using alternative glass like the wonderful Leica R lenses on an M body. And while no one can argue the additional functionality and superior high ISO capability afforded by CMOS on the M 240, there's been a steady and growing opinion that the color and tonality from the M9, which uses a CCD sensor, is more pleasing. I can appreciate that the resulting images from the two cameras do indeed look different, and everyone has personal tastes. I've shot thousands and thousands of images with the M9, as I have with the M 240 since then. Personally, I find both results appealing to my eye and never really made a direct comparison as they are different tools that I used at subsequent times through my photographic endeavors.

Recently, I read some comments online that I found somewhat puzzling. Statements were made to the effect that it was impossible to achieve the same color and tonality with the M 240, regardless of post processing. While I didn't know whether this was true or not, I've worked in digital imaging for 25 years and know that almost anything is possible in post. So, I decided to challenge myself and test the theory. I was heading out West for a family ski trip during my daughter's Winter break and would be spending a couple of days in San Francisco before flying back home to Miami. This would be a perfect opportunity to take the first step, so I packed up my M 240 and an M9, along with some of my favorite lenses: 24mm f/3.8 Elmar-M ASPH, 35mm f/1.4 Summilux-M ASPH FLE, 50mm f/2 APO-Summicron-M and 90mm f/2.8 Elmarit-M, then started thinking about how to go about testing. The goal would be to shoot roughly the same picture with each camera, using the same lens. So, if I took a shot with one camera with the 24mm mounted, I'd swap lenses and shoot the same lens with the same settings on the other camera. Truth be told, this was not the most fun way to shoot, but I was on a mission to get as many comparisons under various conditions as I could and stuck with the program.
When I returned home last week, I set about first just looking at the differences between the files once my import presets for each camera were applied. Then started the process of matching the files. I only used the global tools in Lightroom. No Photoshop. No adjustment brushes. Just slider adjustments. This proved to be most enlightening; I was able to pinpoint the changes necessary to achieve very similar results from the M 240 relatively quickly. To be clear, I didn't necessarily work the M 240 files to make them look the absolute best they could be. Rather, I took the challenge to match them to the finished M9 images to see if there was a definitive “CCD Look” that could or could not be replicated using a CMOS based camera. I also selected shooting scenarios that favored the M9, namely good directional, natural light, at lower ISO settings. This wasn't intended to be a competition between cameras, per se, but instead one to test the theory of inherent sensor color.
The next step is to now open this comparison up to the world at large and see if, despite my Lightroom processing, the “CCD Look” is still clearly identifiable when looking at these sets of images. So, I'm asking you, my intrepid readers, to take the challenge and see if you can correctly identify which images are from the M9. Don't vote for the one you think looks the best, just the one that you think is from the CCD sensor. Take a close look at each set of images. Click on them to enlarge (but do be aware that if you roll your mouse cursor over the images, we have a darkening rollover effect on our website – make sure your mouse is not over either image when viewing for comparison). Open two windows side-by-side. Do whatever you need to do. I've stripped away the metadata and changed the file names to protect the innocent, so no peeking. Once you vote on each set of images, you'll be able to see how others voted, but not image data. For that, I will publish a follow-up once we collect a statistically significant amount of votes, revealing the camera data and presenting my analysis. I know that there is a fairly large number of images (19 comparisons). Please do your best to select the M9 image from all the sets as this will help give us more accurate results.
Also, be sure to check out Part 2 of this article where I challenge you to select which camera took which image, without a direct comparison.
Now, let the voting begin!

Streetcar – 1

Streetcar – 2
Which image is from the M9?

Fishing Dock – 1

Fishing Dock – 2
Which image is from the M9?

Life Preserver – 1
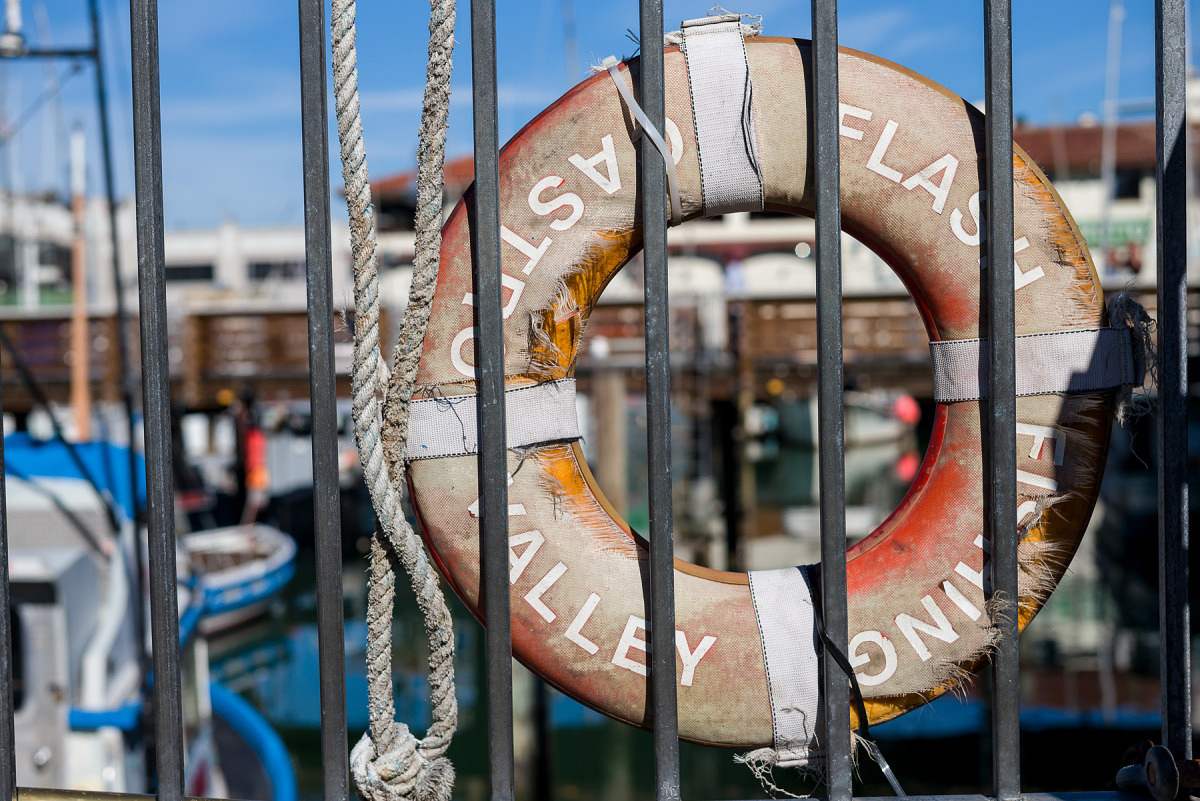
Life Preserver – 2
Which image is from the M9?

Fishing Boats Bows – 1

Fishing Boats Bows – 2
Which image is from the M9?

Bay Boat Tour – 1
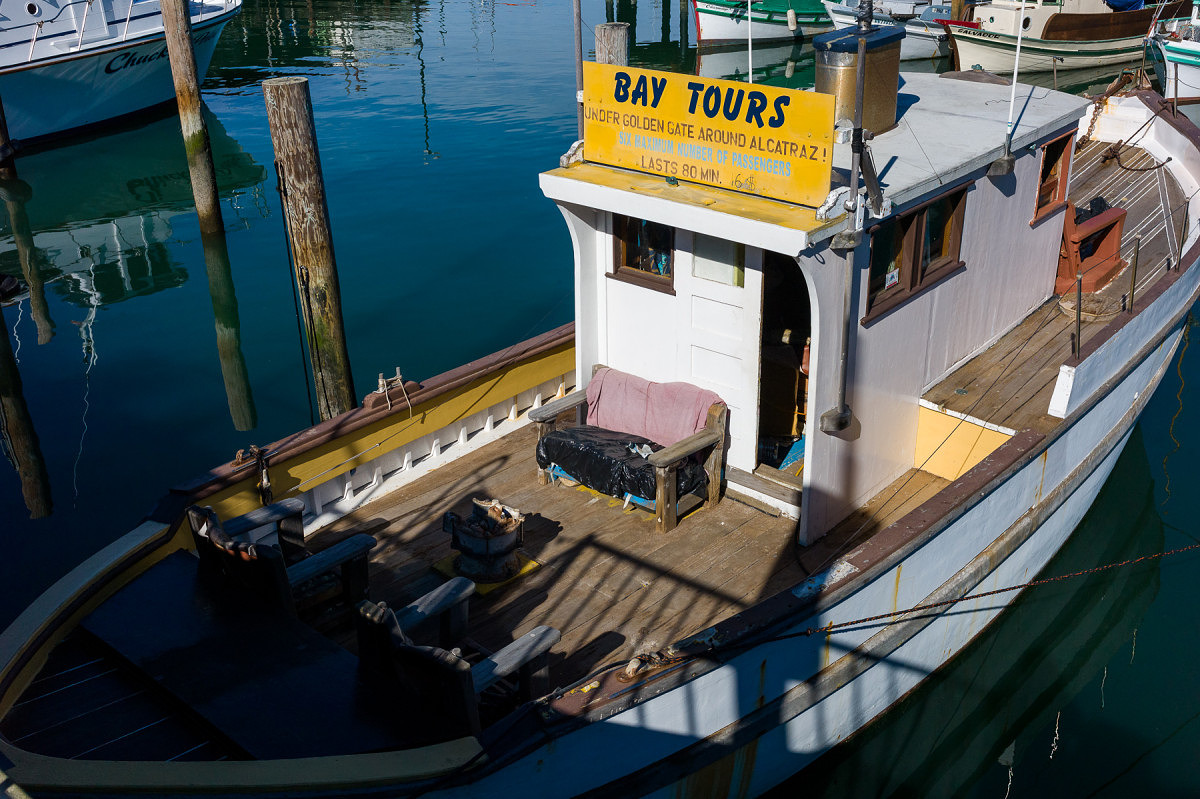
Bay Boat Tour – 2
Which image is from the M9?

Sailboats in front of Alcatraz – 1

Sailboats in front of Alcatraz – 2
Which image is from the M9?

Magenta Tulips – 1

Magenta Tulips – 2
Which image is from the M9?

Steps – 1
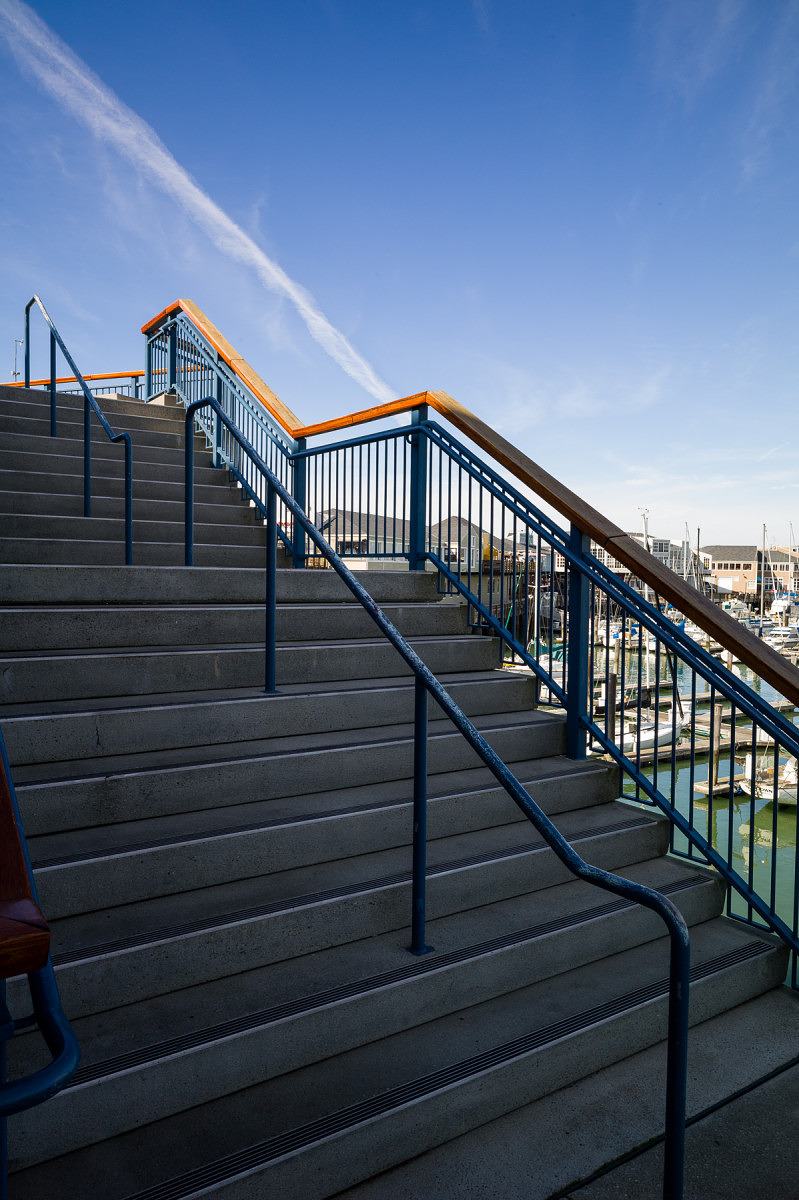
Steps – 2
Which image is from the M9?
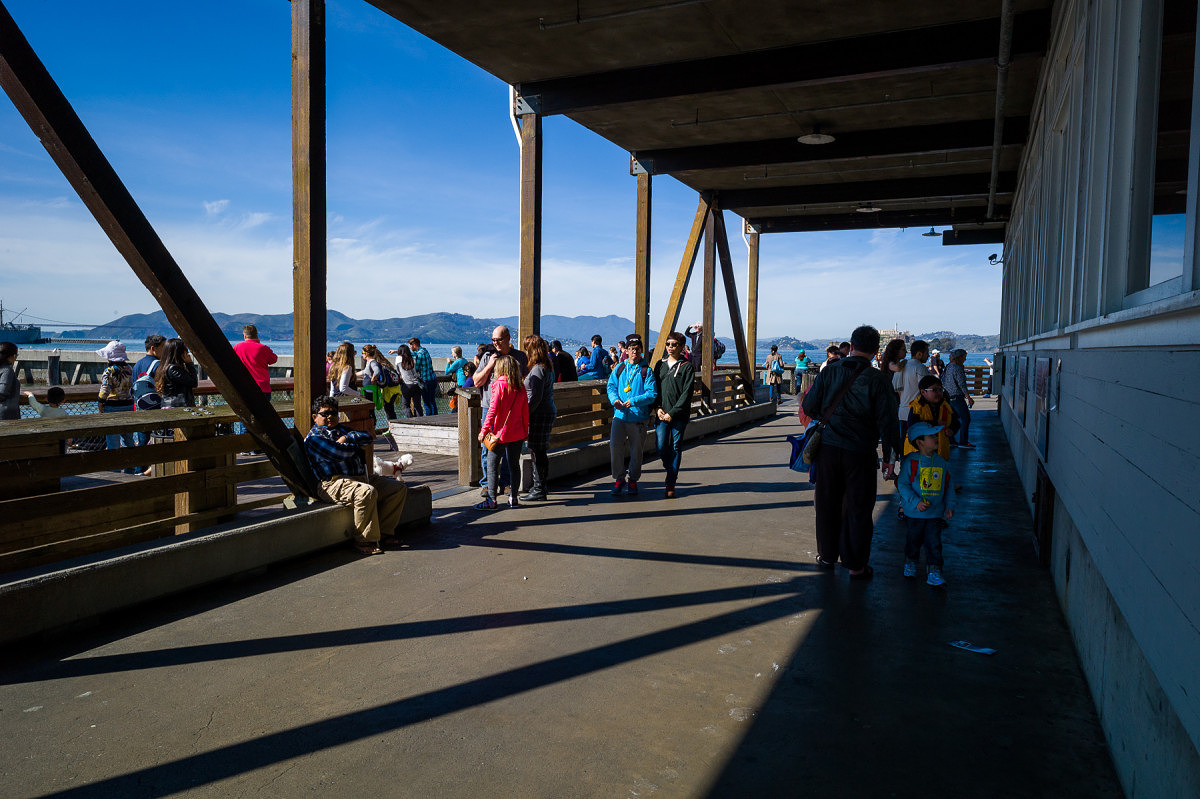
Pier 39 – 1
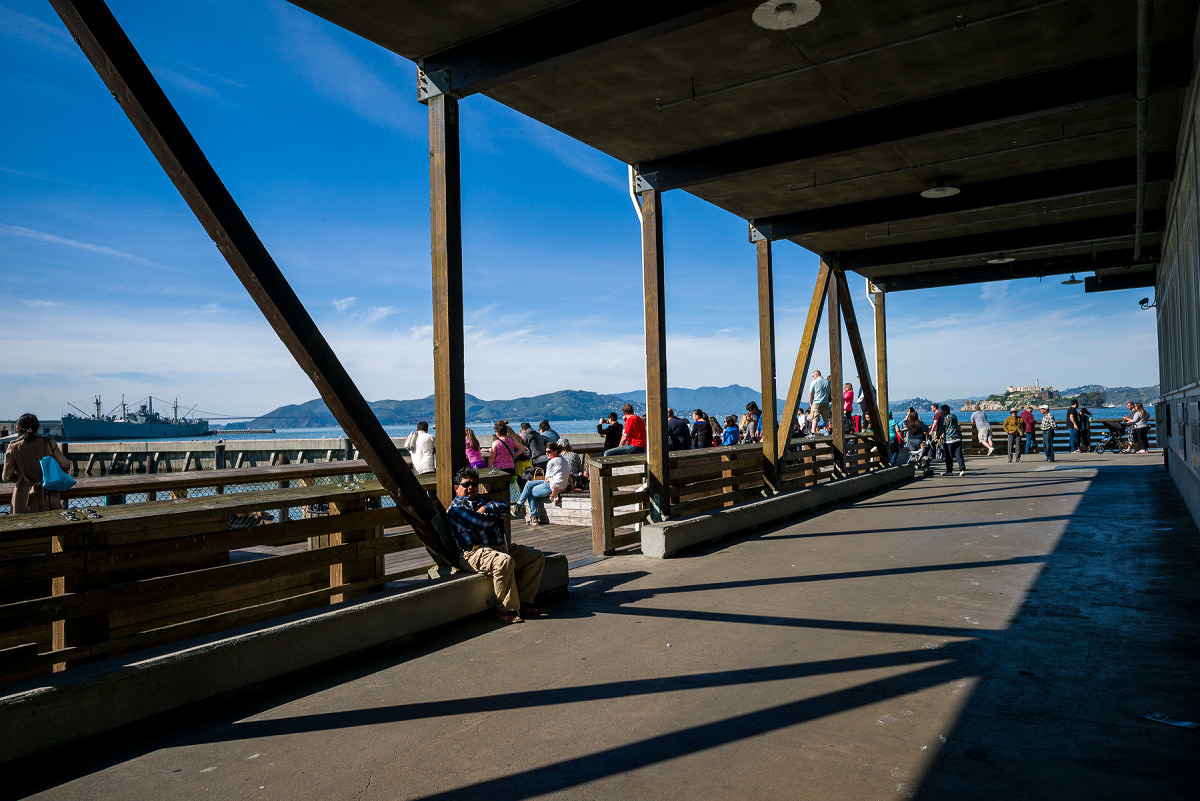
Pier 39 – 2
Which image is from the M9?

Church Windows – 1

Church Windows – 2
Which image is from the M9?

Scarves – 1
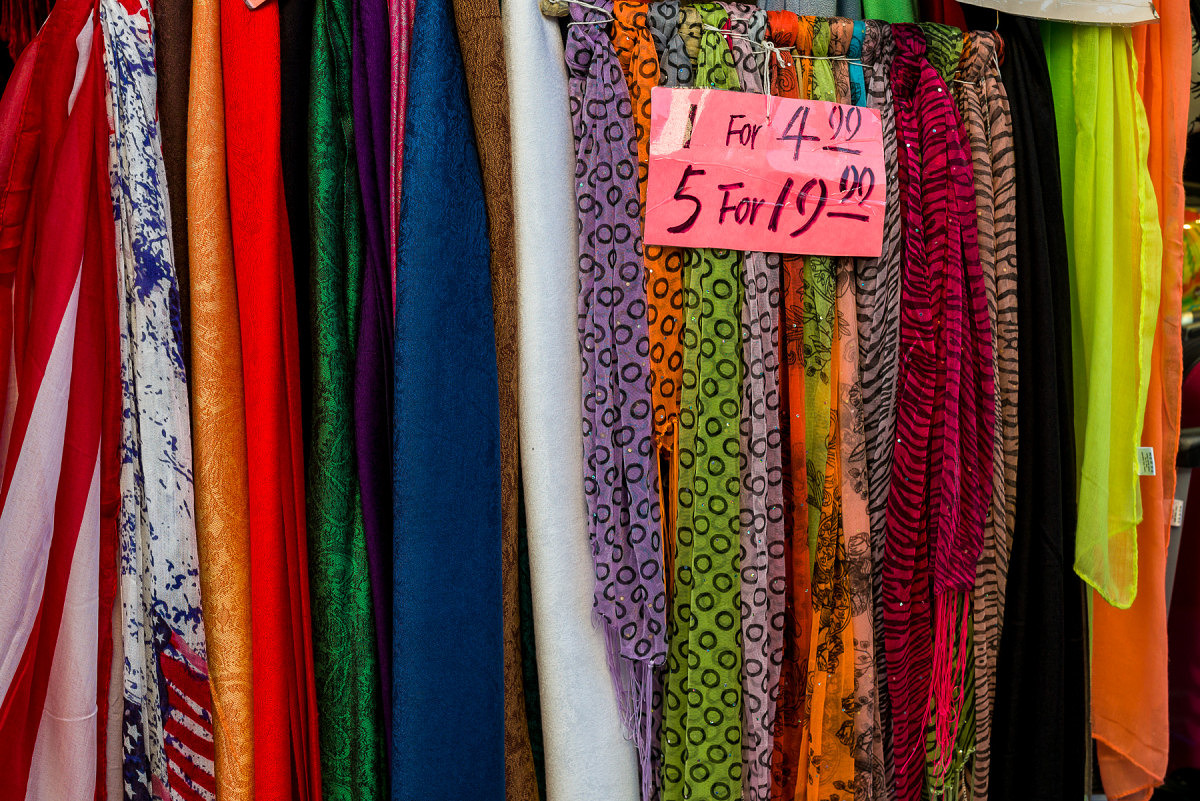
Scarves – 2
Which image is from the M9?

Red Cards – 1

Red Cards – 2
Which image is from the M9?

Slippers – 1
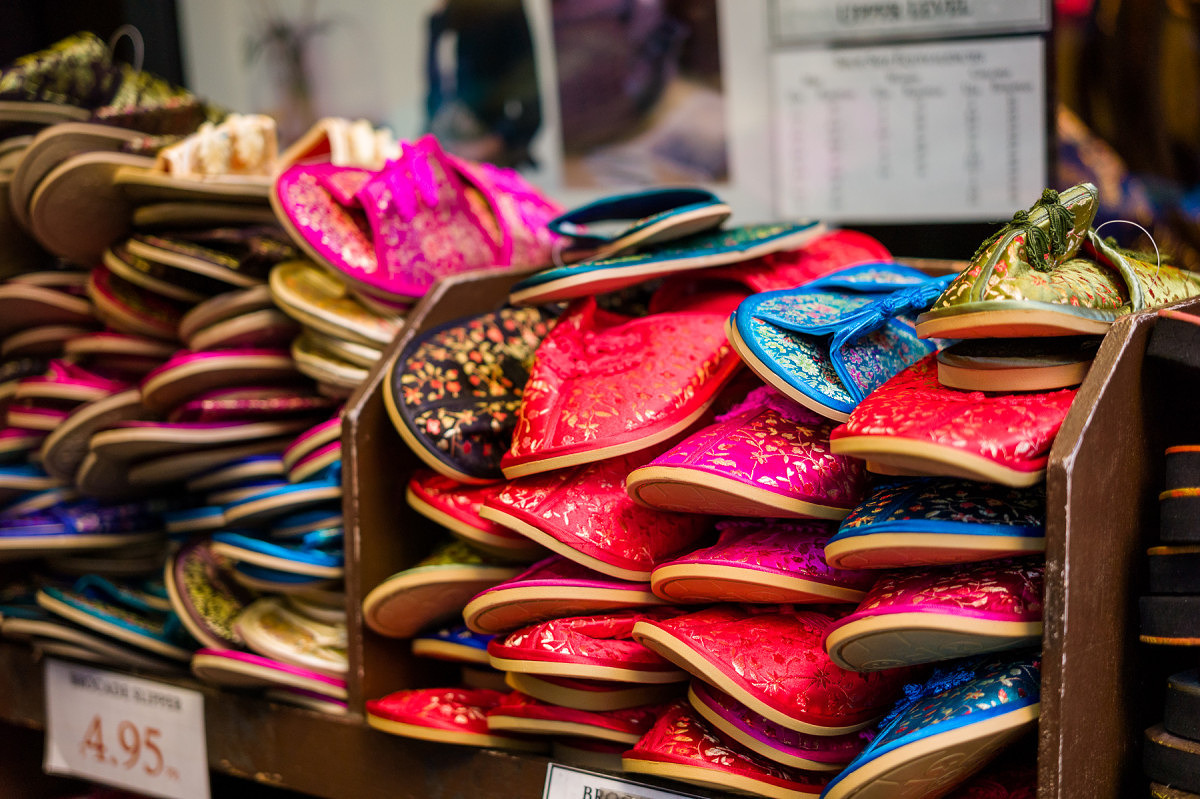
Slippers – 2
Which image is from the M9?

Skyscraper – 1

Skyscraper – 2
Which image is from the M9?

Modern Building – 1
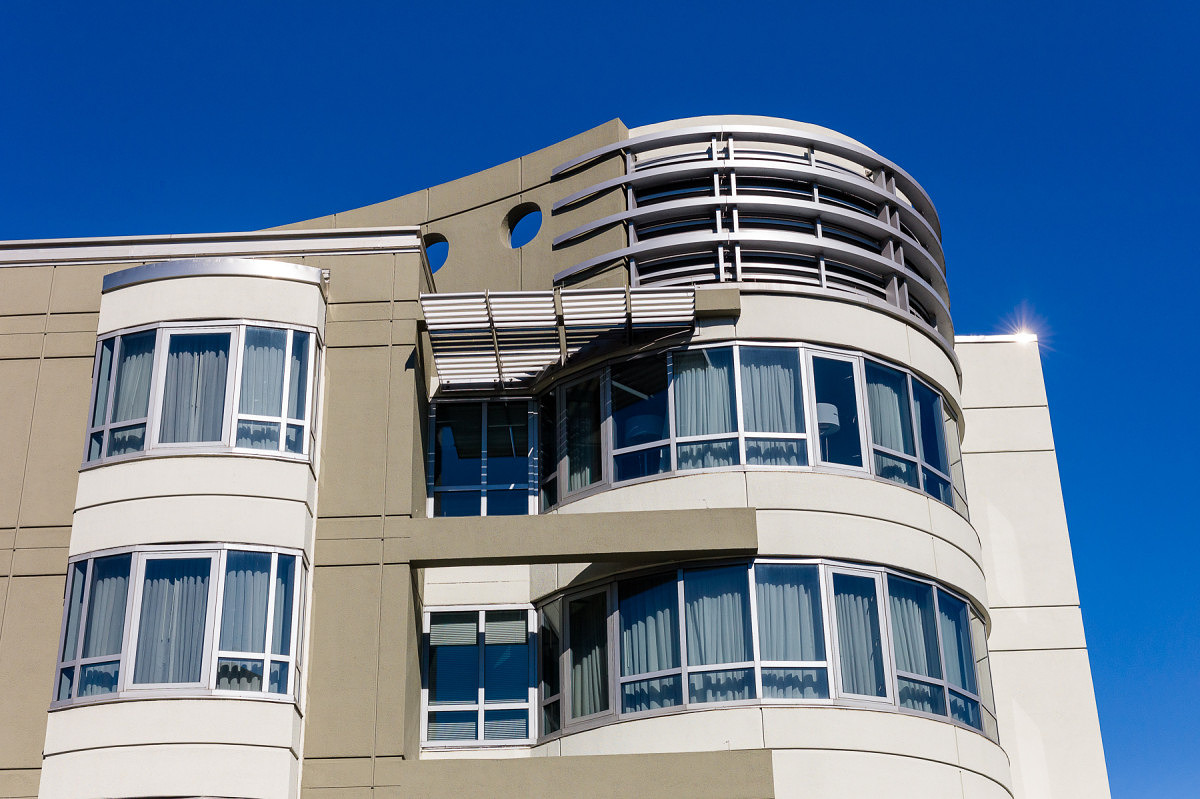
Modern Building – 2
Which image is from the M9?

Gate – 1

Gate – 2
Which image is from the M9?
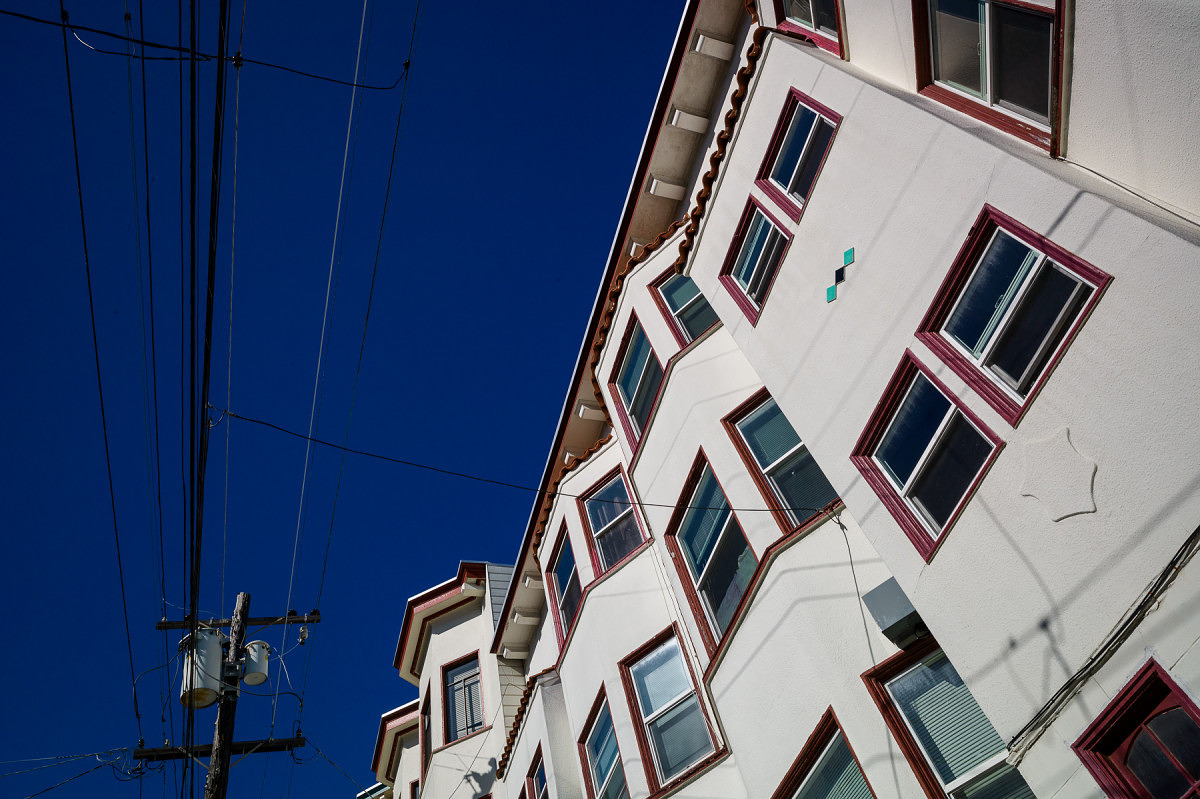
Apartments – 1
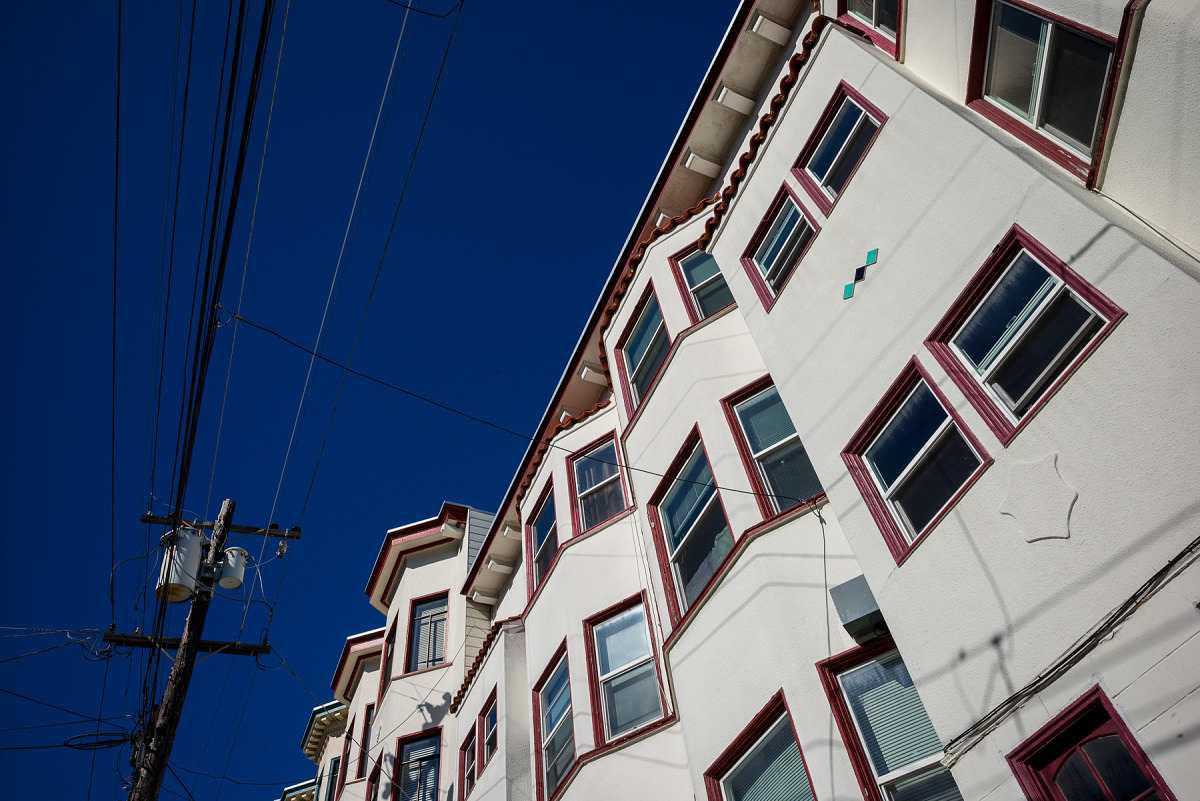
Apartments -2
Which image is from the M9?

Walkway with Purple Flowers – 1
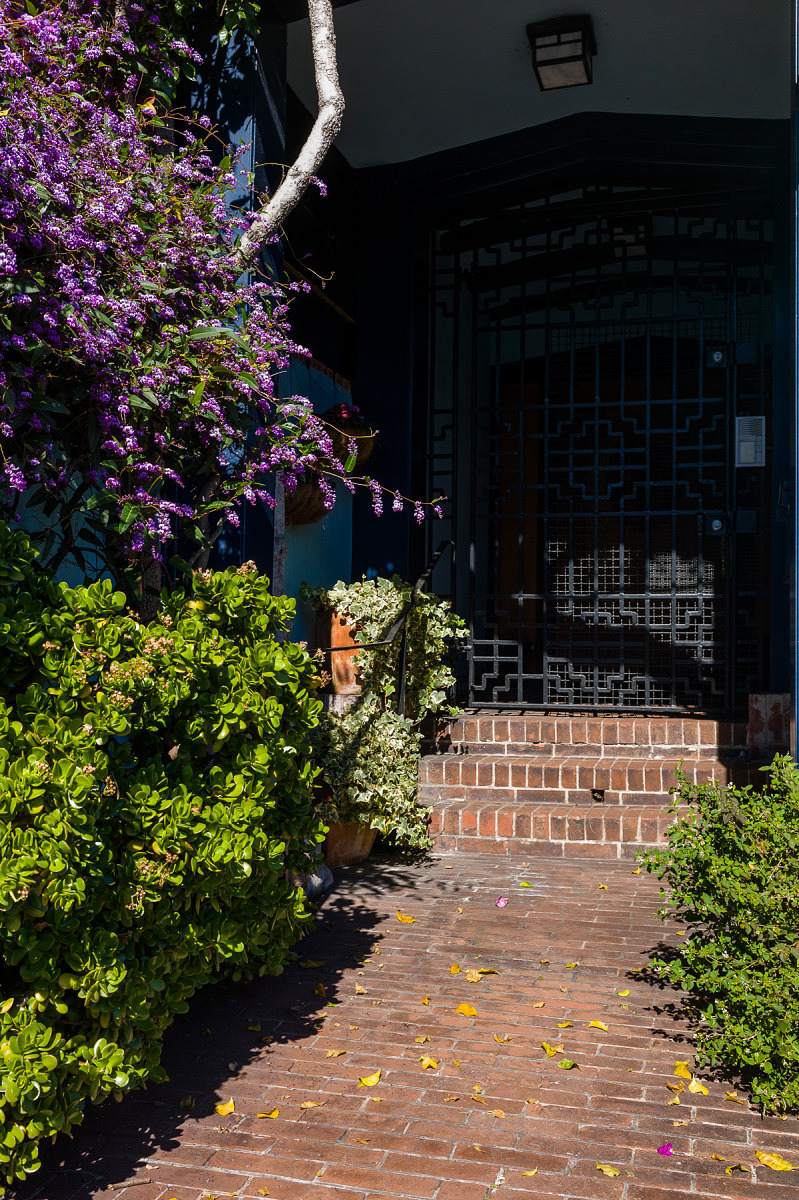
Walkway with Purple Flowers – 2
Which image is from the M9?

Lombard Street – 1

Lombard Street – 2
Which image is from the M9?
Stay tuned for the follow-up article and the results. If you have any questions on my methodology or have any comments to share, please do so below and I'll do my best to answer them.
Update (2/25/15): Part 2 is now live. Please head on over and vote!
Update (3/9/15): Part 3 is now online. Check out the answers and my analysis after you've voted.
-
Excellent David
What a great idea.
What would be interesting in your analysis is to see whether anyone got them all right? Personally I found a criteria for guessing, which I've managed to apply consistently to all the images, the only guess I made is which was the M9 and which the M240!
All the best
Jono Slack
-
-
David Farkas wrote a new post, Leica Responds to Sensor Issue in M9, M9-P, M-E and M Monochrom 11 years ago
Leica has issued an official statement regarding the sensor corrosion issue on the Truesense KAF-18500 sensor used in the M9, M9-P, M-E and M Monochrom. Basically, the issue is that if the coating on the cover […]
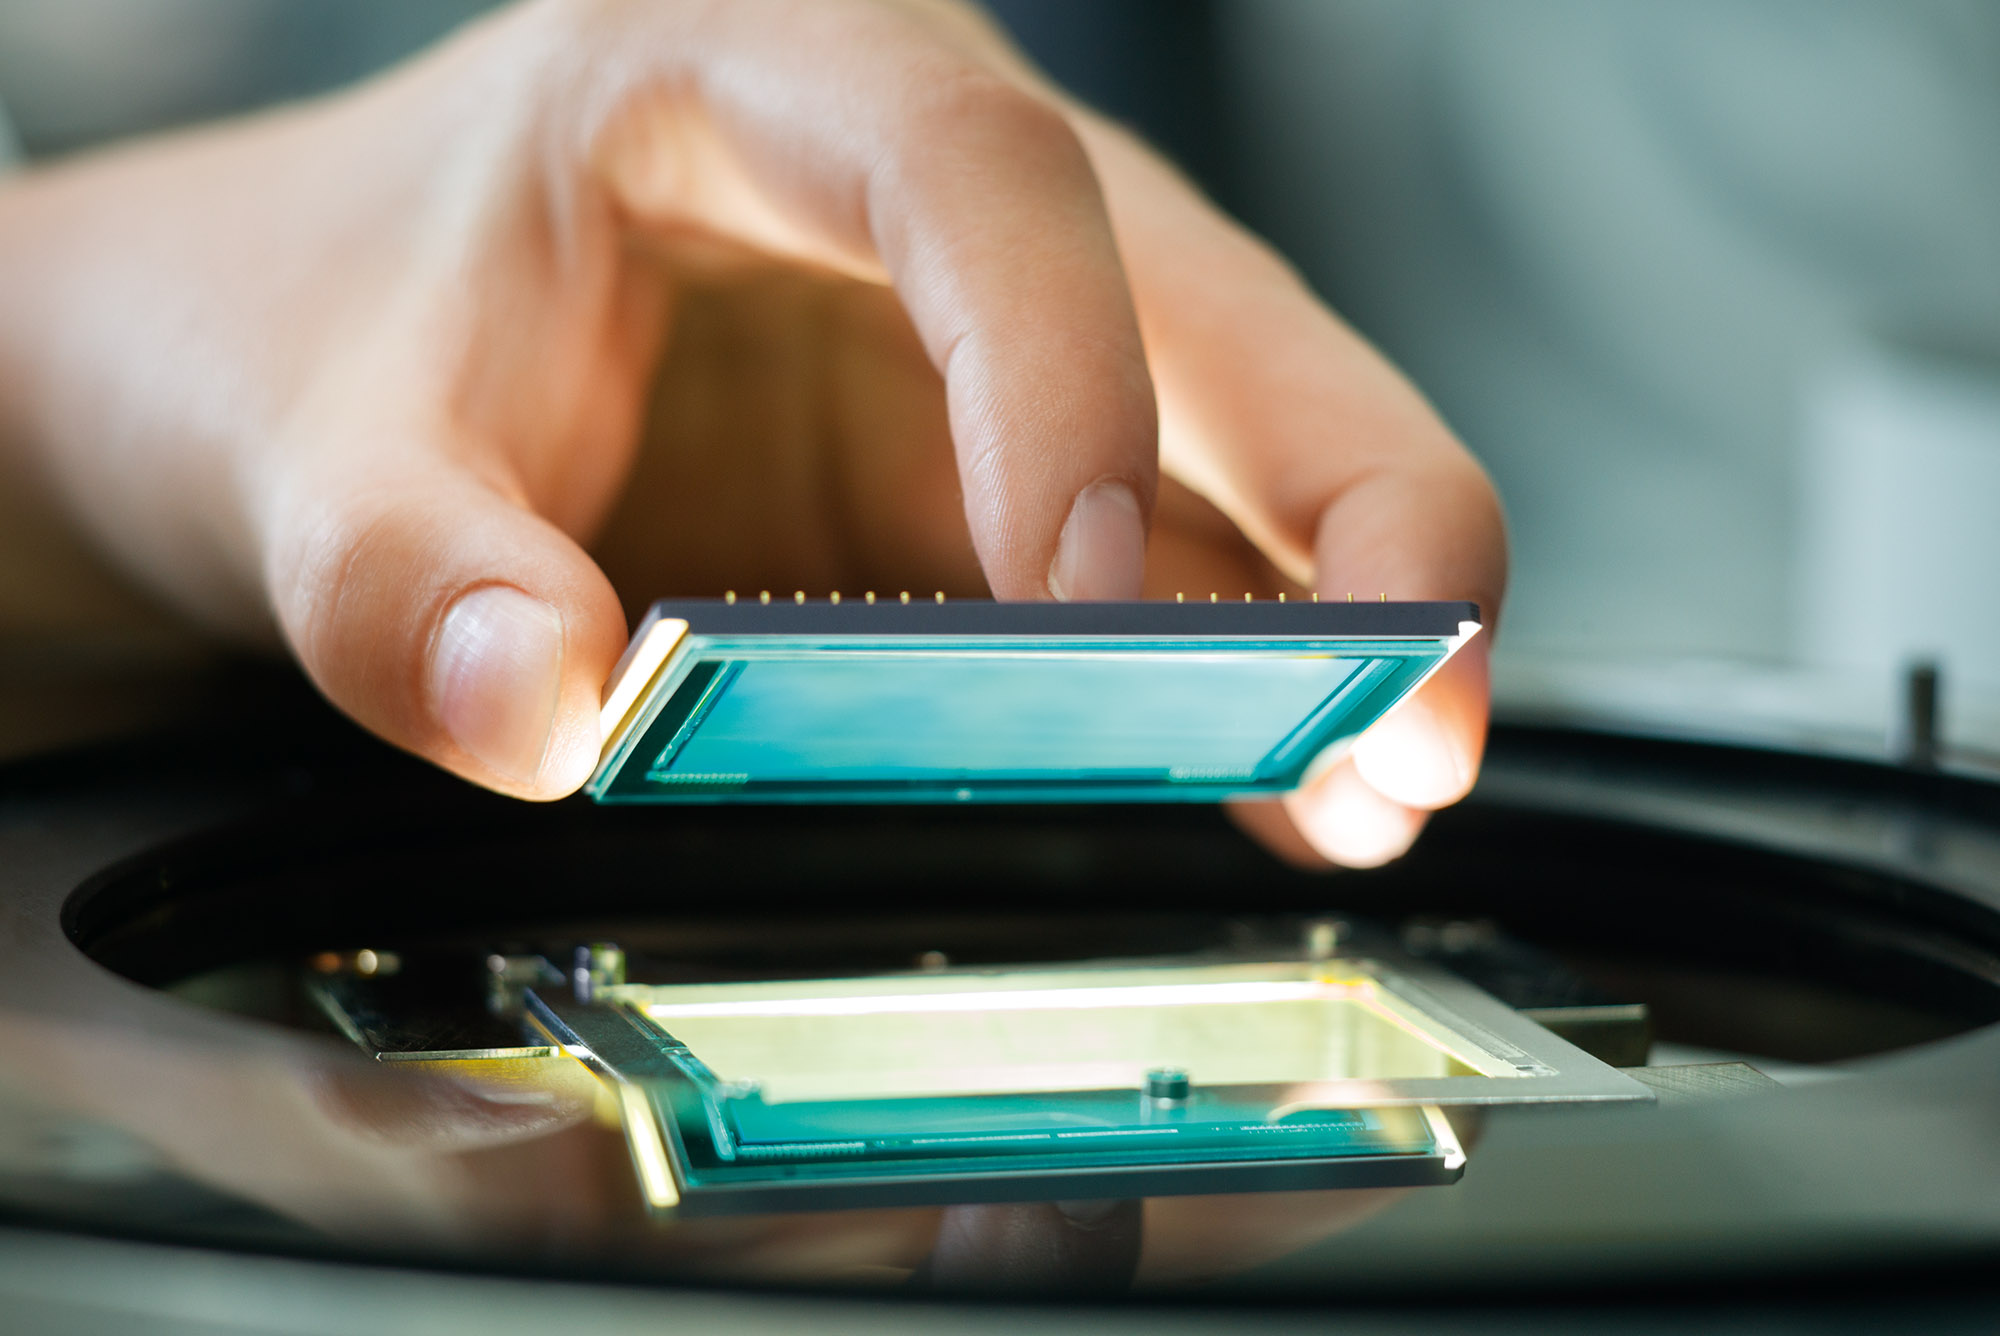
-
Hats off to Leica for standing behind their products! The M9 entered into service 5 years ago, most companies (Canon, Nikon etc) would just turn their back after their standard one year warranty is up. I guess that is why we lay out the extra $ – for extra service and support from both Leica and their authorized dealers.
-
-
David Farkas replied to the topic How is everyone liking the new site design? in the forum Announcements and Site Matters 11 years ago
You are correct. In order to create a more modern and feature-rich site overall, we had to move away from our previous vBulletin software. As such, the forum functionality is a little more limited, but we have many more community-based features like the activity feed, member profiles with interest tags, friendships and user galleries. In the end,…[Read more]
-
David Farkas wrote a new post, Leica M Edition “Leica 60” Unboxing 11 years ago
The Leica M Edition “Leica 60” became the darling of this past Photokina. Leica had the audacity to launch a digital camera with no LCD screen and no menus, epitomizing Leica's rallying cry of Das Wesentliche, the […]
-
David Farkas commented on the post, Photokina 2014: Day 4 – Leica compacts get upgraded with D-Lux (Typ 109) and V-Lux (Typ 114) 11 years ago
In reply to: David Farkas wrote a new post, Photokina 2014: Day 4 - Leica compacts get upgraded with D-Lux (Typ 109) and V-Lux (Typ 114) There has been a lot of excitement at the show around Leica’s two new compact cameras, the Leica D-Lux (Typ 109) and the Leica V-Lux (Typ 114). Admittedly, there is tons of excitement around pretty much all of Leica’s 20-something new products presented here at Photokina, but for these two cameras we are seeing perhaps the largest upgrade from their predecessors. Both cameras have gotten major heart transplants, sporting sensors much larger than we usually see in cameras of this size. I’ve used almost every generation of D-Lux and V-Lux and they have always been very capable cameras, offering great features, easy operation, lasting value and, above all else, great image quality. The new D-Lux and V-Lux cameras have raised the bar way, way higher with regards to absolute image quality, ease of operation and feature set. I spoke with the product manager for these compact cameras, Peter Kruschewski, to gain a little more insight and take a closer look at these new models. D-Lux (Typ 109) The new D-Lux has a heft that belies its size. Pick it up and immediately you know this isn’t a plastic fantastic point and shoot. Rather than the half plastic/half metal build of the D-Lux 6, the new Typ 109 features an all-aluminum construction that is as durable as it is sleek. Even with its small form factor, the camera conforms nicely in the hand and has a little rubber thumb pad for extra grip. Multi-selector mode dials and the like are now replaced with direct exposure controls like shutter speed and exposure compensation dials on the top plate, with aperture and focus rings on the lens. The dials have solid detents and the focus ring is smoothly damped, giving a nice analog-type feel. Peter explained that the M-like control layout was a direct effort to make this generation of D-Lux (the 7th!) the truest to Leica DNA yet. And, I think on this front, Leica has succeeded. Straightforward controls have always been a hallmark of Leica.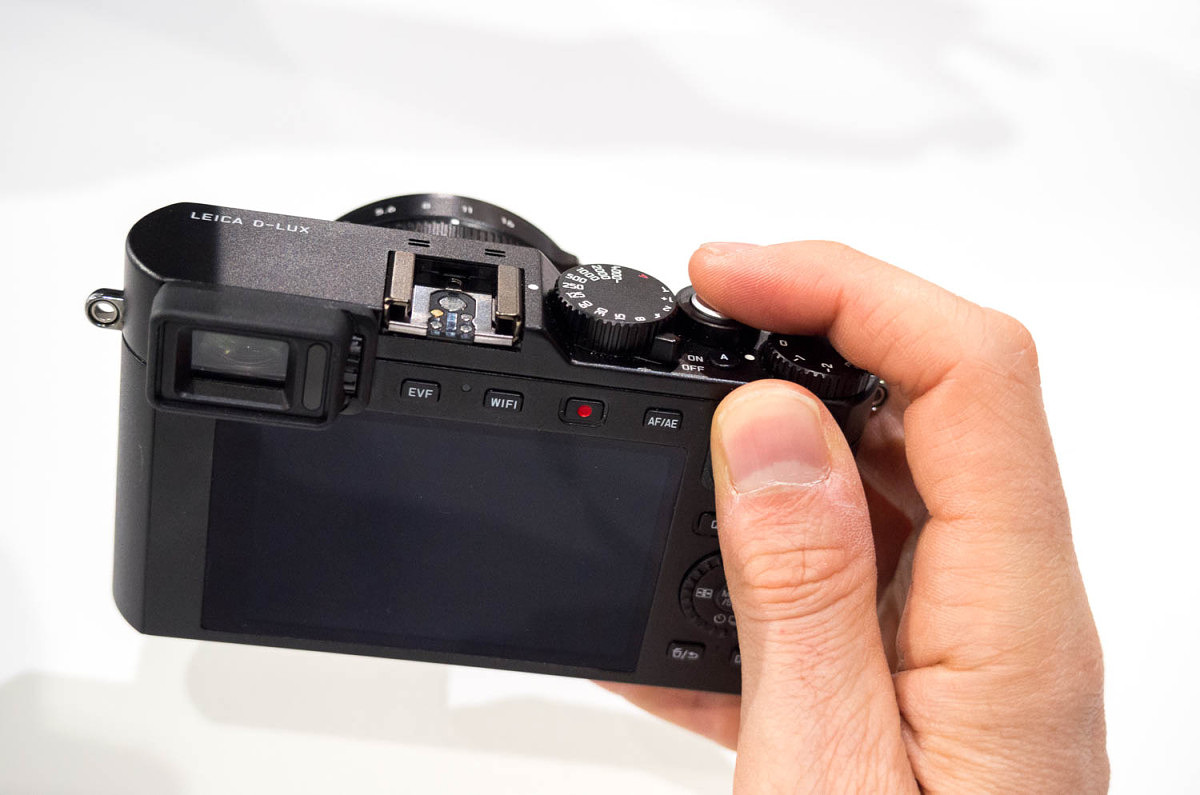 The 12.8 MP micro 4/3 sensor in the D-Lux is 5x larger than the 1/1.7” sensor used in the D-Lux 6. To put this in perspective, Leica’s top of the line S System has a sensor that is 60% larger than full frame 35mm. The quality differences between the S and even the excellent M 240 (a full frame model) are readily apparent. The D-Lux’s chip is now 500% percent bigger. This is a really big deal.
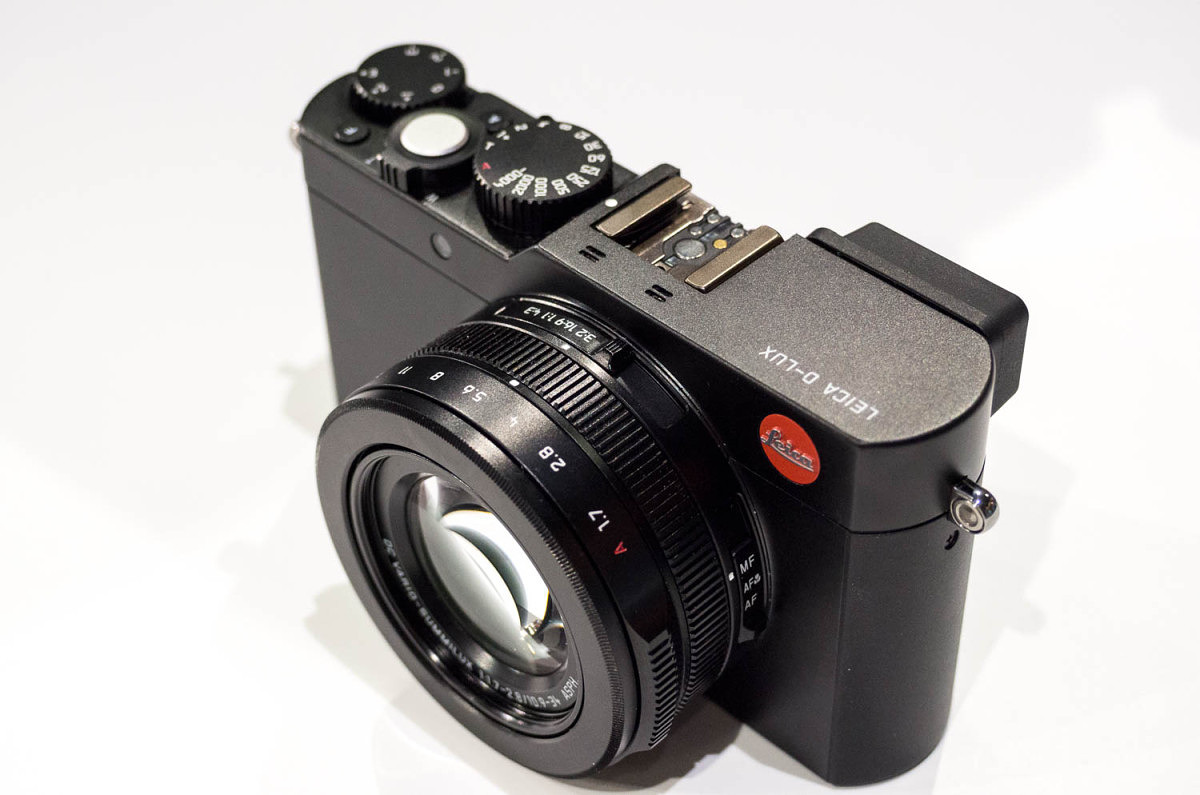 The two main advantages that a larger sensor will bring is improved low light performance and more creative freedom by allowing more depth of field control. Pictures will look more three dimensional with foreground subjects popping off the background. And, rather than struggling to take a clear picture at ISO 800 like on most compact cameras, I’m told this new model will excel at ISO 6400. Of course, if you want to see how far you can take low-light shooting, there are settings all the way up to 25,600.
 Along with a larger sensor, you usually need a bigger lens. Somehow, the optical engineers at Leica have managed to keep the size of the lens down while still offering a great focal length range of 24-75mm (equiv) and very generous maximum aperture of f/1.7 – 2.8. According to Peter, yes, some sacrifices had to be made in lens design, such as limiting the long end of the range to 75mm vs. 90mm and going to f/1.7 rather than f/1.4. The goal was to keep the quality level and specs as high as possible, while keeping the size to a minimum. And, even though the DC Vario Summilux lens is larger on the Typ 109, it matches up quite nicely with the slightly beefier body. For those using filters, the D-Lux now accepts an E43 filter size, the same as used with the X Vario and the new X Typ 113.
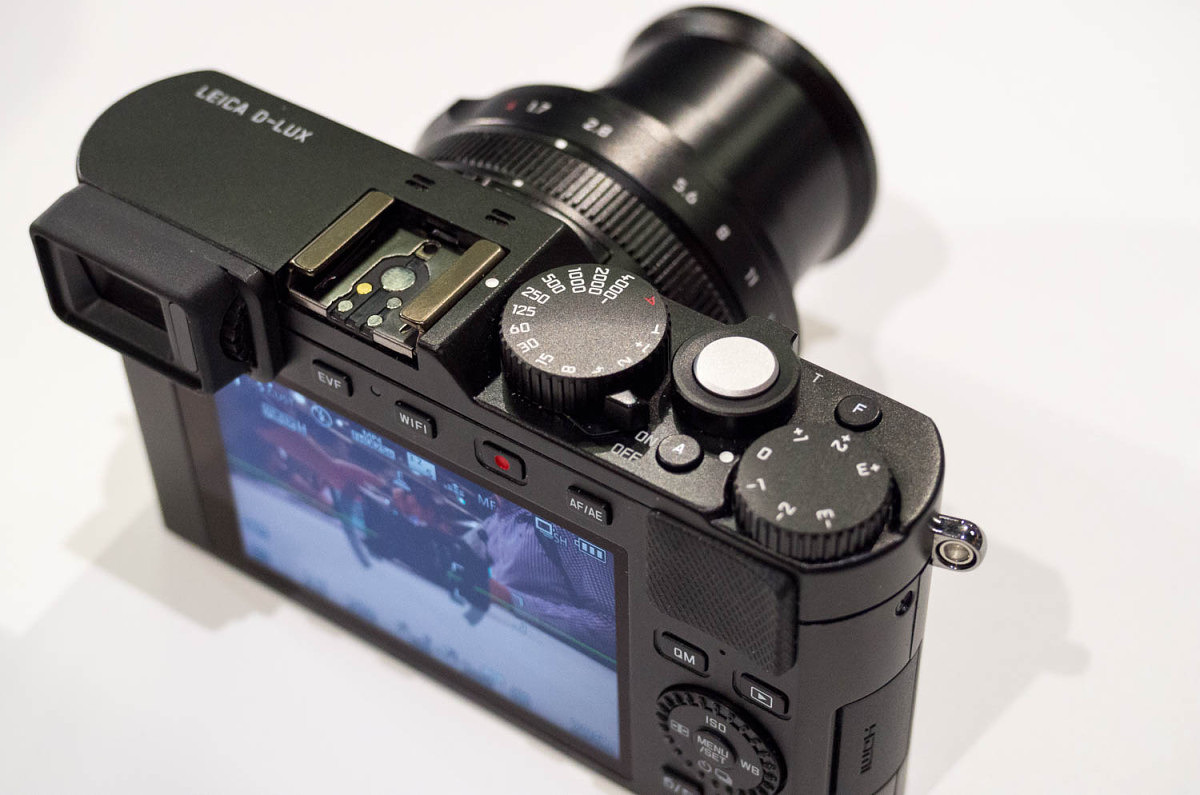 Also making its way to a D-Lux camera for the first time is a built-in, high resolution 2.8MP EVF. The EVF activates automatically when you place it up to your eye. A built-in finder has been requested by customers for some time, and now, Leica has found a way to incorporate it. Peter thinks that the built-in EVF is a defining feature of the Typ 109, and was extremely pleased that they were able to physically fit in to the camera, especially considering its compact size and other component requirements. Looking through the EVF is a real treat. Clear and bright with a fast refresh, this viewfinder is top rate with class-leading resolution and clarity.
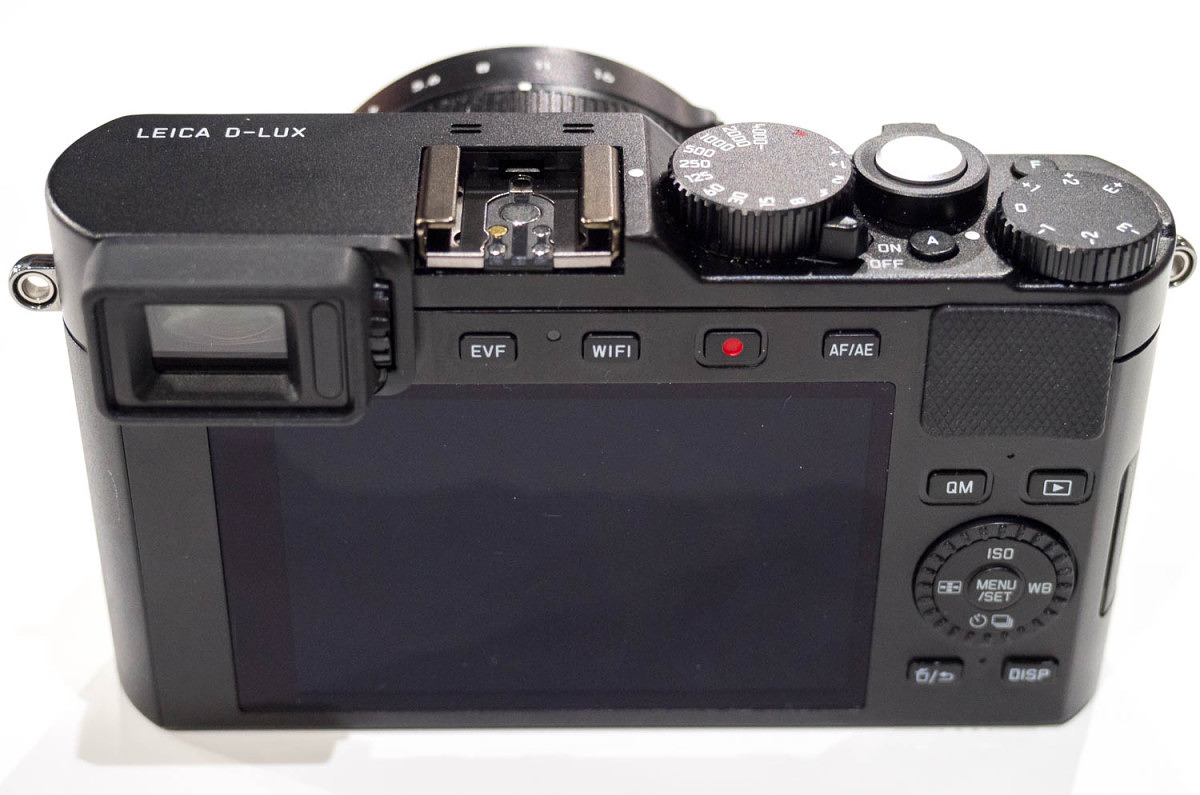 Of course, not everything was able to be fit in the new body. Perhaps because there was just no more space inside the packed chassis, or maybe to make the camera more system-like, there is no built-in pop-up flash. Instead, a small CF D hot-shoe mounted flash is provided with the camera. It’s cute and reminds me a little bit of the old single-use cube flashes, but it’s not made of clear plastic nor is it single use. You needn’t worry about batteries; the flash is powered by the camera. The other reasoning for omitting a built-in flash is that with such great low light performance and a fast f/1.7 lens, there are very few situations that you might actually need a small flash.

Included CF D flash
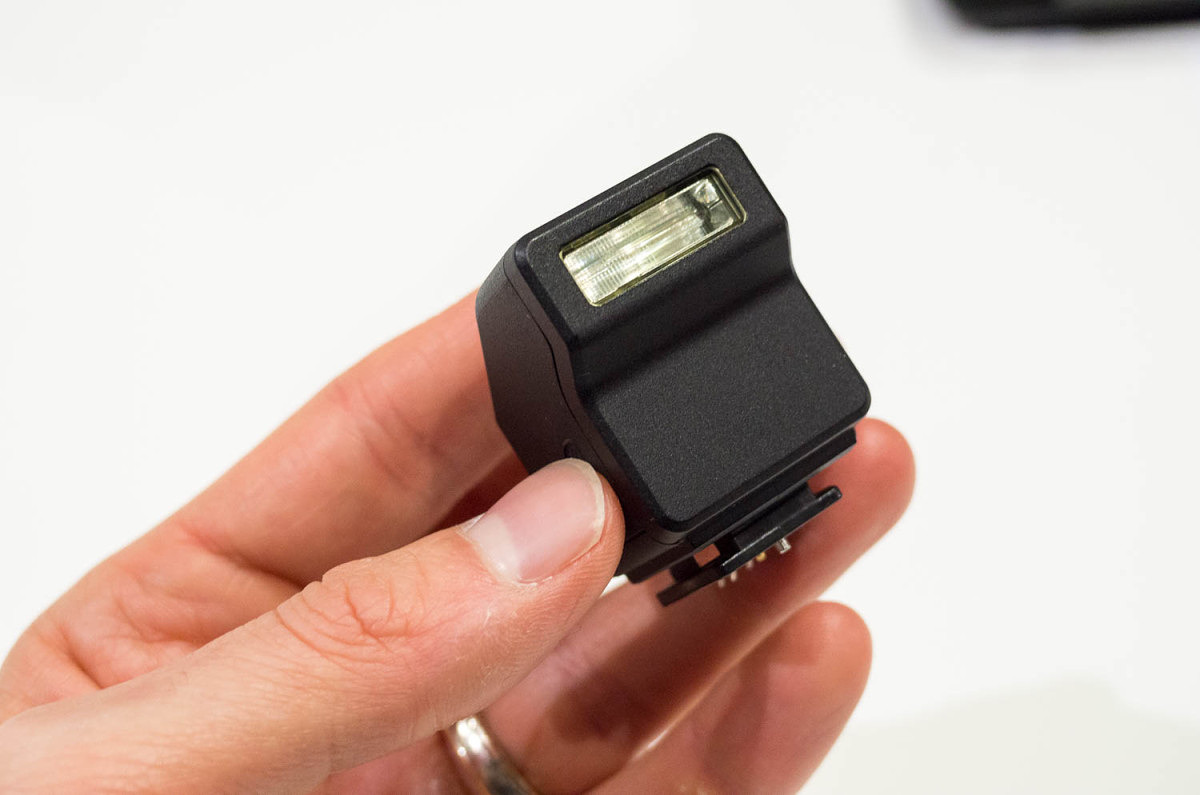
Included CF D flash
For video enthusiasts, there’s a lot to love. The D-Lux brings 4K video to the table with high-quality encoding up to 100 Mb/s. The 4K video area is slightly cropped from the full frame as it is 1:1 pixels for maximum quality with no down sampling. The active area isn’t too much smaller, so the resulting lens factor is about 1.5x, meaning that your 24mm wide angle turns to roughly a 35mm and 75mm at the long end goes to about 100mm. All-in-all, not a bad trade-off if 4K is your thing.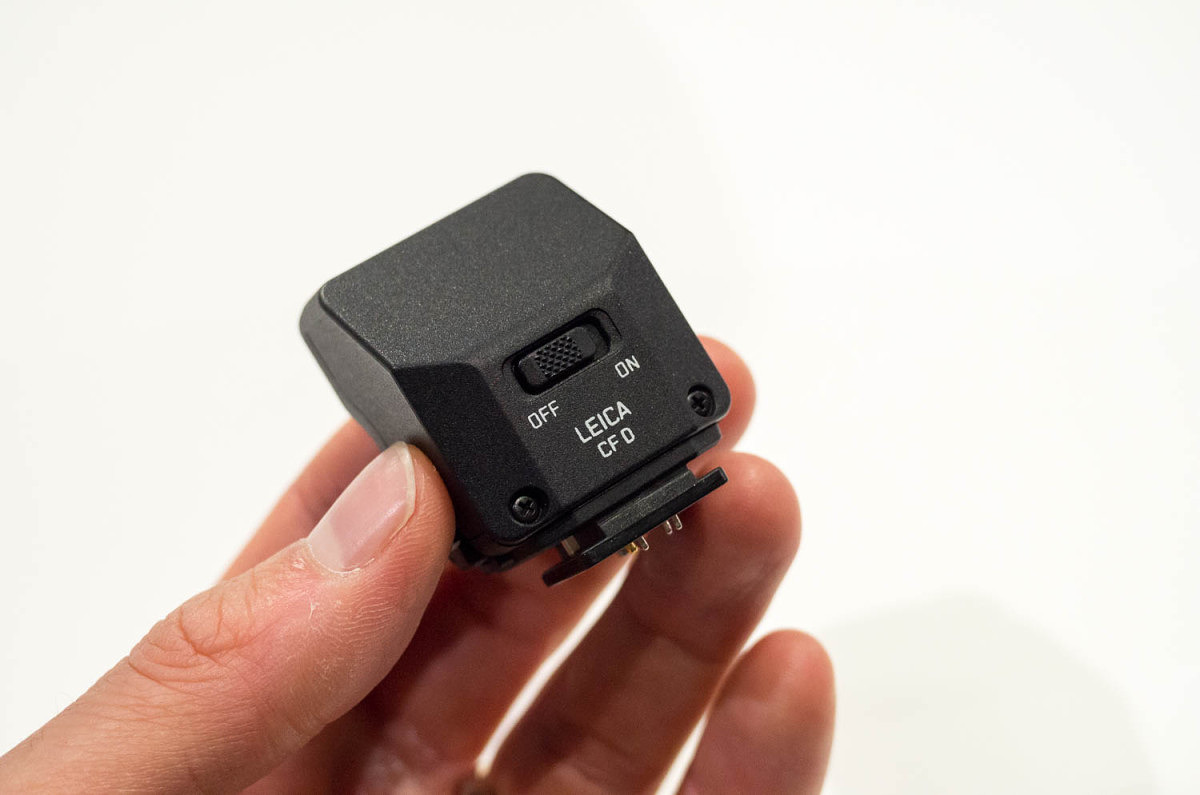
Included CF D flash
For remote camera control, instant review and image sharing, you can connect to your phone or tablet with WiFi. A new feature is that by using a phone with NFC (Near Field Communications), the camera and the phone will take care of setting up the correct WiFi settings for you. Very cool feature. Rounding out some of the new features is focus peaking, visible on screen or in the EVF and a new high speed shutter setting, which takes the fastest shutter speed from 1/4000 sec on the D-Lux 6 to a crazy fast 1/16,000 sec by way of a new high-speed electronic shutter. And while you may not be able to freeze the flight of a bullet through an apple, you won’t need an ND filter to shoot wide-open at f/1.7, even on the sunniest of days. One last note, for those upgrading to the new D-Lux, please note that the battery is not the same. Due to the increased power needs of the larger sensor, a new high-capacity battery, the BP-DC15-U is now required. V-Lux (Typ 114) The V-Lux has seen some pretty sizeable upgrading as well. The sensor has also gotten a sizeable boost both in terms of physical size and resolution, now sporting a 1” 20 MP CMOS chip. While not quite as large as the micro 4/3 sensor in the new D-Lux, the V-Lux’s 1” chip is 5x larger than that used in the V-Lux 4 and should see the same relative performance improvements found in the D-Lux, like better subject separation and improved low-light capabilities.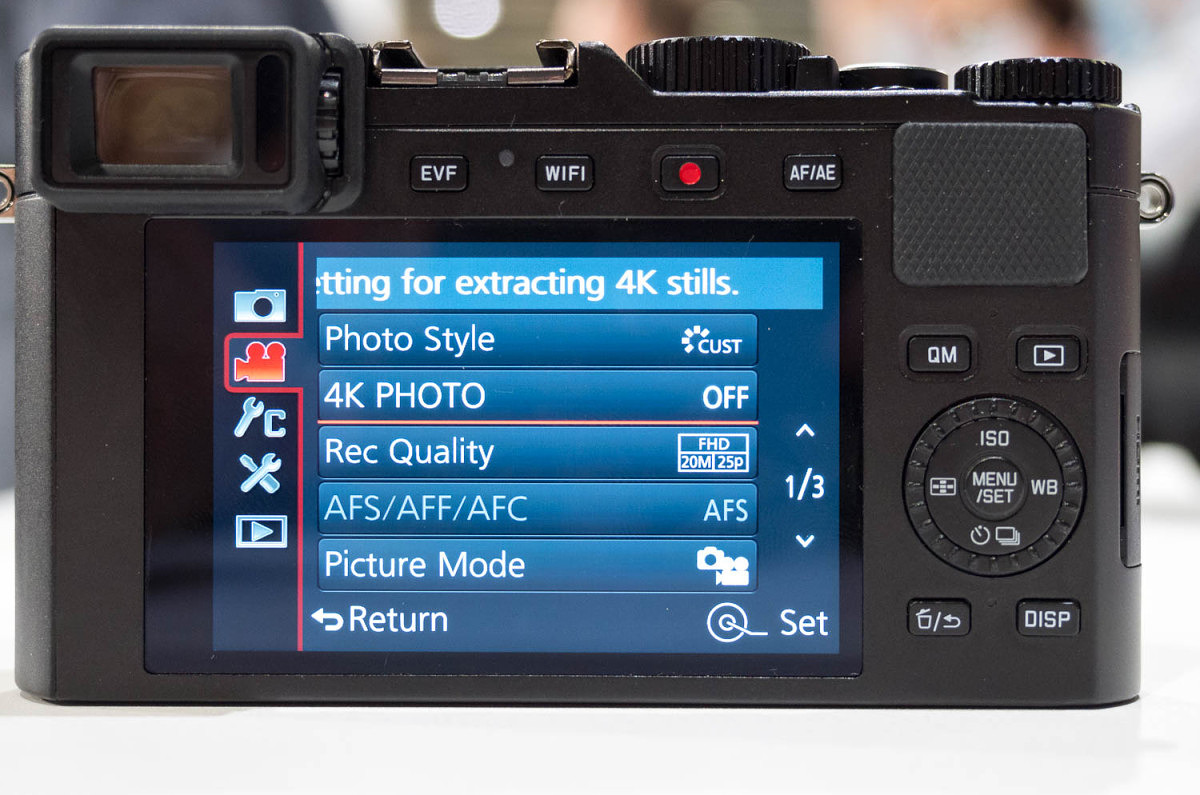
Menu option for extracting 8MP stills out of 4K video
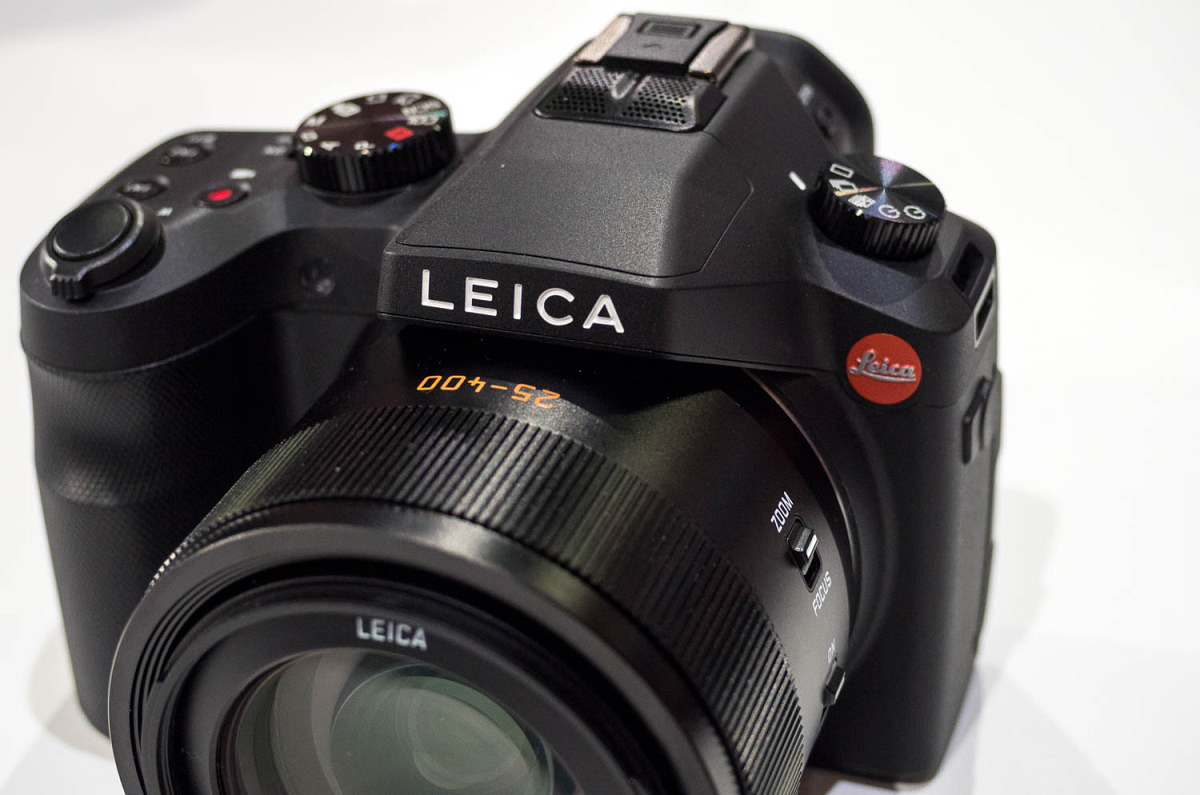 Peter called the new Typ 114 the “Swiss Army Knife of digital cameras.” He doesn’t seem too far off the mark here. In spite of the huge increase in sensor size, the V-Lux still boasts a 25-400mm f/2.8-4 zoom with image stabilization and incredibly fast autofocus. And I mean really fast. It used to be accepted that for sports you really needed a DSLR with a long zoom to capture action, and that a compact all-in-one camera fell short. Not so with the V-Lux. The AF is smoking fast, able to move that big lens from 2m to infinity in a blink of an eye (if said blink took 0.2 seconds). The camera can shoot at a blazingly quick 12 fps and, just like the D-Lux, now has shutter speeds up to 1/16,000 sec.
 And, with 4K video on board, you can shoot even faster if you need to. Because each frame of 4K video weighs in at 8MP, and because you can capture 30 frames of this resolution every second, a new technique for action is to pull still frames from high resolution video. On FullHD, each frame is only 2MP, hardly enough for anything but online use. But, with 8MP, even prints like 16x20” can be expected. And, because the capture size is smaller than the full sensor, you can get an effective 600mm focal length for these action sequences. Of course, this technique isn’t without trade-offs. You’ll be giving up RAW which will limit your post-processing options and you won’t get the full 20MP image. But, if you really want to catch a cheetah bounding across the plain while on safari, it’s worth at least trying.
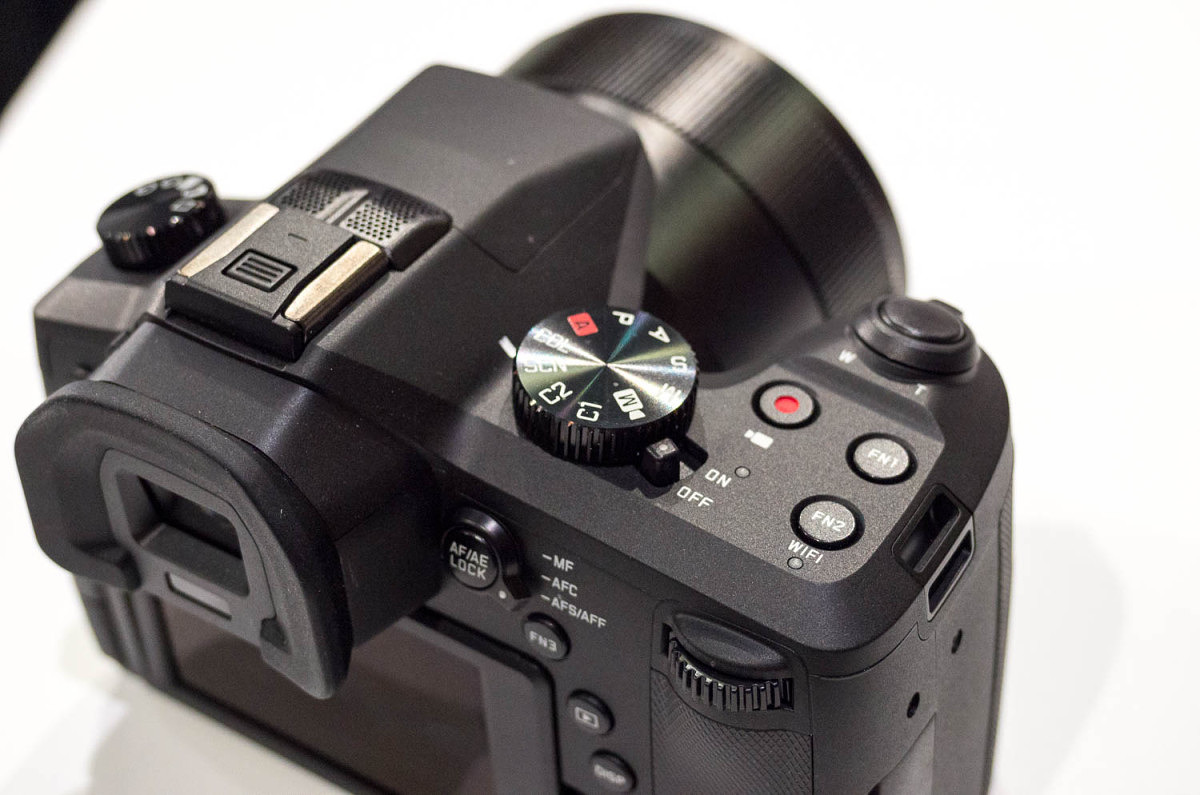 With the bigger sensor, low-light performance should be improved and as such, the ISO range has been expanded from a 3200 max up to 12,800. My guess is that optimum maximum ISO will be somewhere in the 1600 – 3200 range.
While the V-Lux 4 featured a built-in EVF and a rear LCD, both have gotten nice upgrades. The EVF is now a 2.4MP OLED type and the screen gets a full 920K pixel resolution, same as the D-Lux. Both are crystal clear with smooth and fluid live view. And, just like the D-Lux, focus peaking is an option for manual focus assistance. And, just like its D-Lux brethren, similar WiFi and NFC can be found here too. All you need is the free Leica app on your iPhone or iPad and you’re off to the races.
With the bigger sensor, low-light performance should be improved and as such, the ISO range has been expanded from a 3200 max up to 12,800. My guess is that optimum maximum ISO will be somewhere in the 1600 – 3200 range.
While the V-Lux 4 featured a built-in EVF and a rear LCD, both have gotten nice upgrades. The EVF is now a 2.4MP OLED type and the screen gets a full 920K pixel resolution, same as the D-Lux. Both are crystal clear with smooth and fluid live view. And, just like the D-Lux, focus peaking is an option for manual focus assistance. And, just like its D-Lux brethren, similar WiFi and NFC can be found here too. All you need is the free Leica app on your iPhone or iPad and you’re off to the races.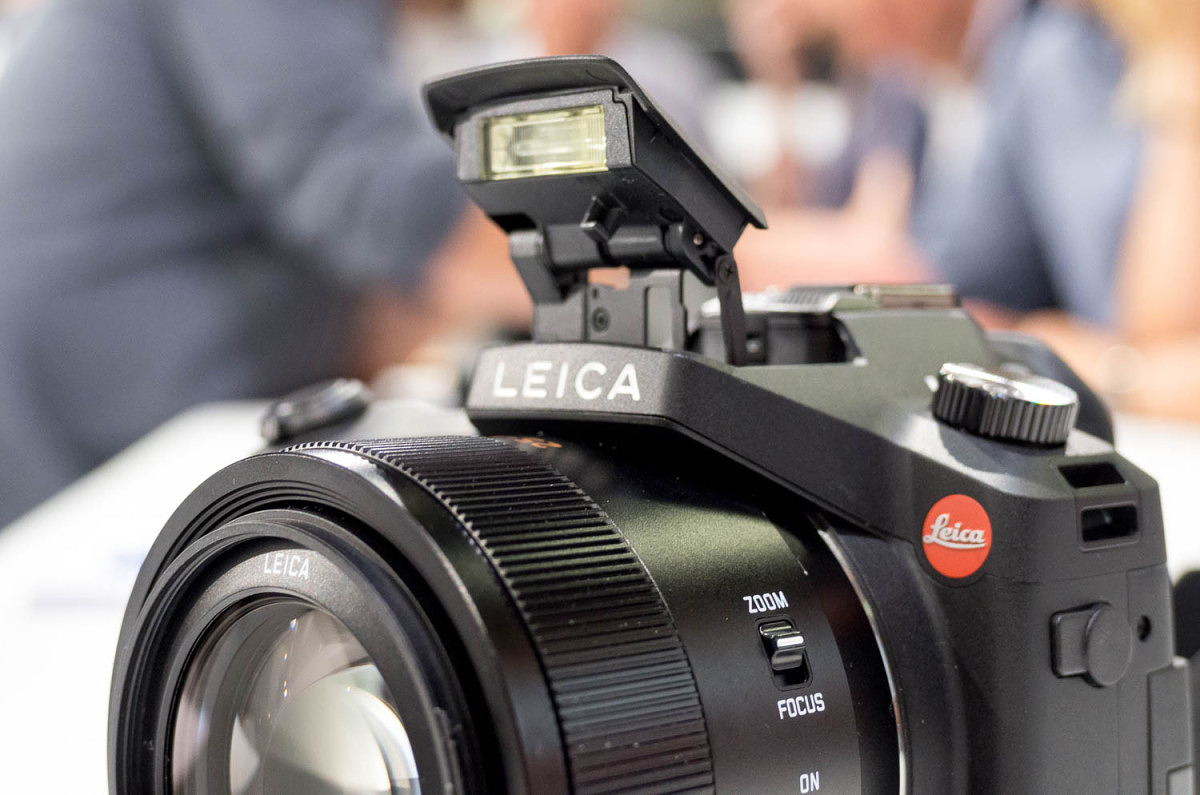
The V-Lux does have a pop-up flash
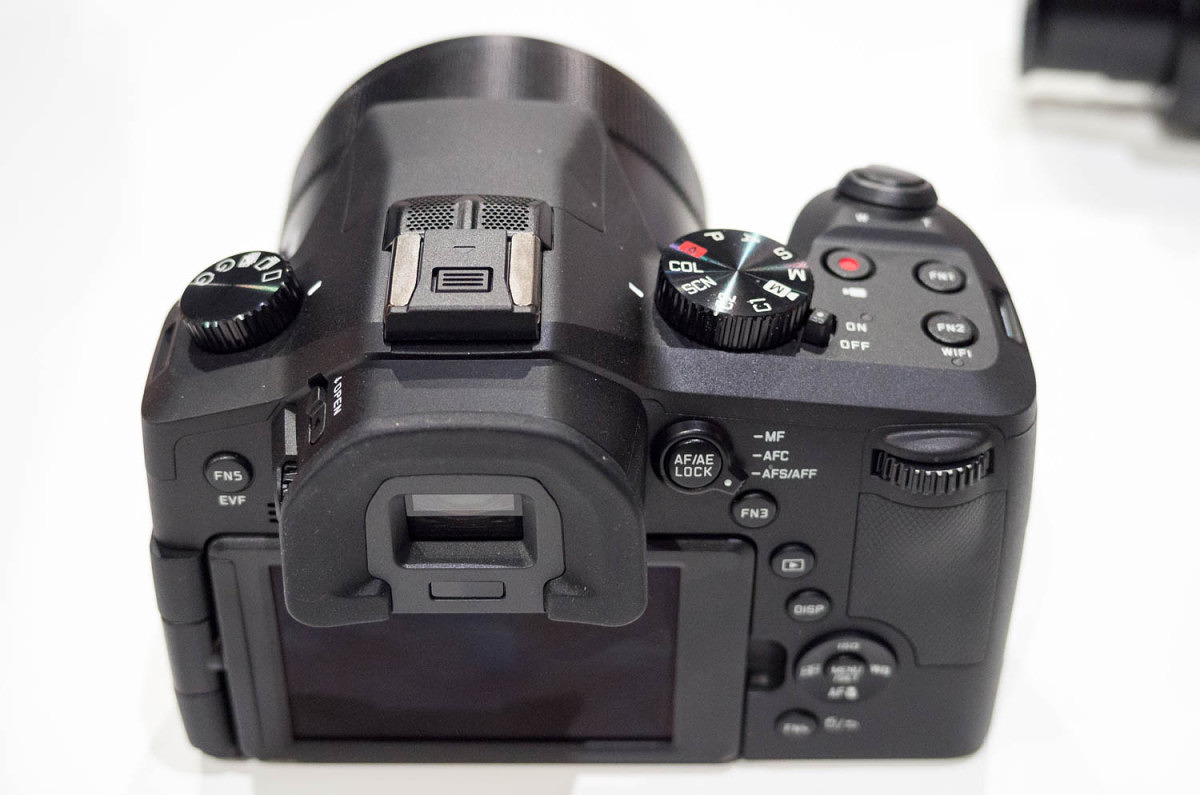 Besides just the internal modifications, the new Typ 114 has had more notable changes from V-Lux 4. It is larger but not much heavier. The increased size is need to accommodate the larger sensor and correspondingly larger lens, which now has a front diameter of 55mm. A nice benefit of the thicker lens barrel is the addition of a nice, wide zoom/focus combination ring. There’s a small switch on the side of the lens that allows you to toggle the function easily. The only other switch on the lens is one to control image stabilization. In fact, this more minimal design carries throughout the camera as there are fewer buttons and switches. The result is most certainly cleaner, more streamlined, and ultimately more modern.
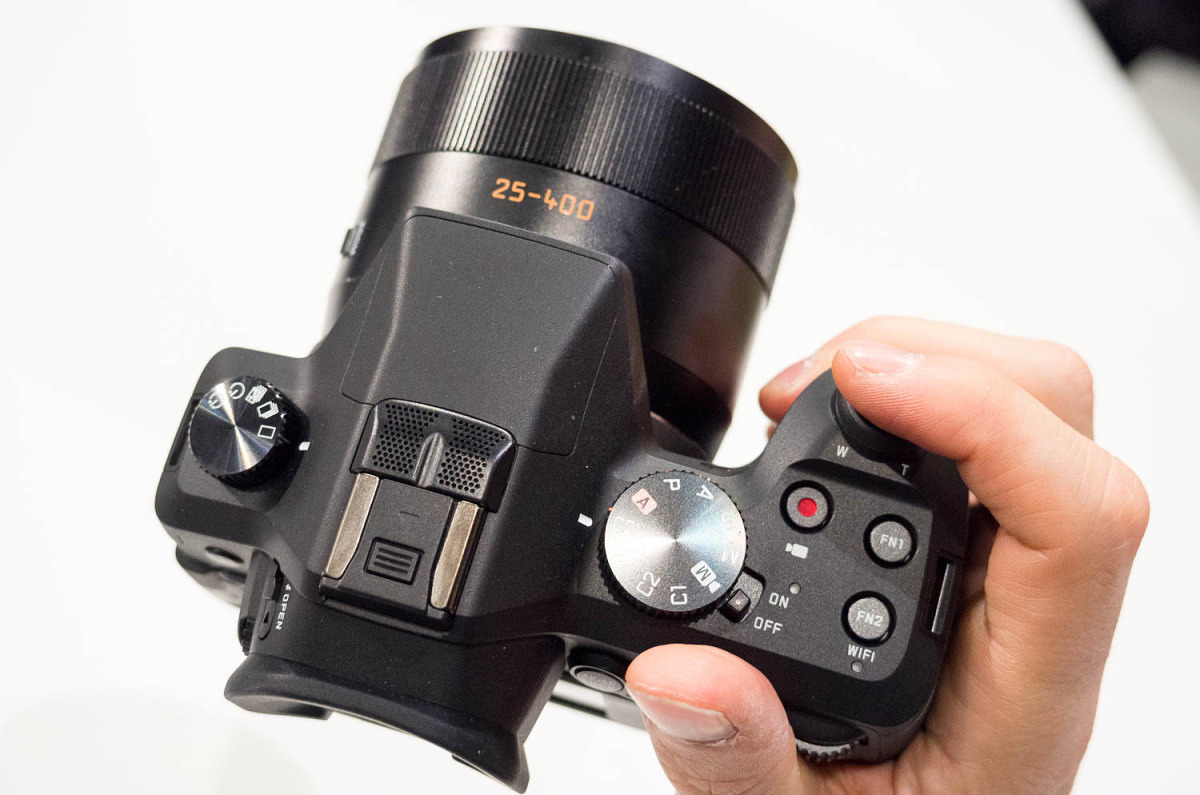
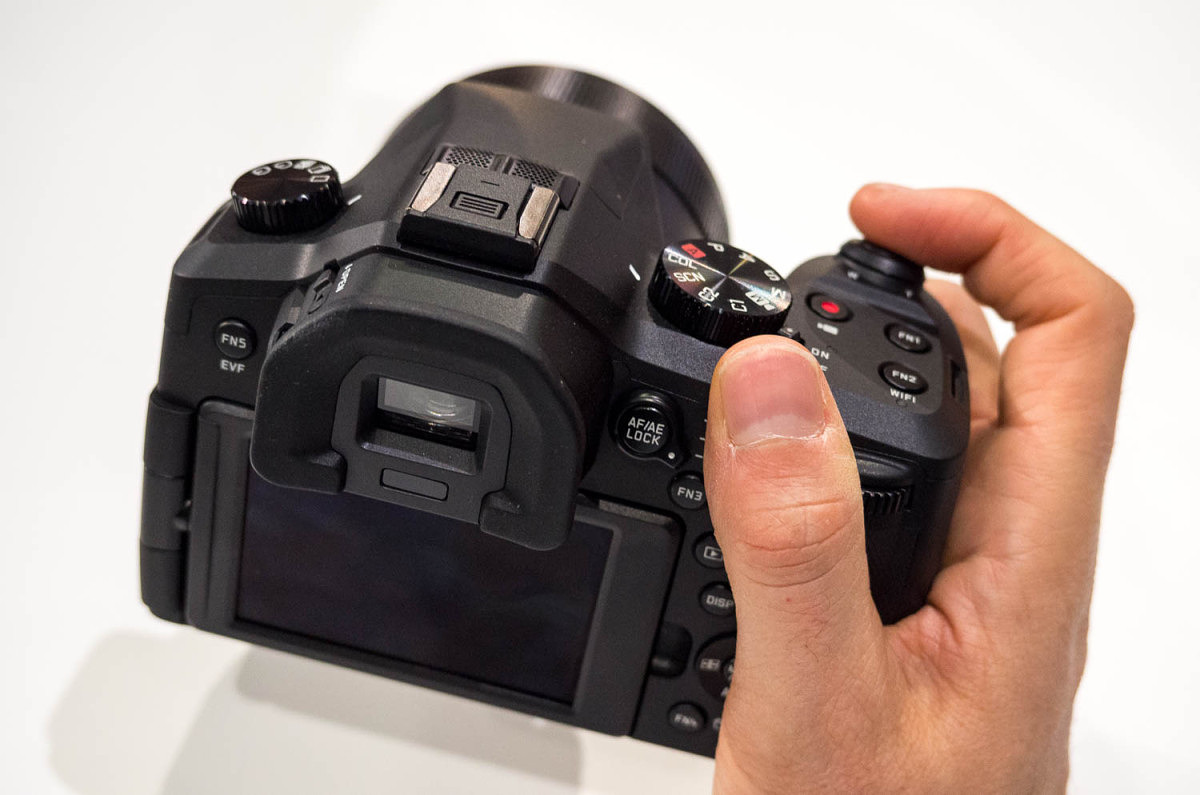 The camera feels very nice to hold. The grip is well-defined and a rubber thumb pad is added for increased ergonomics. Something else you might notice when picking up the camera for the first time is that the EVF/eyecup assembly on top of the camera protrudes from the body and overhangs the rear articulating LCD by at least a good inch. The result is far fewer nose prints on the LCD for the camera and less squished noses for users. Perhaps the most grateful demographic will be left-eyed shooters, who always seem to struggle to find a comfortable viewfinder position.
Overall, the V-Lux (Typ 114) is a very solid evolution from the V-Lux 4. Leica sees it as the perfect camera for vacations, safaris, sports, or just about anything where you need maximum zoom capability with the option of high-speed focus and shooting as well as 4K video. Unlike the D-Lux, the new V-Lux still takes the same BP-DC12-U battery. So, at least one thing is still the same… Wrapping up These two new compact cameras show a direction change for Leica. The under-the-hood improvements are dramatic, much more significant than in any other generational evolution to date, and offer novices and enthusiasts alike so much more bang for their Leica buck. Big sensors, great lenses, high ISO capability, more 3D look, 4K video, WiFi and more, with solid construction and great ergonomics. These aren’t cheap cameras, by any means, at $1,195 and $1,350 for the D-Lux and V-Lux respectively. But, they are perhaps the best value in the entire range. These models are equally well-suited to first time Leica buyers as they are to veteran M shooters looking to augment their arsenal with something a little smaller, as in the case of the D-Lux, or something with more range and speed like the V-Lux. I think Leica has done a great job of filling in all the gaps in the product range. C, D, V, X, T, M, S. No small feat for a company that had its early struggles with digital photography not that long ago. Now, there is a system for almost every user and every need, at different price points. The new compacts should start shipping in November 2014 and are available for immediate pre-order from Leica Store Miami. Update (Sept 23): Just got word that the first delivery of V-Lux (Typ 114) cameras will be available starting this week! Order here. View
The camera feels very nice to hold. The grip is well-defined and a rubber thumb pad is added for increased ergonomics. Something else you might notice when picking up the camera for the first time is that the EVF/eyecup assembly on top of the camera protrudes from the body and overhangs the rear articulating LCD by at least a good inch. The result is far fewer nose prints on the LCD for the camera and less squished noses for users. Perhaps the most grateful demographic will be left-eyed shooters, who always seem to struggle to find a comfortable viewfinder position.
Overall, the V-Lux (Typ 114) is a very solid evolution from the V-Lux 4. Leica sees it as the perfect camera for vacations, safaris, sports, or just about anything where you need maximum zoom capability with the option of high-speed focus and shooting as well as 4K video. Unlike the D-Lux, the new V-Lux still takes the same BP-DC12-U battery. So, at least one thing is still the same… Wrapping up These two new compact cameras show a direction change for Leica. The under-the-hood improvements are dramatic, much more significant than in any other generational evolution to date, and offer novices and enthusiasts alike so much more bang for their Leica buck. Big sensors, great lenses, high ISO capability, more 3D look, 4K video, WiFi and more, with solid construction and great ergonomics. These aren’t cheap cameras, by any means, at $1,195 and $1,350 for the D-Lux and V-Lux respectively. But, they are perhaps the best value in the entire range. These models are equally well-suited to first time Leica buyers as they are to veteran M shooters looking to augment their arsenal with something a little smaller, as in the case of the D-Lux, or something with more range and speed like the V-Lux. I think Leica has done a great job of filling in all the gaps in the product range. C, D, V, X, T, M, S. No small feat for a company that had its early struggles with digital photography not that long ago. Now, there is a system for almost every user and every need, at different price points. The new compacts should start shipping in November 2014 and are available for immediate pre-order from Leica Store Miami. Update (Sept 23): Just got word that the first delivery of V-Lux (Typ 114) cameras will be available starting this week! Order here. View
Simple lens controls: zoom/focus selector for ring and OIS on/off
@Legardo Congrats on getting the new V-Lux. It's a great camera. The OIS button is to enable/disable the Optical Image Stabilization. I'm not familiar with an ALTADIF lens filter. My recommendation would be a B+W UV filter like this one. A fast memory card would suit you for taking 4K video and still images. Hope this helps.
-
David Farkas wrote a new post, Help Us Make Red Dot Forum Better and Win a Leica Swag Bag 11 years ago
 We'd love to get your feedback on how you like Red Dot Forum, our new site design and our content. We also welcome your feedback on how we can make the site even better. Please take a couple of minutes to answer […]
 -
David Farkas wrote a new post, Leica X Edition Moncler Unboxing 11 years, 1 month ago
Leica Store Miami received its first delivery of the limited edition Leica X Edition Moncler today, so we had an opportunity to do a little special edition unboxing. Enjoy. Click on the thumbnails below to enter […]
-
David Farkas posted a new activity comment 11 years, 1 month ago
In reply to: Jack MacD replied to the topic Now comes the dilemma. to S or not to S? in the forum Leica S (Typ 006) Marc, I followed your lead and just got the S 006 from Josh at Leica Miami. The three year platinum like warranty was the clincher, vs one year with the S-E But so was the price now that the 007 has been announced and kept 006 prices down. Not sure that there are many left to be had in the US at this point. The 006 is all around crisper to handle and shoot. the AF is allowing me to switch back to the regular view screen. So thanks for the discussion. Let's see how long I can keep it before the 007 comes ViewGlad the S 006 is working out for you, Jack. While the S2 is certainly a workhorse, the added features and hardware upgrades of the S 006 certainly make the experience a little smoother.
-
David Farkas wrote a new post, Leica D-Lux (Typ 109) now shipping in the USA 11 years, 1 month ago
The first batch of the highly anticipated Leica D-Lux (Typ 109) has just started to ship in the United States. Leica Store Miami expects to have the cameras in stock tomorrow (Friday, November 21), so if you place a pre-order online today, your order will ship when the cameras arrive tomorrw. Unfortunately, there has been no word yet on when the accessories for the D-Lux will ship.
The D-Lux (Typ 109) offers some serious upgrades over the D-Lux 6 it replaces. With a 4/3 inch sensor that is 5 times larger, 4K video recording, solid metal chassis and body, a built-in 2.8 MP EVF and Wi-Fi, the new D-Lux is an amazing performer. We had a chance to play with one for a few days and everything from the feature set to the image quality was truly class-leading for a compact camera. This is a great opportunity to grab one before the holidays.
If you haven't already, you can read more about the new D-Lux from our previous posts:
Photokina 2014: Day 4 – Leica Compacts Get Upgraded with D-Lux (Typ 109) and V-Lux (Typ 114)
-
David Farkas posted a new activity comment 11 years, 1 month ago
In reply to: DirkR1977 replied to the topic Miami Skyline in the forum Images to Share Thank you David. I just saw I made a mistake by posting it in the Leica T section. Maybe you can move it to the M9 section. Sorry. ViewNo problem. Moved it for you.
-
David Farkas replied to the topic Miami Skyline in the forum Images to Share 11 years, 1 month ago
Nice shot. I really like the second one.
-
david-farkas likes a reply on Miami Skyline 11 years, 1 month ago
- Load More

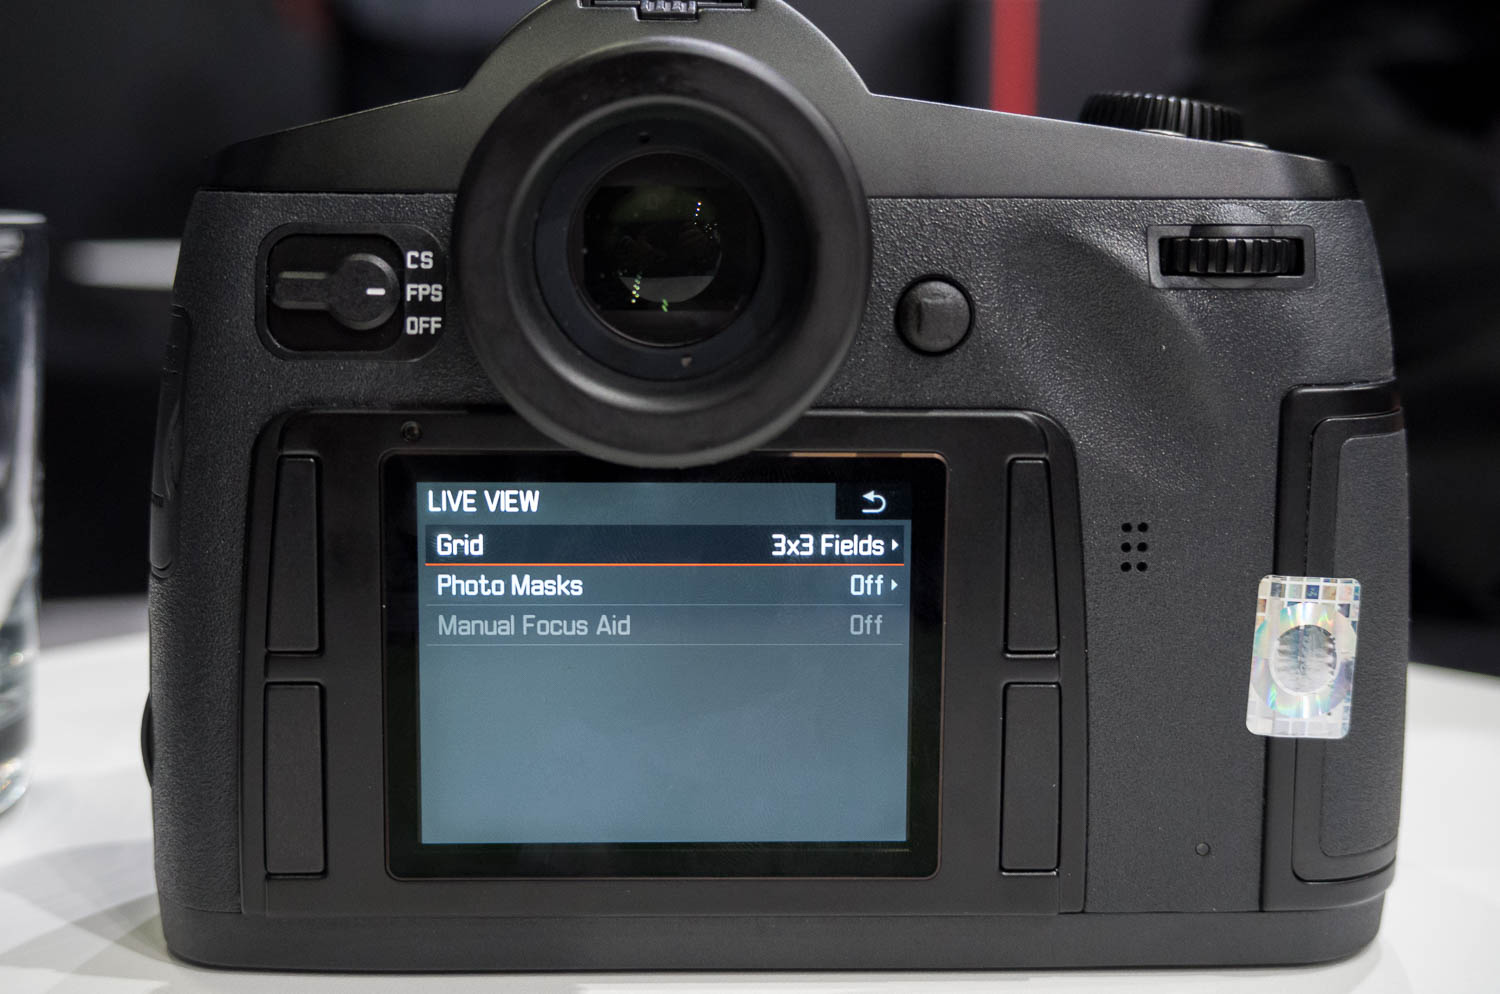
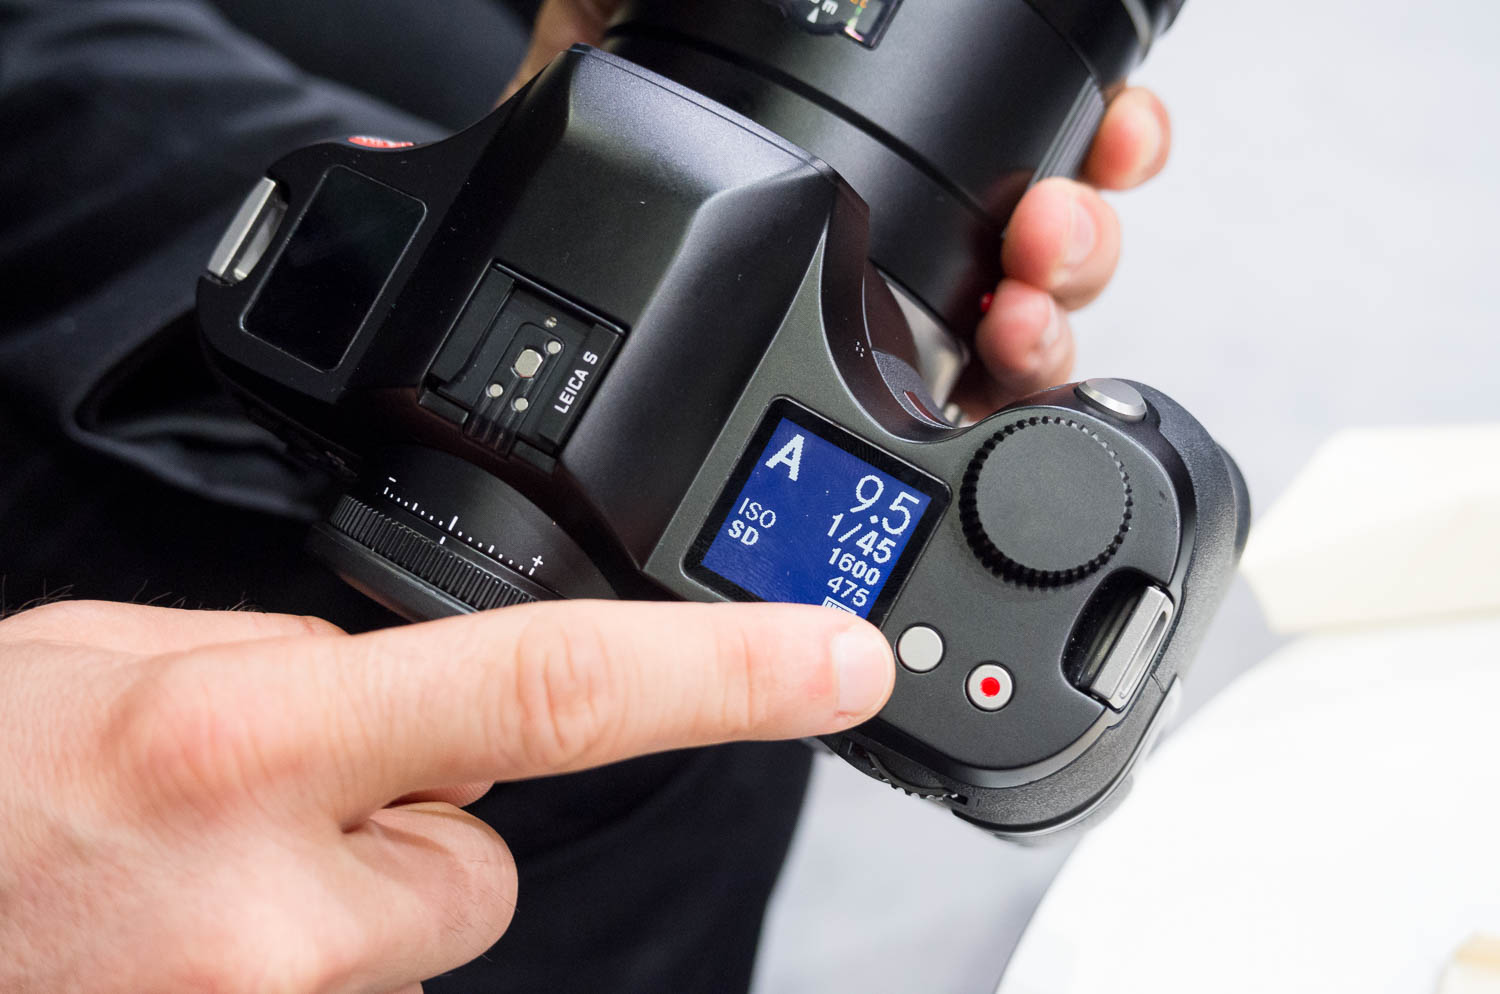
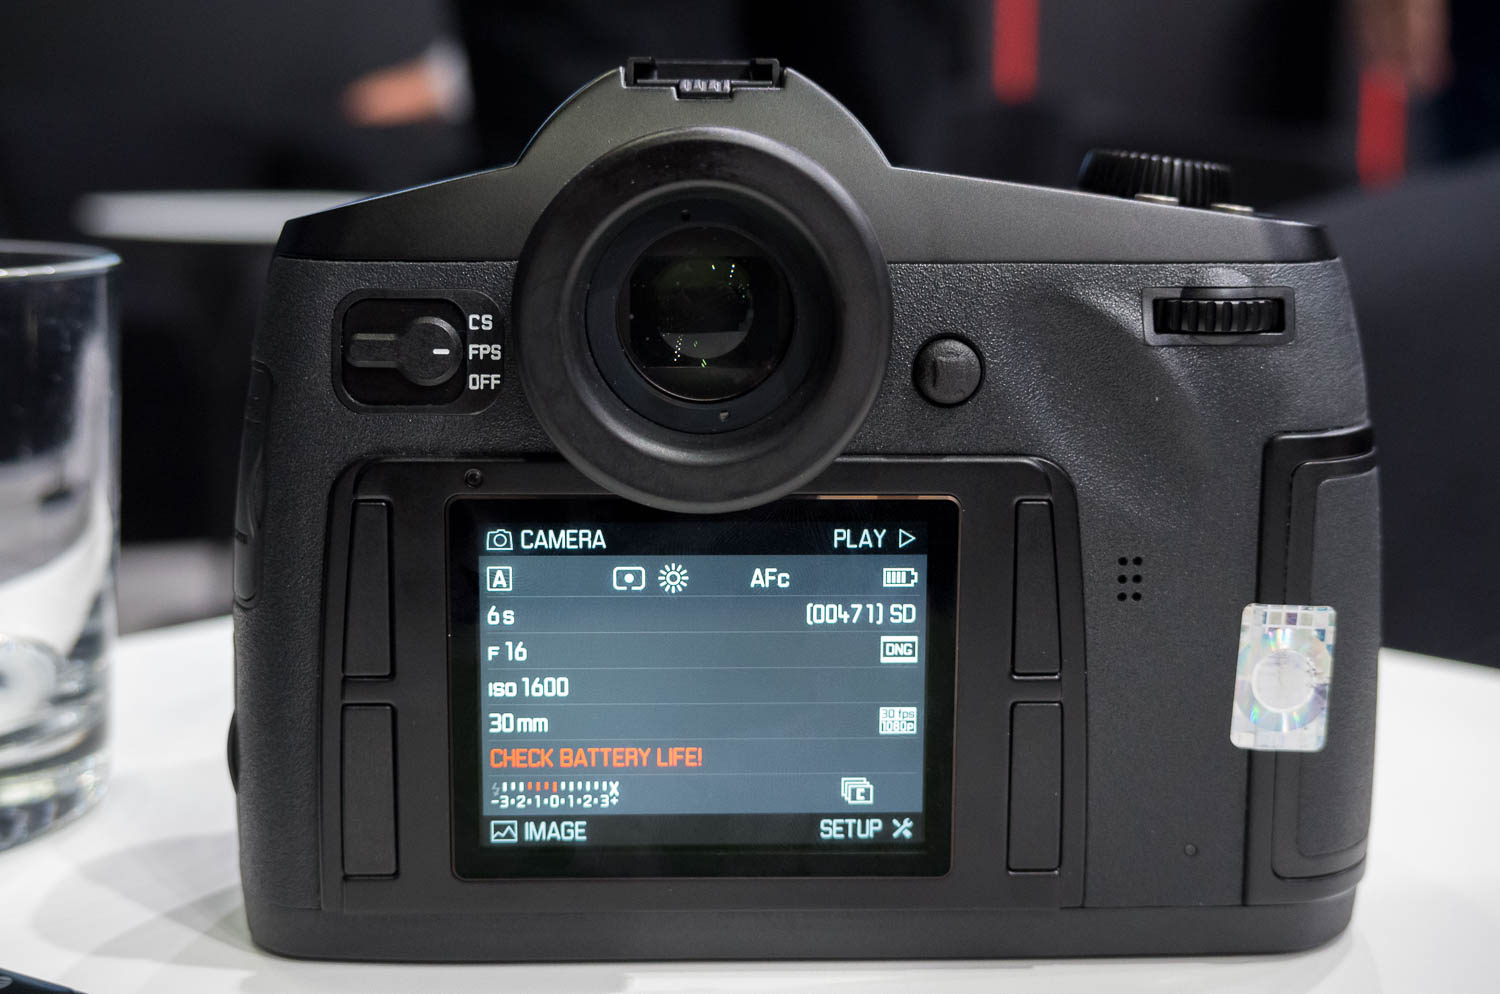


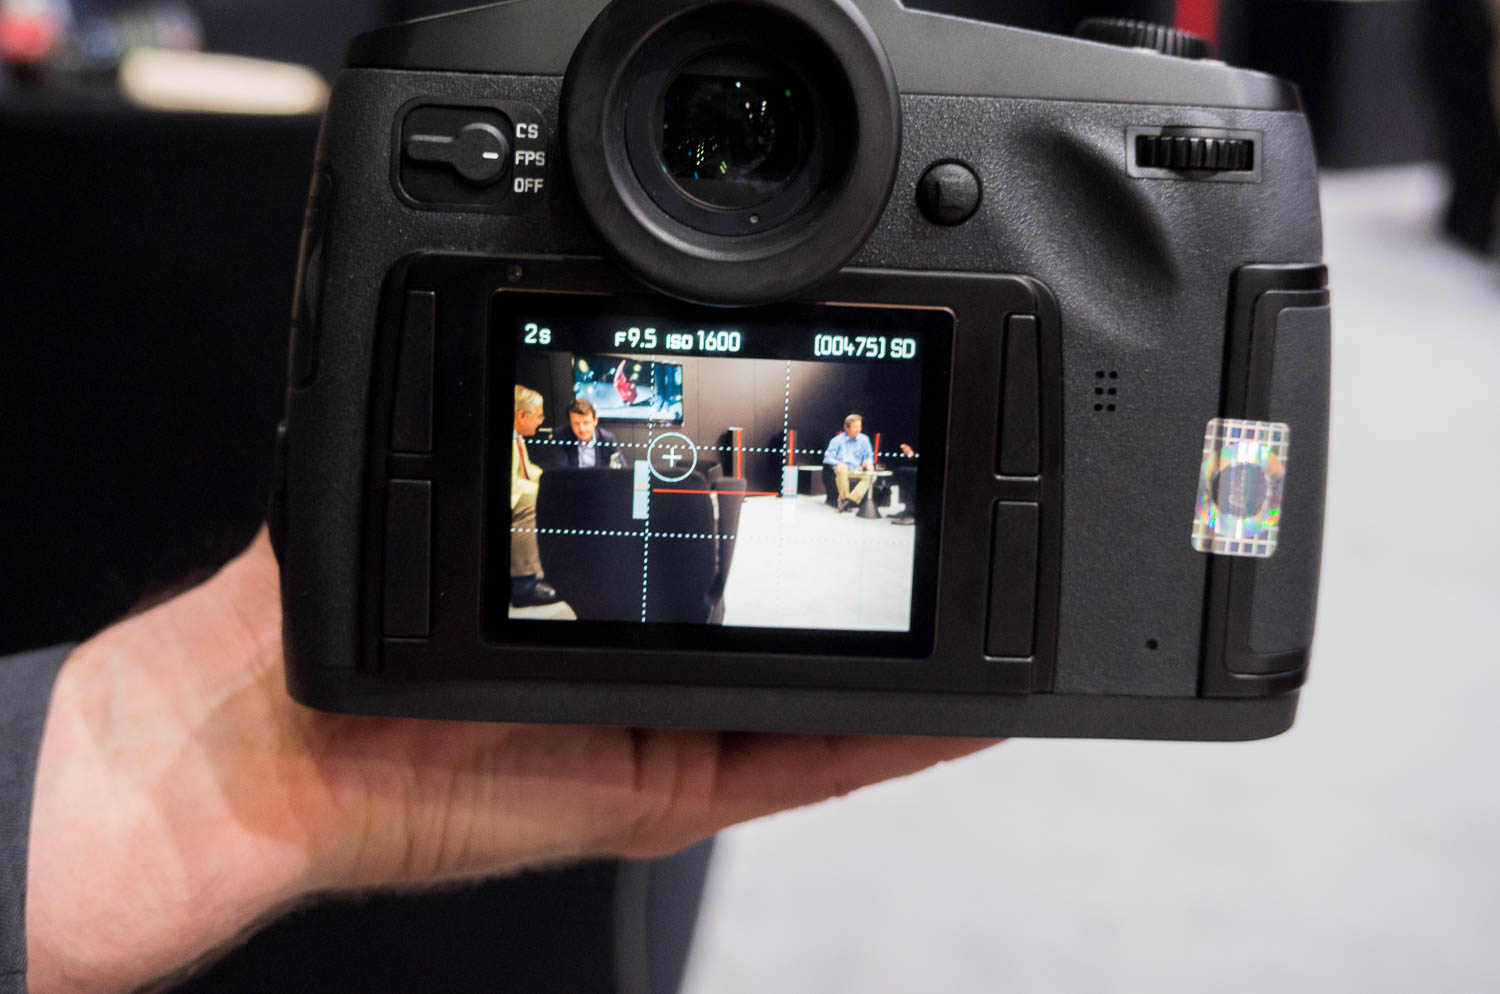

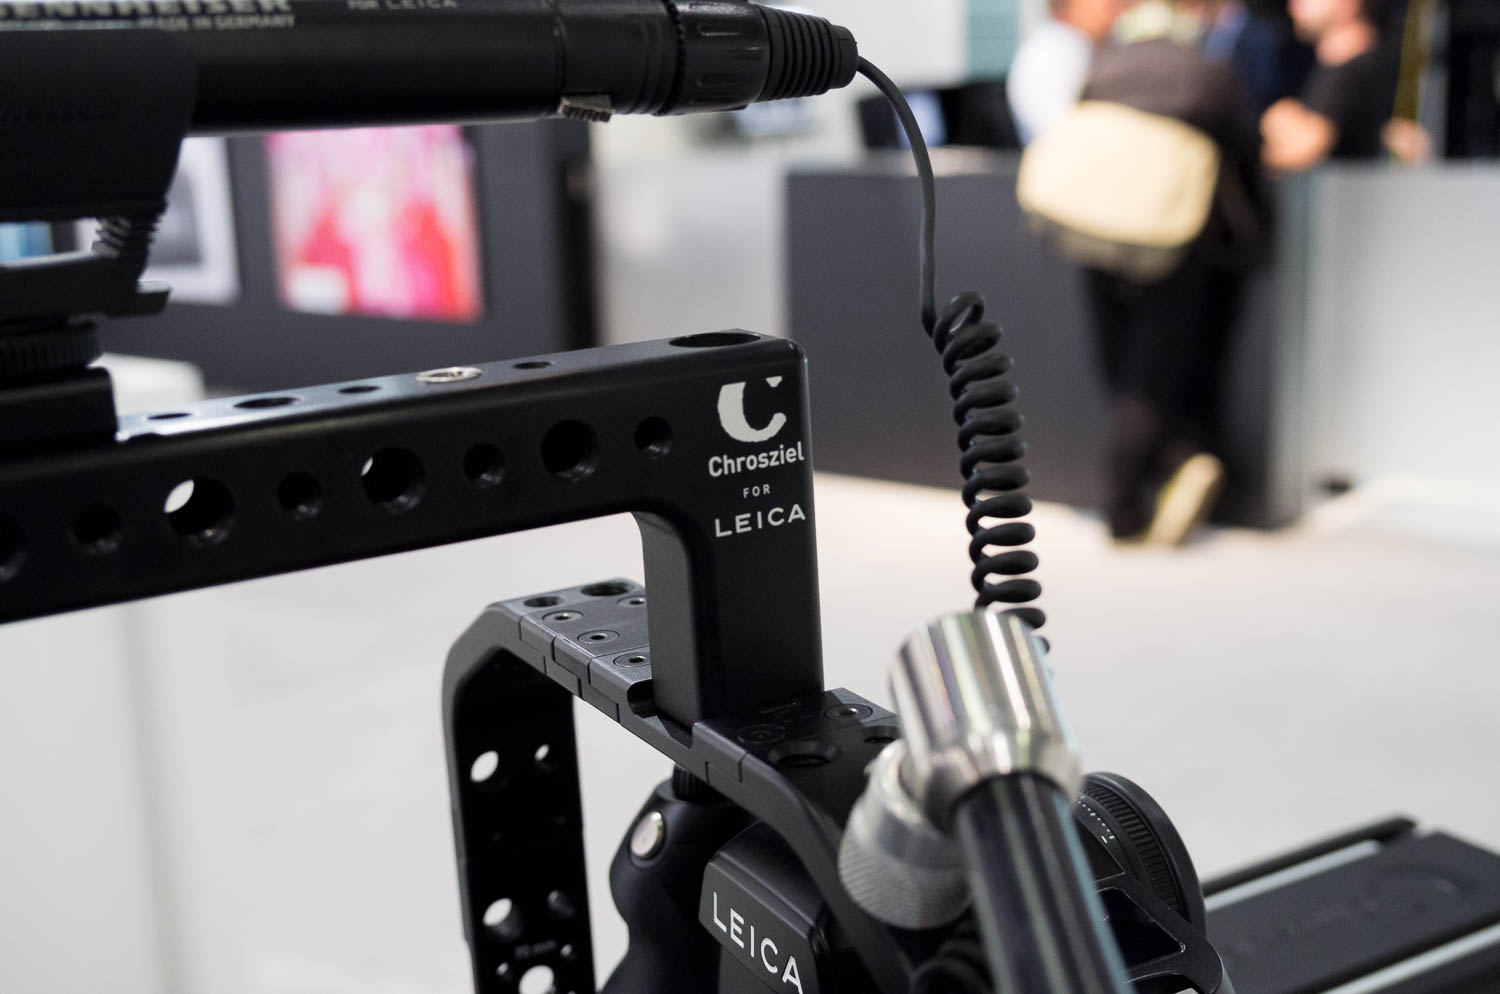
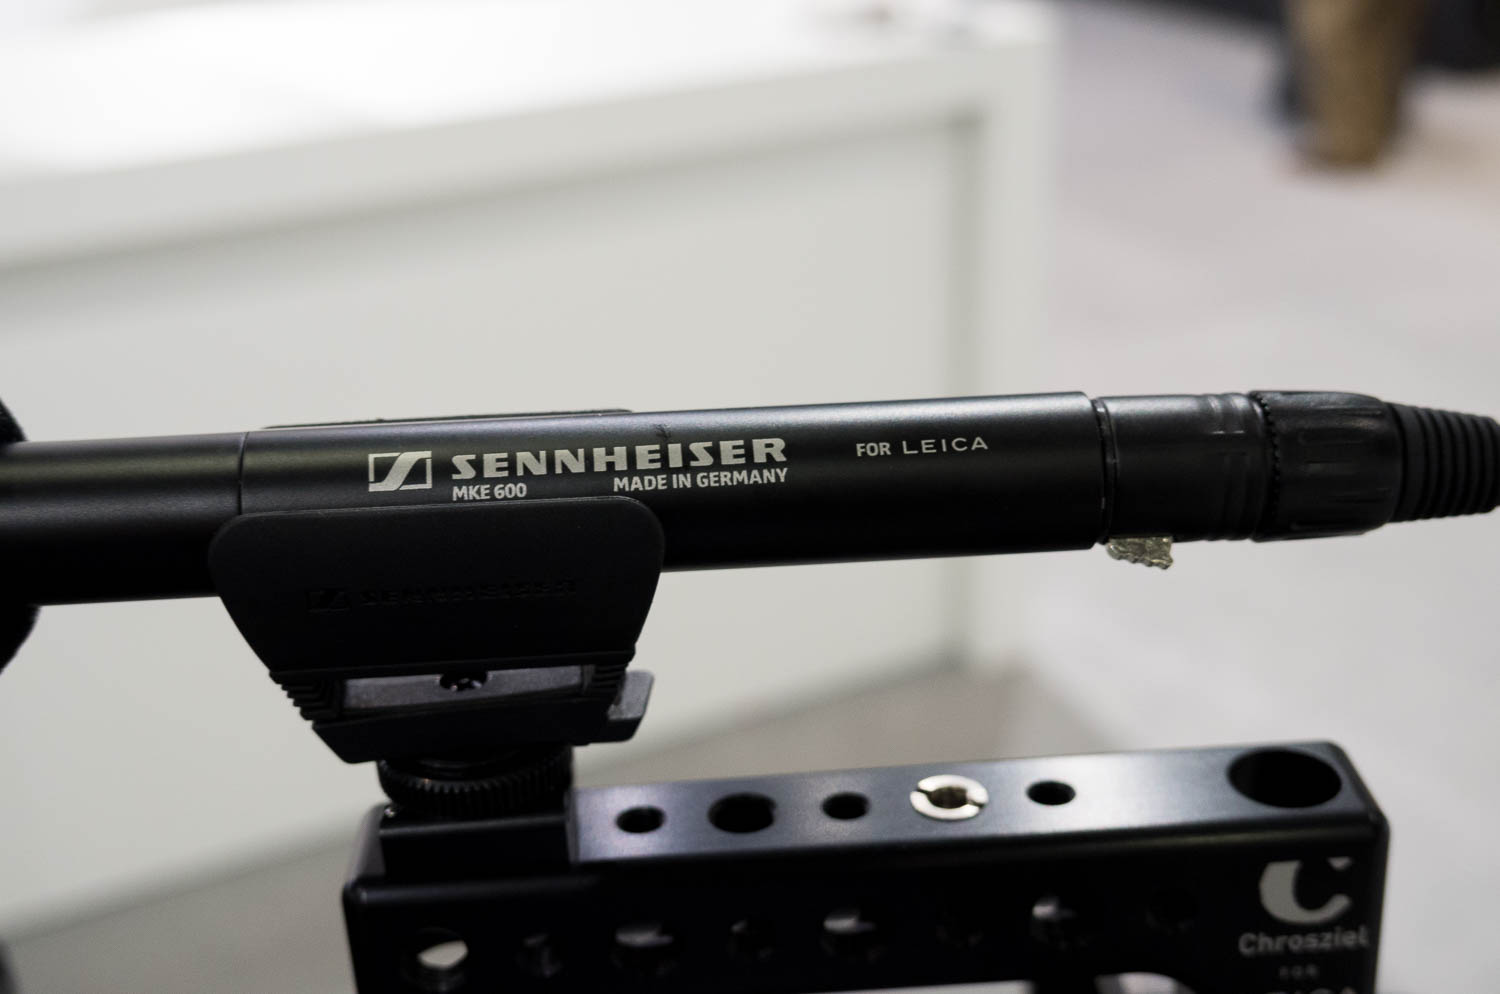
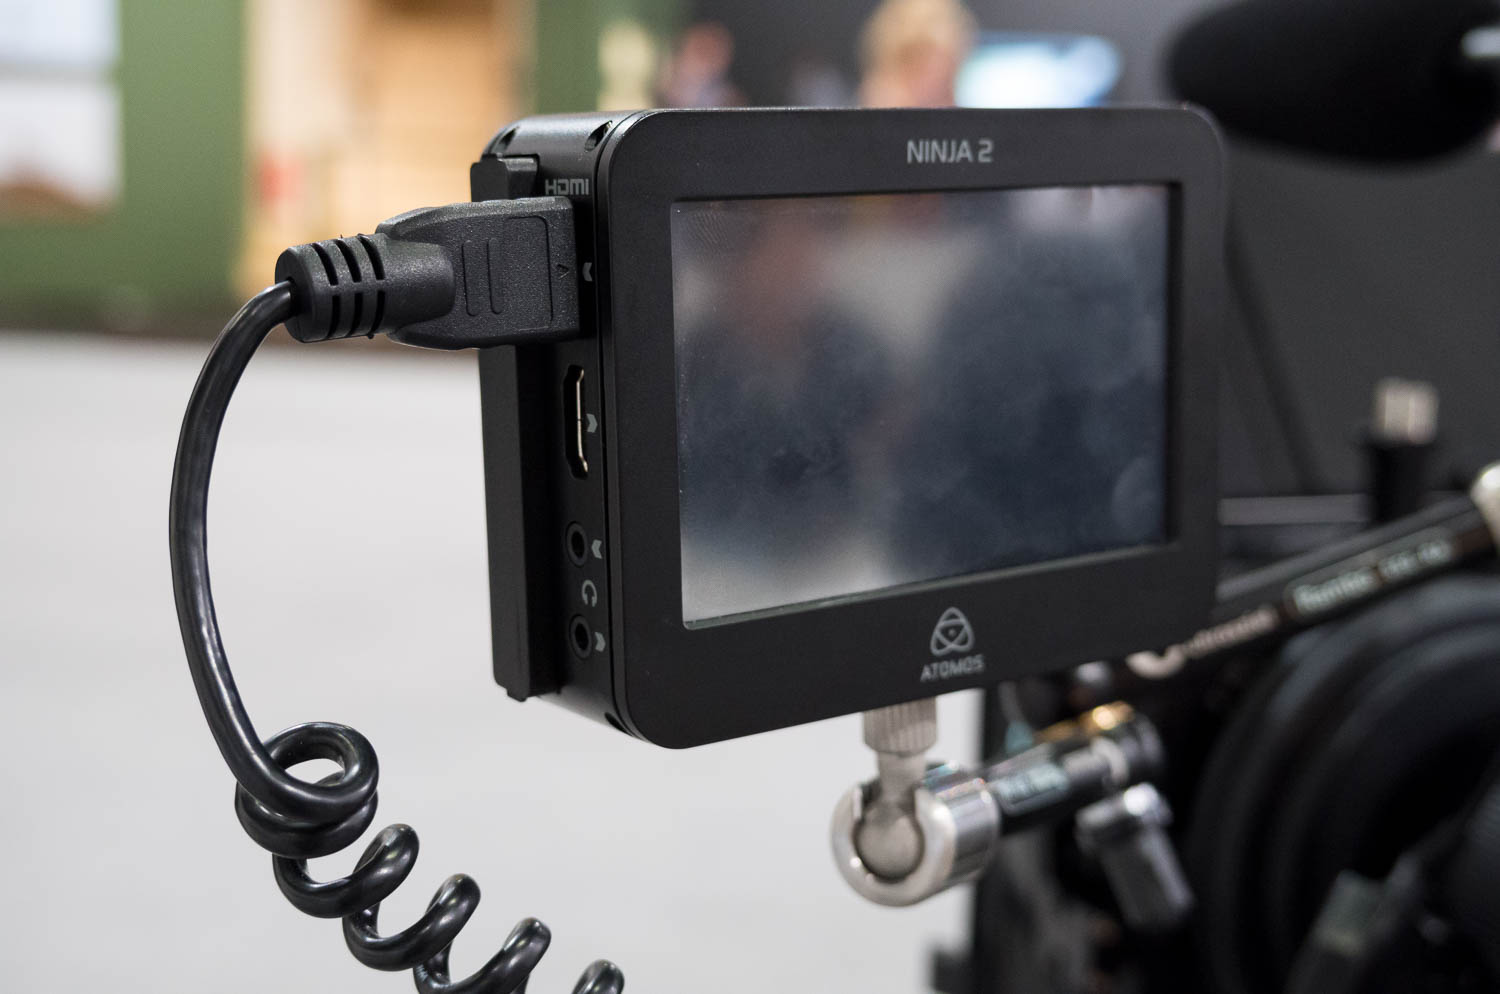
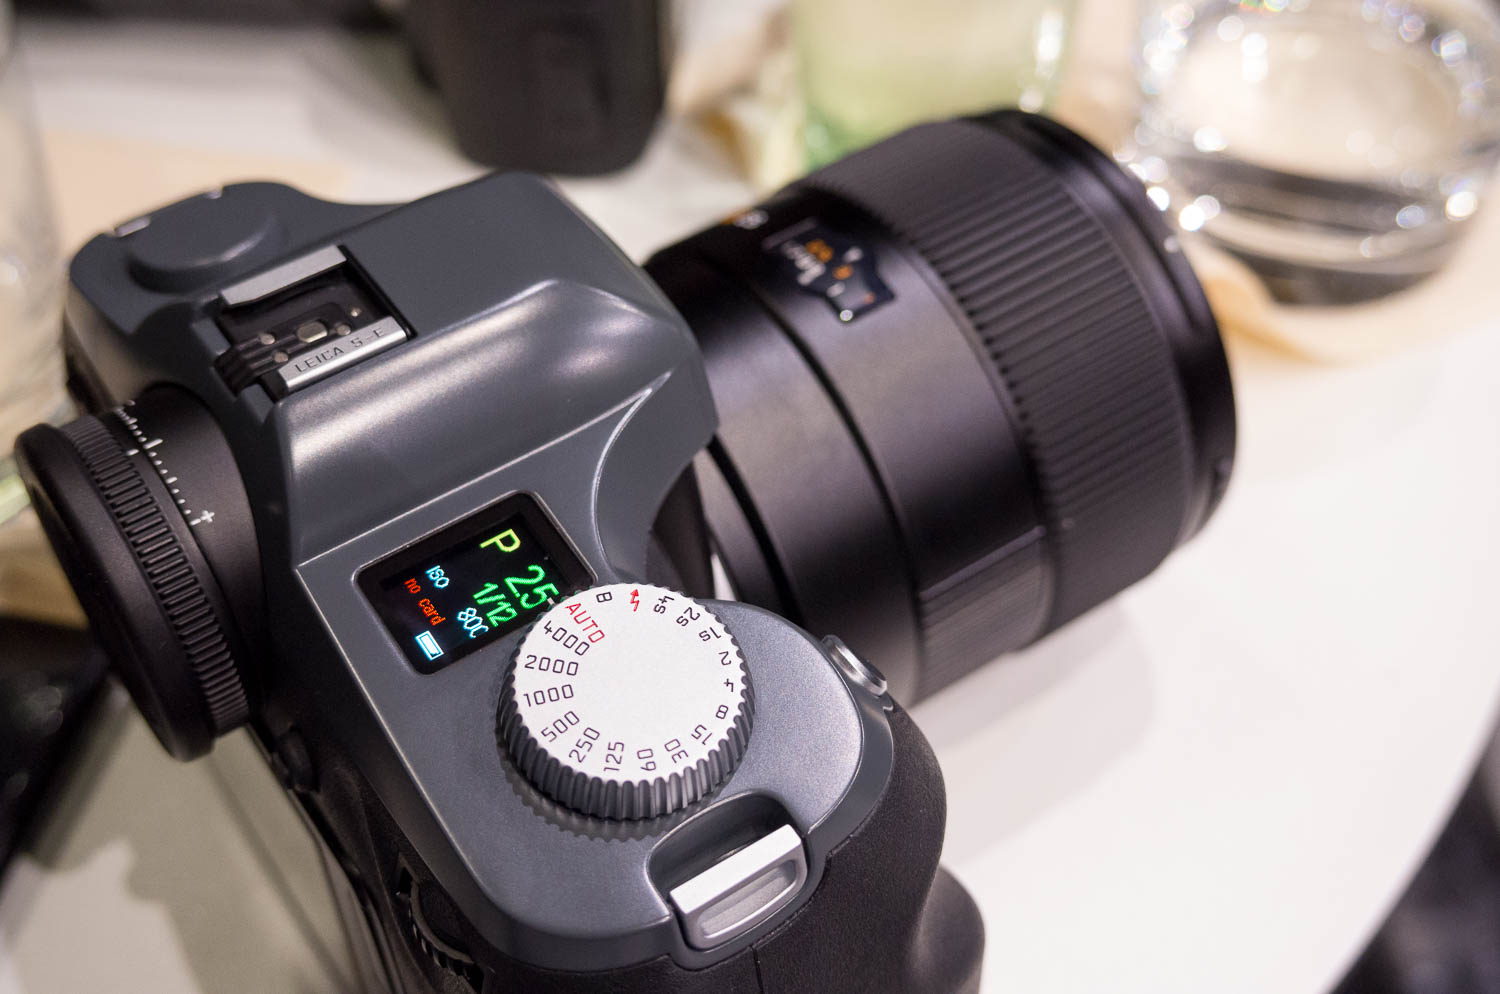
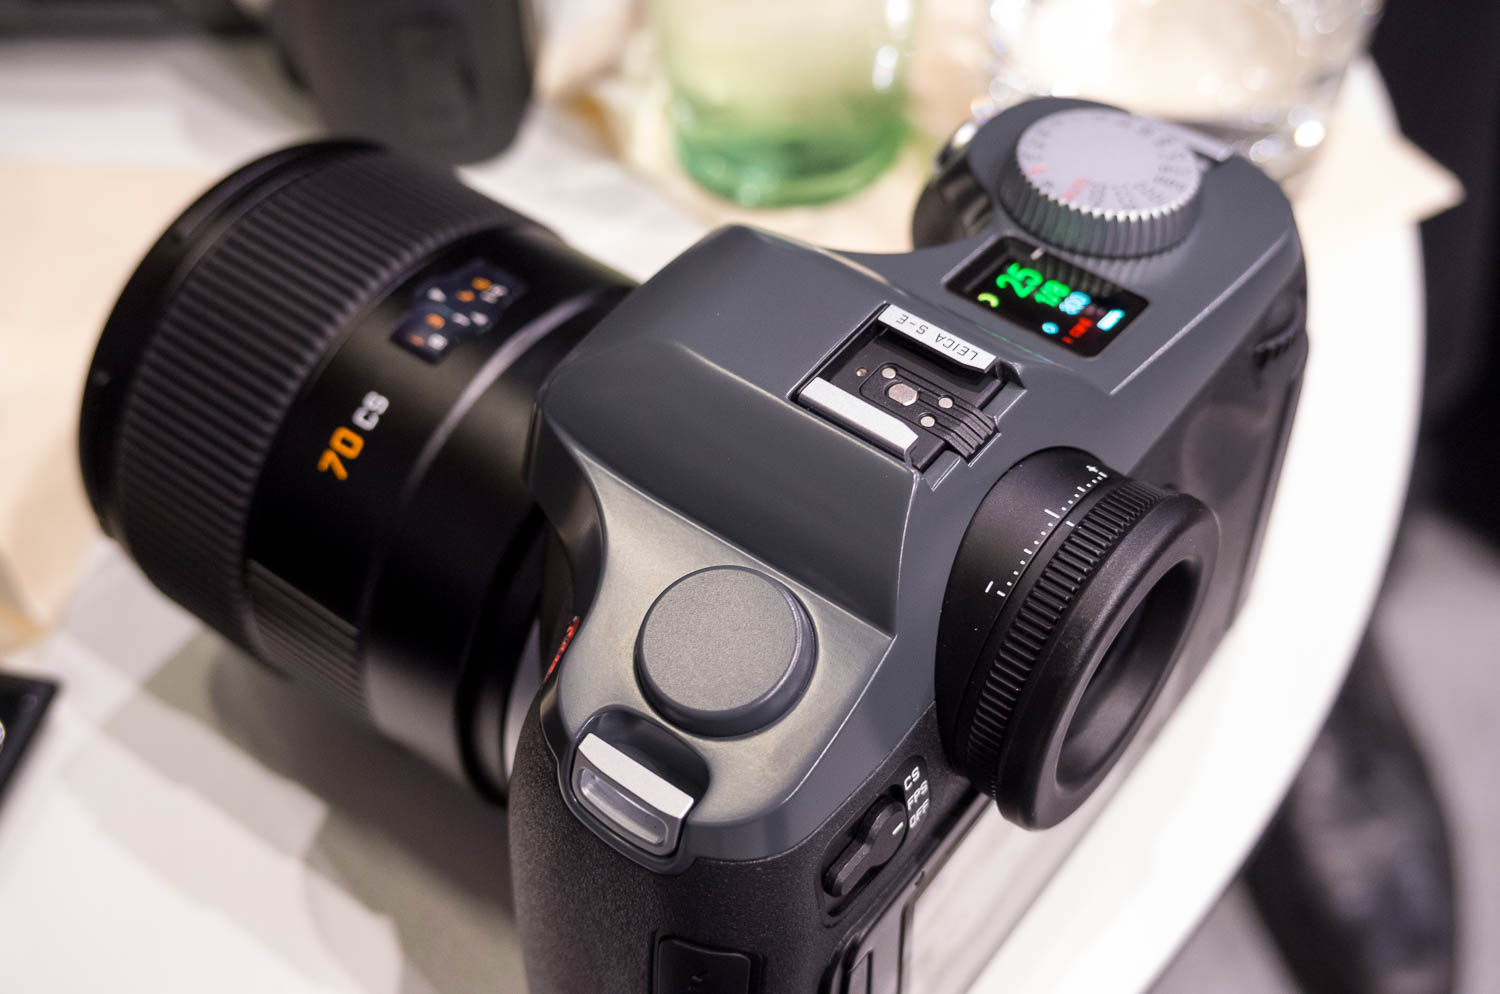

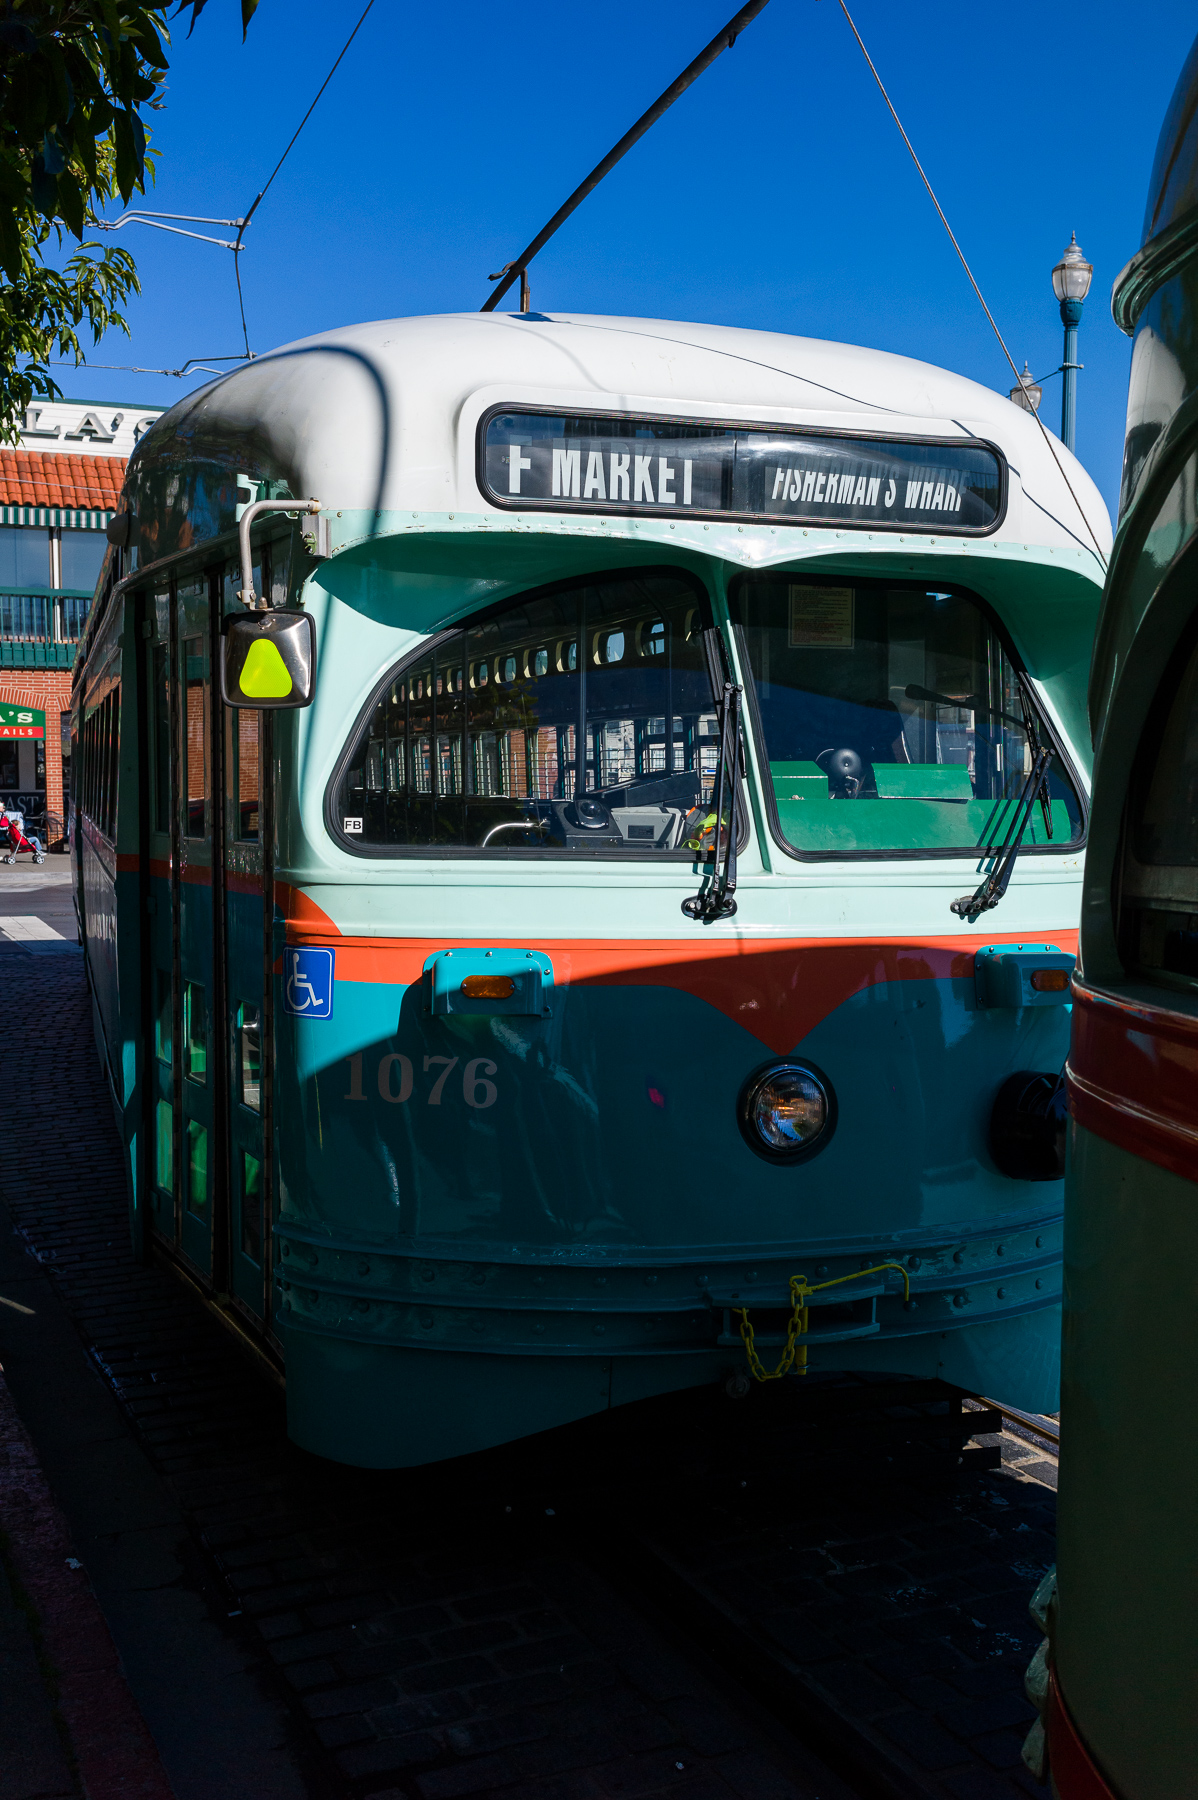
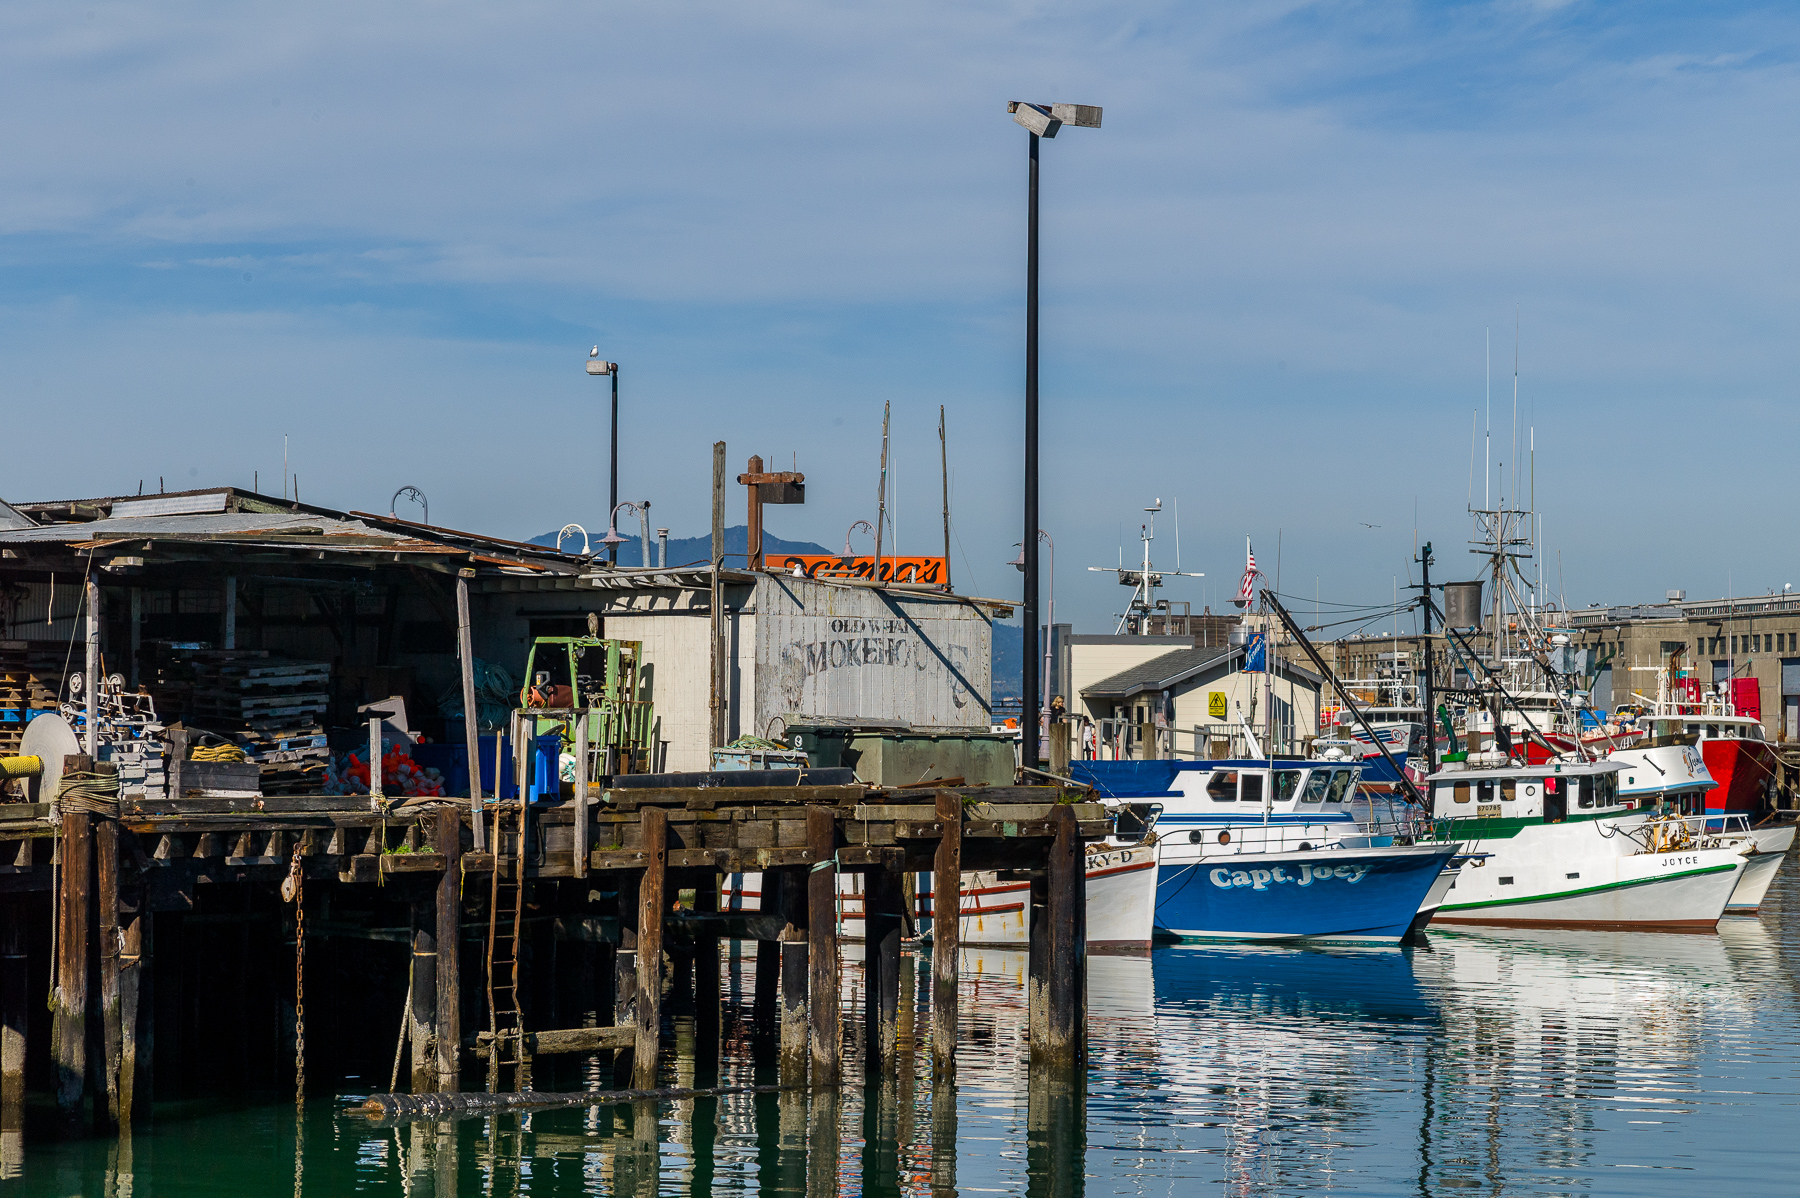


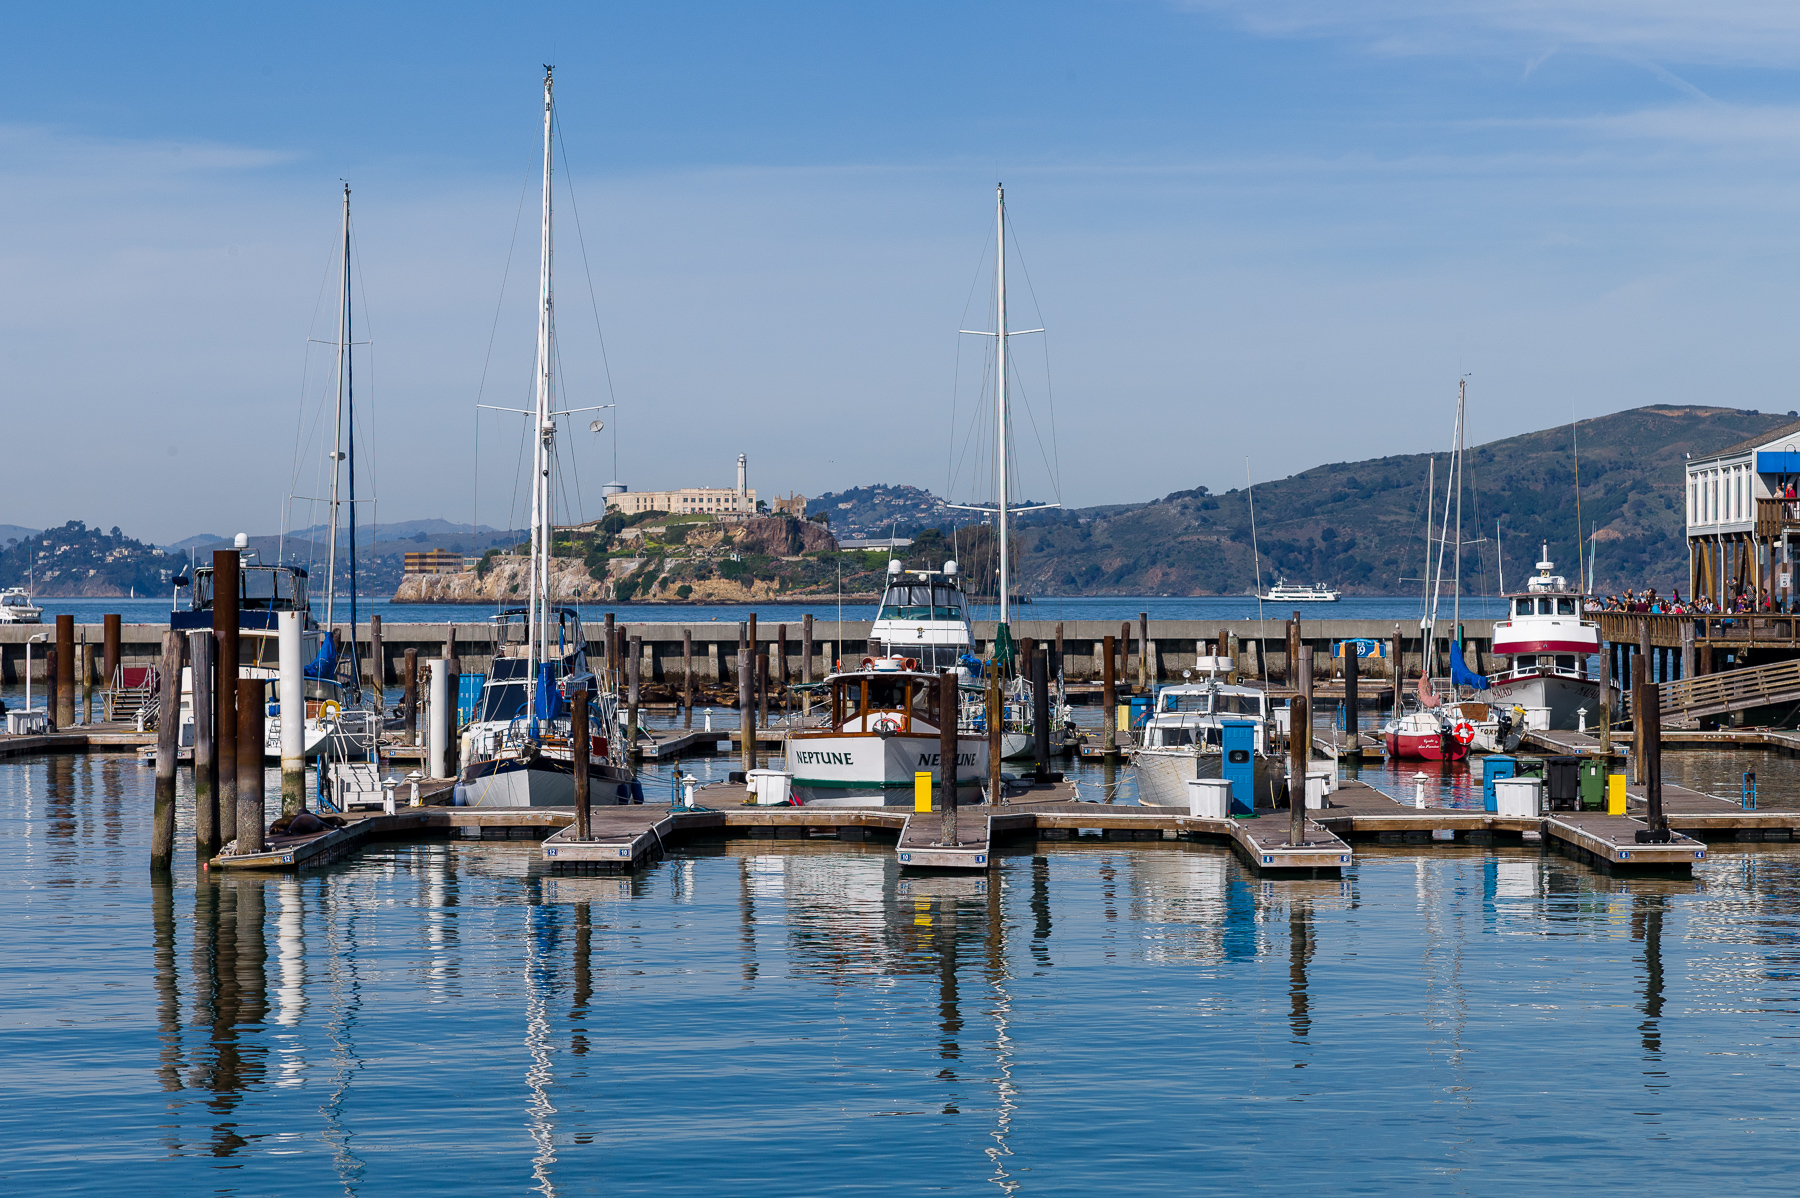

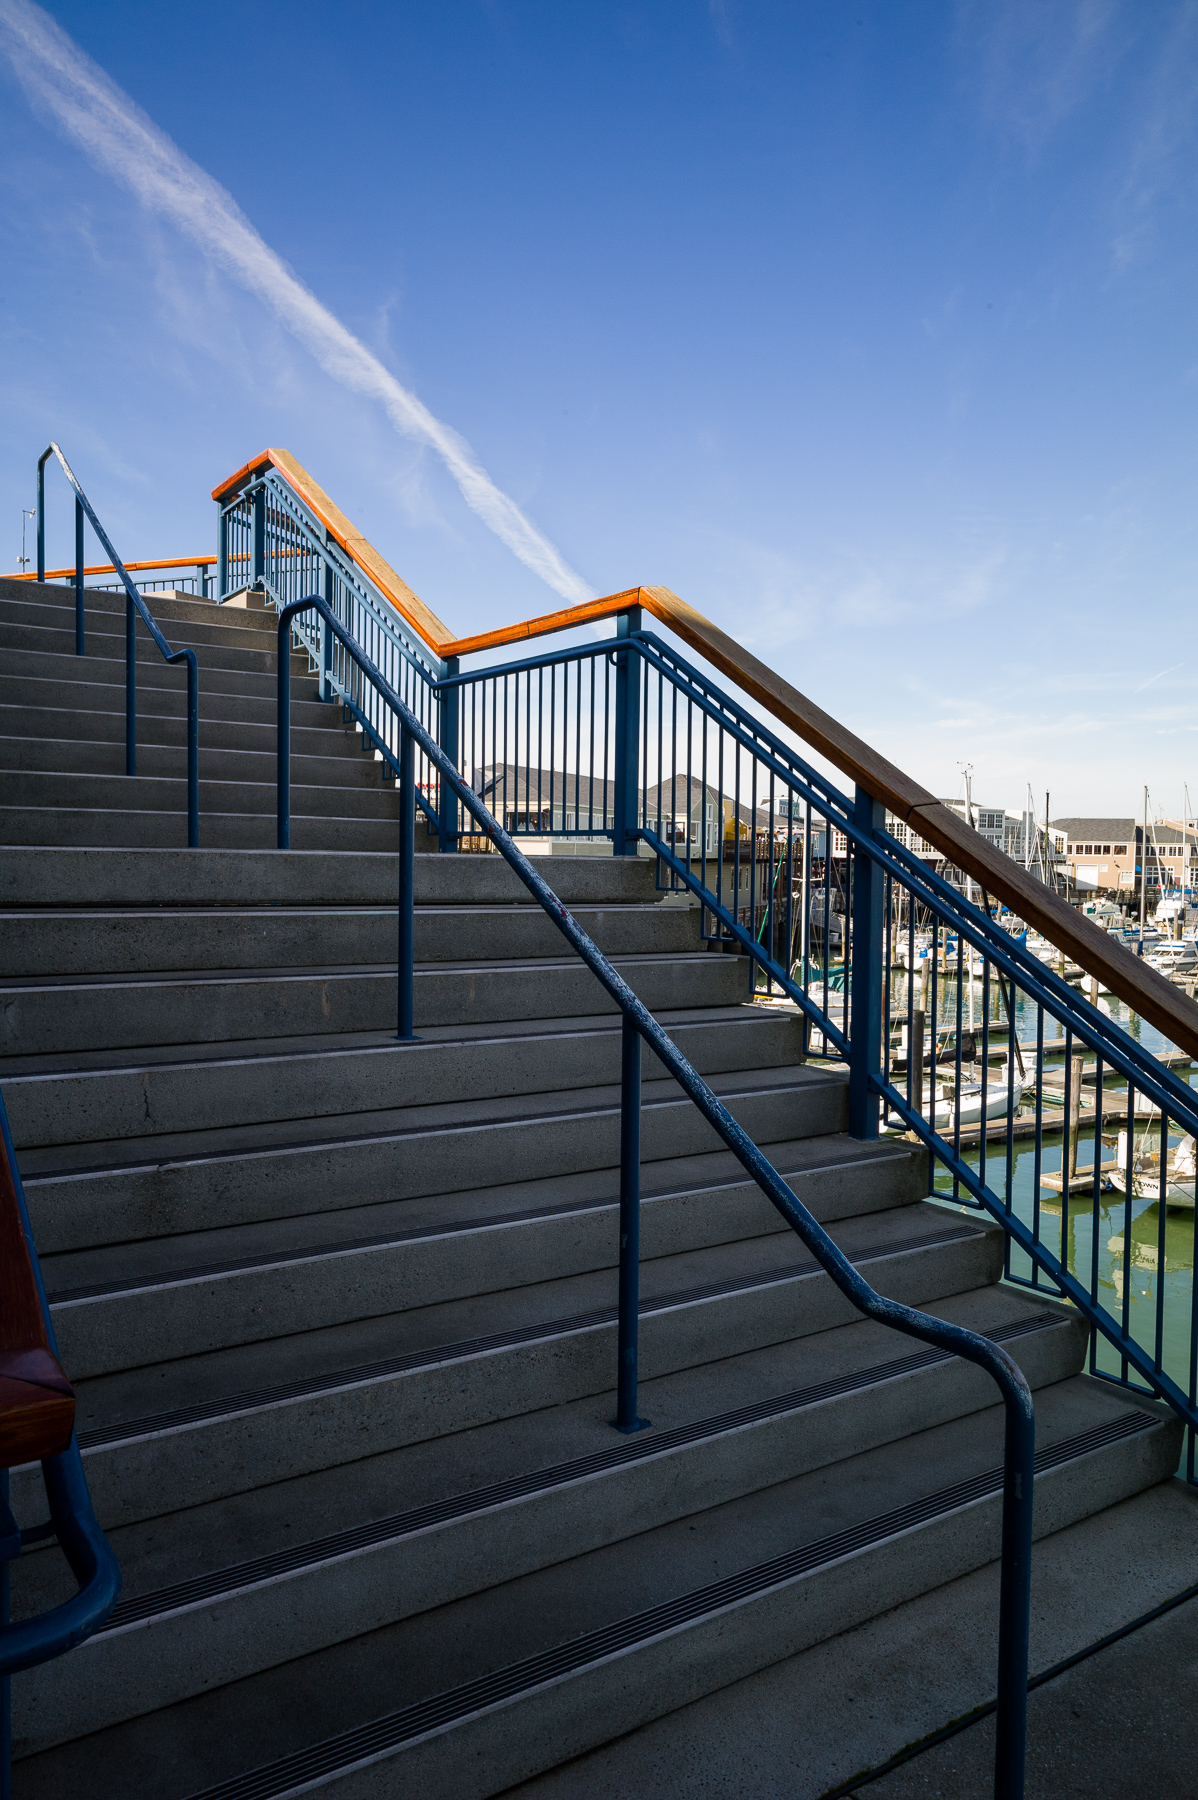

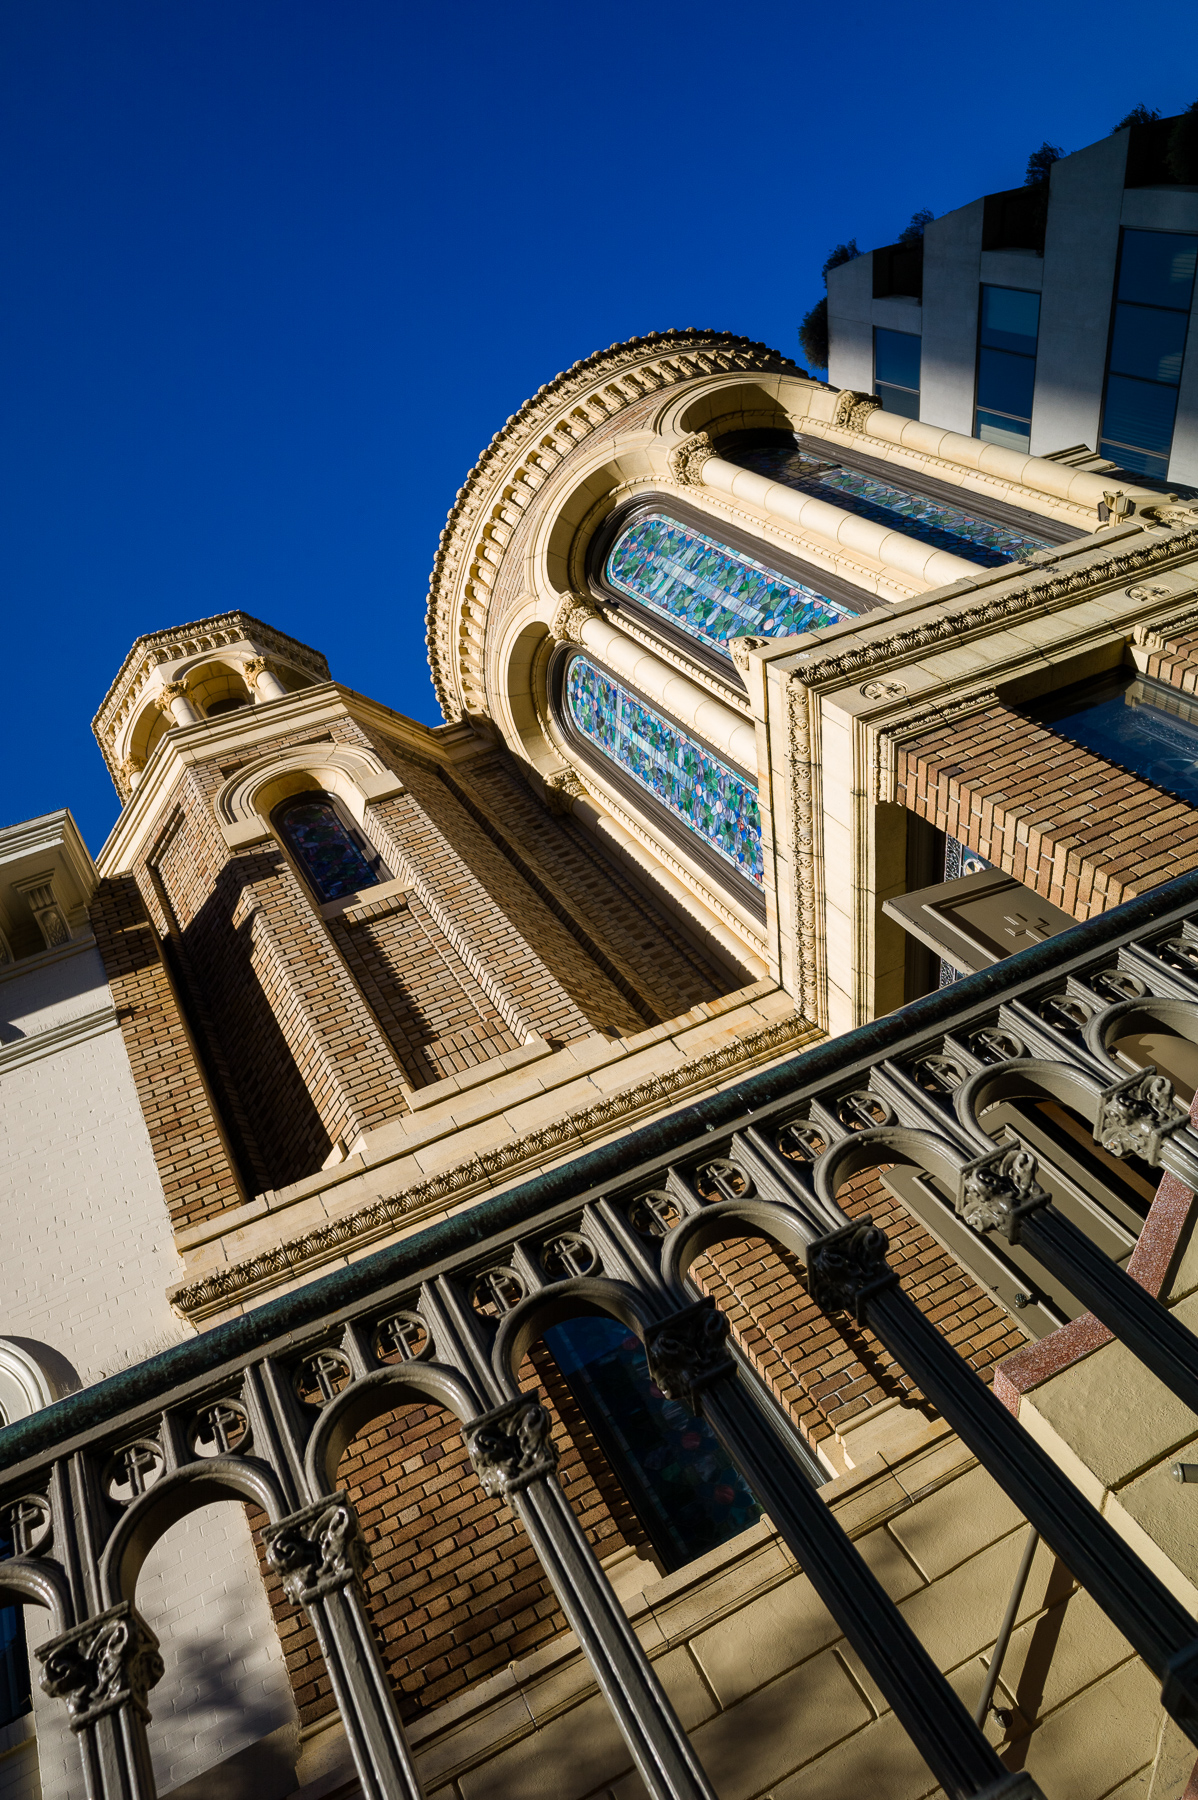
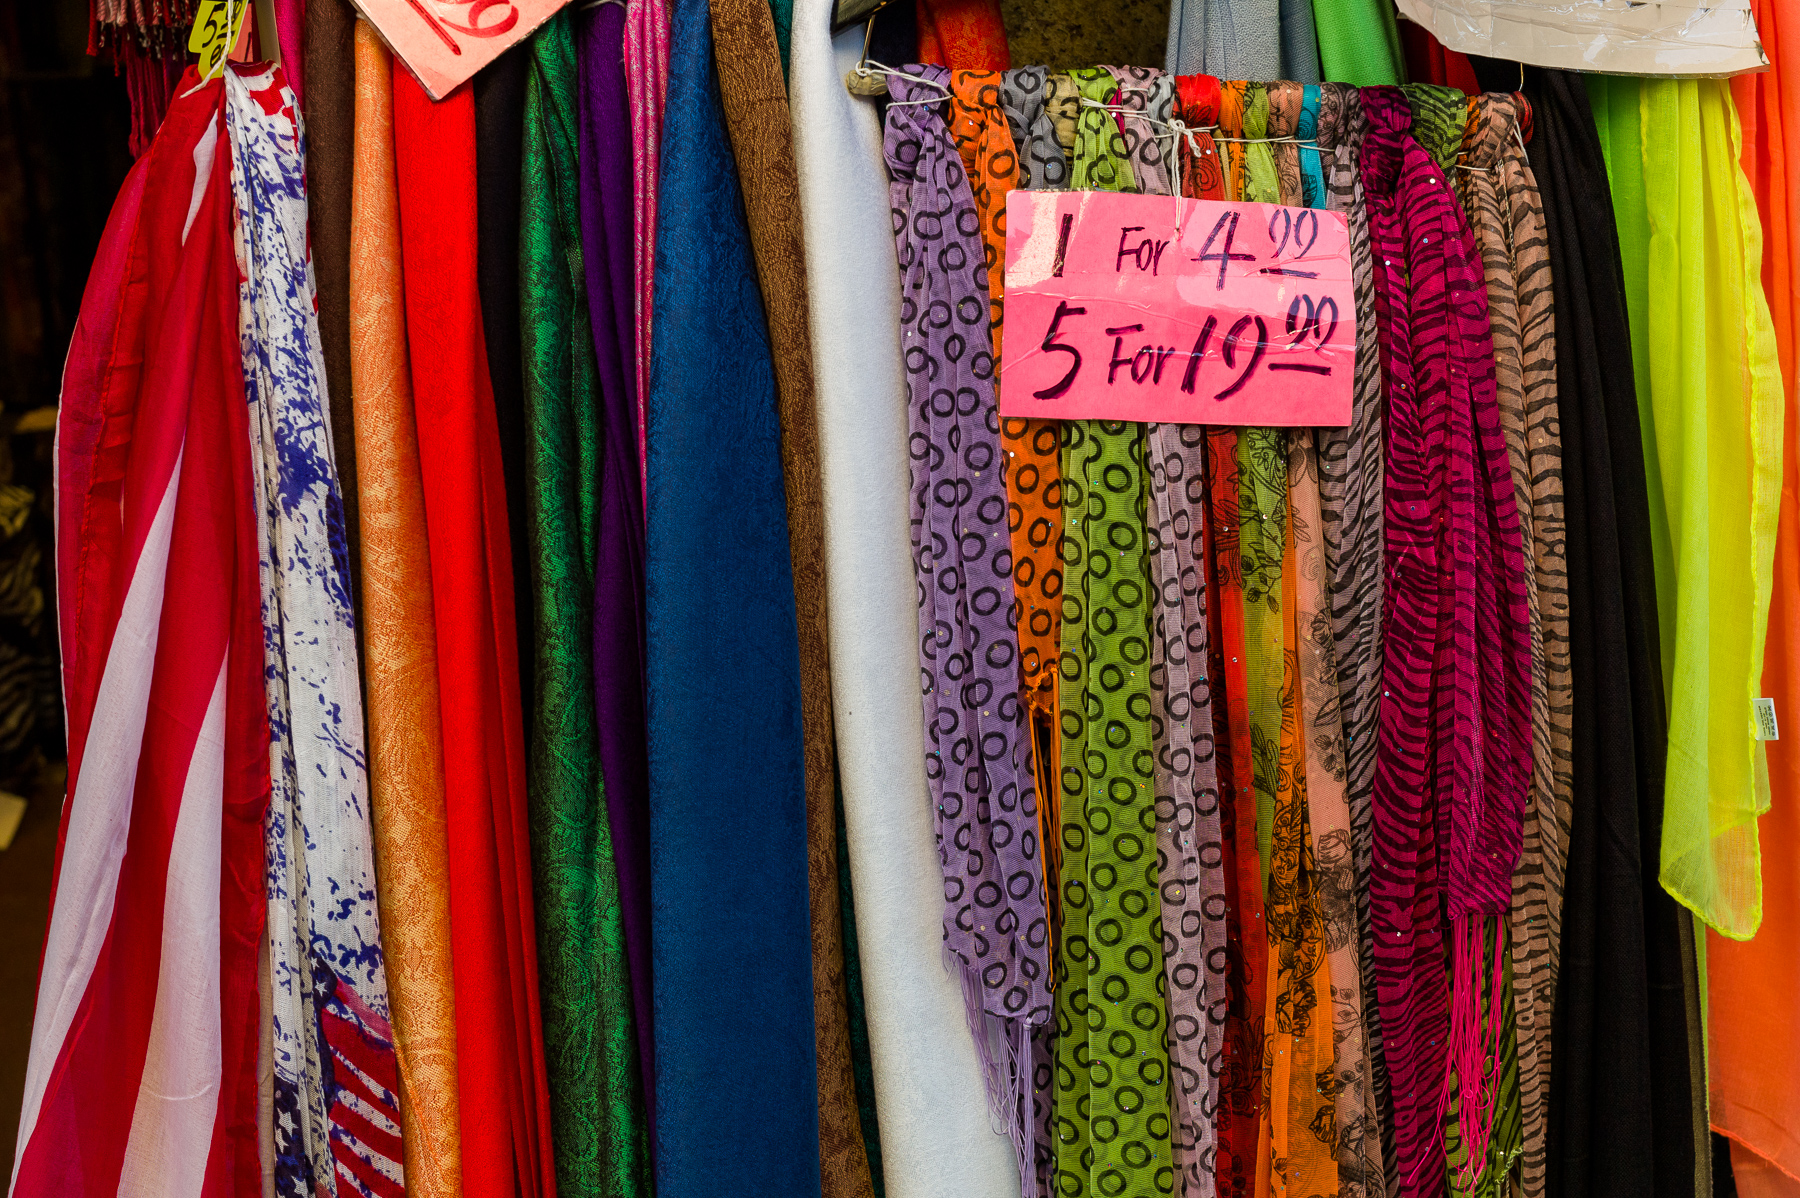
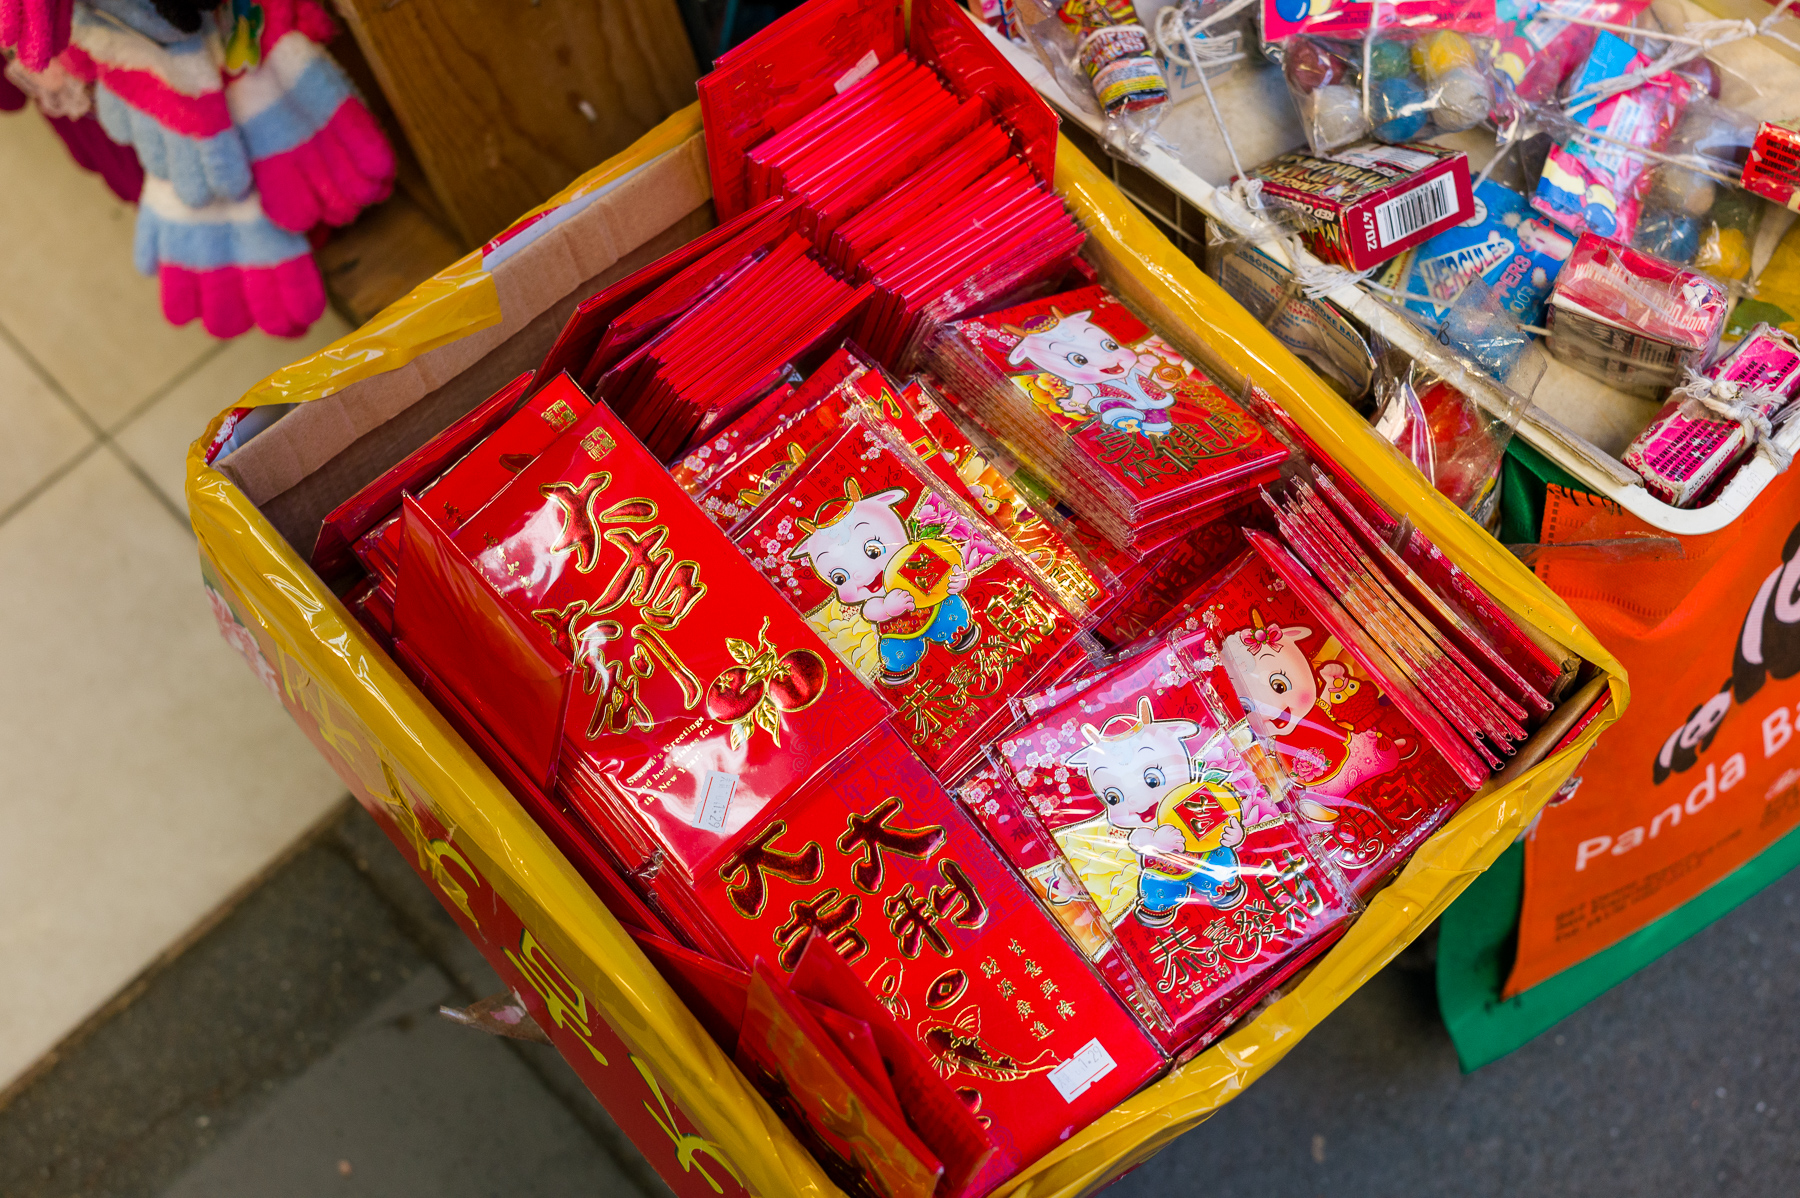


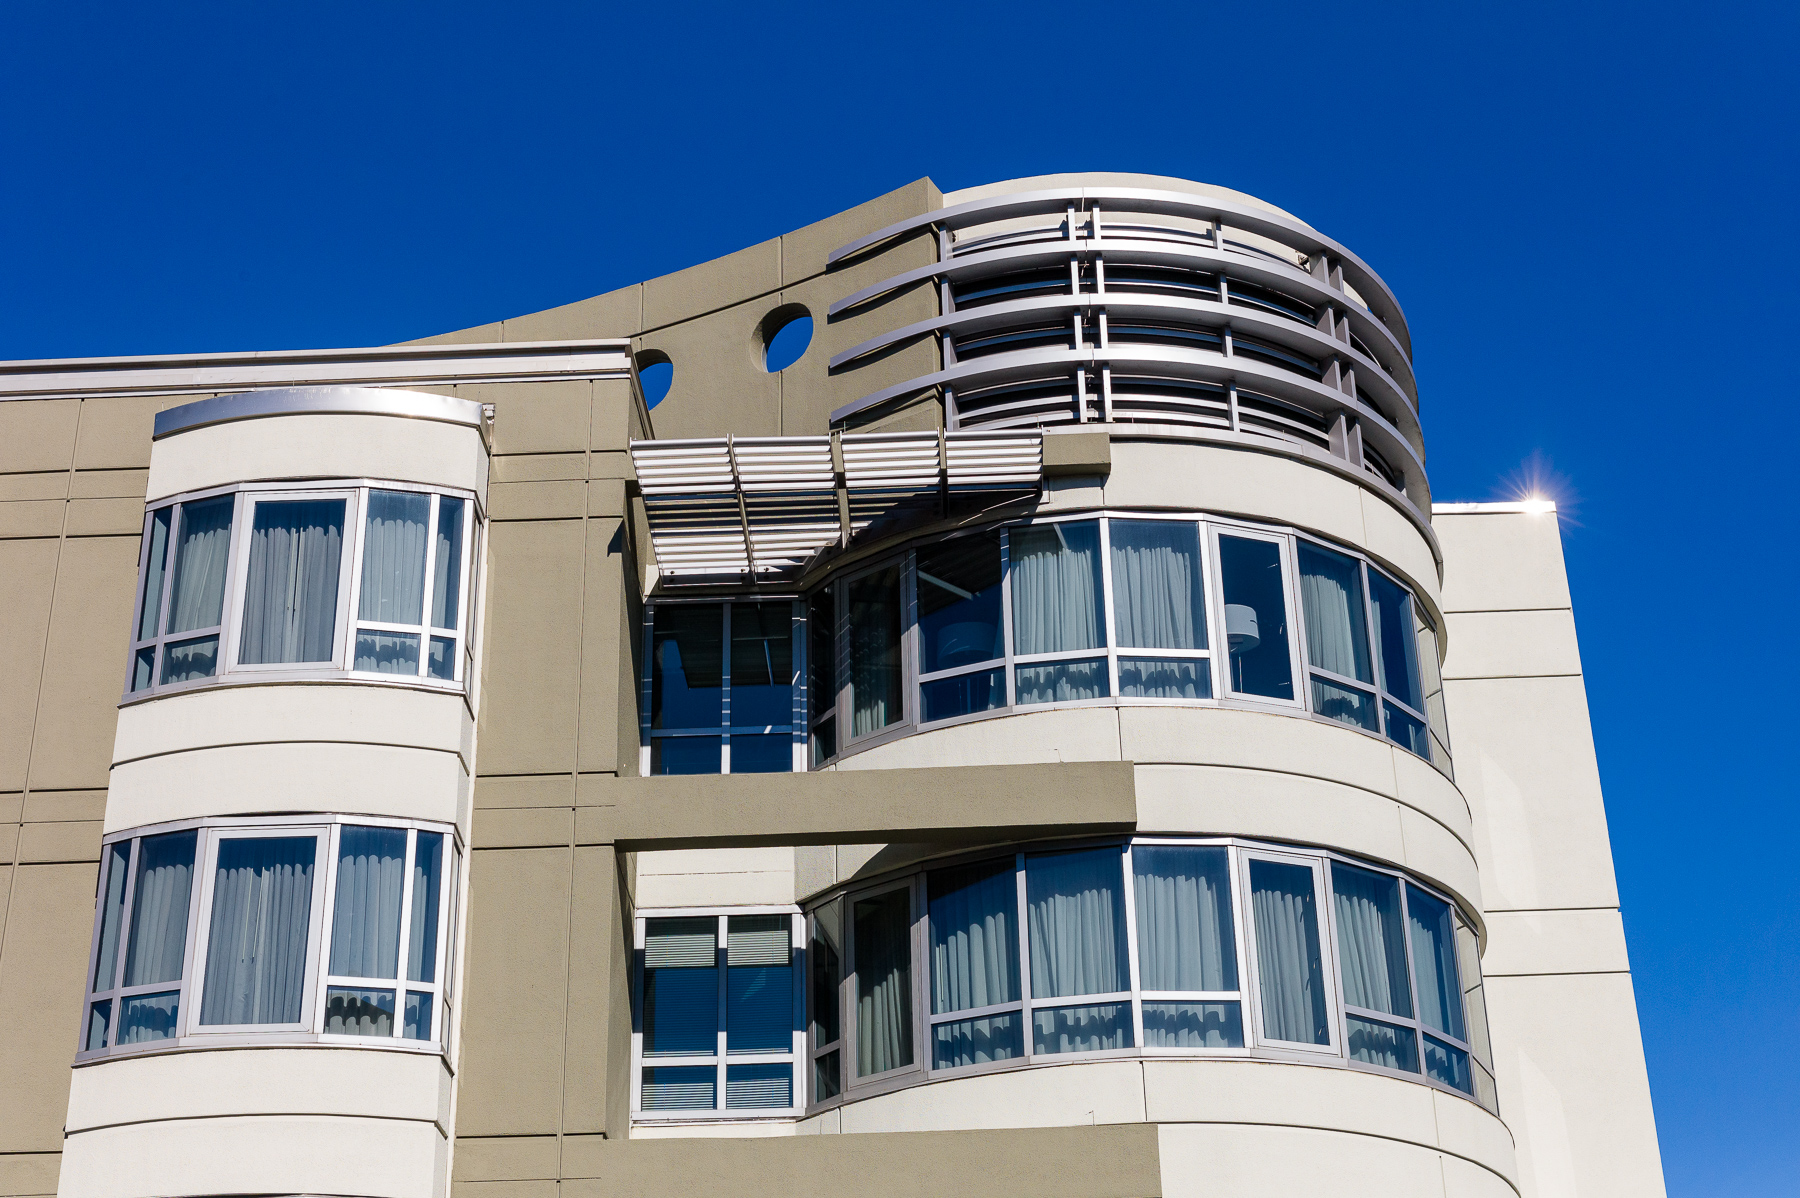
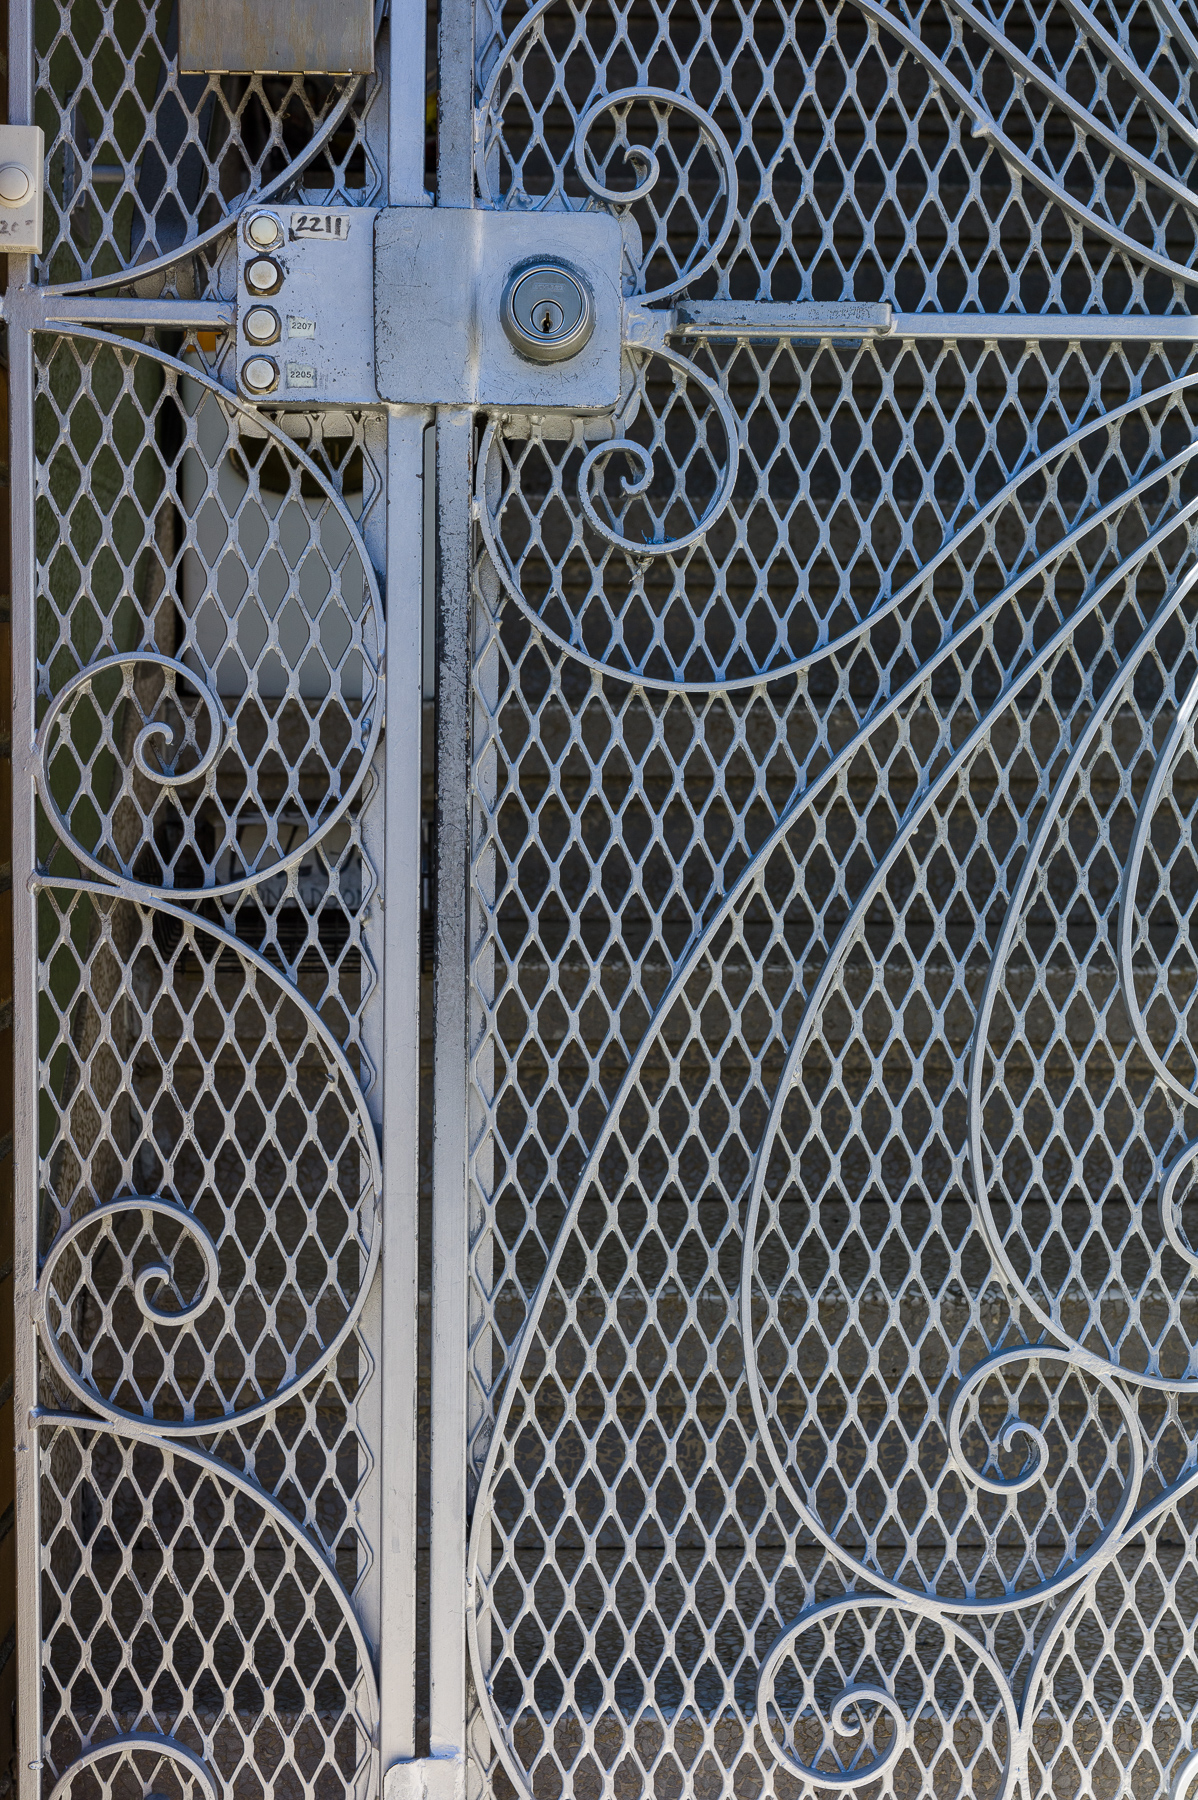

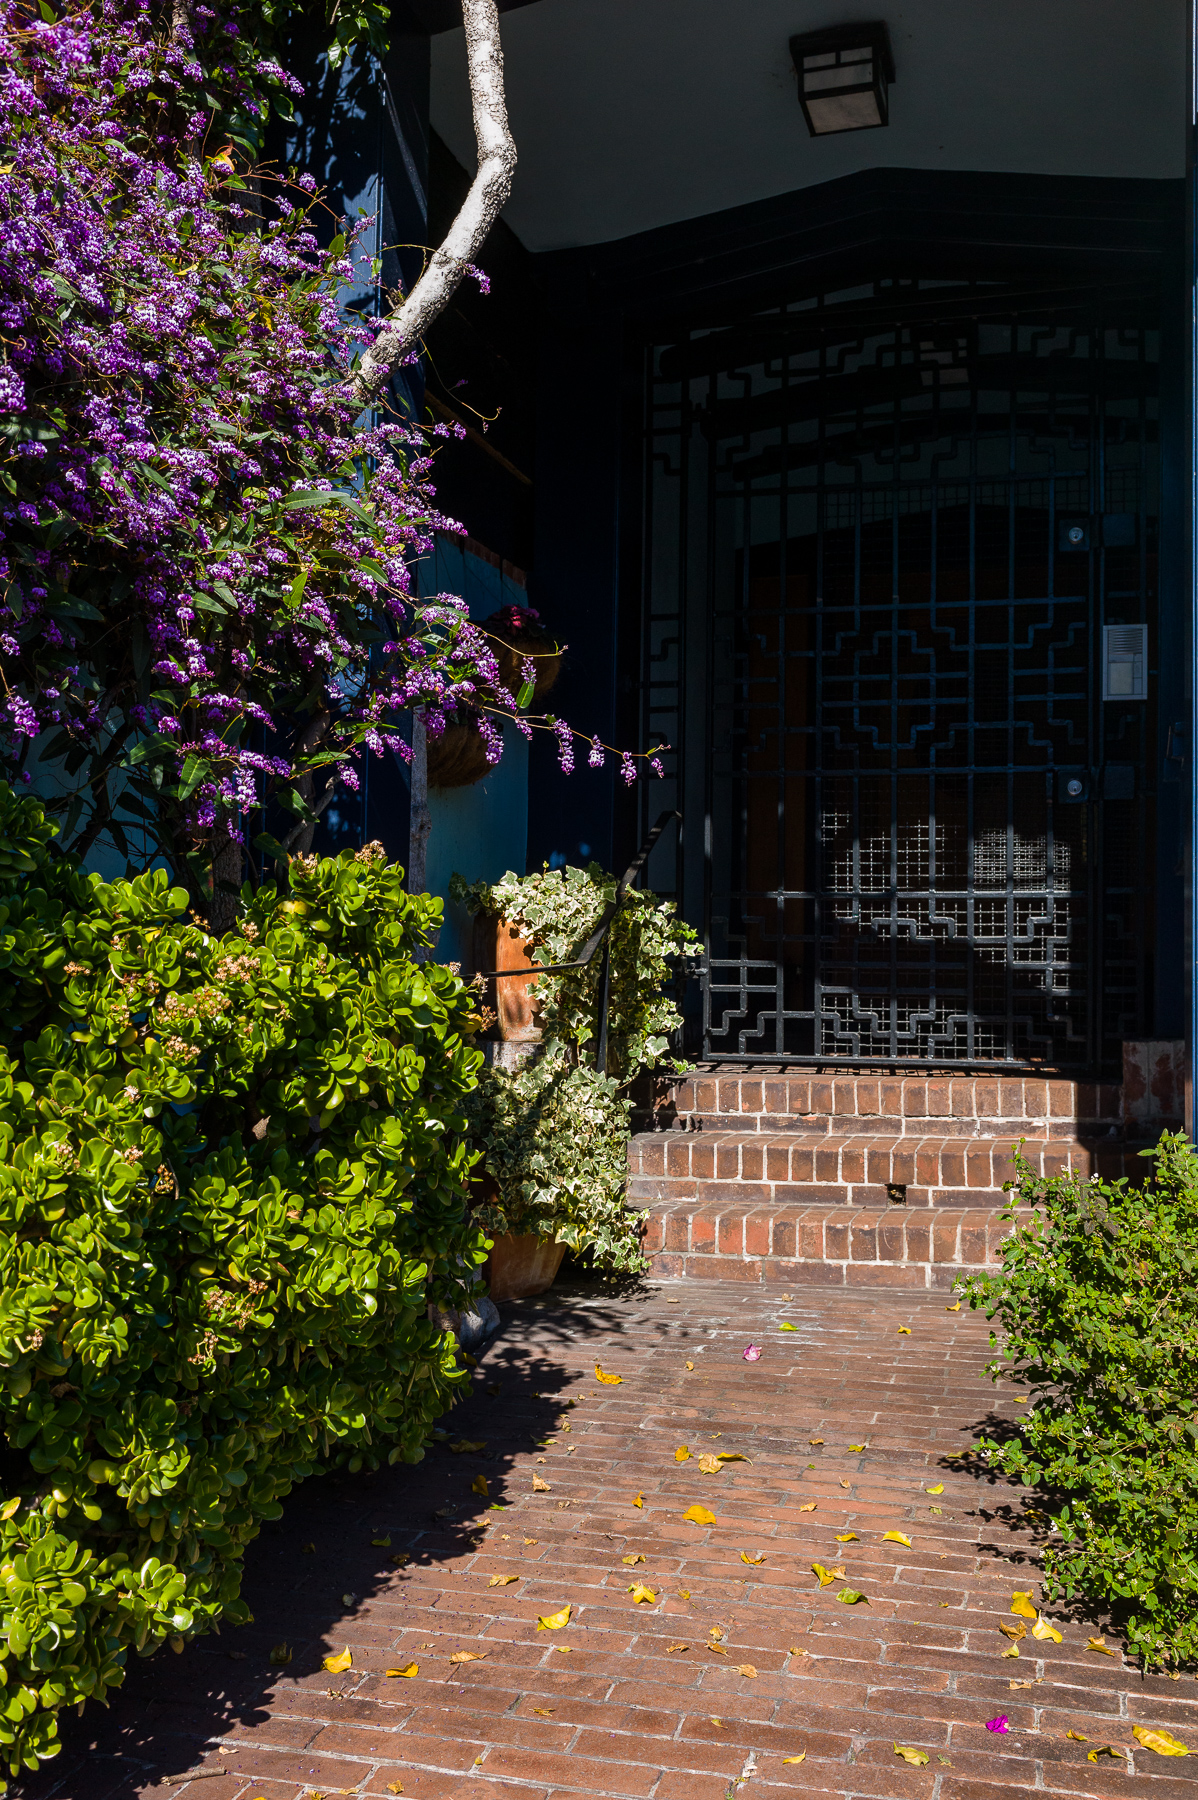
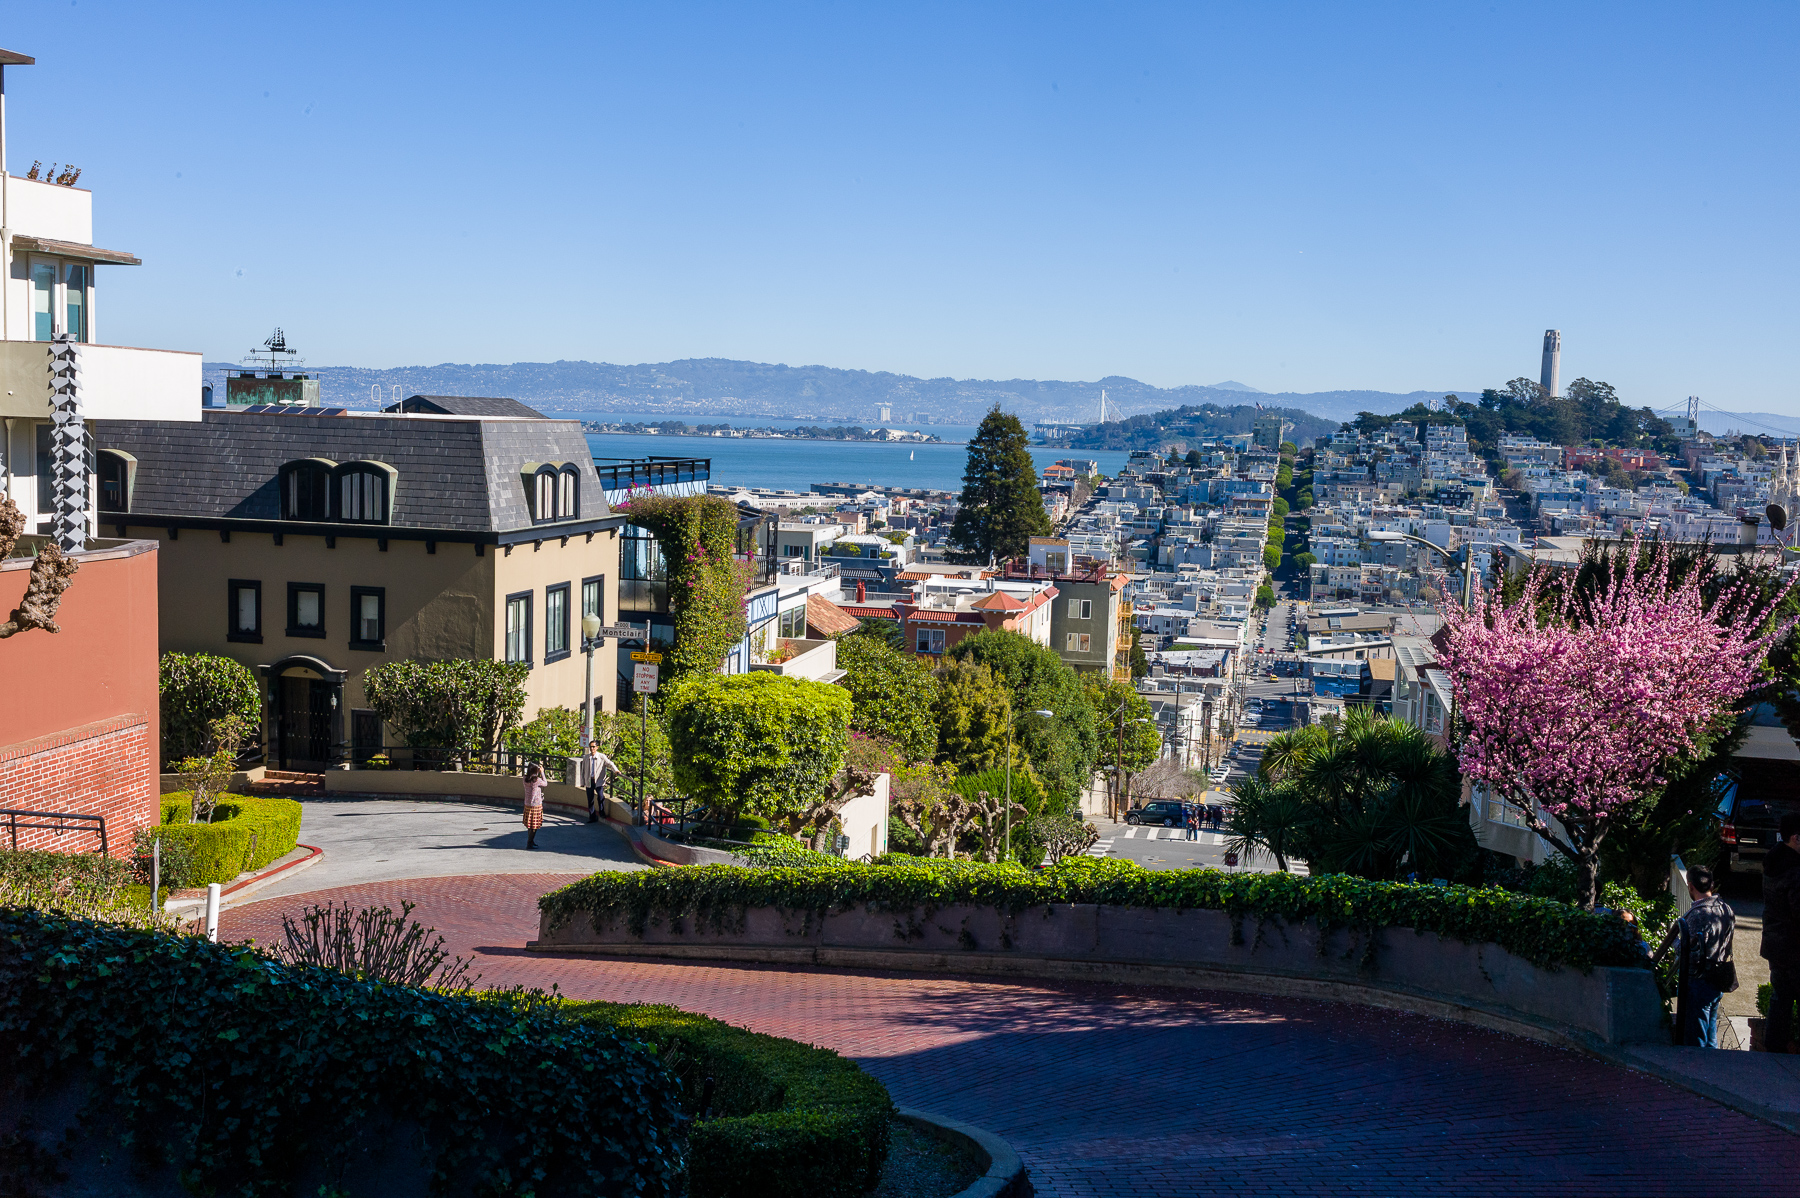
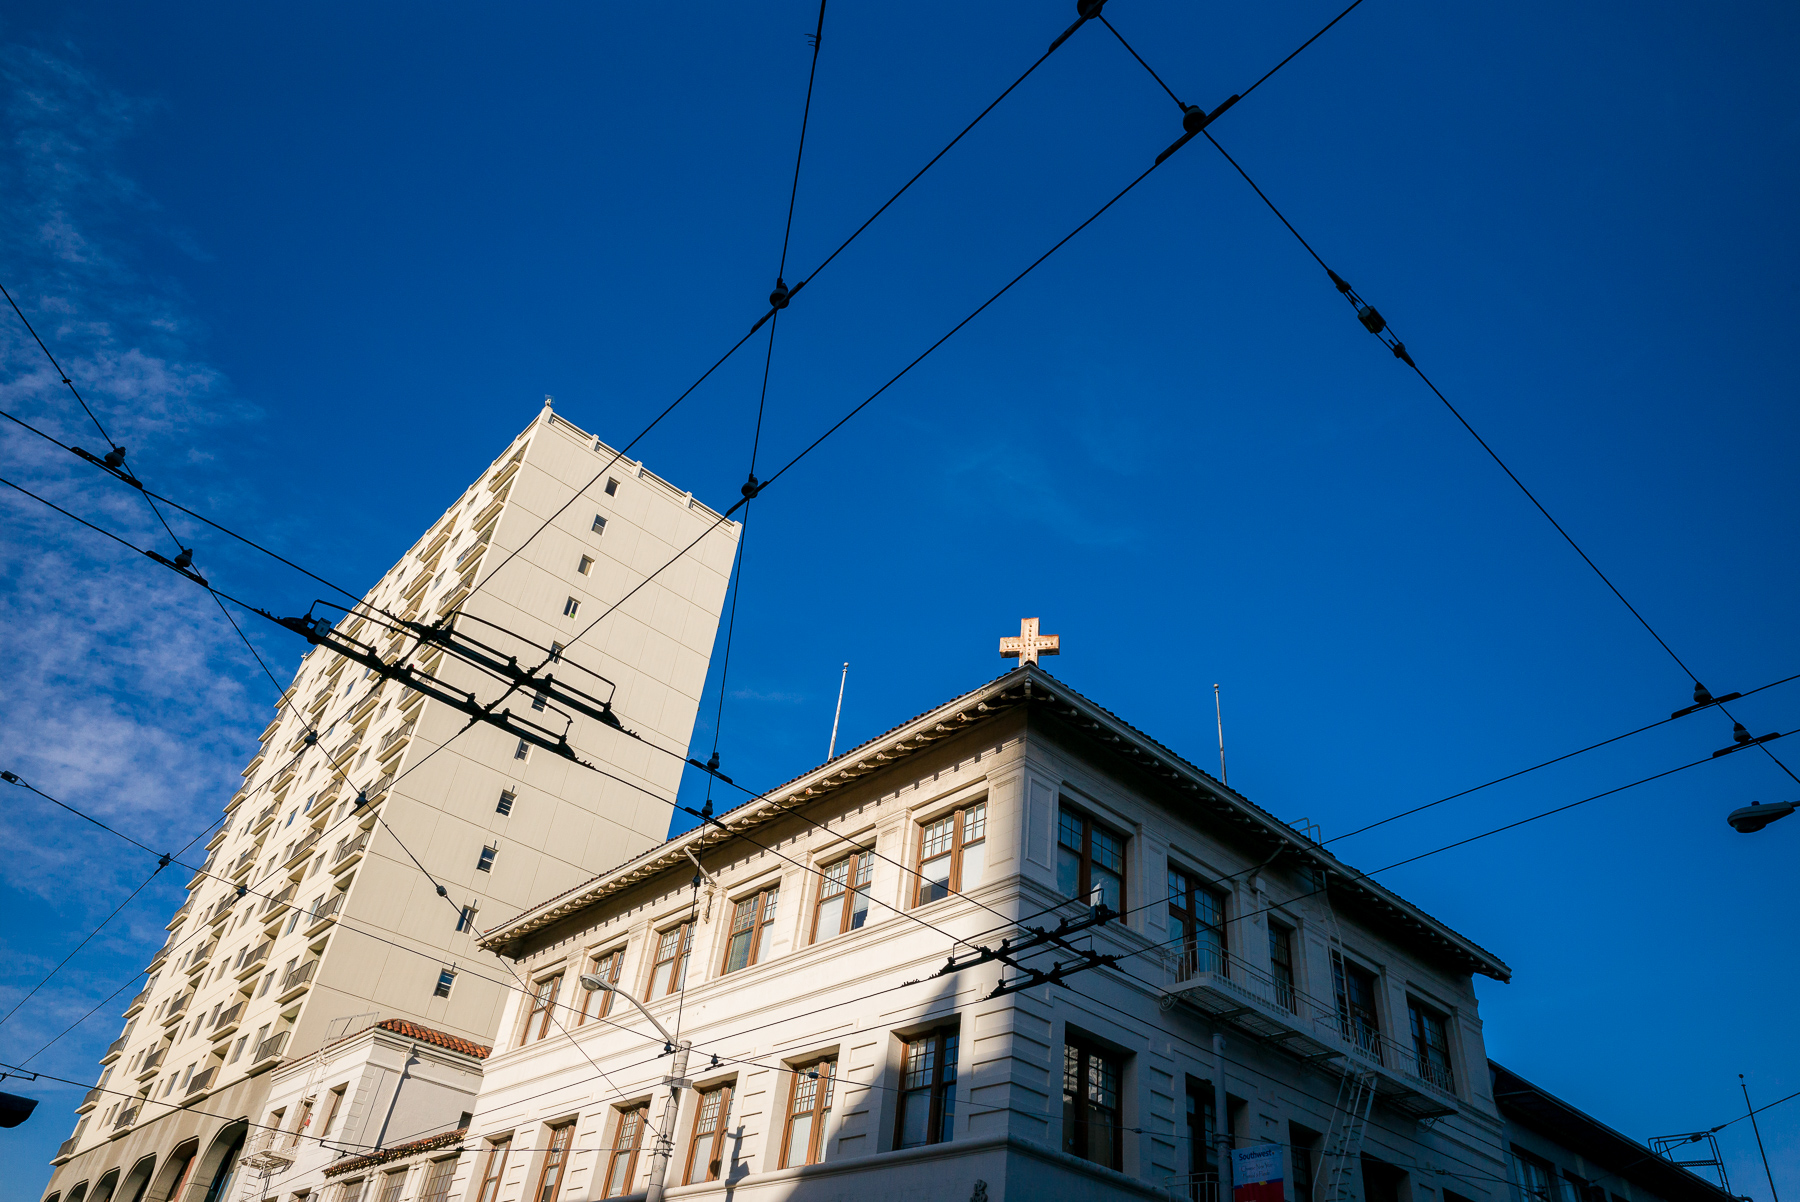
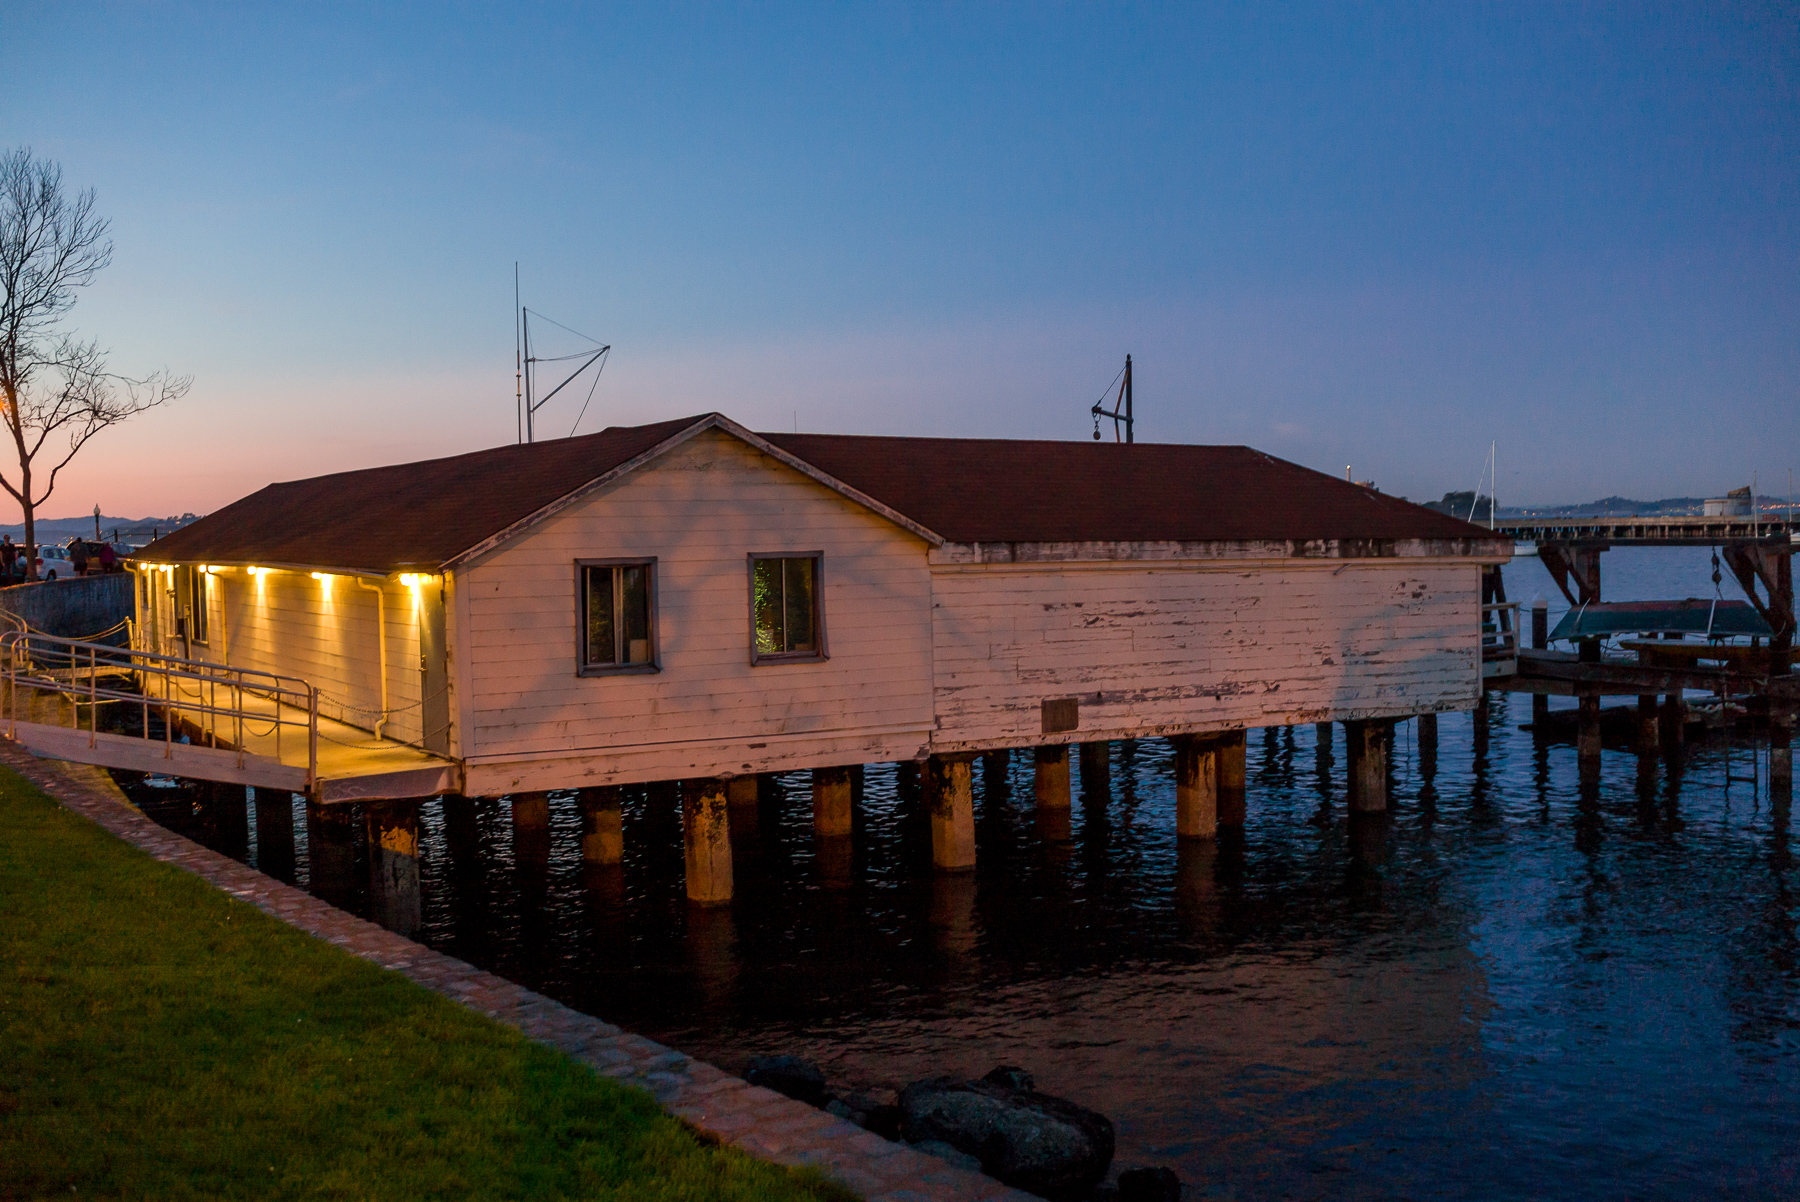
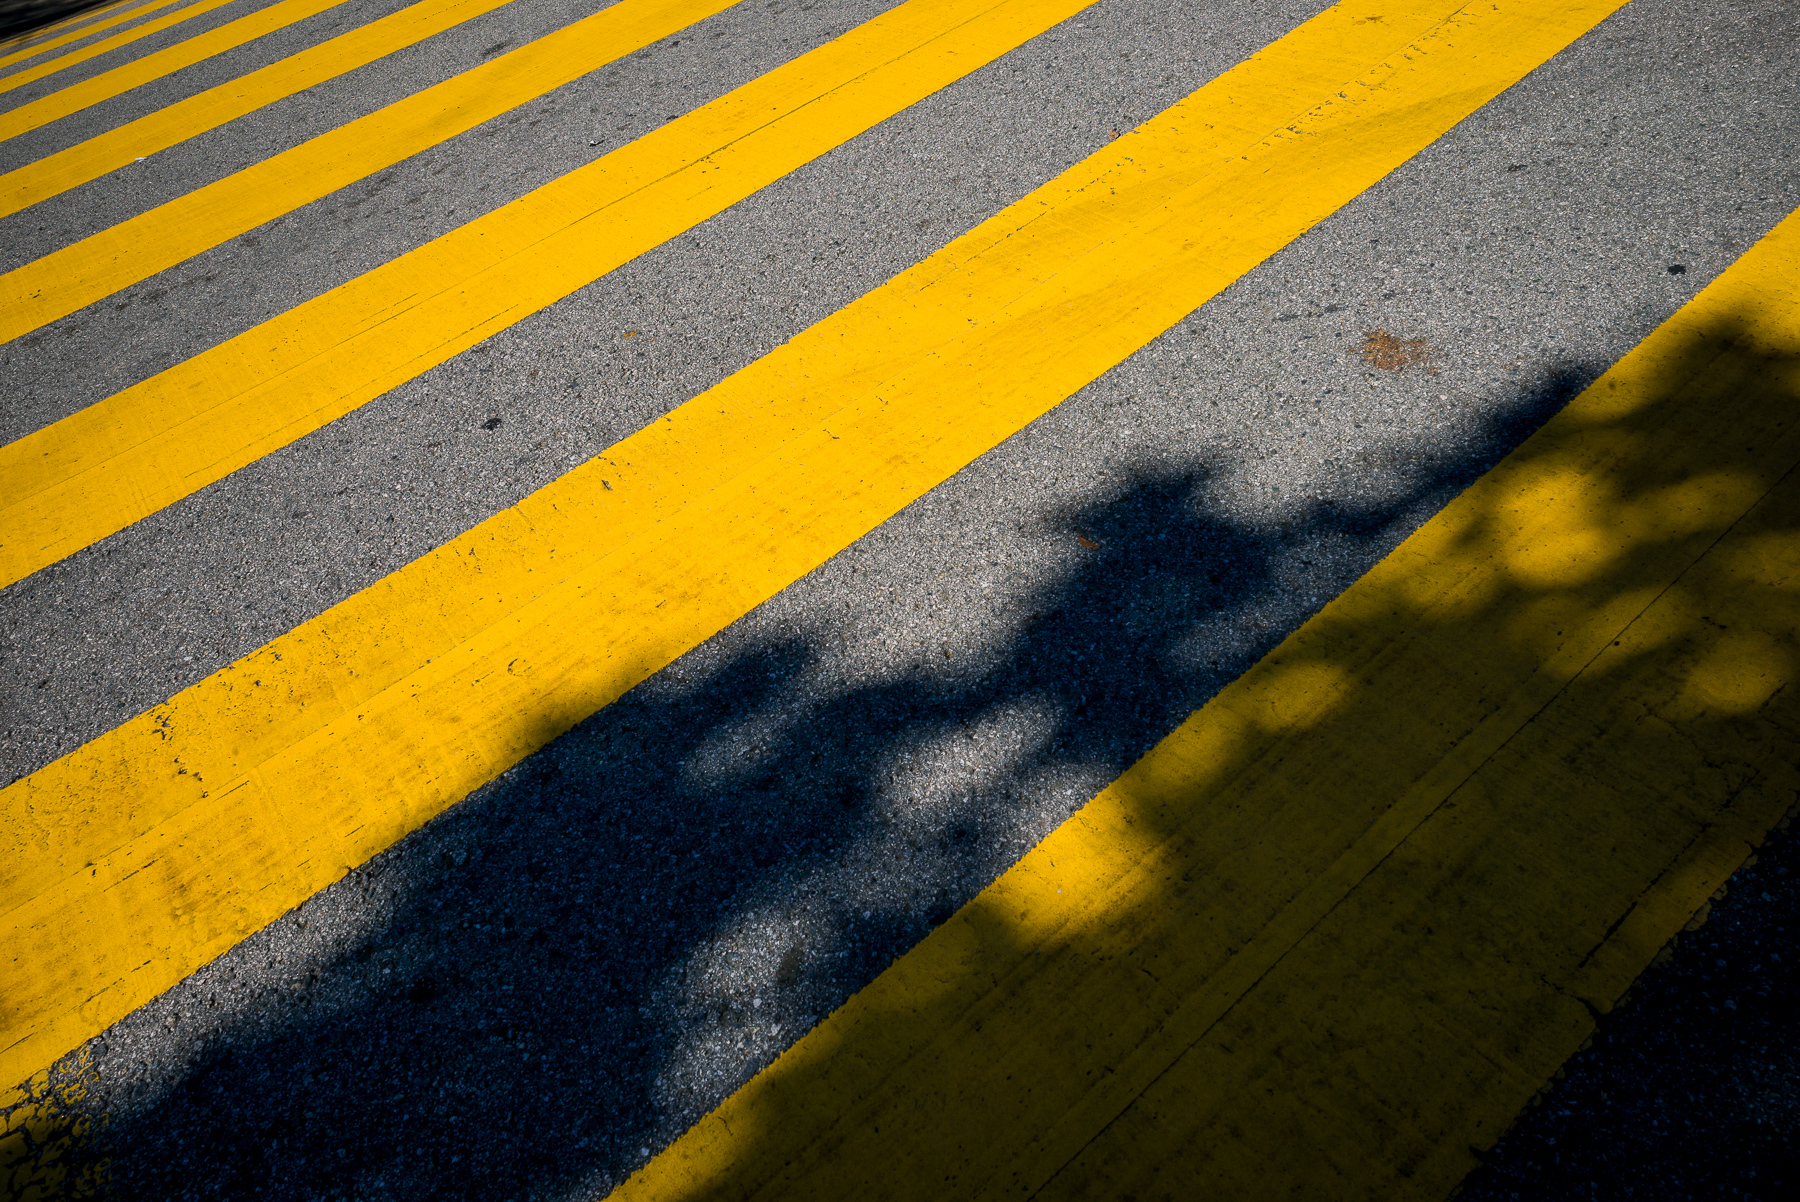

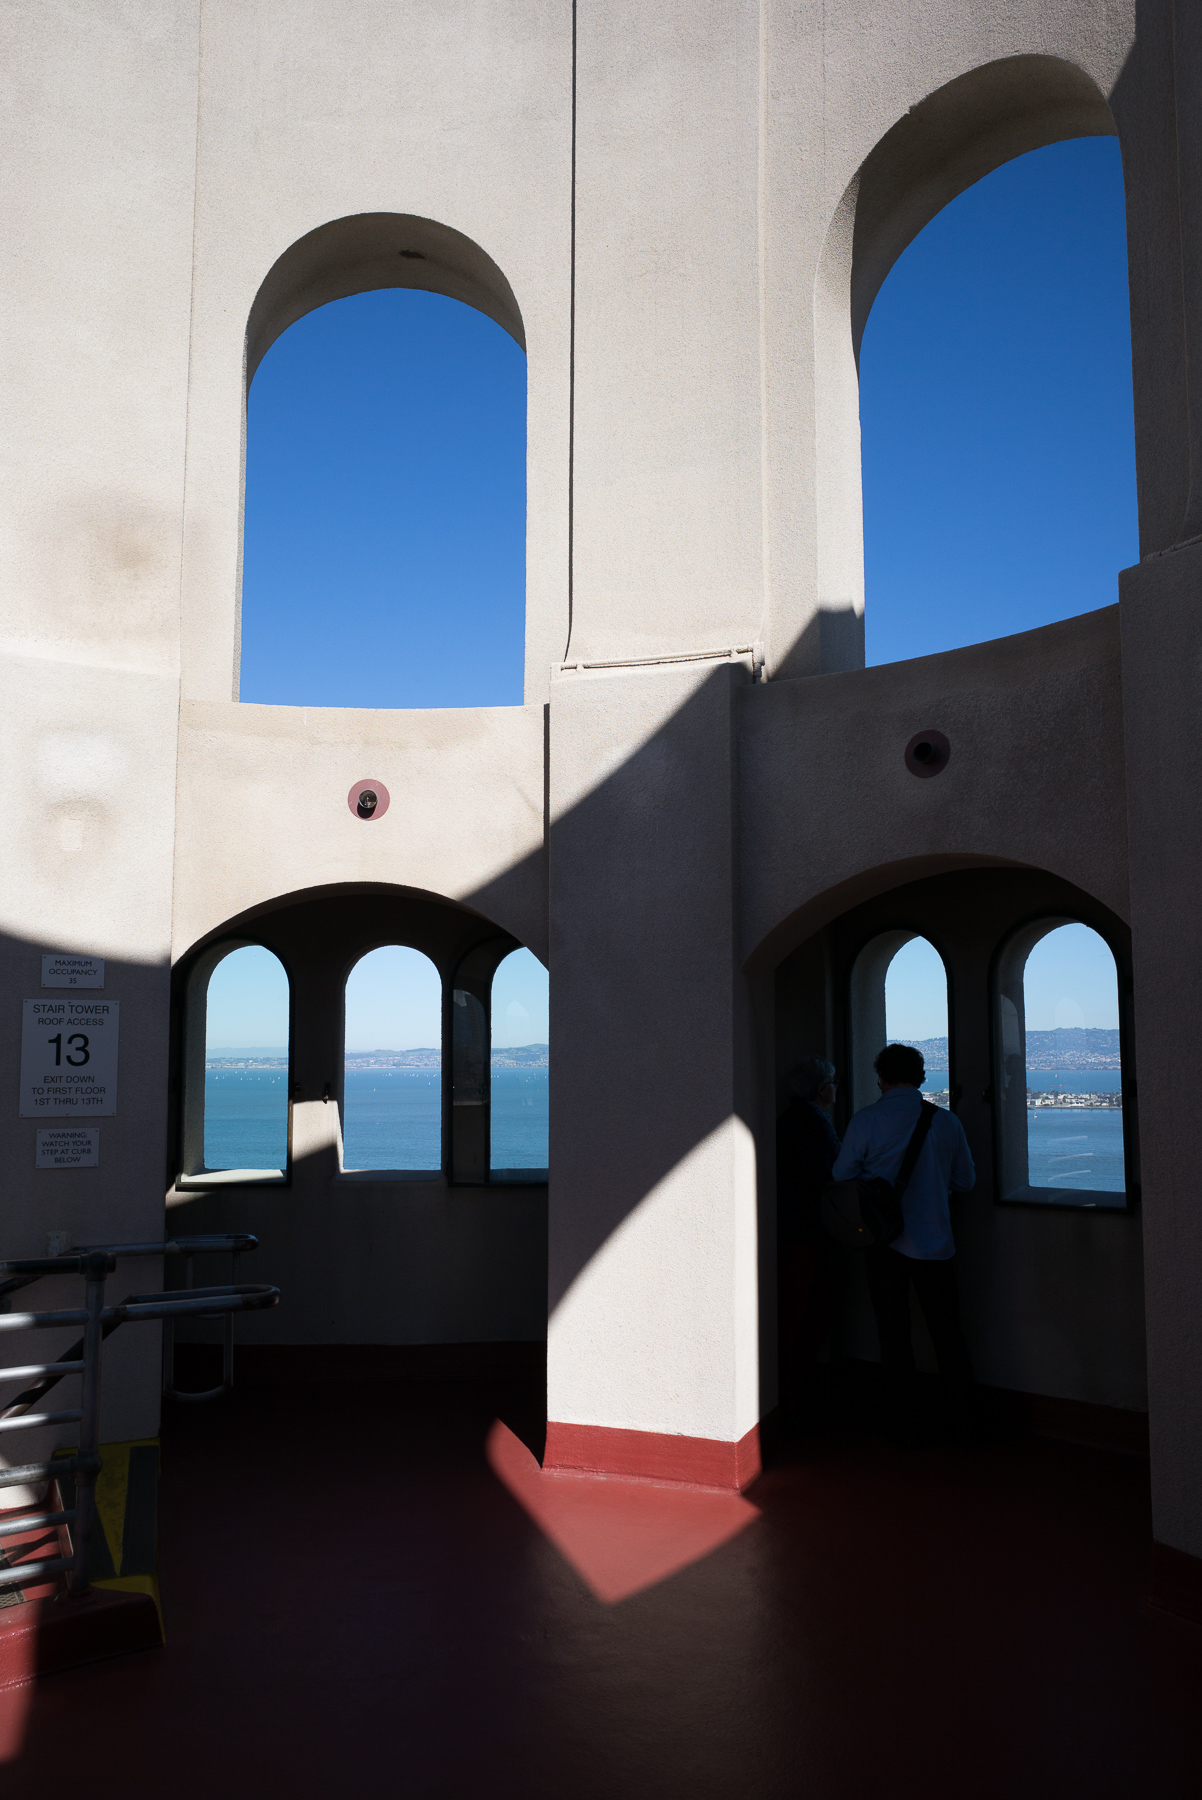
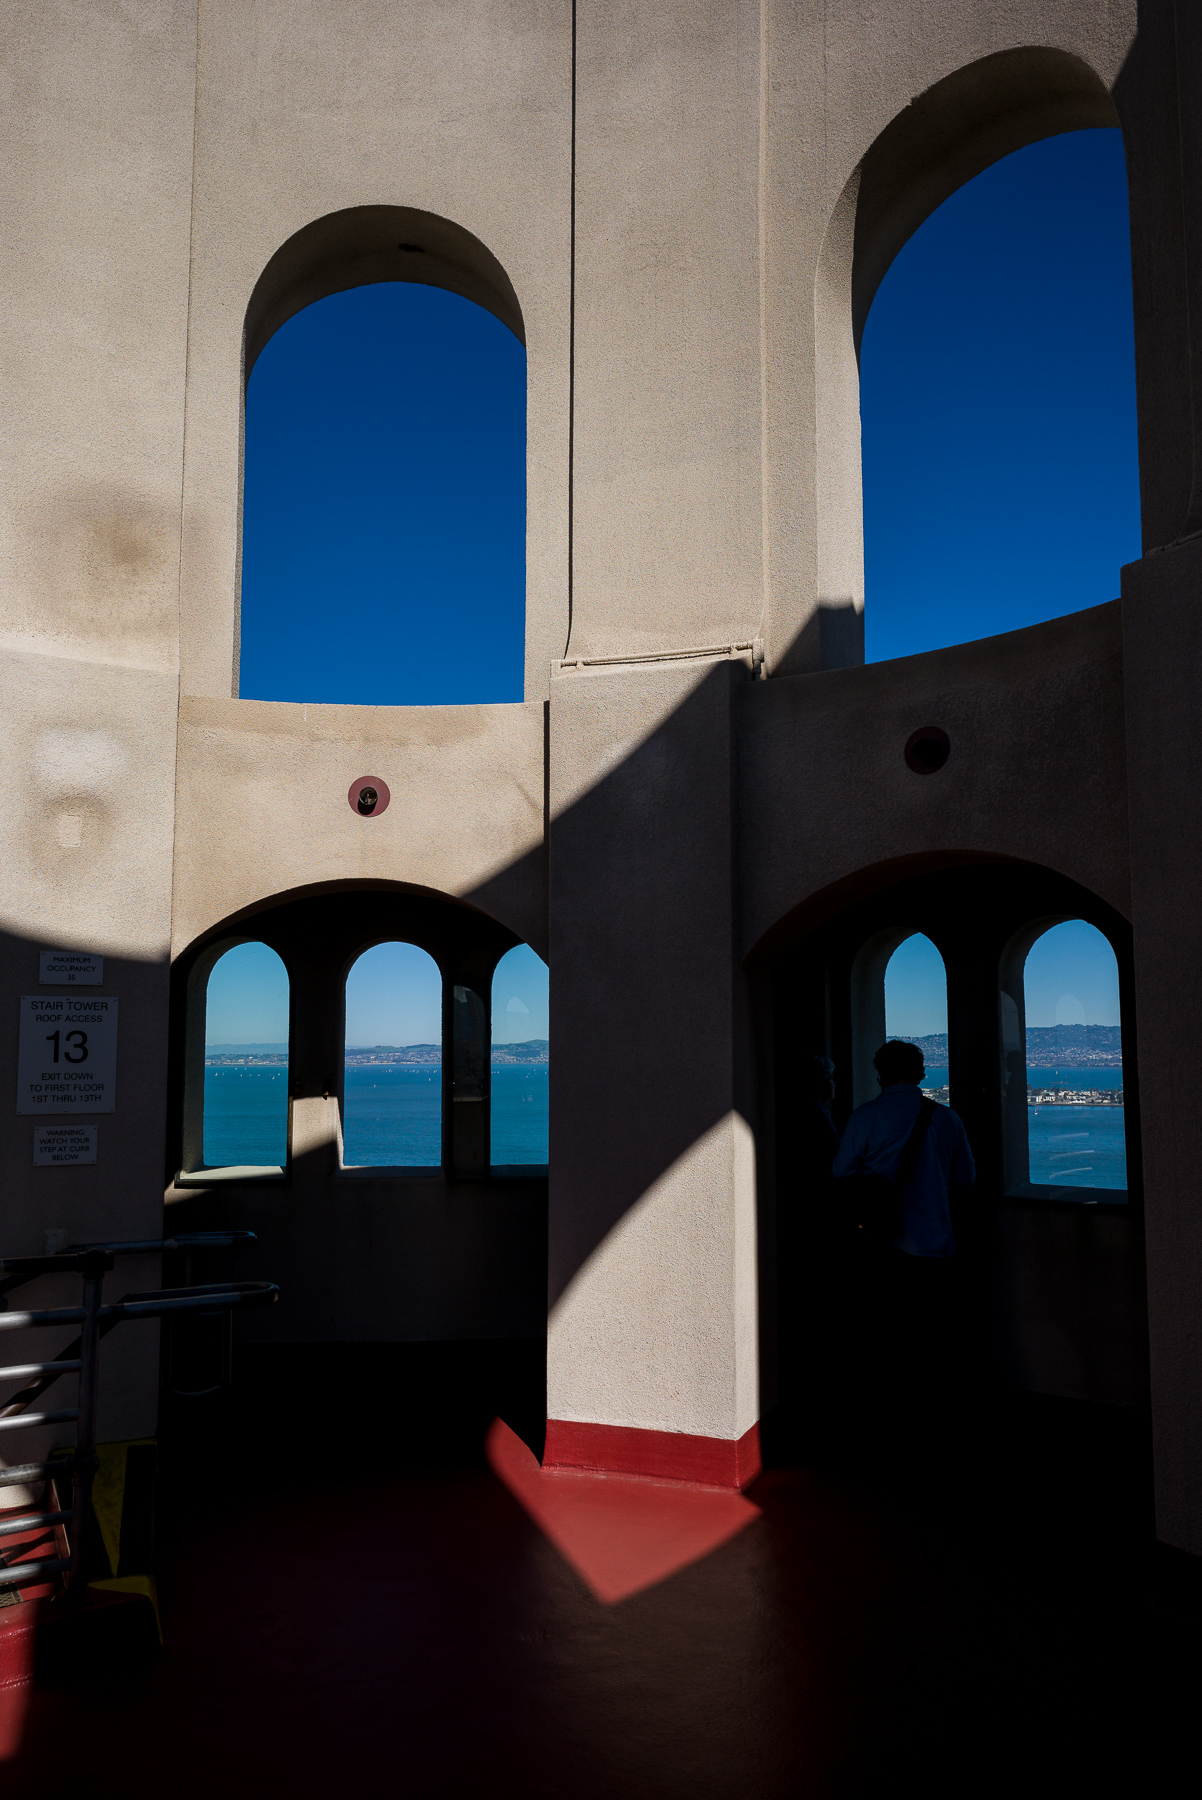
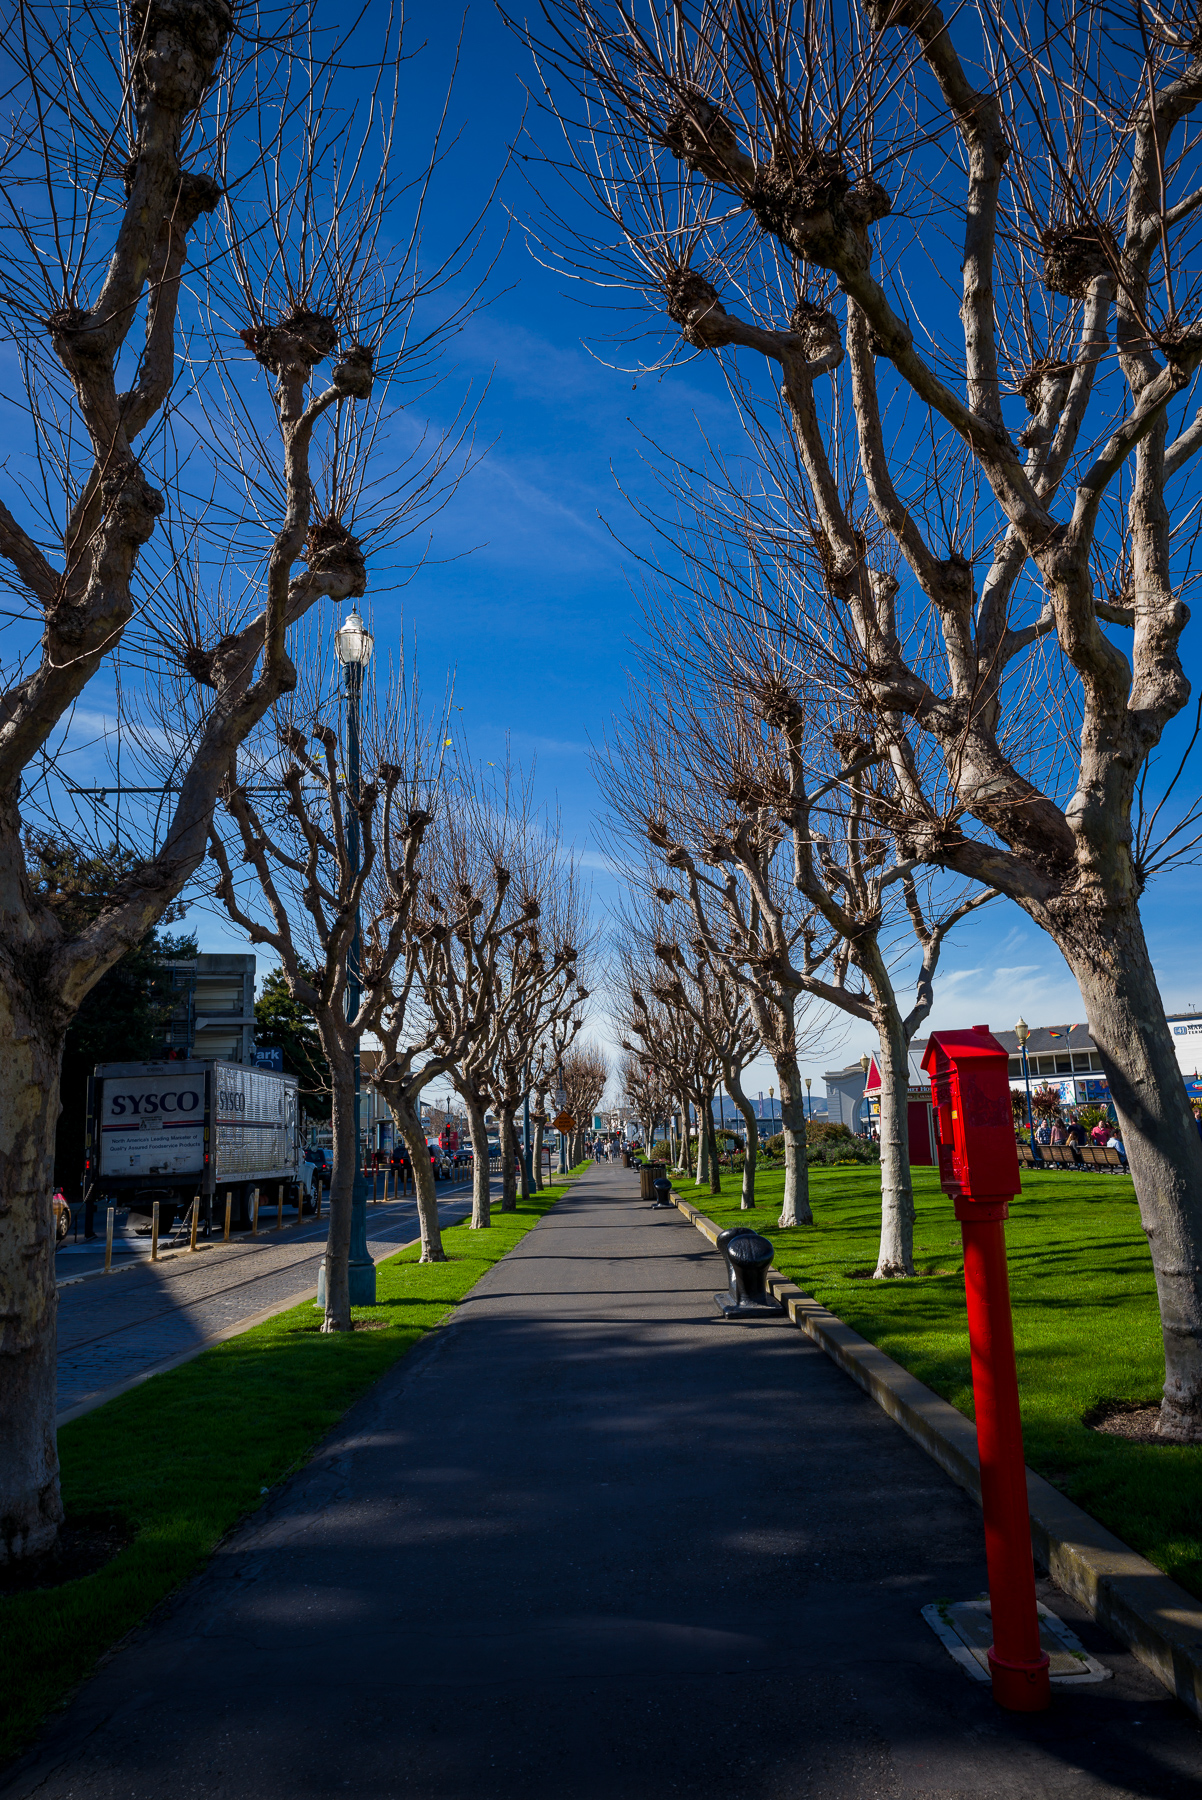

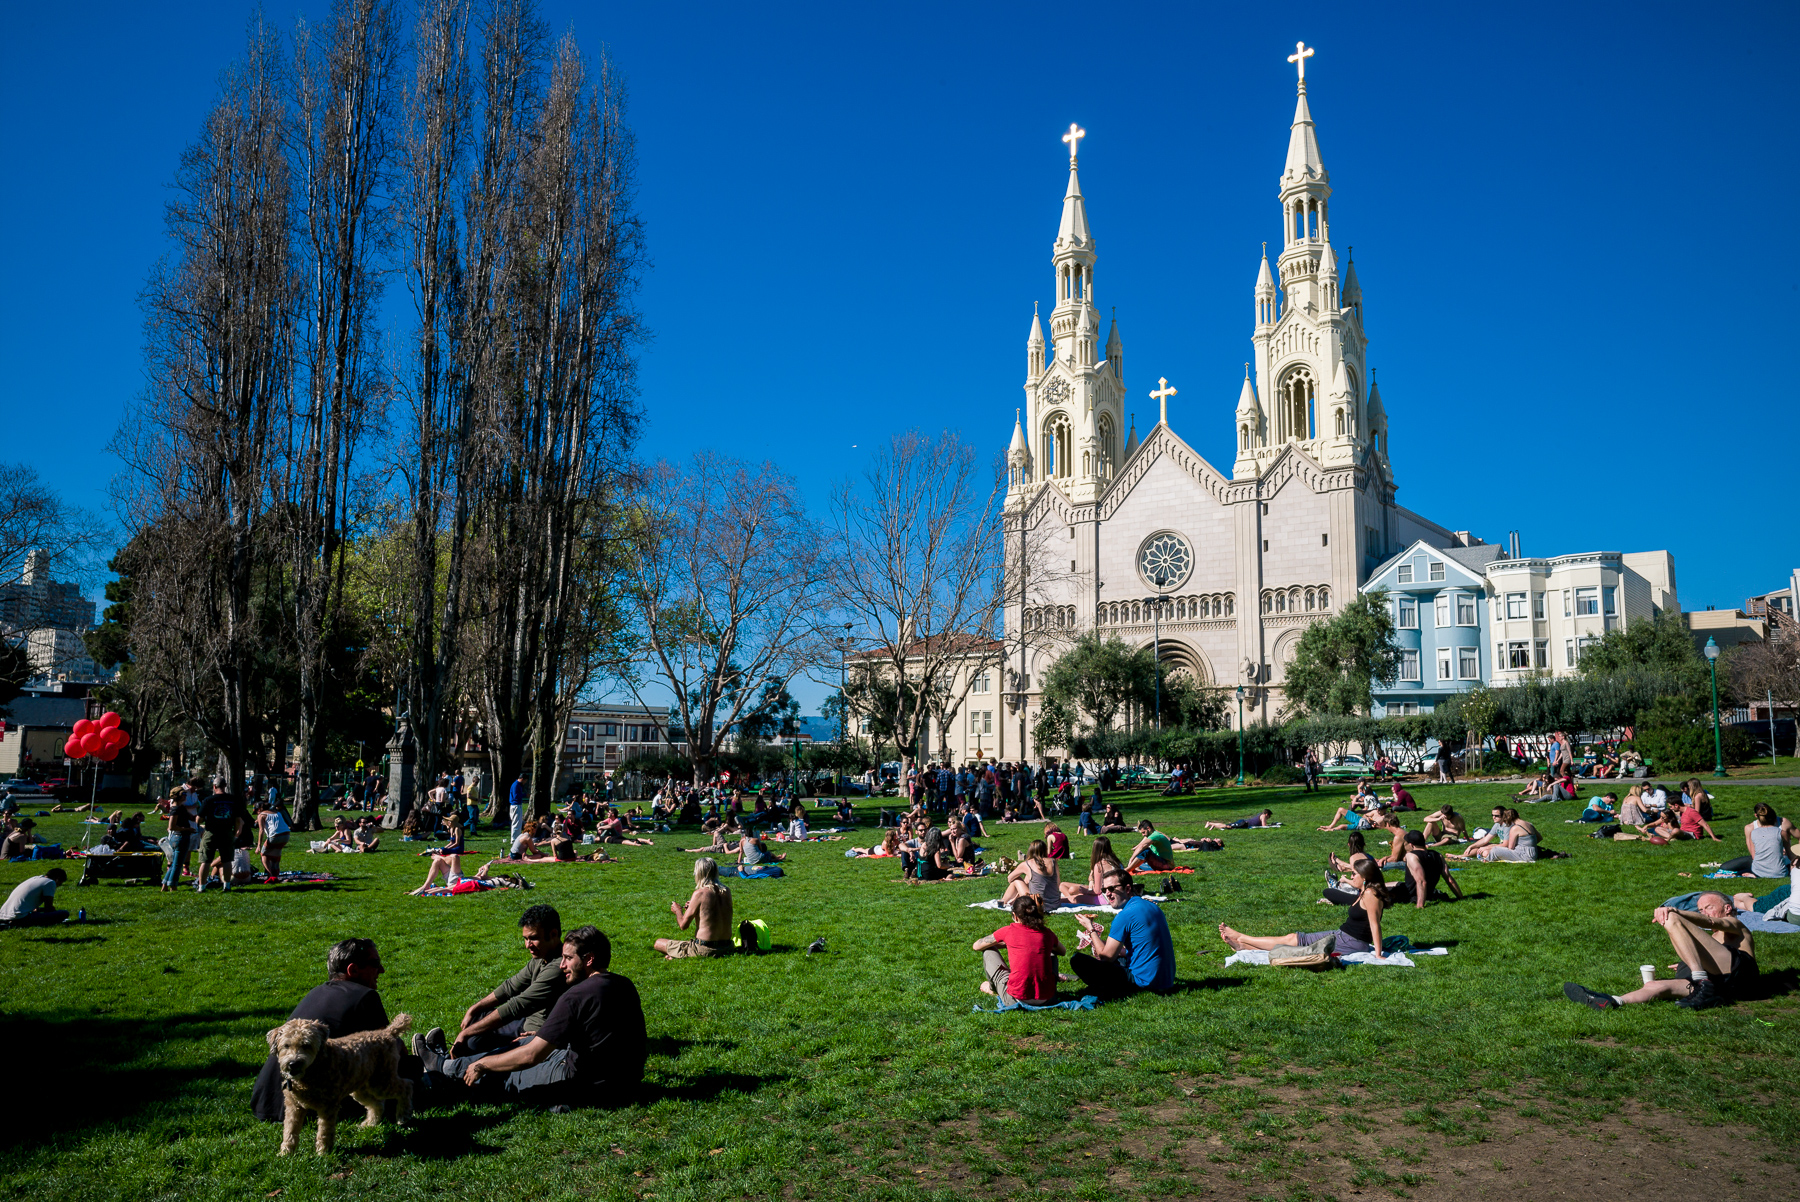


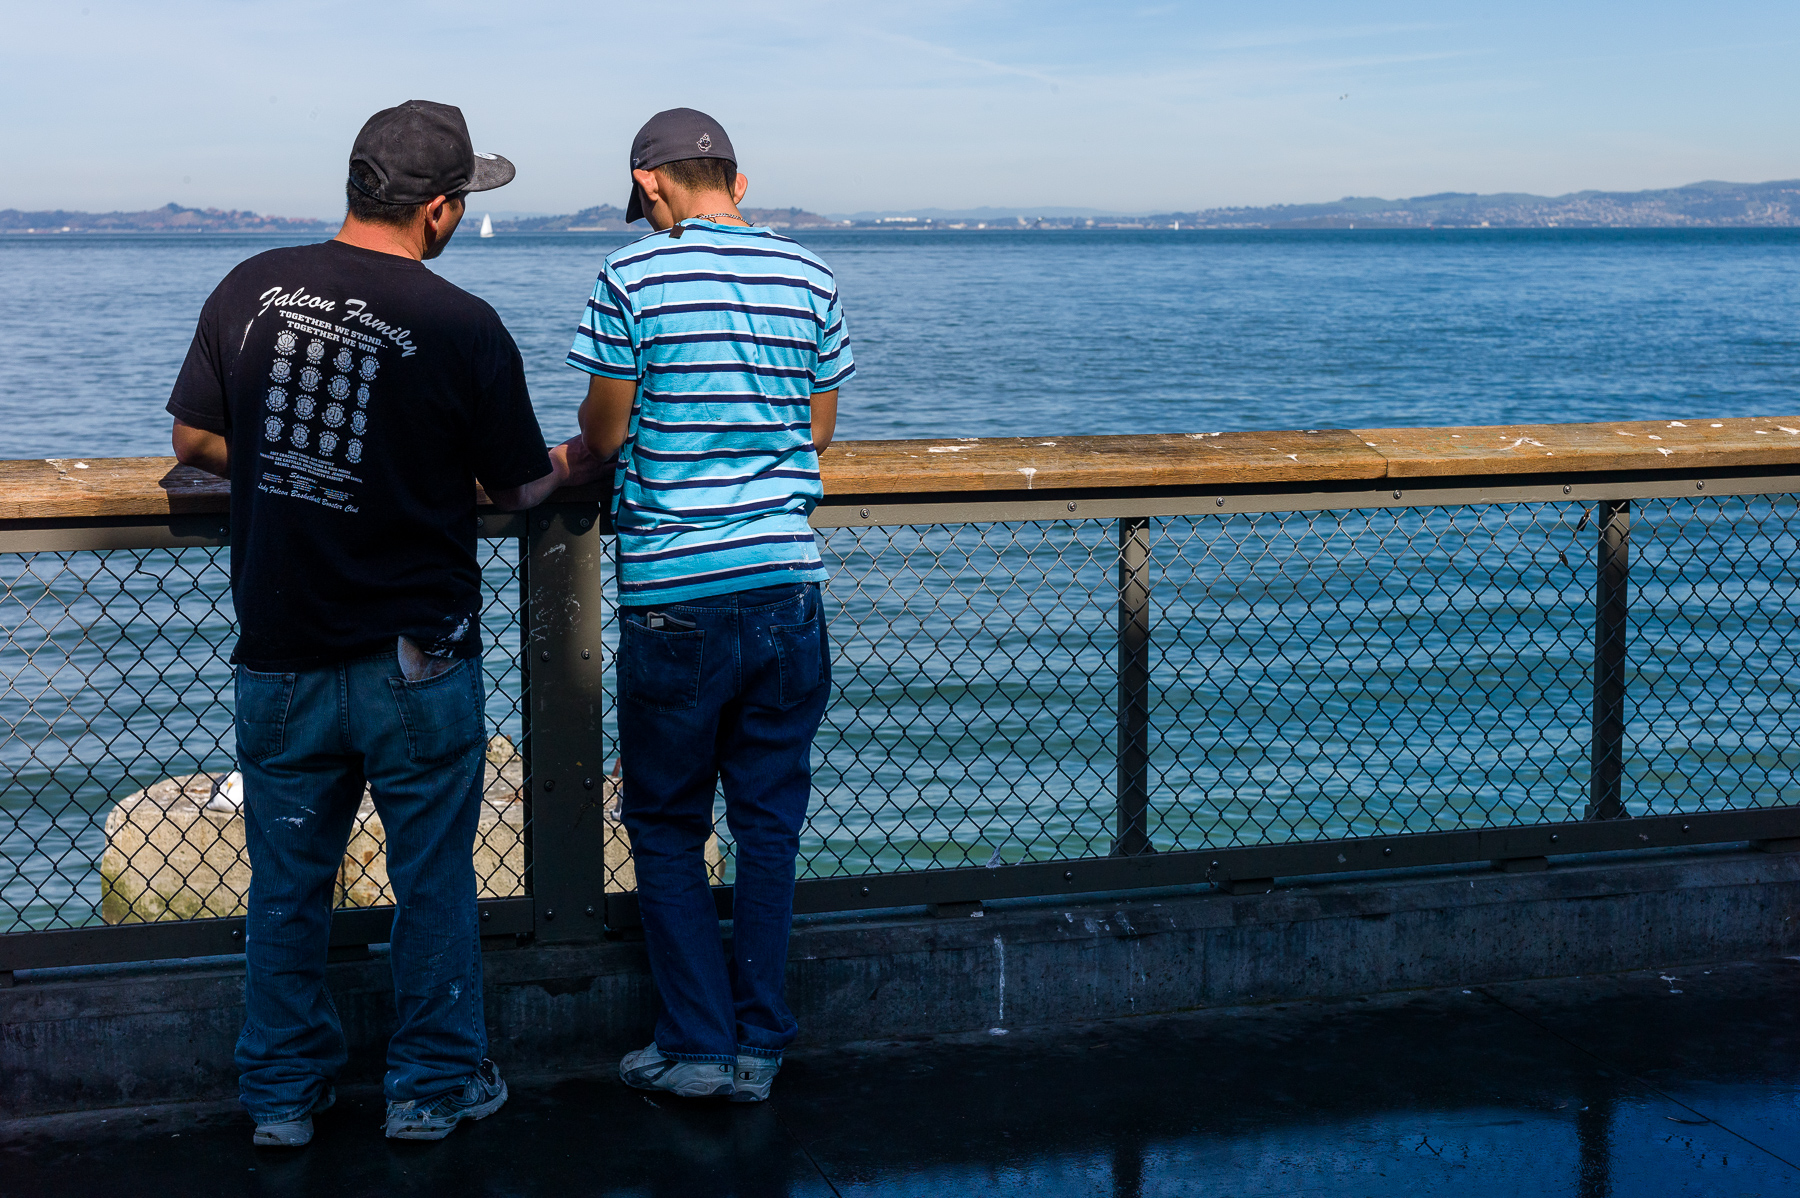
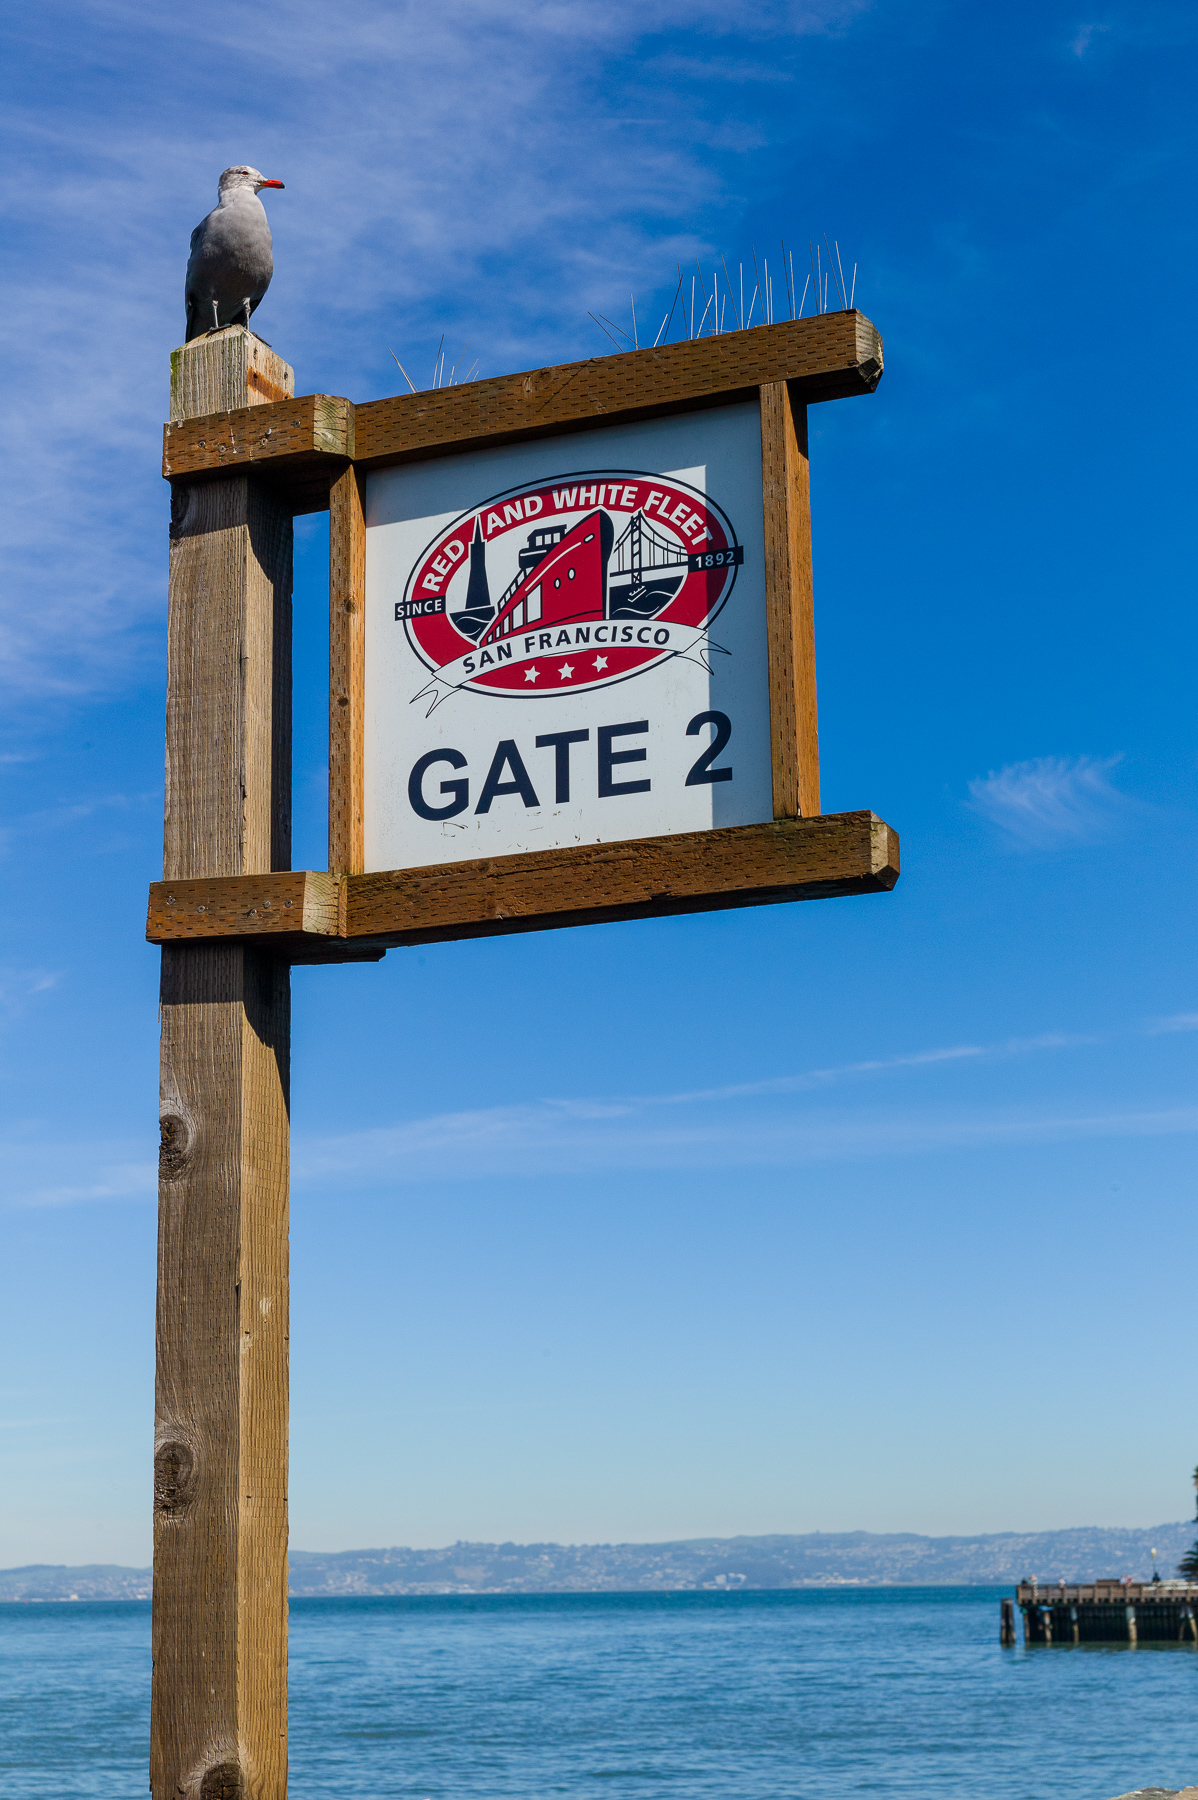
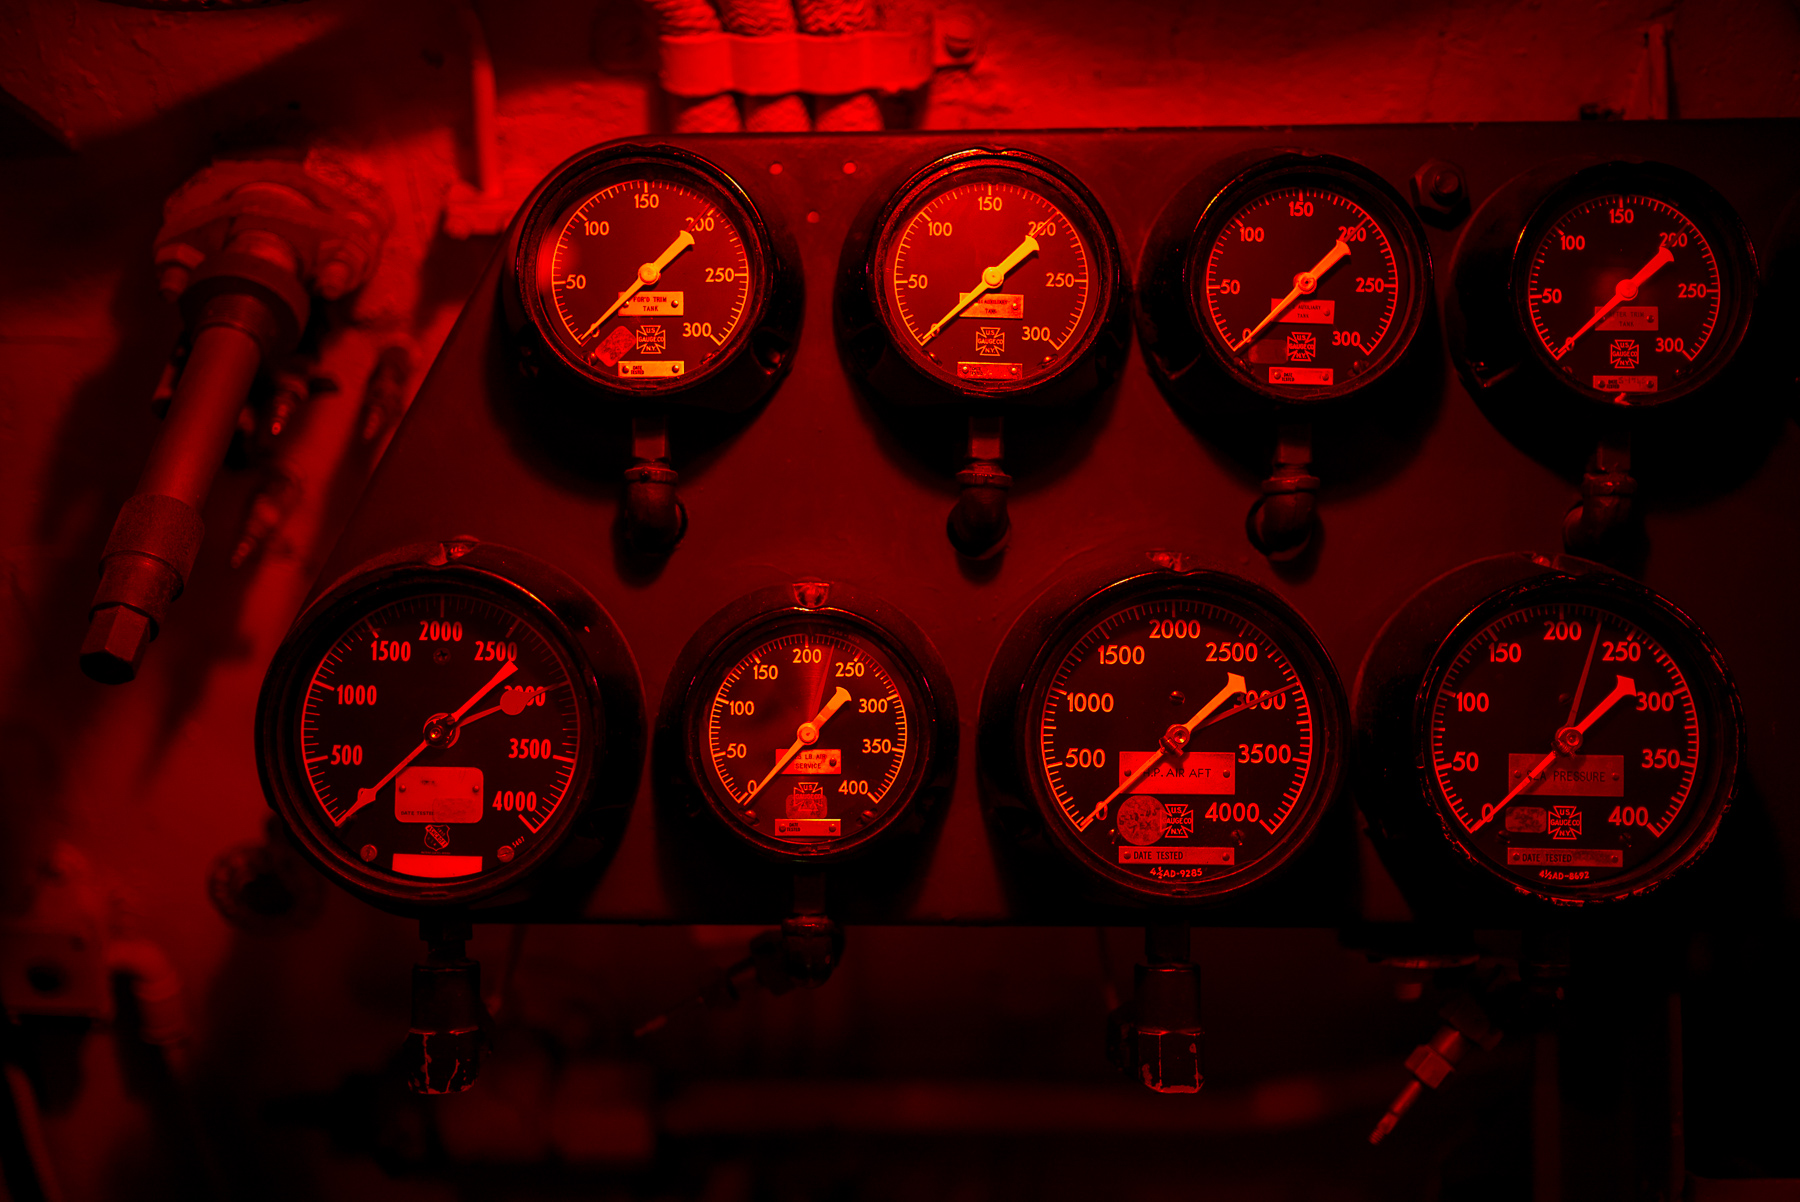
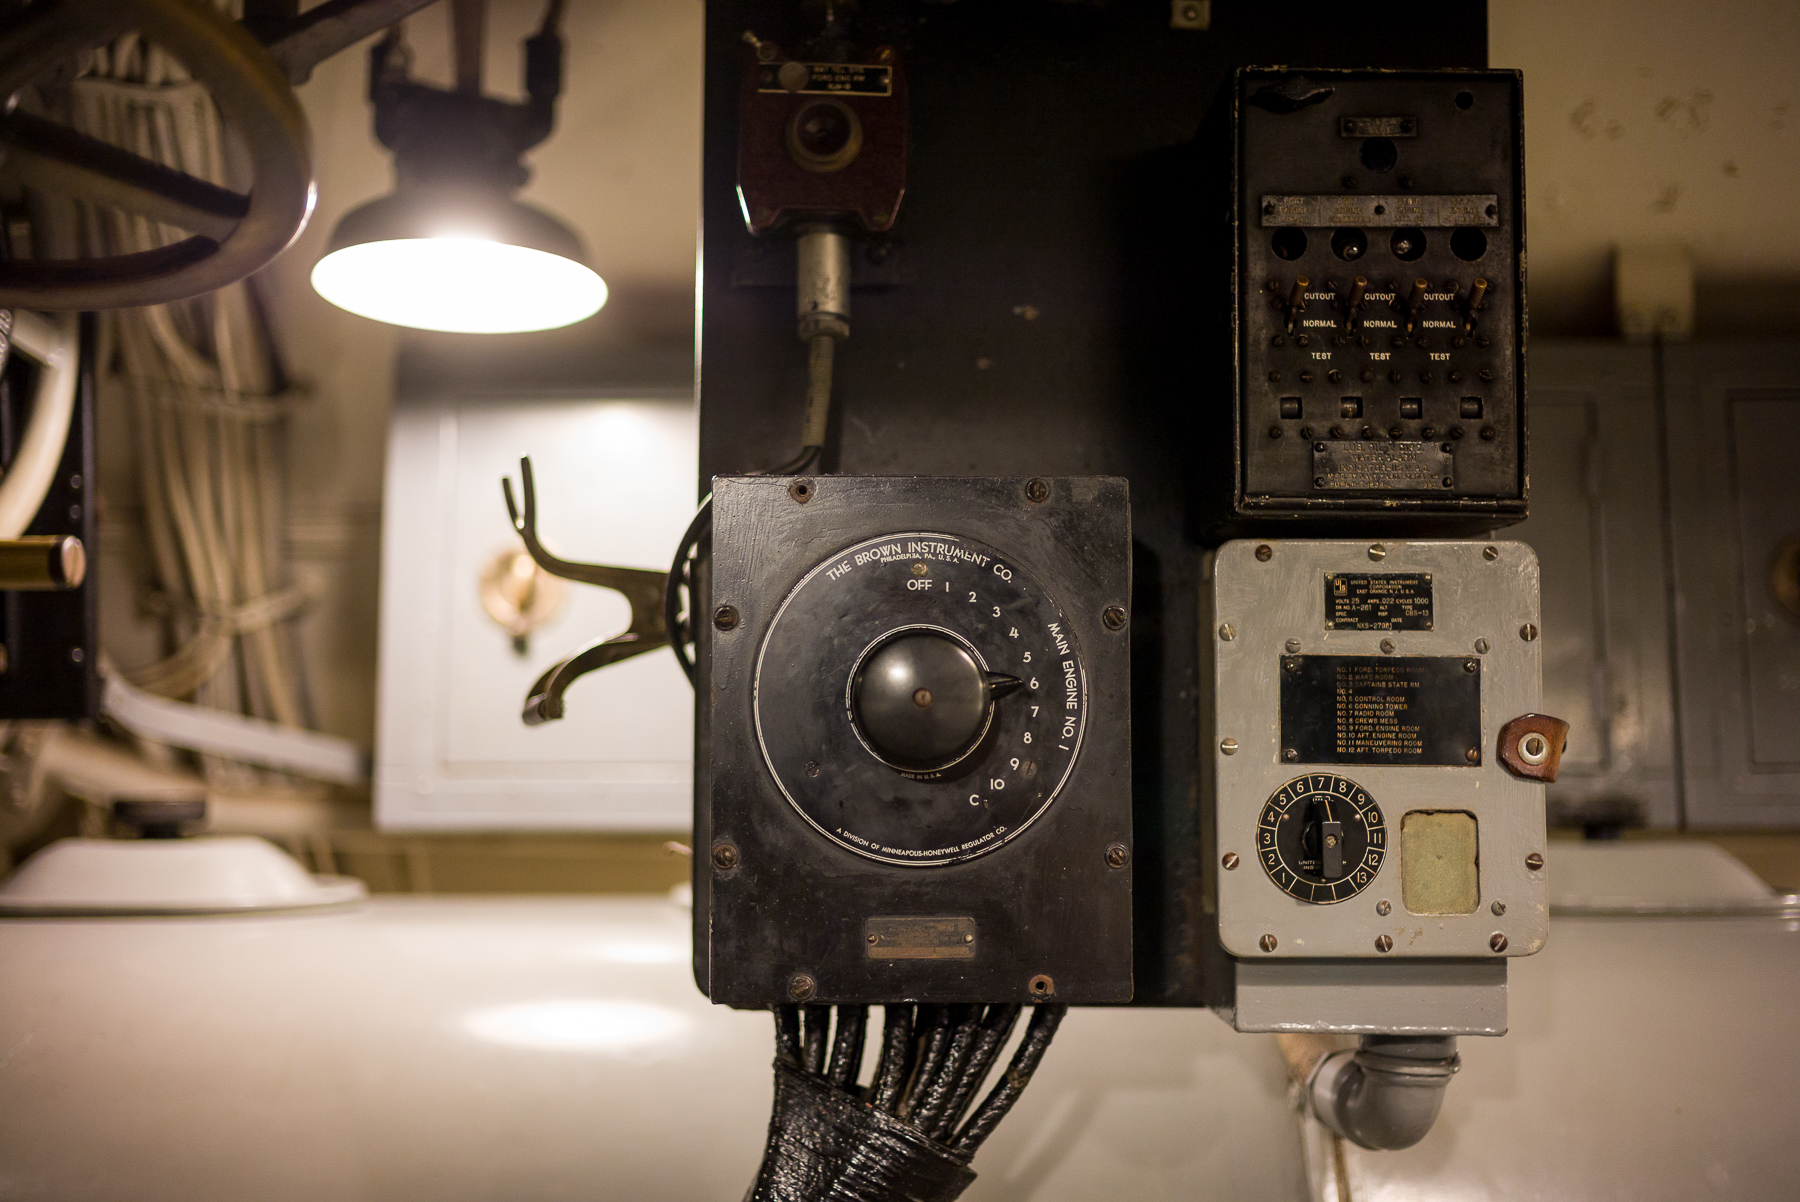


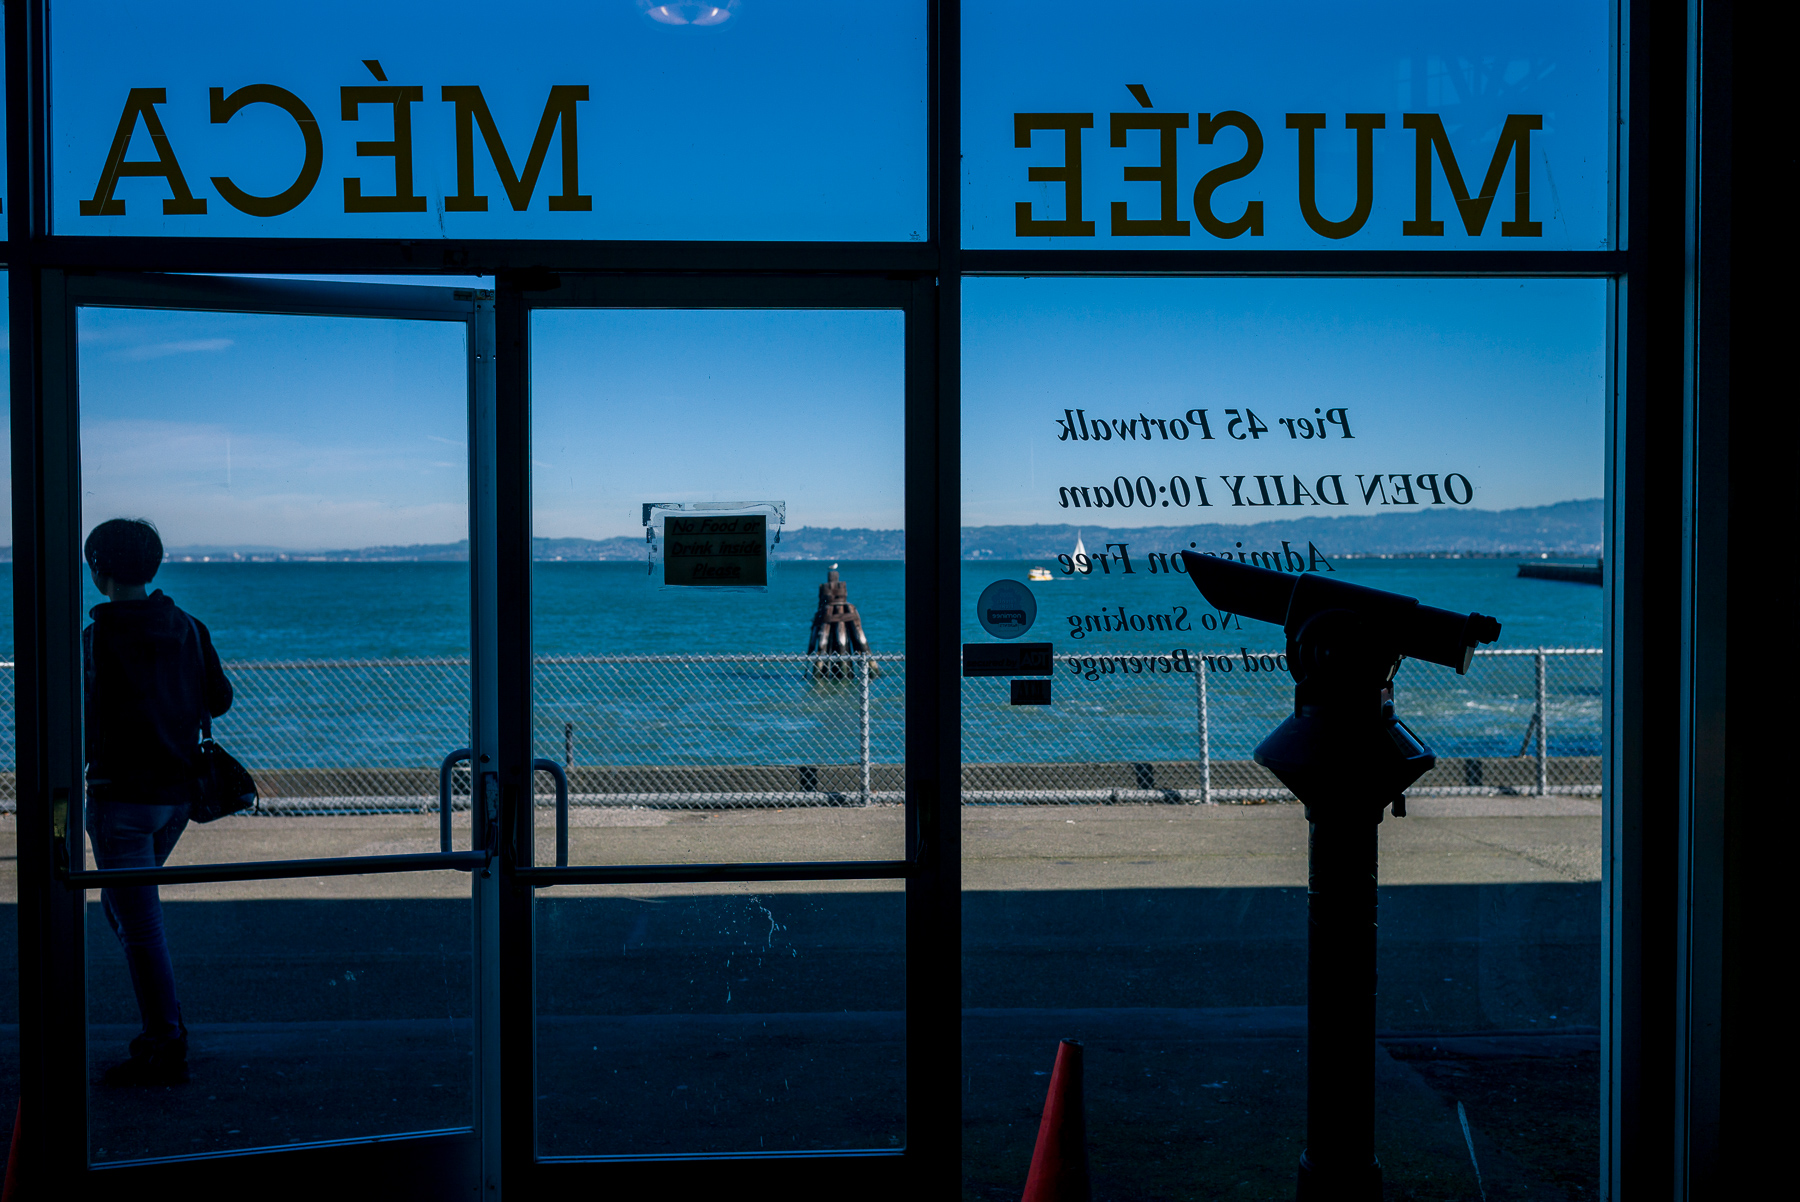
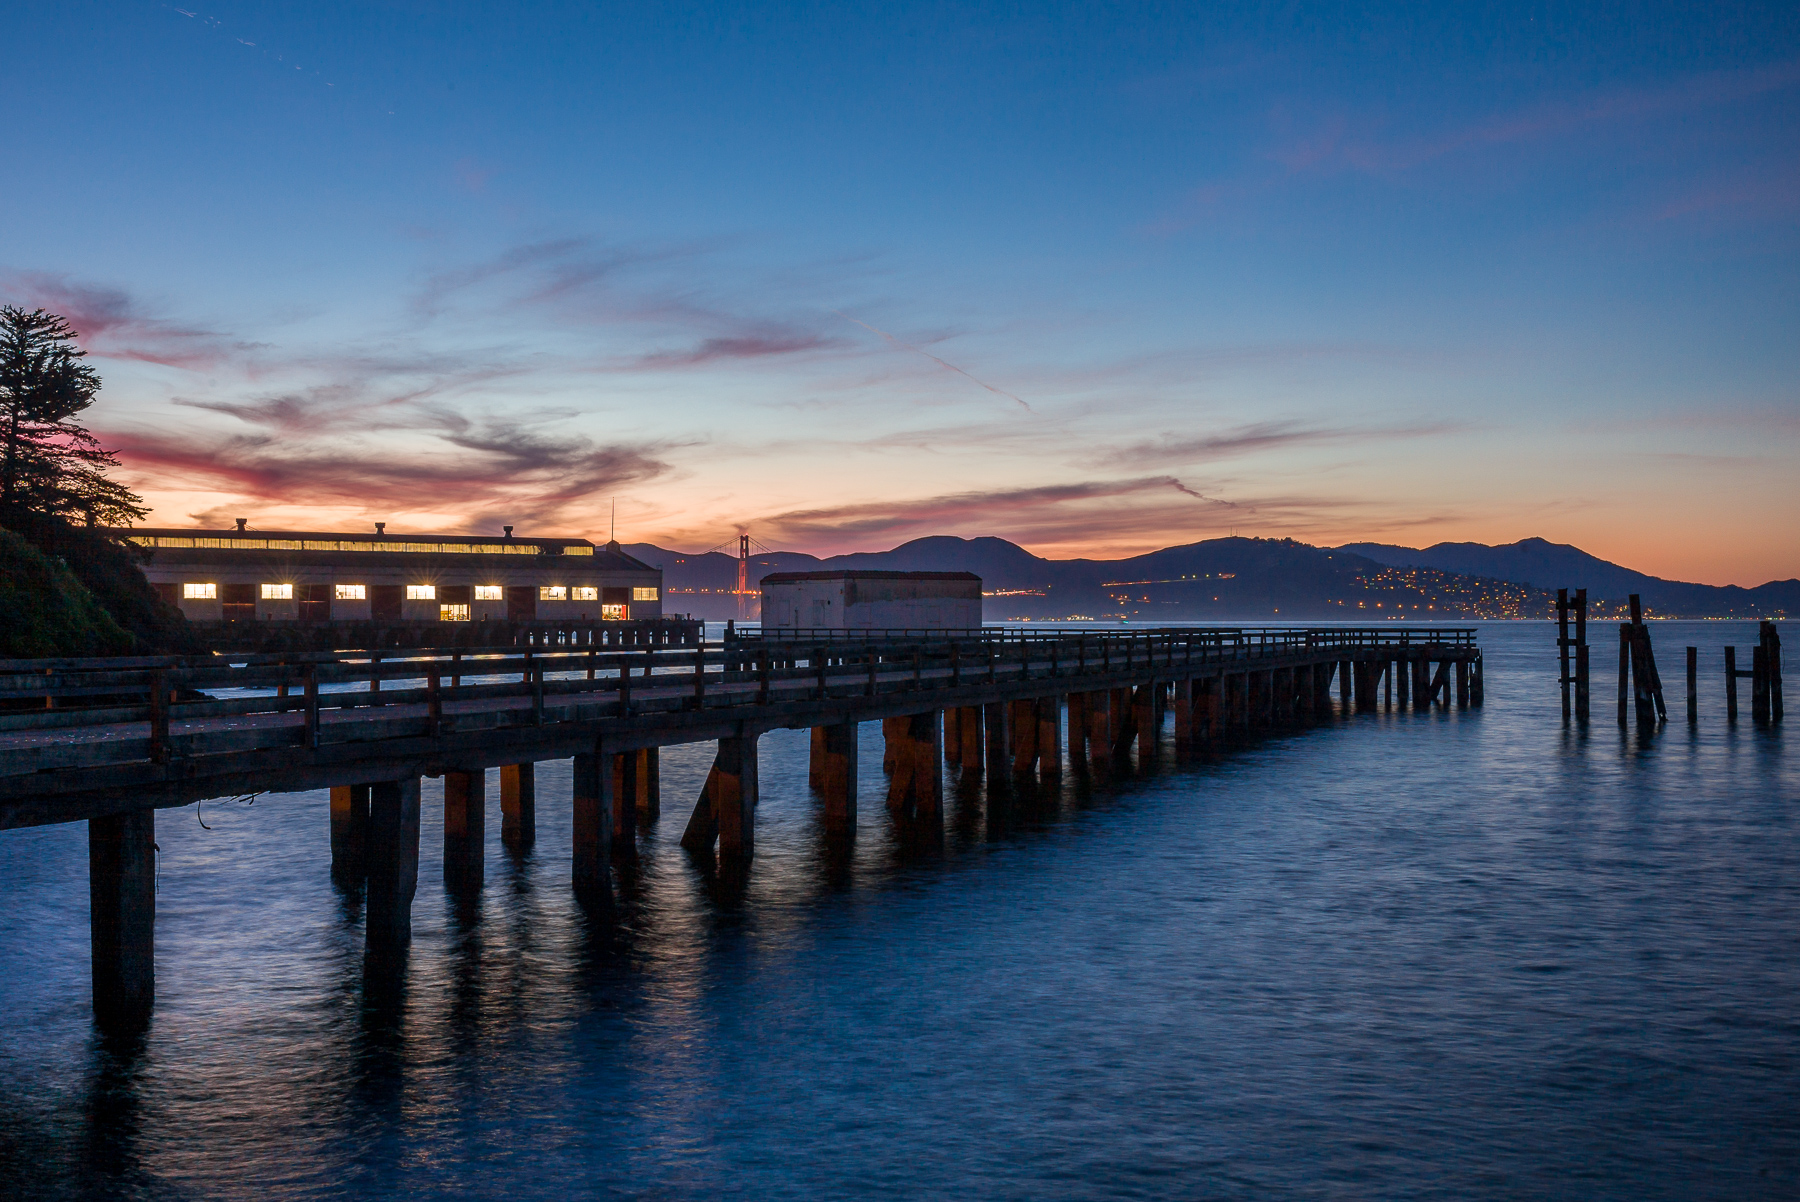
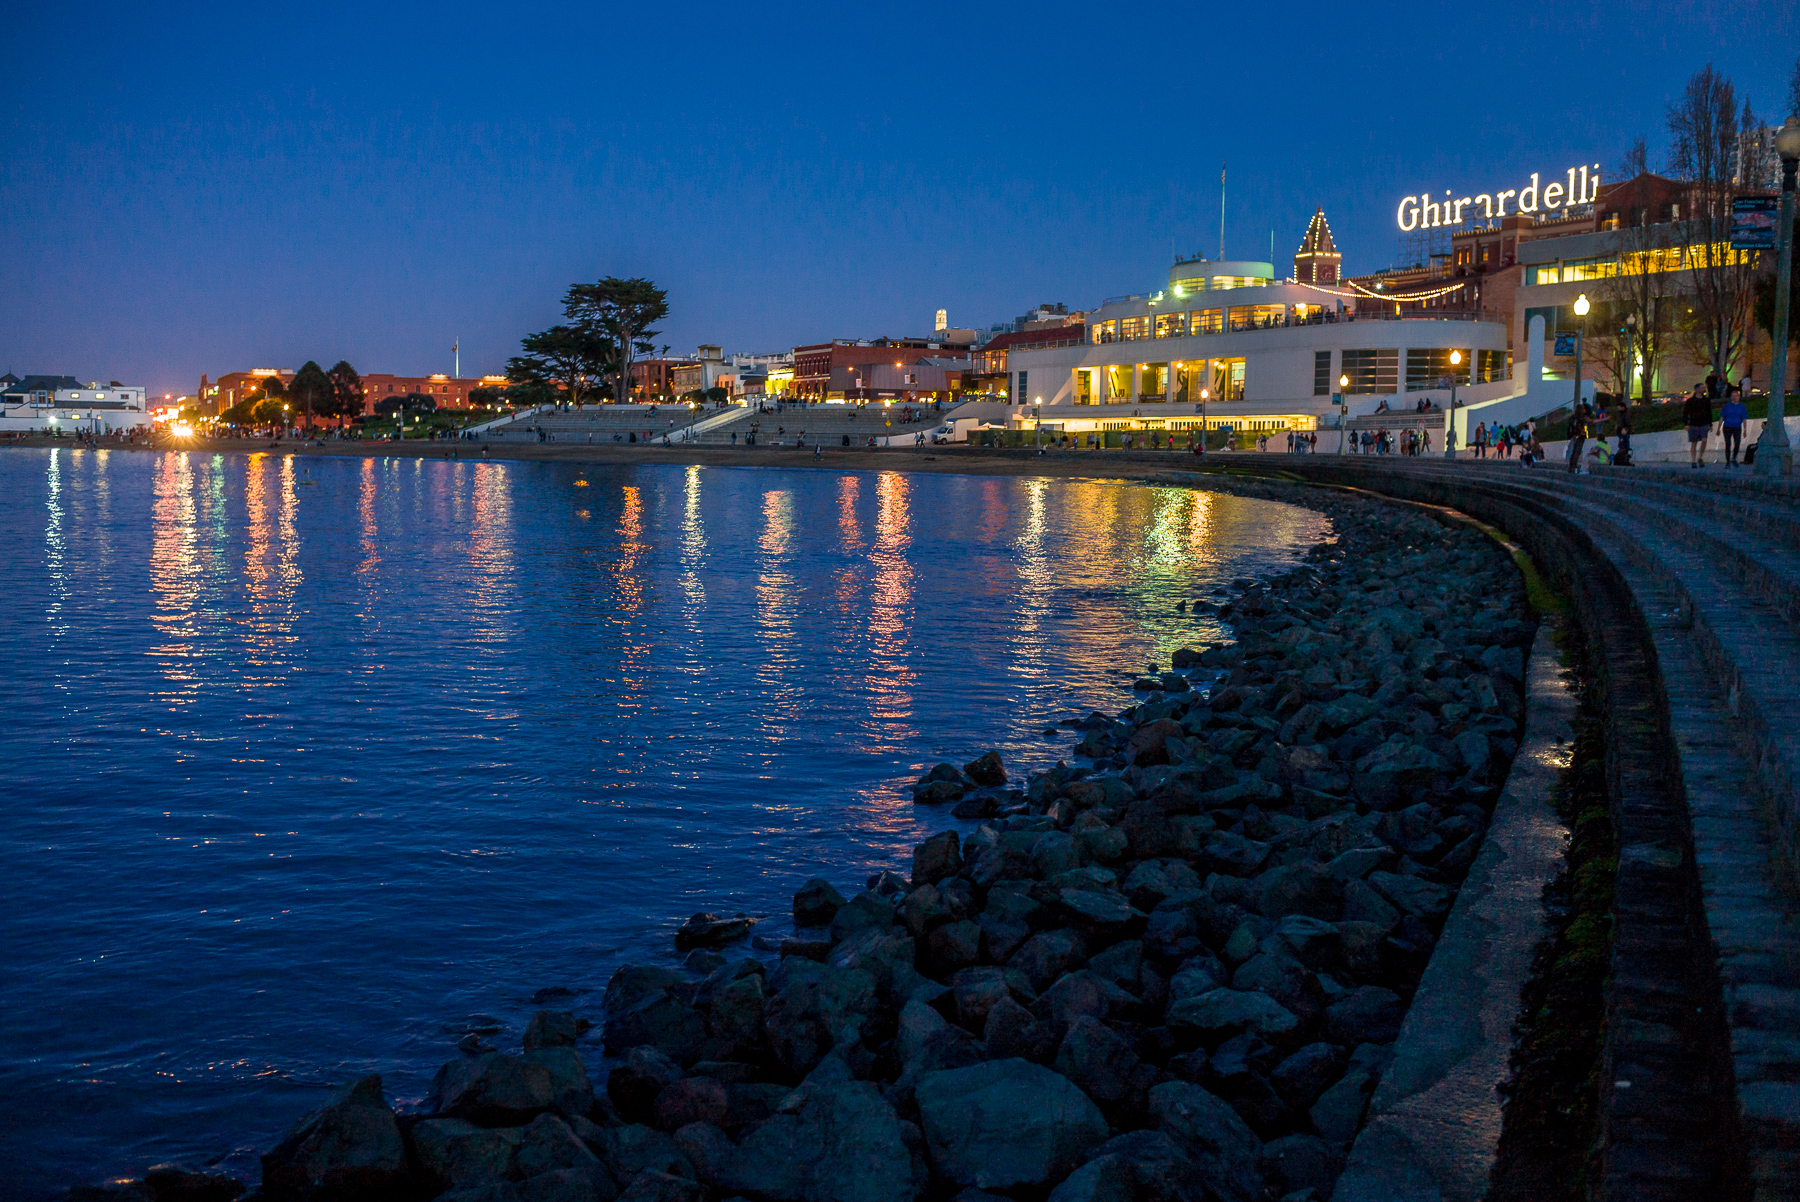


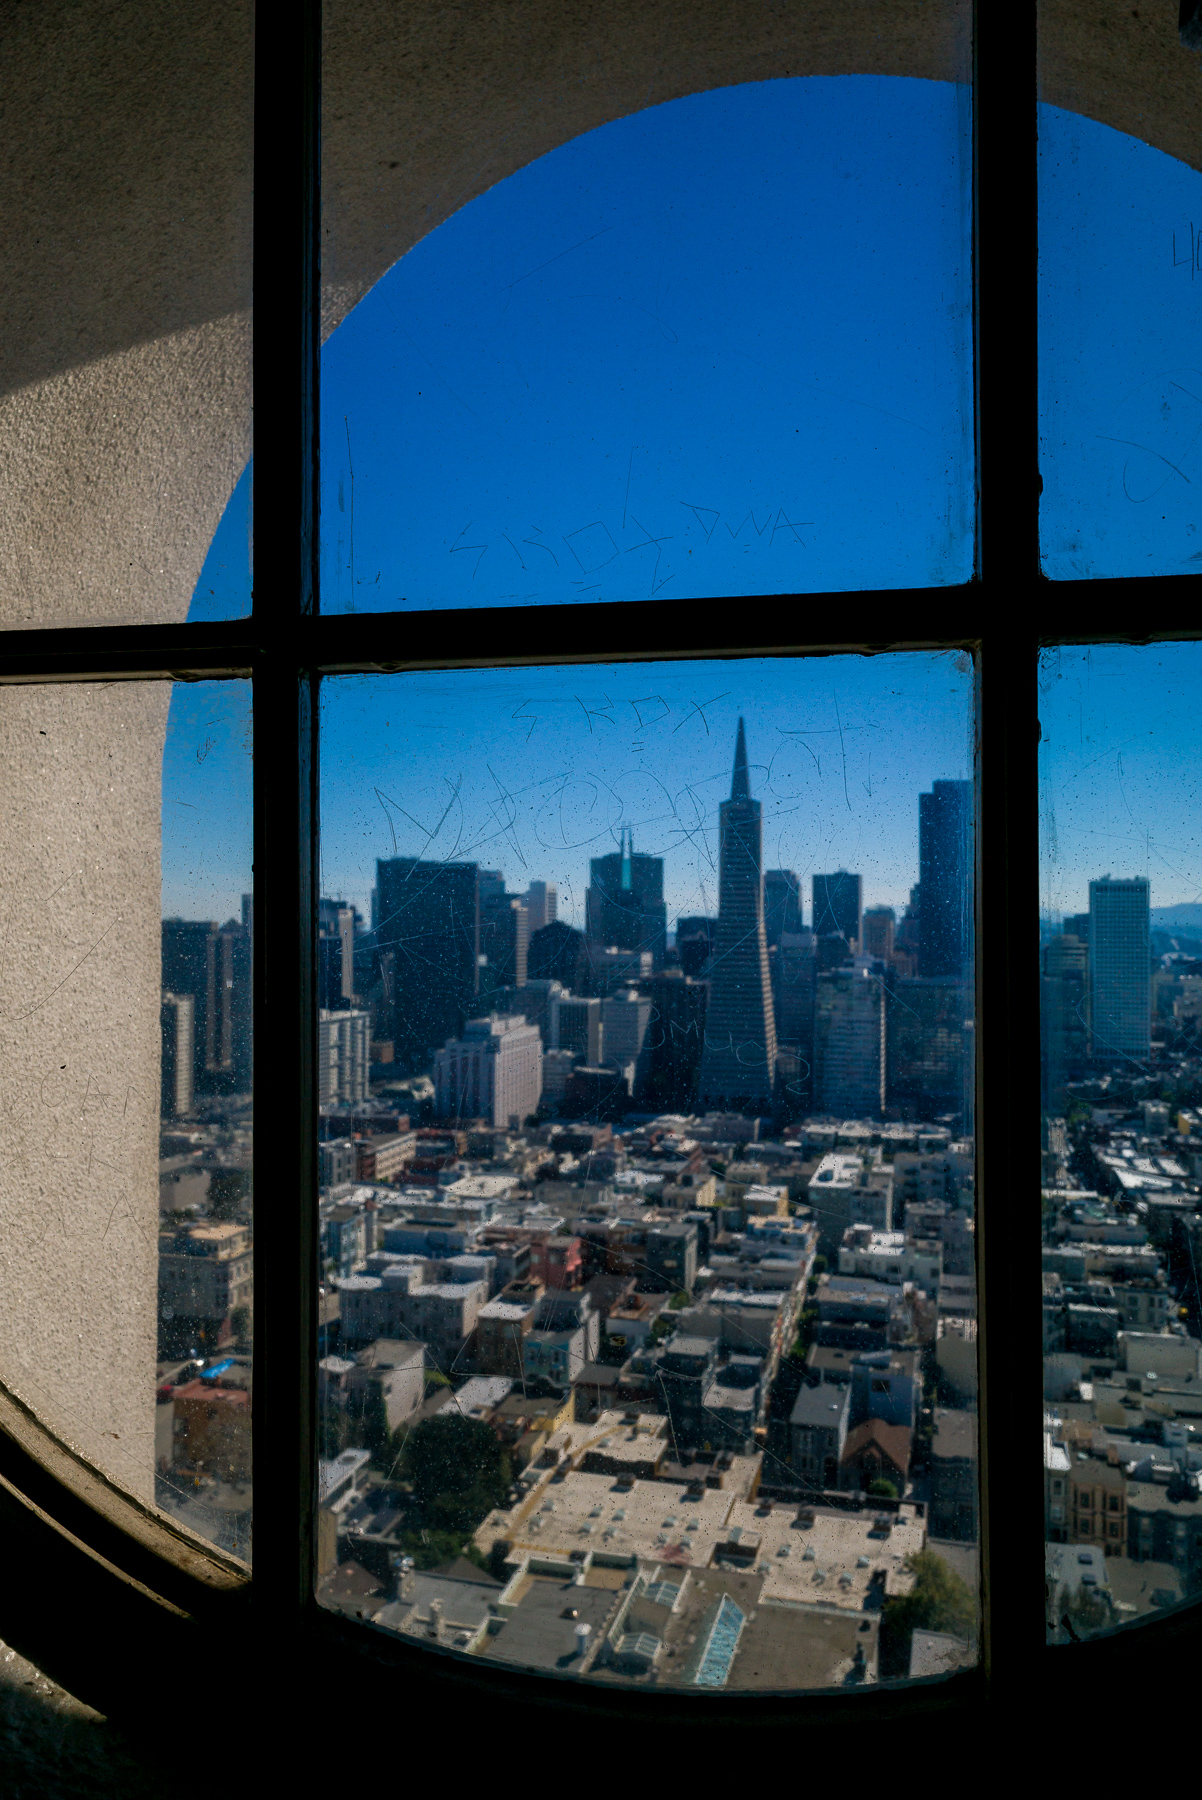
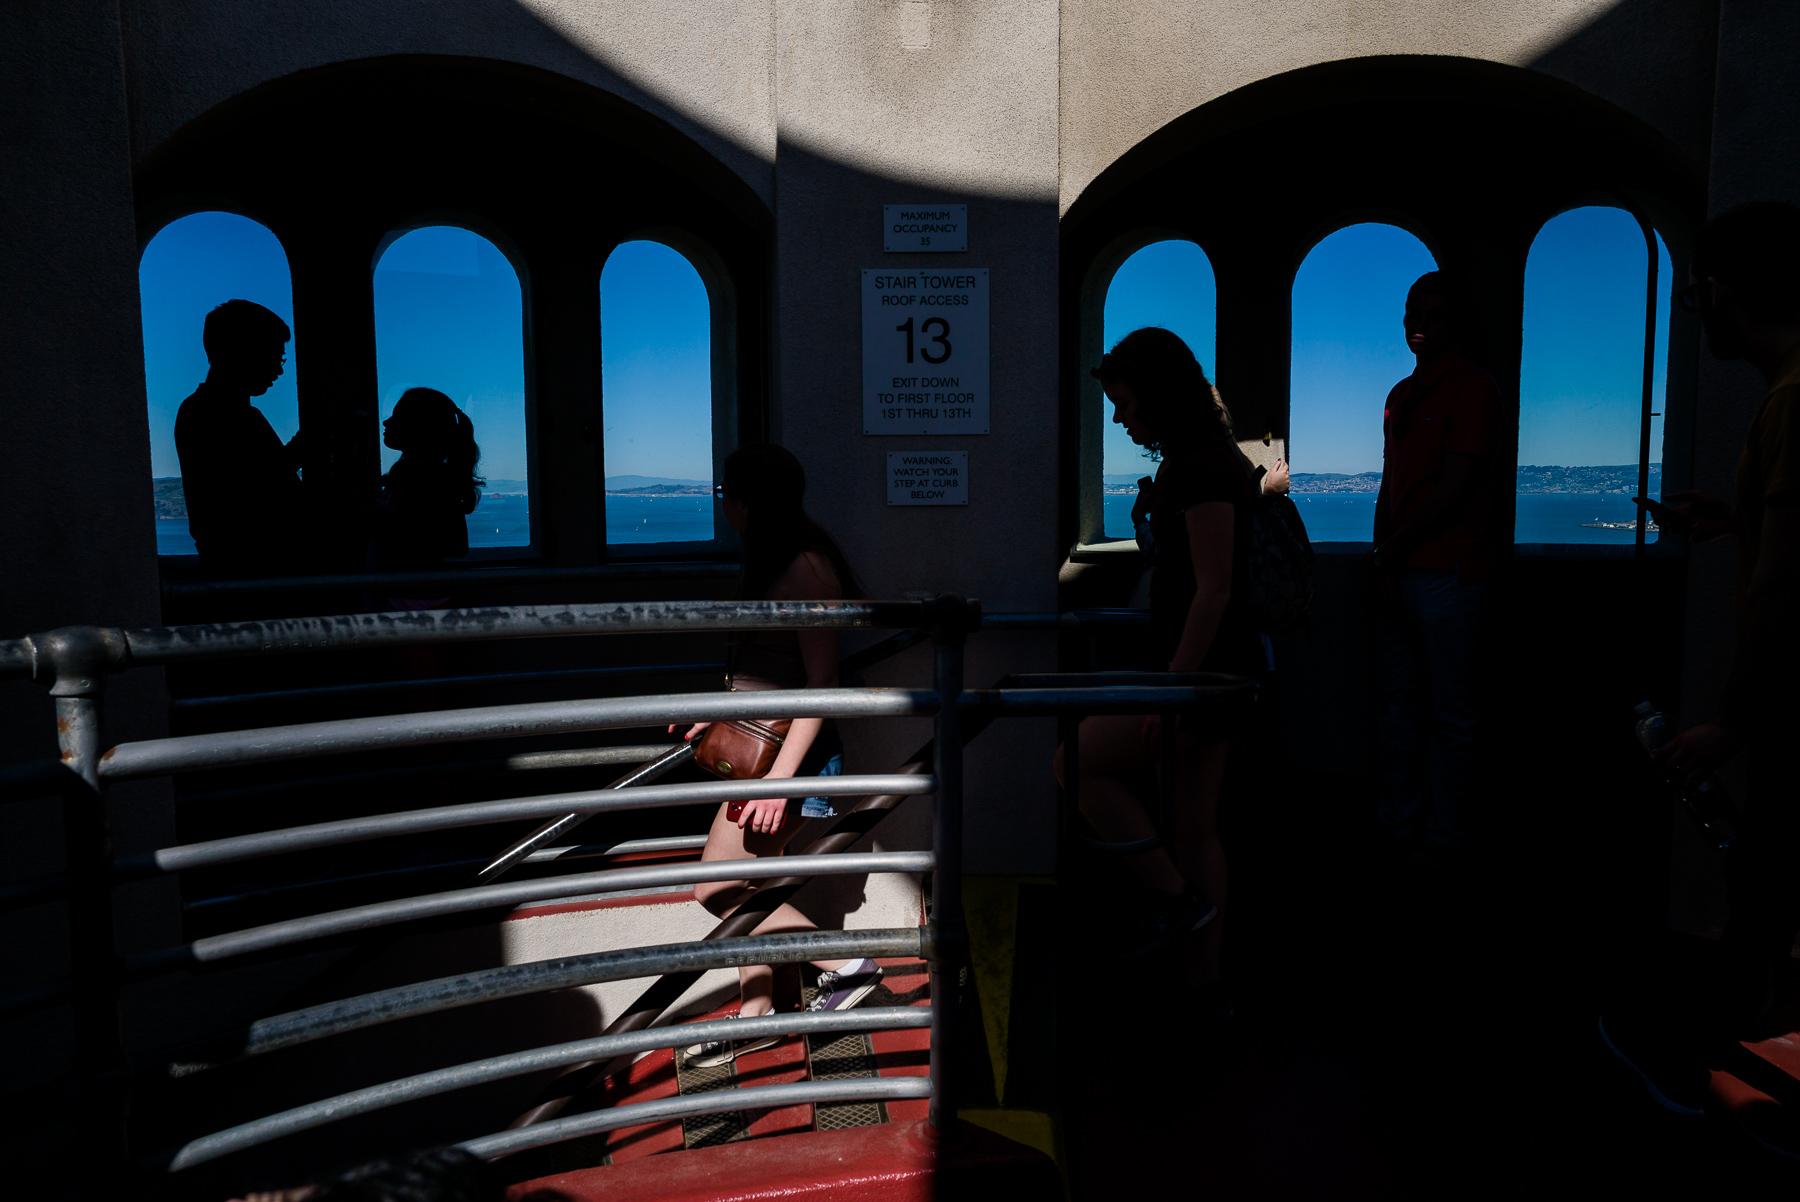

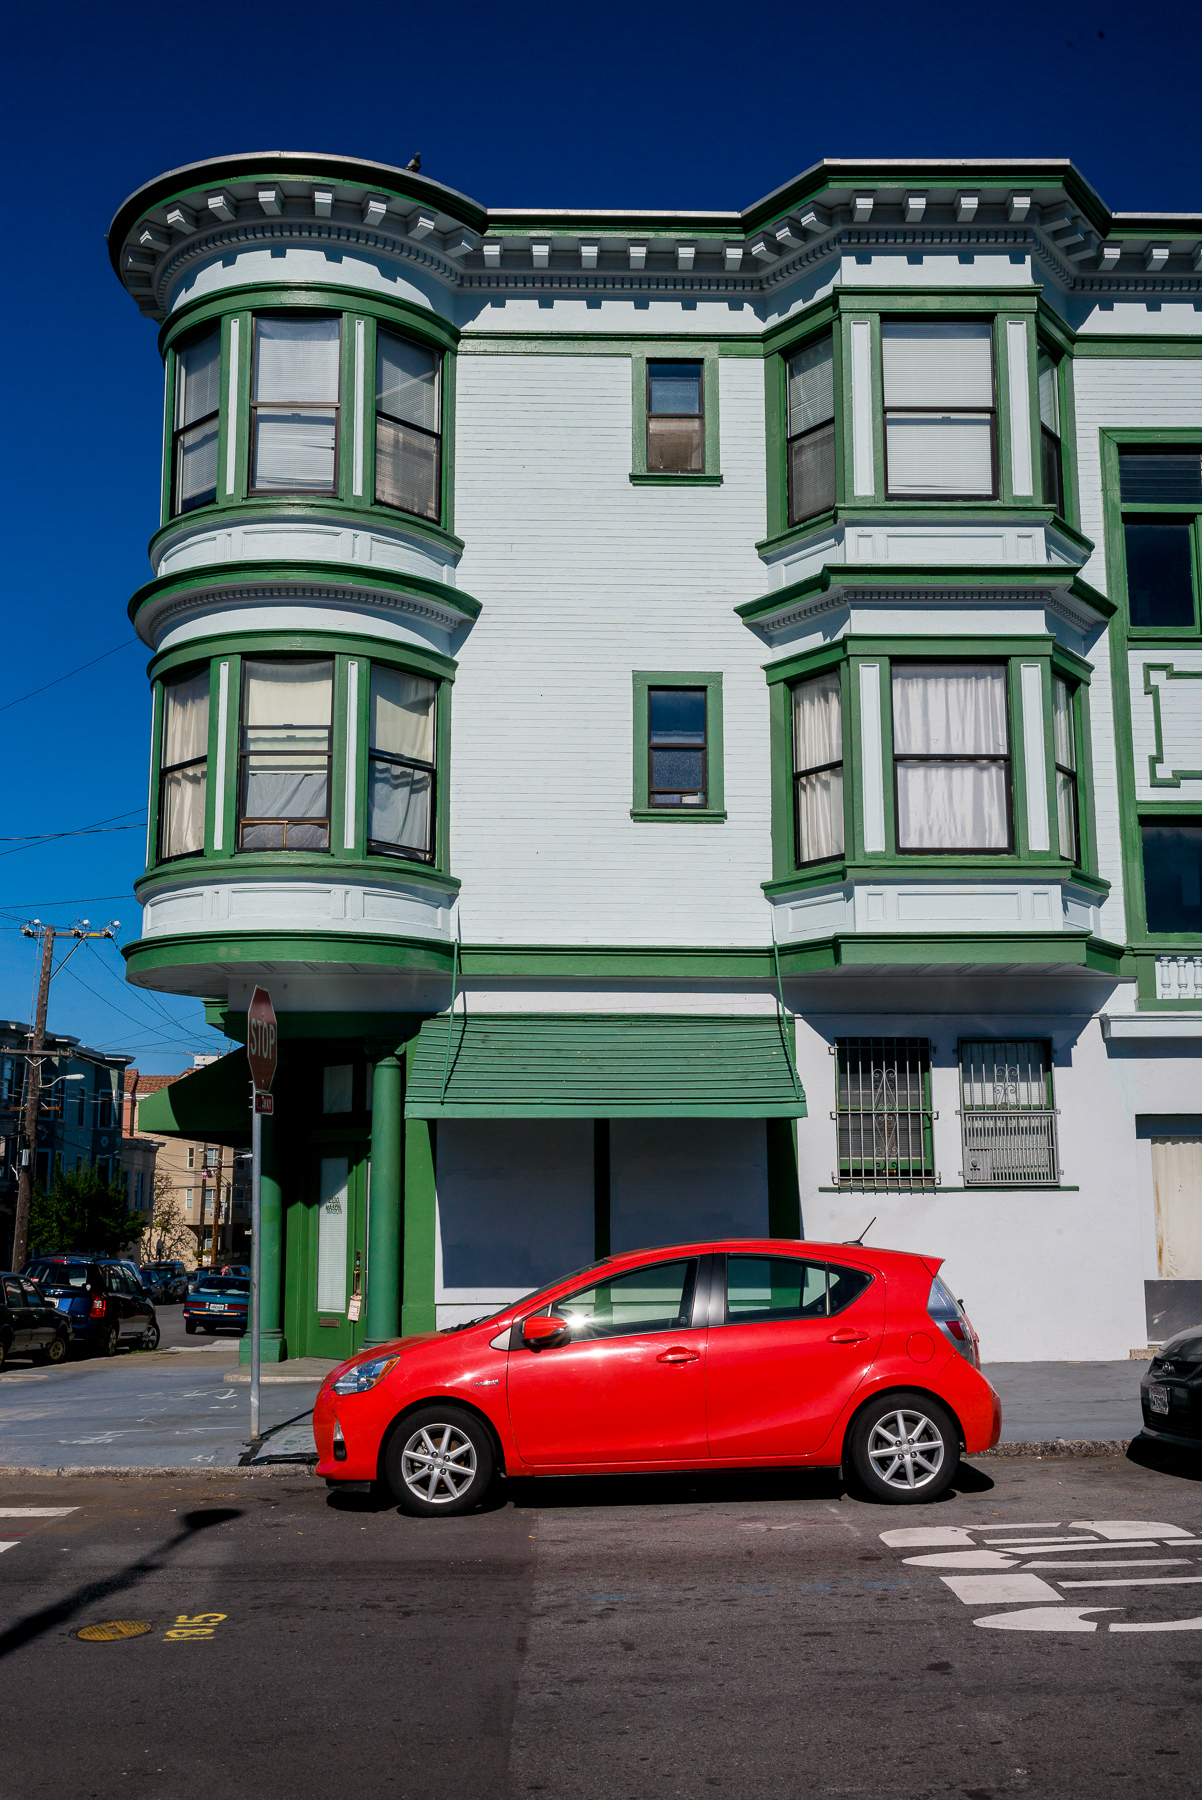

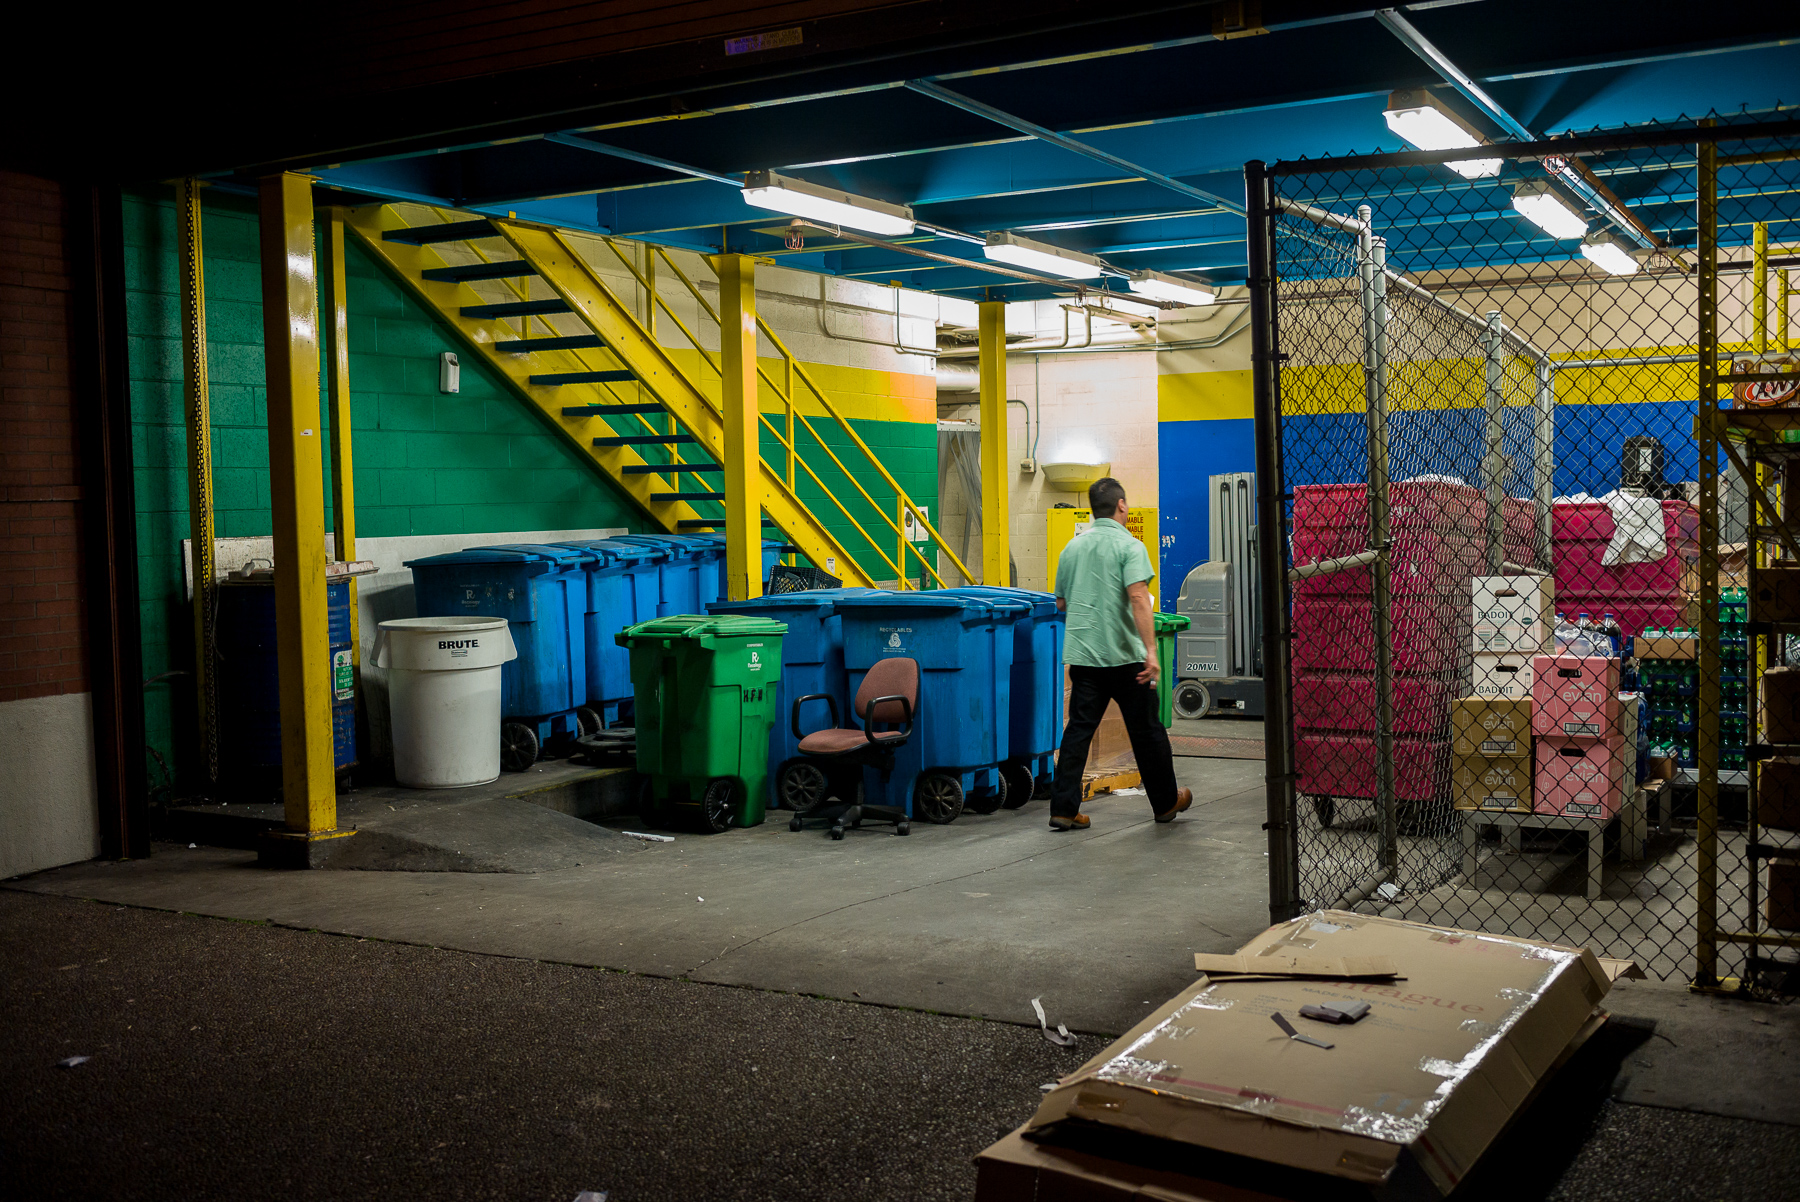
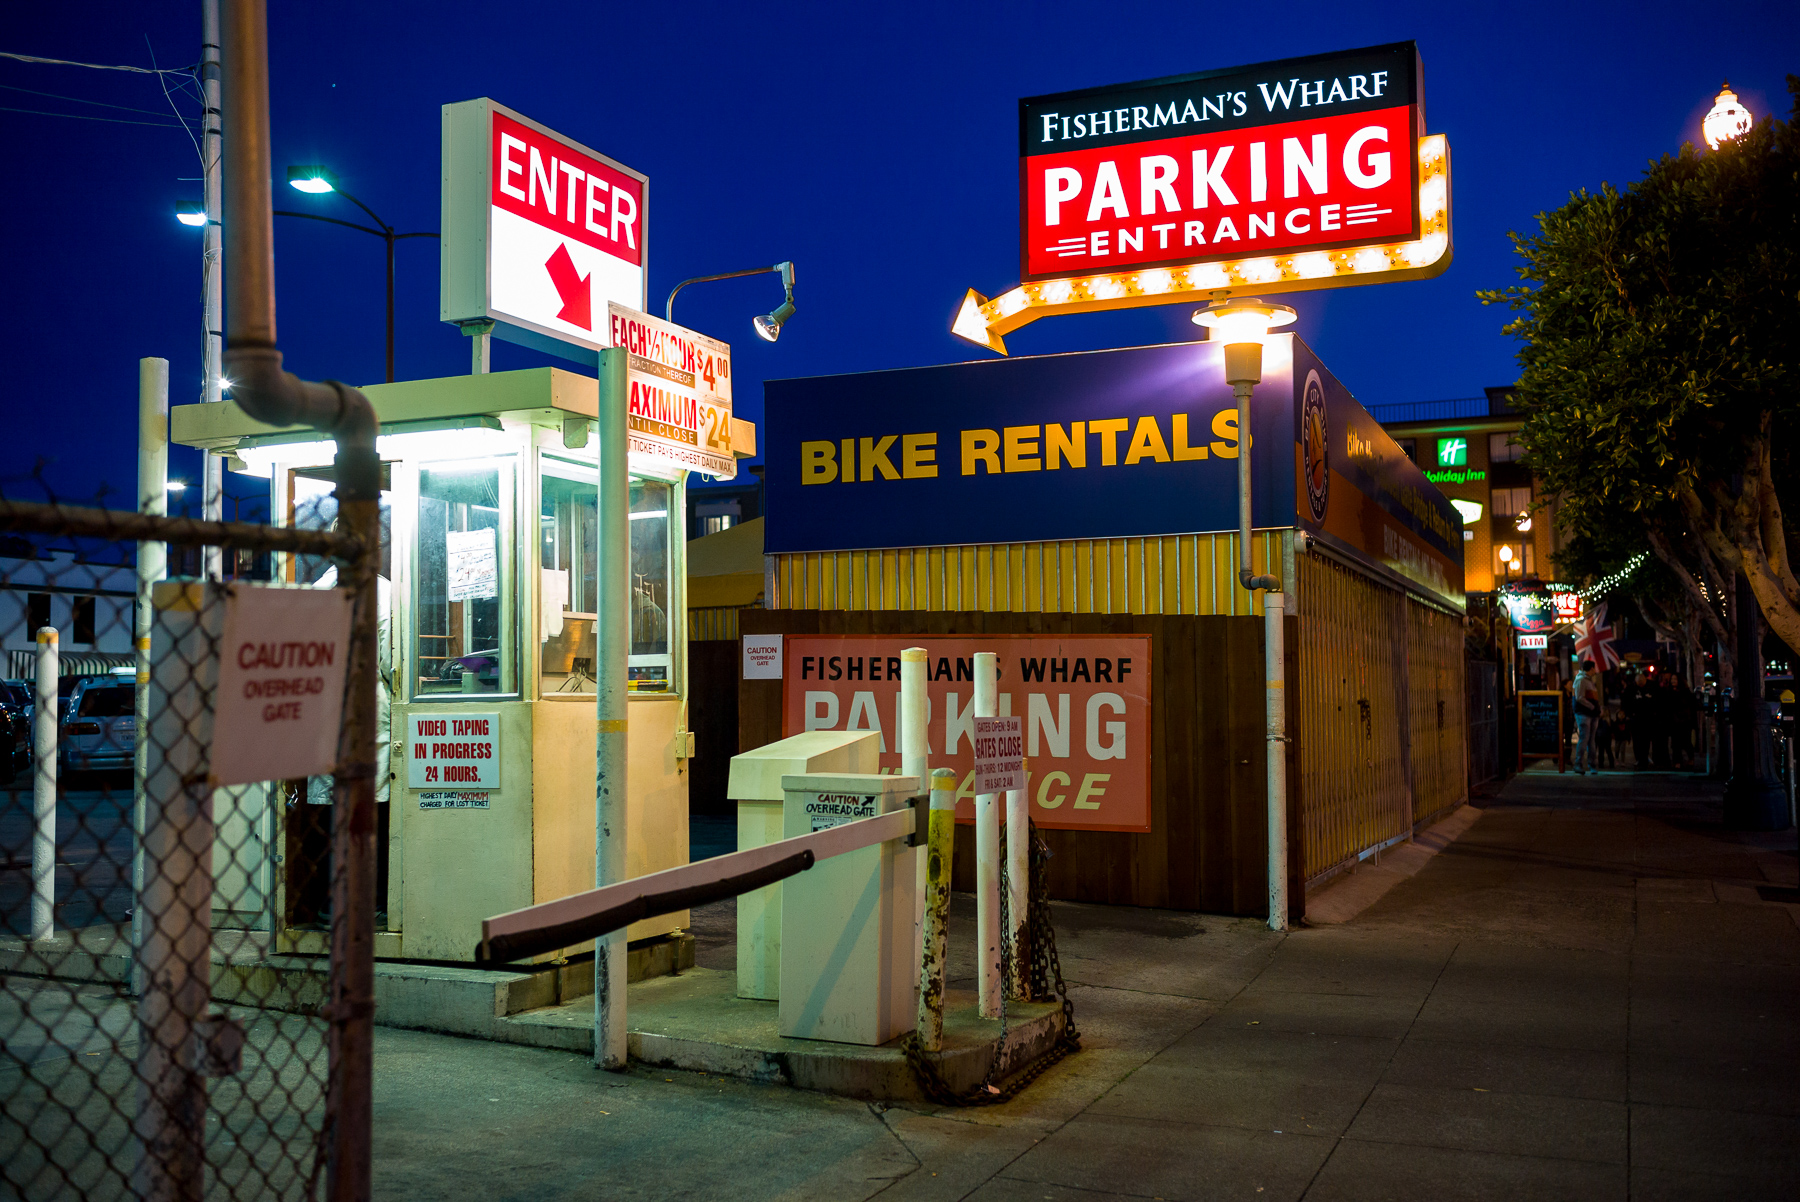


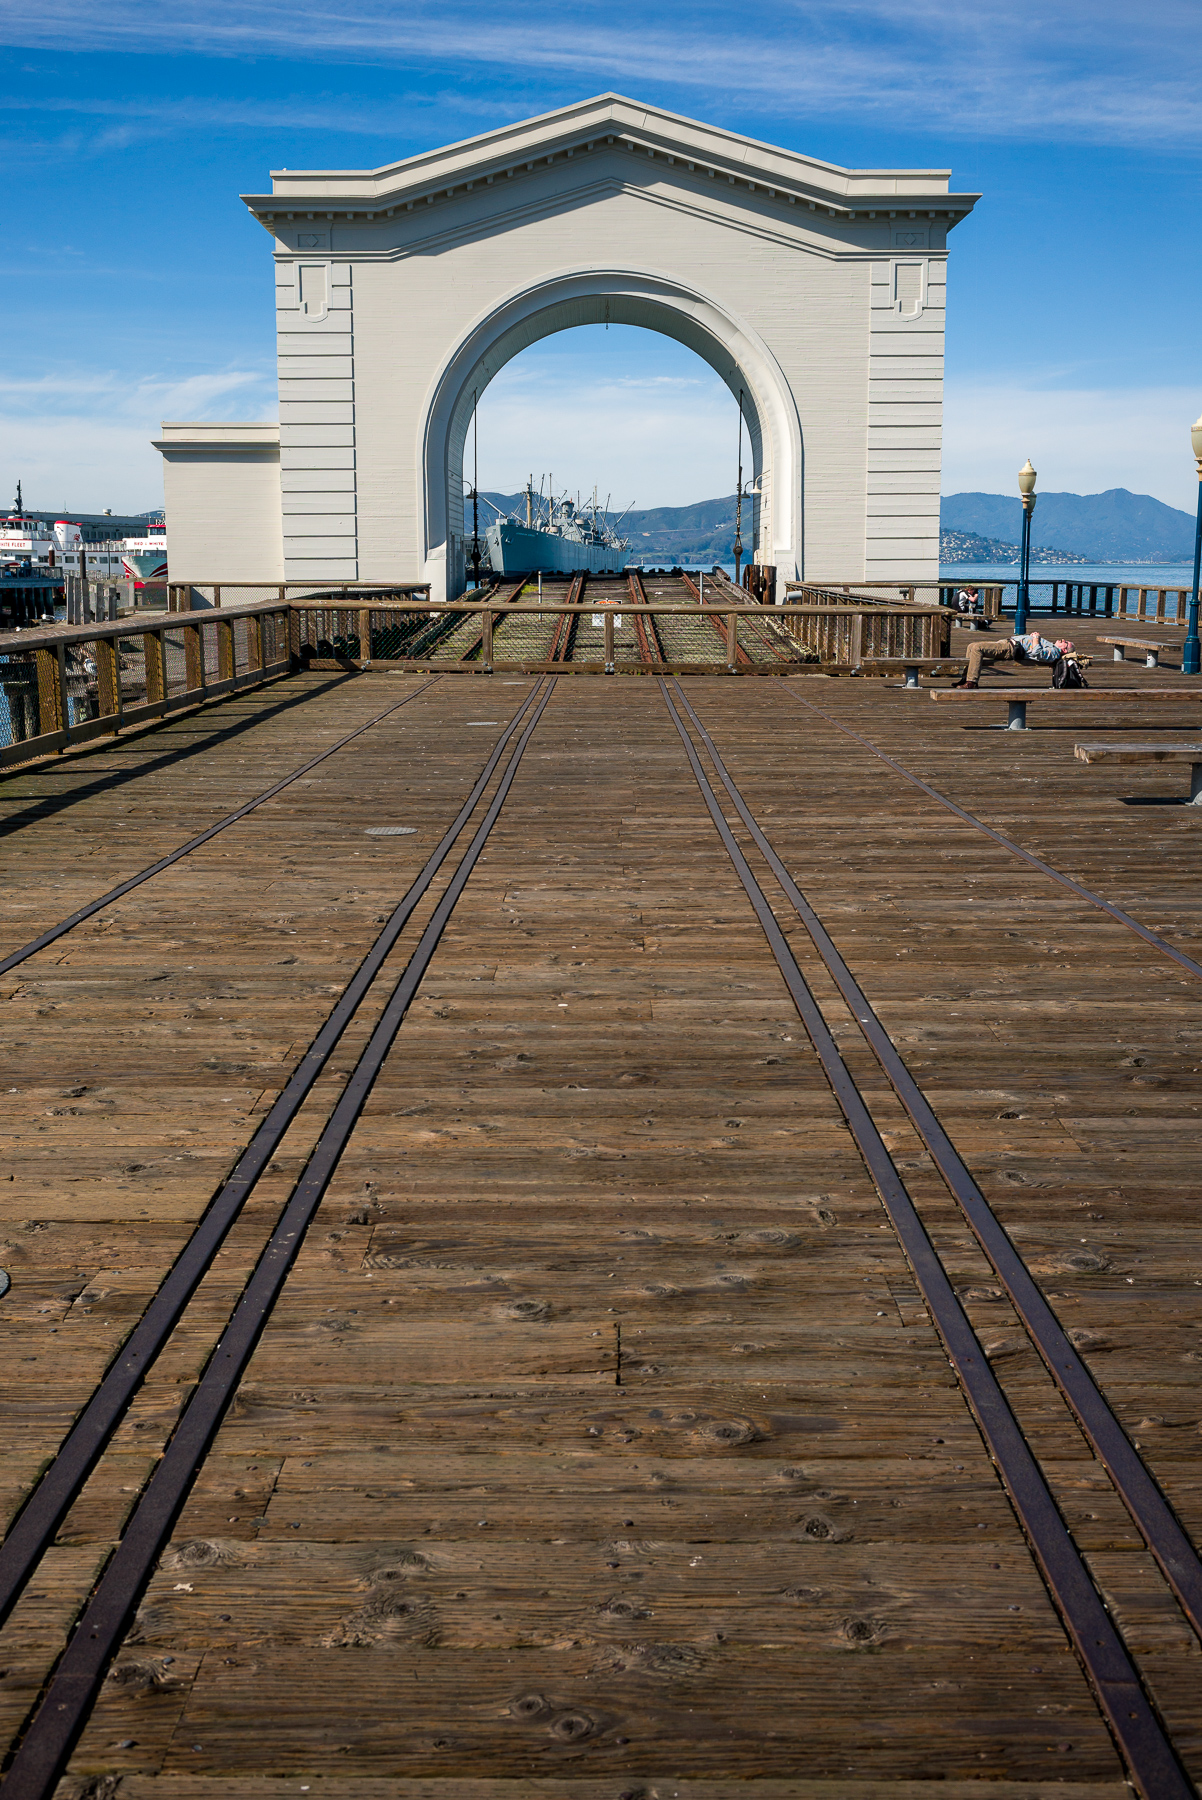

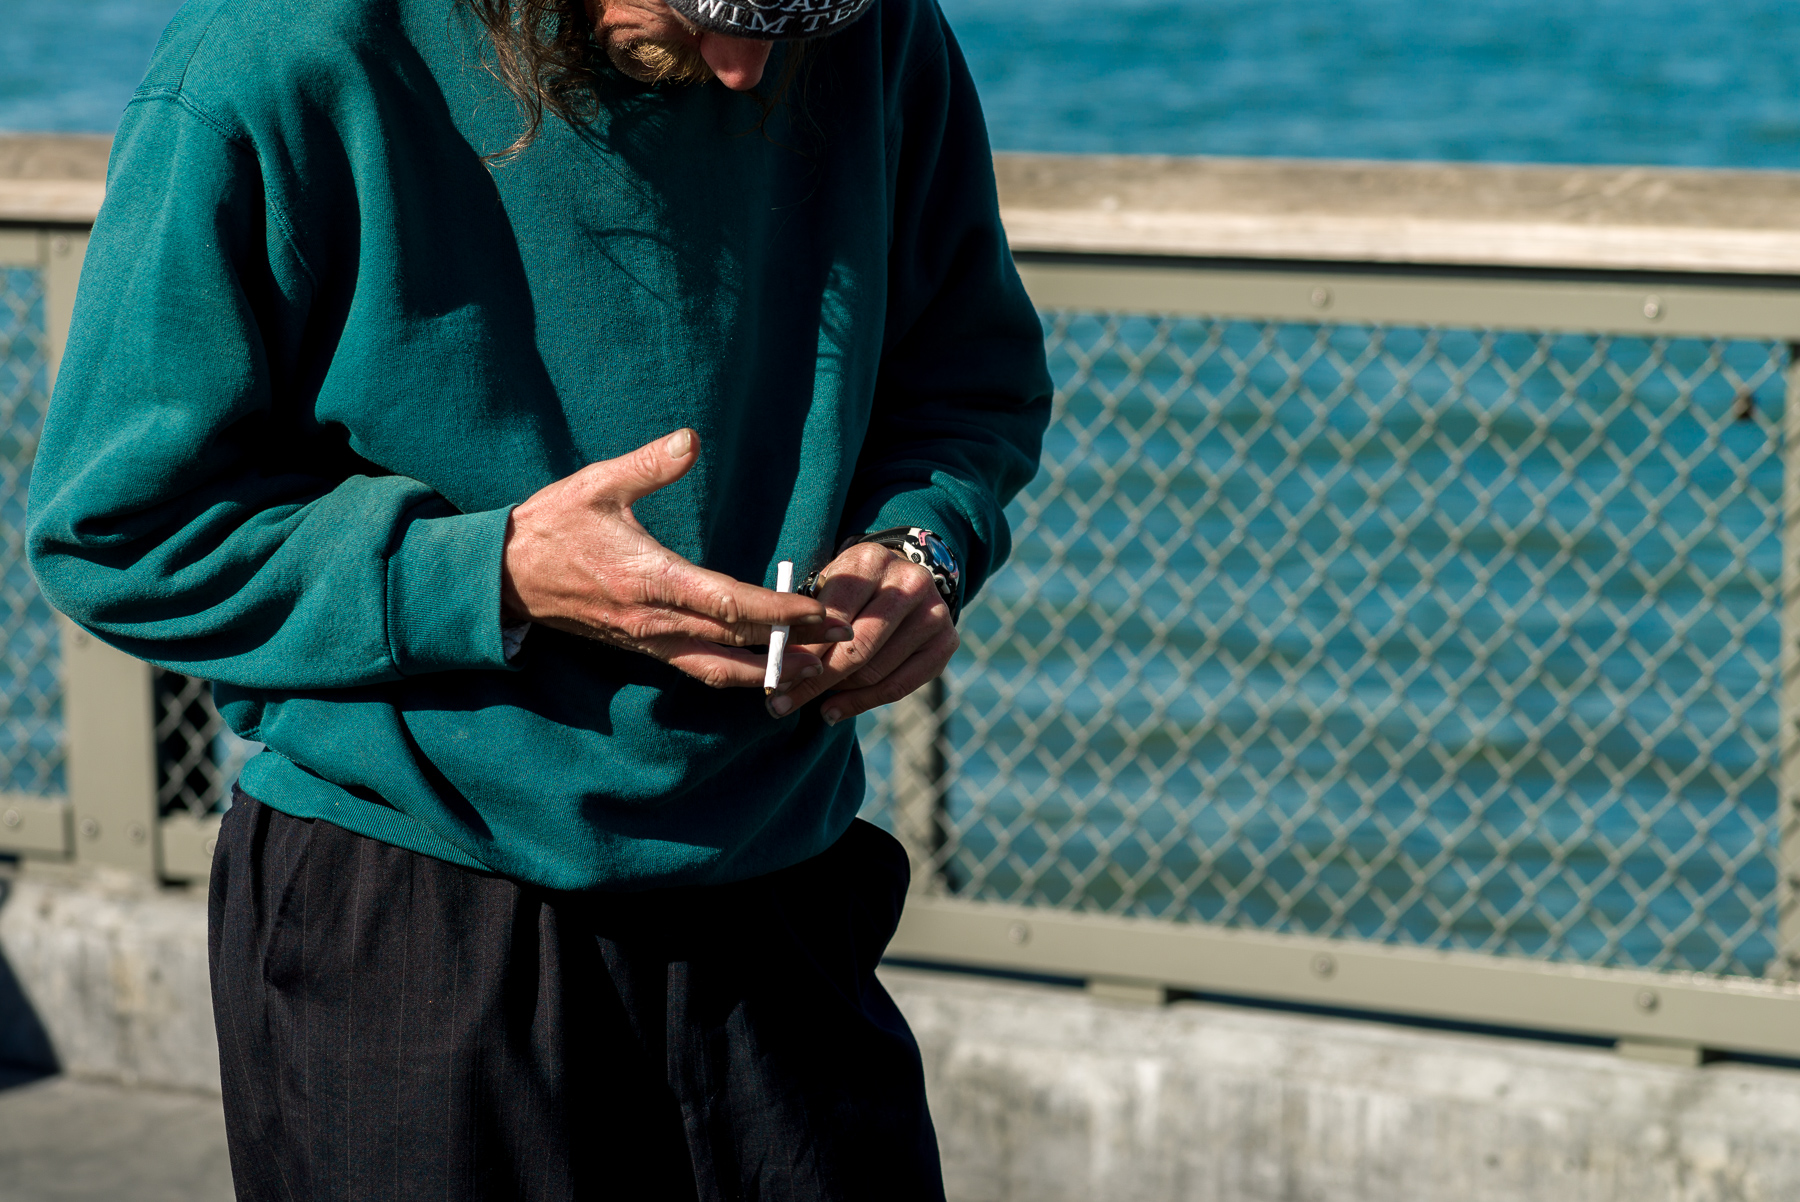
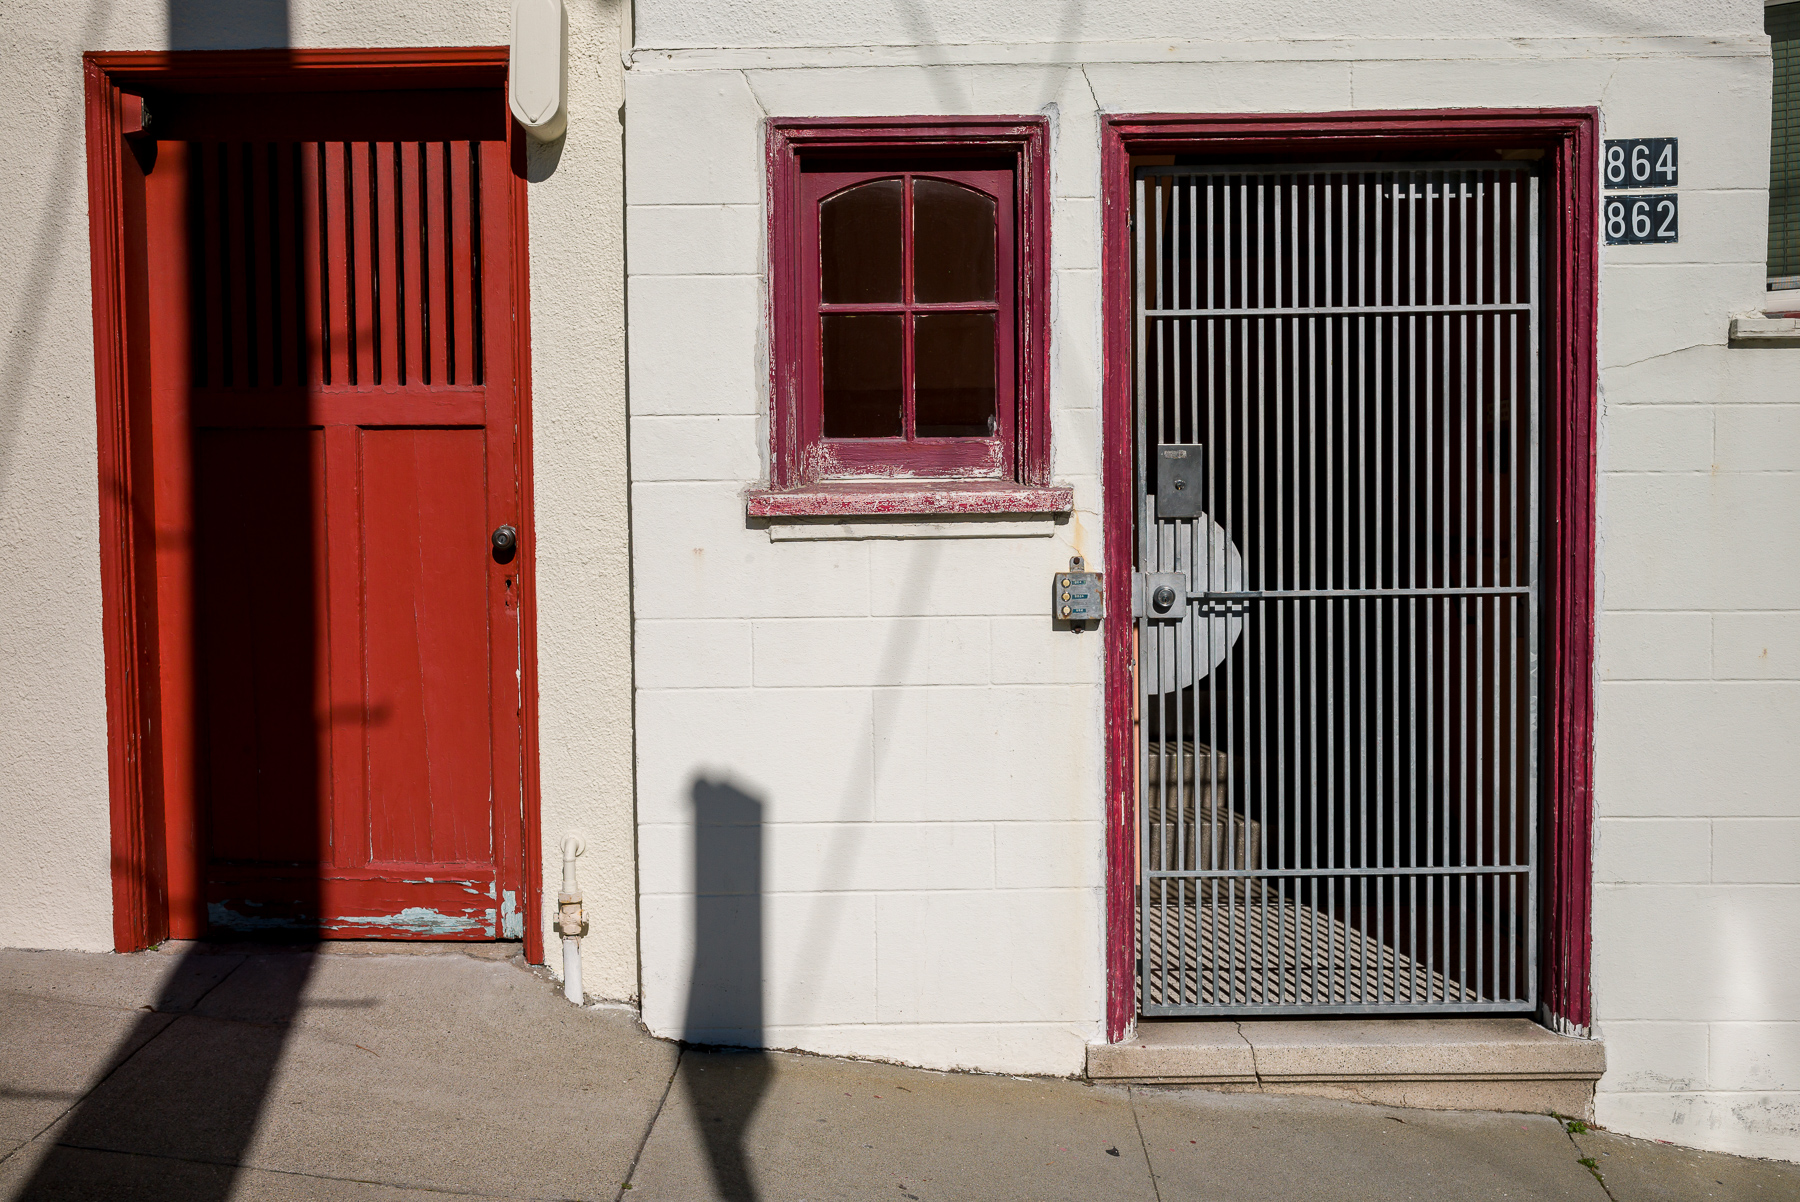
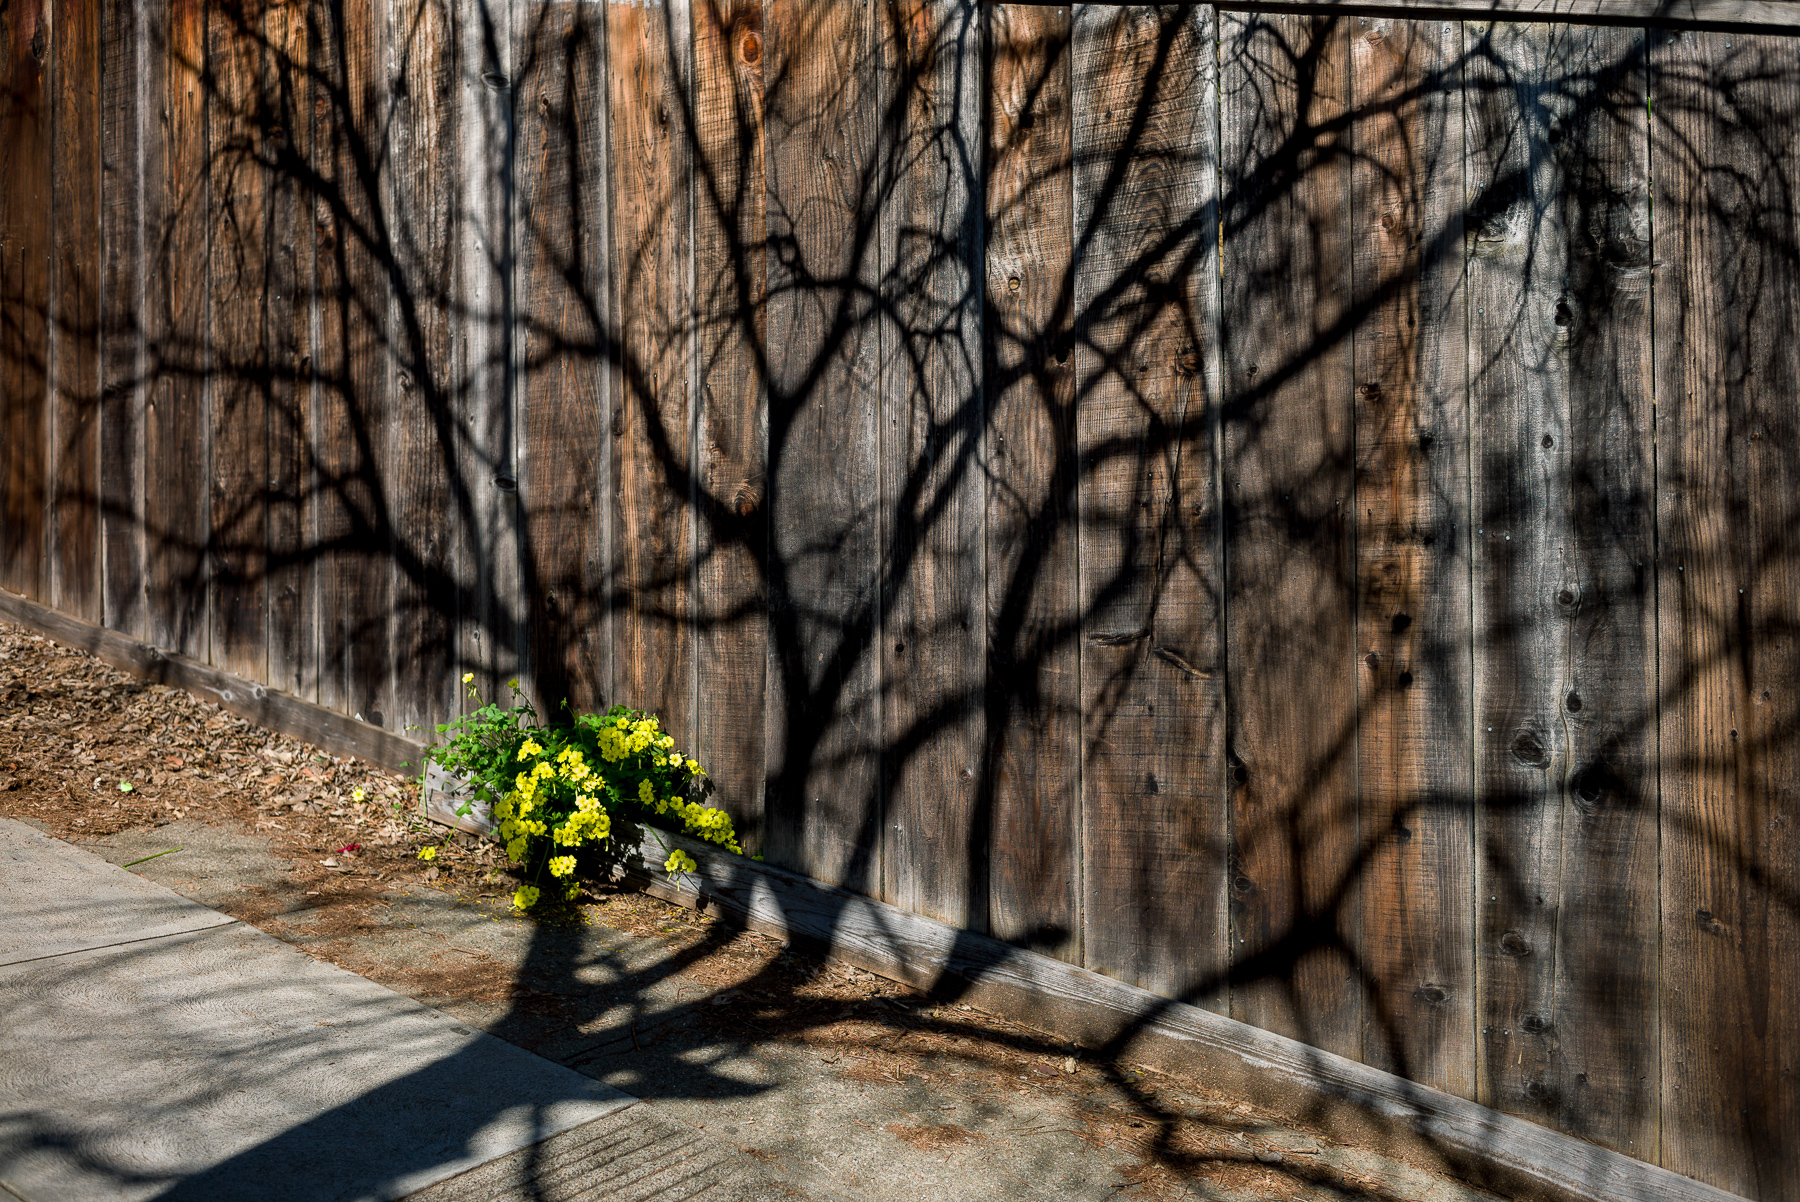
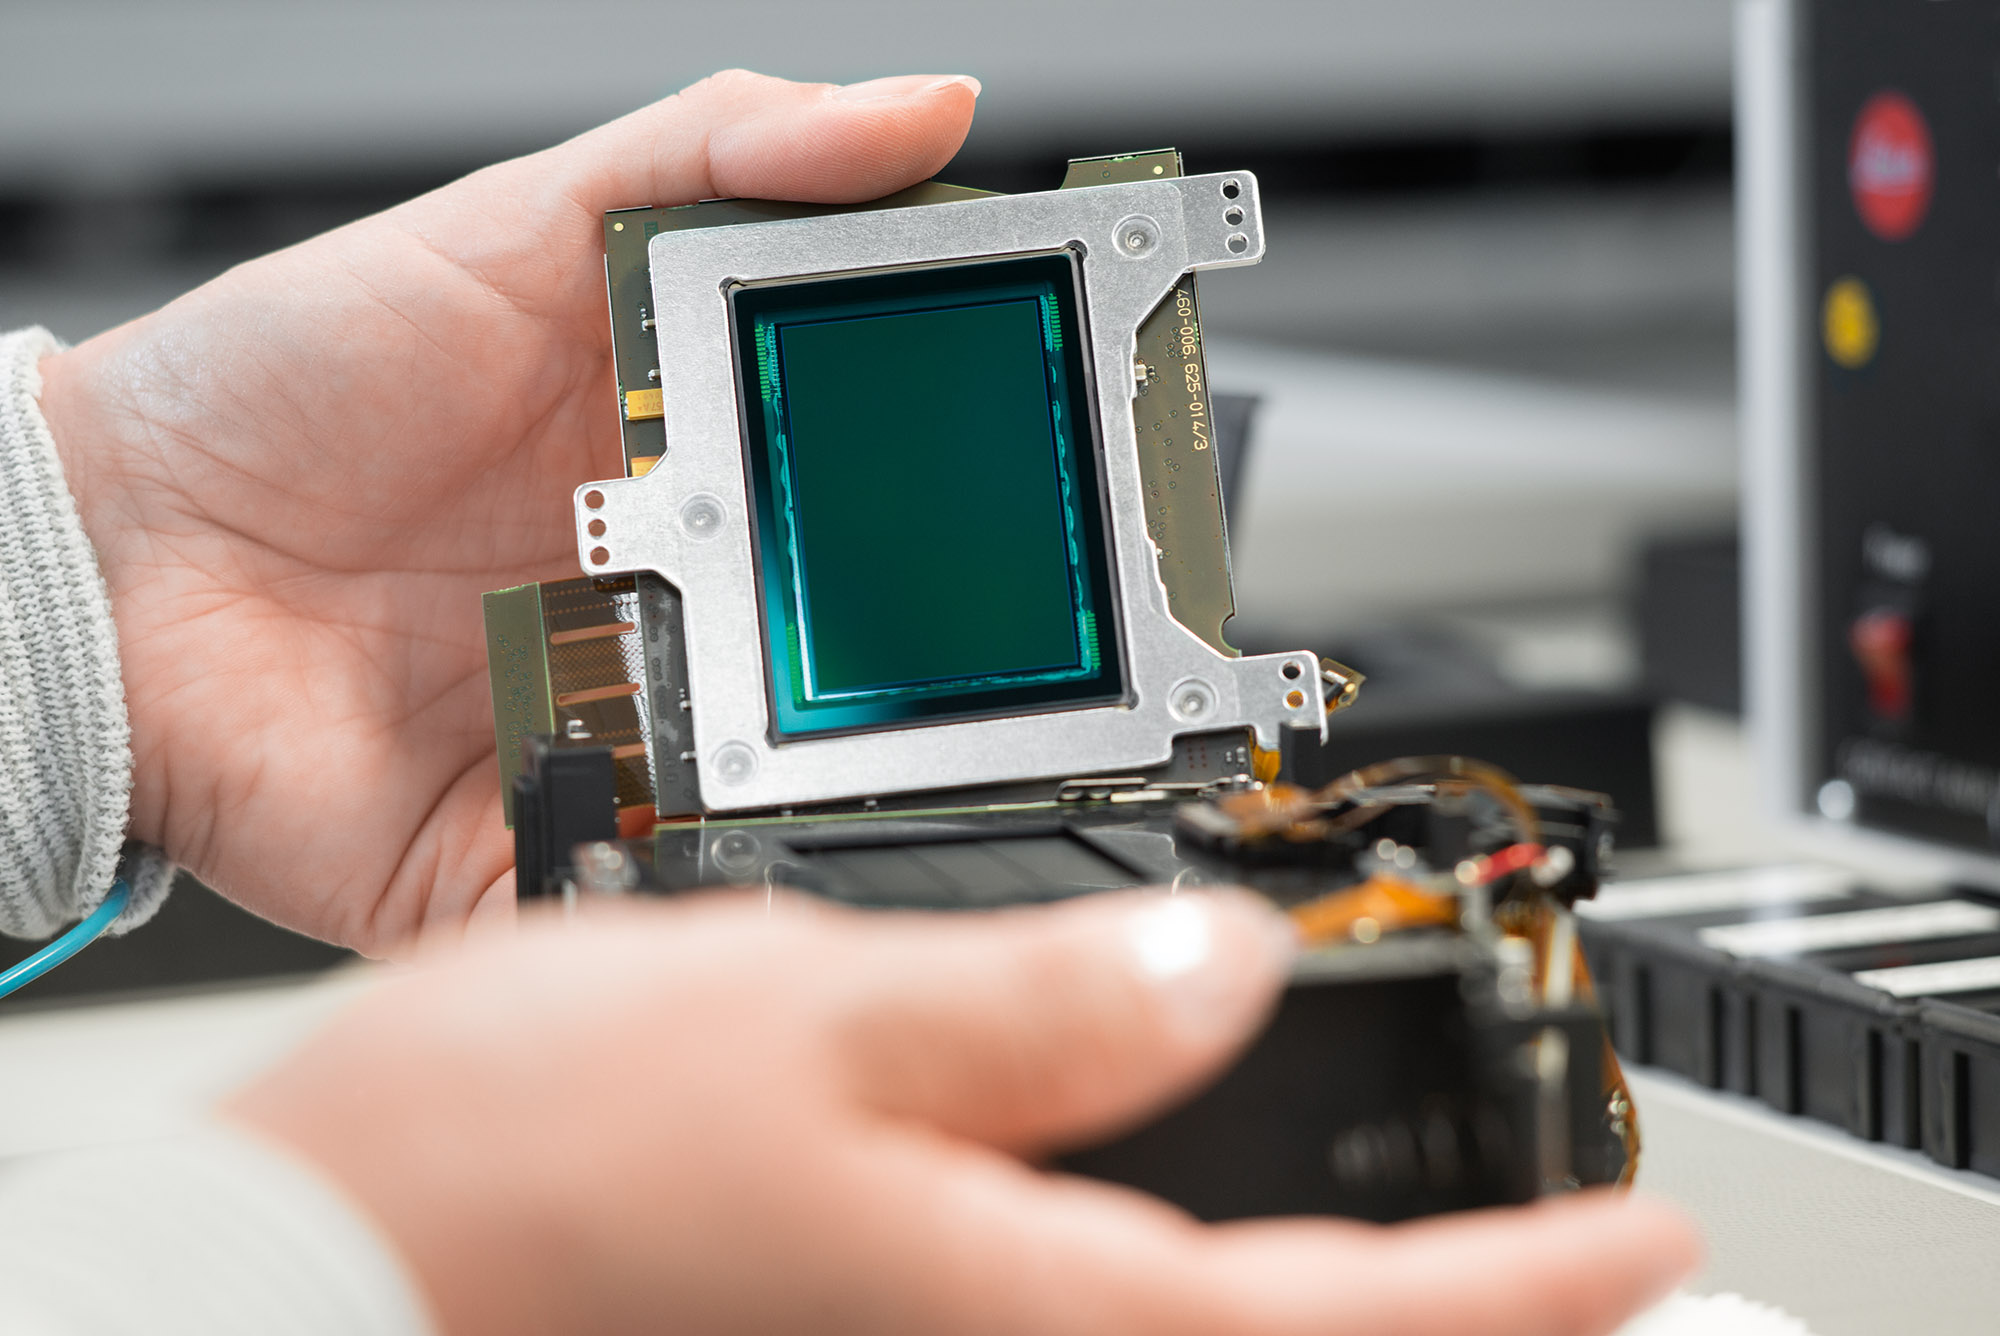

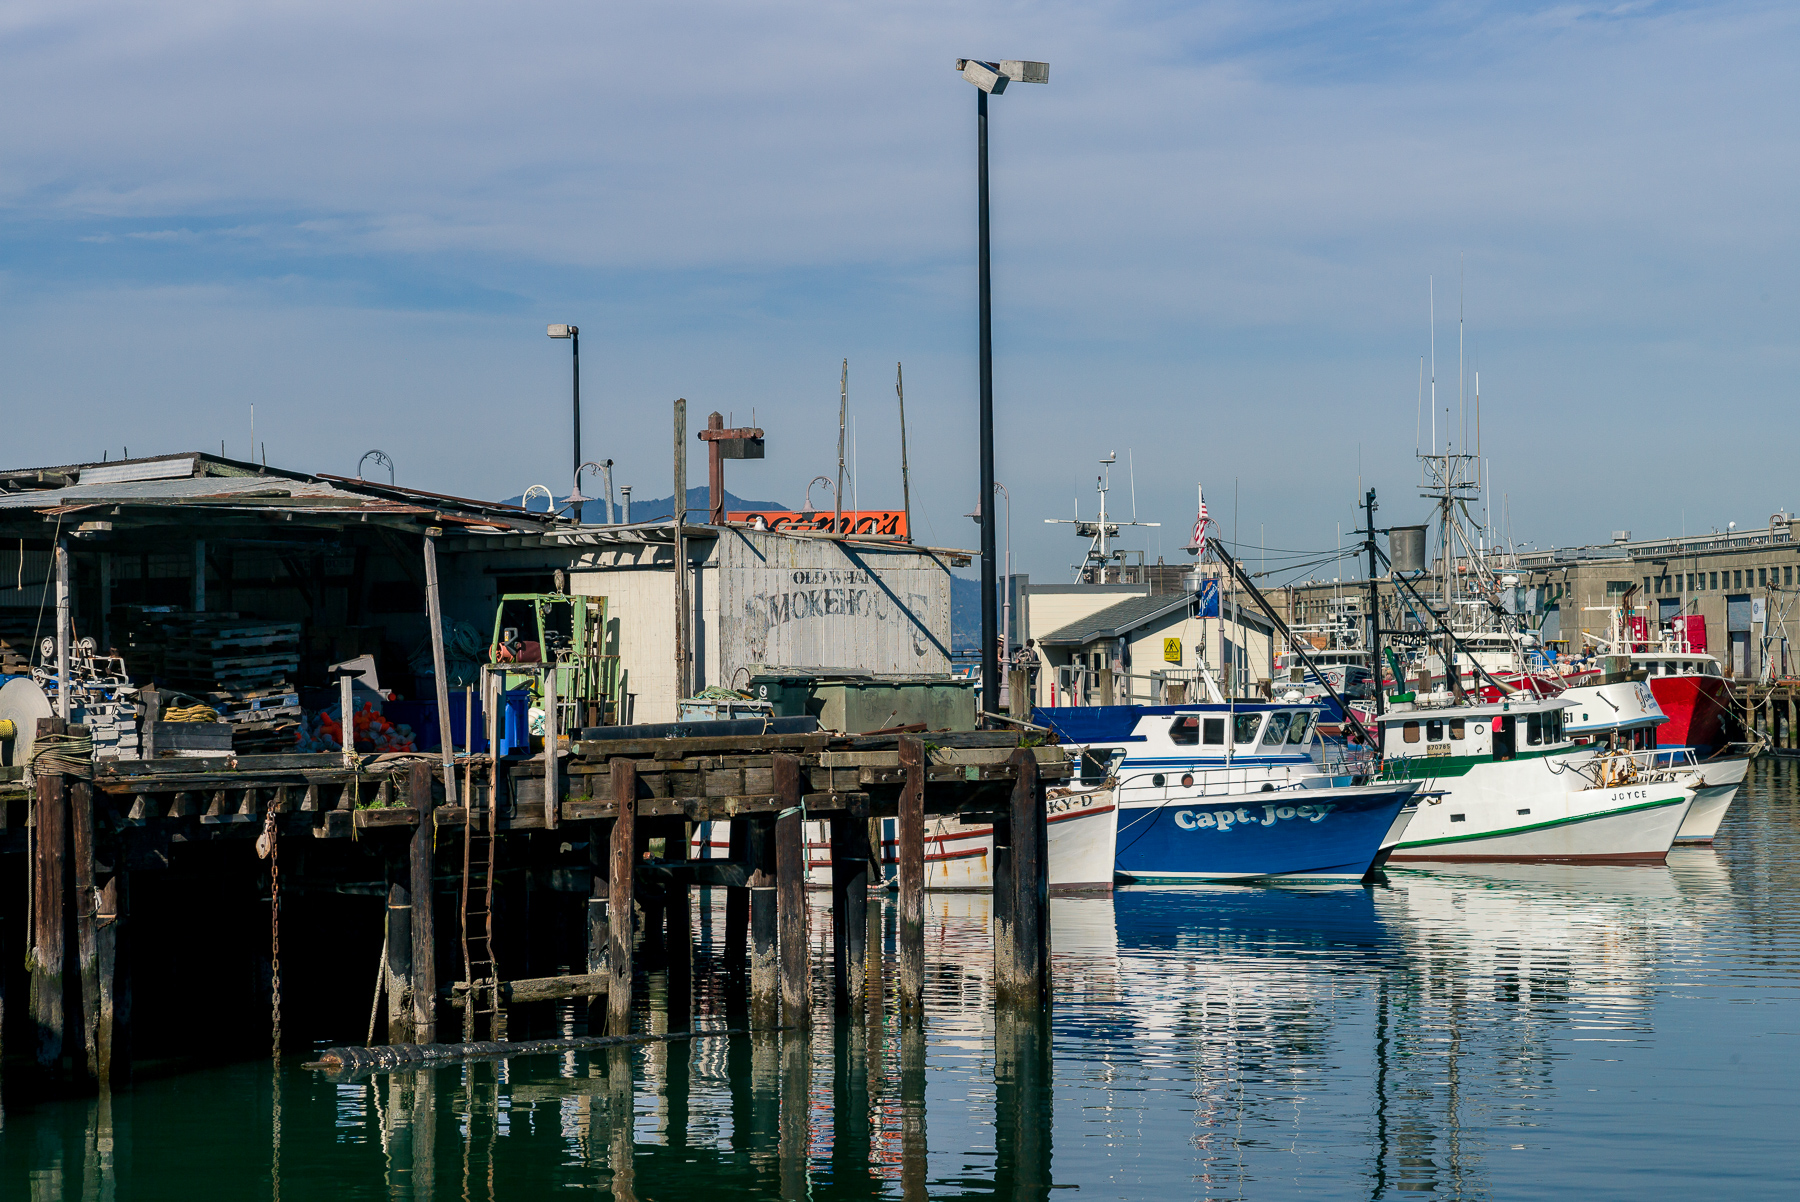


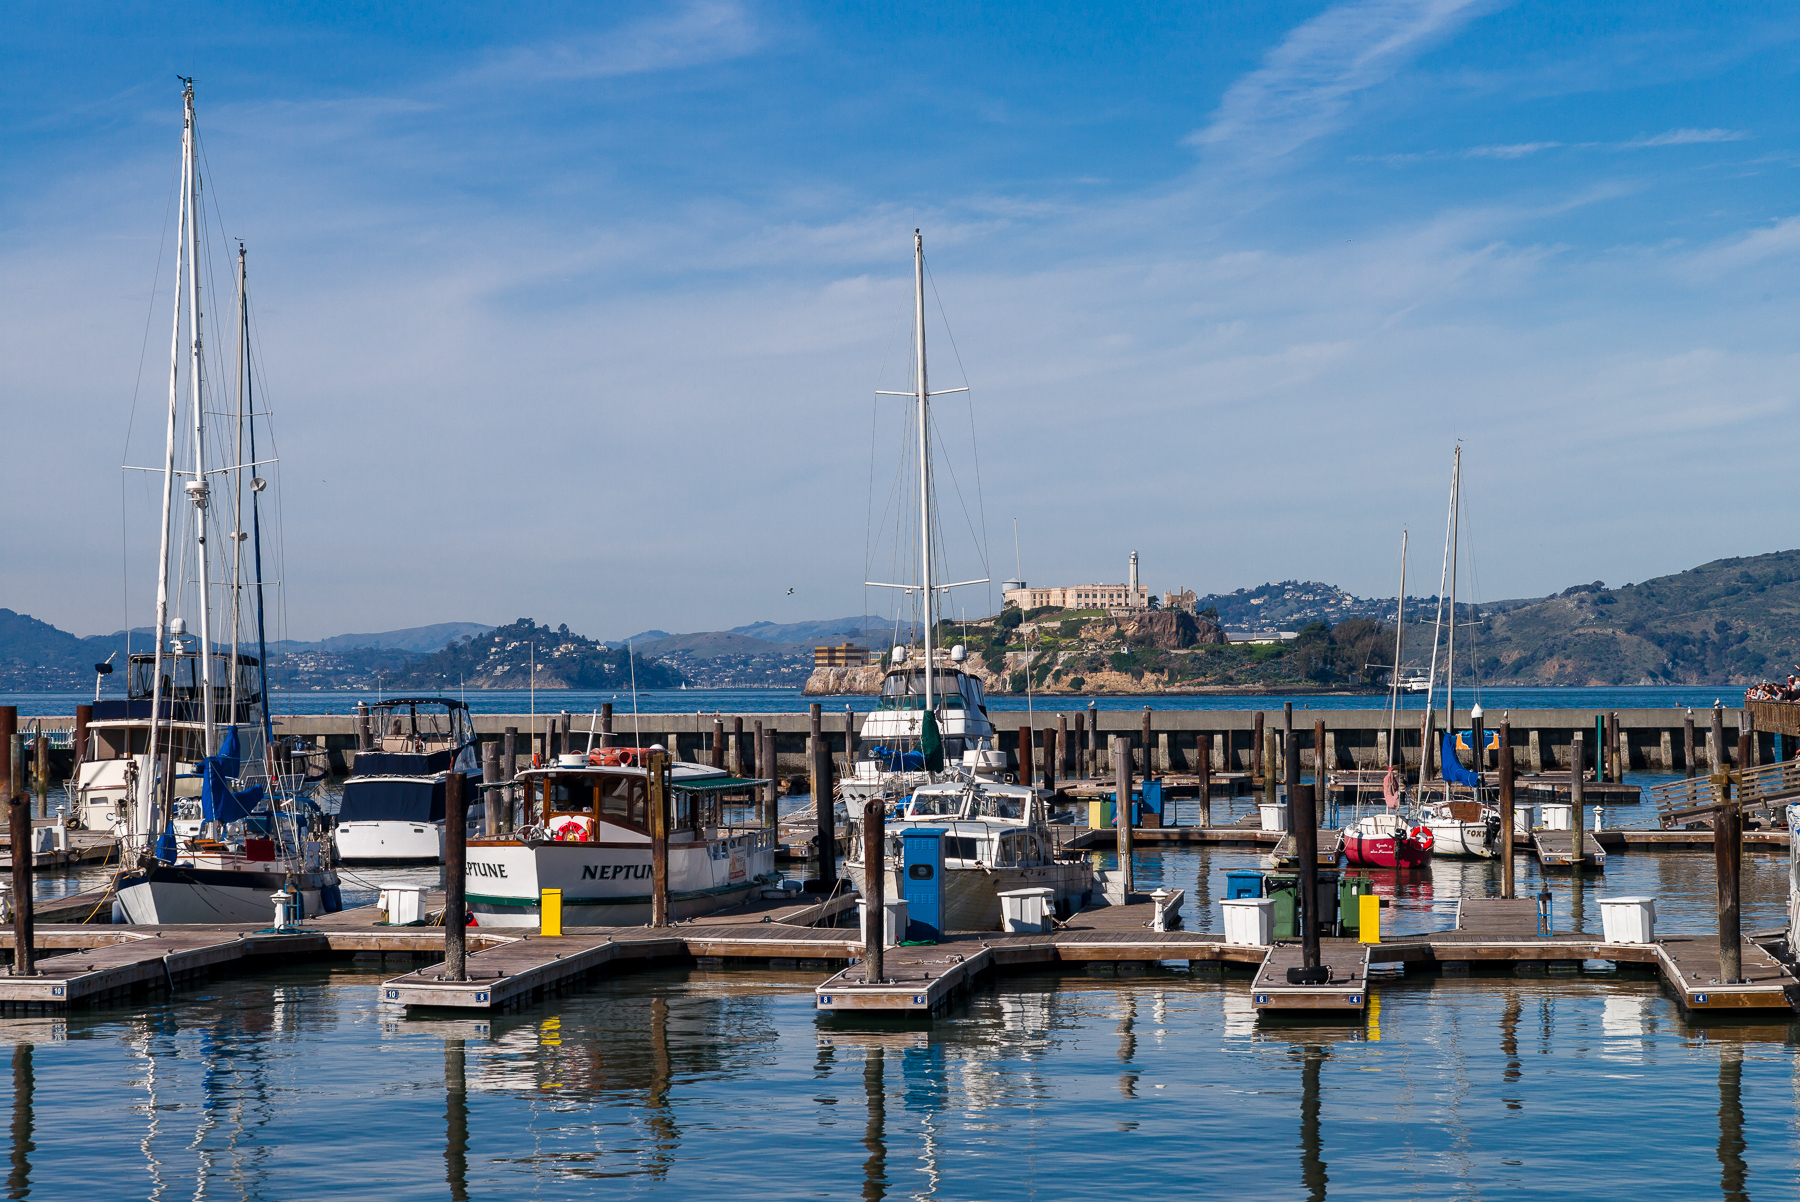

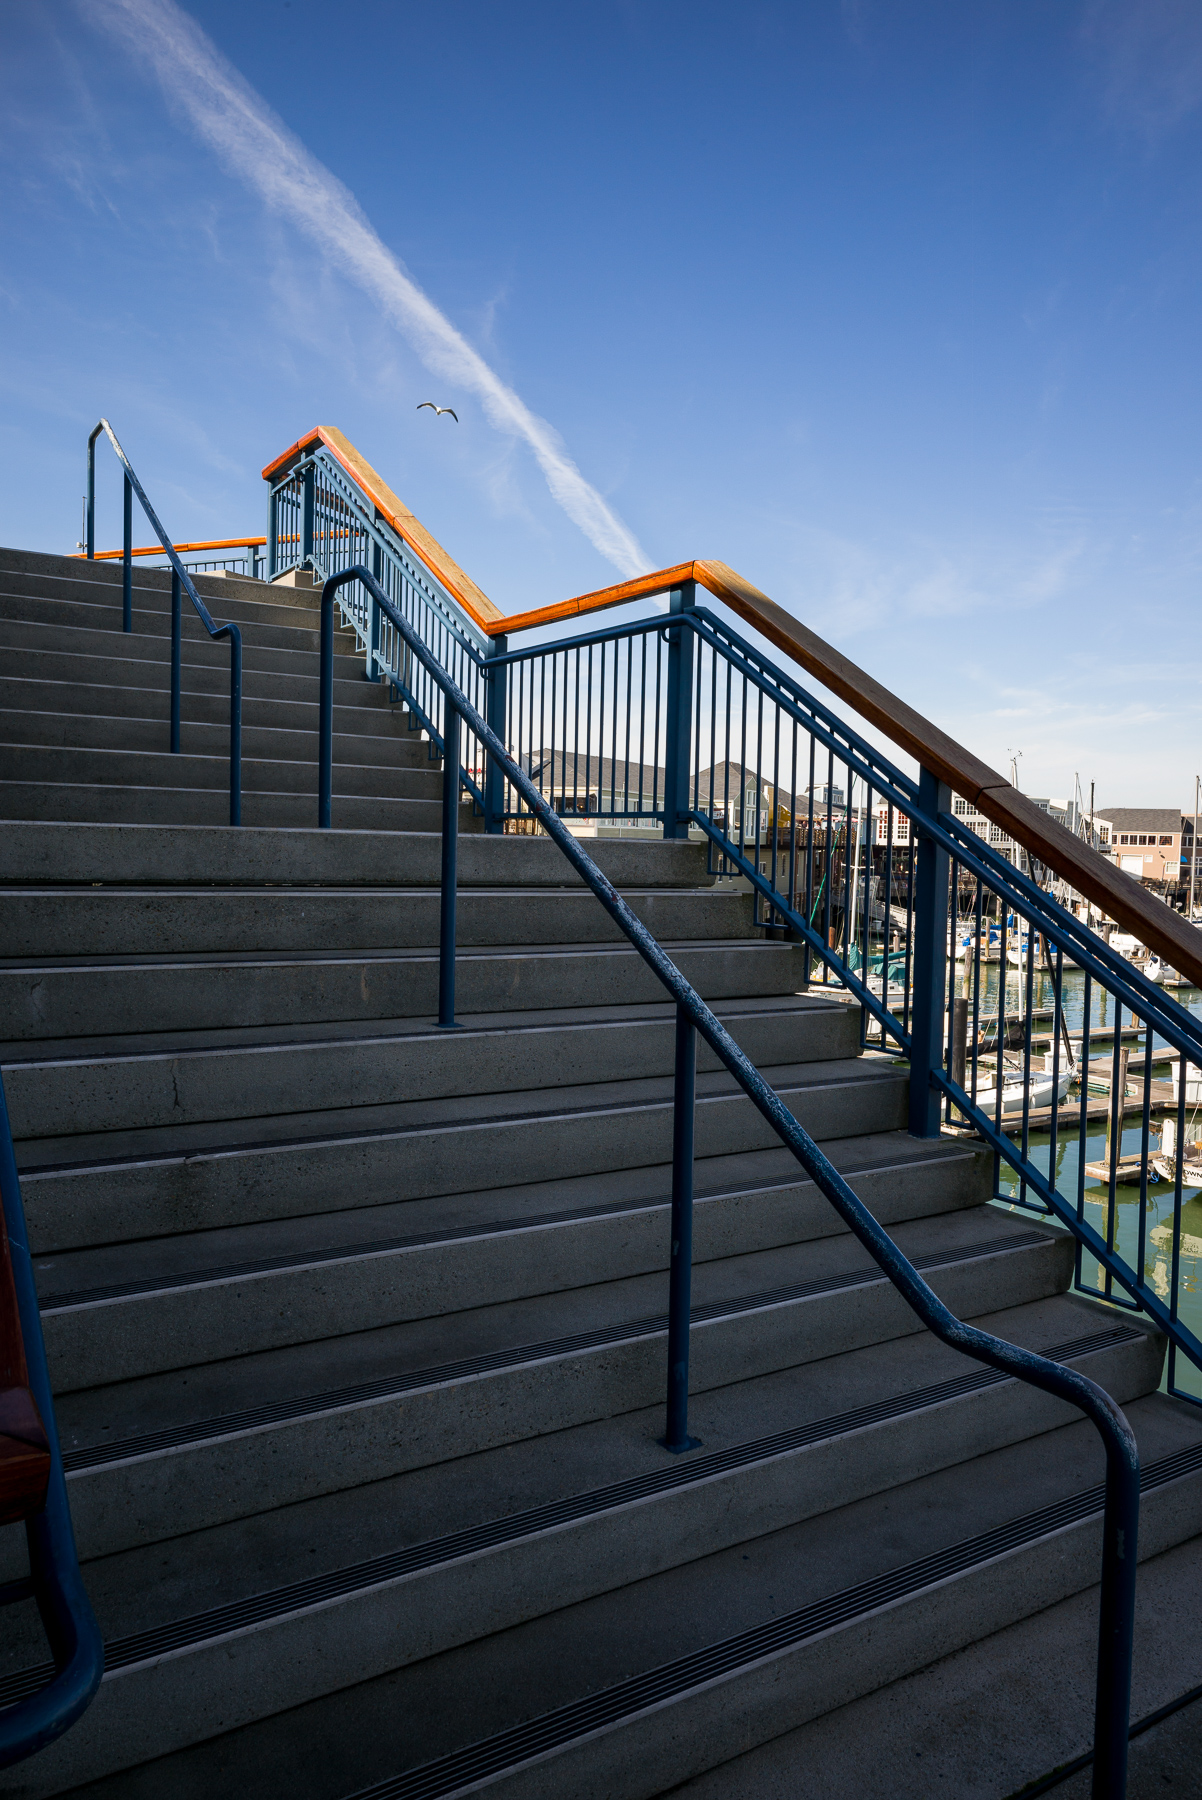

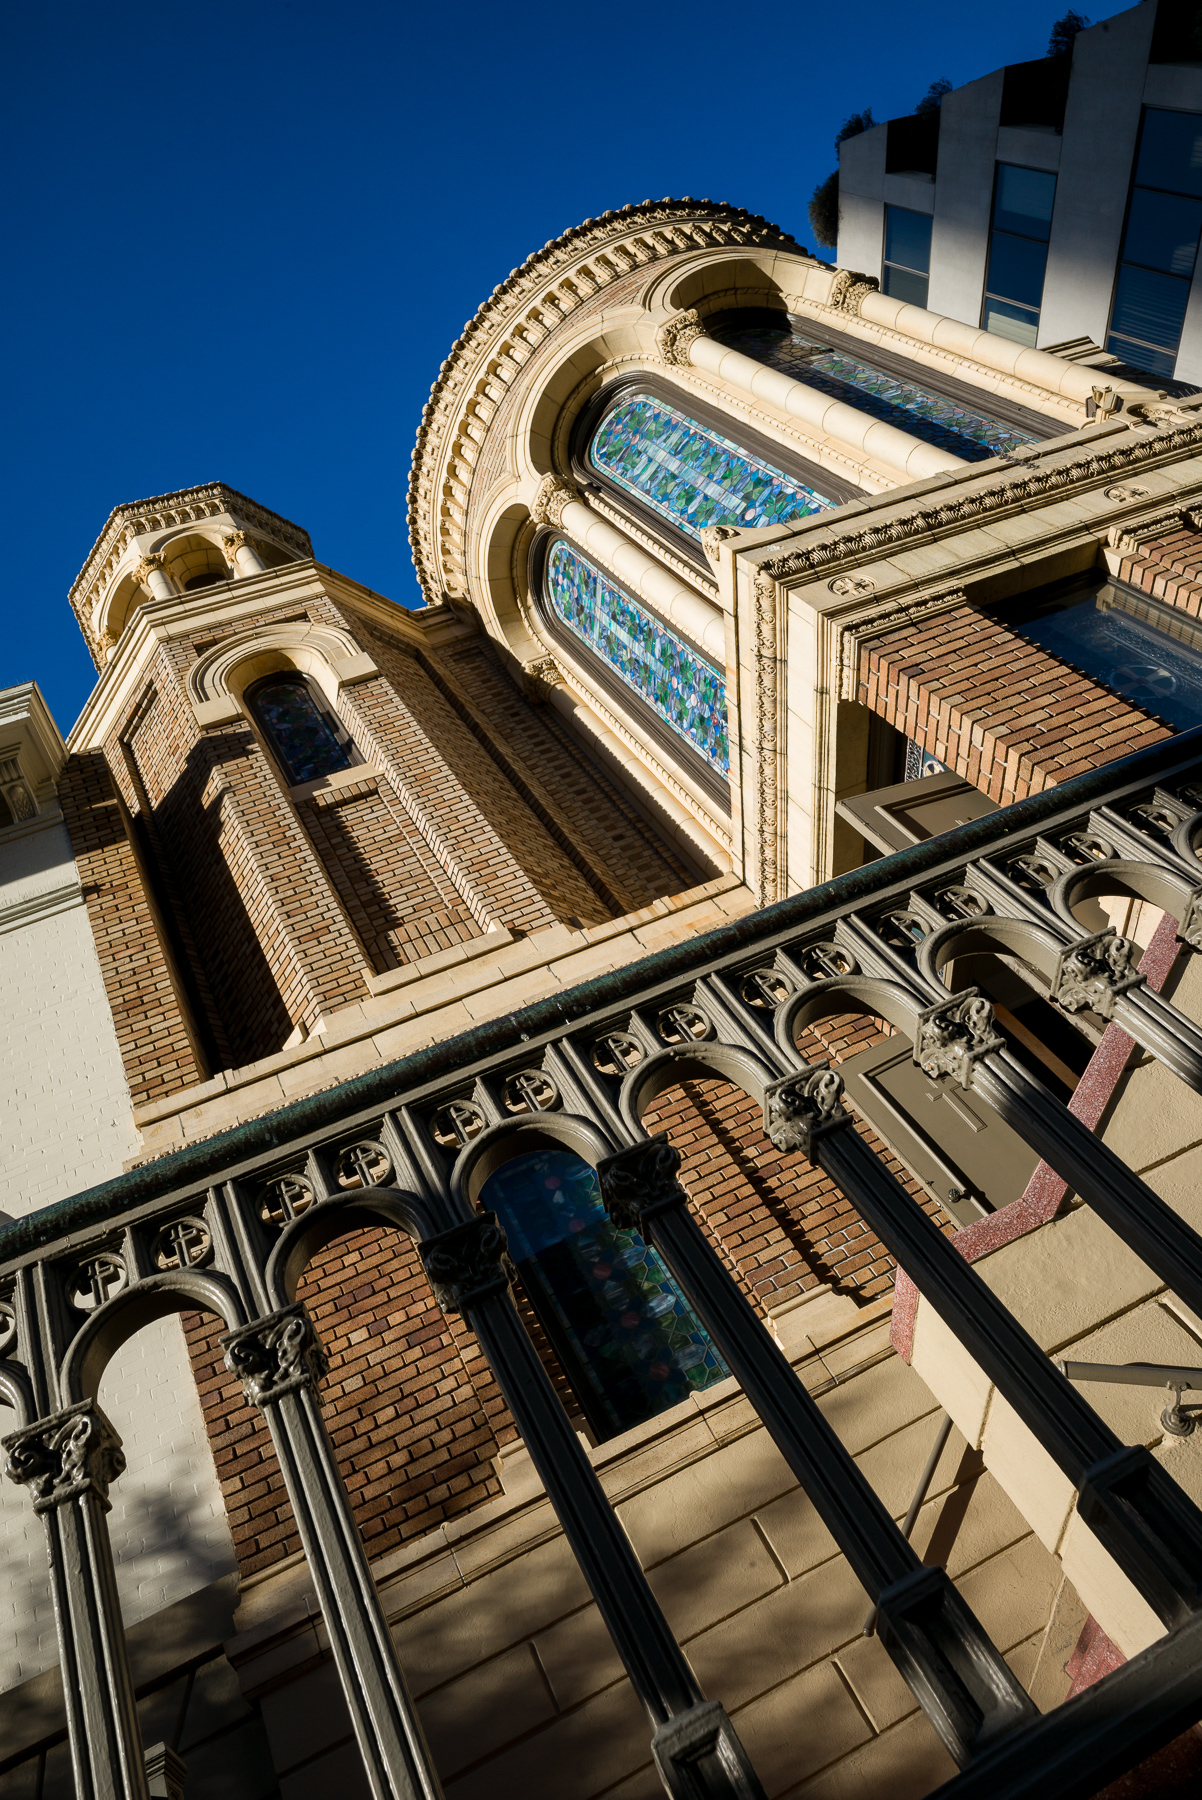


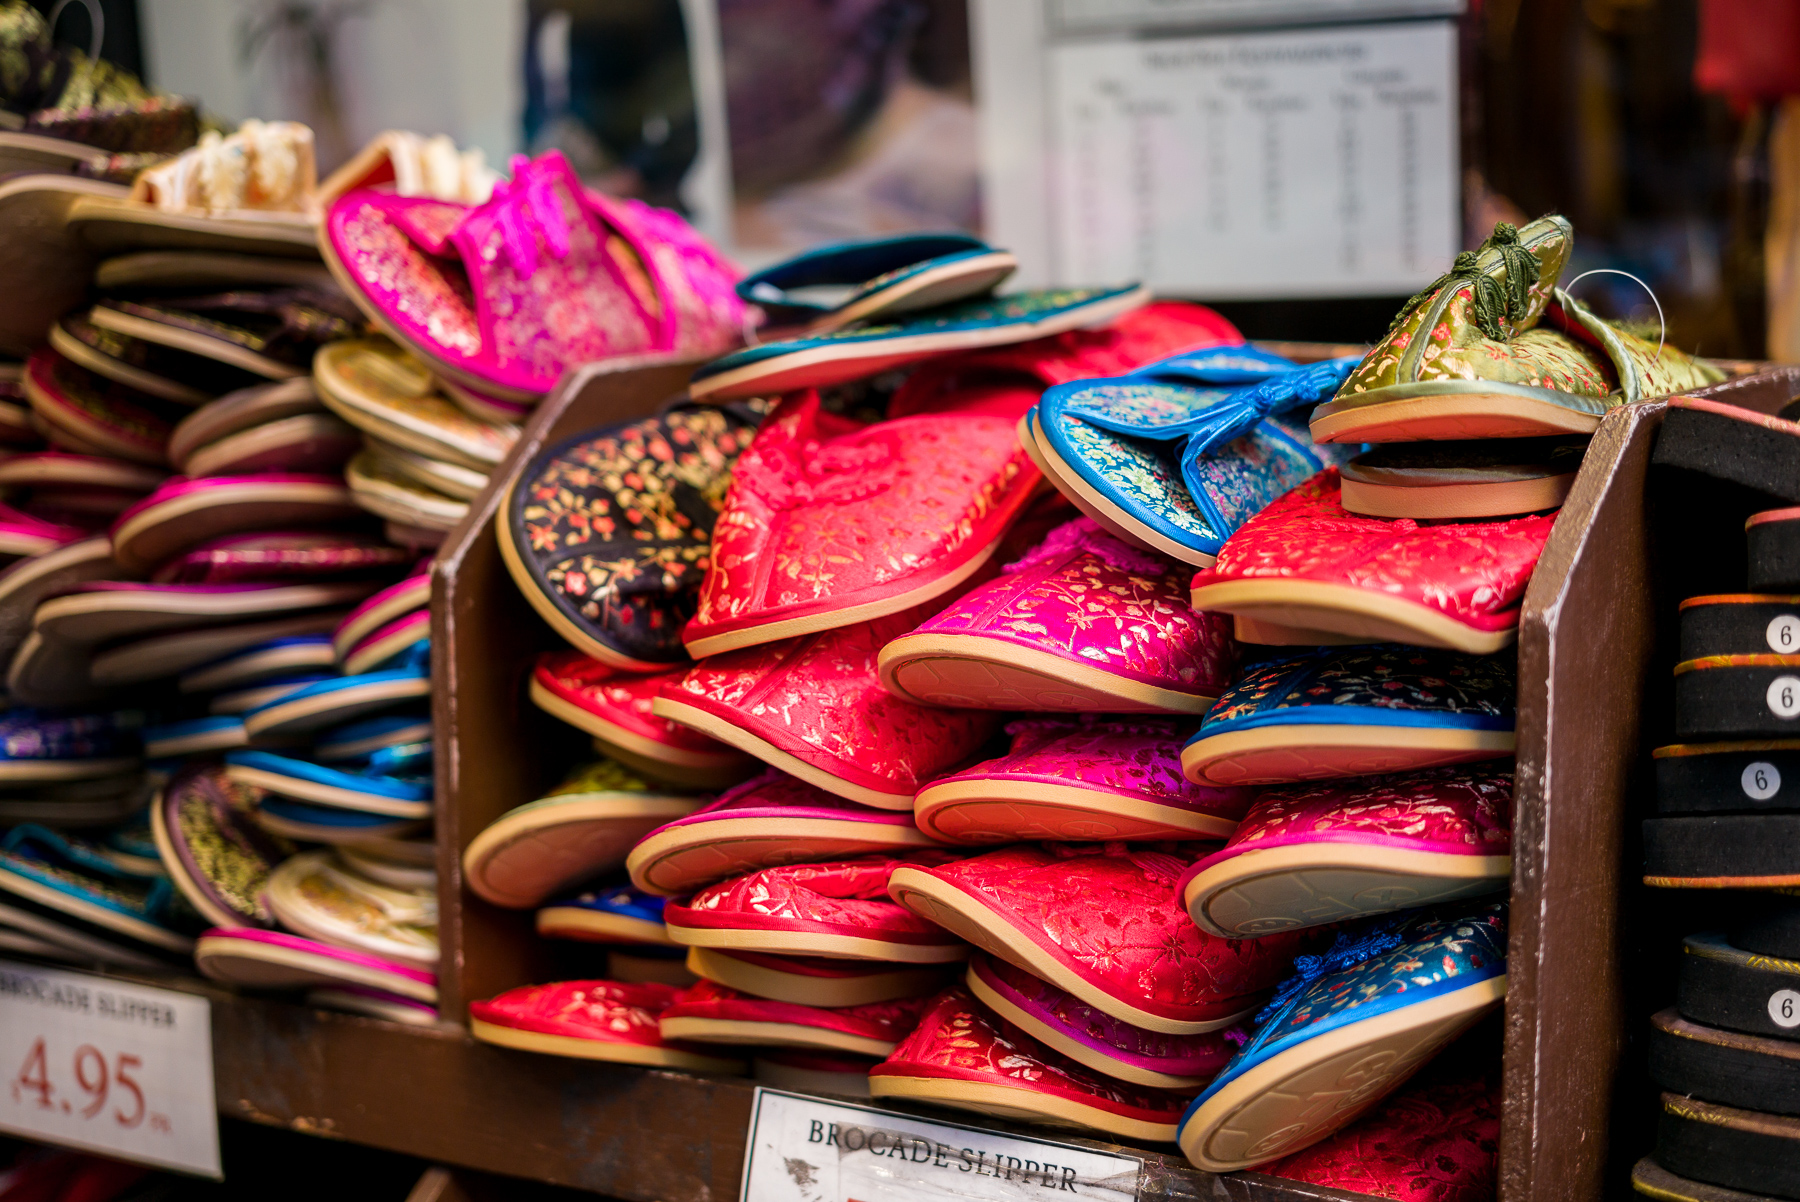
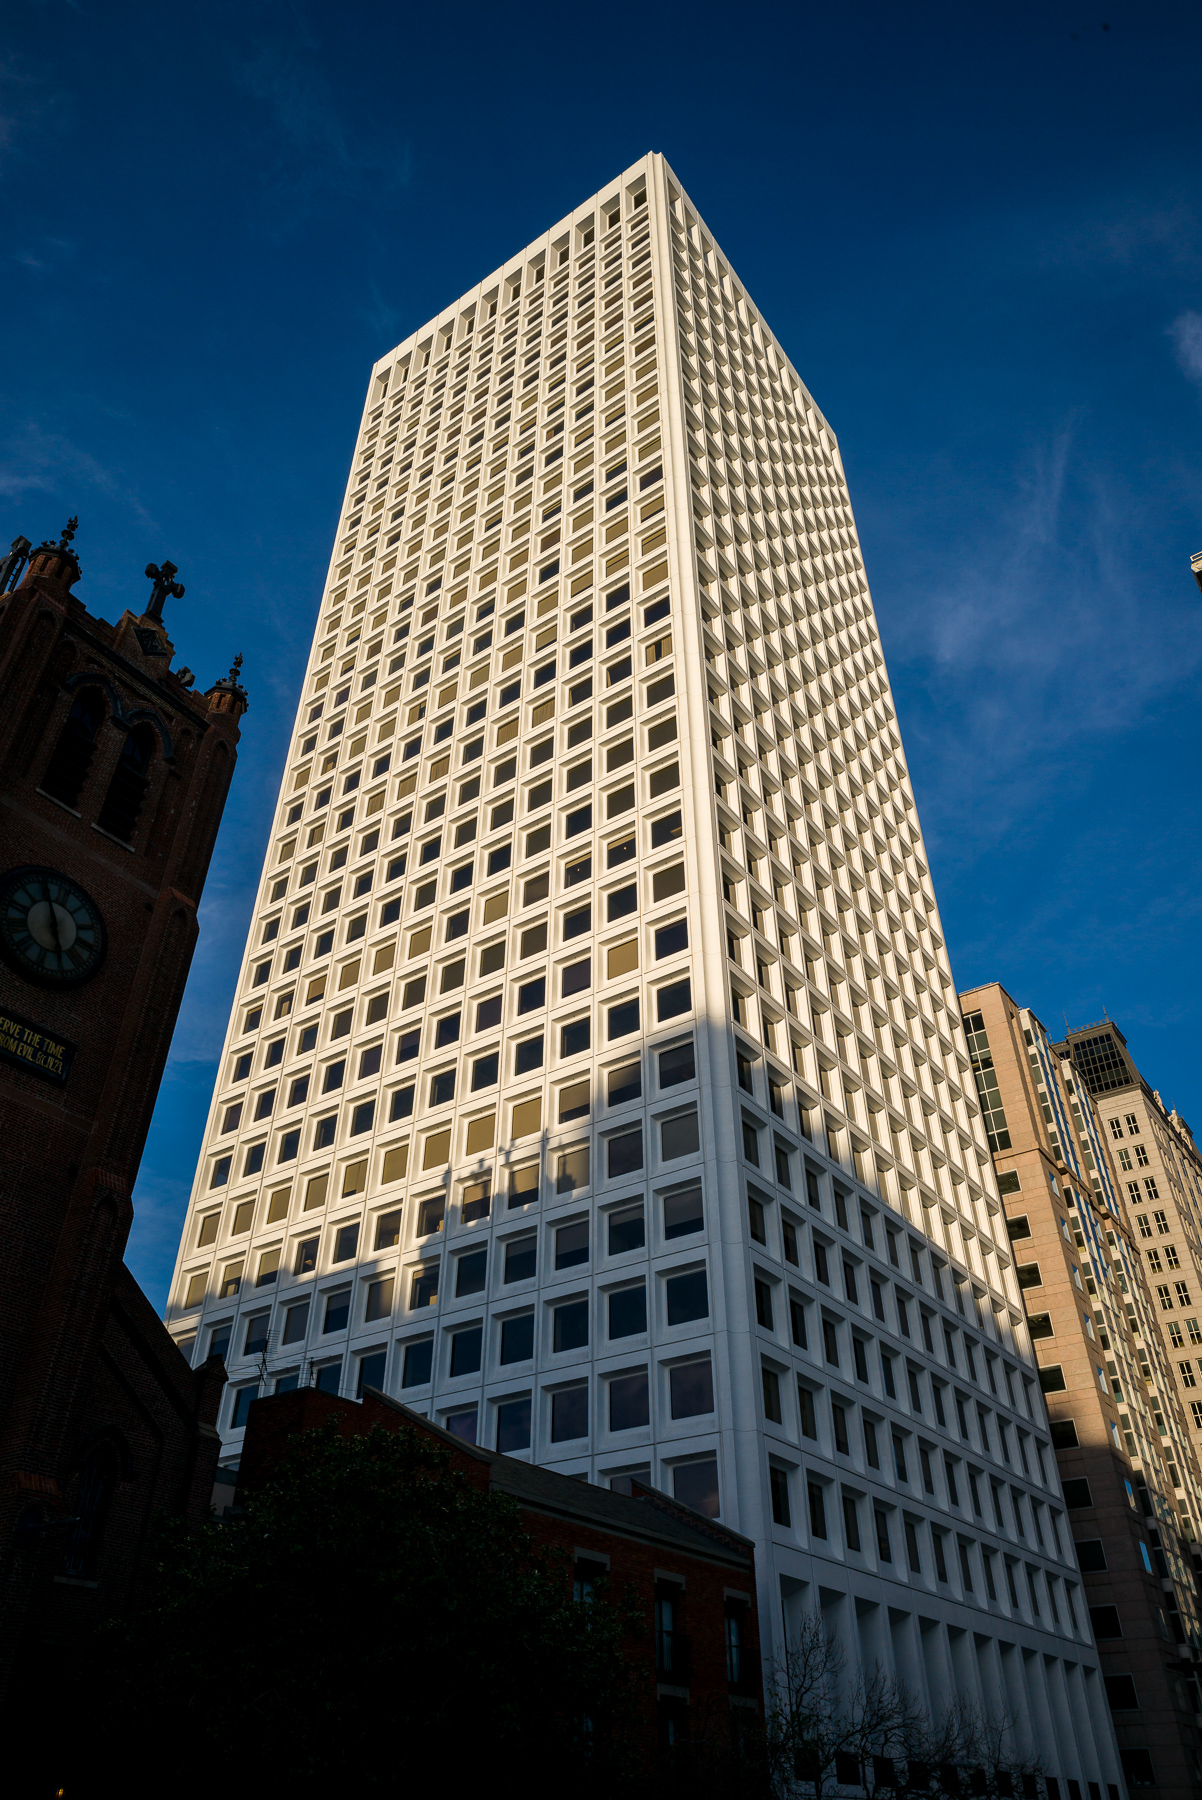

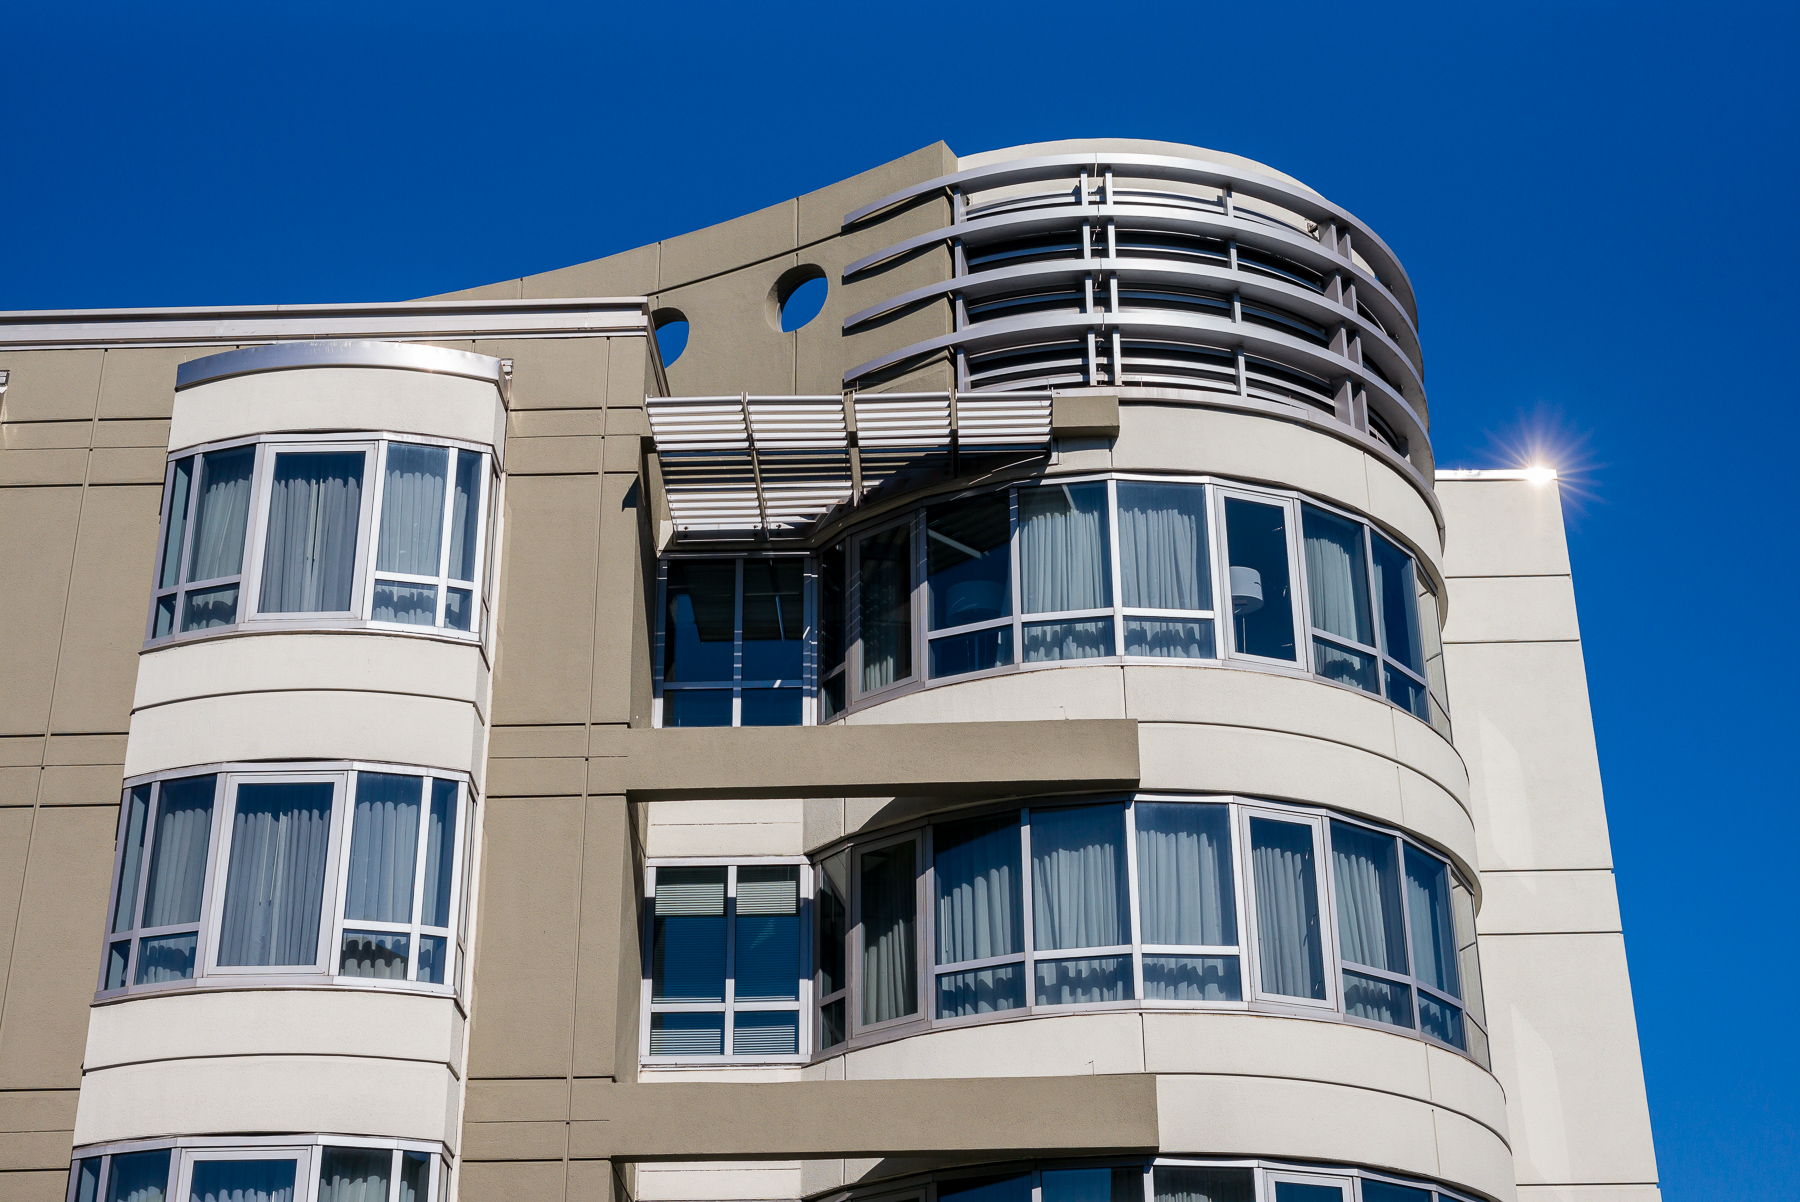
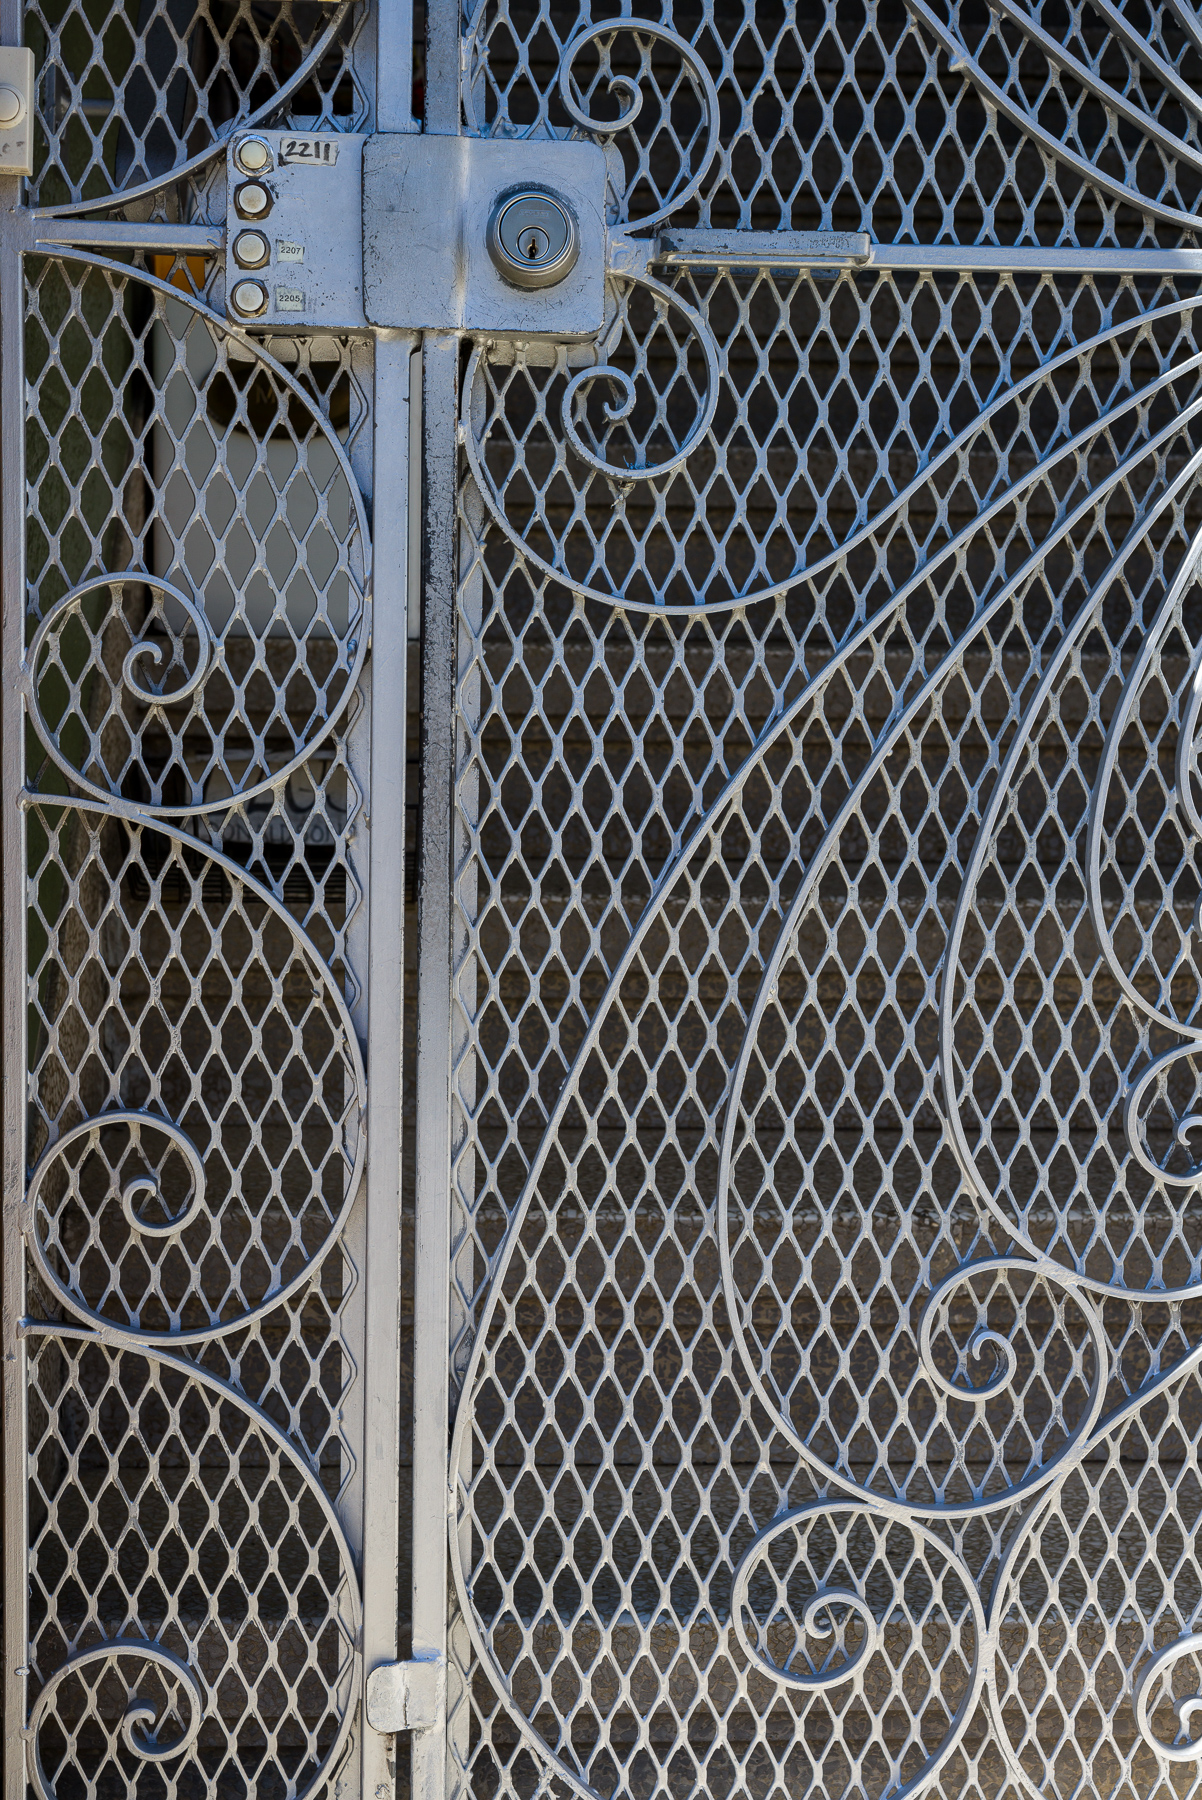

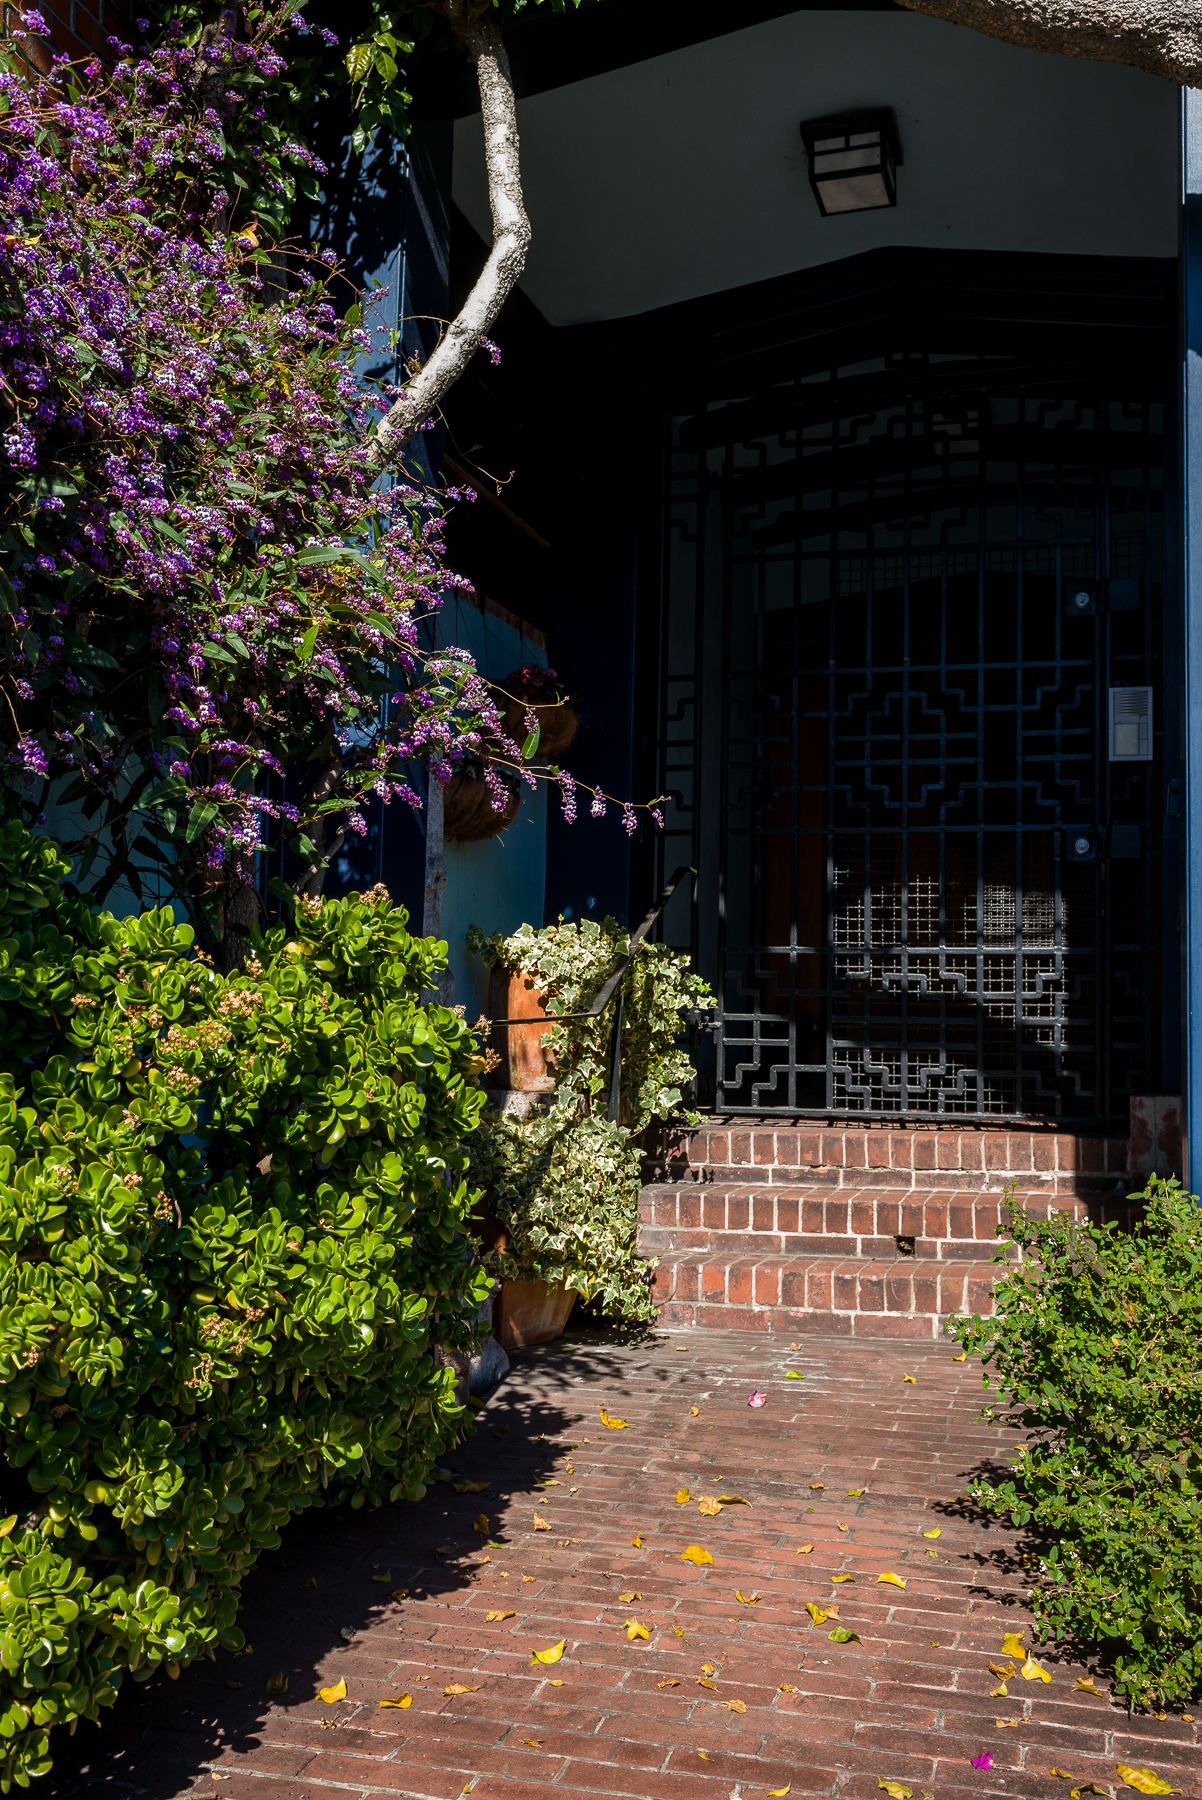
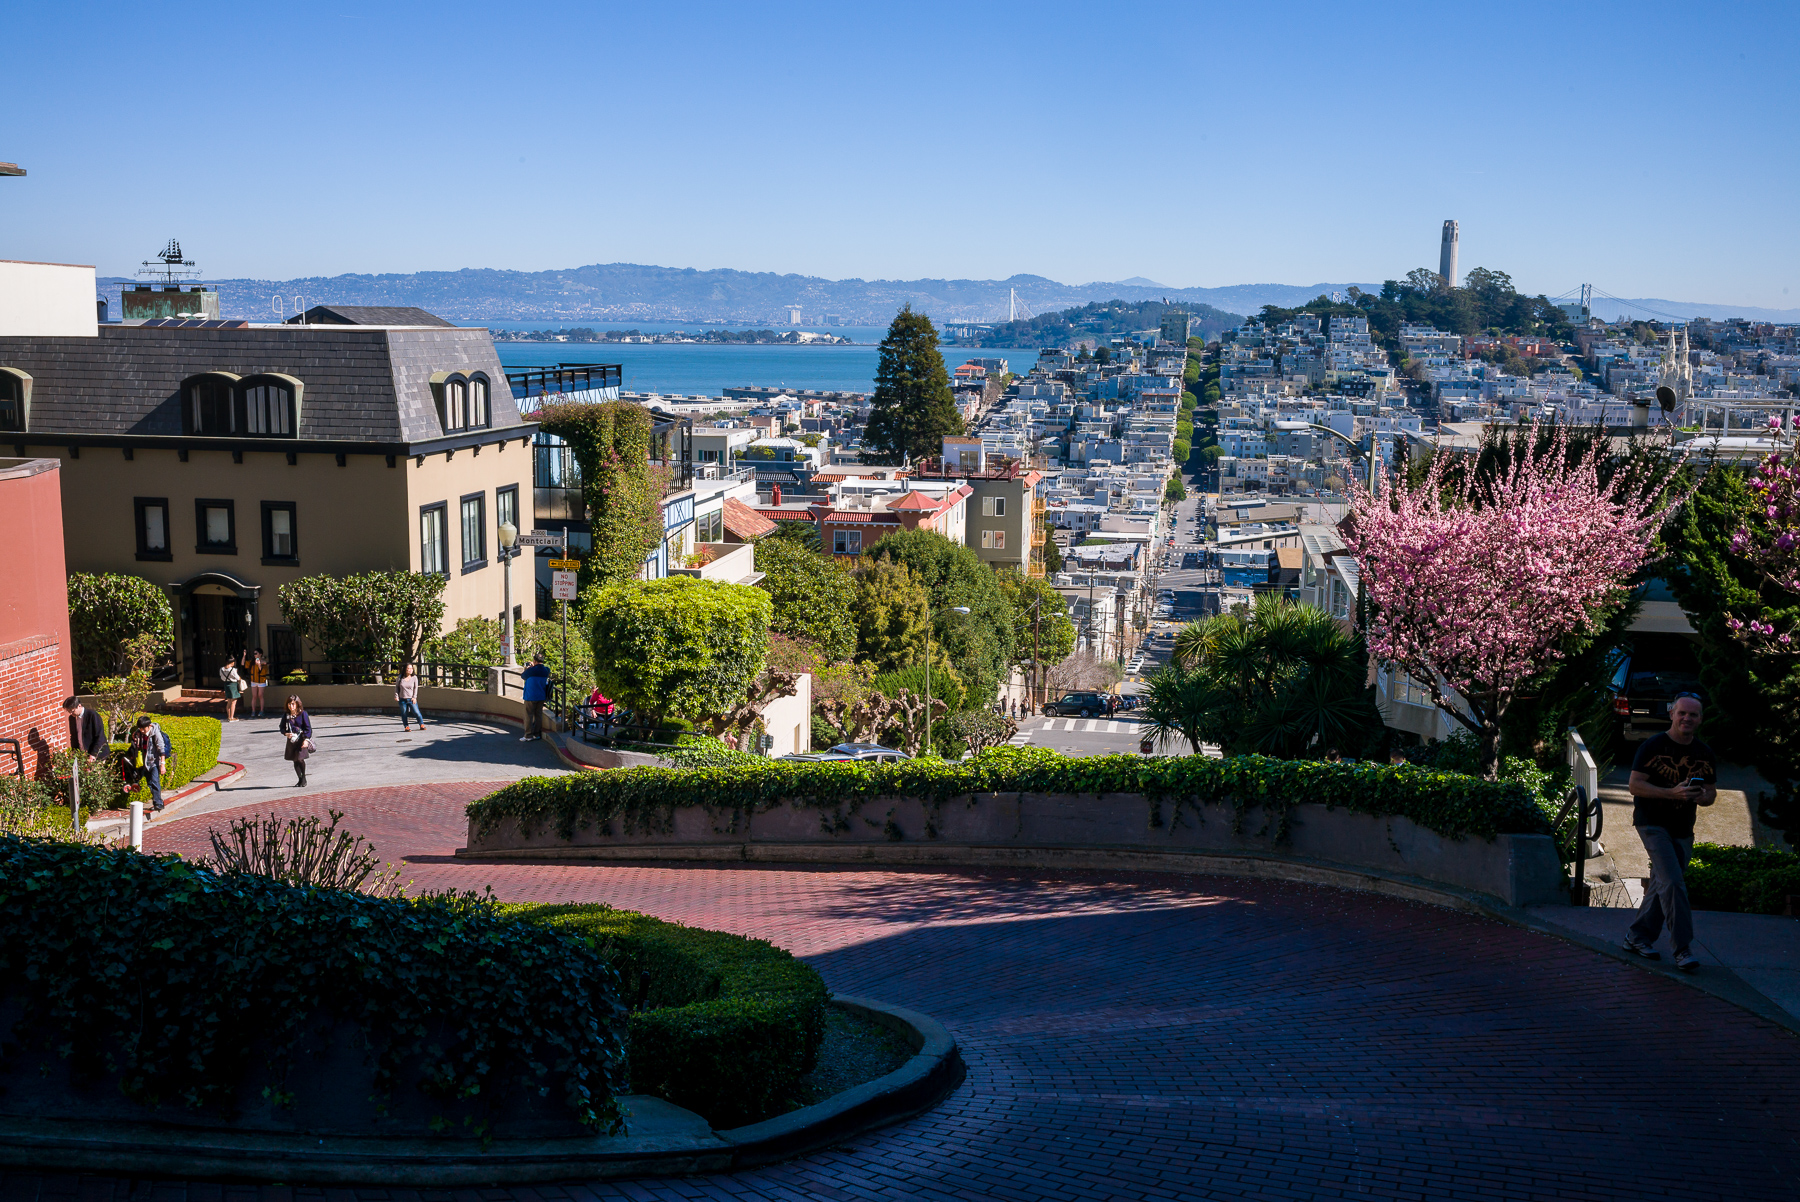

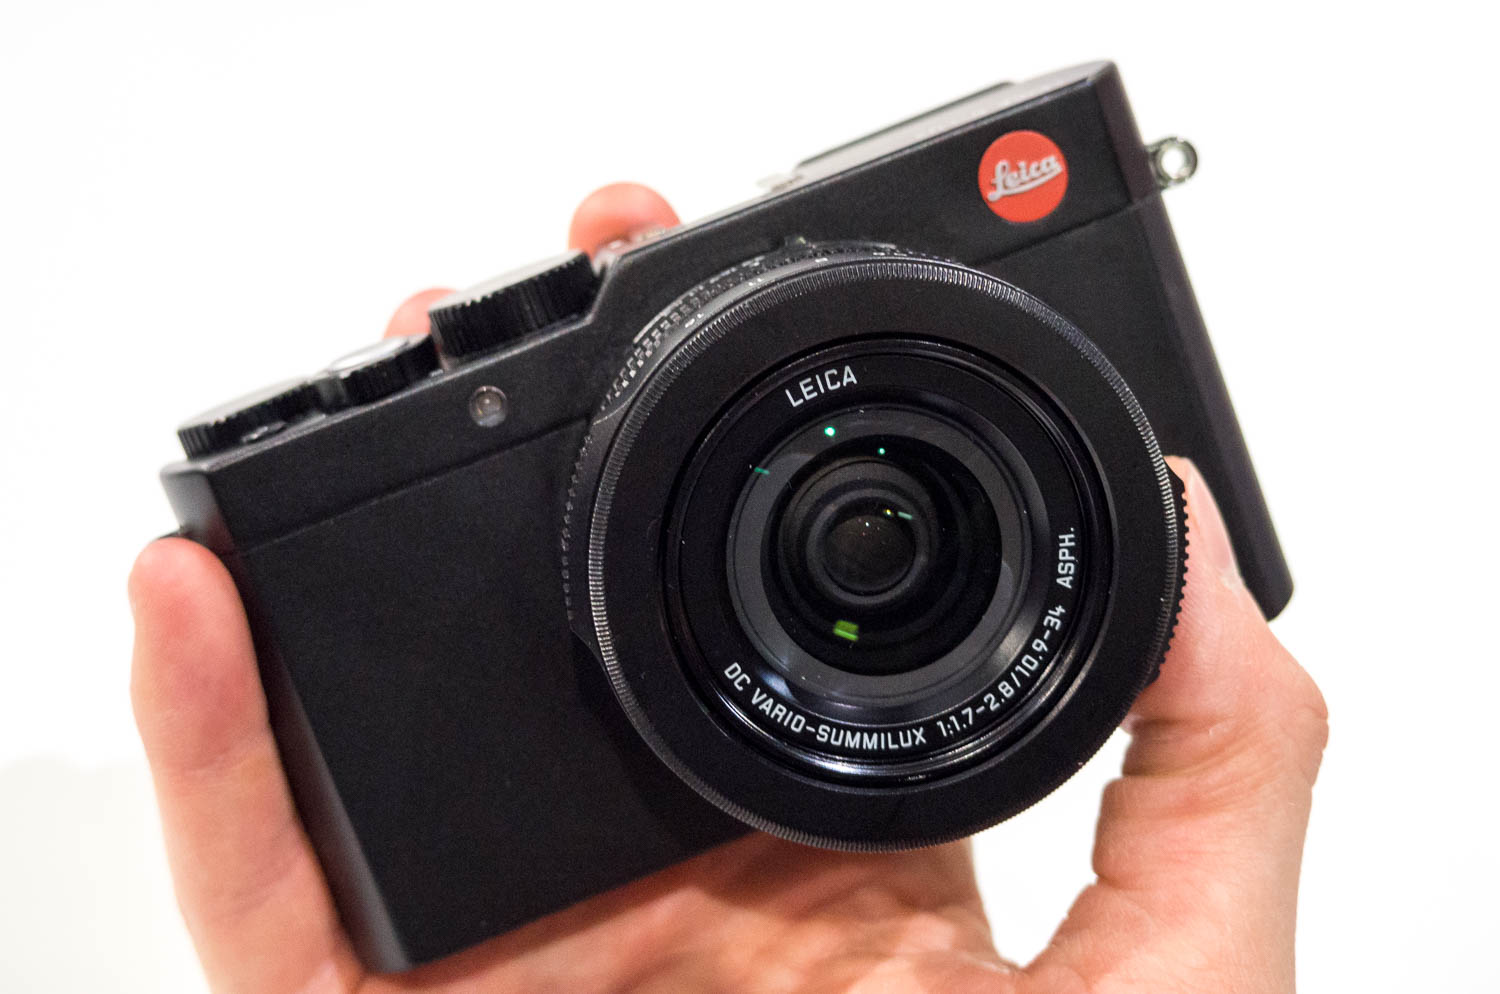
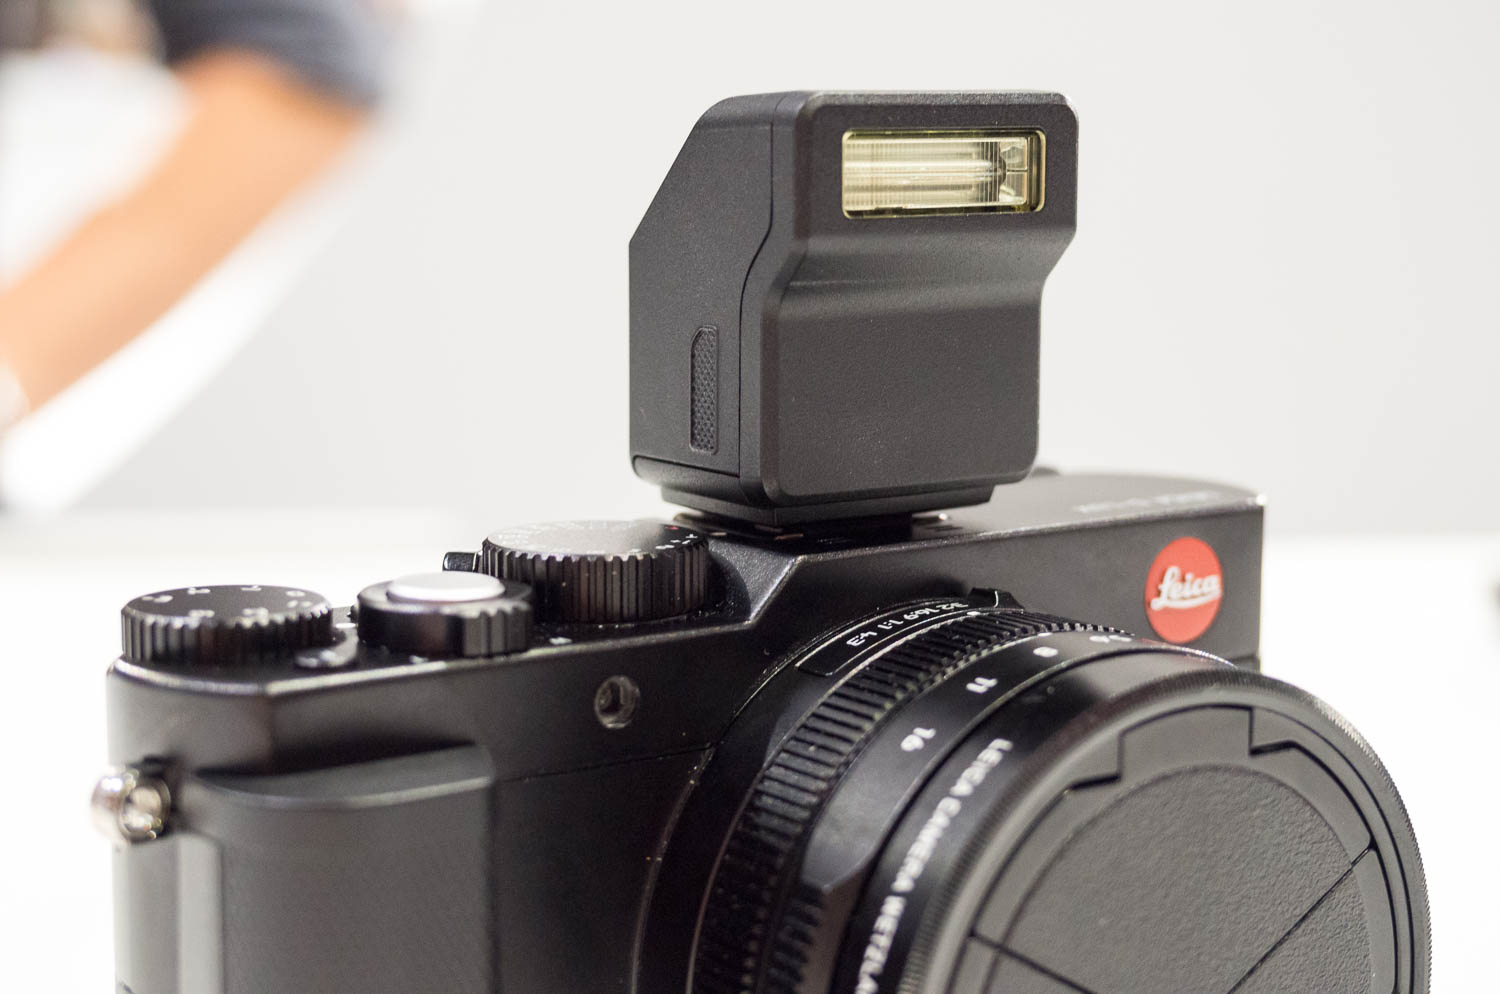


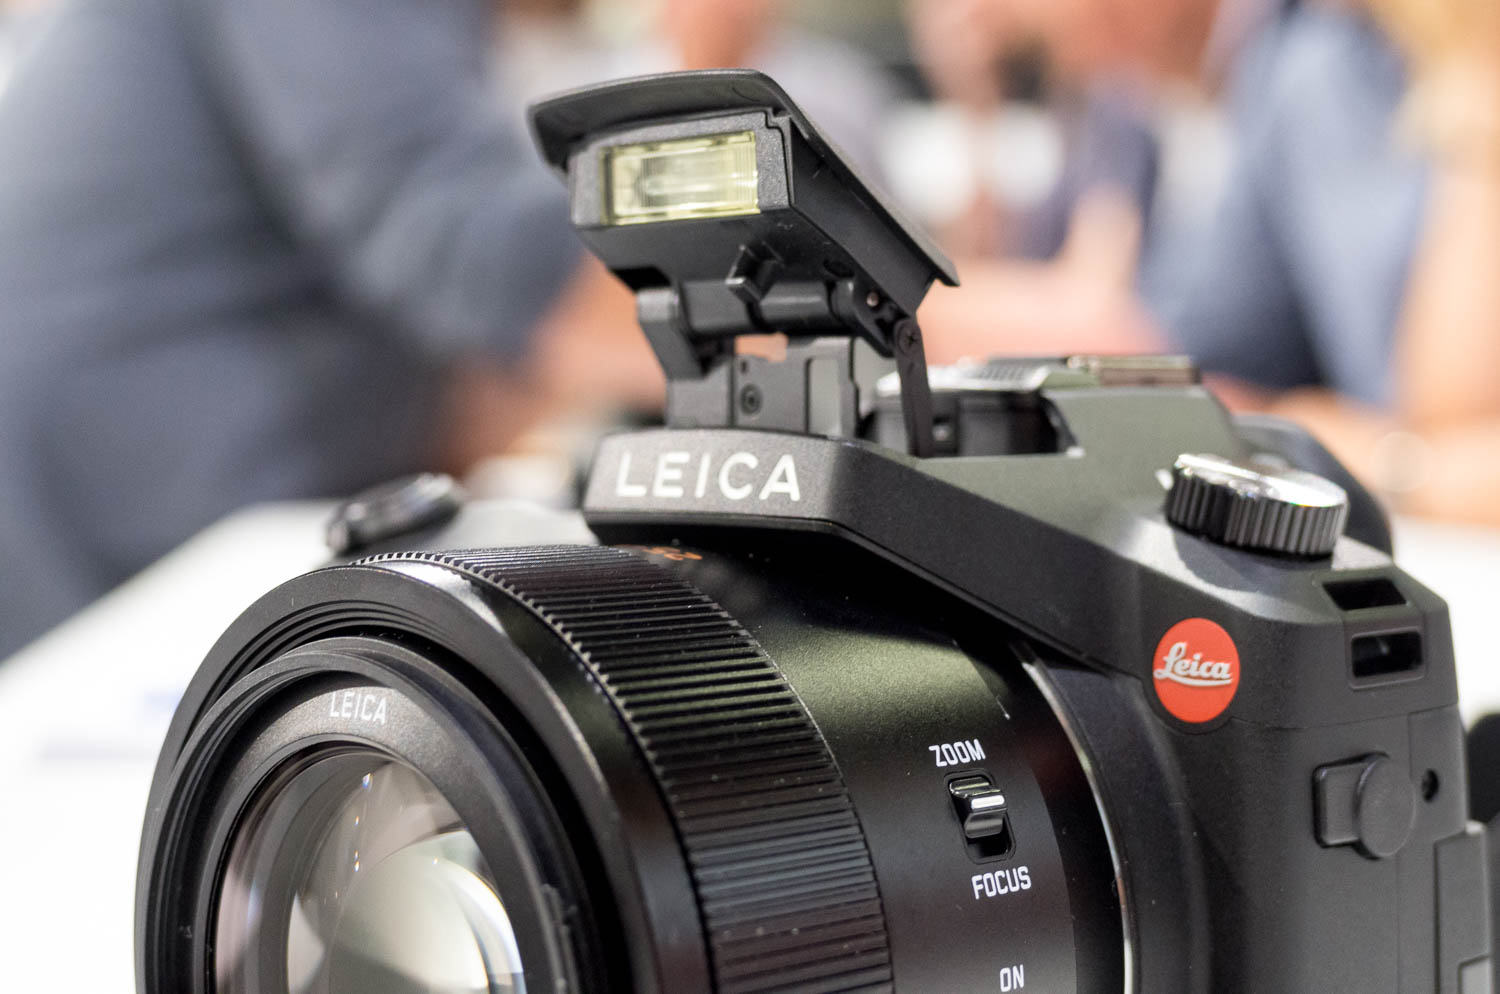
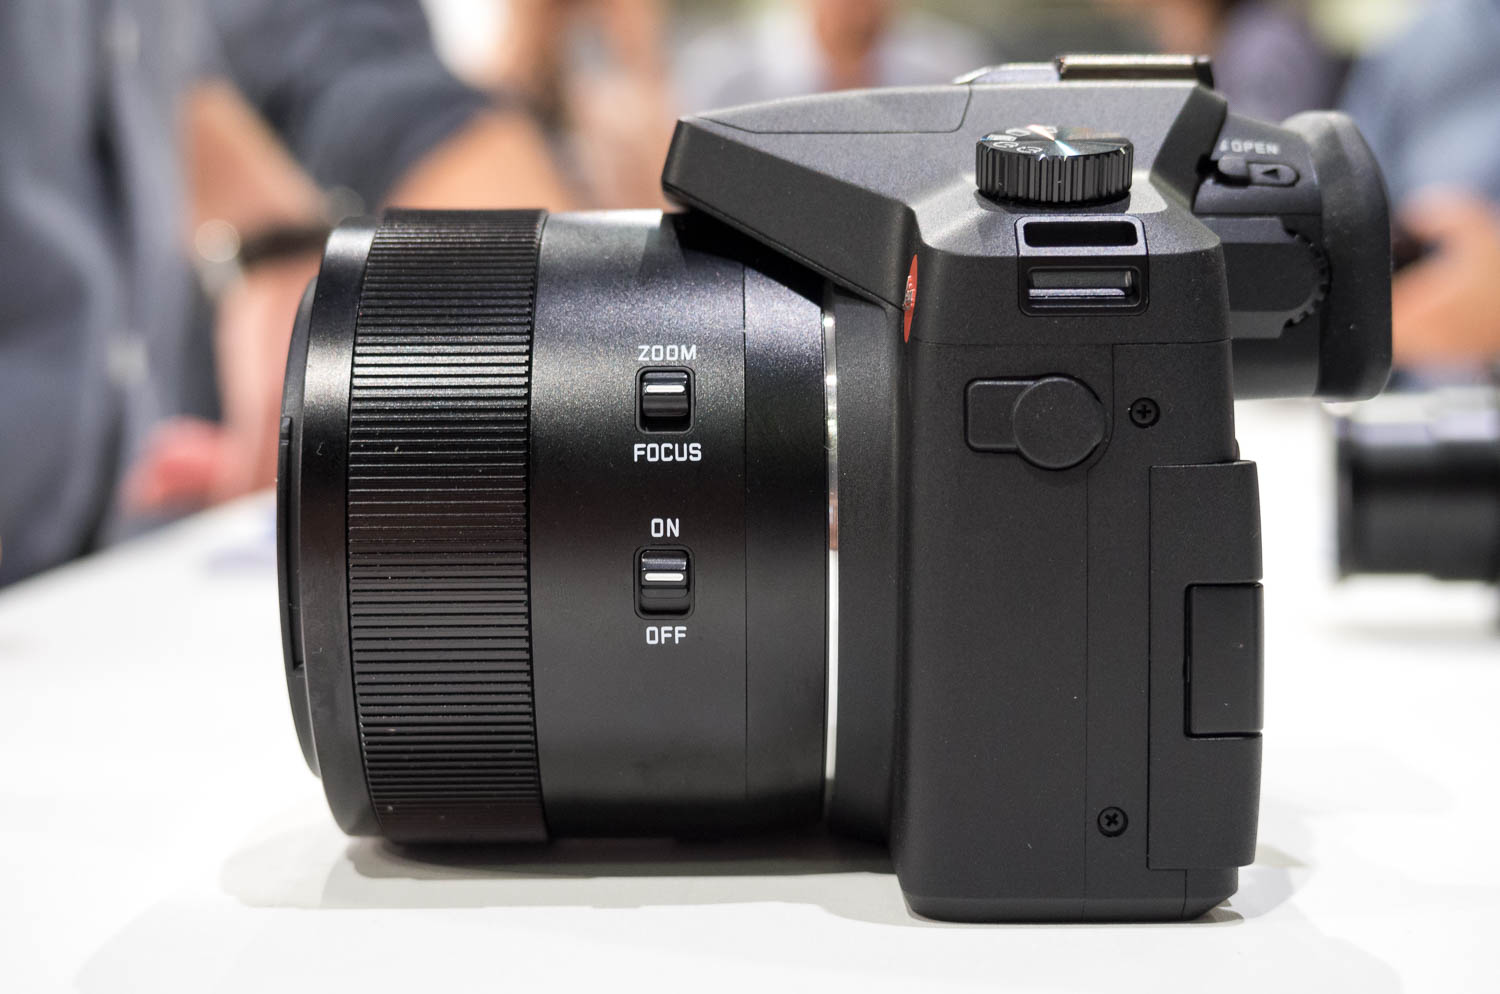
Excellent review David! I am looking forward putting my hands on El Jefe in the very near future!
Wow, what a complete and wonderfully timely review.
Looking forward to your S (007) review should you ever get one ahead of time.
Get some sleep now.
Jack
Great review David.
As a two-year owner of the original M Monochrom I've been eager to see how the new CMOS version would compare, and your review shows us that exactly.
Impressive as it is, I will sit out this generation of M cameras and go forward for the next three years (or maybe six?) with the original M Monochrom and M-E, which both still do just about everything I want them too with the singular exception of clean high ISO in color, which isn't worth the cost of a dual upgrade or of dealing with two hardware systems and their respective batteries and chargers.
For me the world is the same as it was last week, M-E (M9) for beautiful color on good to moderate light, and M Monochrom for incredible black and white no matter the conditions. ISO 10,000 is high enough for anything I want to do except deep depth of field in low light, which just isn't a priority.
Great images by the way.
All of the images were processed in Adobe Lightroom CC (v6).
Sure. Here is a screen grab from my basic settings in LR for an M246 file:
My biggest change is to pull down the blacks and bring up the exposure to compensate a little. I like rich shadow contrast. Really, though, these changes are fairly minor. Sometimes, I'll bring up the shadows or tone down the highlights more. It really depends on the image and my intended interpretation.
On the sharpening and noise reduction settings I use:
And that's about it. I don't change the sharpening settings, except at very high ISO, I will bump up Masking a little. And with NR, I will bring the amount up to 20-30 for shots above ISO 8000.
Hope this helps.
Did you try to turn off lens profile corrections in LR?
We first discovered a strange behavior in LR when processing M9M files a couple years ago when using lens profile corrections. Seems that there is sometimes some pattern noise introduced in B&W images with pulled up shadows. What was even stranger was that the artifacts were only visible once exported. In LR, at any magnification, the files were clean.
Some shots were manually set, but most were shot with Auto ISO, using Aperture priority.
Color filters work the same way on B&W digital as they do on film. The effect is much easier to accomplish in camera than in post processing.
Hi.
I am considering to Purchase a M 246 after reading your review.
I am a DSLR usar and I am kind of worried about the rangefinder and focus.
Do you have any recomendations about this transition?
Thank you!
My suggestion is to just jump in with both feet! The transition to rangefinder is fairly quick and painless. After a couple of days of real use, it will feel natural. After a week, it will become second nature.
You can't go wrong with the 50 APO. I switched from the 50 Lux to the 50 APO and never once regretted it. The bokeh of the 50 APO is still very nice and pleasing. The Lux will be a little softer, but will not be as sharp as the APO wide open. And on the Monochrom M246, the added sharpness really shows. Hope this helps.
I would welcome insight from others on processing software other than Adobe CC, PS, or LR with the MM246. Capture One appears to be not compatible and when I called their tech people they said they had no plans to do so, even though the M9 Monochrom is supported. Has anyone tried Luminar?
Joel,
Leica has a partnership with Adobe (since 2009), so the best results will usually be had using Adobe software for DNG image processing. Is there a reason you are looking for alternatives to Lightroom?