Weather is unpredictable. Some of the most striking photographs are often the result of miserable conditions and braving those conditions to be in the right place and at the right time. While everyone else seeks cover and gives up, hardcore photographers don’t run from the elements. They are prepared for the worst and can take full advantage of the dramatic moments most people never see.
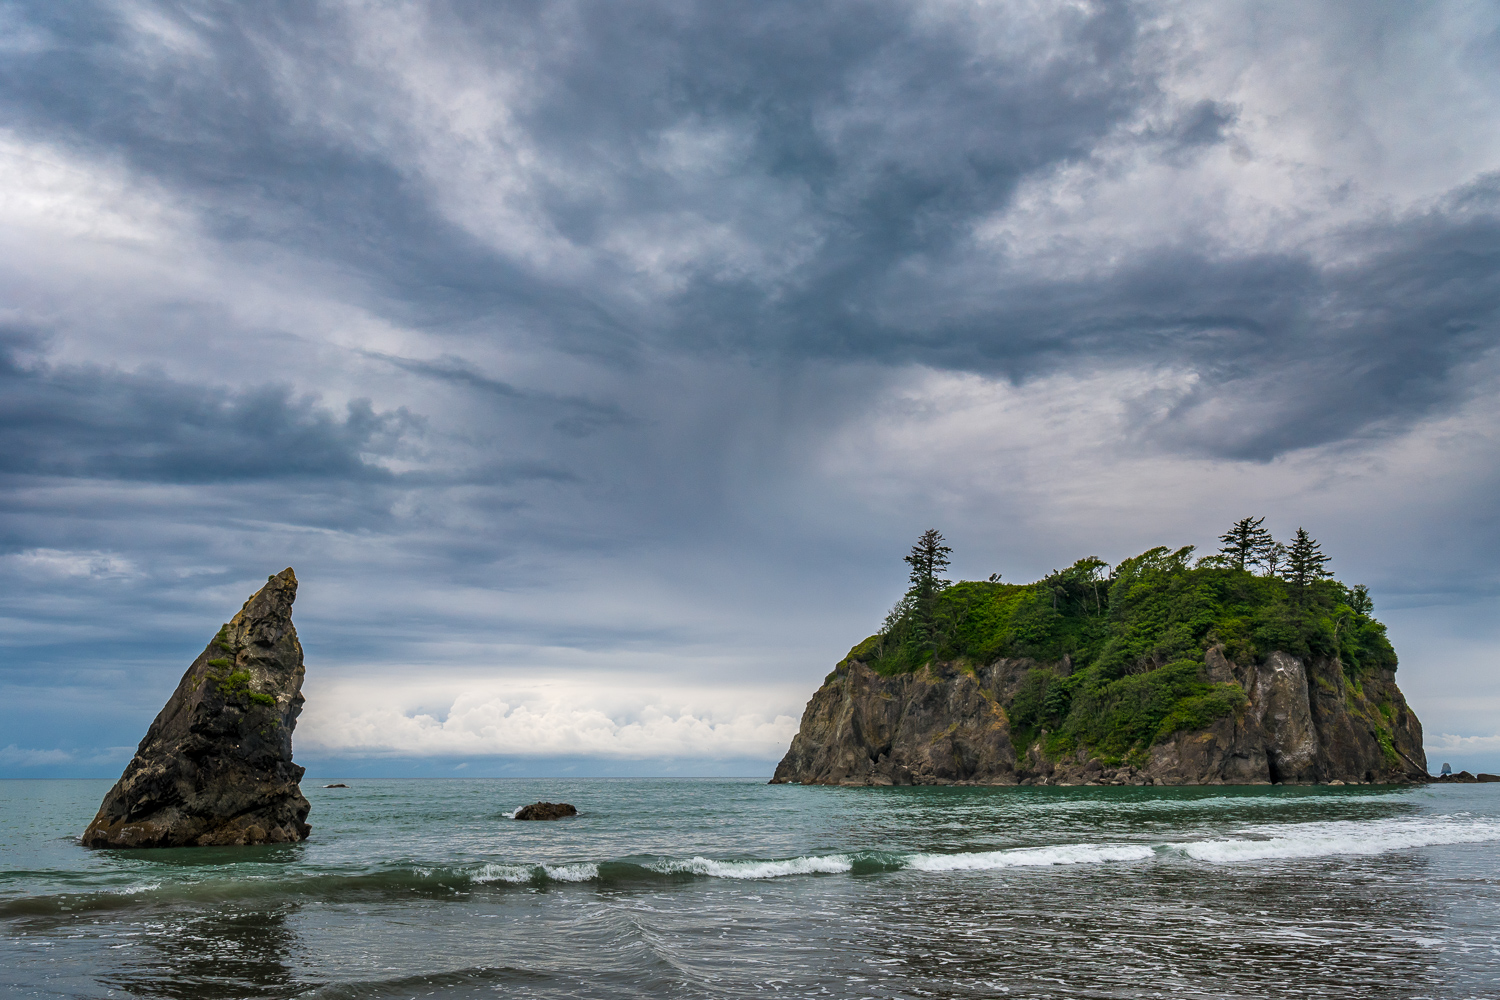
Rainstorm in Olympic National Park
There is no shortage of articles and blogs on what to wear for hiking, camping, rock climbing, skiing, or even mountaineering. But, dressing for landscape photography is a bit different than gearing up for other outdoor activities. Most outdoor winter pursuits are high output like downhill skiing or ice climbing, so the clothing is geared towards working up a sweat, not standing still.
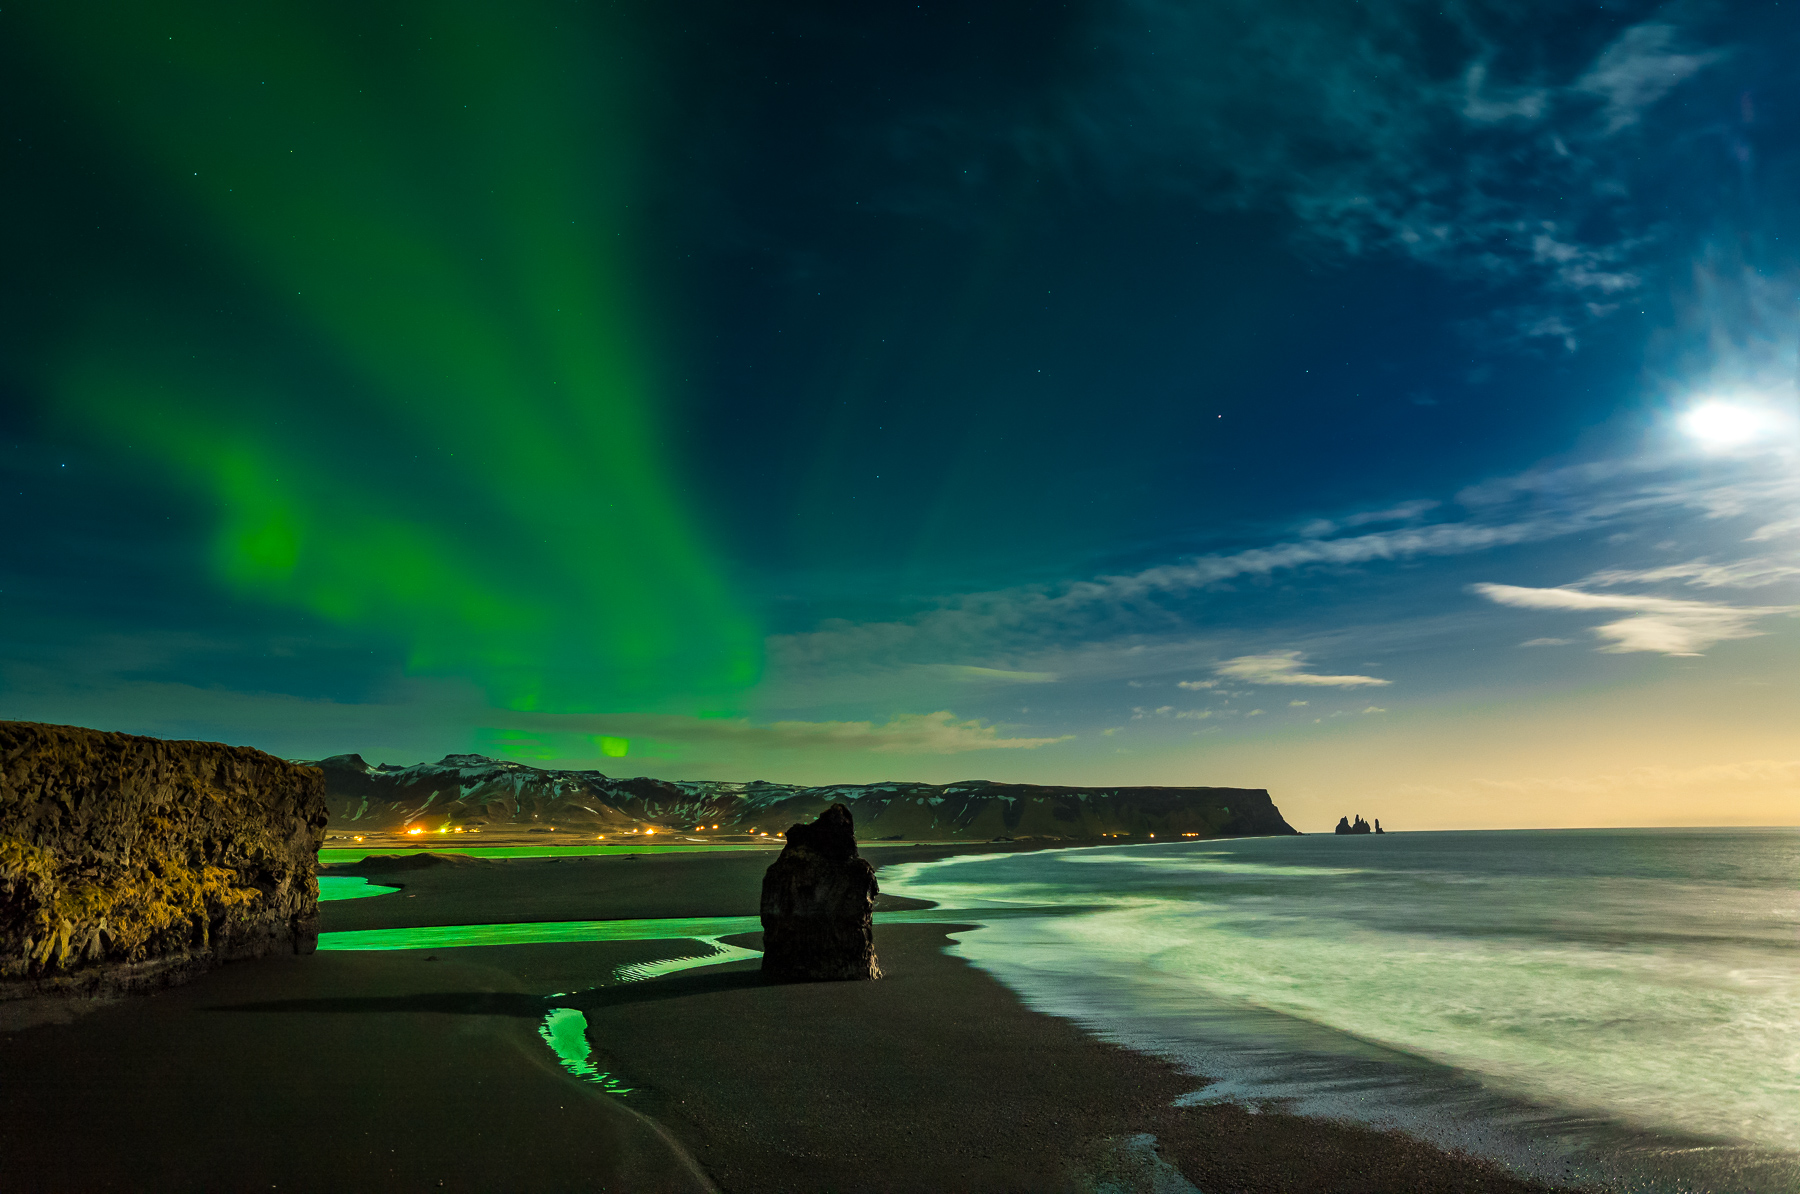
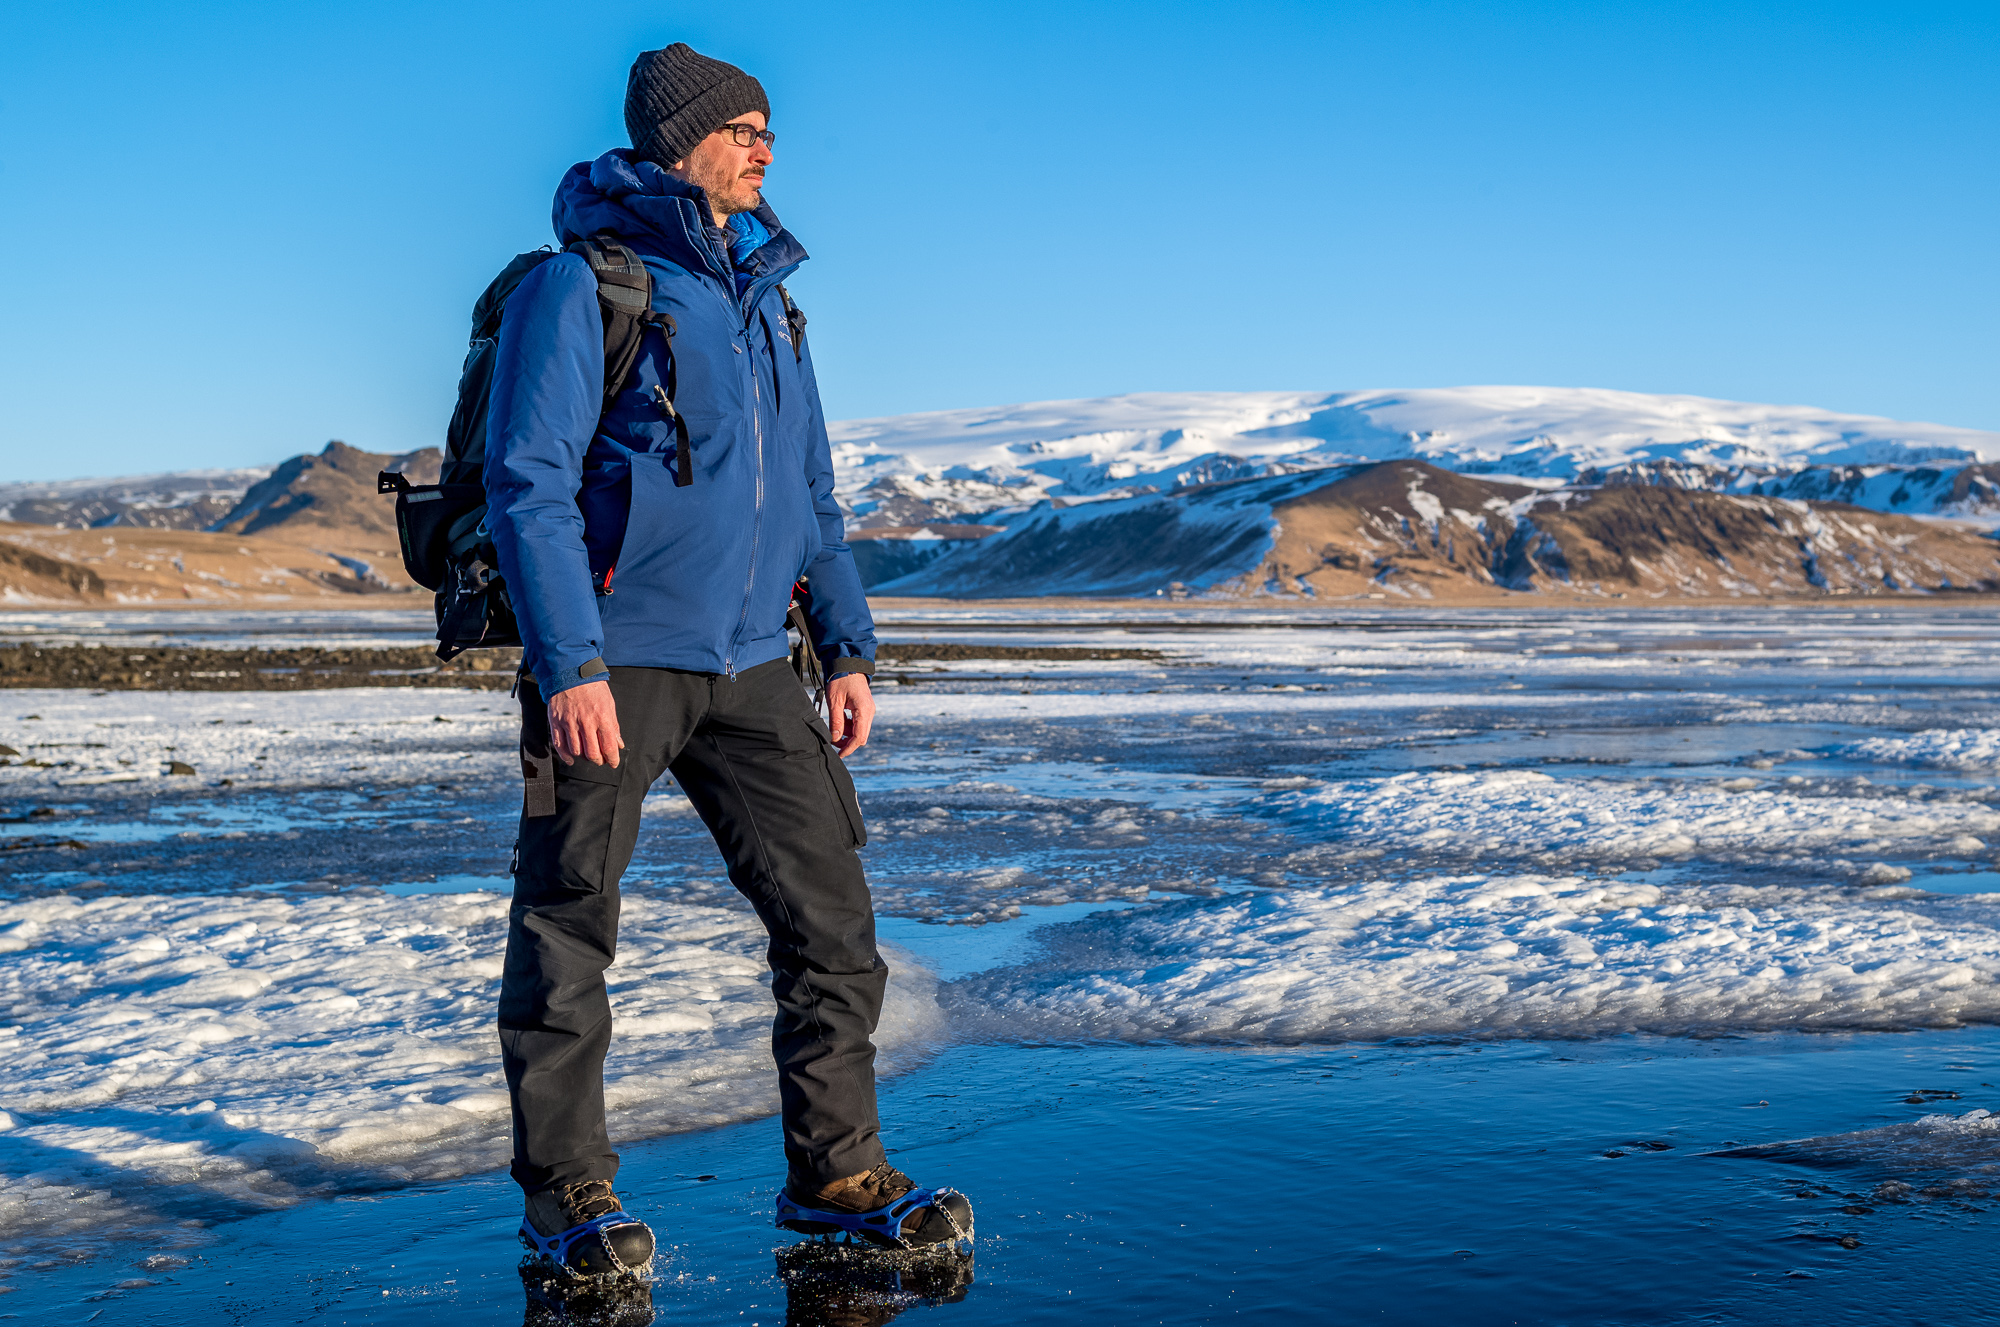
Windy and cold – Iceland in February in the middle of the night
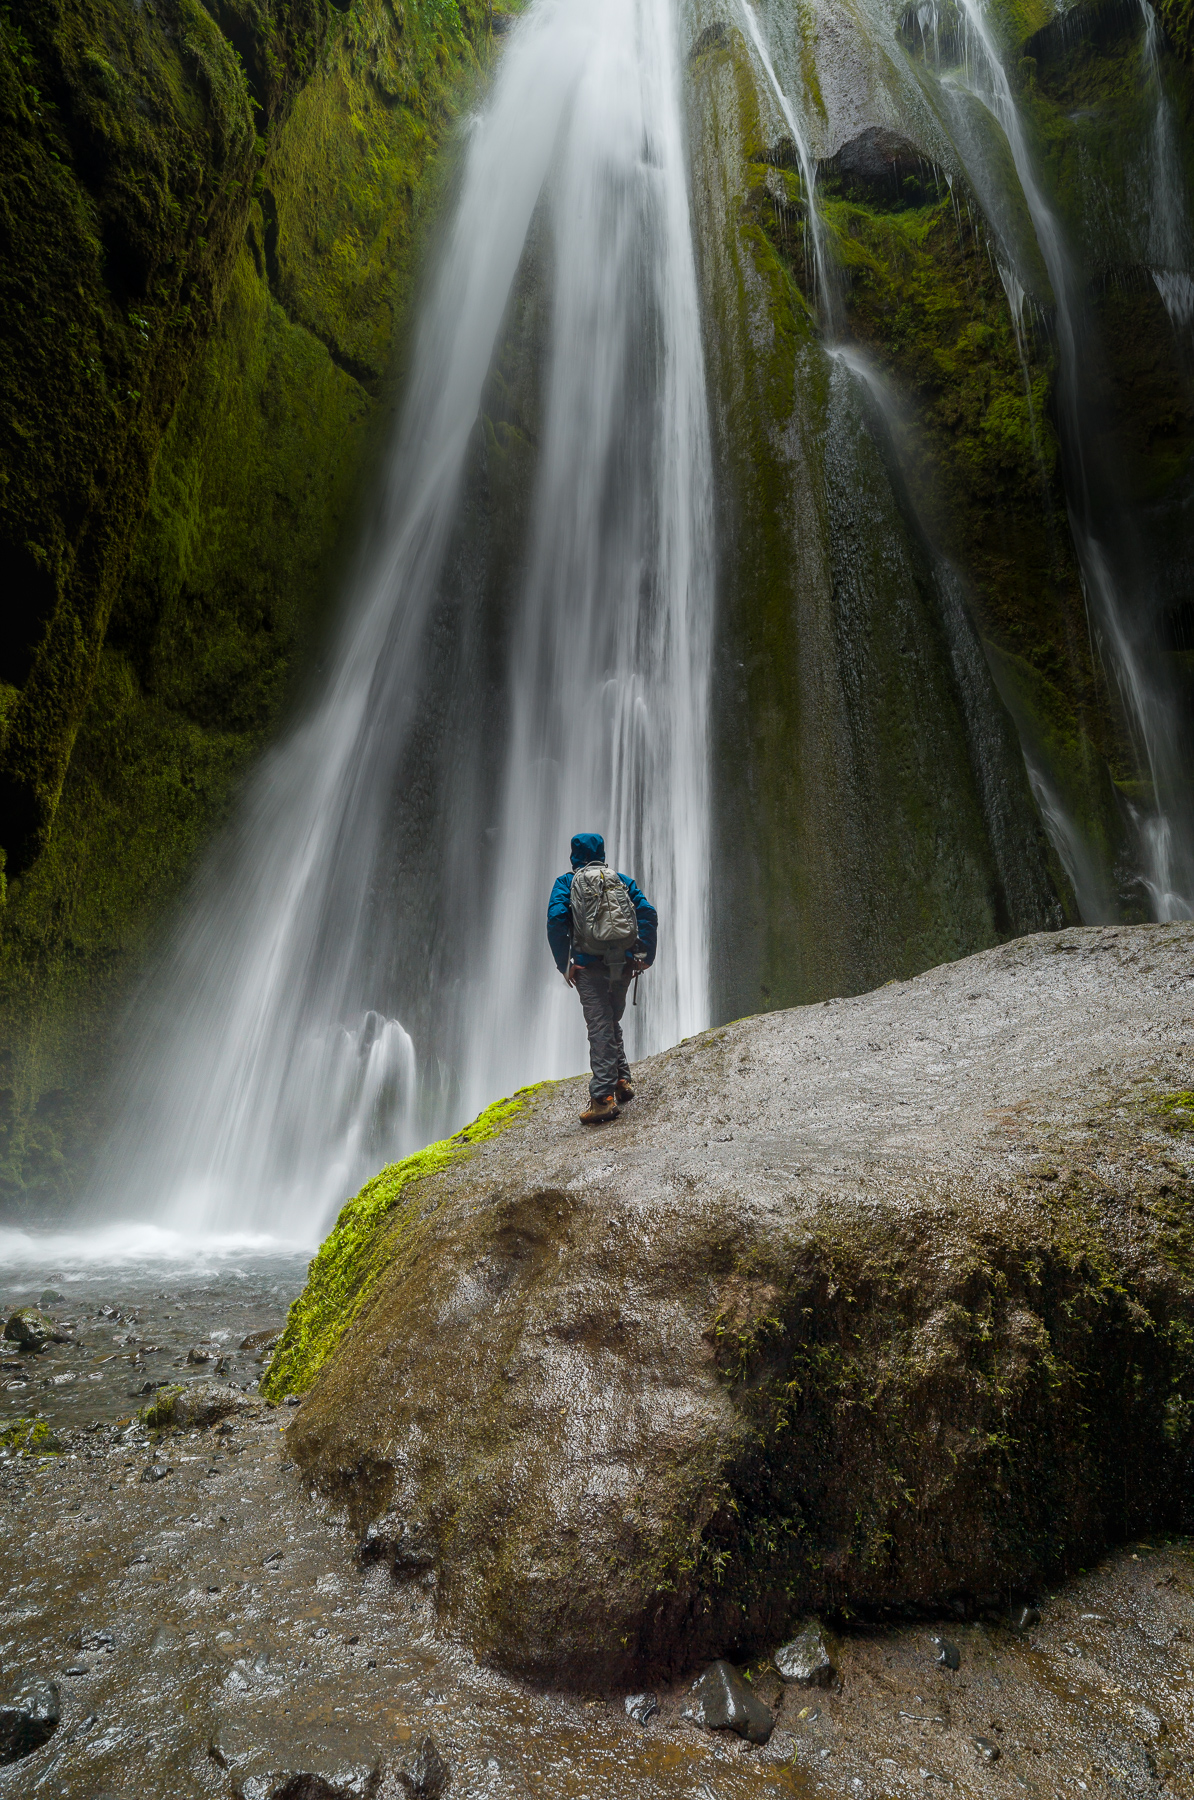
Landscape photography usually requires standing stationary for long periods of time, often in the dark. Whether preparing for an epic sunrise on a misty windblown beach in the predawn wet chill, dealing with the sudden temperature drop after sunset in the high desert, watching the camera count down a 30 second exposure of a waterfall amidst a soggy downpour in the woods, or braving a 50 MPH wind in the arctic winter hunting for the Northern Lights, we spend a lot of time waiting around. Waiting for the light to be right. Waiting for that one cloud to move. Waiting for the fog to lift. Waiting for multi-minute-long exposures and the just-as-long dark frame noise reduction. And while we’re waiting, it’s nice not to be freezing, wet, or both.
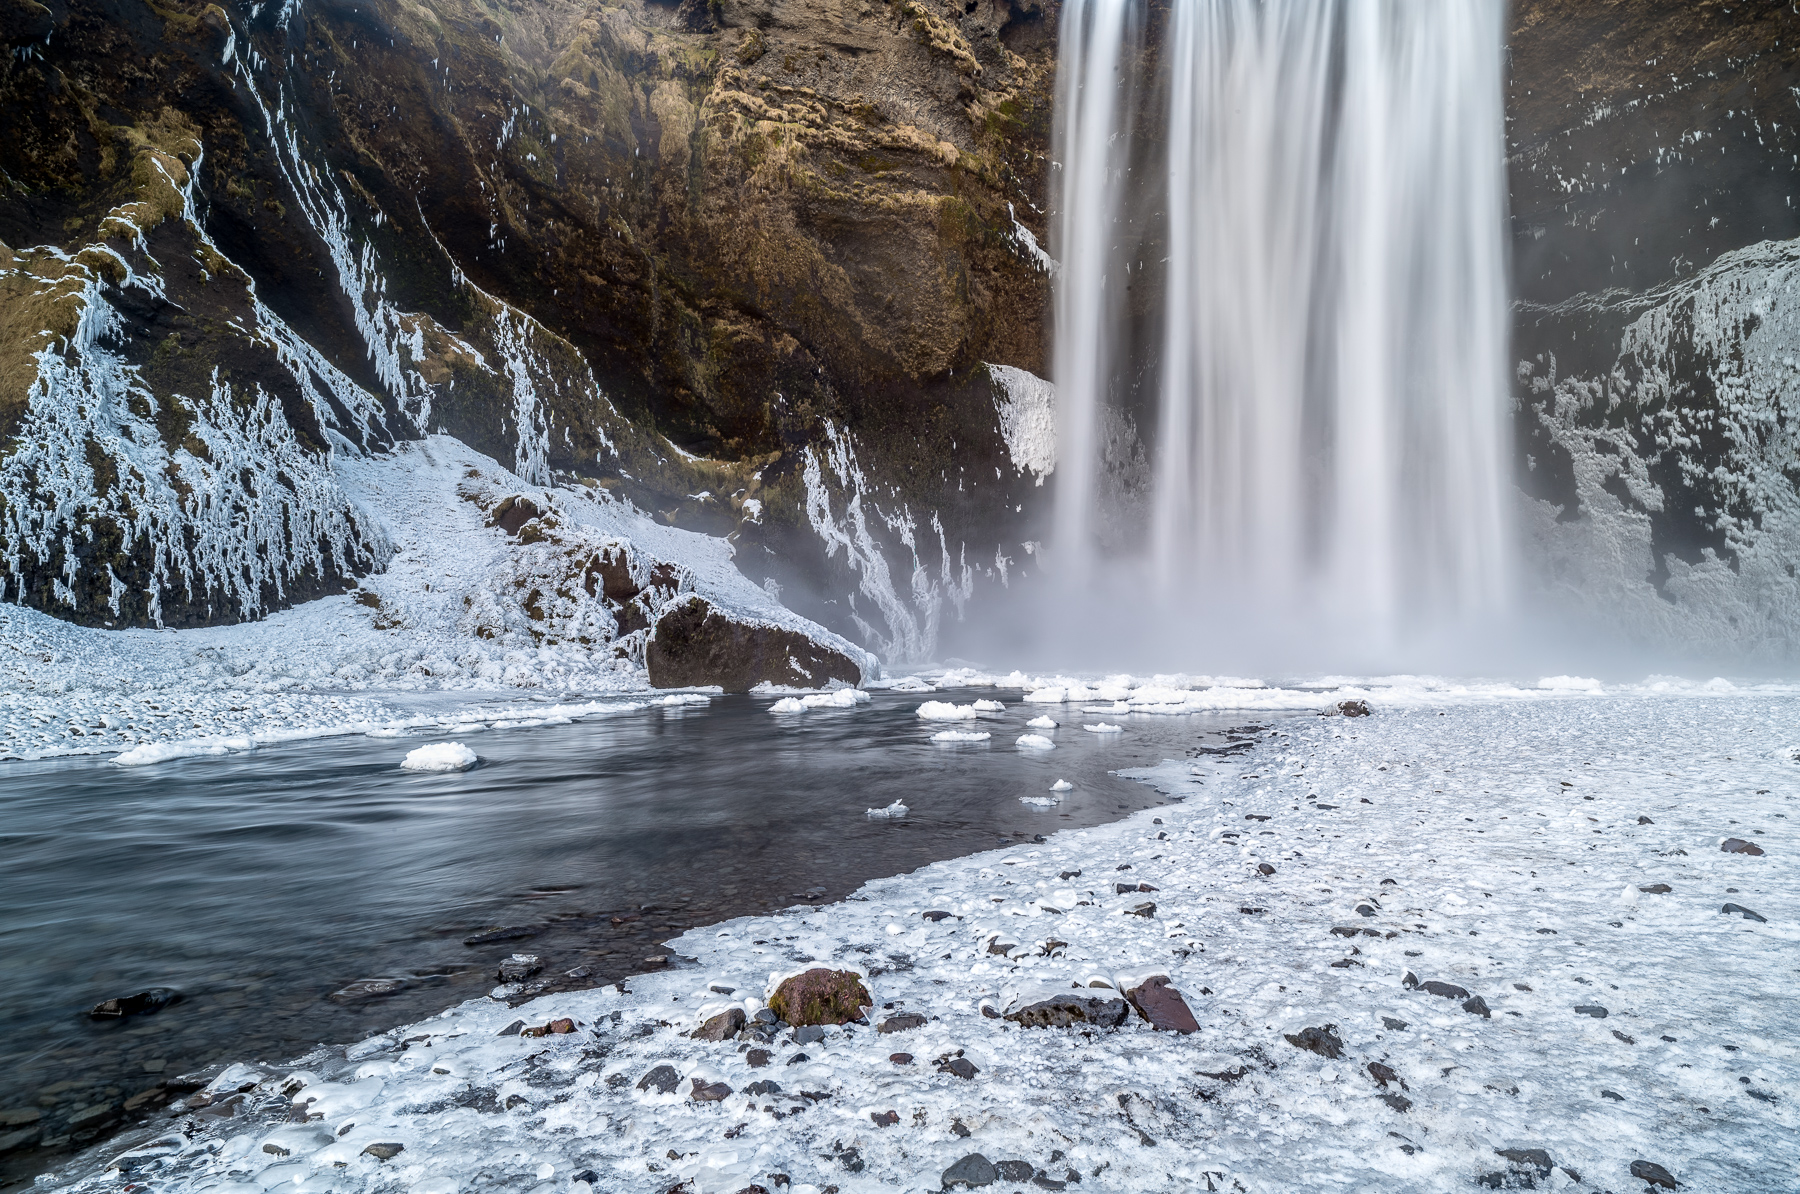
Waterfall mist turned to ice within minutes in sub-freezing temperatures
The good news is that best practices and standard gear from more technical winter endeavors can be adopted and adapted for photographers.
Technical clothing vs. casual wear
The technical clothing I discuss below definitely costs more than your run-of-the-mill casual attire. A lot more in many cases. These garments use cutting-edge technology, highest end materials and superior construction to offer the wearer ultimate performance. Depending on what type of piece we’re looking at, performance can be defined slightly differently, but generally, here are some aspects where tech clothing excels:
- Lighter weight
- More packable/less bulky
- Longer lasting
- Tougher, more durable construction
- More waterproof
- More wind resistant
- Articulated for better movement
- Warmer
- More breathable
- Faster drying
- Higher quality materials
- Better fit
- Designed for layering
So, yes, you will spend more up front for this gear, but everything should last much longer, be more flexible and ultimately, you will be more comfortable. Frankly, I spent a decade dialing in my outdoor photography wardrobe. My suggestions are from experience and what absolutely works.
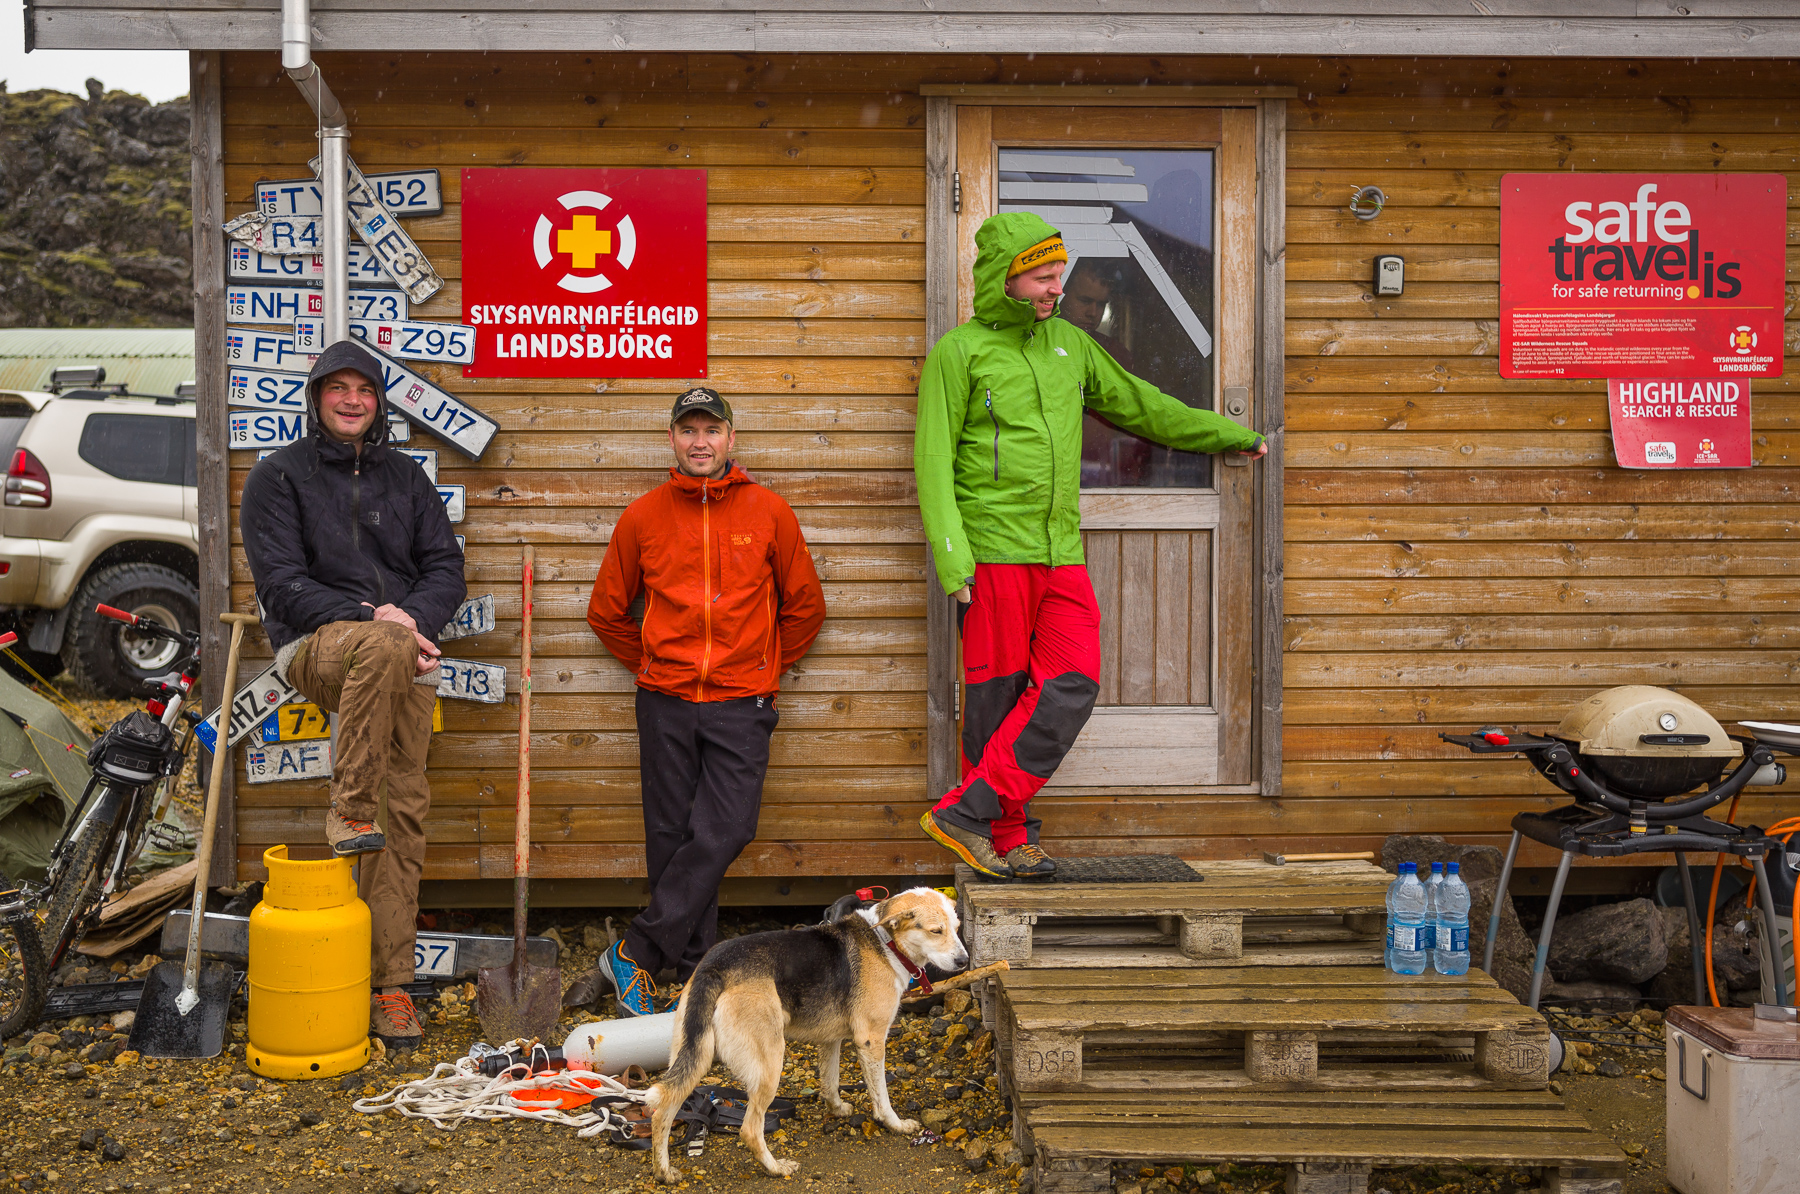
Icelandic Mountain Rescue – these guys know the benefits of technical clothing
I’m going to cover cool to cold conditions, as most people have a pretty good idea of how to dress when it’s hot – sun hat, shorts, lightweight shirt, breathable trail shoes. Not too complicated.
Let’s get a little more specific. By cool, I’m talking about 45-65°F (7-18°C). Cold, for me is 25-45°F (-4-7°C). Below that is very cold, especially when standing still for hours on end, but we can still adapt with the right tactics.
Layering approach
Dressing in layers allows for the maximum flexibility to handle a wide variety of weather and conditions. I’ve gone on photography trips with some massive weather fluctuations. A few years ago, while leading a one-week workshop photographing fall foliage in New Hampshire and Vermont, we experienced a low of 20°F (-7°C)with frost on the ground one morning and a high of 80°F (27°C) and sunny just two days later. Add in some hail one day, a good amount of rain another, and you get an idea of why photographers need to be able to adapt to changing conditions.
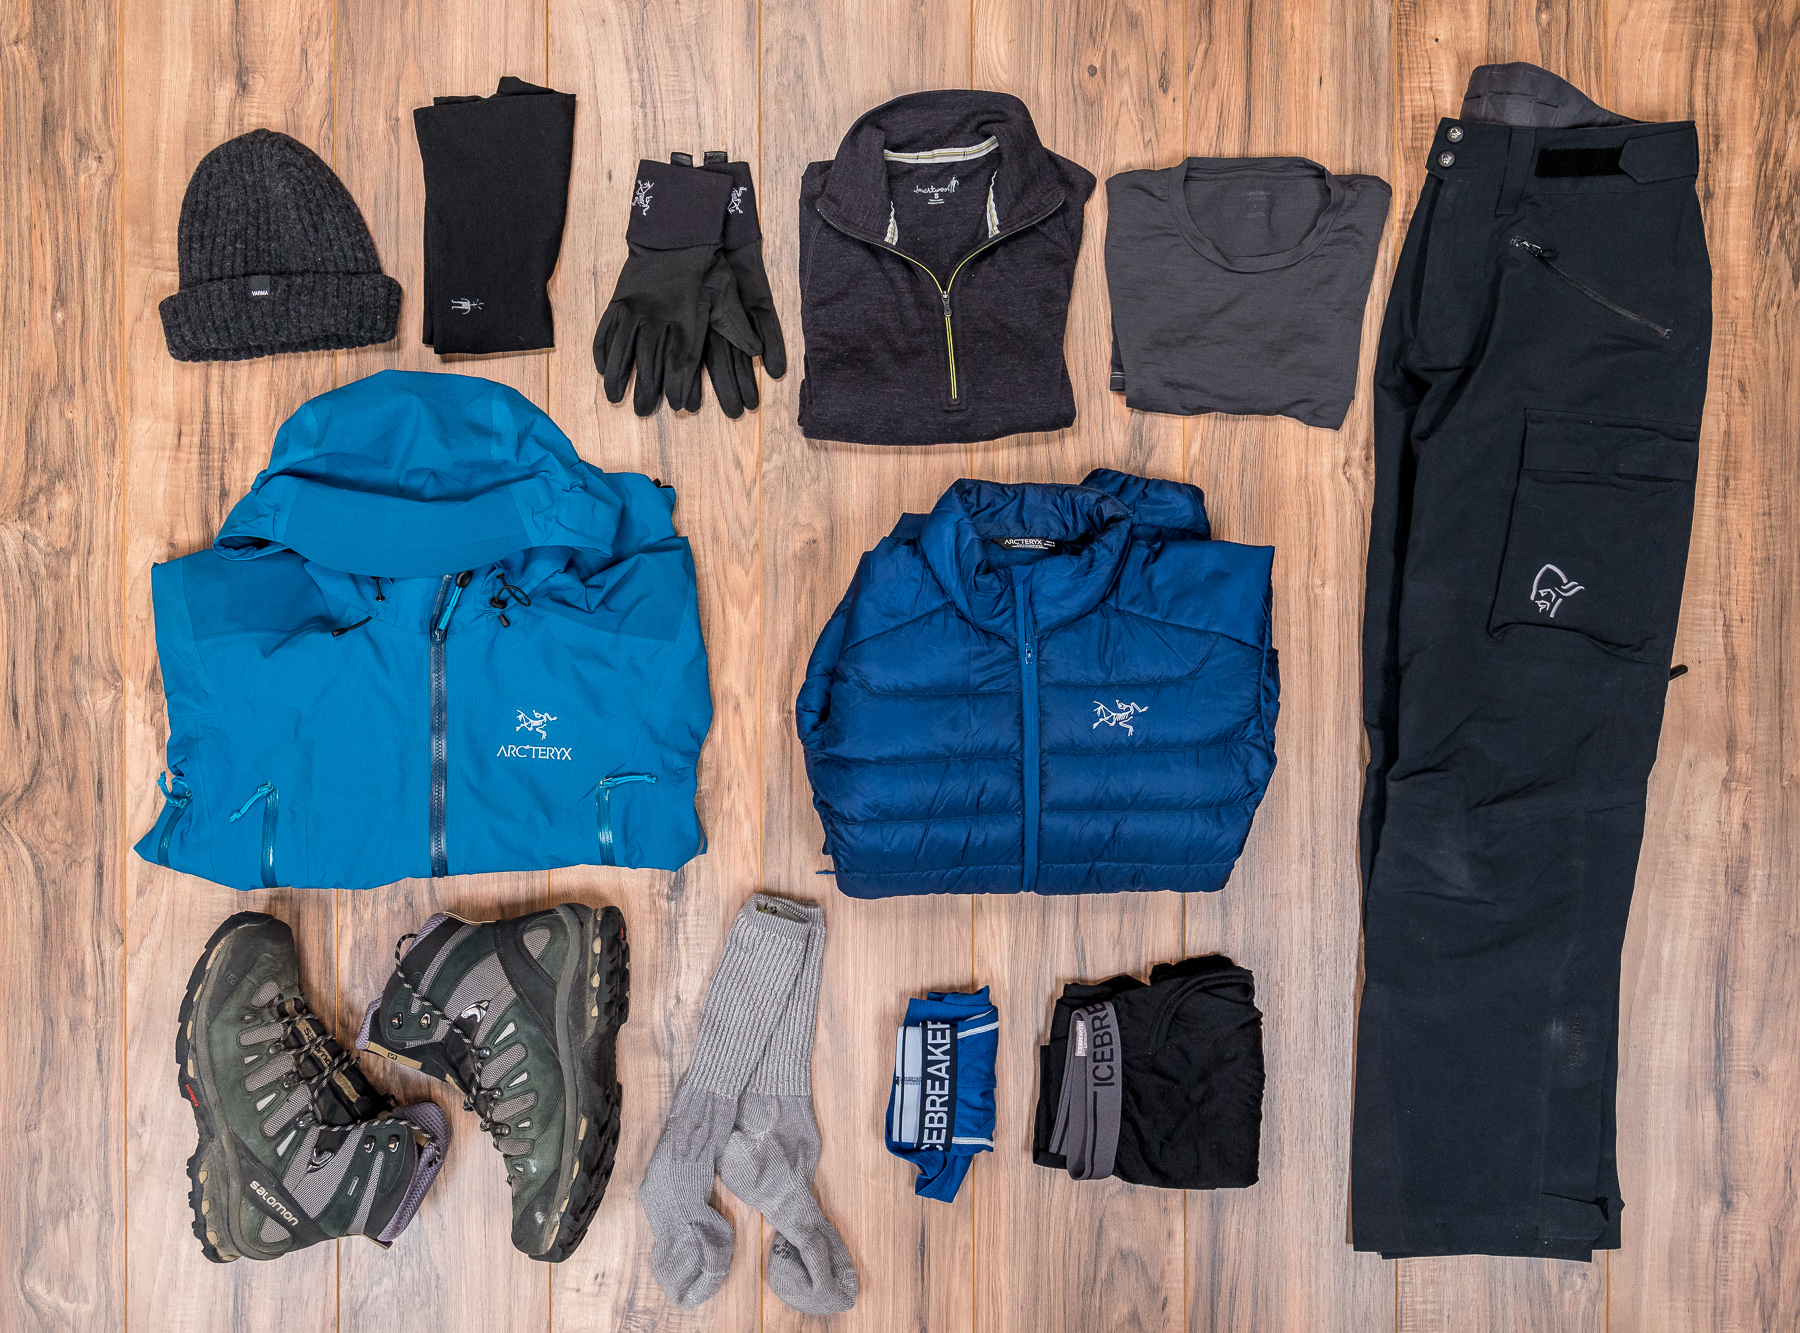
A full layering system
At the most basic level, layering generally consists of three layers: Base layer, mid layer and outer layer. Let’s look at each in more detail and how we can adapt each to give us the most flexible clothing system possible.
Base layer
The Base layer sits right next to your skin, both bottoms and tops. The function of this layer is to wick perspiration away from your body, keeping you dry so you don’t get chilled. Shirts and leggings should be form-fitting to allow for layering on top. Stay away from cotton and silk! Once wet, they will stay wet, stick to your skin, and give you a good dose of chills.
You have two basic material options, each with their own advantages.
Merino wool
Merino wool is unmatched for its excellent wicking performance, odor-resistance, temperature regulation and overall coziness. Smartwool and Icebreaker are the leaders here.
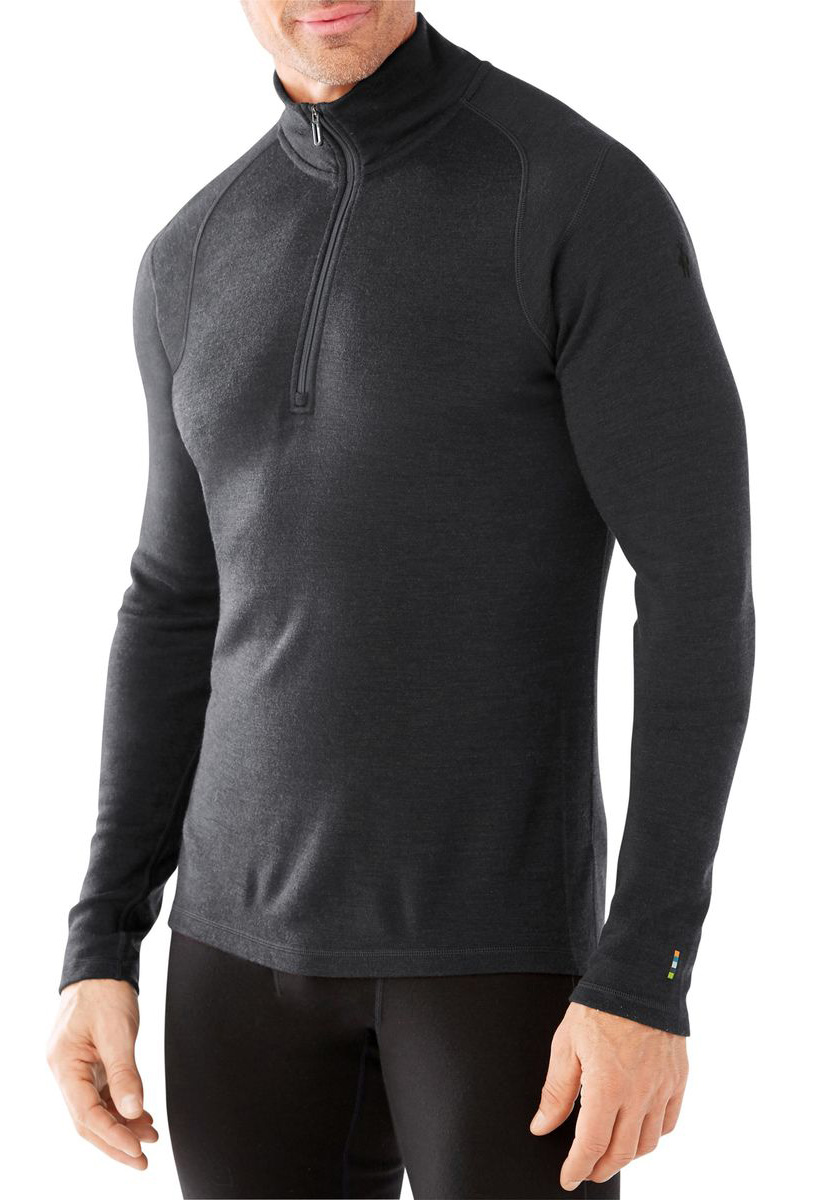
Smartwool 250 Zip-top wool base layer
The best part of wool is that you can bring just a few items for a longer trip and wear repeatedly. Wool’s natural antimicrobial properties assure that base layers worn for days on end keep smelling fresh. When it gets very wet, you might get a waft of wet sheep aroma, but it sure beats locker room stink. And while you don’t have to wash wool garments very often (yes, really), launder them in Nikwax Wool Wash to keep them soft and to reactivate the natural lanolin that gives wool its magical properties.
Synthetics
Synthetic performance base layers work amazingly well, offering faster wicking and drying than natural fibers, but don’t have the odor-resistance of merino. Plan to wear once or twice then doing a quick overnight wash – they’ll dry in no time if hung up. Some solid options are Patagonia Capeline and Under Armor Base. I’ll opt for a synthetic Base layer if I know I’m going to be doing some serious hiking or scrambling to get to a shooting location. While I might work up a sweat on the ascent, my 1/4-zip base layer will be dry and comfortable within minutes of stopping.
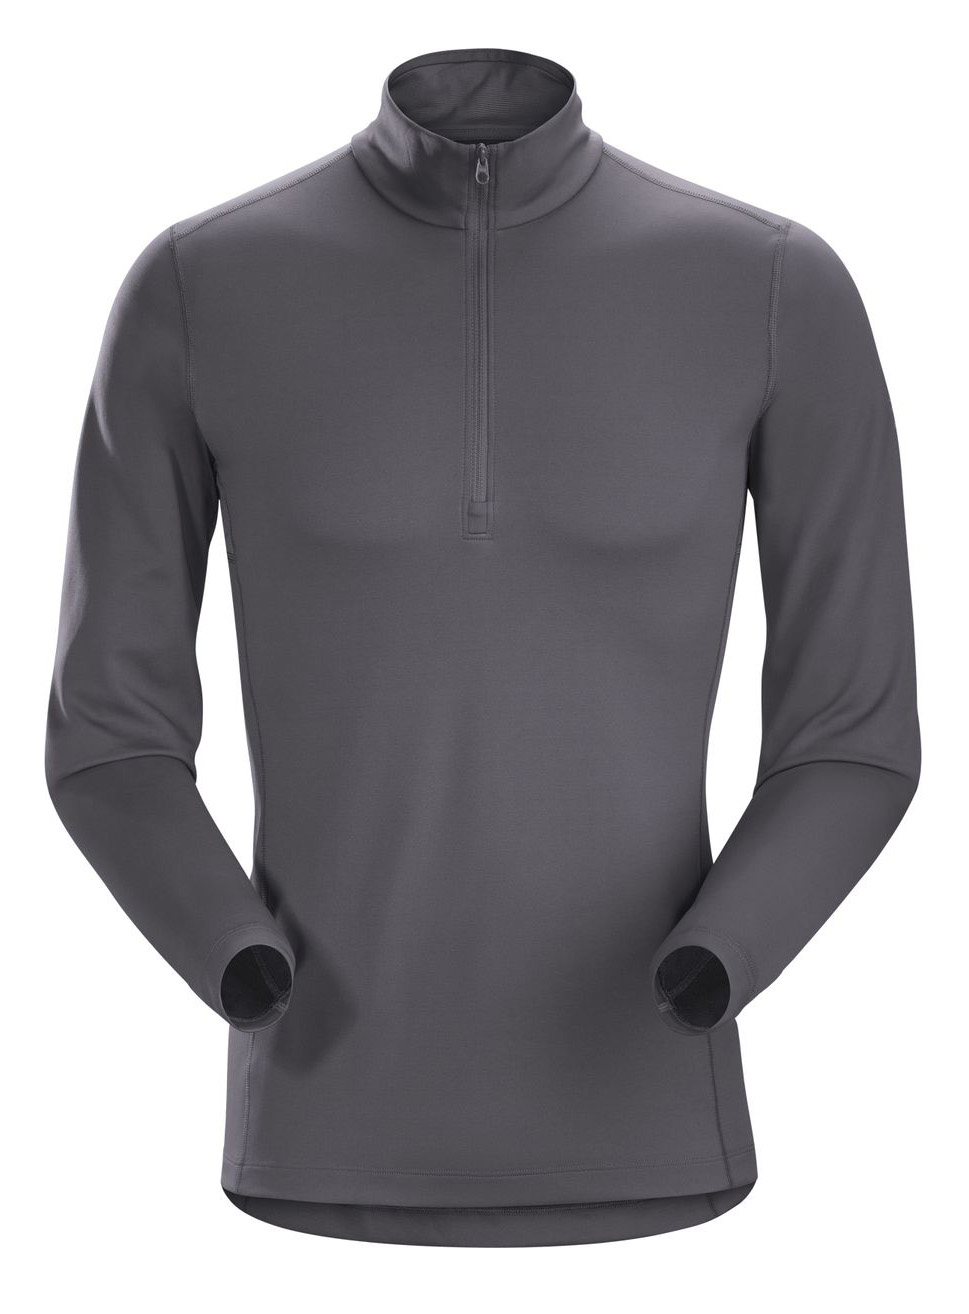
Arc'teryx Phase AR zip neck synthetic base layer
Base layer weight
Base layers come in different weights from micro-weight (120gsm) to mid-weight (260gsm). If you tend to run cold, opt for heavier layers, or go for two base layers at the same time – a light-weight crew underneath with a light, or mid-weight 1/4 zip neck on top for most flexibility.
Personally, my go-to combo is an Icebreaker 150 Ultralite T-shirt with a Smartwool 250 mid-weight zip neck long sleeve. The zip necks are awesome. They’ve got high collars that seal out the cold and allow you to dump heat quickly if you start to get overheated.

My base layers
With three T-shirts and two or three long sleeves, I’m good for 7-10 days. For a really cold outing, I’ll swap out the short sleeve T-shirt for a long sleeve Smartwool 250 crew neck, although plan to be very toasty when you come inside, even after shedding all your other layers.
Make sure to get bottoms as well as tops. My favorites are the Icebreaker BodyFit 200 Leggings. You should be able to get 3-4 days from one pair.

Icebreaker BodyFit 200 leggings
Underwear
Underwear is part of your base layer system and yep, you guessed it. Wool for the win again. Grab some Icebreaker BodyFit 150 boxer briefs and be happy. Just as cotton T-shirts are a no-go, the same goes for your shorts.
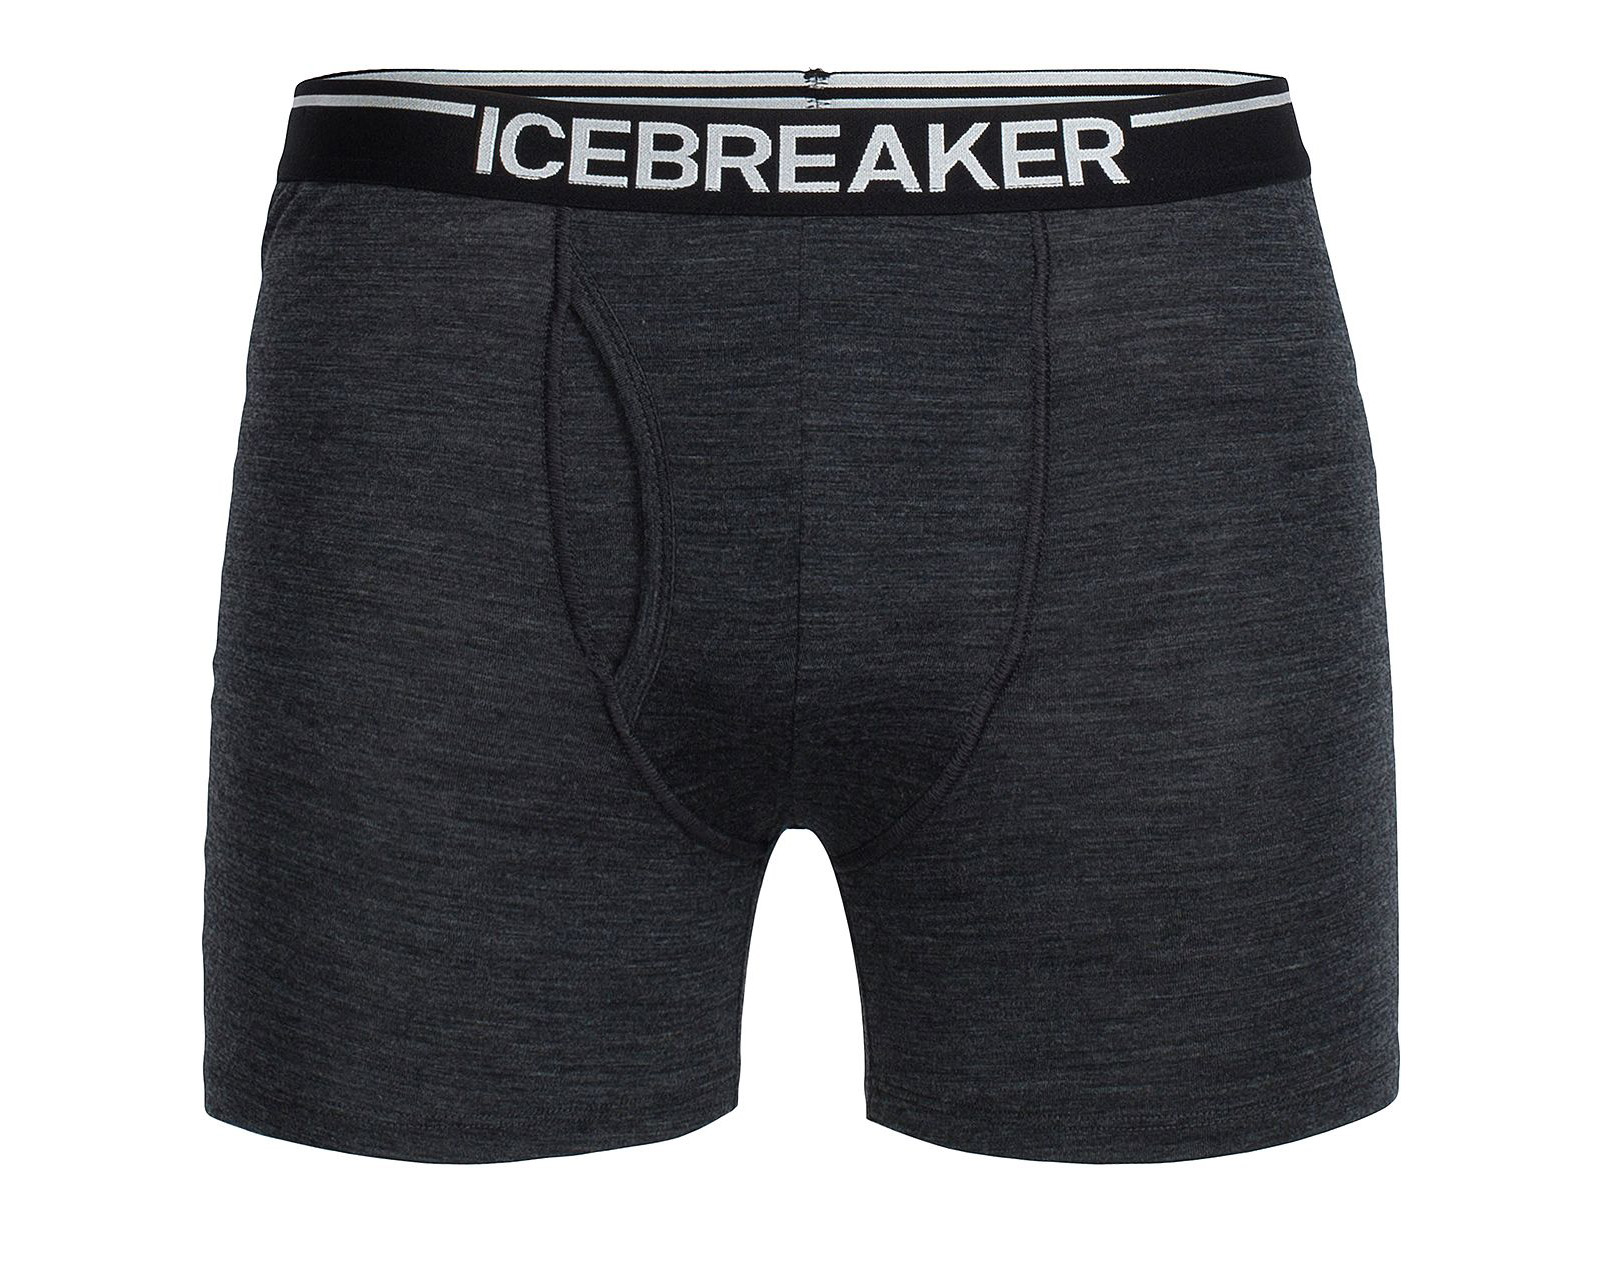
Icebreaker BodyFit 150 Ultralite boxer brief
Wool Socks
Nothing beats the comfort of good wools socks. No, they are not itchy. Yes, they provide unmatched moisture wicking abilities and keep your feet dry, warm, and happy. My favorites are Smartwool hiking socks. They have extra padding on the soles for even more comfort while on your feet.
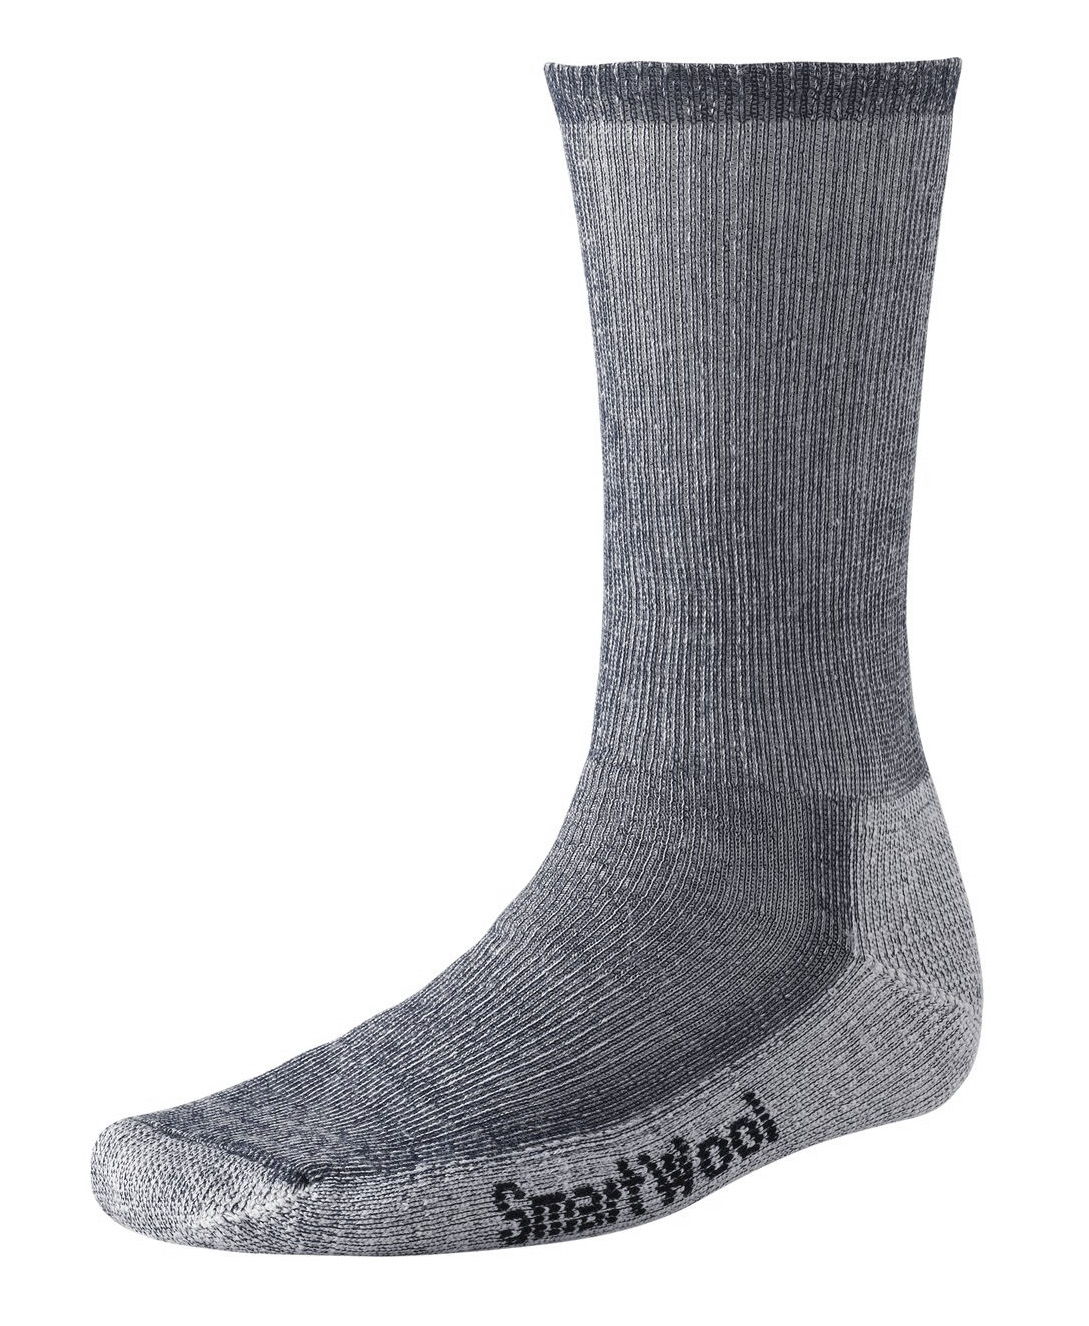
Smartwool hiking socks
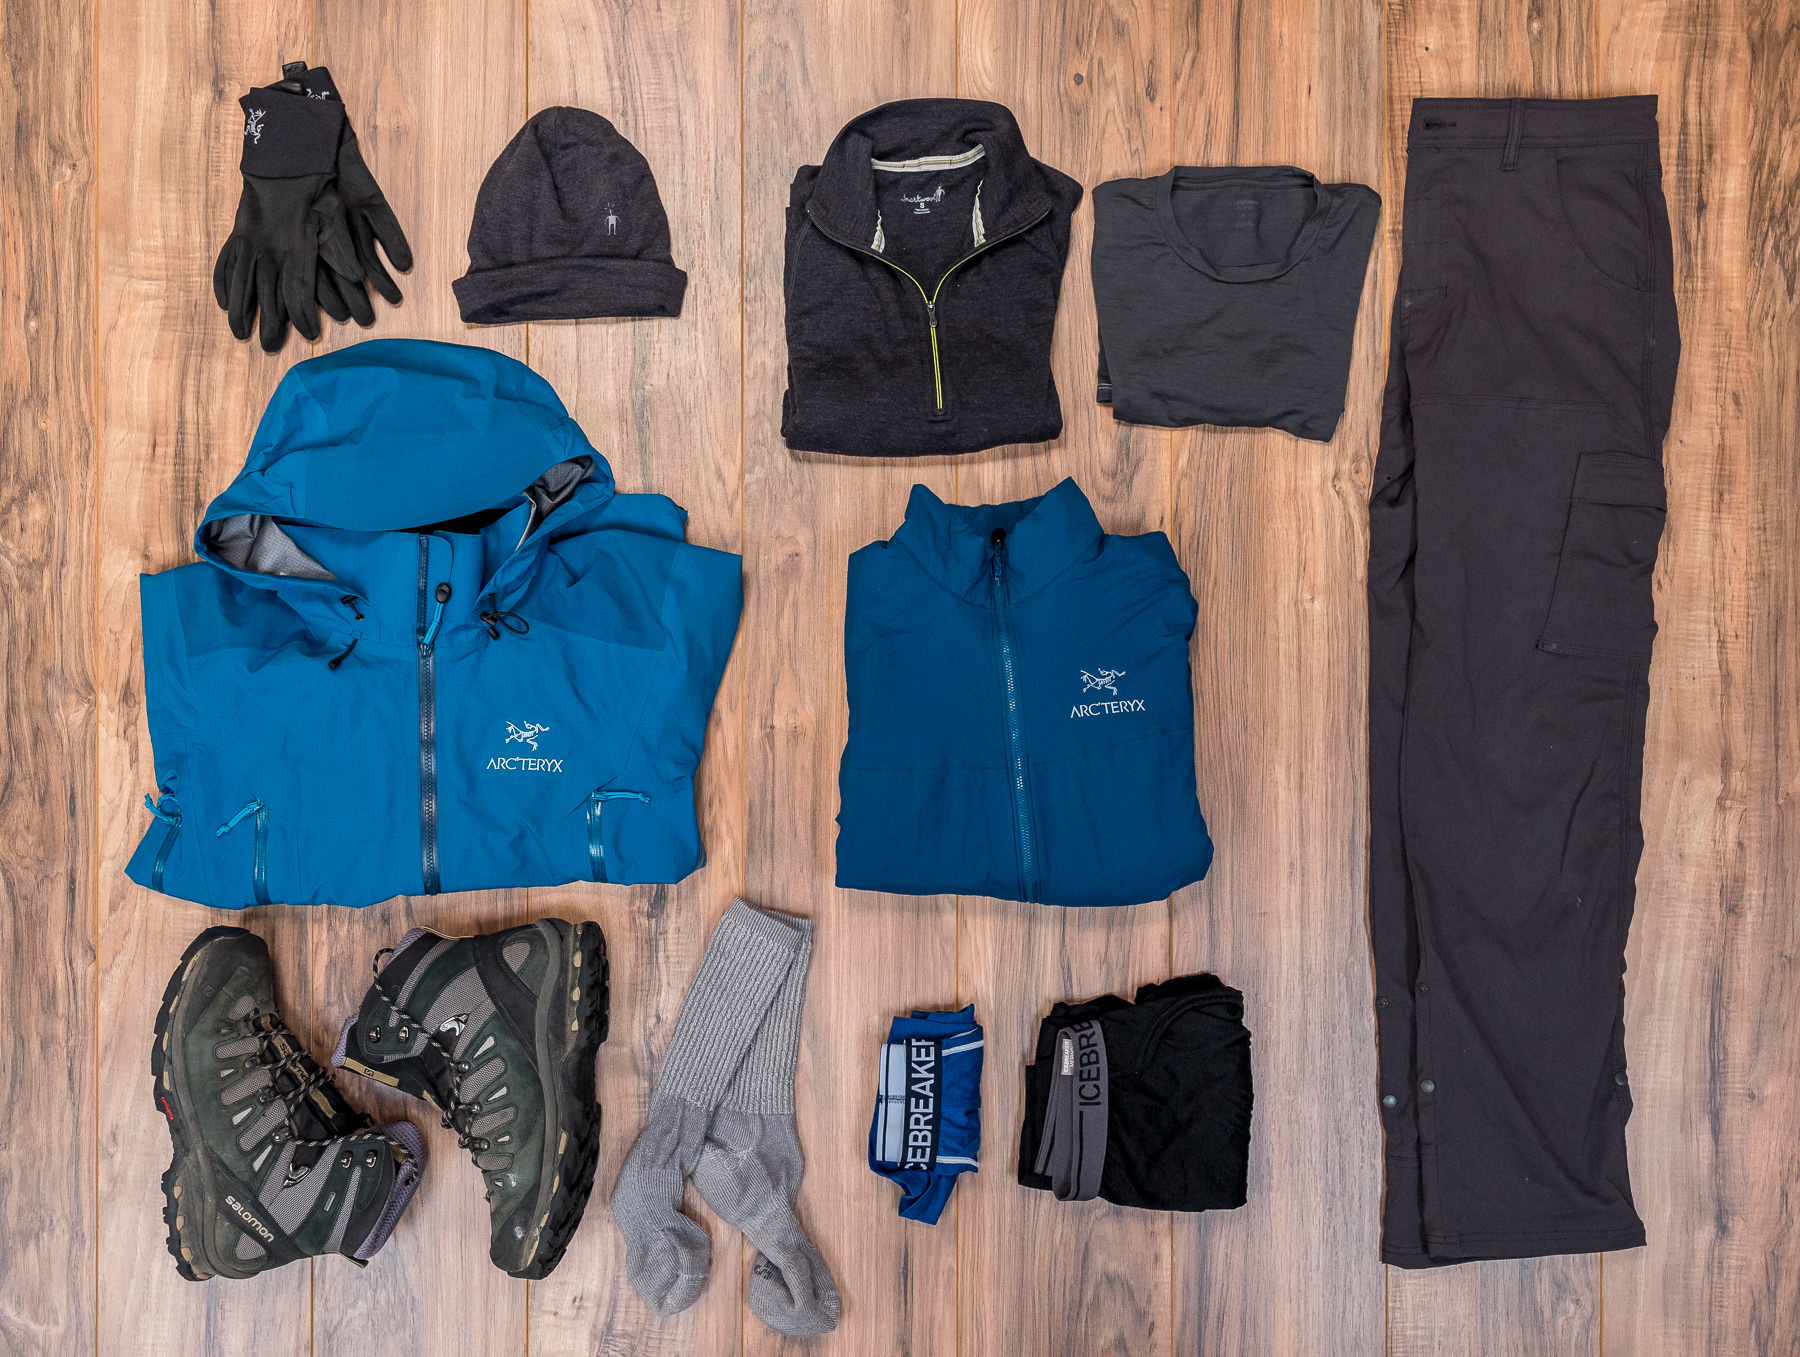
How much do you need for a full trip?
Here's my base layers for 10 days. I've got four T-shirts, three long sleeve zip shirts and three pairs of leggings. How much underwear I bring depends on if I will have access to laundry if staying in hotels, or if I am willing to do a quick hand wash or two along the way. Of course, if you're good with wearing one pair for two days, I won't judge. The same thinking goes for socks. You can wash and wear, wear more than once, or just bring a pair for every day you'll be in the field. A lot comes down to your personal comfort level.
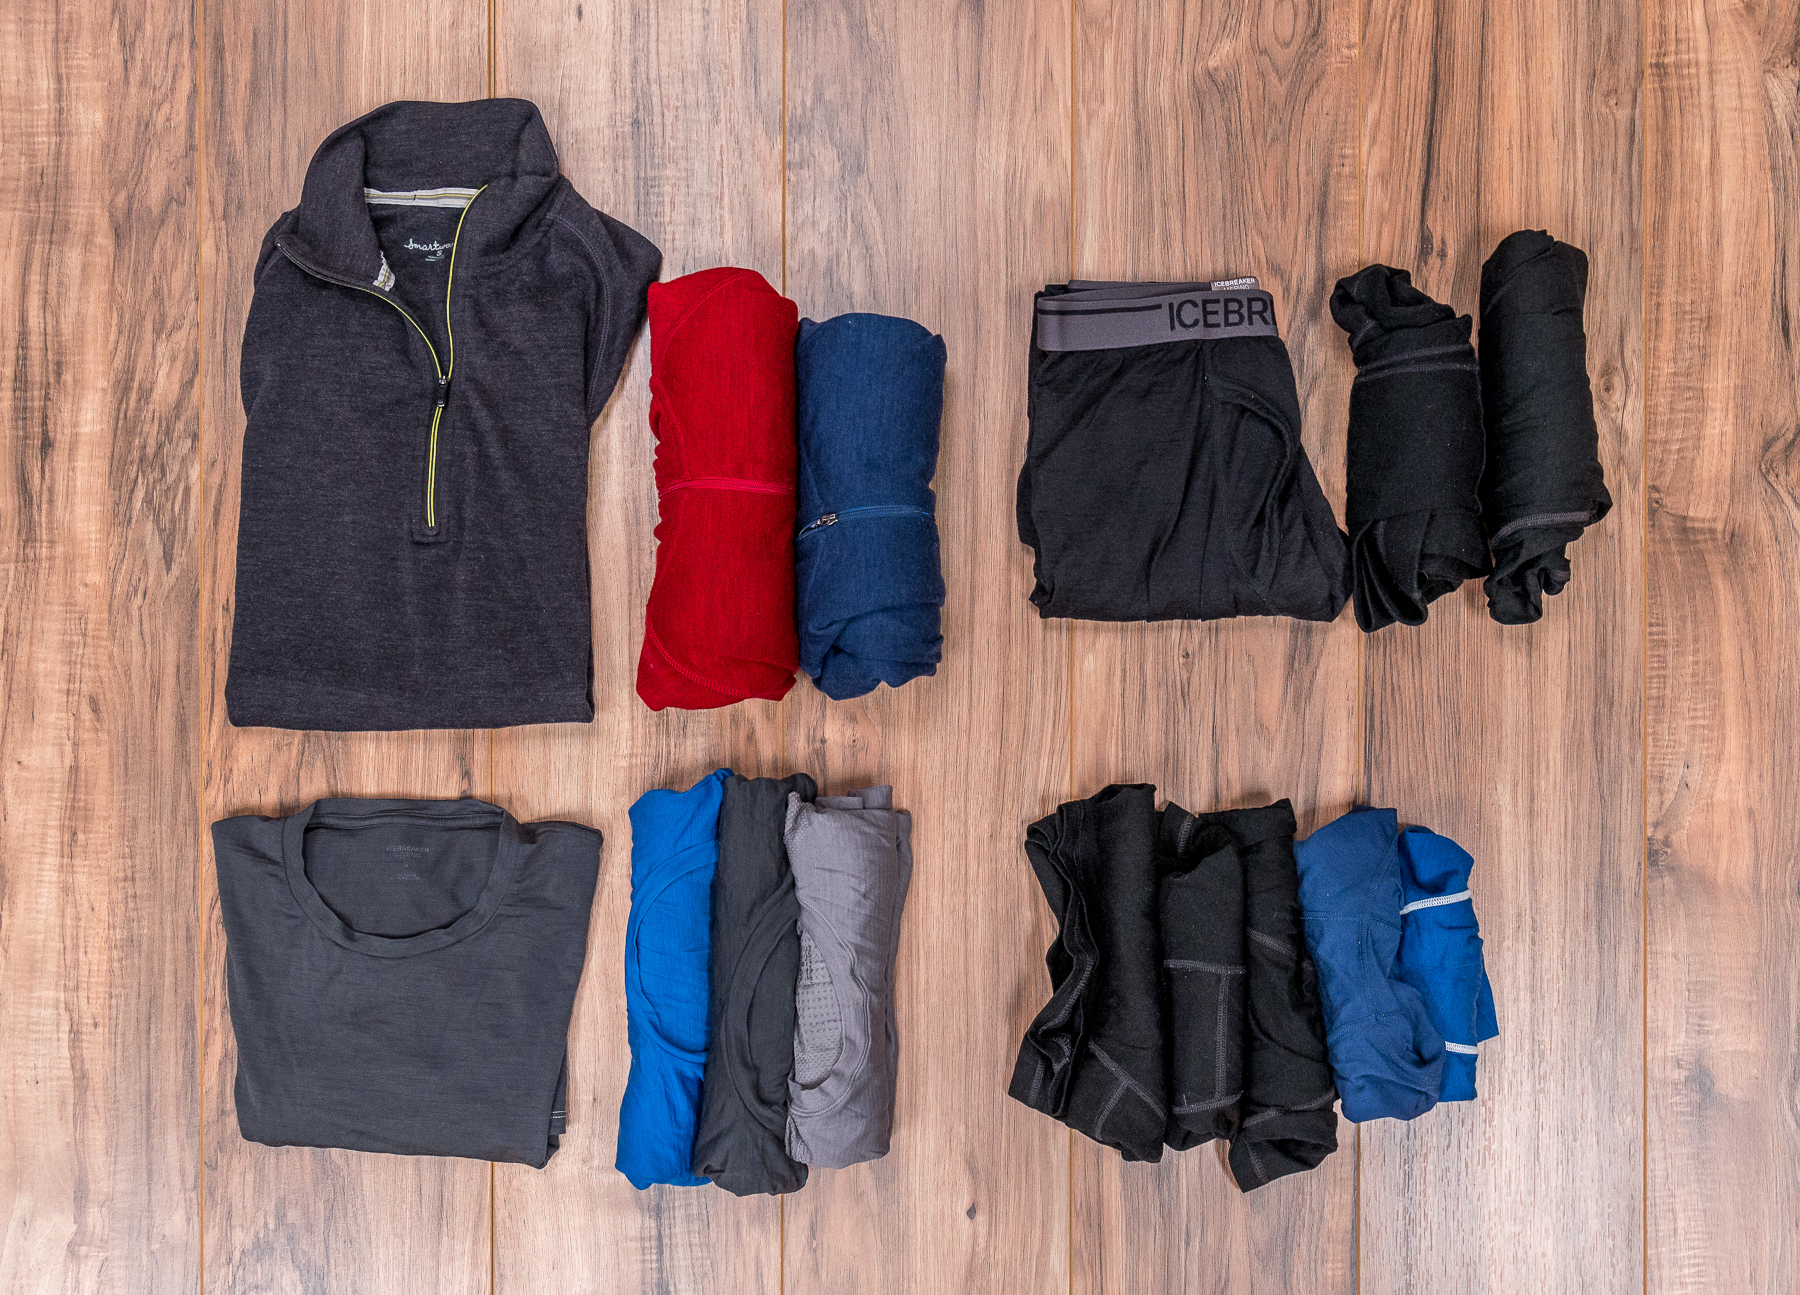
10 days worth of merino baselayers. When rolled, they take up much less space.
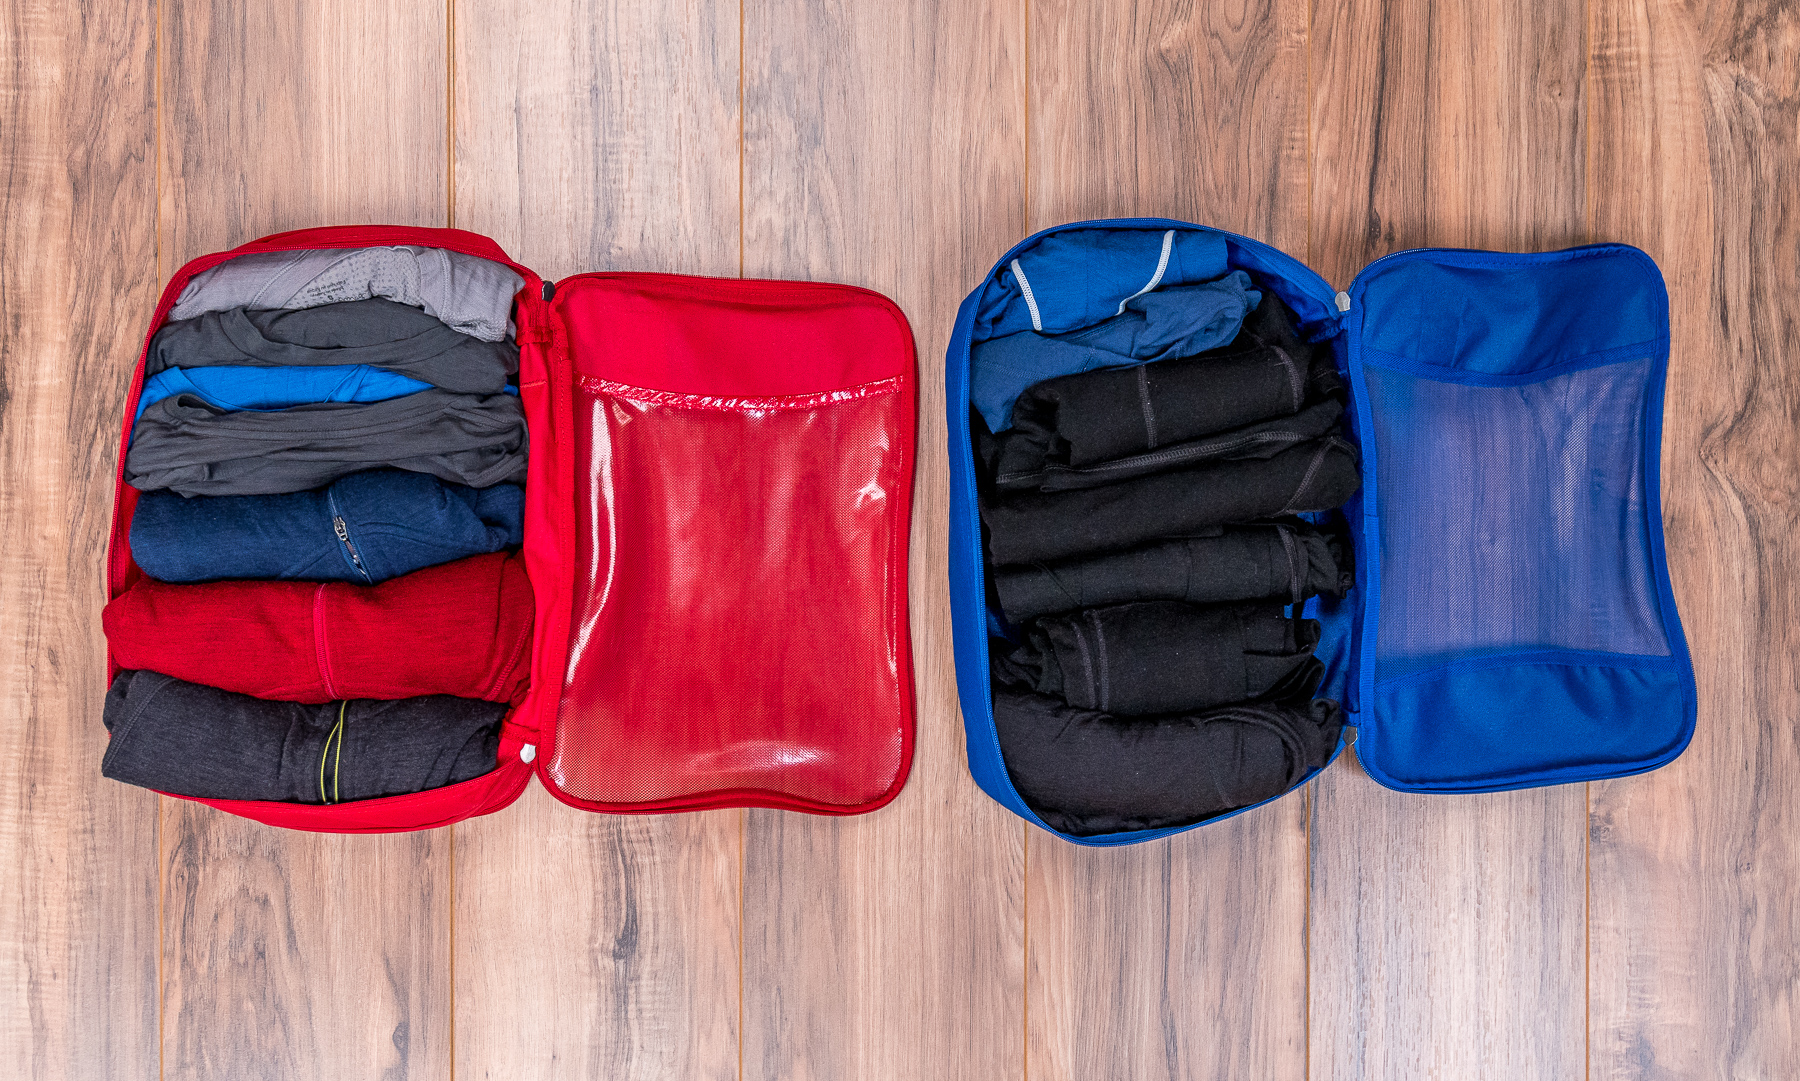
I use the Eagle Creek Pack-It packing cubes when packing to keep similar items together. The Pack-It full cubes measure 14 x 10 x 3 inches, which I've found to be the perfect size for tops and pants. By rolling up your base layers, 7-10 days worth of clothes takes up very little space.
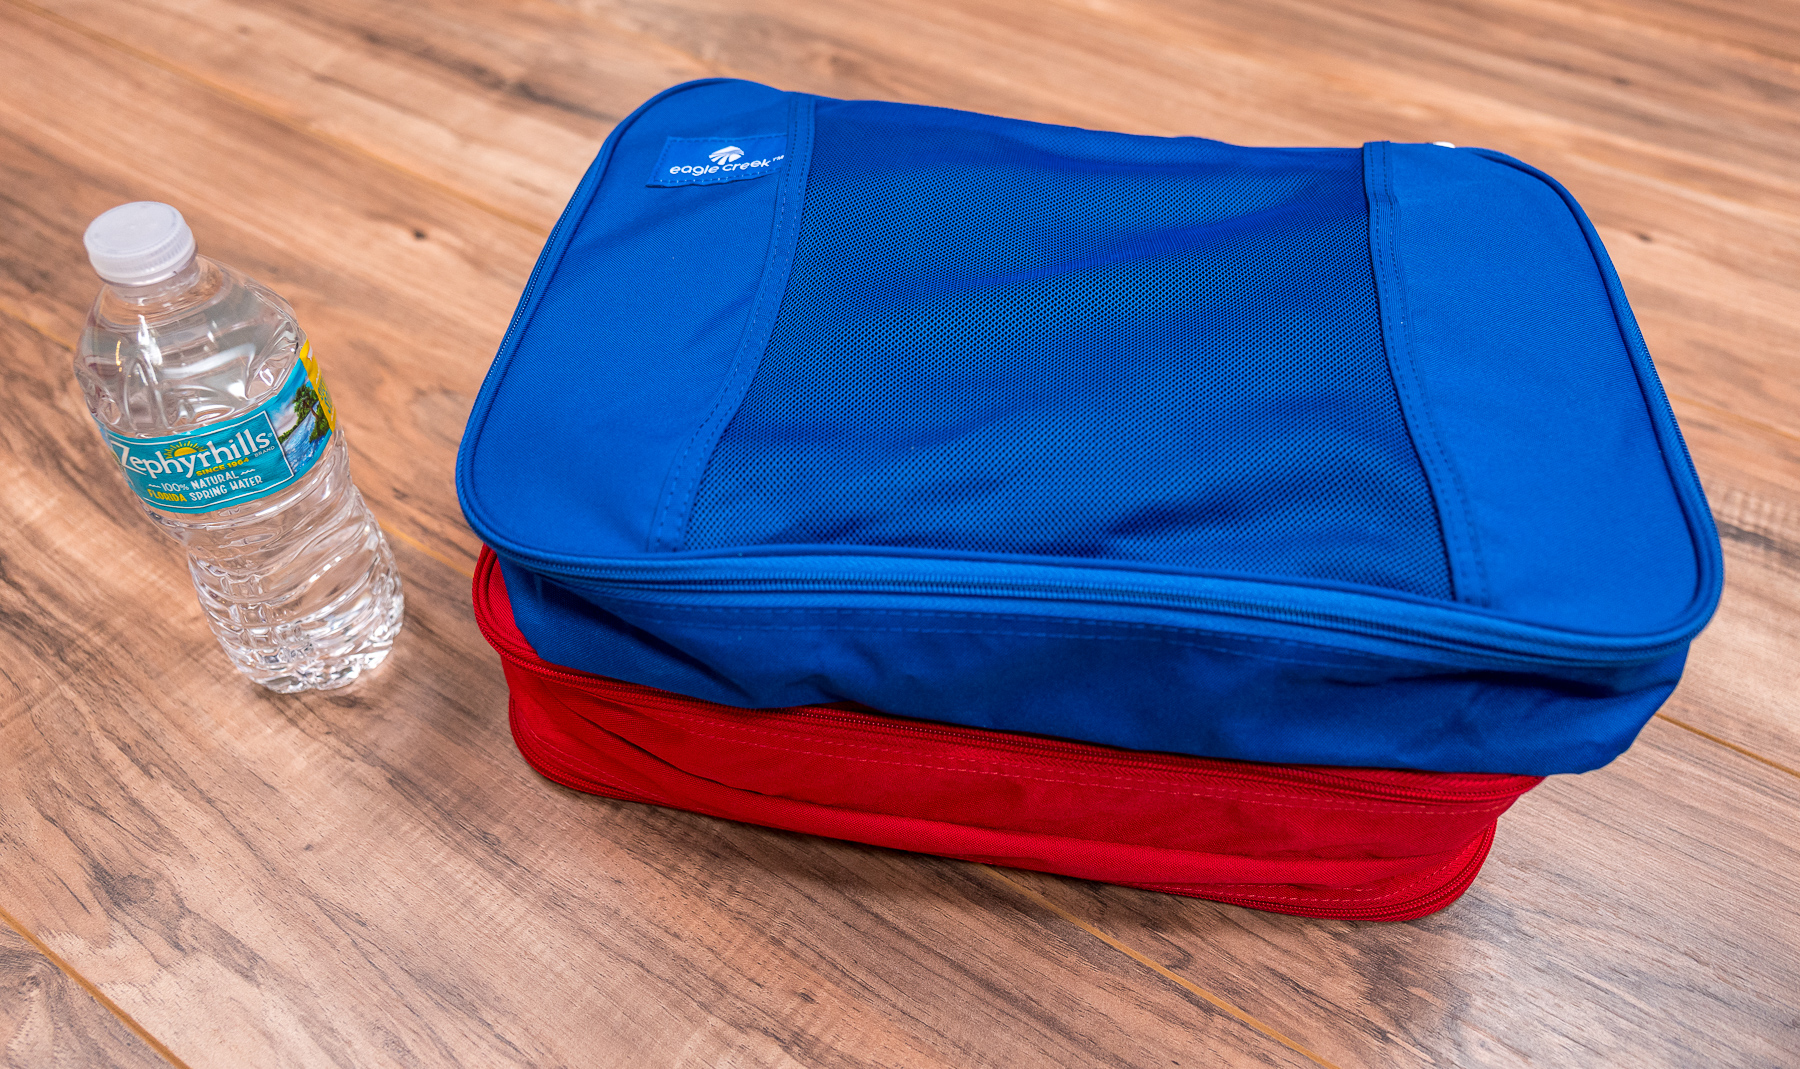
500mL water bottle for scale
Mid layer/Insulating layer
If the goal of the Base layer is to keep you dry, the mid layer, or insulating layer is designed to keep you warm. Options include fleece, technical fleece, synthetic or down. Let's talk about the pros and cons of each one.
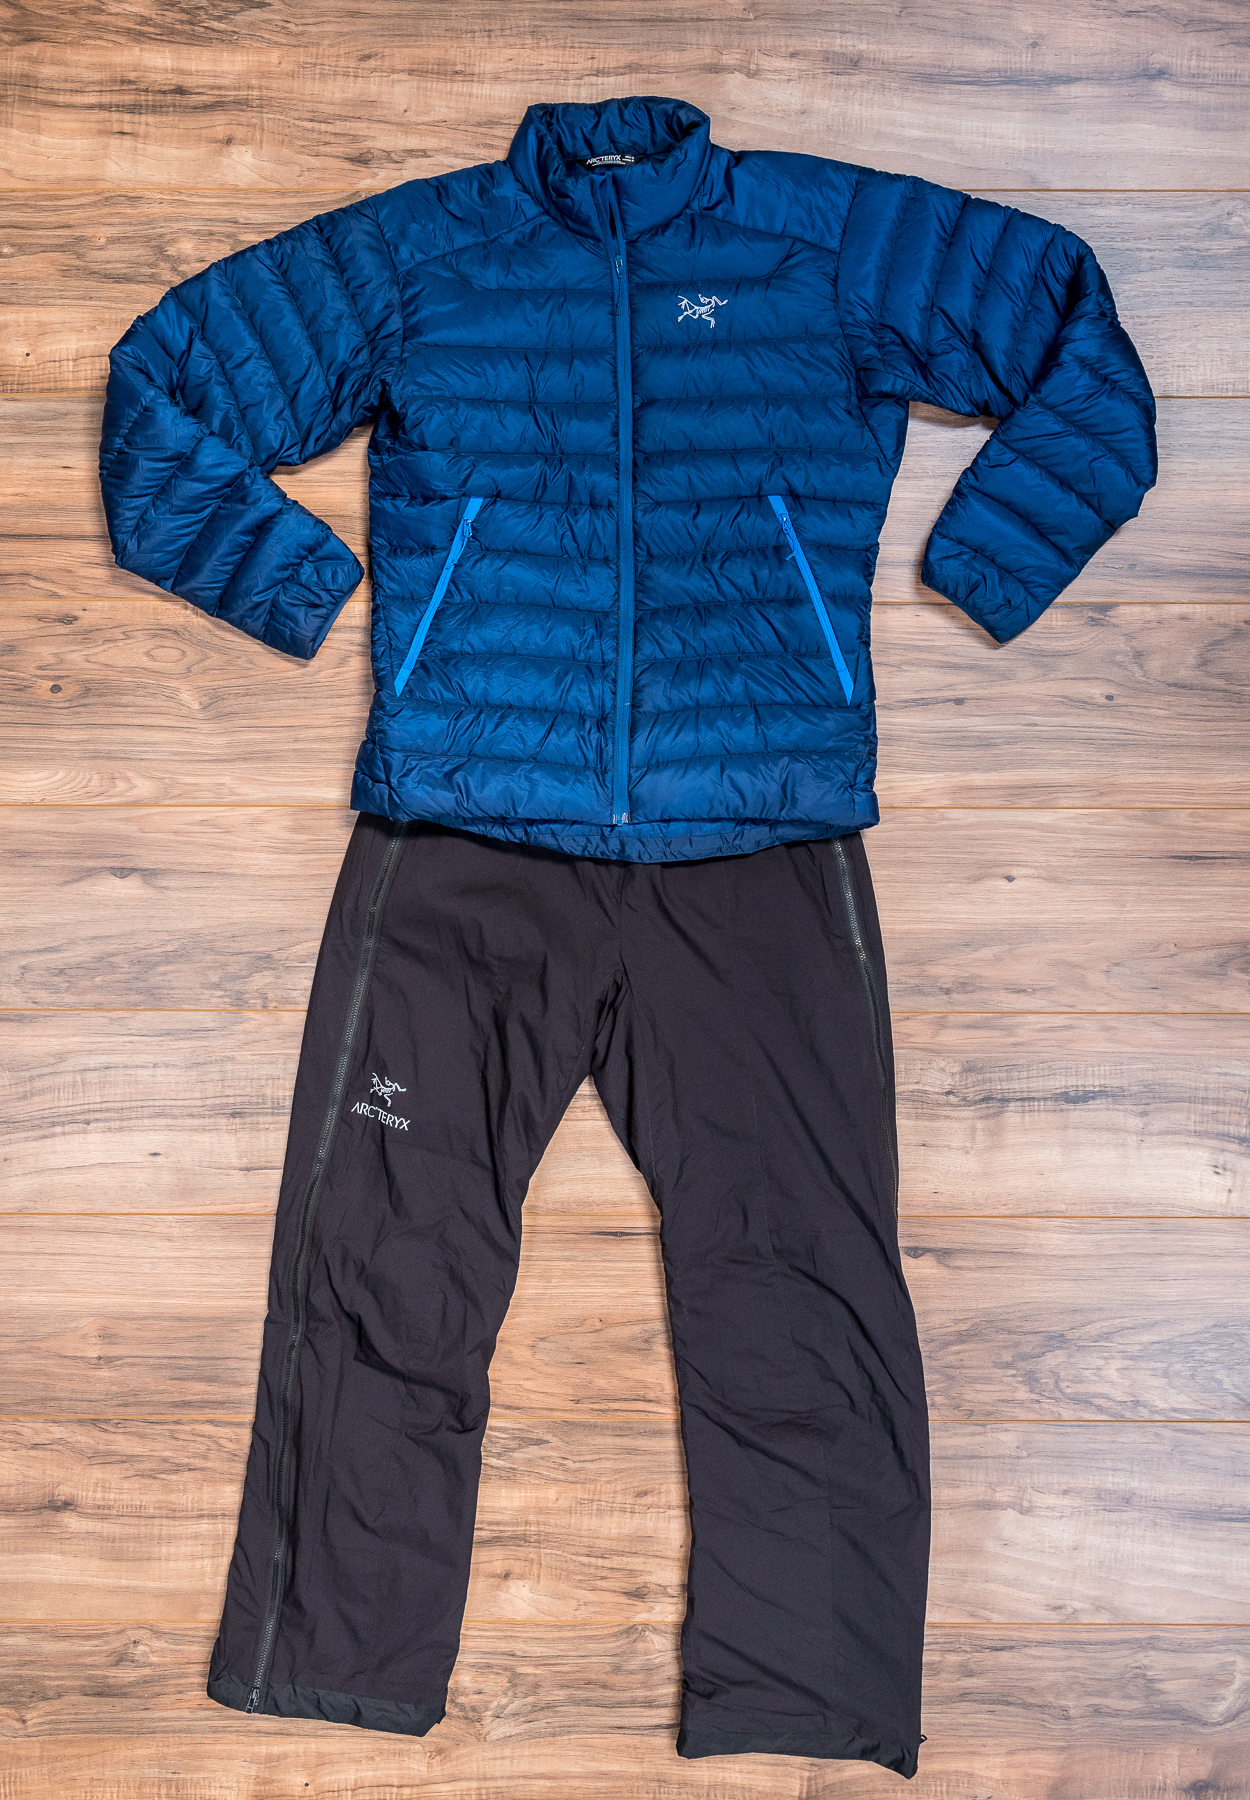
My mid layers – an Arc'teryx Cerium LT down jacket and Arc'teryx Atom LT synthetic insulated pants
Down
Down is the undisputed insulation king. This natural insulator is unmatched for warmth and compressibility but loses performance when wet and is also the most spendy. Contrary to popular belief, down isn’t made of feathers. Rather, it is the fluffy and lofty layer underneath the feathers. The high-loft fibers hold in heat and spring back into shape after being scrunched into impossibly small sizes.
Down is often rated by fill power. A low-quality garment might use 500 fill power, whereas a top-quality piece will use 850-fill power. The higher the number, the more thermally efficient, meaning you can use less to get the same effect, or get more warmth from the same amount. Besides fill power, look also at the fill weight. This is the actual amount of down used, listed in either grams or ounces. Some manufacturers will tout their fill power but omit the fill weight. Or, vice versa. To get a realistic idea of warmth, you need both numbers.
Down garments run the gamut of insulation, from ultralight to heavy. Which you choose depends on the temperature ranges you’re looking to tackle.
Ultralight
The best ultralights are the Mountain Hardwear Ghost Whisperer and the Arc’teryx Cerium SL. Both clock in at 7oz (195g), which is insanely light. But with only about 2oz (50g) of actual insulation, these jackets are designed for serious technical use – minimalist climbing, backpacking, backcountry exploration. In other words, not necessarily for photographers, although they can work as an emergency layer in case you get caught out when the mercury drops unexpectedly. Just don’t count on ultralights as your only mid layer.
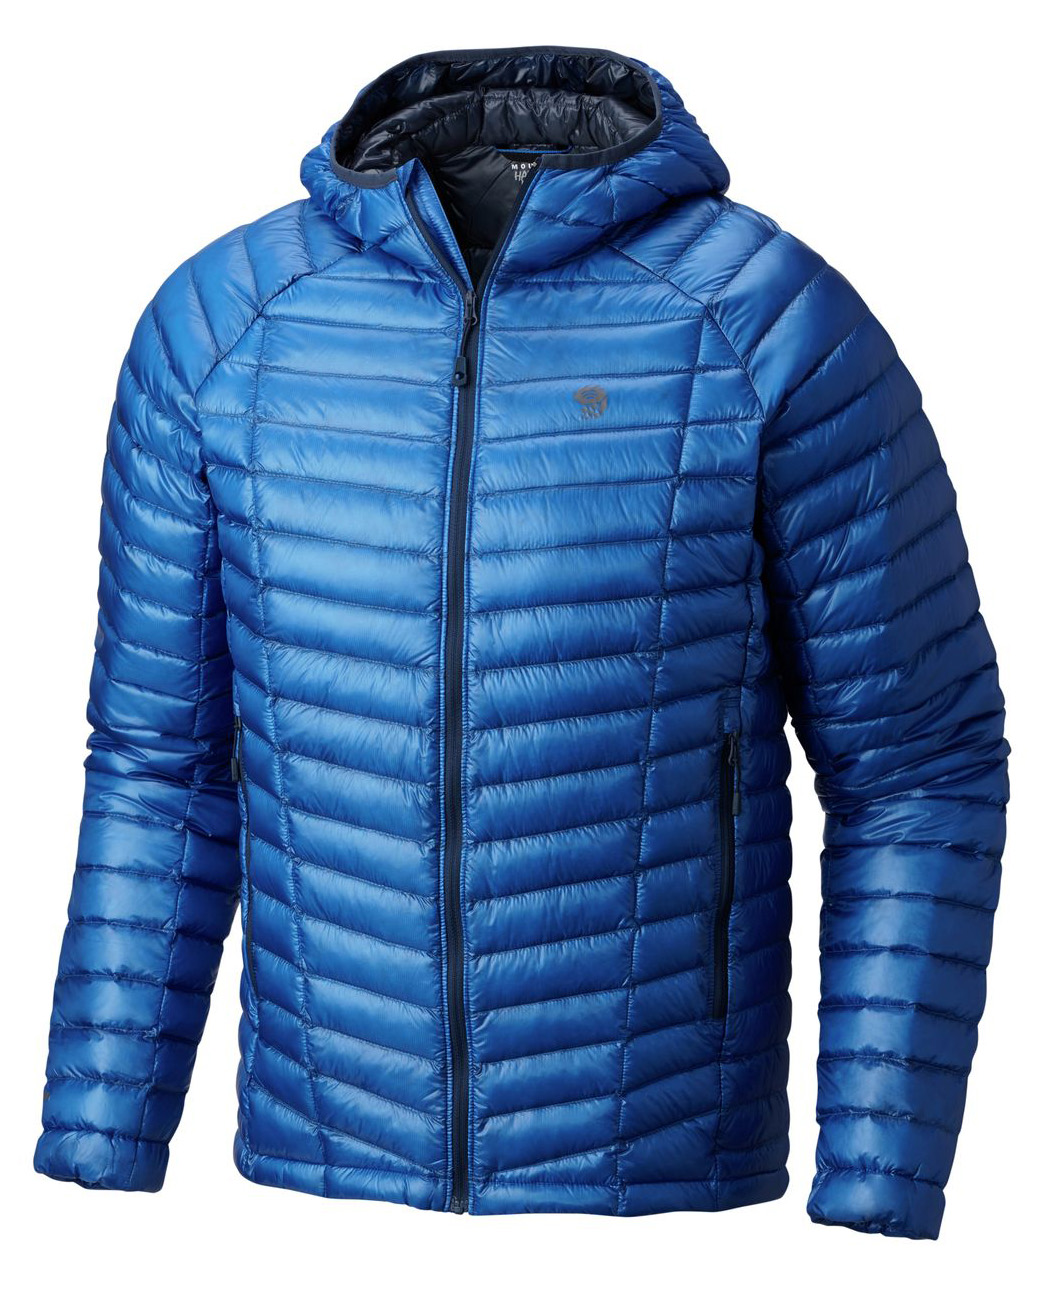
Mountain Hardwear Ghost Whisperer
Midweight
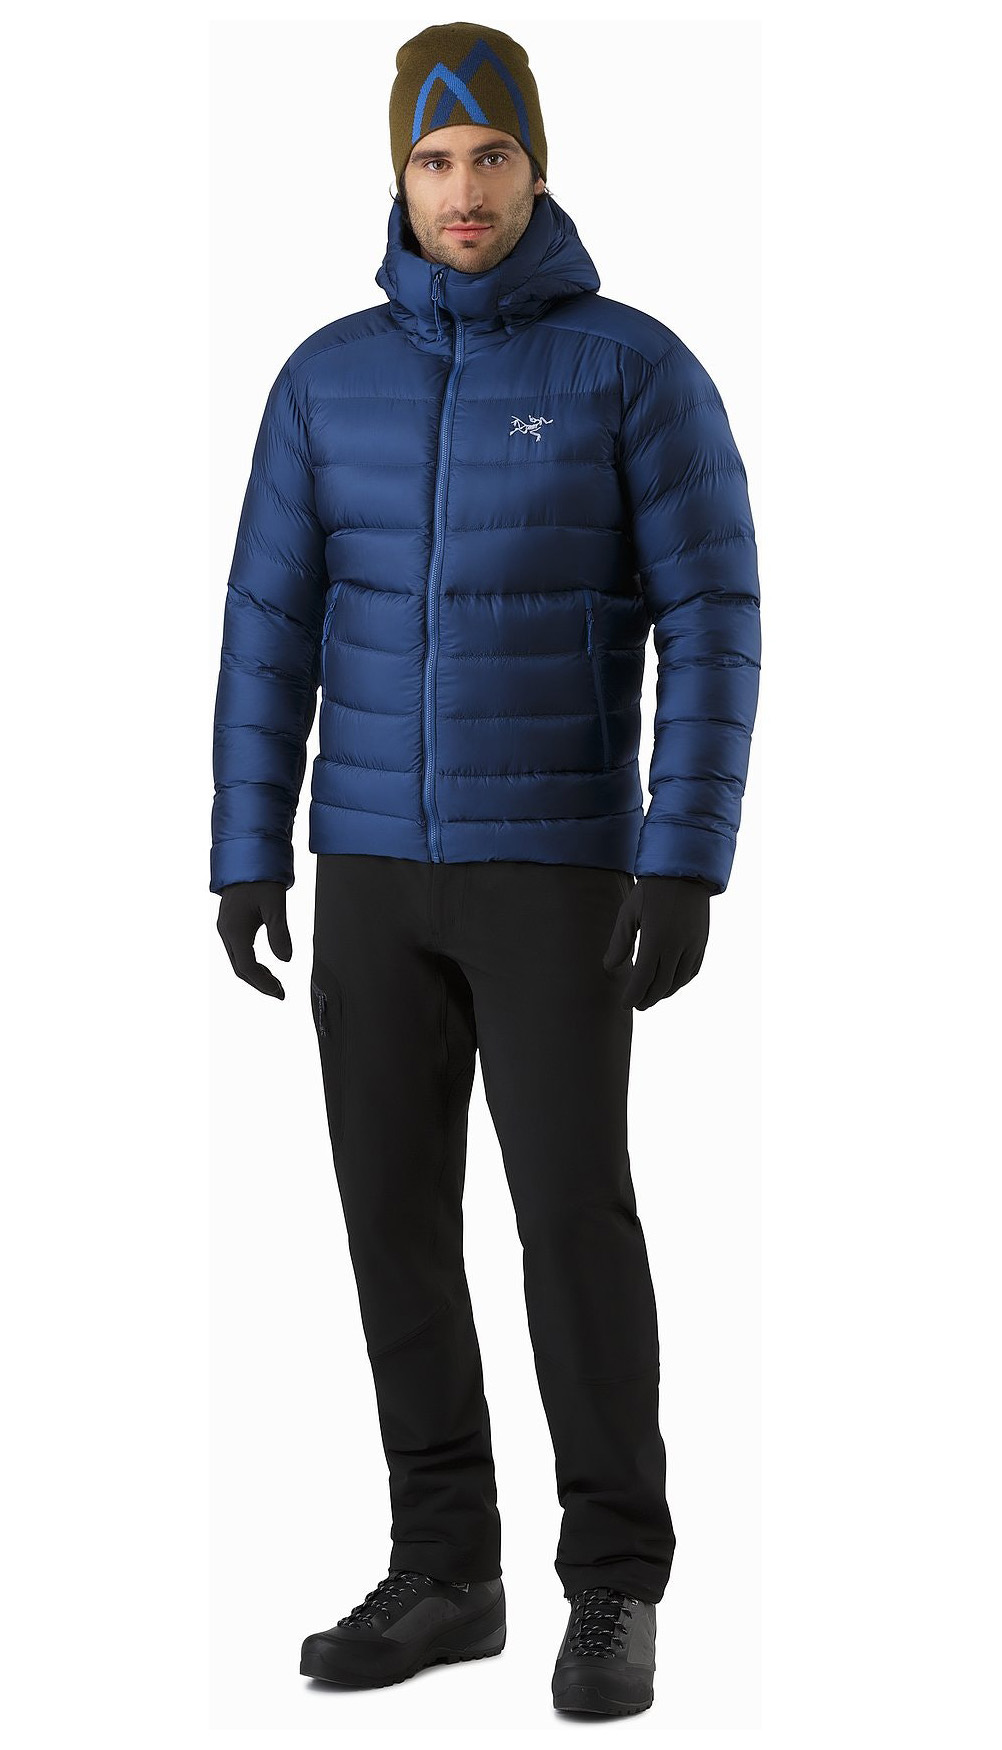
For midweight down, the Arc’teryx Cerium LT is the bee’s knees. Super light at around 9oz (250g) for the non-hooded and 11oz for the hooded version, the Cerium LT provides an unmatched warmth-to-weight ratio with its top-shelf 850-fill goose down.

Arc'teryx Cerium LT
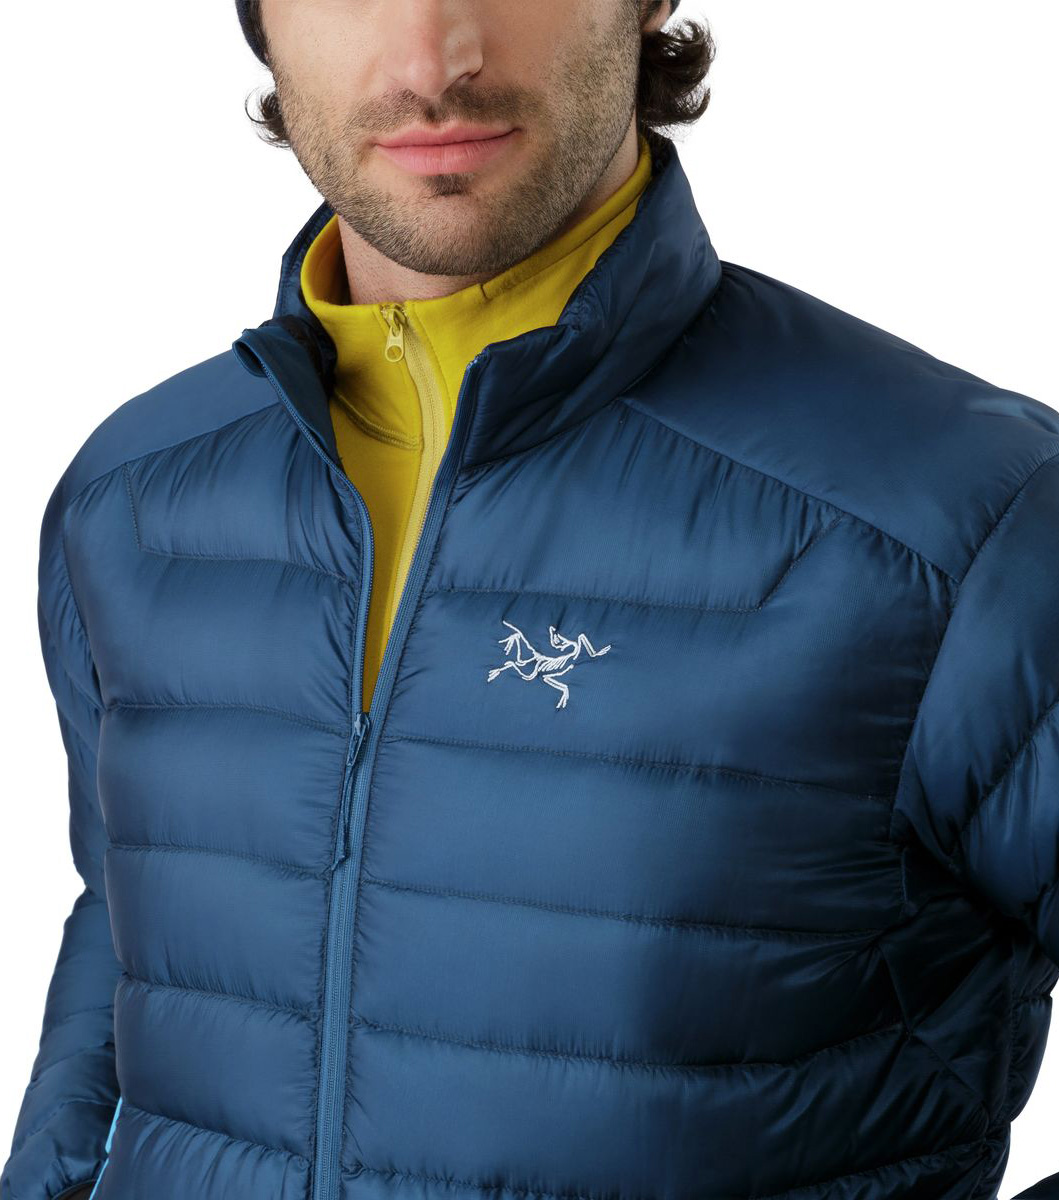
The Cerium LT is somewhat form-fitting, designed to layer on top of slim base layers and under outerwear
Two other great midweight jackets, the Patagonia Down Sweater and the Rab Microlight Alpine offer similar warmth but weigh in at around 15oz (425g) each, about 35% heavier than the Arc’teryx offering. The Rab excels at inclement weather, though, with Nikwax hydrophobically treated down and a water-repellent Pertex outer shell.
Heavyweight
Moving on to heavyweight down jackets, the Arc’teryx Cerium SV and Rab Electron Pro up the warmth factor considerably. But, also the bulk. These jackets are the limit to what I’d still call a mid layer, one that can still fit under a shell without making you look like the kid from A Christmas Story who can’t lower his arms. Don’t get me wrong. At 14oz (390g) and 17oz (480g) respectively, both are still very light.
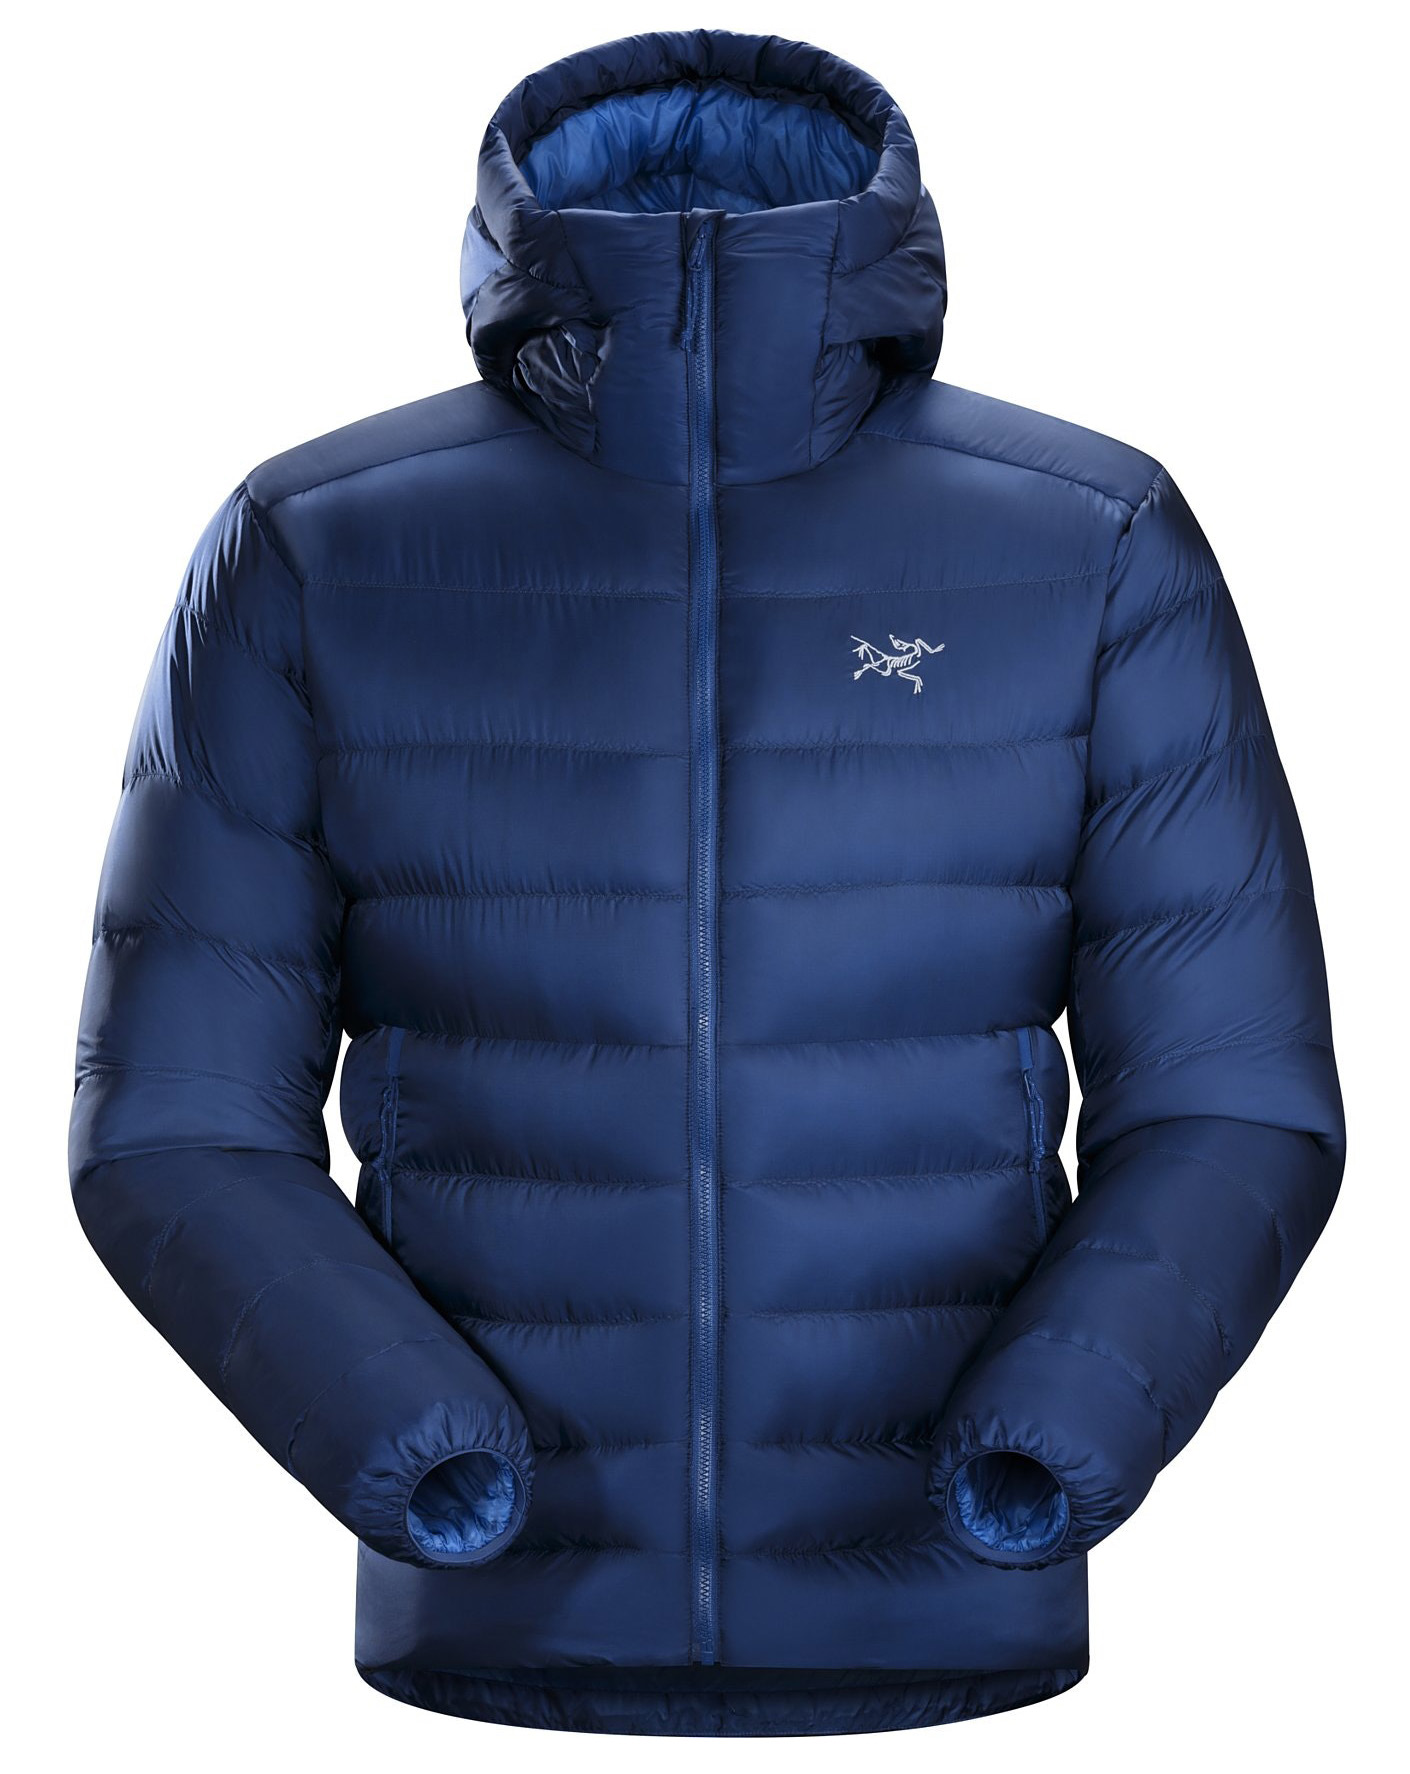
Arc'teryx Cerium SV
Personally, I have both an Arc’teryx Cerium LT (non-hooded) and a Cerium SV Hoody. Between these two, I can tackle just about any cool to bitter cold climate. The Cerium LT jacket fits into its included stuff sack the size of a 1-liter water bottle.
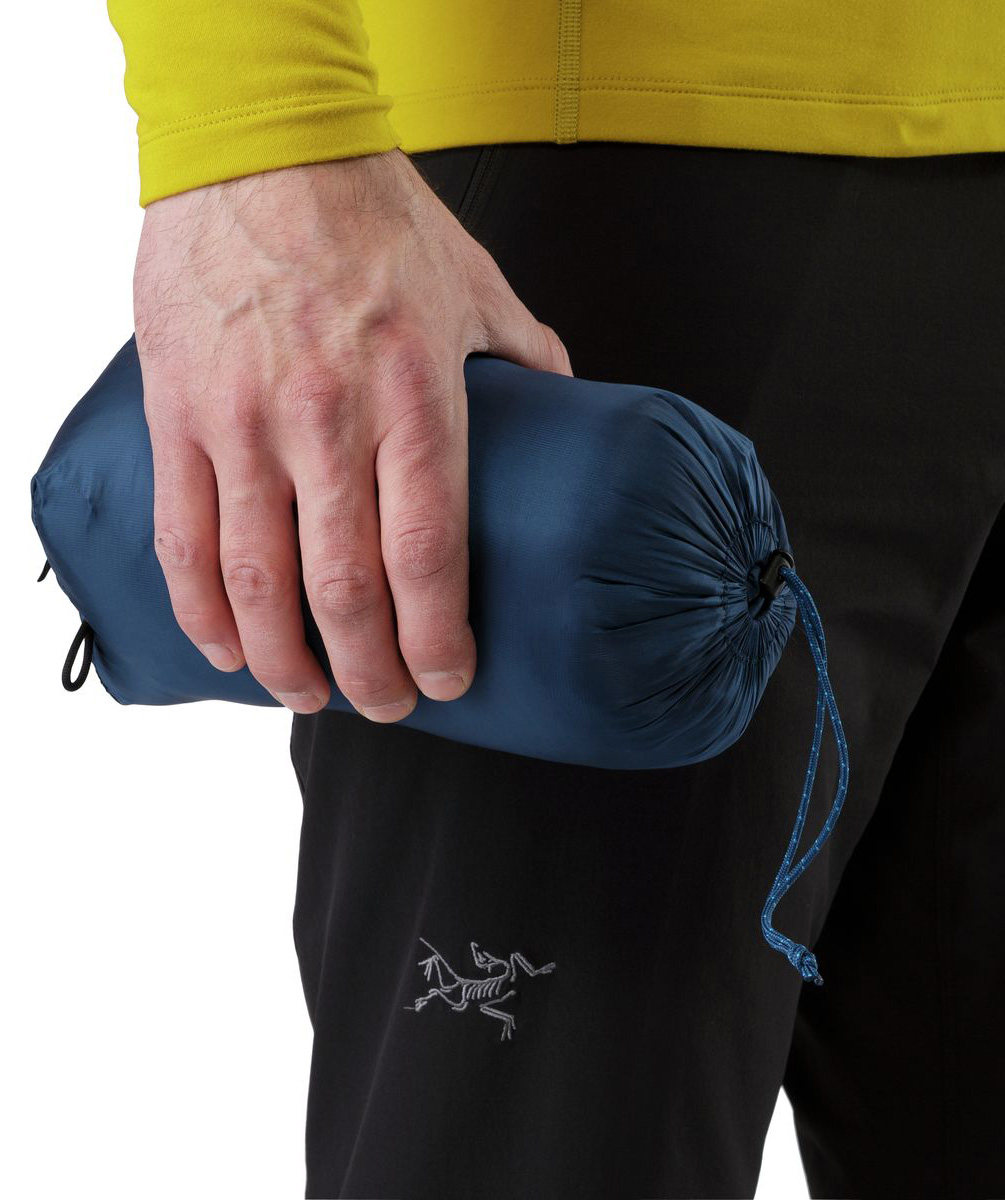
Arc’teryx Cerium LT in its stuff sack
It’s perfect to throw in my under-seat carry-on luggage or attach with a carabiner to my camera bag. And even though it’s a technical piece, the LT can pull double duty while traveling or for urban wear as a standalone jacket for cool and dry weather.
The SV model is bulkier – think down puffer jacket. The thing is a furnace. Instant warmth even well below freezing. Yet, given down’s incredible compressibility, the SV takes up very little luggage space once stowed in its stuff sack.
Cerium SV is heavy-duty, but still trim enough to fit under outer layers
Cerium SV under a Beta SV shell
What about water?
In addition to a DWR coating on the outside, both Cerium models use Coreloft synthetic insulation in the shoulders, hood, wrists and under the arms, all areas prone to moisture exposure. This hybrid approach addresses one of down’s main shortfalls. Rab tackles this issue differently, opting for an almost waterproof face fabric and chemically treating the down inside to repel water.
Rab Electron Pro down hoody is weather resistant
Fleece
The classic fuzzy fleece, while the least expensive, will be the bulkiest to achieve the same warmth factor as other mid layers. Fleece feels cozy and breathes very well but doesn’t offer much wind resistance. In this category The North Face, Patagonia, Mountain Hardwear and Marmot all offer good options. Nothing really stands out as 300 weight fleece is 300 weight fleece. This is where I started my journey, but I haven’t worn one in years, as down and synthetic outperform fleece on just about every metric.
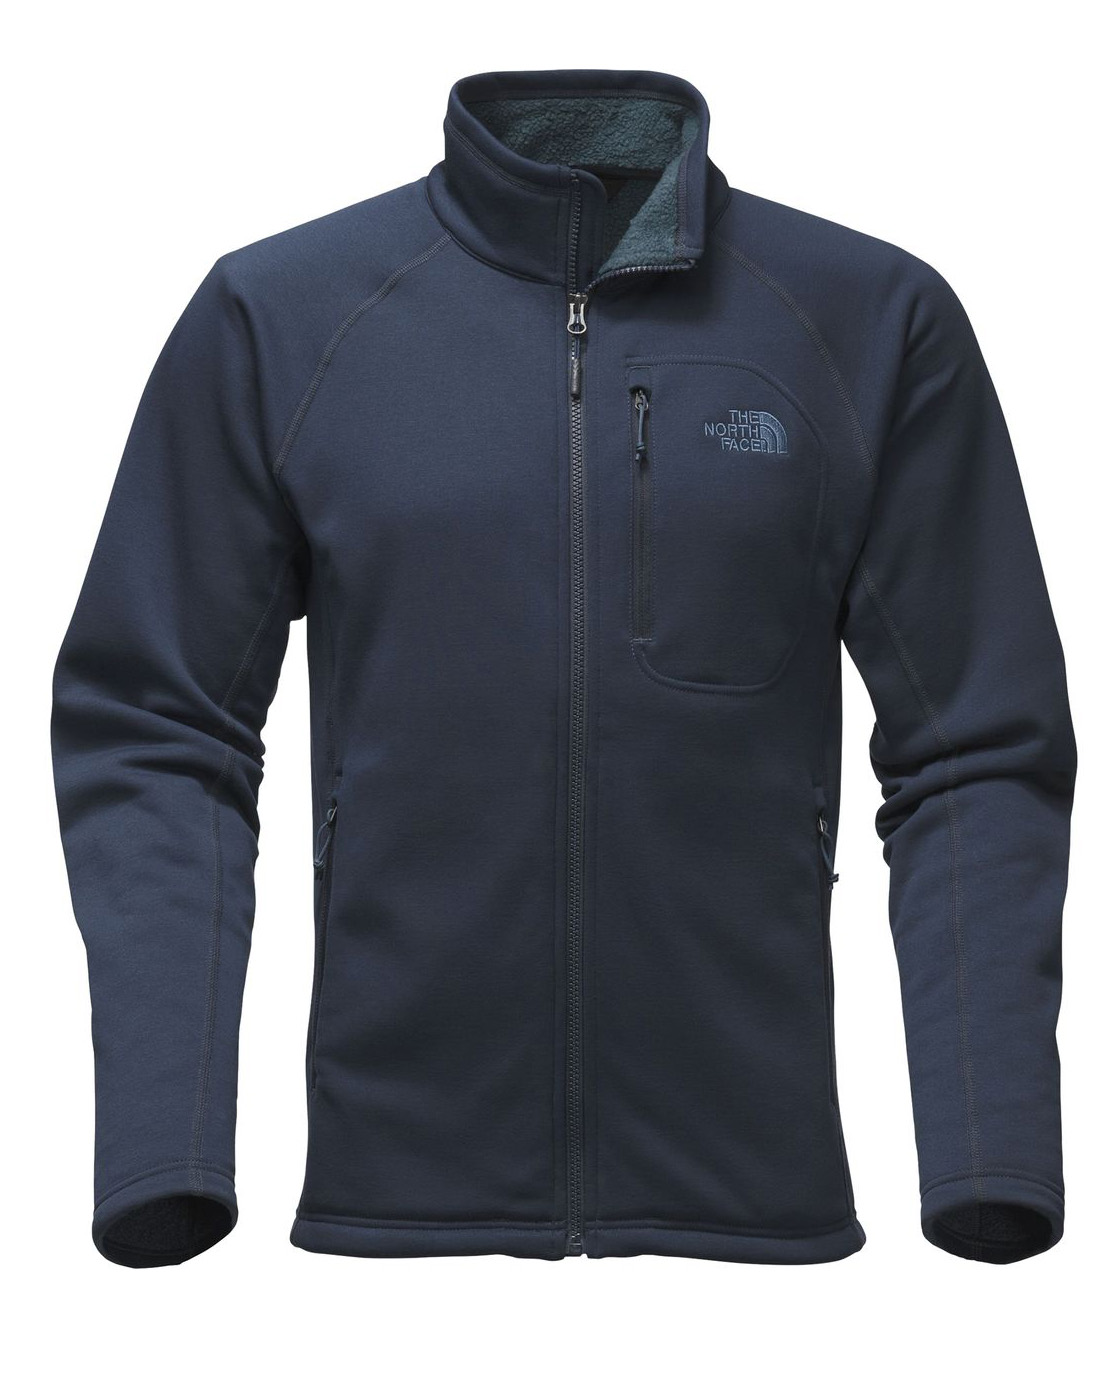
The North Face fleece jacket
A variation of the classic fleece, technical fleece, is very thin and layers well under other mid layers. Tech fleece is best suited towards high-output activities like skiing, as it isn’t that warm while stationary, but fabrics like Polartech Power Dry wick perspiration and dry almost as efficiently as synthetic base layers.

Black Diamond Coefficient tech fleece
If going the technical fleece route, check out the Black Diamond Coefficient and Arc’teryx Delta LT. Add one to your kit if you want to be able to have an option to layer on top of your base layer and under your mid layer without any extra bulk, but don’t depend solely on a tech fleece.
Synthetic
Synthetic mid layers are extremely lightweight and thin, block the wind and offer decent warmth. They are also recommended for wet environments. Unlike down, synthetics dry quickly and still insulate when wet.
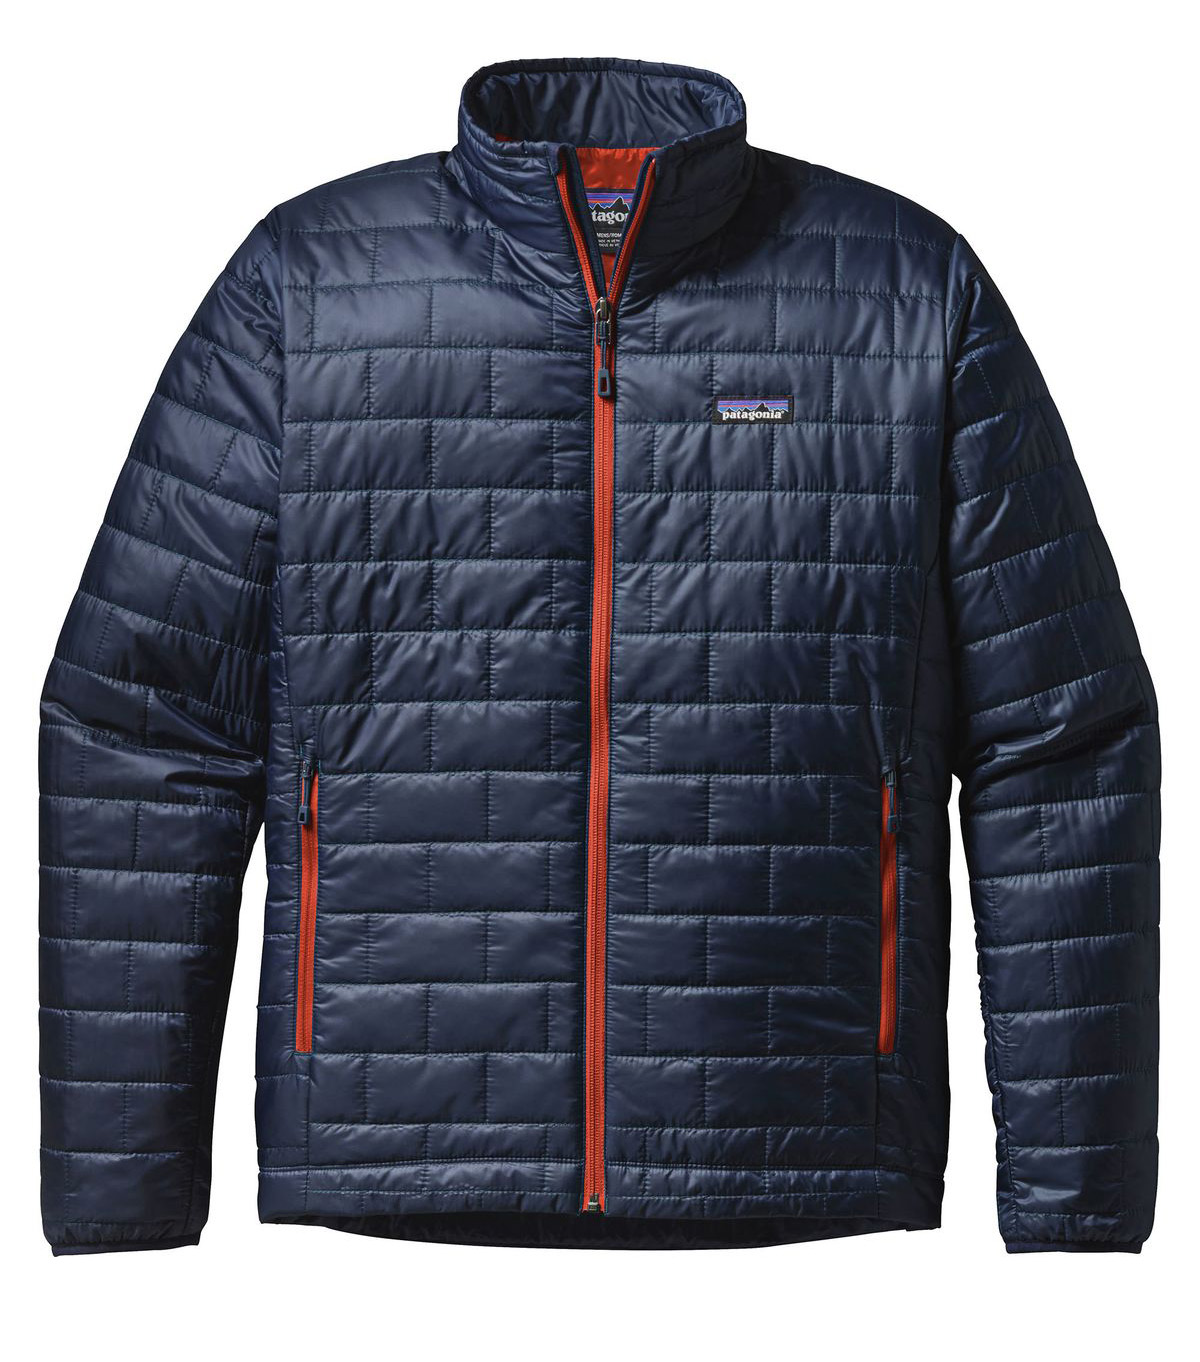
Patagonia Nano Puff jacket
For synthetics, the best choices are Arc’teryx Atom, Patagonia Nano Puff, Patagonia Nano Air and The North Face Thermoball. I have an Atom LT that I love. While not nearly as warm as a comparable down jacket like the Cerium LT, the Atom is more breathable and my choice for aerobic activities where the down would lead to overheating or the weather isn’t cold enough to warrant down. It’s also killer for lounging around when you’re back inside editing pics. And with wind resistance and a DWR finish, the Atom makes for a good standalone jacket for mid 50s to mid 60s °F (~18°C).
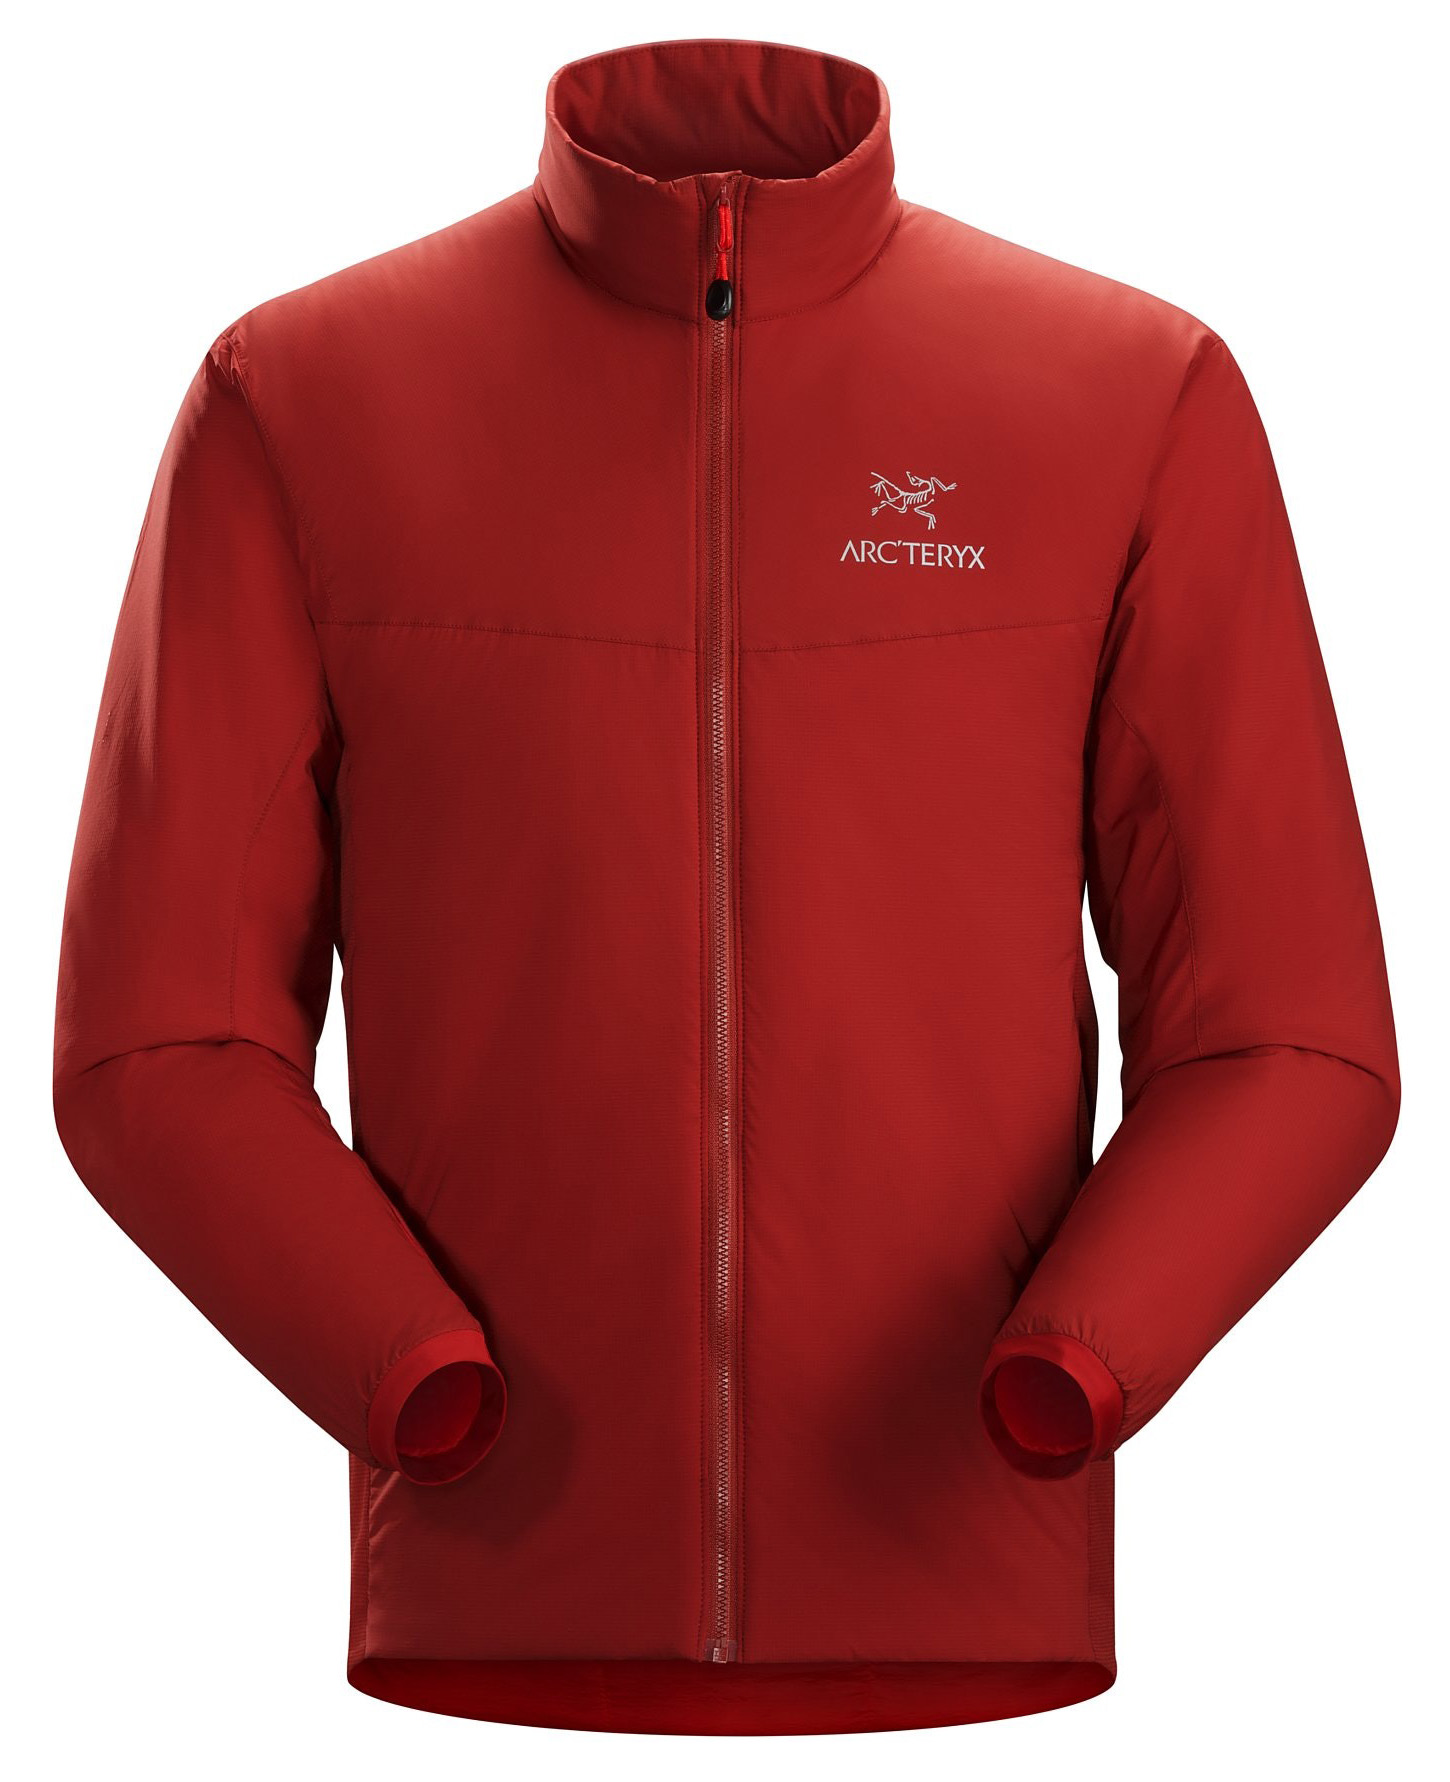
Arc'teryx Atom LT
Button-down hiking shirts
So, these are a grey area from a layering perspective. Hiking shirts are great, but don't fit neatly into the classification of base layers or insulating mid layers. But, since they fit over your base layer, we'll just leave them right here.
Hiking shirts are generally made from quick drying, lightweight synthetic materials. Sometimes, you'll find wool shirts, which are thicker, warmer and designed for cold-weather hiking and camping. The lightweight ones are perfect for warmer outings where a long sleeve base layer would be too stuffy, but you still want protection from the sun. Think late spring or early fall.
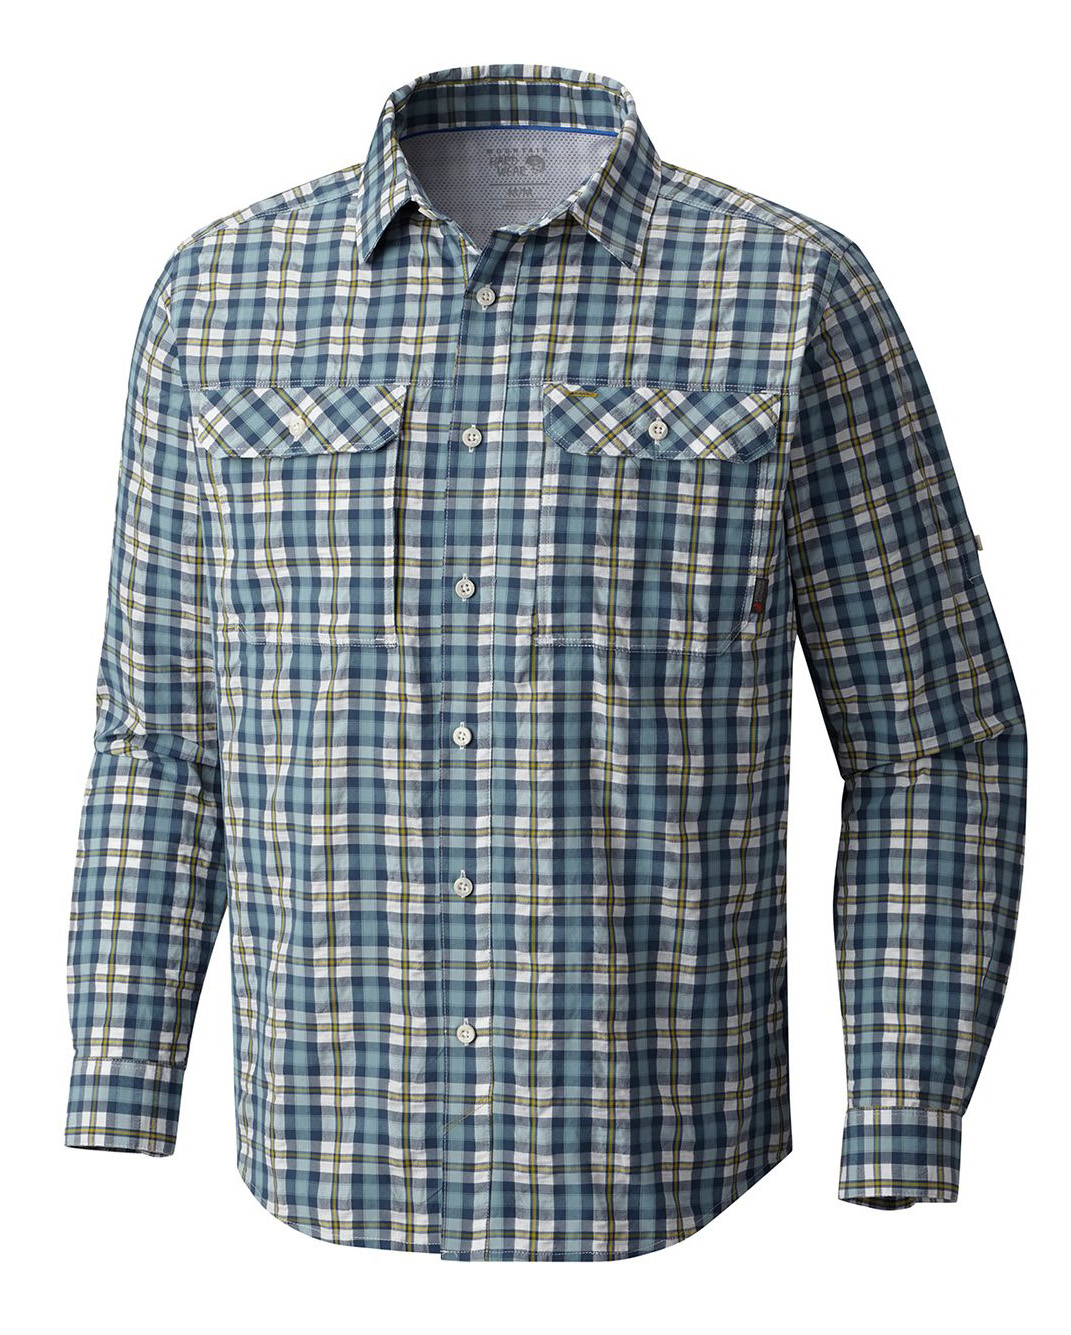
Mountain Hardwear Canyon AC hiking shirt
I have a few shirts from various brands, but my favorite so far is the Mountain Hardwear Canyon AC shirt. Like regular shirts, a lot comes down to personal taste and style. Check out tons of good options here. Just be sure that any hiking shirt you might get isn't too baggy or loose fitting. This will make layering on top of it challenging and possibly uncomfortable.
Don't forget about your legs
Keeping your core warm is priority number one, but don’t neglect your legs. Usually, a pair of lightweight 200gsm wool leggings under your pants will do the trick, although in cold winter temperatures, I highly recommend donning a mid layer for your legs as well. Lightweight synthetic insulated pants worn over your base layer and under your shell pants will provide adequate warmth without limiting mobility. Top picks are Arc’teryx Atom LT, Patagonia Nano Puff, and Mountain Hardwear Compressor. For my kit, I’ve got a pair of Atom LTs that work like a charm.
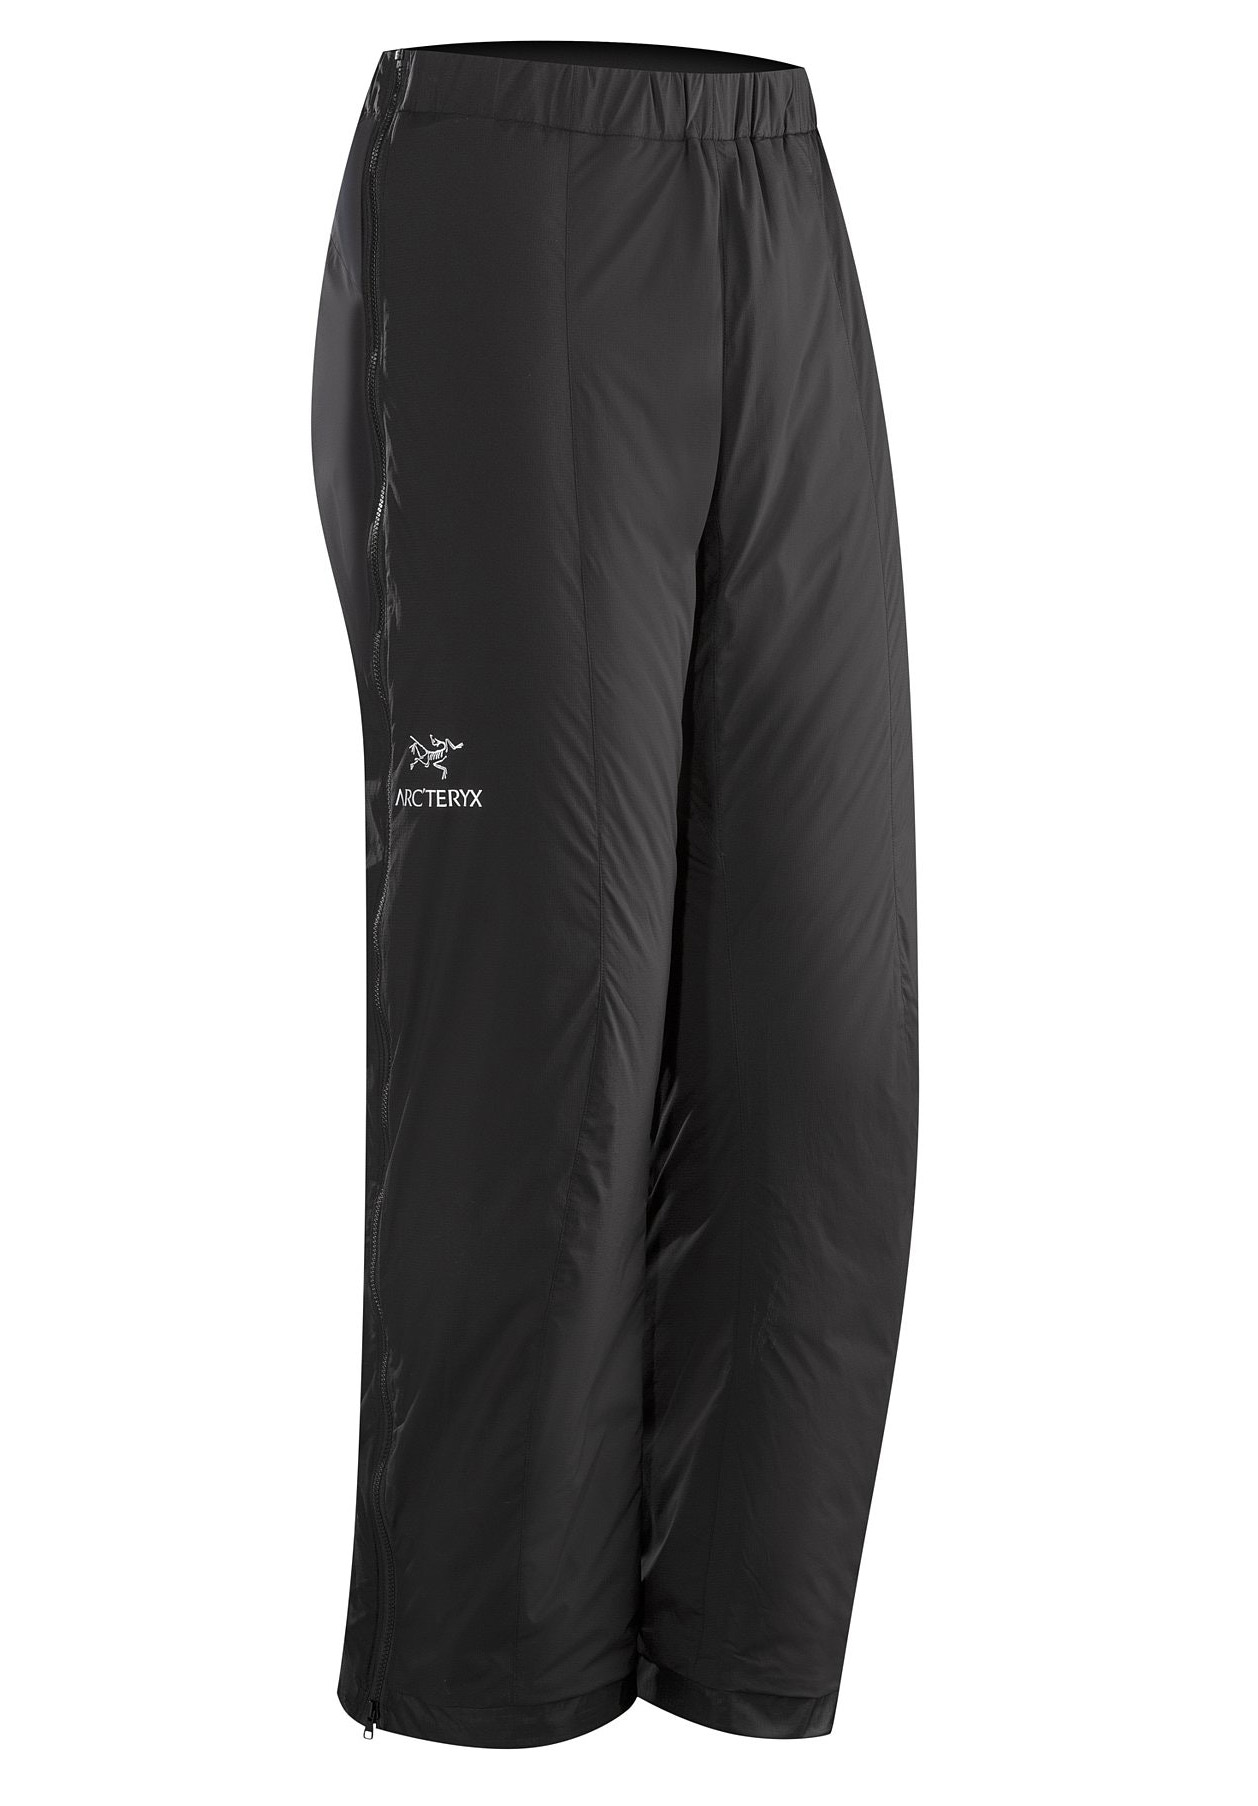
Arc'teryx Atom LT insulated pants
Outer layer
The last layer in your system, the outer layer protects your mid layer, base layer and you from the elements. Comprised of your shell jacket and pants, you want to look for durability, weather resistance and breathability.
My outer layer
Technical hard shell
Arguably one of the most important articles of clothing in your kit, a technical shell is your outer armor, valiantly standing between you and the worst mother nature can dish out. Rain. Wind. Snow. You want it to be bombproof.
Look for a technical shell that blocks out winds up to 60 MPH (26 m/s) and is guaranteed waterproof. A variety of coatings and laminates such as Gore-Tex Pro, H2No, eVent, Neoshell, and Dry.Q Elite all work to repel wind and water while offering up some breathability. The best jackets have 3-layer construction.
Arc’teryx is known for making some of the very best hard shells out there. In fact, for a company that does so many things well, tech shells are what they do best. Arc’teryx has three main lines: Alpha, Beta and Zeta.
- Alpha – Climbing and alpinism
- Beta – Versatile all around
- Zeta – Hiking and trekking
Beyond that, they then break down into various weight/durability ratings: FL, SL, LT, AR and SV. This naming convention follows suit across their entire collection.
- SL – Superlight
- FL – Fast and light
- LT – Lightweight
- AR – All around
- SV – Severe weather
With the amount of combinations, picking one can be daunting, but I’ll help you out here. First, regardless of designation, these are all Gore-Tex jackets and will be waterproof. The SL and FL trim level will sacrifice features like hand pockets and face fabric durability for light weight and packability. LT jackets won’t have pit zips. AR and SV options will have plenty of pockets, pit zips and are durable as they get, SV ones even more so. The most rugged of all is the Alpha SV with the Beta SV not far behind. Both are virtual bomb shelters but only weigh about 1lb (450g) apiece.
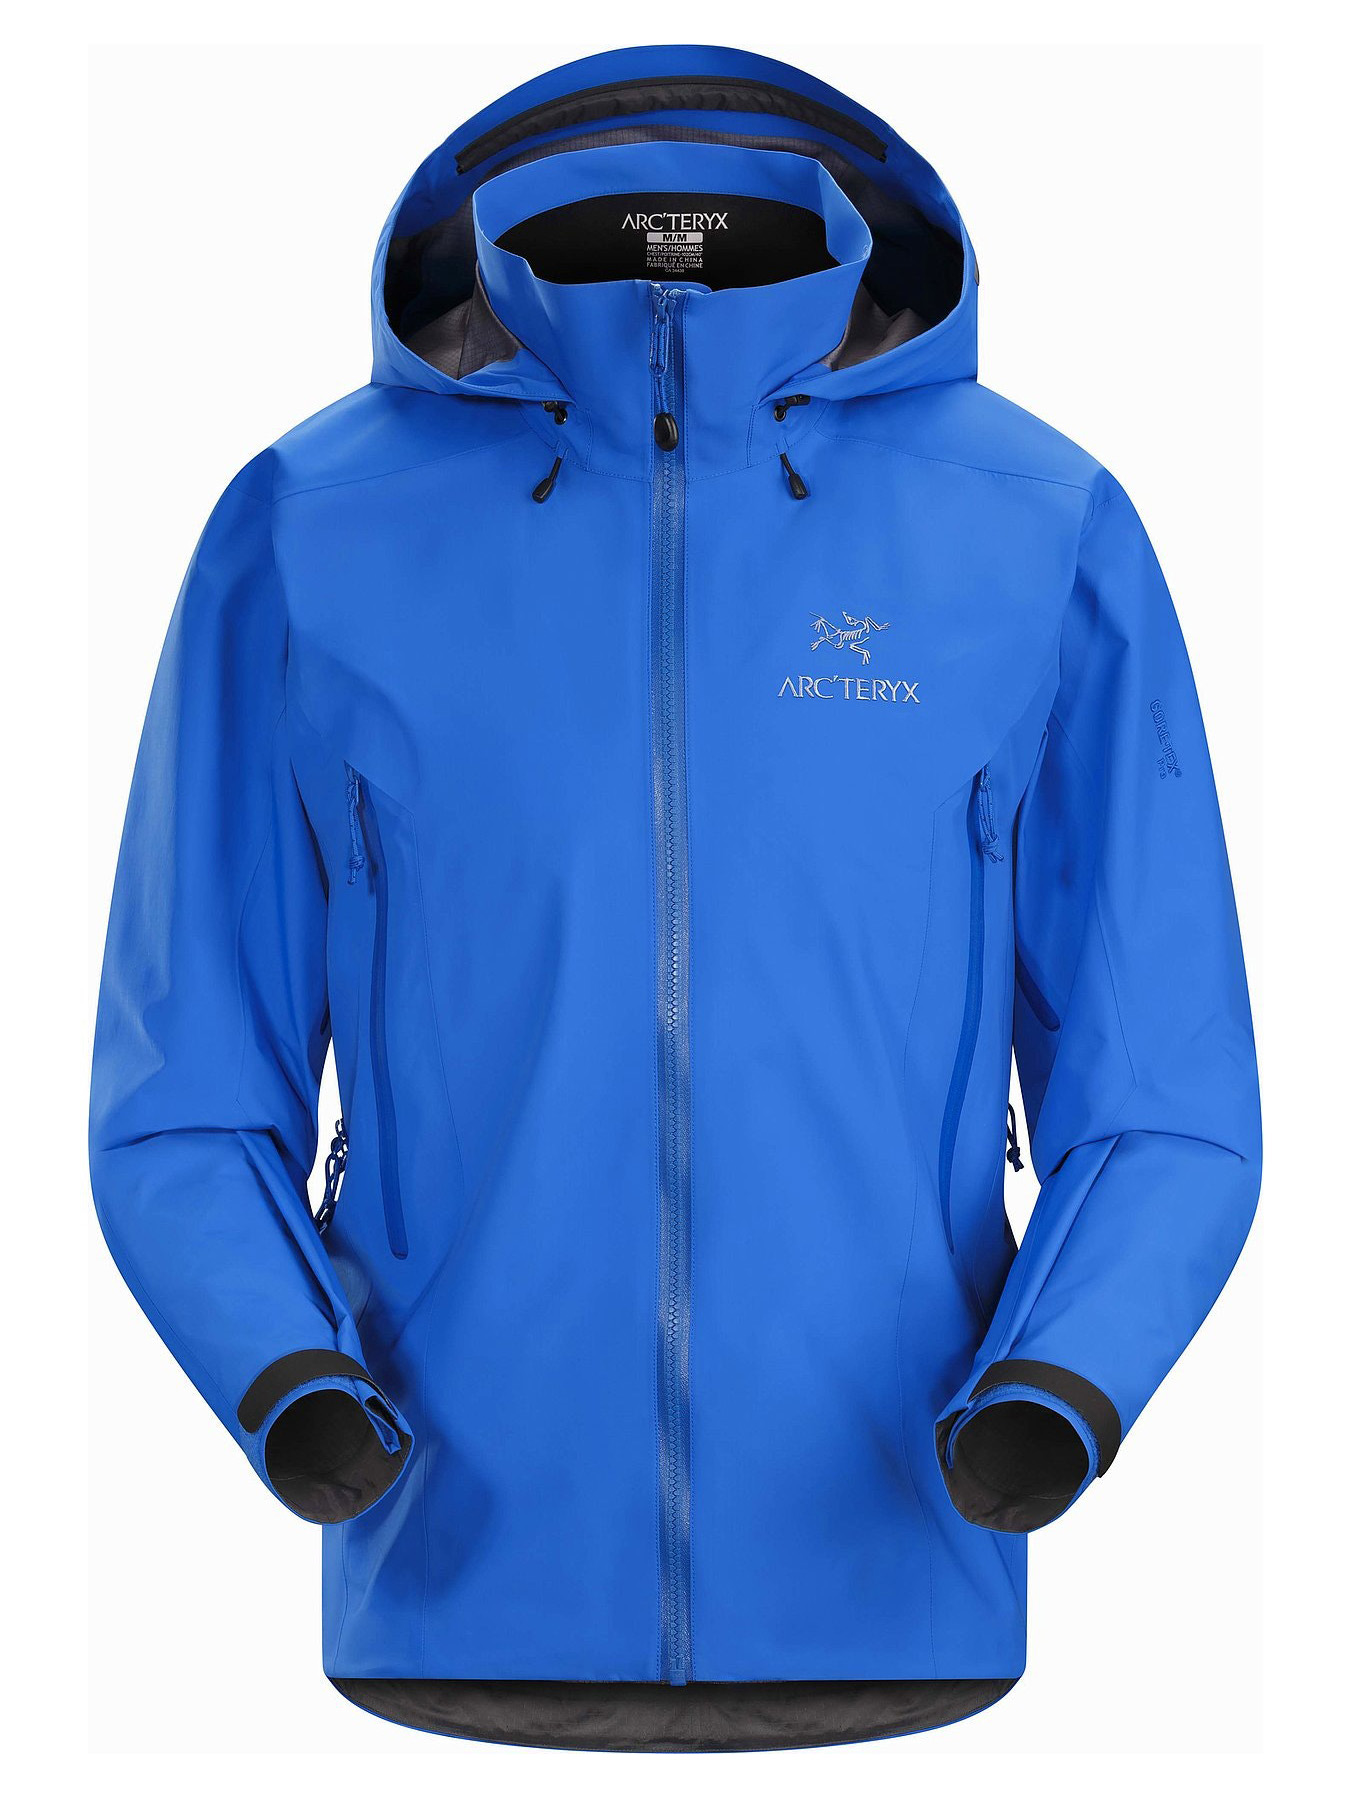
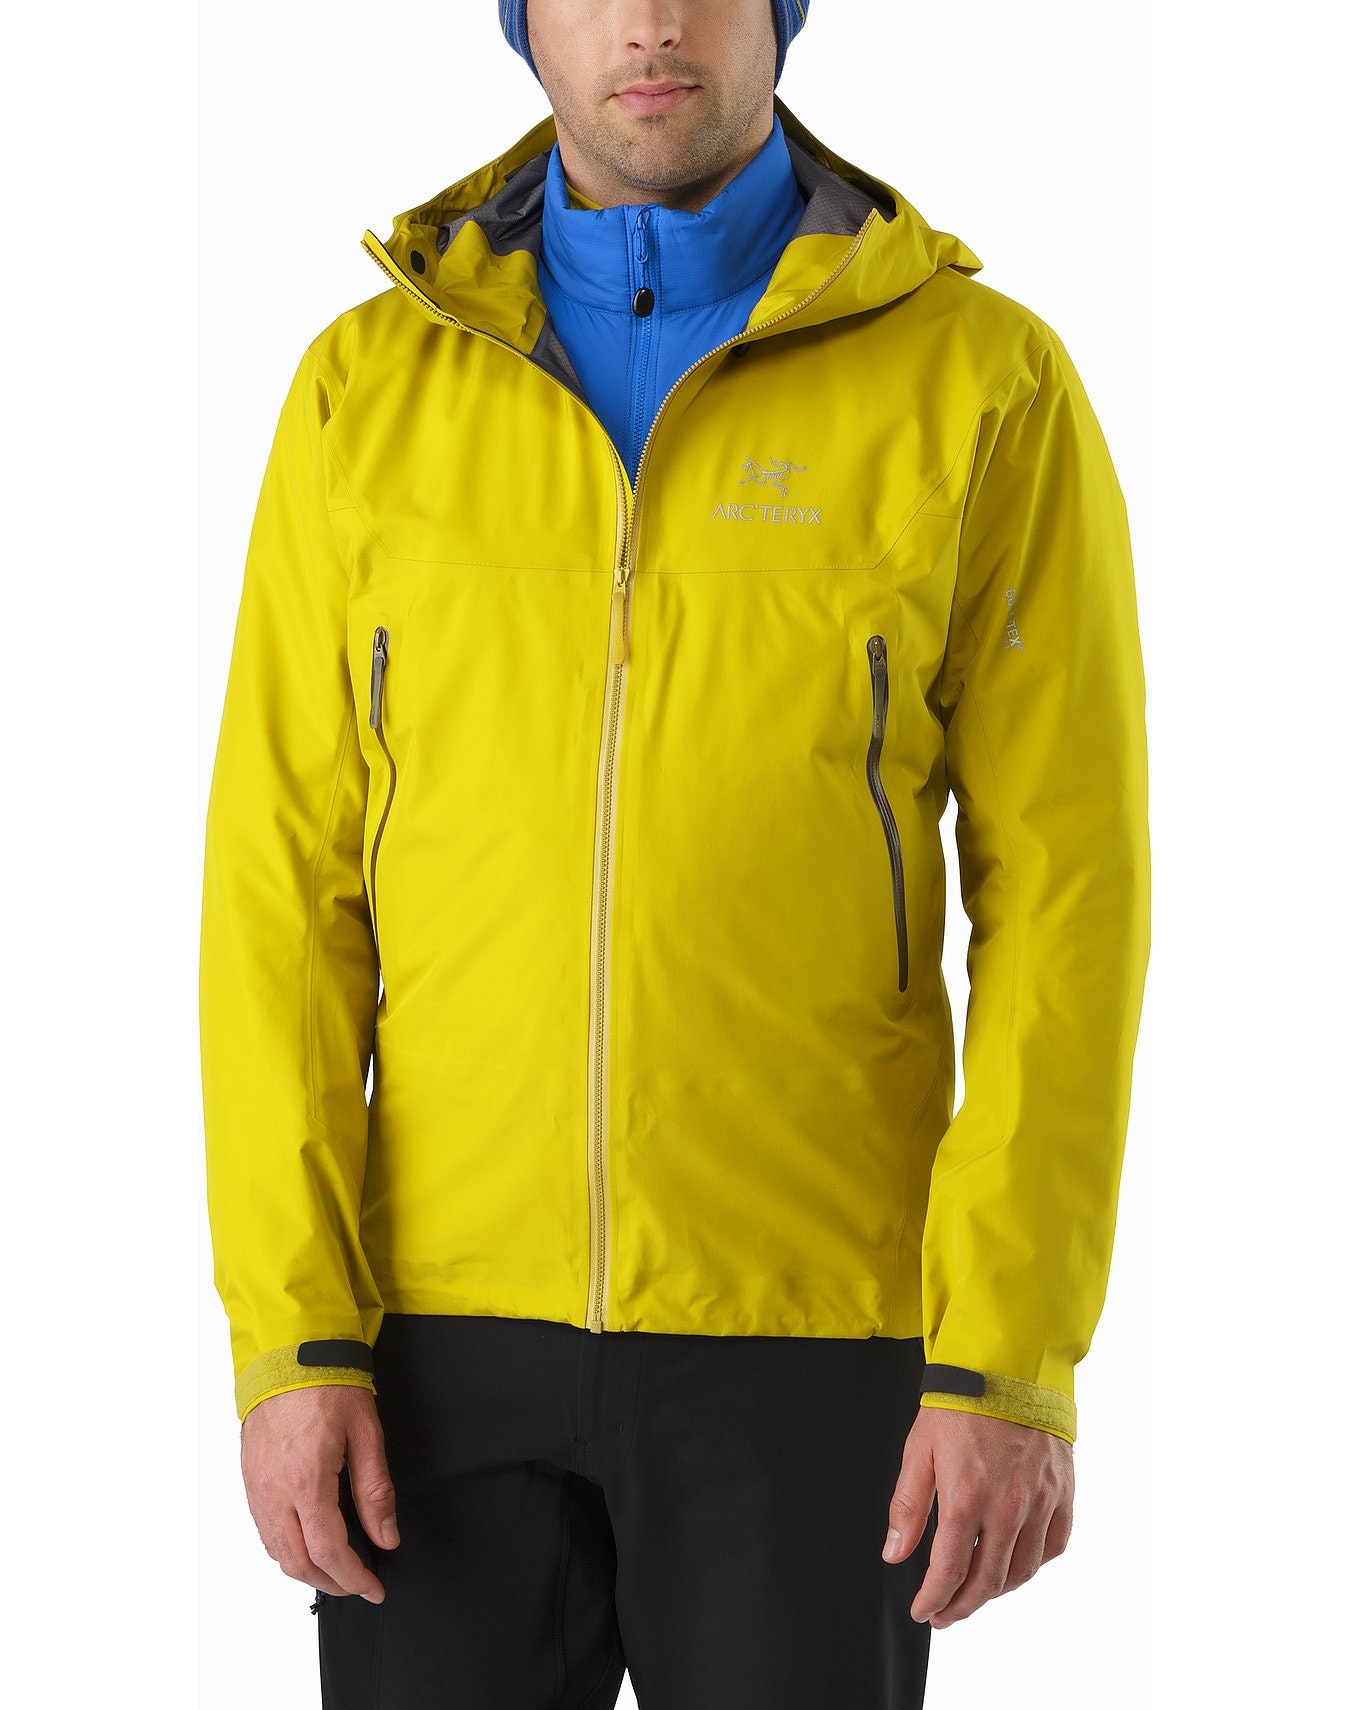
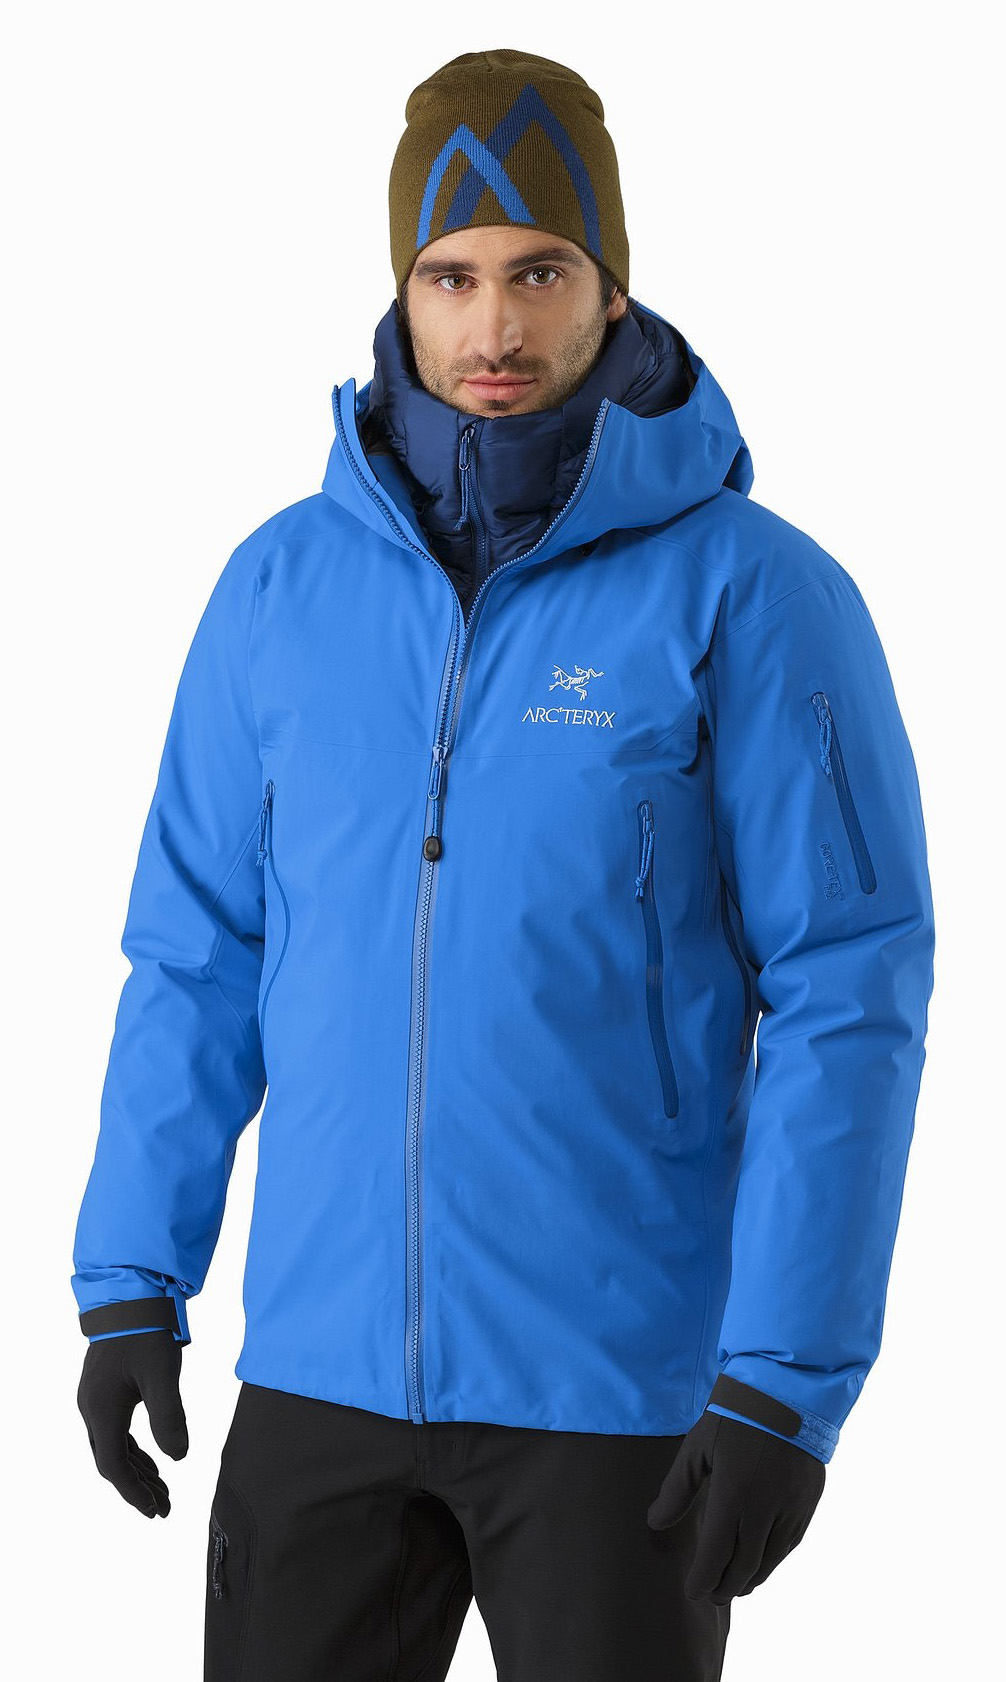
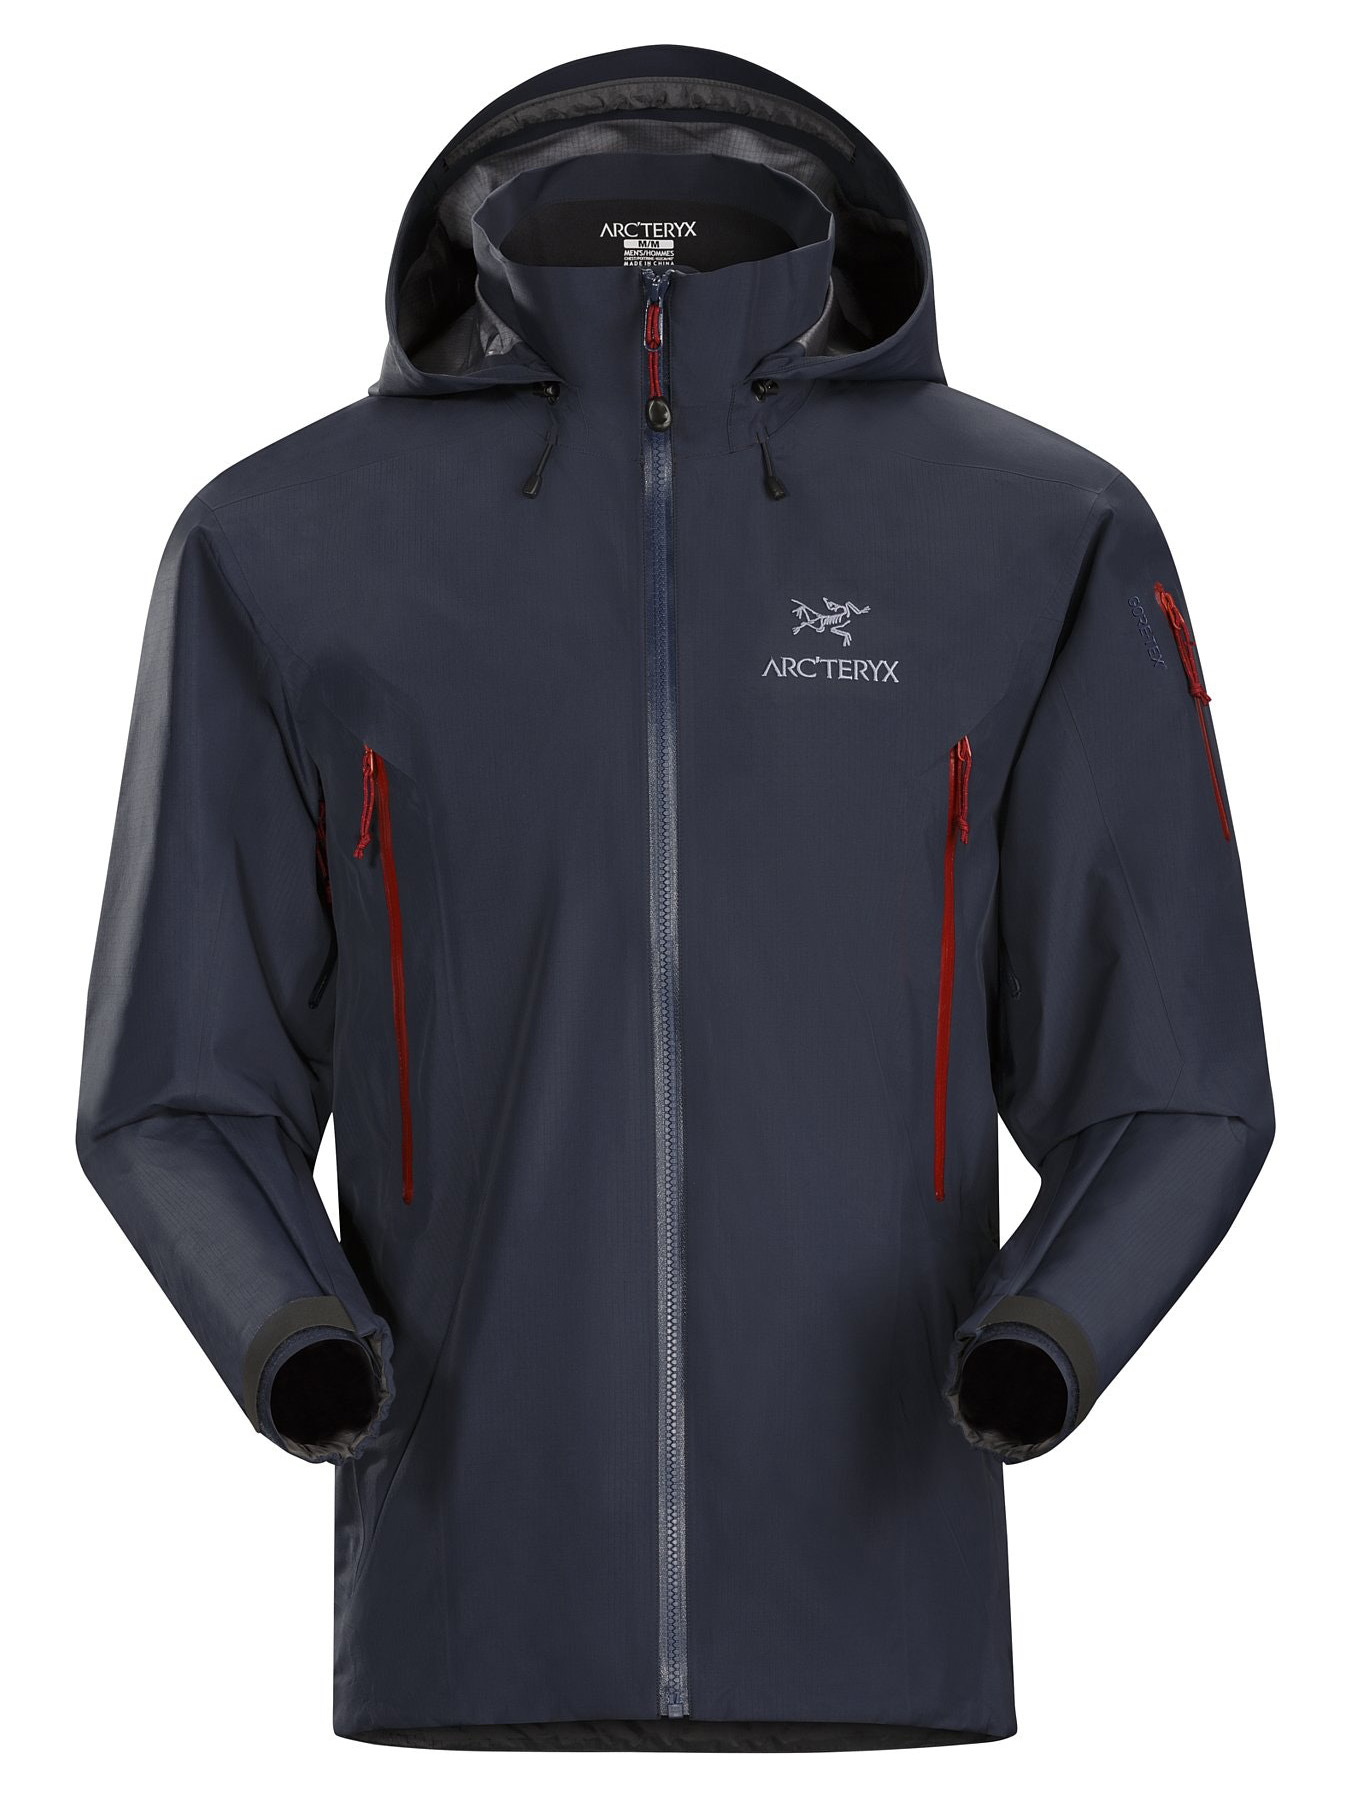
Arc'teryx Beta AR
I use their most popular shell, the Beta AR, which is basically a versatile, full-featured all-around jacket. I wear it for all my outdoor adventures, from photography to skiing. Constructed from N80p-X Gore-Tex Pro 3L in high wear areas like the shoulders, lower sleeves, and hood with lighter weight N40r-X ripstop Gore-Tex Pro 3L everywhere else, the Beta AR balances durability and breathability. The Beta is hip length and regular fit, with the ability to layer under effectively yet not baggy when just wearing over a T-shirt. Pockets are simple, with two hand pockets that sit high enough to be above the waist belt of a backpack and large enough to fit hat, gloves, filters, etc. The elbows are gusseted so that the sleeves don’t ride up when you raise your arms. It’s basic, functional and has kept me dry in some nasty weather. Totally worth it.
Arc'teryx Alpha SV
Other options I’d consider from the Arc’teryx line (some of which didn’t exist when I got my Beta AR) are the Alpha SV, Beta SV, Theta AR, Zeta AR, and Zeta LT. The Alpha SV is the toughest of them all, with N100p-X Gore-Tex Pro 3L through and through. Be aware, that because of their climbing pedigree, the hand pockets on all the Alpha jackets are Napoleon style, meaning they are accessed from the opposite side (left hand in right-side pocket). So, they don’t work great as traditional hand warming pockets.
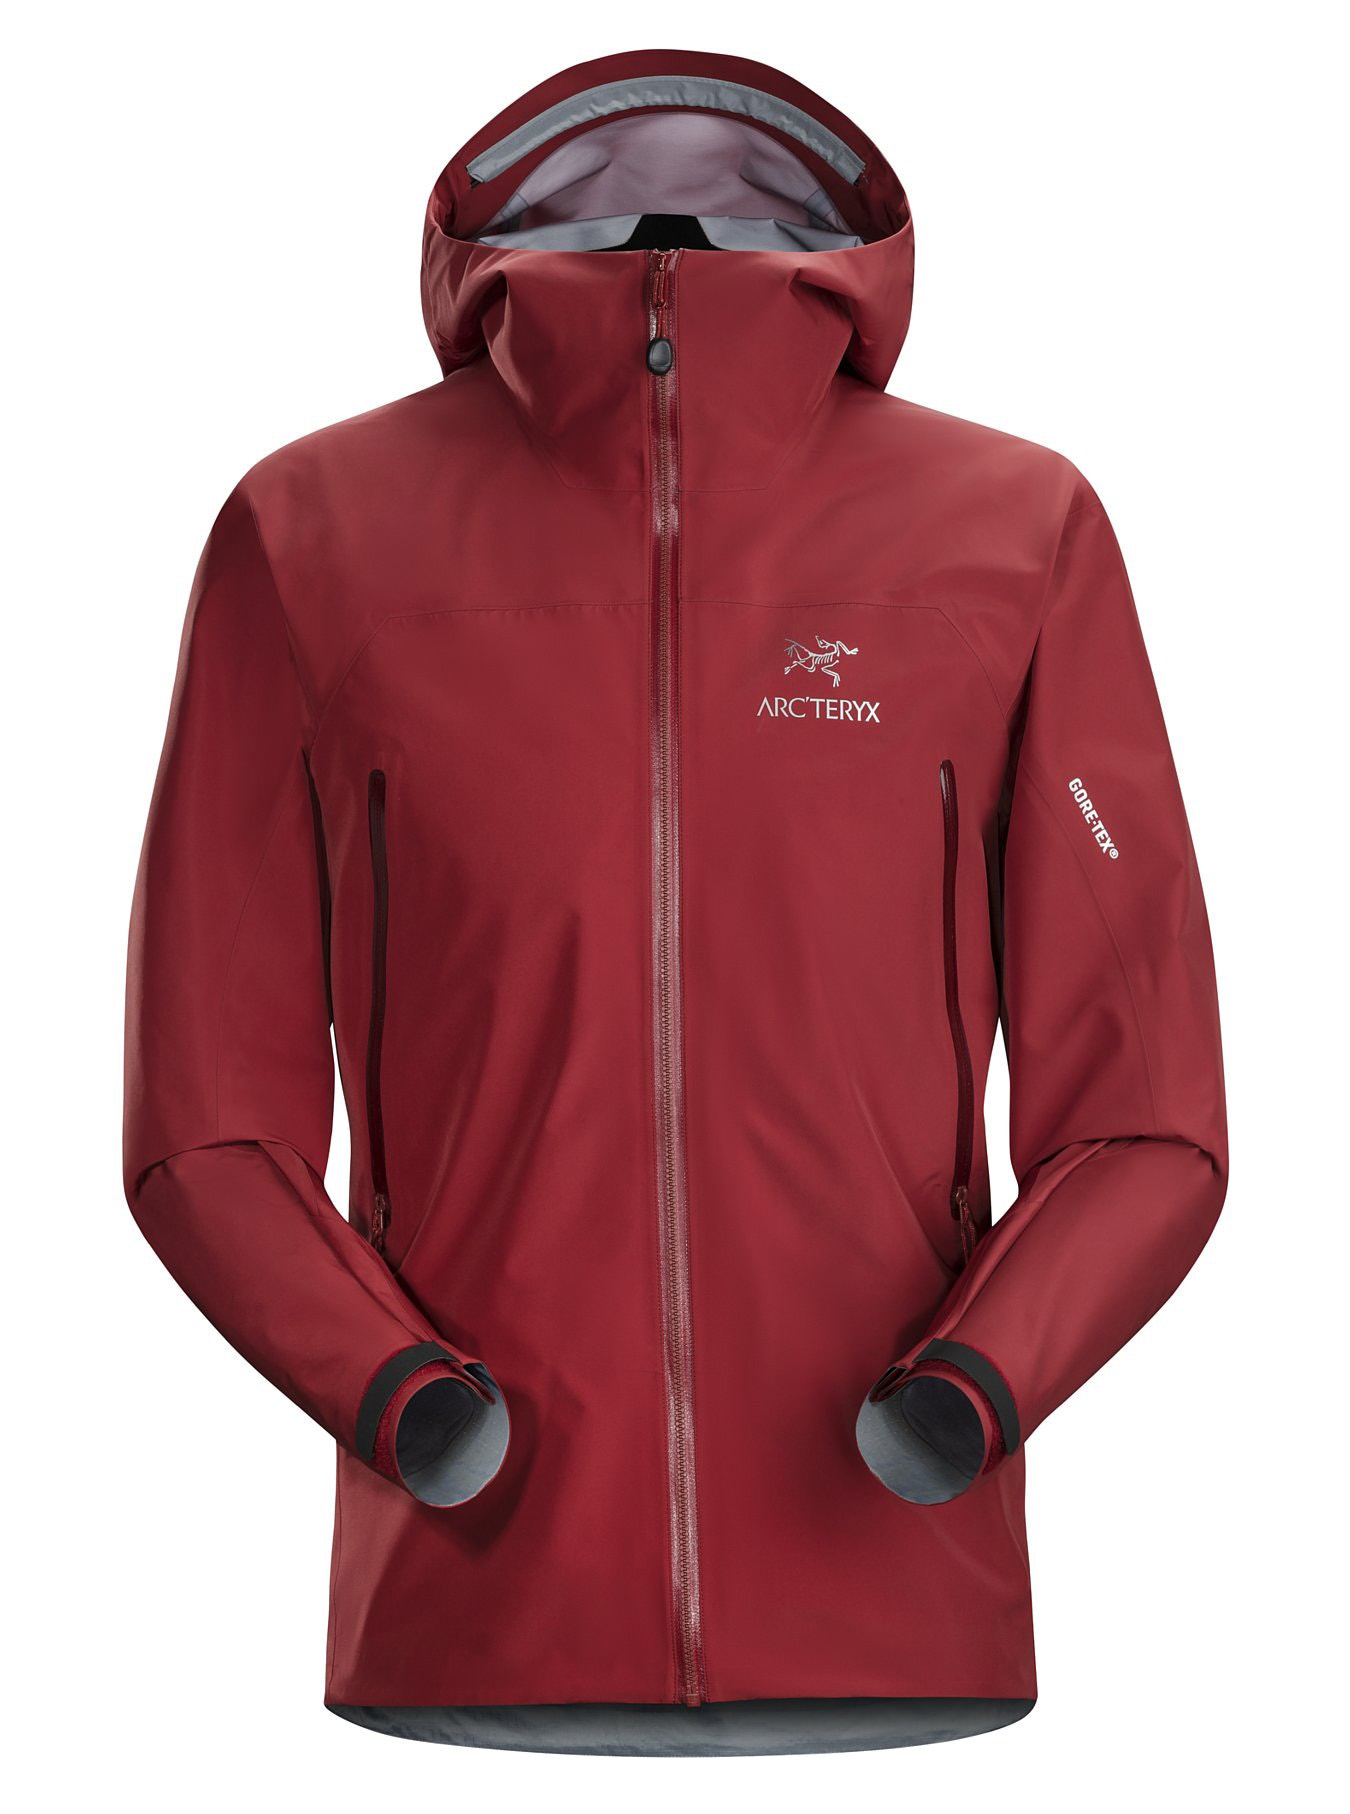
Arc'teryx Beta SV
For one step down in durability, the Beta SV will allow for more layering underneath than the Beta AR and has N80p-X GTX Pro everywhere. The trade-off is that neither the Alpha nor Beta SV models will be as breathable in warm weather due to their thicker fabrics.
If you like the Beta AR features and construction but want something in thigh length rather than hip length, the Theta AR could do the trick.
Arc'teryx Theta AR
Last up is a relative newcomer to the lineup, the Zeta series. Featuring the new Gore-Tex with C-knit technology, the fabric in the Zeta line is more supple, less crinkly, and feels way better against bare skin than GTX Pro. Less durable, yes, but also more versatile for warmer and humid environments. While the full-blown Zeta AR is only slightly lighter than a Beta AR at 15oz (425g), the Zeta LT cuts down to only 11oz, albeit without pit zips and with a lighter face fabric weight. The only catch is the entire Zeta line is trim fitting, which is great for spring, summer and fall. Not so great for winter as there won’t be enough room for a decent mid layer underneath.
Arc'teryx Zeta LT
If you want the ultimate combo, go for a Beta SV and a Zeta LT. Burly and bombproof for colder conditions and lightweight and breathable for warmer adventures while still maintaining waterproofness.
To be fair, there are plenty of other solid choices for technical shells besides Arc’teryx, like the Outdoor Research Axiom, 66 Degrees North Snaefell, Marmot Speed Light and Patagonia M10, to name a few. These are all excellent options. For simple rain shells or wind shells, there are far less expensive options, but the technical shells recommended above are indestructible and absolutely watertight while being extraordinarily lightweight and will last for years. Also, cheaper rain jackets aren’t designed for breathability, meaning they might keep you dry from the outside while cooking you in a sauna on the inside. Yuck.
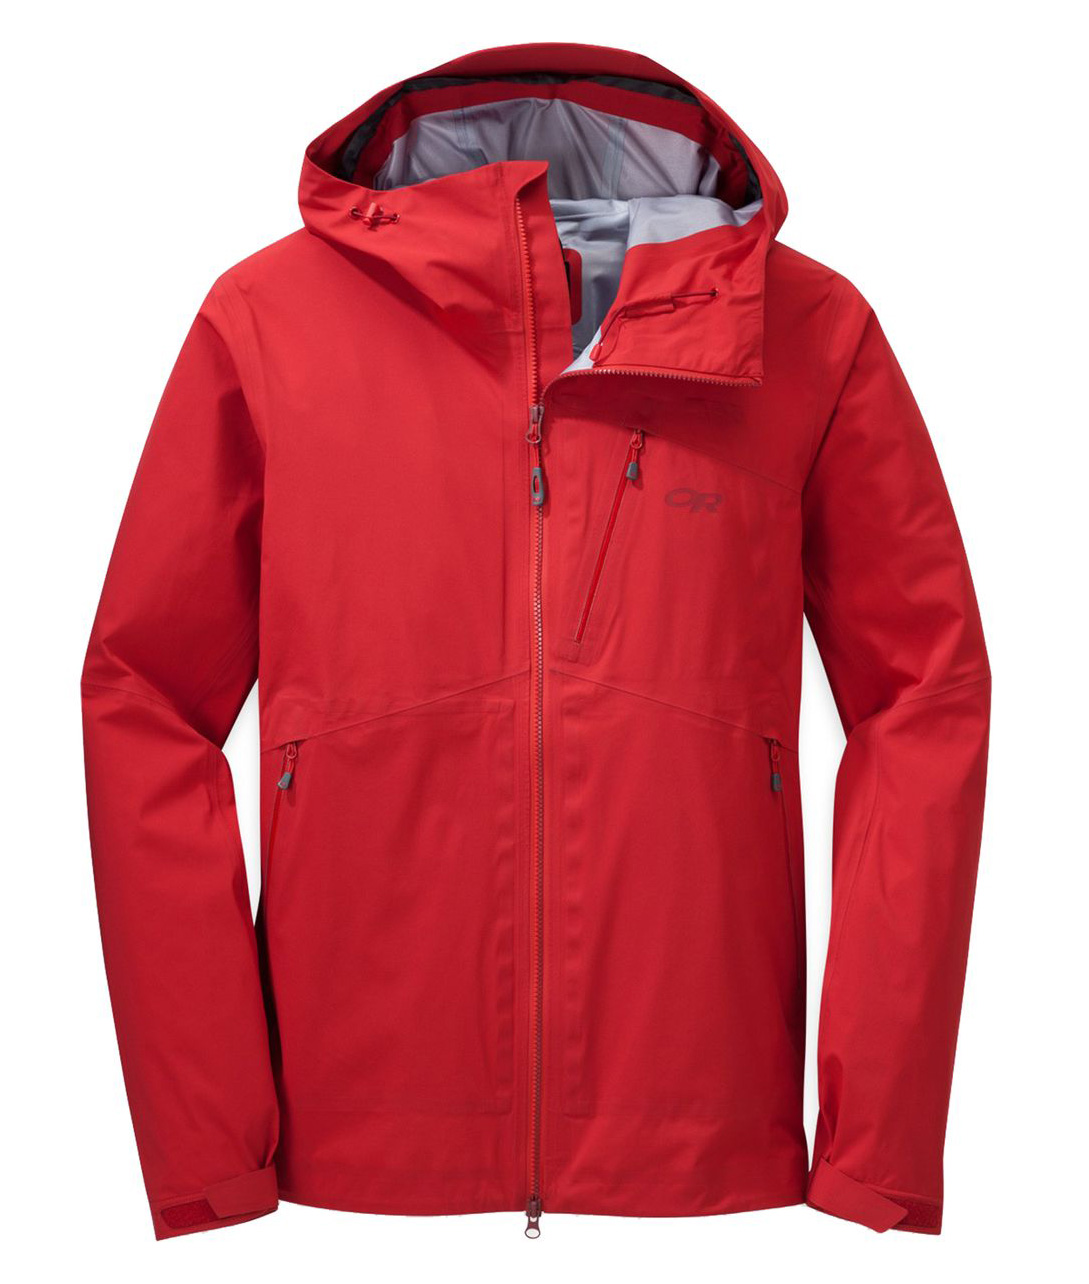
Outdoor Research Axiom
Parka
If you are looking for even more warmth, an insulated parka can be another route to go. Layered over your base layer and mid layer, you should be quite toasty in even the most frigid climates. Some examples of really warm parkas are the Canada Goose Expedition Down Parka, Mountain Hardwear Absolute Zero Down Parka, 66° North Jokla Parka, Fjallraven Kyl Parka, The North Face McMurdo Hooded Down Parka III, The North Face Himalayan Down Parka, and Arc’teryx Fission SV.
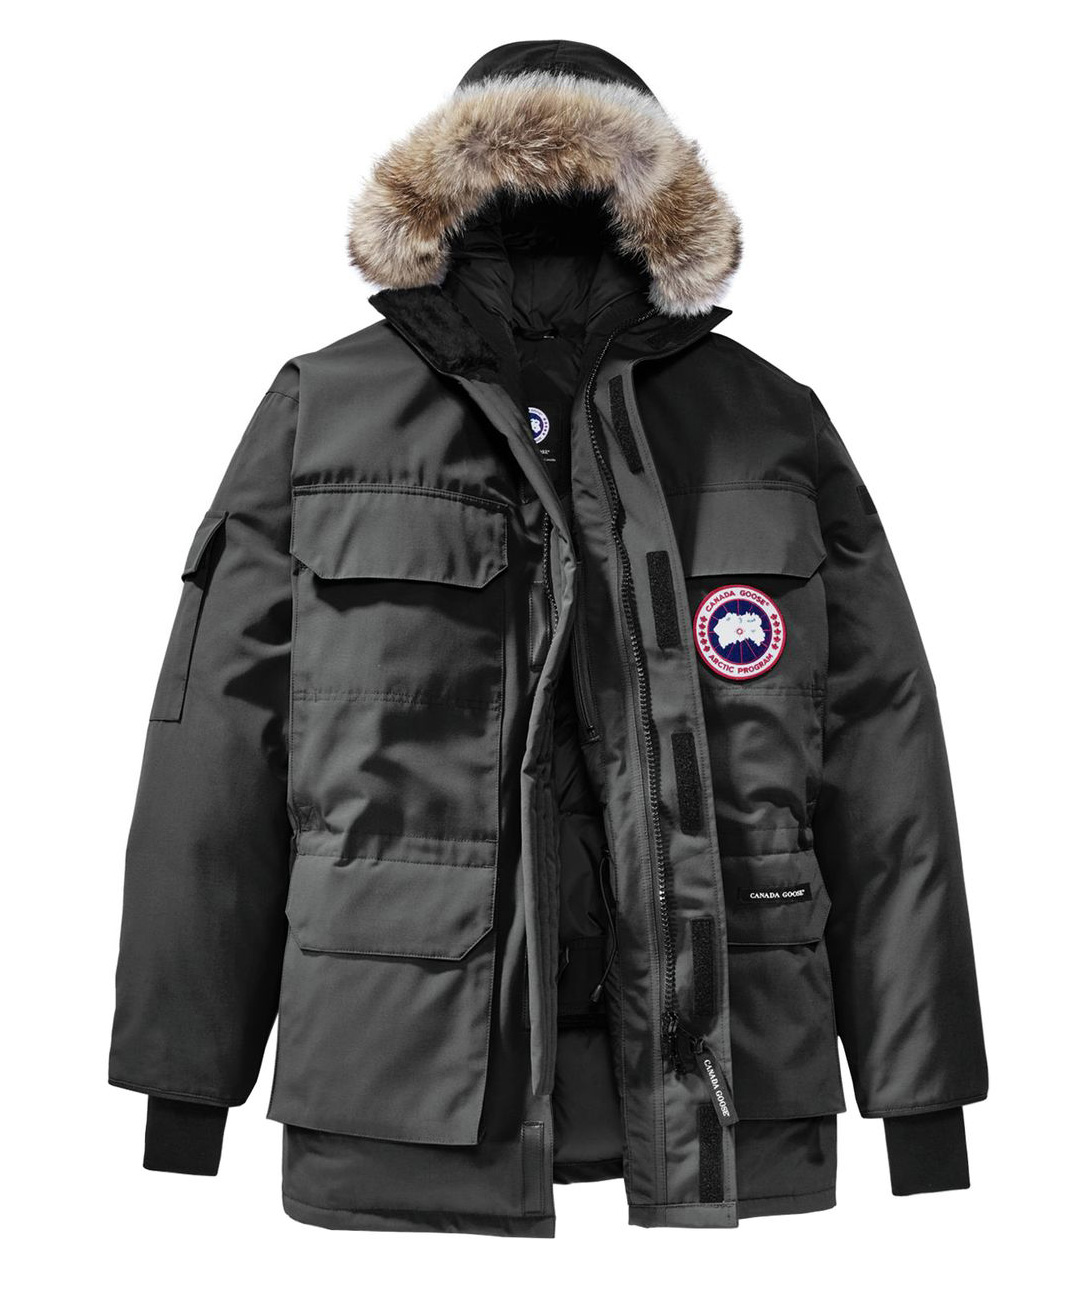
Canada Goose Expedition Parka
I’ve got an Arc’teryx Fission SV for super cold outings, when I can’t fit enough insulation under my Beta AR shell to keep me warm. The Fission features waterproof and windproof Gore-Tex face fabric, has a ton of Coreloft synthetic insulation, and still weighs less than 2lbs (850g). With its Expedition fit, I can fit my Cerium SV hooded down jacket underneath and still maintain full mobility.
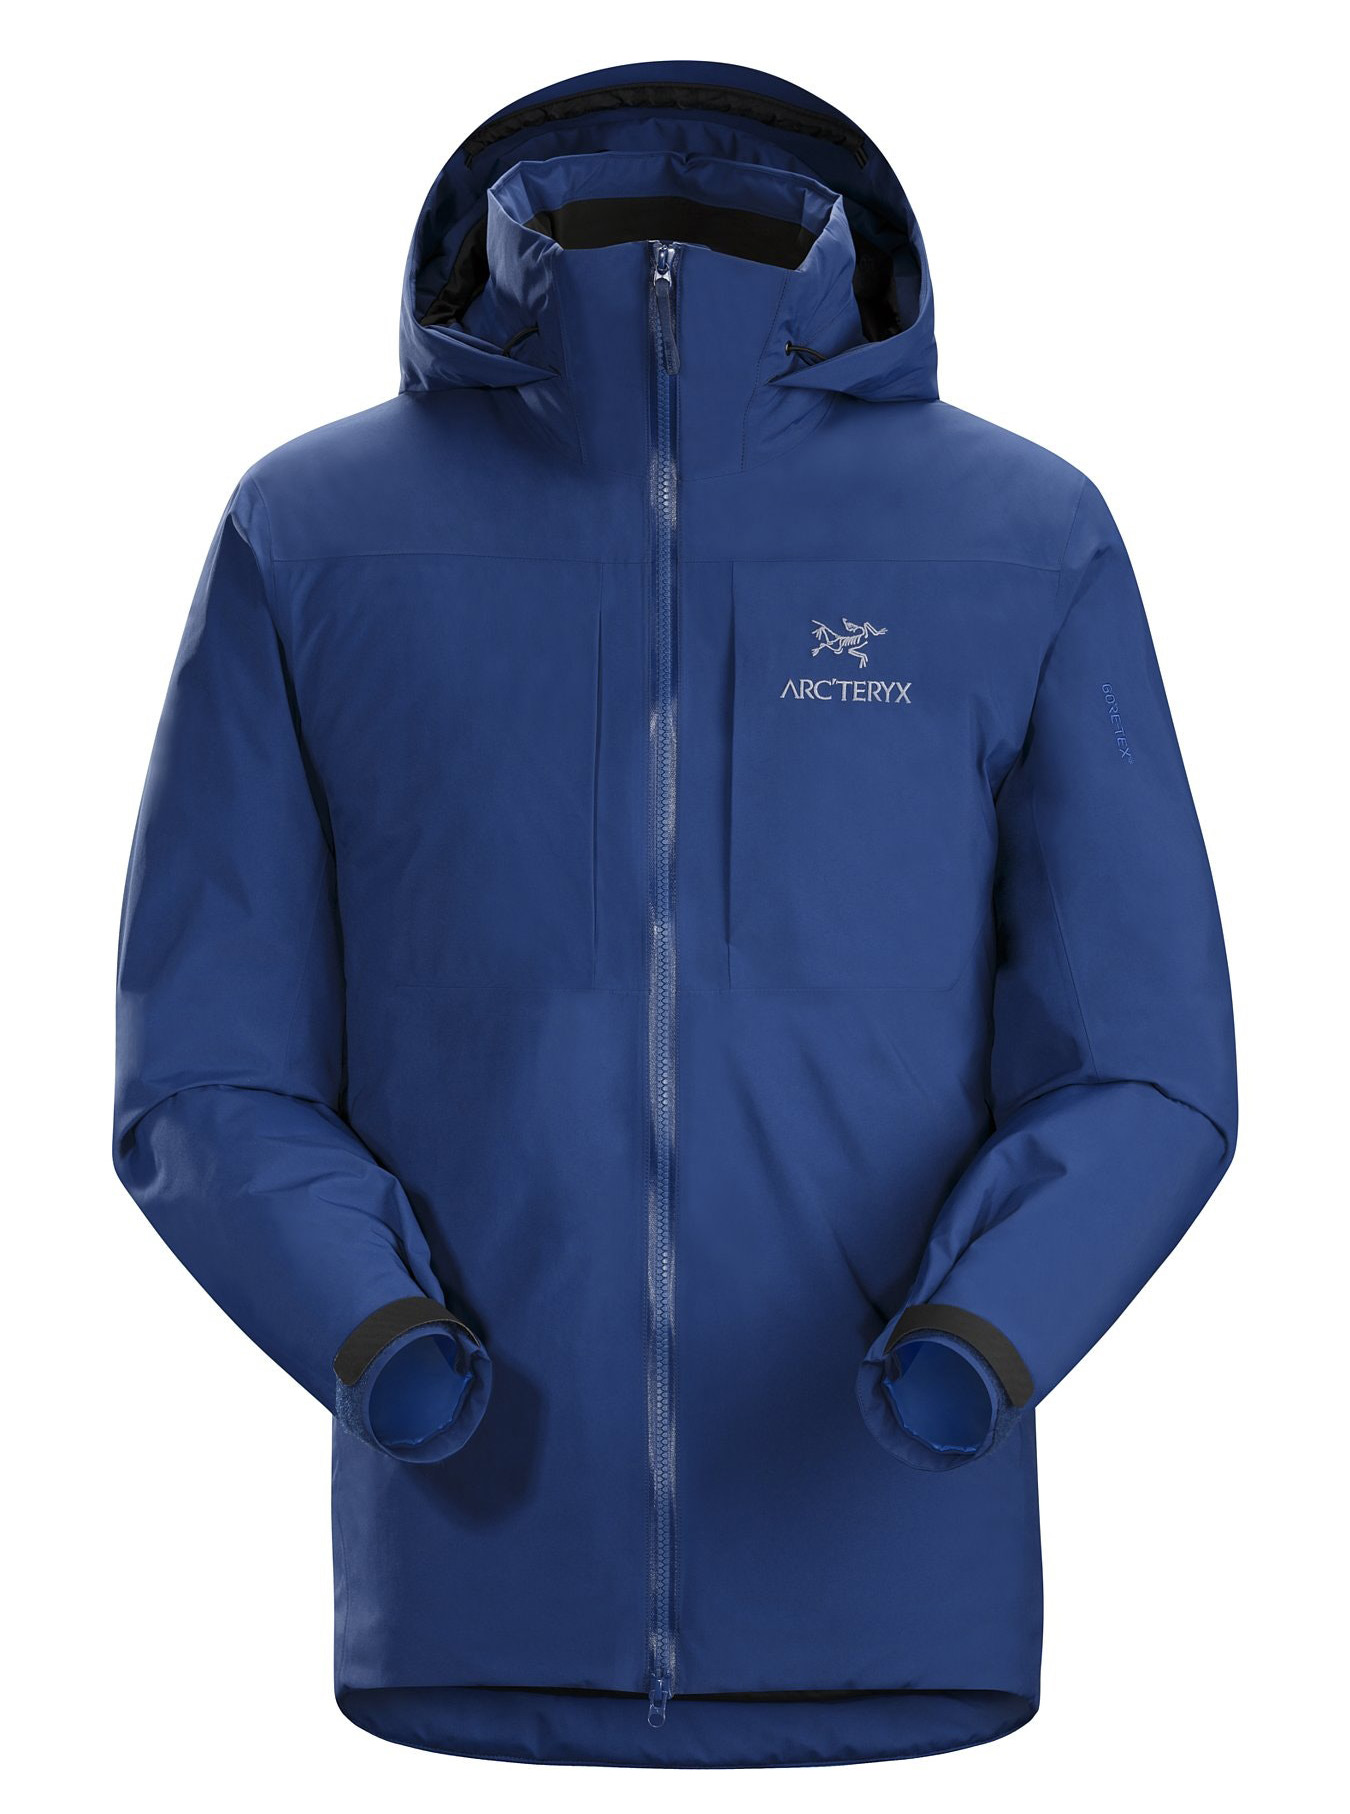
Arc'teryx Fission SV
Granted, although many of the down parkas I listed above are warmer, they are also pushing 4 or 5 pounds (~2 kg) and take up a lot of space. Odds are, you will need to carry your parka on the plane, as one jacket might occupy half your checked luggage space. If you’re okay with that and just want the warmest possible option available, go for it.
Belay Jacket
Another option is a belay jacket, or summit jacket, standard issue for high-altitude mountaineering. In bitter cold, waterproofness isn’t as critical as wind resistance and insulation, as all the water is usually in solid form (snow). Heavy duty down jackets are worn over everything else, including your shell. The Mountain Hardwear Absolute Zero linked above falls into this category, as does the excellent Rab Neutrino Endurance, which packs a whopping 9oz (255g) of 800-fill down into its 22oz overall package. Both are too bulky to wear under a shell but weigh less than a comparable full-on parka like the Canada Goose.
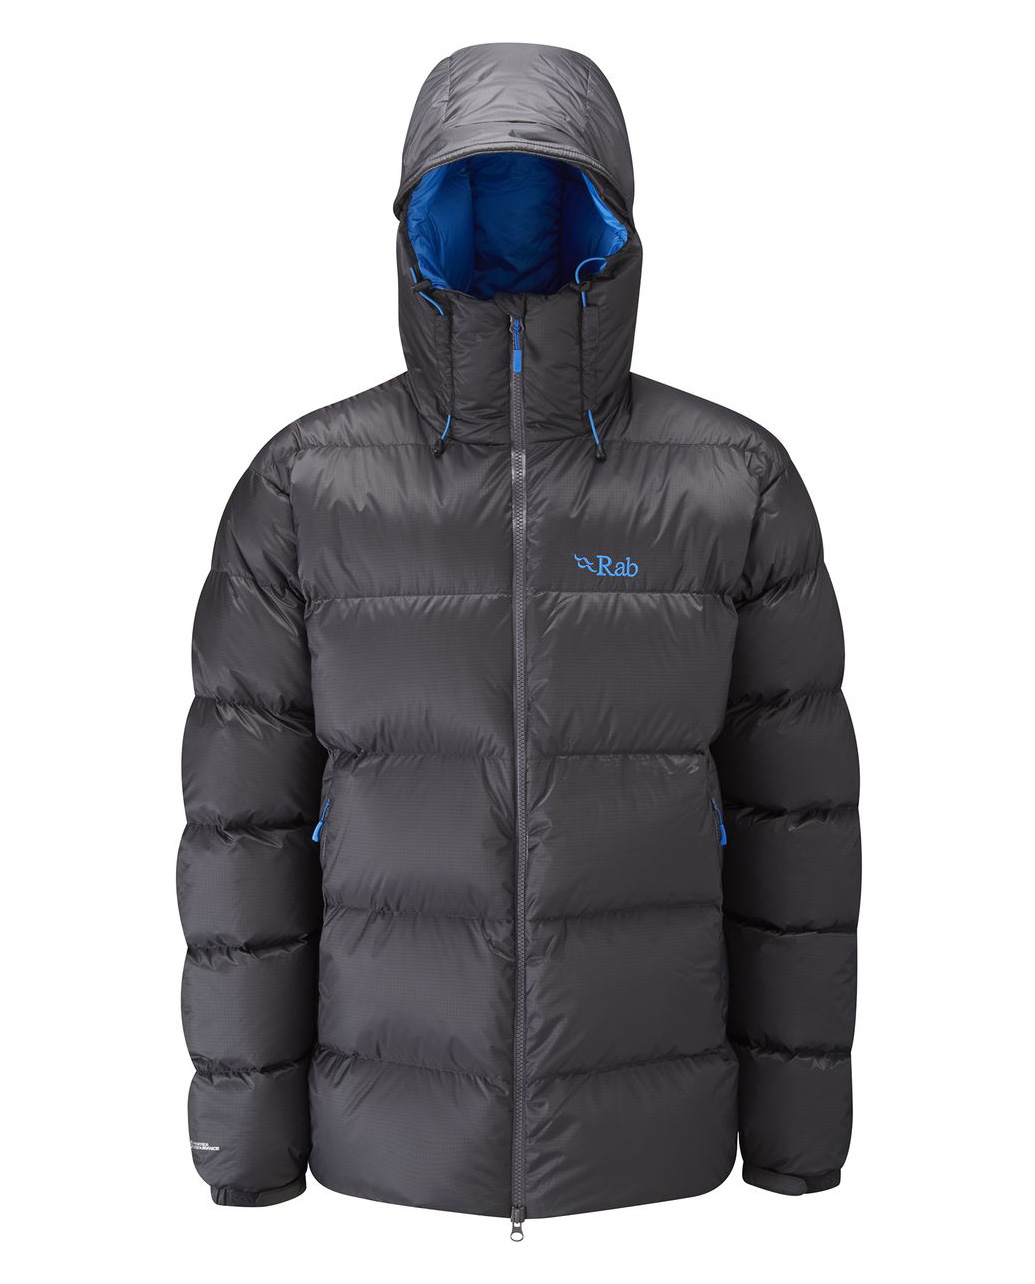
Rab Neutrino Endurance
Pants
Jeans are comfortable for everyday use, but once wet, they will not dry out and can leave you wet and clammy all day. Jeans are also about as wind resistant as a paper towel. Basically, don’t wear jeans if you plan to venture out for landscape shooting.
For general, non-winter use, I’d suggest comfortable hiking pants. The convertible The North Face Paramount Trail pants are very popular, while the non-convertible prAna Zion pants offer a more tapered fit and soft, stretchy water-repellent fabric. If neither of these choices work, there are tons of great options to fit your style. Worn over long underwear, the combination is easily adaptable to warmer or cooler conditions.
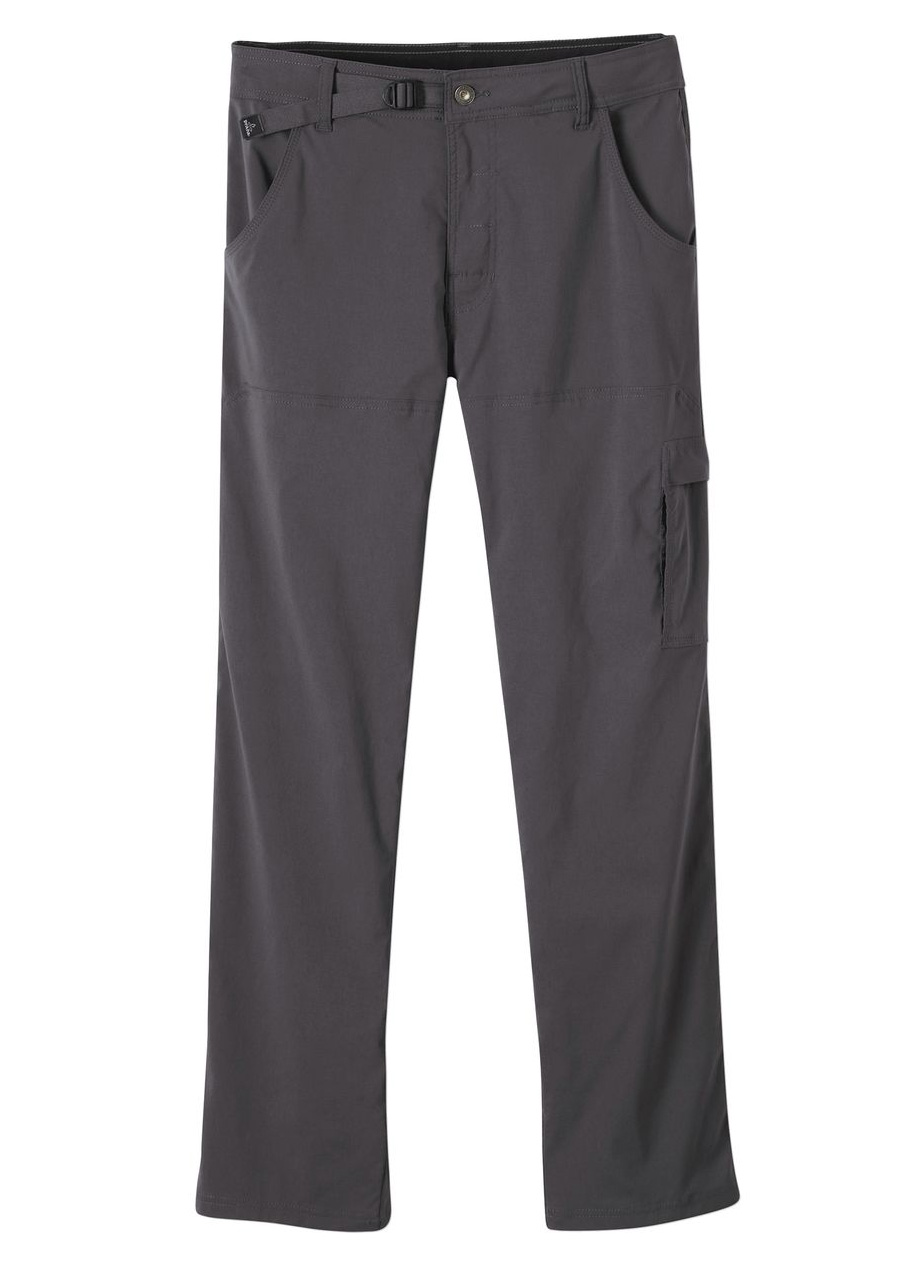
prAna Zion strech pants
There is no magical recipe here. Just look for comfortable, durable, well-fit pants with good water repellency. Cargo pockets are handy. Stretch is nice when moving up a trail or kneeling for a picture.
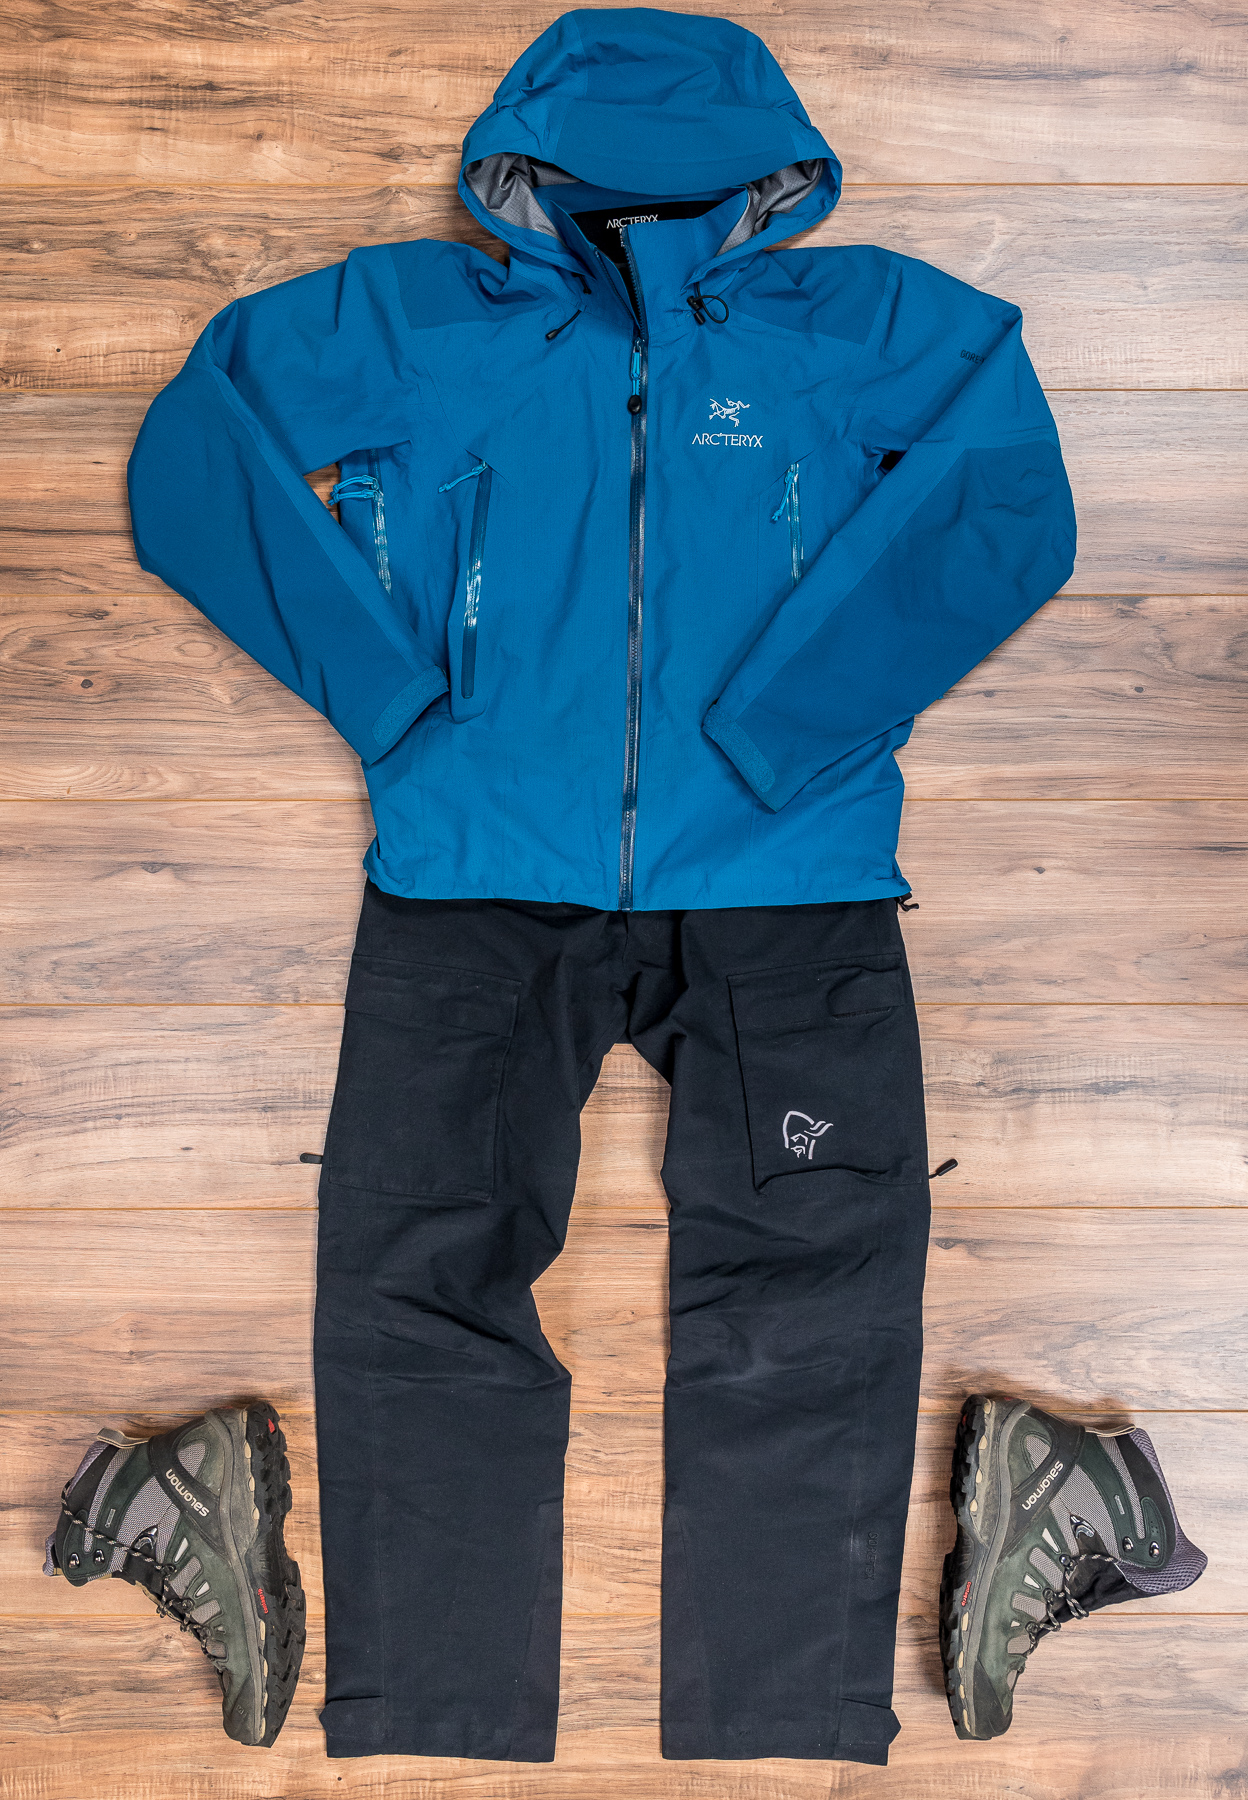
For hardcore weather protection, the Arc’teryx Beta AR and Norrona Svalbard Gore-Tex pants are unbeatable. This style of pants is like a technical shell jacket for your legs. You only need one good pair and you are covered for a whole trip.
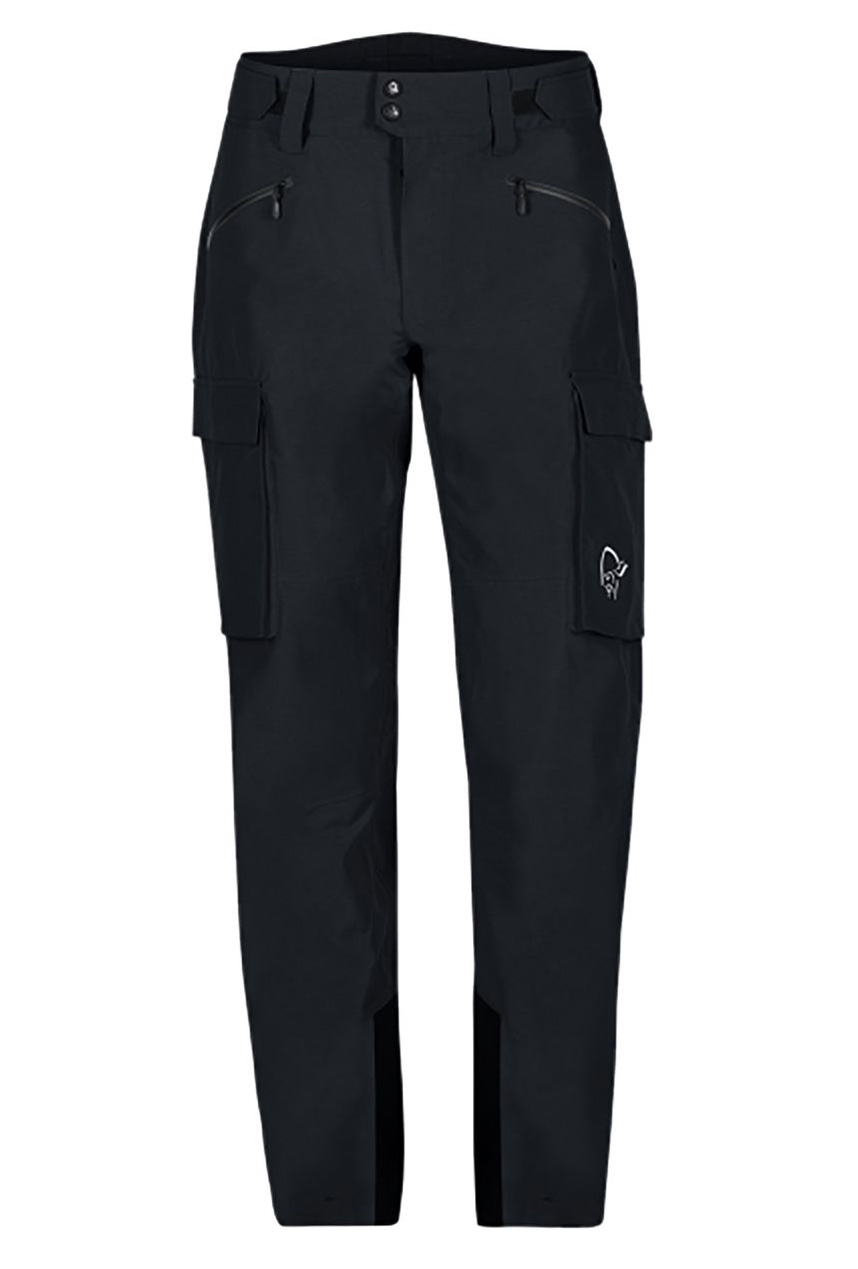
Norrona Svalbard Gore-Tex pants
I’m a big fan of the prAna Zion pants and have them in a few colors. Generally, two pairs will get me through a week-long photo trip. They almost look like causal everyday pants and are as comfortable as they come. prAna also makes Zion shorts, which I wear all the time here in Miami and on hot weather outings.
Recently, I also picked up a pair of the Svalbard pants and wish I had gotten them years ago. They are flat-out awesome, especially for colder adventures. The Atom LT insulated pants fit perfectly underneath for comfort down below freezing without being puffy or bunchy. It’s a great feeling to be able to just kneel in thick mud, a puddle, or the surf to get a different angle without worrying about wet pants and knees. And with the new Gore-Tex C-knit material, the pants feel great when worn next to skin without Base layers.
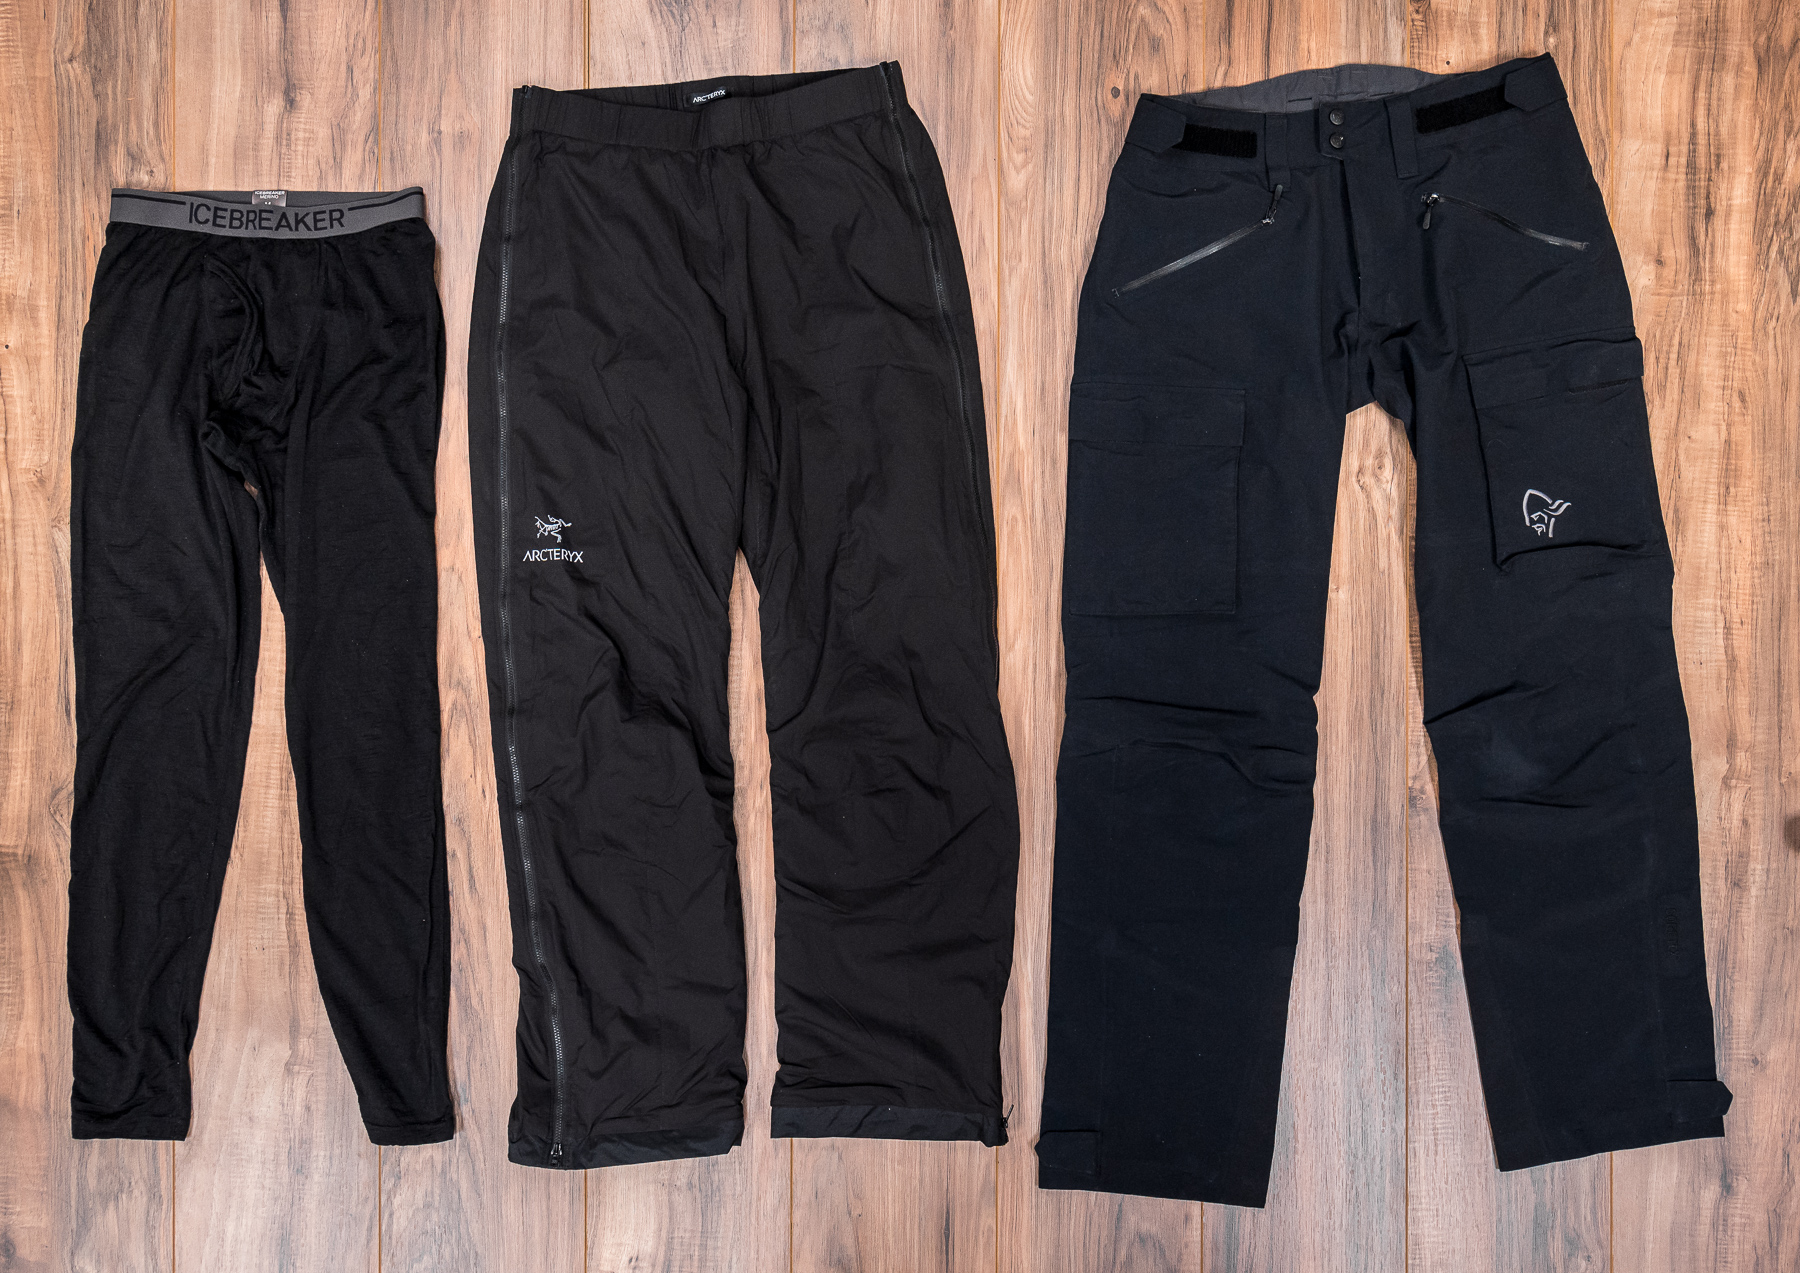
Base layer, Atom LT mid layer and Norrona Svalbard pants
If you don’t go the Gore-Tex pants route, I’d suggest at least getting some pull-on rain pants. These go over your hiking pants and are waterproof. Some solid choices include the Marmot Precip Pants, Outdoor Research Helium Pants, and Patagonia Torrentshell Pants.
Accessories
Complementing your main layering system will be small items that have a big impact on comfort.
Hat
A simple beanie-style hat that covers your ears works best. Offered in fleece or wool, a beanie will keep your head warm and you will be much more comfortable overall as a lot of heat is lost from your head. The brimless design also won’t get in the way when shooting and will still fit under an insulated hood for even extra warmth. If you happen to be in Iceland, I’m a huge fan of the Varma Rib Beanie. I’ve got this hat for serious cold weather and a lighter Smartwool merino beanie for cool, but not freezing days.
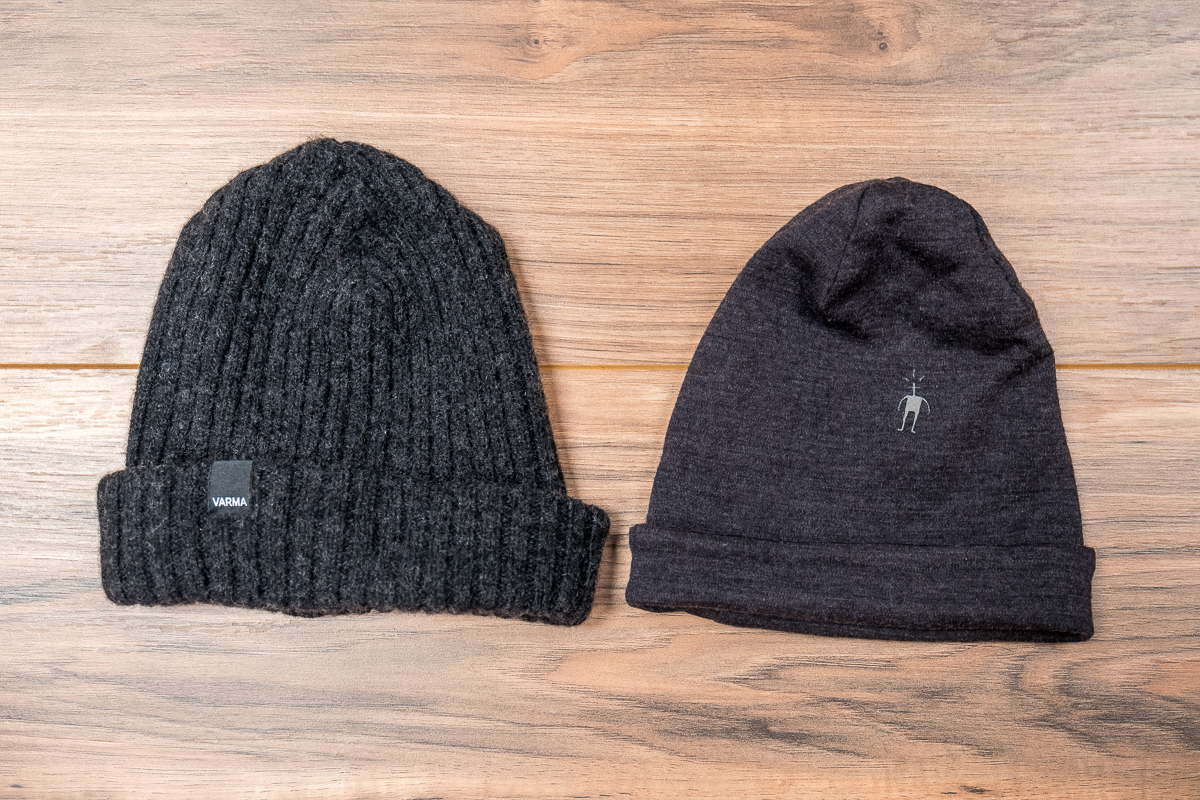
Two hats: Varma ribbed beanie and Smartwool cuffed beanie
Neck Gaiter
Seal in the warmth of your jacket and protect your neck and face with a simple merino wool neck gaiter. It can make a huge difference in comfort. You can just keep it around your neck, pull it up over your nose and mouth, or even up over your ears, effectively covering your entire lower head. There are plenty to choose from. My favorites are the Arc’teryx RHO LTW, Smartwool 250, and Icebreaker Flexichute.
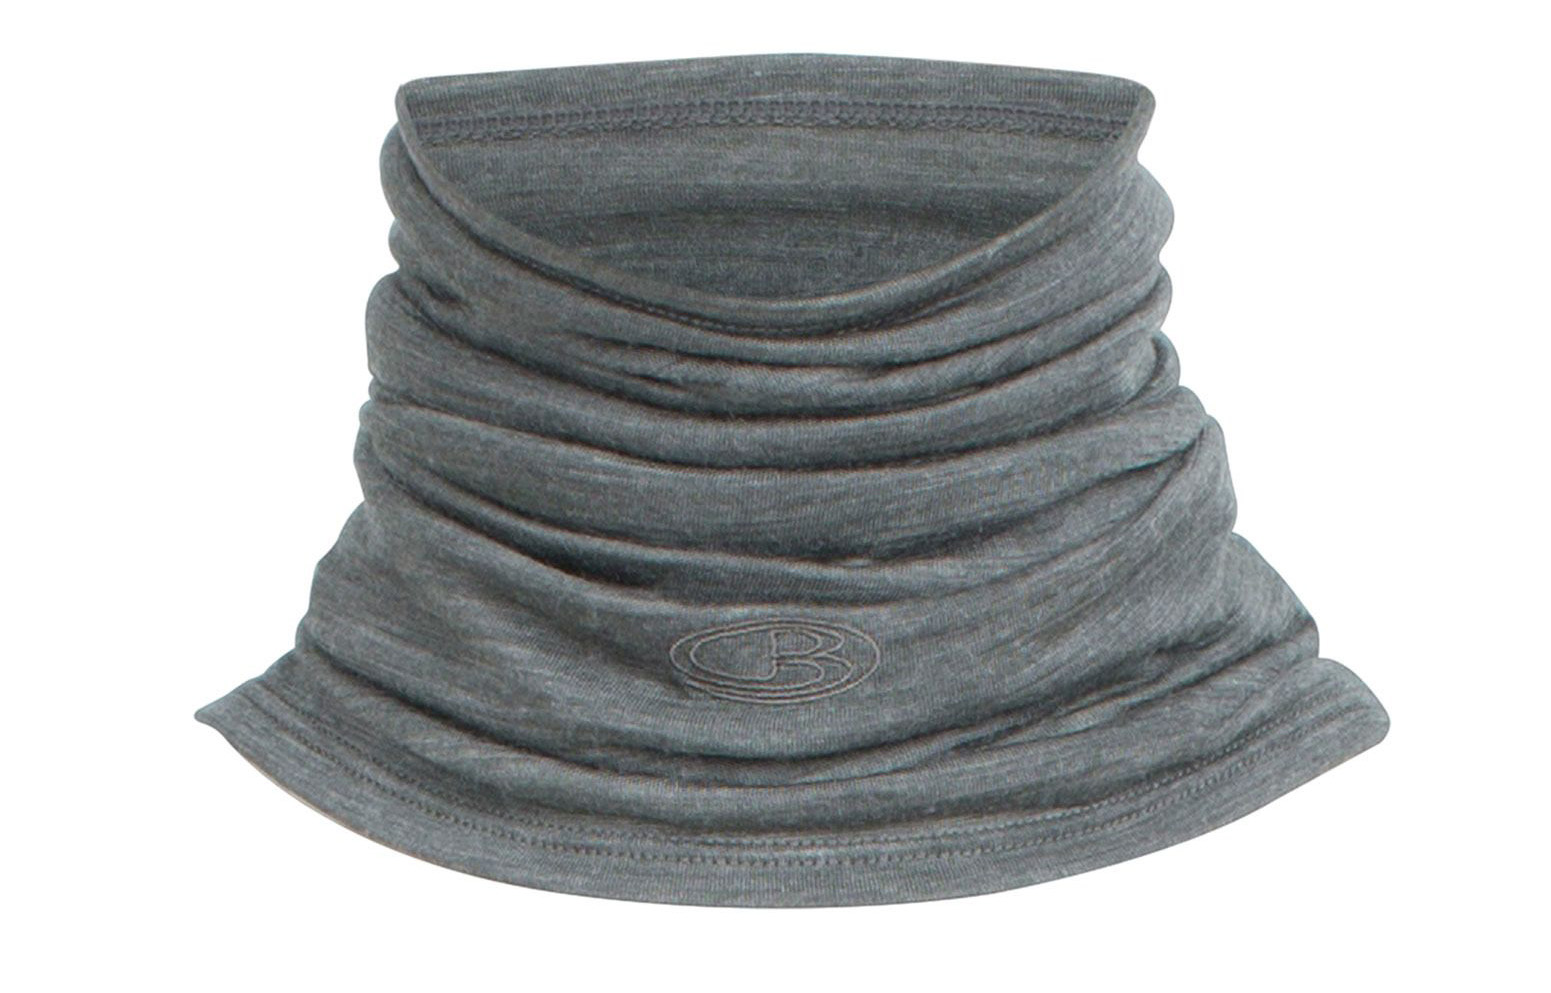
Icebreaker neck gaiter
Gloves
Look for gloves that are thin enough to comfortably operate a camera and tripod, change lenses, etc., while still offering some protection from the wind and cold. Gore-Tex Windstopper fleece does a good job of blocking the wind from sapping warmth from your hands. Try to get gloves that have touch compatibility, which is convenient for phone use and operating the touchscreen of the Leica SL2 or Q2. There are two basic glove approaches for cold weather shooting.
Double layer
Wear a liner glove made of Polartech Powerstretch or Gore-Tex Windstopper for maximum dexterity and a full insulated mitten on a wrist tether when not directly operating camera controls. Some good liner glove choices are Arc’teryx Teneo, Arc’teryx Venta, Marmot Evolution, Marmot Windstopper, and Black Diamond Midweight Screentap Liner.
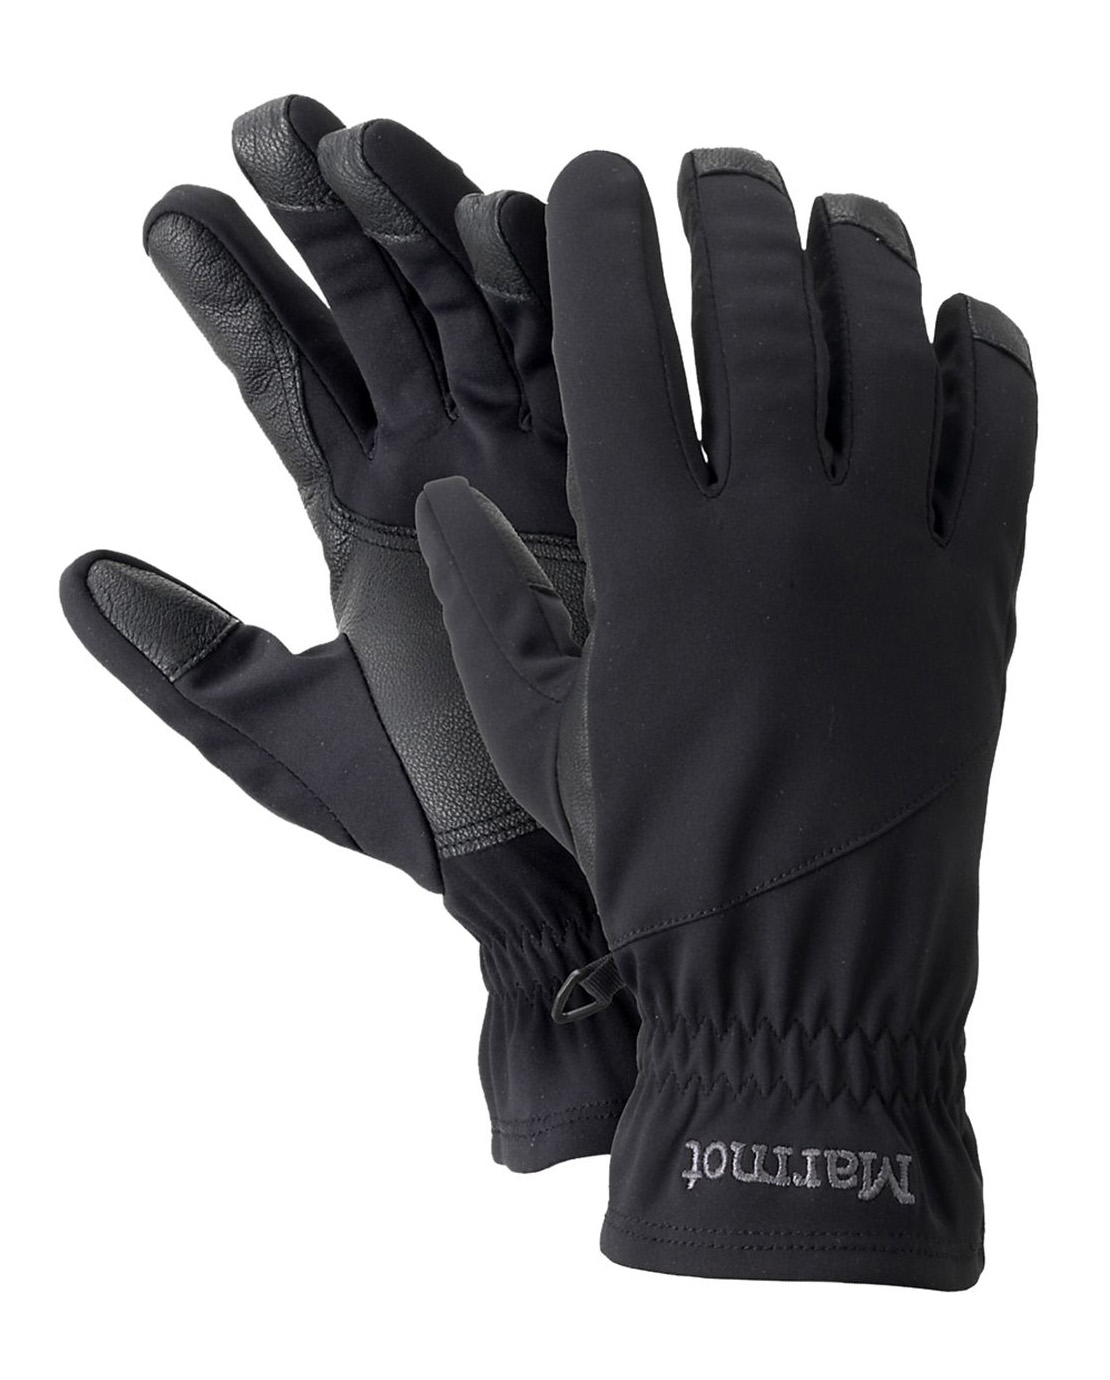
Marmot Evolution gloves
The best mittens available are the Arc’teryx Mitts which feature plenty of down insulation and a Gore-Tex Windstopper shell. They'll hold up against the wind and some precipitation to keep your hands nice and toasty. Just don't expect to be able to operate your camera. These are for when you're waiting, not actively shooting.
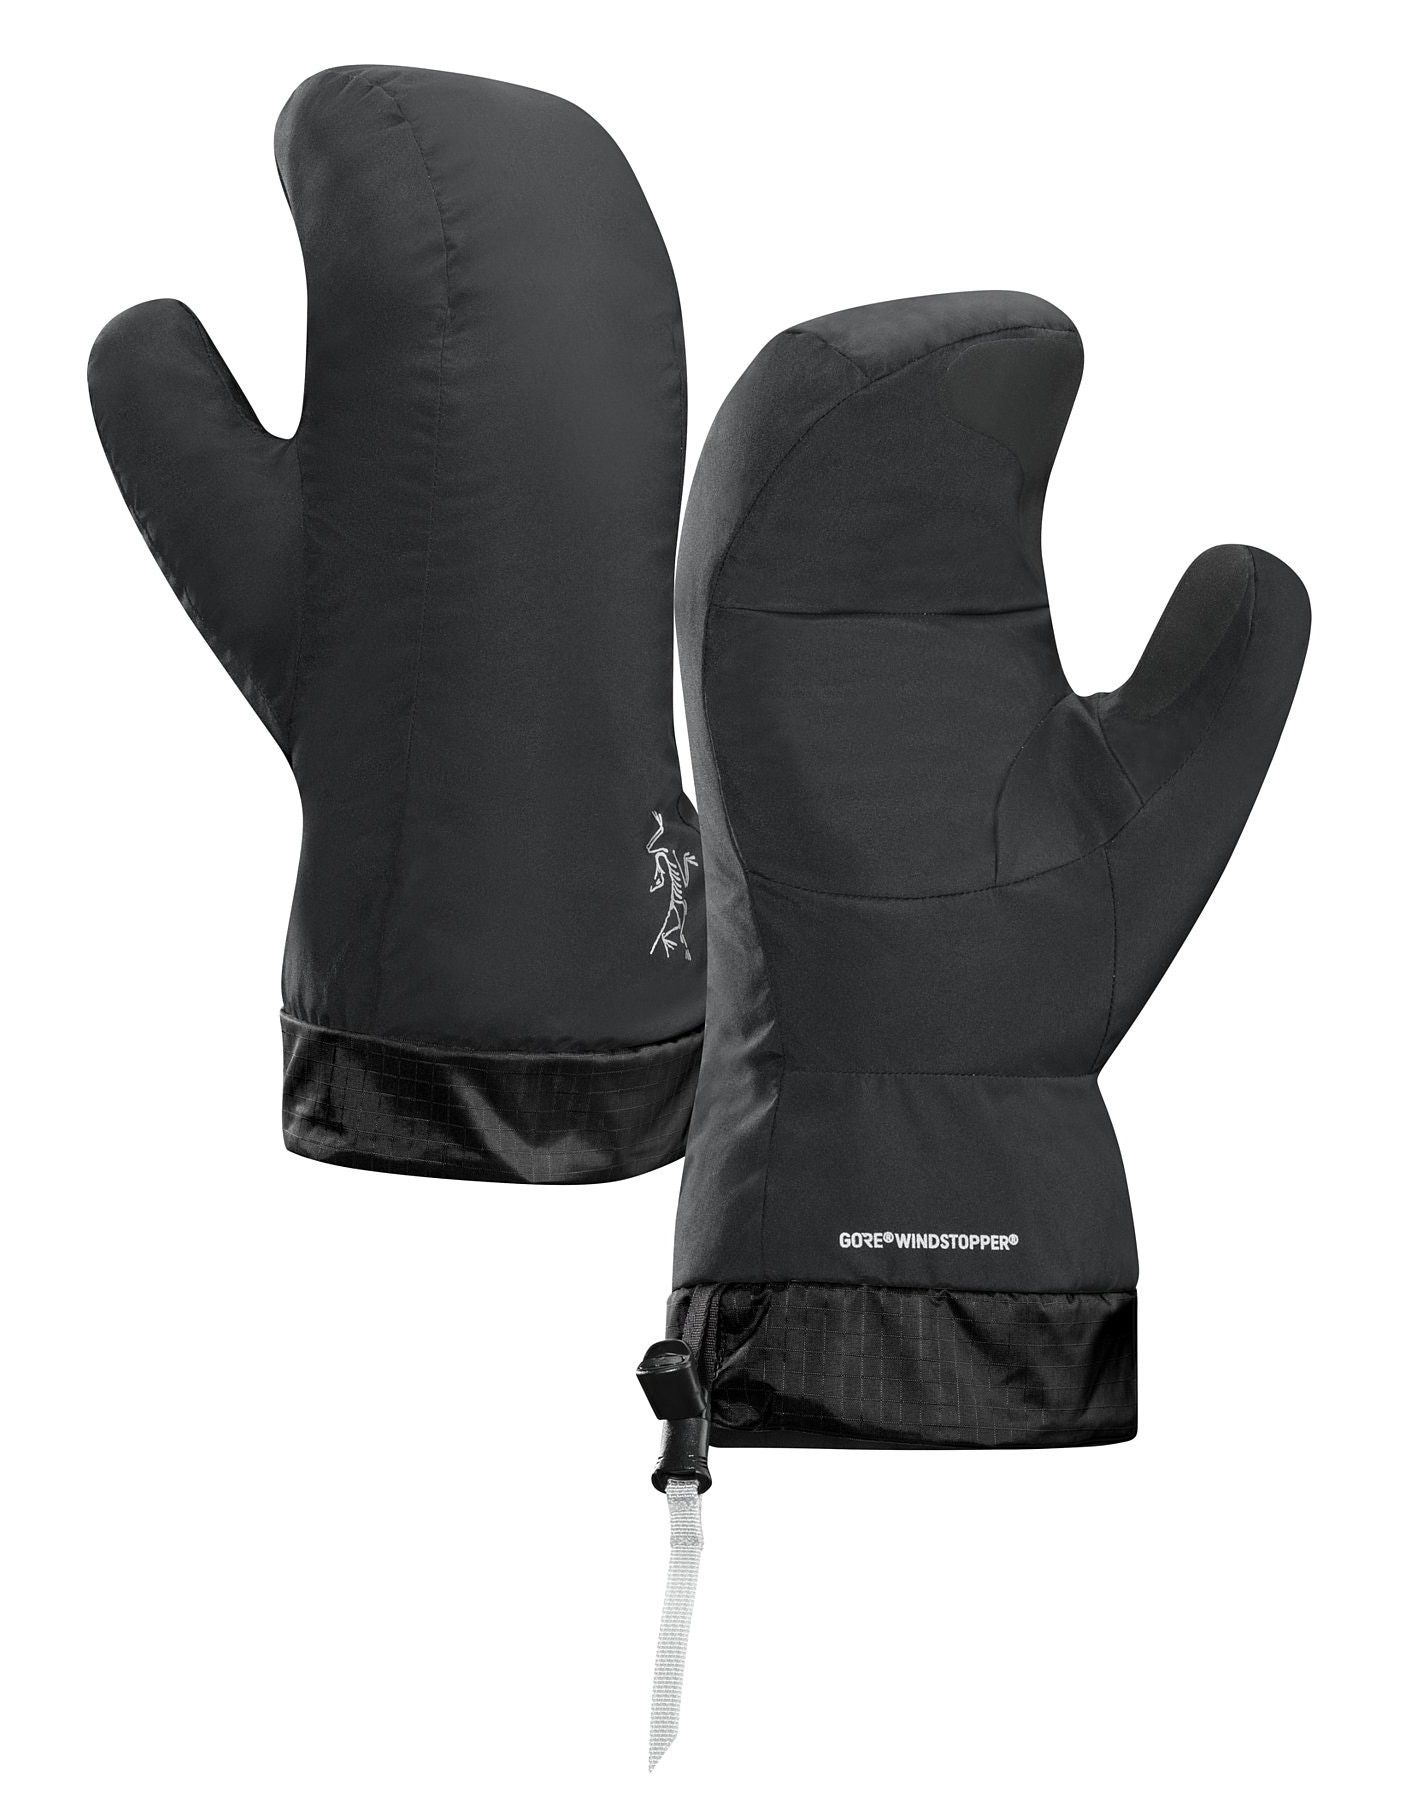
Arc'teryx Down Mitten
Single layer
The other approach is to wear a warmer, thinly insulated glove. You’ll sacrifice a little dexterity but have greater warmth. My top suggestion is the Arc’teryx Alpha FL ice climbing glove. They have 60g of Primaloft insulation and Gore-Tex lining for wind and waterproofing. Designed as a climbing glove, dexterity is better than almost any other insulated glove I’ve tried. And because they are relatively thin, you can still use the mittens for added insulation when necessary.
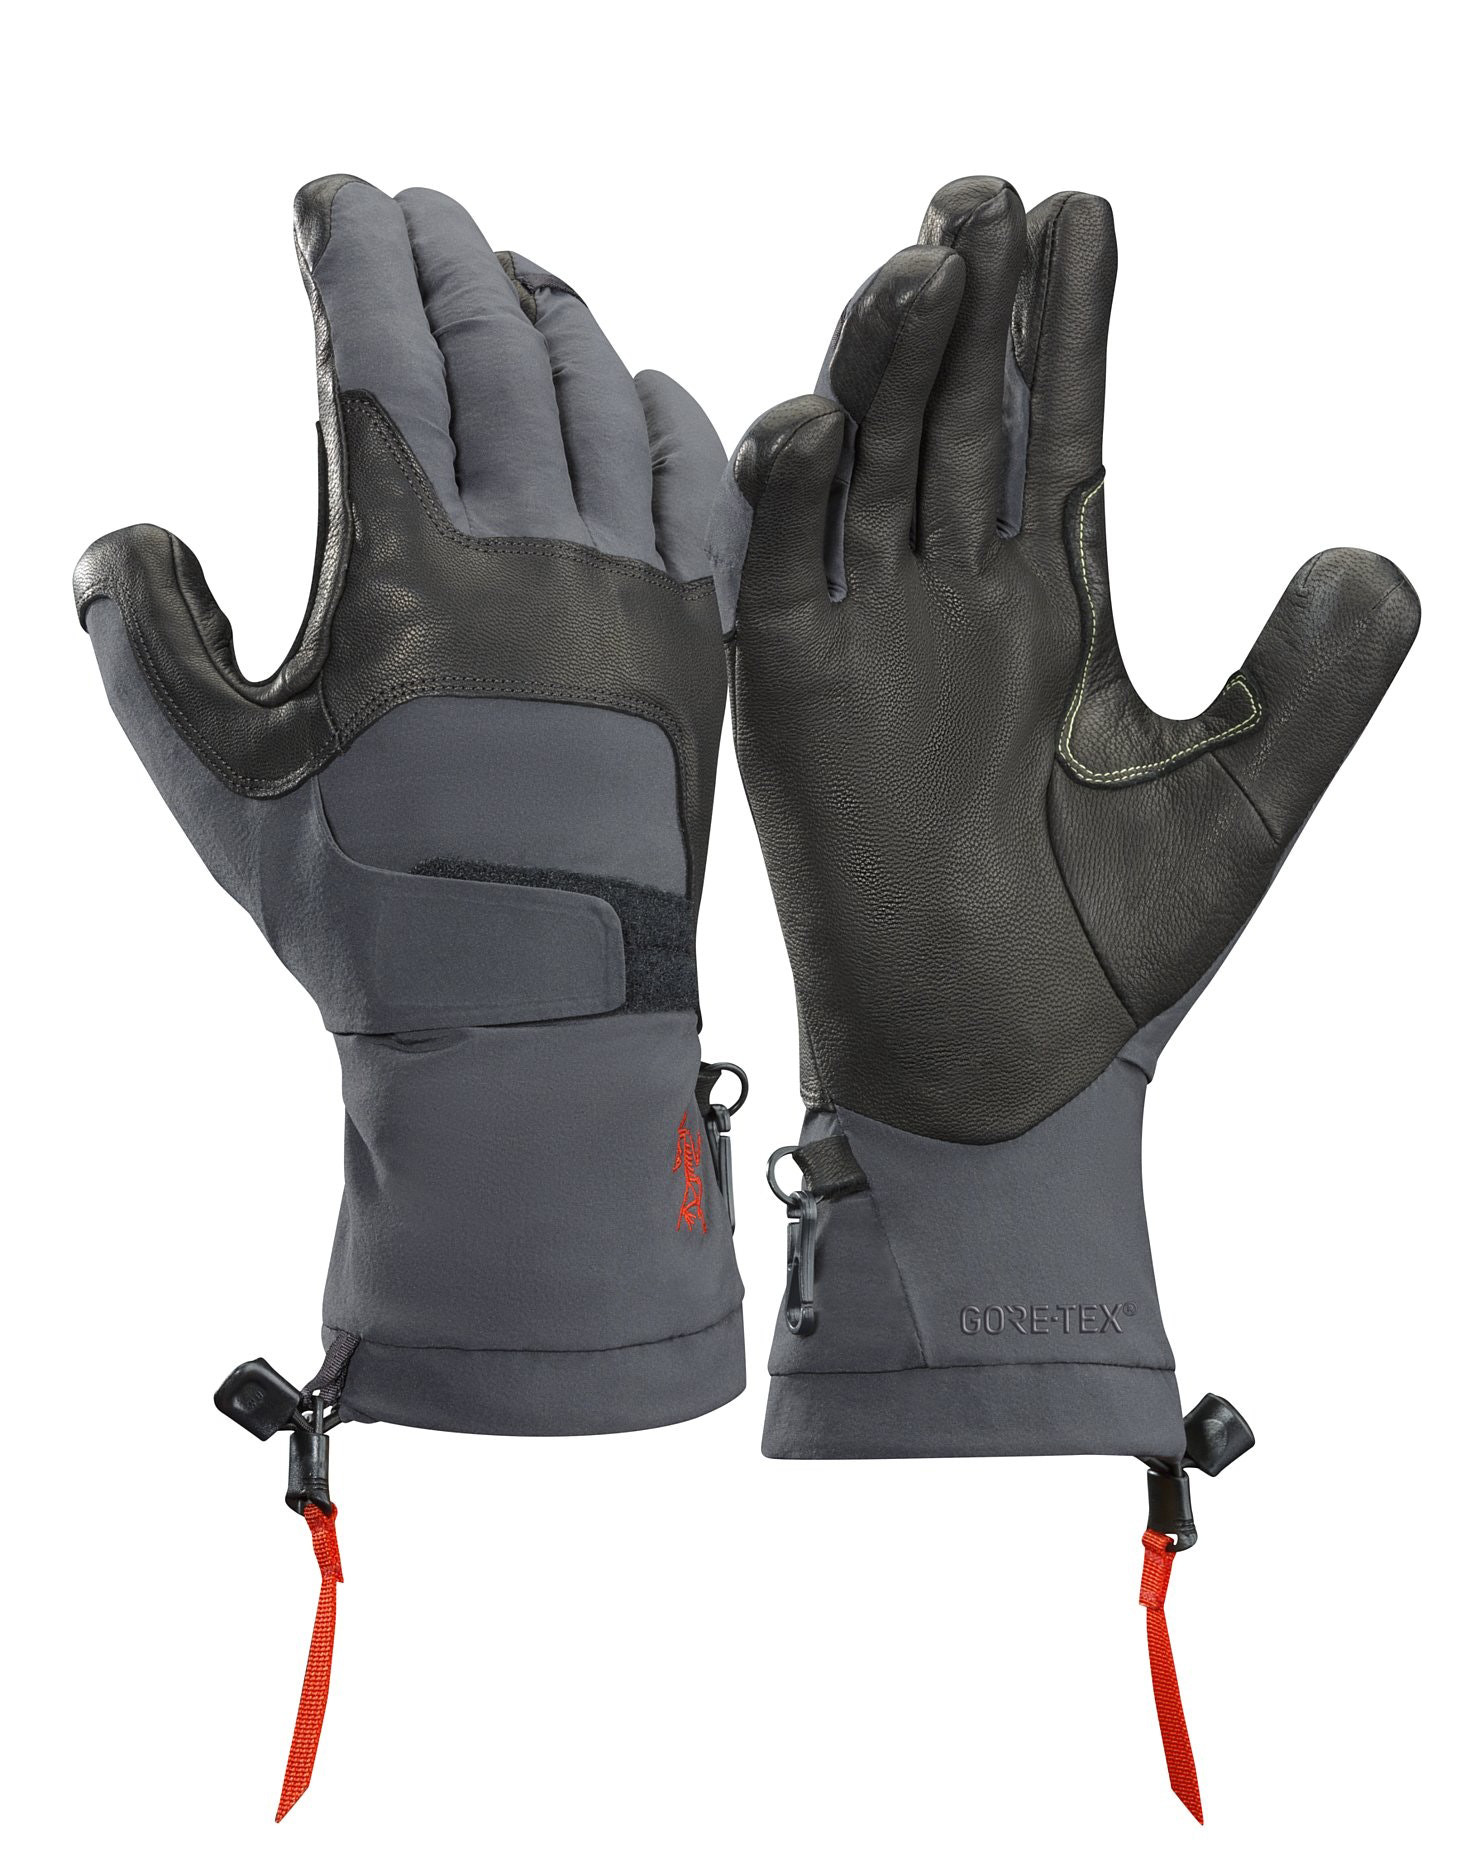
Arc'teryx Alpha FL gloves
Personally, I have Black Diamond fleece gloves and Alpha FL climbing gloves. The liner gloves get the most use, but for extreme cold, I’ll use the heavier wind and waterproof Alpha FL gloves. Another suggestion is to take two sets of liner gloves, just in case one gets wetted out.
Hand warmers
Make sure to grab some Hot Hands hand warmers and put them in the hand pockets of your jacket or on the back of your hand inside your gloves at the start of each day. Each single-use packet last 8-10 hours and provides some nice warming action when body heat isn't enough.
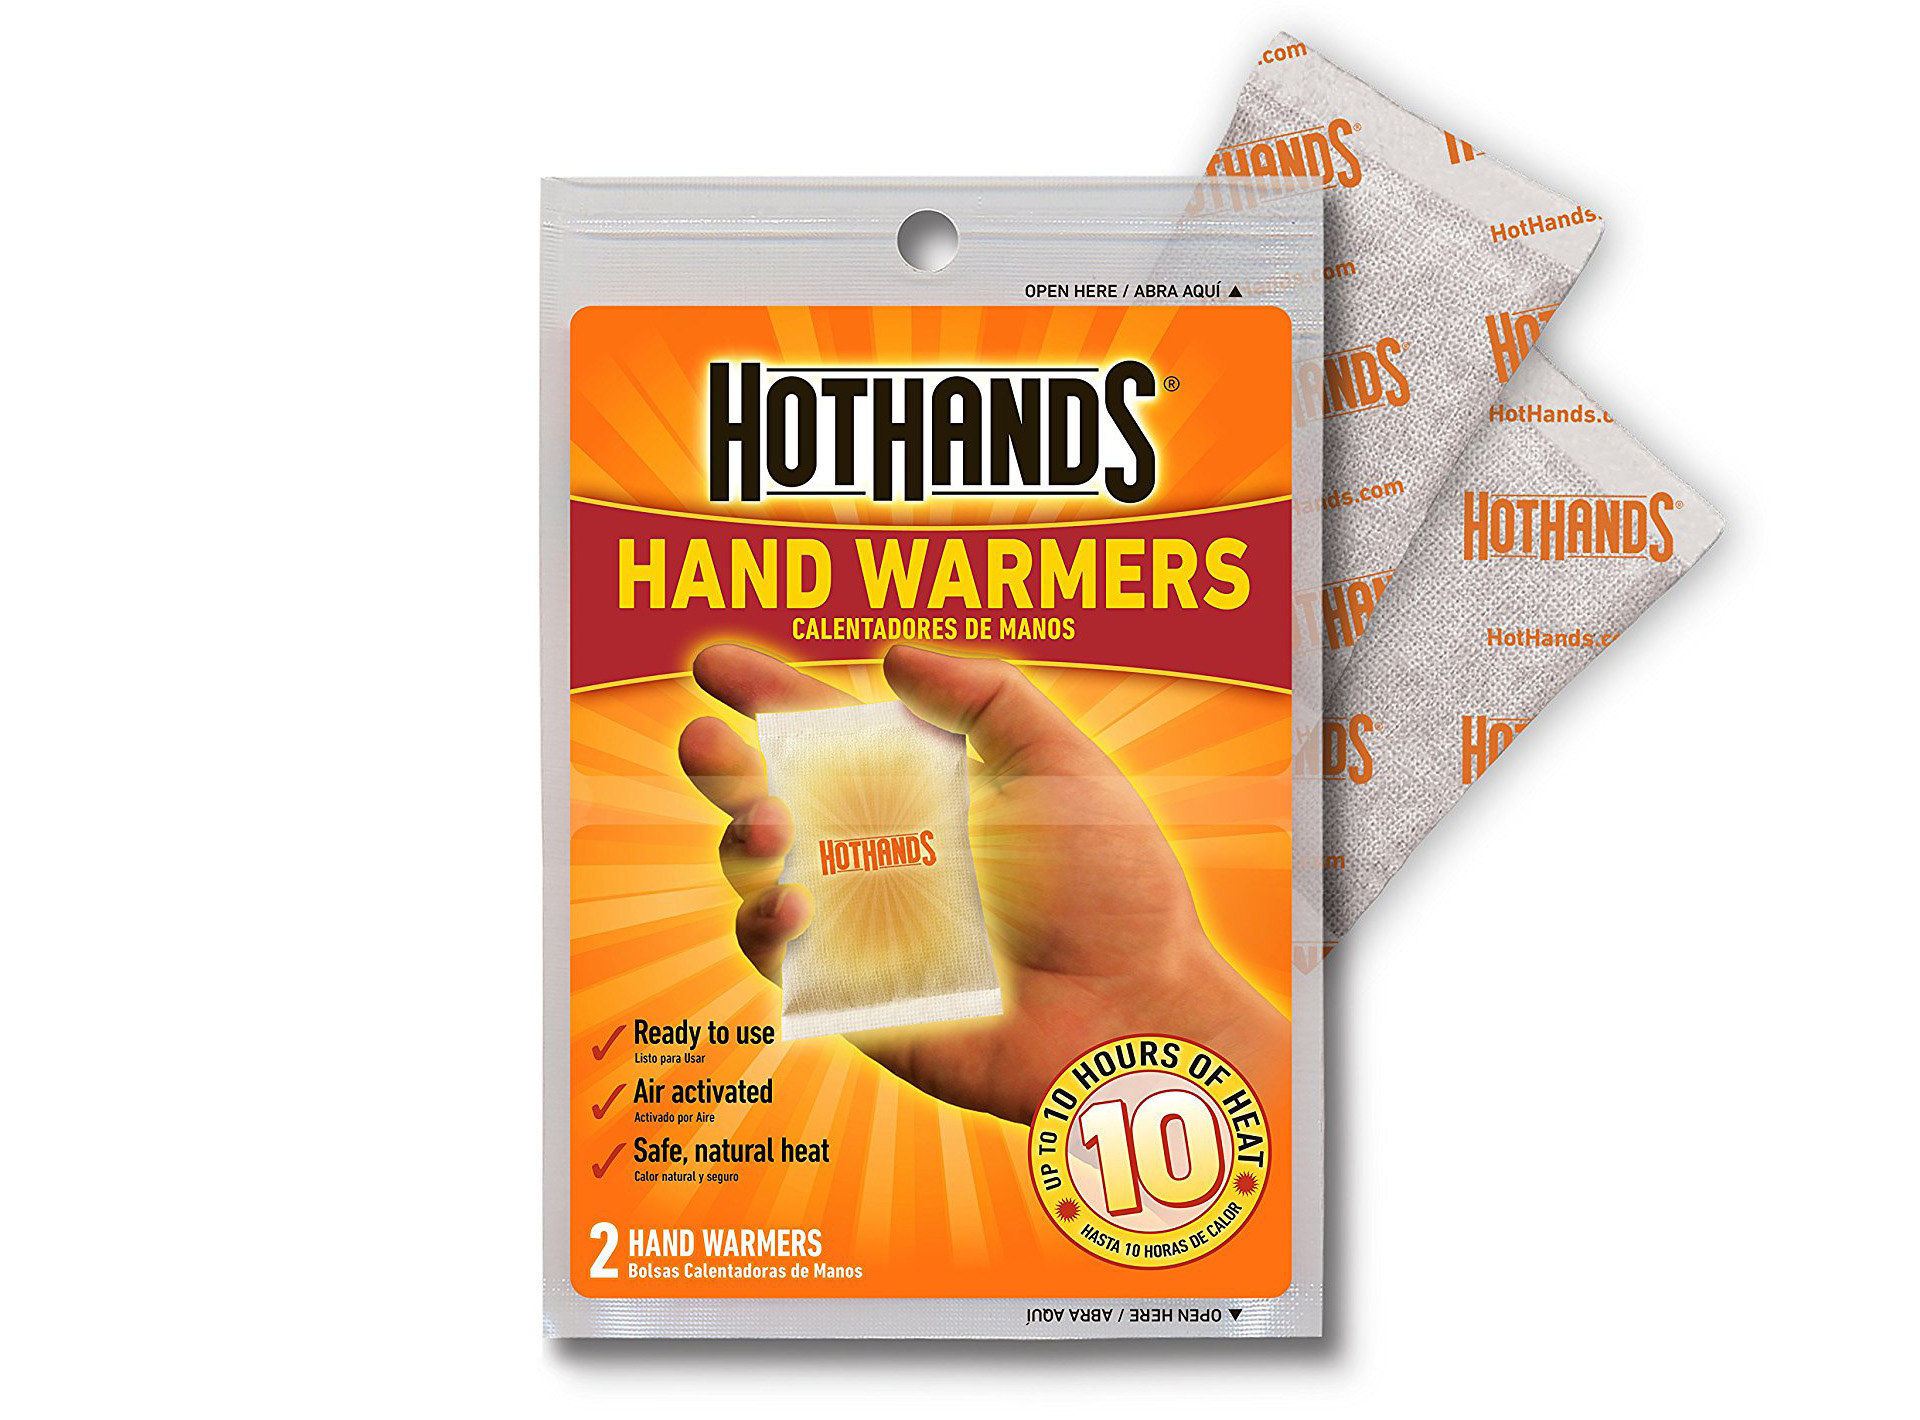
Rest assured that these are totally safe and very low tech. Inside the air-permeable wrapper, each hand warmer is filled with iron powder and charcoal. Once exposed to air, the iron begins to form iron oxide, a mild exothermic reaction. In layman's terms, the iron is rusting and generating heat as a byproduct. Some early hand warmers got a little hot for direct skin contact, so they now come with charcoal mixed into the iron powder to buffer the reaction. I usually carry an extra set in my camera bag just in case I lose one or need to help out a fellow photographer with chilled digits.
Footwear
Take care of your feet and they'll take care of you. Keep them dry. Keep them warm. And try to stay blister and hotspot free. You'll often need to do some hiking to get to the best locations and will usually end up standing on your feet for hours at a time. Comfortable, warm footwear is a must.
Hiking boots / Winter Boots
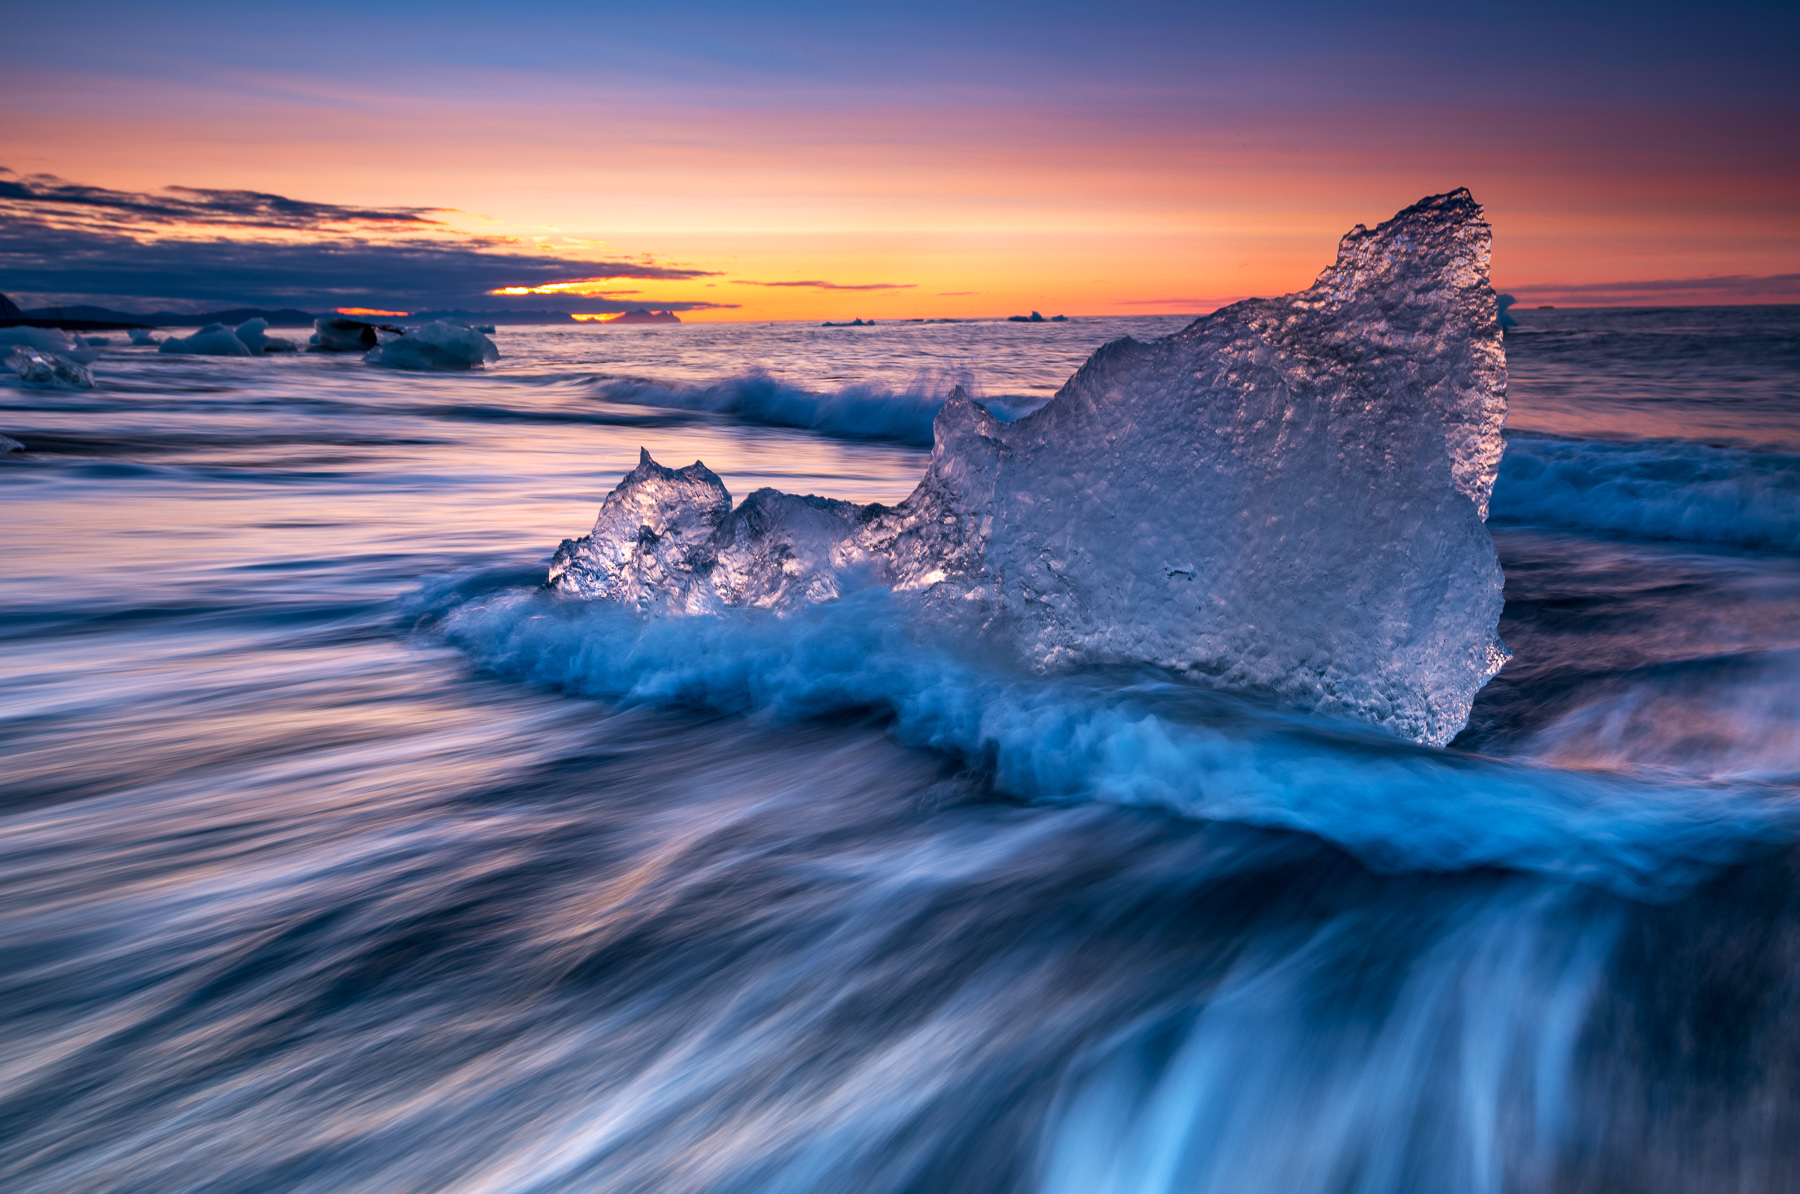
A good pair of hiking boots that gives you sure footing on a variety of ground along with solid ankle support is a must. Also, since some of the best shooting is around beaches, rivers and waterfalls, having waterproof footwear makes a lot of sense.

You'll need waterproof boots with excellent grip to navigate on a rocky beach like this
Some top picks for hiking boots are Vasque, Keen, Salomon, Merrell, and Arc’teryx. Look for good waterproofing, a comfortable fit, a Vibram sole or similar for good wet surface traction, Gore-Tex or other lining for good wicking performance, along with relatively light weight. Also, make sure your boots are fully broken-in before heading out. Blisters are no fun.
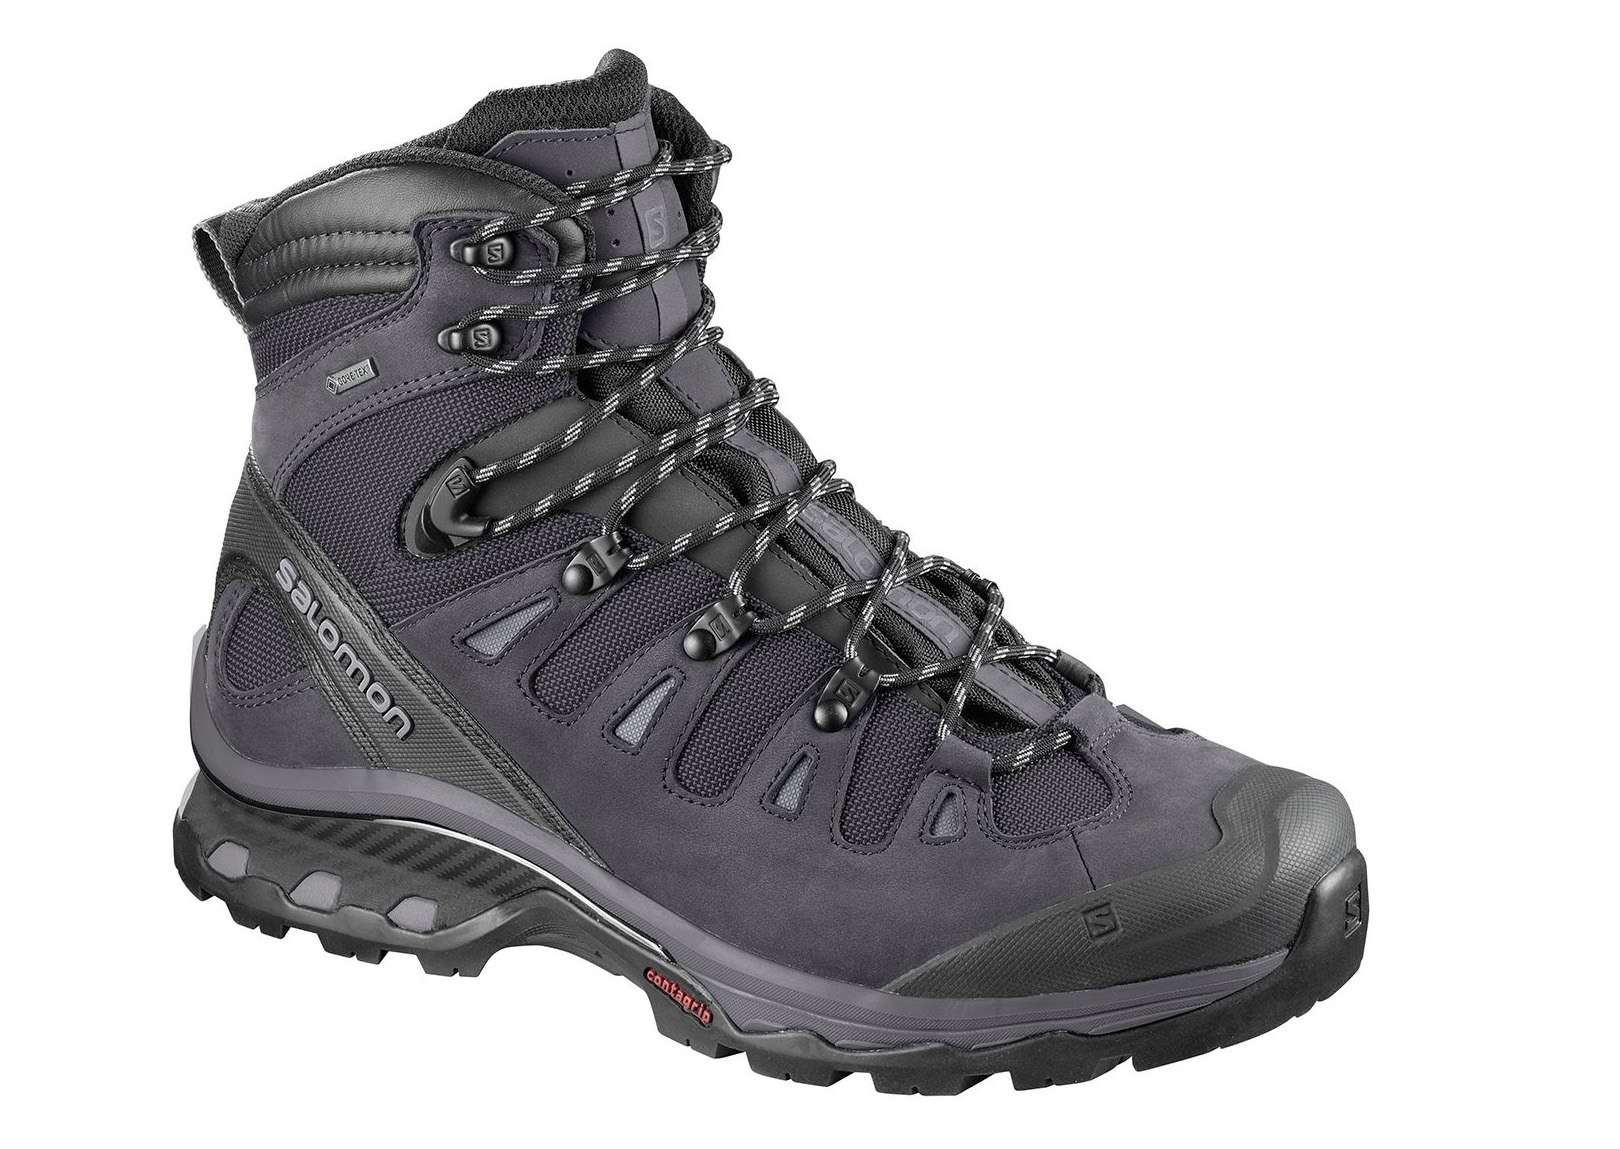
Salomon Quest 4D 3 GTX
My current boots are Salomon Quest 4D 2 GTX backpacking boots. Since I got my boots, Salomon has released an updated version, the Quest 4D 3 GTX, but mine are still going strong. They are extremely comfortable, have plentiful arch support and cushioning with Ortholite footbeds, high traction ContraGrip soles and full Gore-Tex waterproofing.
Insulated Boots
If you are prone to cold feet in winter, consider insulated winter boots, rather than standard hiking boots, like the Salomon Toundra Pro CSWP, Keen Durand Polar WP, TNF Chilkat 400, or Sorel Conquest, to name a few popular choices. These winter boots have insulation and rubber that grips even when cold.
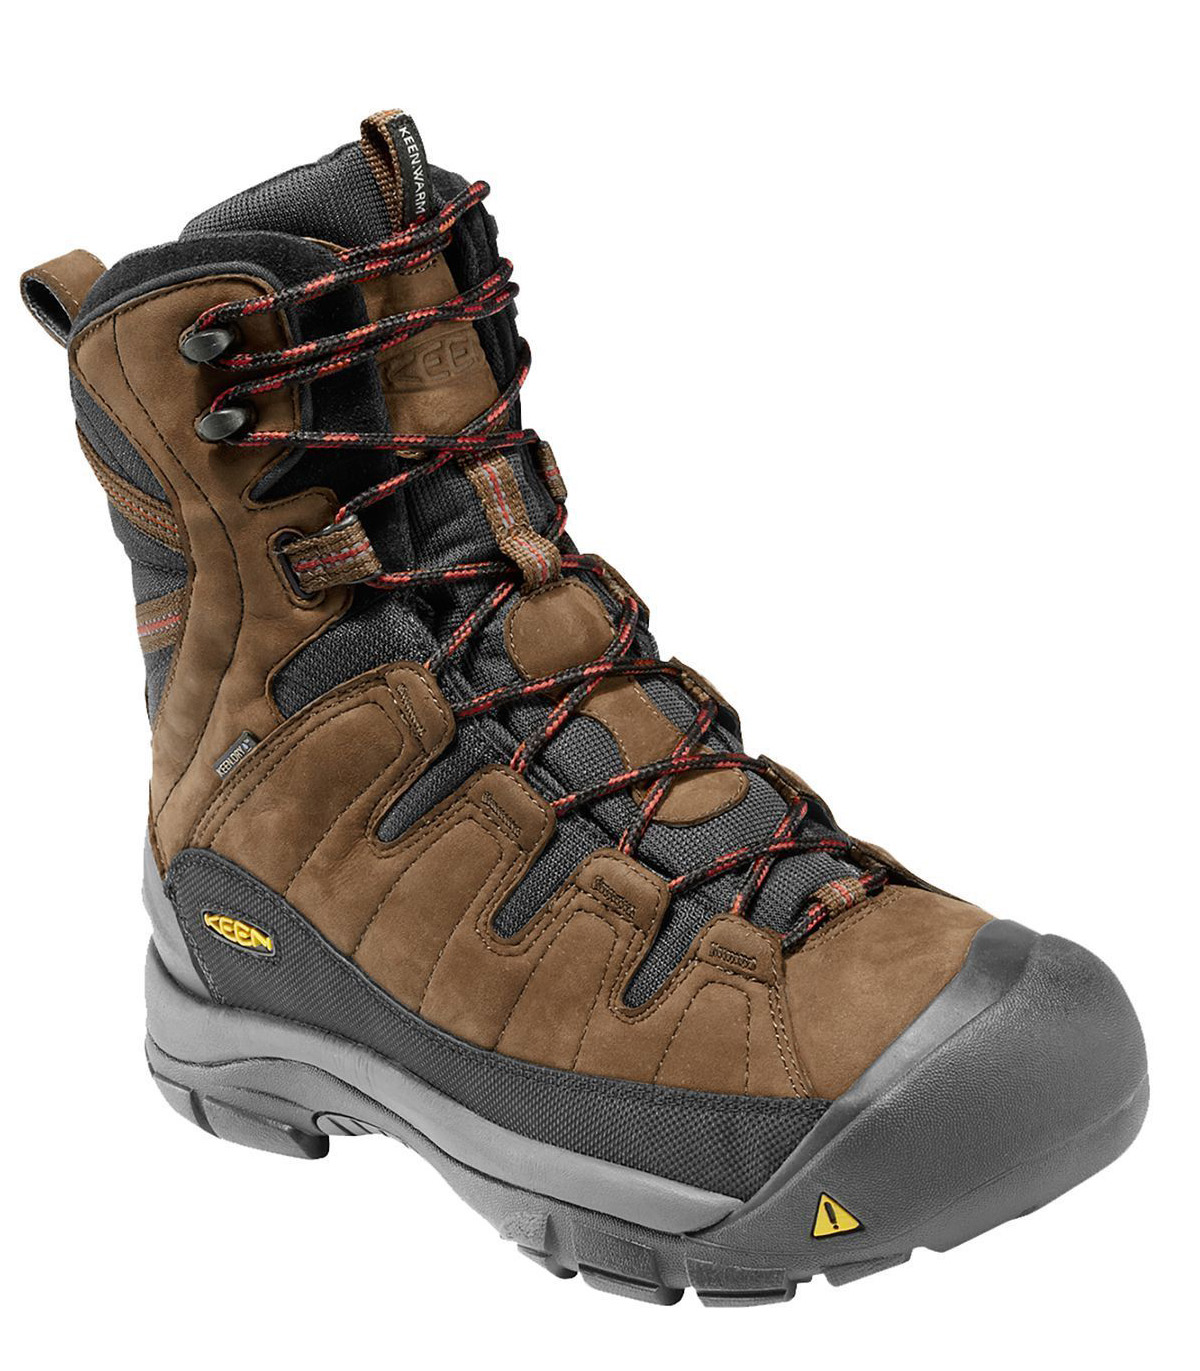
KEEN Summit Country insulated boots
I have a pair of KEEN Summit County snow boots for winter wear. I feel like I’m wearing moon boots, but they are very warm with 450g of KEEN.Warm synthetic insulation and waterproof with KEEN.Dry membrane.
Waterproof overshoes
If you want to attack water shots without having to hold back, pick up a pair of NEOS Adventurer All-Season Overshoes. These waterproof boots fit over your hiking or insulated boots and up the level of waterproofness to the max.
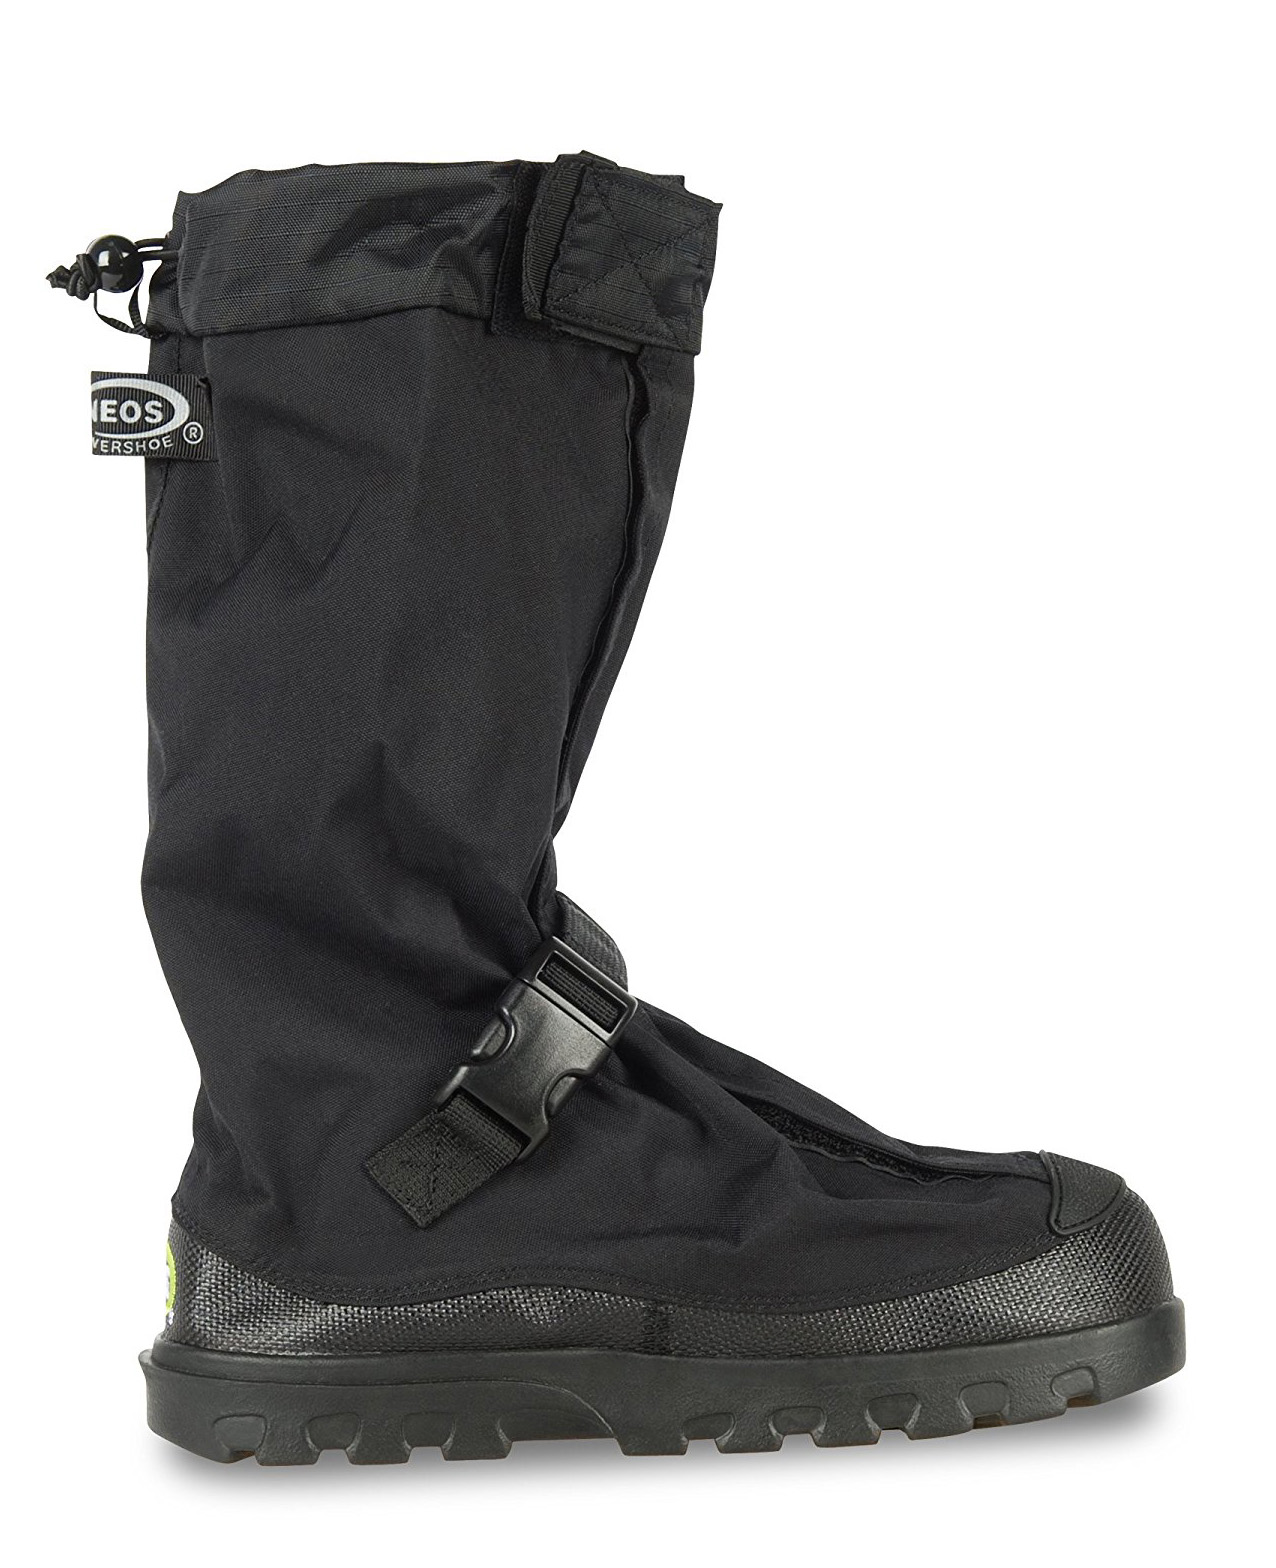
NEOS overshoes
At first, walking on two sets of soles feels a bit weird, but being able to tromp out into the surf is unbeatable. And for some shots, like on the famous Ice Beach at Jokulsarlon, there is no other choice.
Being able to wade in is a must at Jokulsarlon
Crampons
For trekking on glaciers, frozen lakes and streams and icy trails, crampons make you feel superhuman. With stainless steel multi-dimensional spikes and a universal elastomer harness, the Kahtoola MICROspikes Traction System crampons fit over your boots to give you 4×4-like traction on ice.
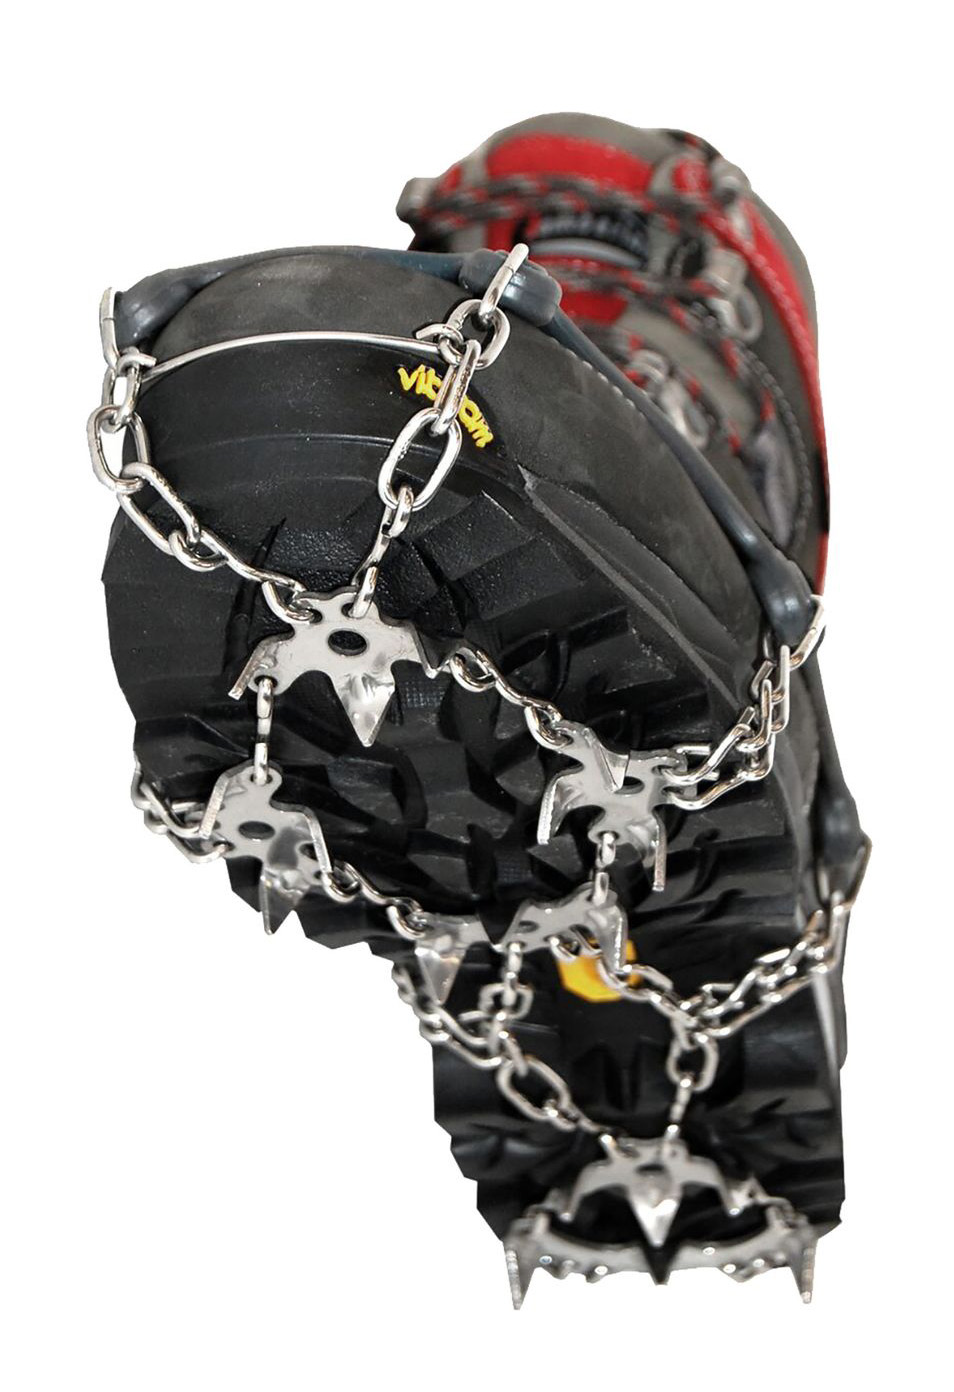
Crampons fit over your boots provide traction on ice
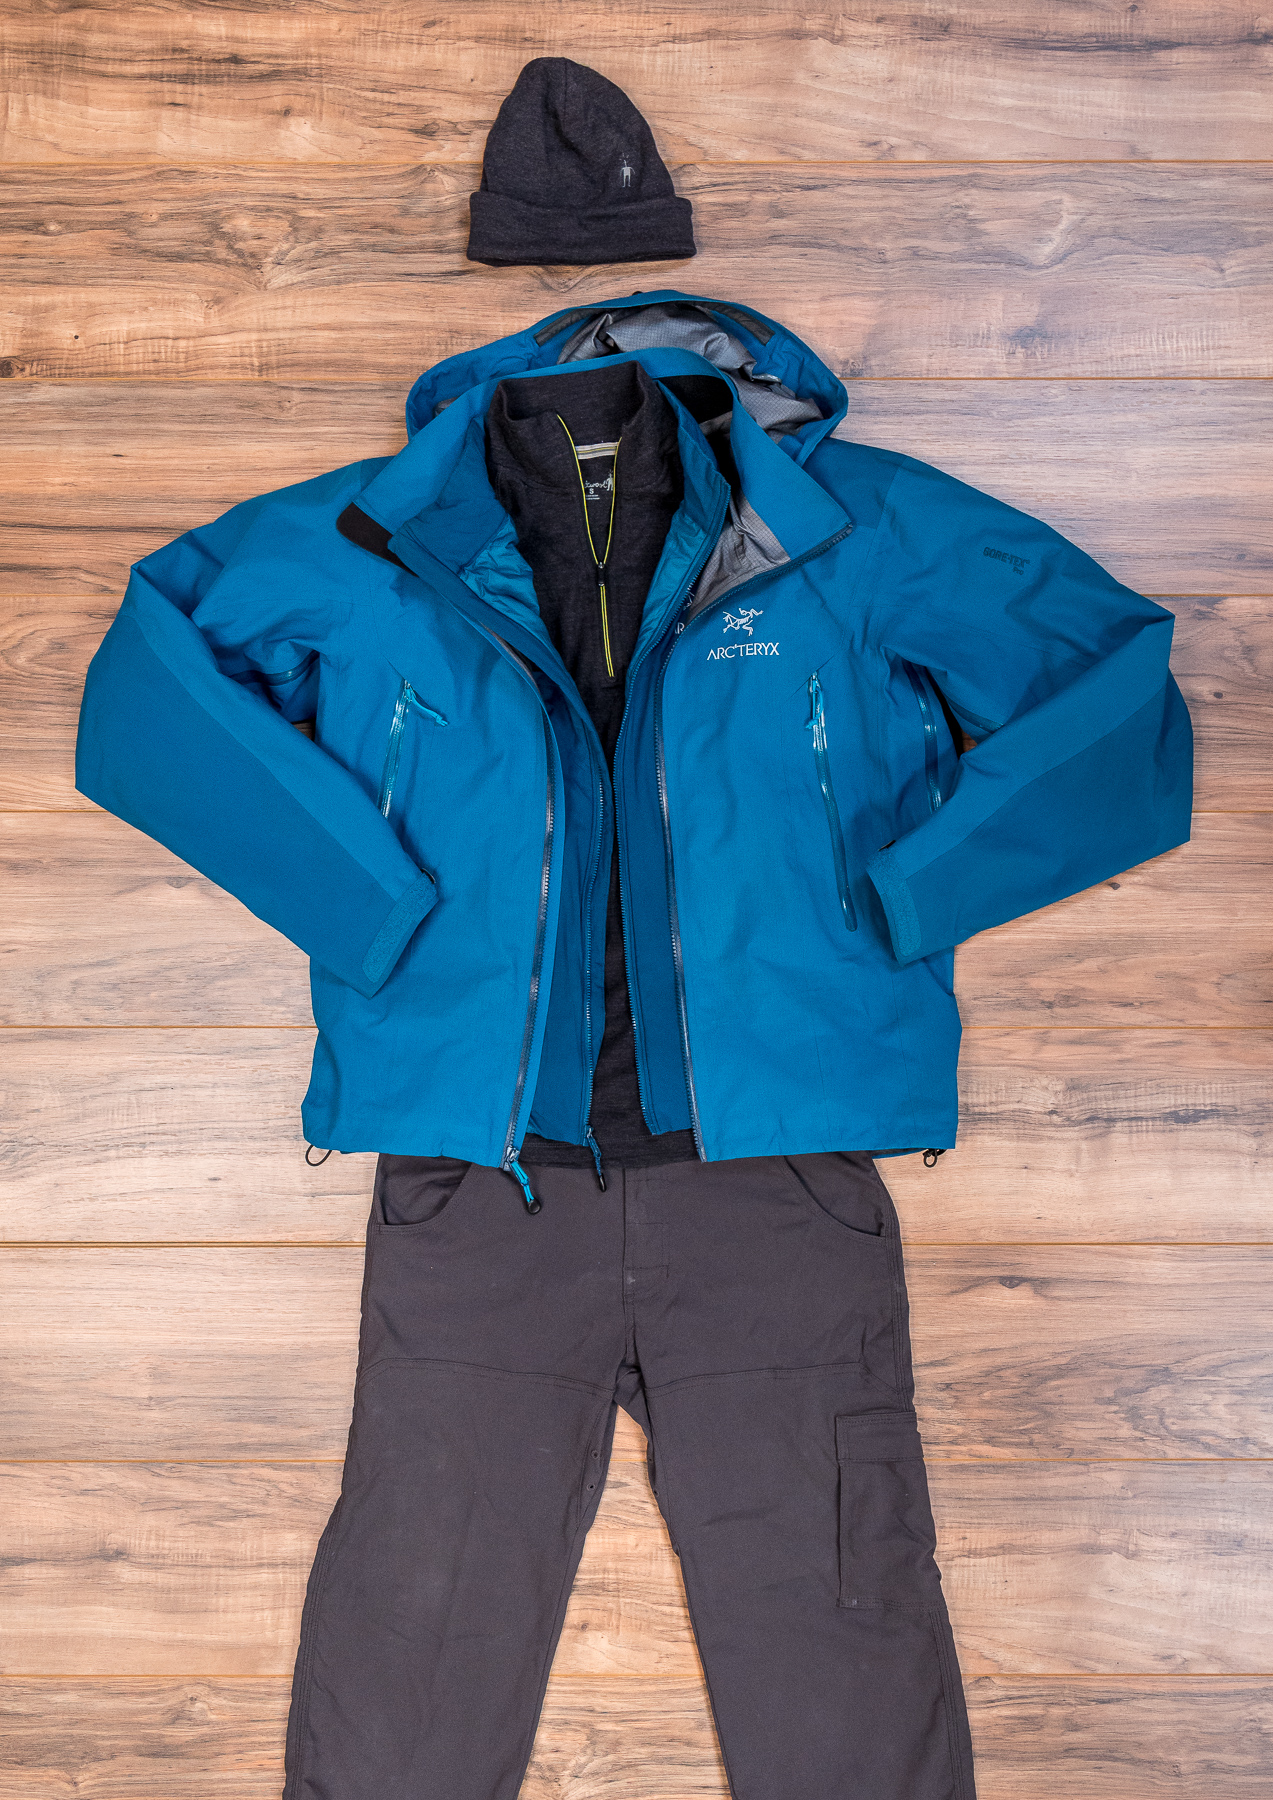
Putting it all together
Let me put together a few different combos based on different situations, so you can get an idea of how all this gear works together.
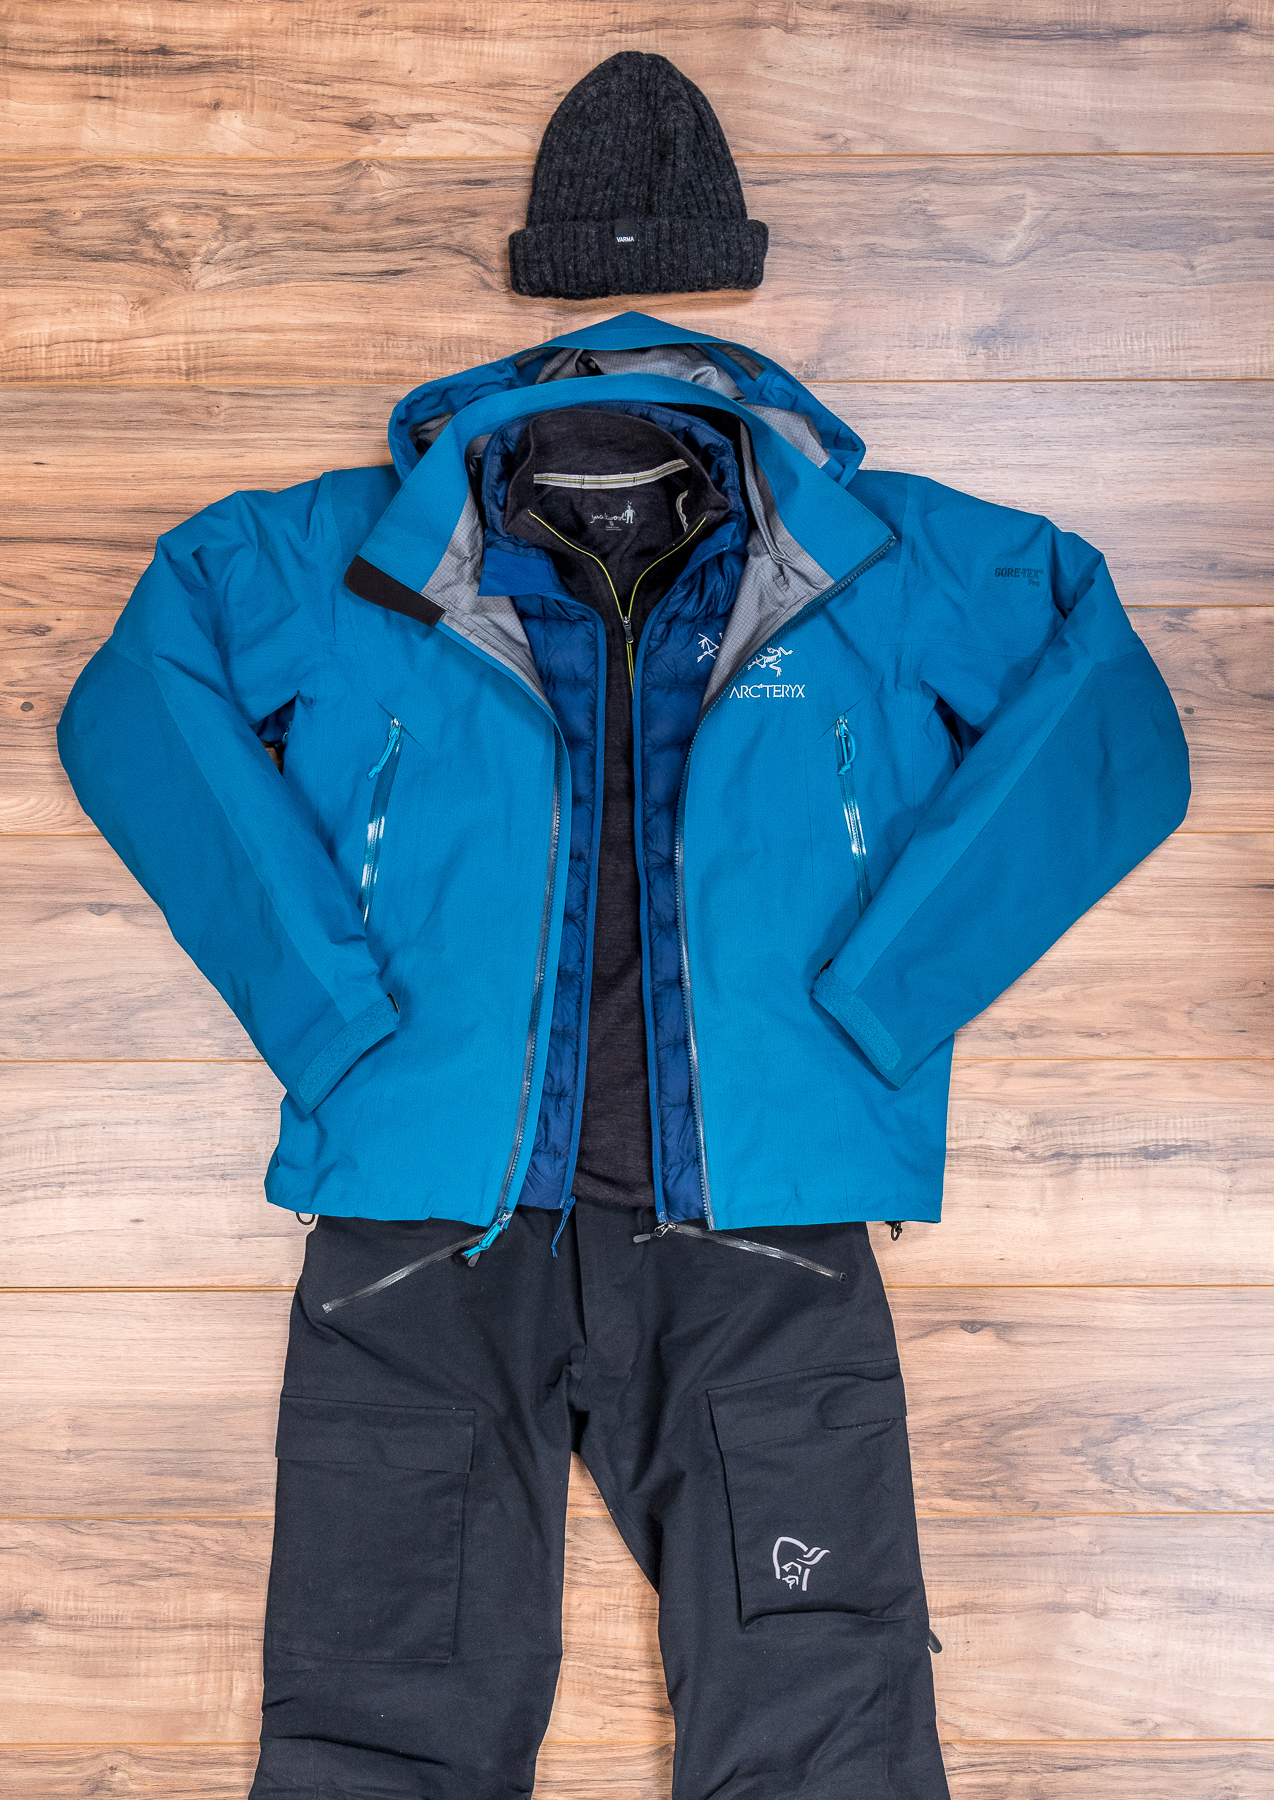
Scenario 1 – Maine in October
The weather can change quickly along the Maine Coast, especially in October. During sunrise shoots on the water, the temperature might drop into the mid 30s°F (2°C) (not including wind chill) and later the same day, it could be 65°F (18°C). While fall is usually sunny and clear, you also might encounter the occasional rain shower and some sea spray along the coast.
- Arc’teryx Beta AR shell
- Icebreaker 150 T-shirt
- Smartwool 250 zip-neck long sleeve
- Icebreaker BodyFit 150 boxer briefs
- Icebreaker BodyFit 200 leggings
- Arc’teryx Atom LT insulated jacket
- prAna Zion stretch pants
- Smartwool hiking socks
- Salomon Quest 4D 3 GTX boots
- Fleece liner gloves
- Smartwool wool beanie
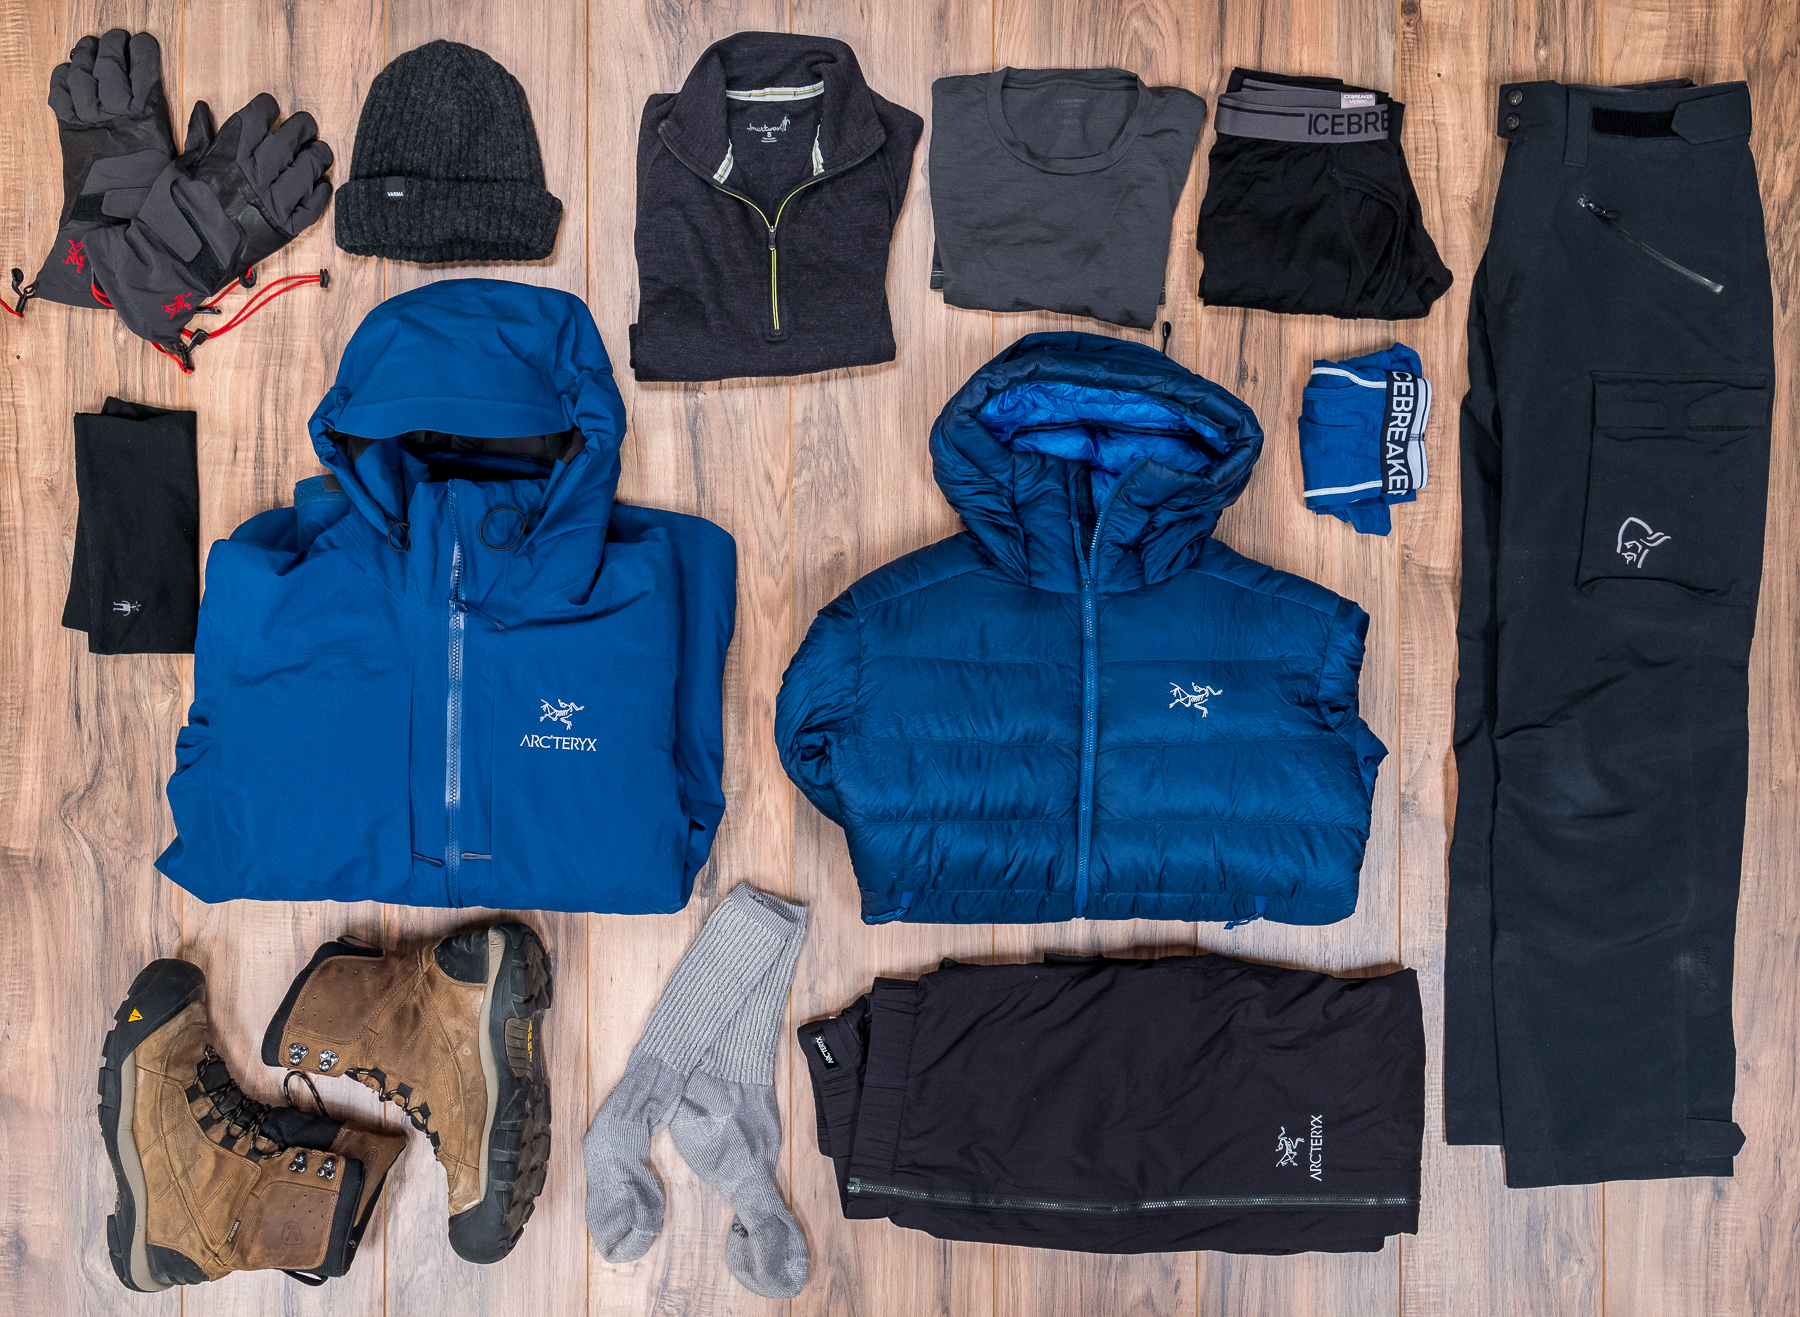
Scenario 2 – Iceland in August
The weather can fluctuate greatly from day to day and even hour to hour in Iceland. A sunny, warm day can turn rainy and cold within minutes. And, while an average August high of 55°F (12°C) and low of 45°F (7°C) might not seem too bad, the damp wind, along with strong gusts, can drop the wind chill down to 30°F (-1°C). Iceland is also known for its often-wet weather. Here’s what I bring:
- Arc’teryx Beta AR shell
- Icebreaker 150 T-shirt
- Smartwool 250 zip-neck long sleeve
- Icebreaker BodyFit 150 boxer briefs
- Icebreaker BodyFit 200 leggings
- Arc’teryx Cerium LT down jacket
- Norrona Svalbard Gore-Tex pants
- Smartwool hiking socks
- Salomon Quest 4D 3 GTX boots
- Fleece liner gloves
- Varma wool beanie
- Smartwool neck gaiter
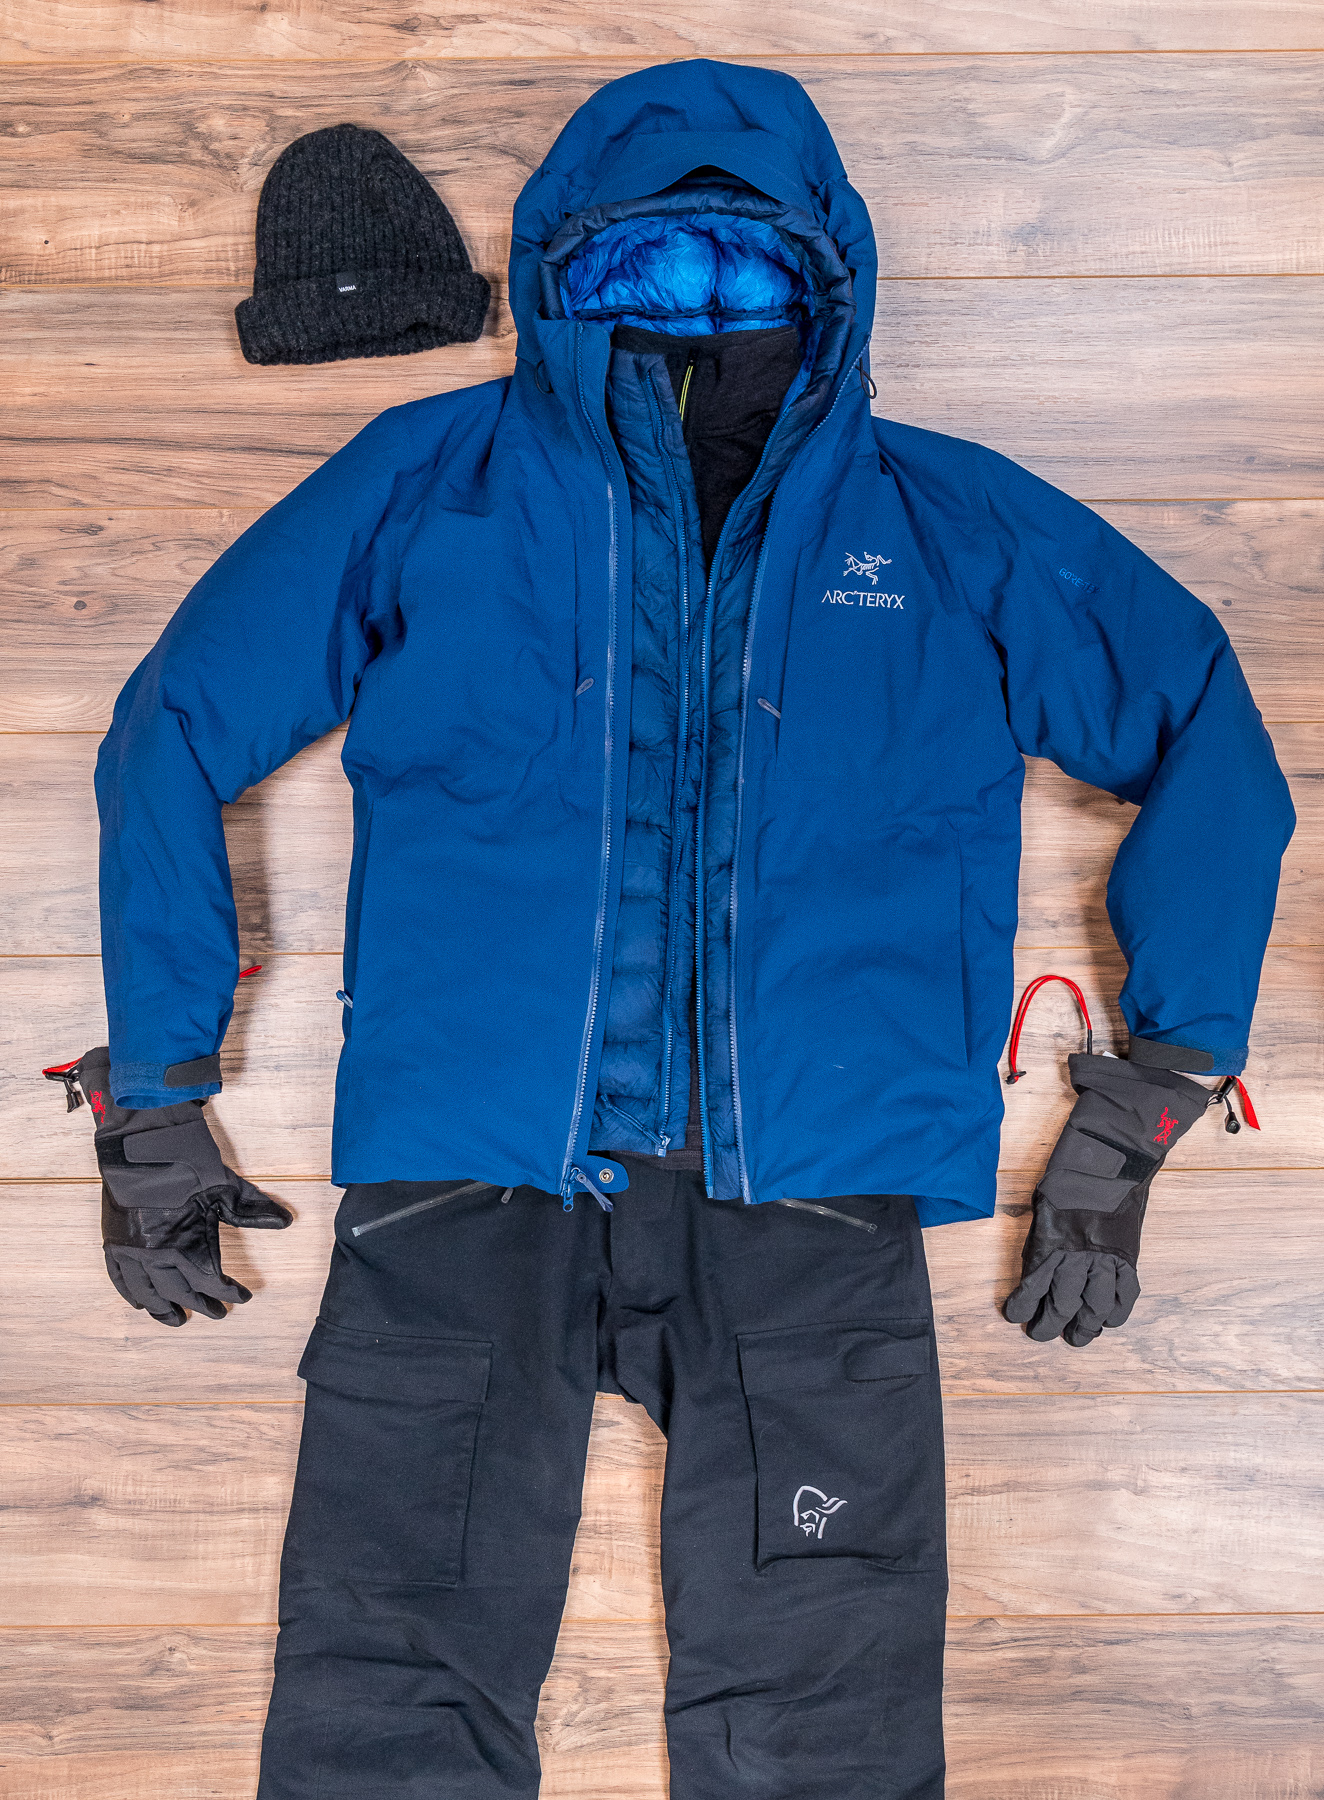
Scenario 3 – Iceland in February
While the winter in Iceland isn’t as cold as you might imagine from just the air temperatures, with an average February high of 37°F (3°C) and low of 28°F (-2°C), the unpredictable winds can drop the wind chill down to -10°F (-23°C). And the damp air makes it feel even colder.
- Arc’teryx Fission SV parka
- Icebreaker 150 T-shirt
- Smartwool 250 zip-neck long sleeve
- Icebreaker BodyFit 150 boxer briefs
- Icebreaker BodyFit 200 leggings
- Arc’teryx Cerium LT down jacket
- Arc’teryx Cerium SV down hoodie
- Norrona Svalbard Gore-Tex pants
- Arc’teryx Atom LT insulated pants
- Smartwool hiking socks
- KEEN Summit County insulated boots
- Arc’teryx Alpha FL insulated Gore-Tex gloves
- Varma heavy wool beanie
- Smartwool neck gaiter
Final Recommendations
As you might have noticed across the examples above, many of the basics items stay the same, with a few pieces being swapped out for others as the temperature varies. This is what makes an effective layering system so versatile. Start out with the essentials then add specialty pieces as you need them for specific destinations.
If conditions are unpredictable, always bring multiple options to have maximum adaptability. For example, I would bring both a Cerium LT and Cerium SV to cover a wider temperature range in the winter, or an Atom LT and a Cerium LT in the fall. Likewise, I’ll often bring two weights of wool hats and two sets of gloves. The key is to be able to handle whatever comes. Weather forecasts are fine and good while packing, but the situation on the ground can end up quite different. Be prepared and you’ll be able to focus on making great photographs, not just trying to survive if the weather takes a turn for the worse.
I notice that all of your recommendations are for athletic people. I’m not built that way. I’m short and overweight. I live in the Pacific Northwest where it rains a lot but doesn’t get bitterly cold. It’s be hard to find a good rain shell with a hood that fits my belly. Given that overweight is a serious epidemic in the United States, why don’t these manufacturers make clothes “for the rest of us?”
John,
You are right that Arc’teryx is styled for mountain climbers who are never overweight.
The advice of what kind of items are needed is separate from what sizes you might need.
Just order the same kind of things from Hunting suppliers is my suggestion.
David,
Excellent advice.
I suspect everyone understands the value of a rain shell or rain parka.
I would emphasize the need for rain-pants that can really handle rain.
On the trip I took with you, I sort of wondered if rain paints weren’t overkill.
But then I recall one day and one location where the rain was just pouring down for hours. My camera was weatherproof fortunately, and that was the day I added rain paints to my rain jacket. The combo was truly waterproof and I learned to easily shoot in the rain. If I hadn’t had the rain paints I would have literally been washed out after the first hour.
https://www.macdonough.net/For-your-review/Rain/n-375bPF/
As a long term Leica user and outdoor mountain person I was intrigued that Arcteryx was the only brand of choice for this author. Yes photographers tend not to be of the ‘athletic fit’ modern technical clothing is cut for! Other mountain and rain suitable clothing brands well worth recommending are the British company ‘Rohan’, The Austrian ‘Carinthia’ and the Swedish Fjallraven. In short the principles are sound but the brand less so. What would have been of more interest would be to know how he kept his camera warm and dry in the torrential rain and cold waits he had been on.
Nigel,
There are certainly other options besides Arc’Teryx. In many cases, I make specific recommendations for these too. For example, while I love the Arc’Teryx Atom LT, the Patagonia Nano Puff is a super solid piece as well.
I’m not personally familiar with Rohan or Carinthia, but as long as they meet the same criteria, I’m sure they are fine. I do like Fjallraven and mention a few items in my article from them.
The most important take away is how a layering system works and what to look for in each layer. I’ve tried so many different items over the years and have found my way to what works best – for myself and many others. No, not everyone will prefer an athletic fit. But on the flip side, I tried in vain to find anything that would fit me in my local Bass Pro Shop. Every single thing fit like an oversized trash bag. So, yes, there are options for every size and shape. It’s all about finding what works for each person.
As far as the camera, I shoot with the Leica S and SL for all my landscape outings. I don’t worry about keeping the camera warm or dry. Not even a little bit. These cameras and lenses are built like tanks and are extremely weather resistant.
Thank you for such a comprehensive article. I am trying to navigate the many options under the Arteryx brand and your article was very helpful. I have started with the Atom LT, and will explore the Cerium LT and the Beta AR shell.
I have one question. Why do you recommend the Cerium LT jacket (not hoody) and the Cerium SV Hoody? Is there a reason why you did not suggest the Cerium LT Hoody? Is it simply your desire to have a wider range of options in the event of dramatic changes in weather?
I went with the Cerium LT jacket instead of the hoody because 1) I don’t like too many hoods at the same time and 2) I often wear the Cerium LT as a travel jacket around town – the non-hooded version looks a lot more urban and less technical. The Cerium SV hood is super warm, so if the weather is cold enough to warrant wearing the SV, odds are I will want the extra warmth of the full hood. But, ultimately, yes, I like having more options.
This is a great list and very helpful. I’m not a Leica user (I shoot Sony), but happened upon this when searching for clothing to do landscape photography. Much appreciated!