When the original Leica M Monochrom was introduced back in May 2012, the world didn’t know it needed a purpose-built digital black and white camera. In fact, at the time, skeptics, cynics and armchair imaging experts wasted no time questioning the relevancy of a dedicated monochrome digital camera when it was, and still is, simple to convert a color image to black and white in your chosen editing software. But once photographers starting using the camera, there was no argument. The Monochrom easily outpaced its color counterpart for low light photography and produced wonderfully nuanced and pleasing images.
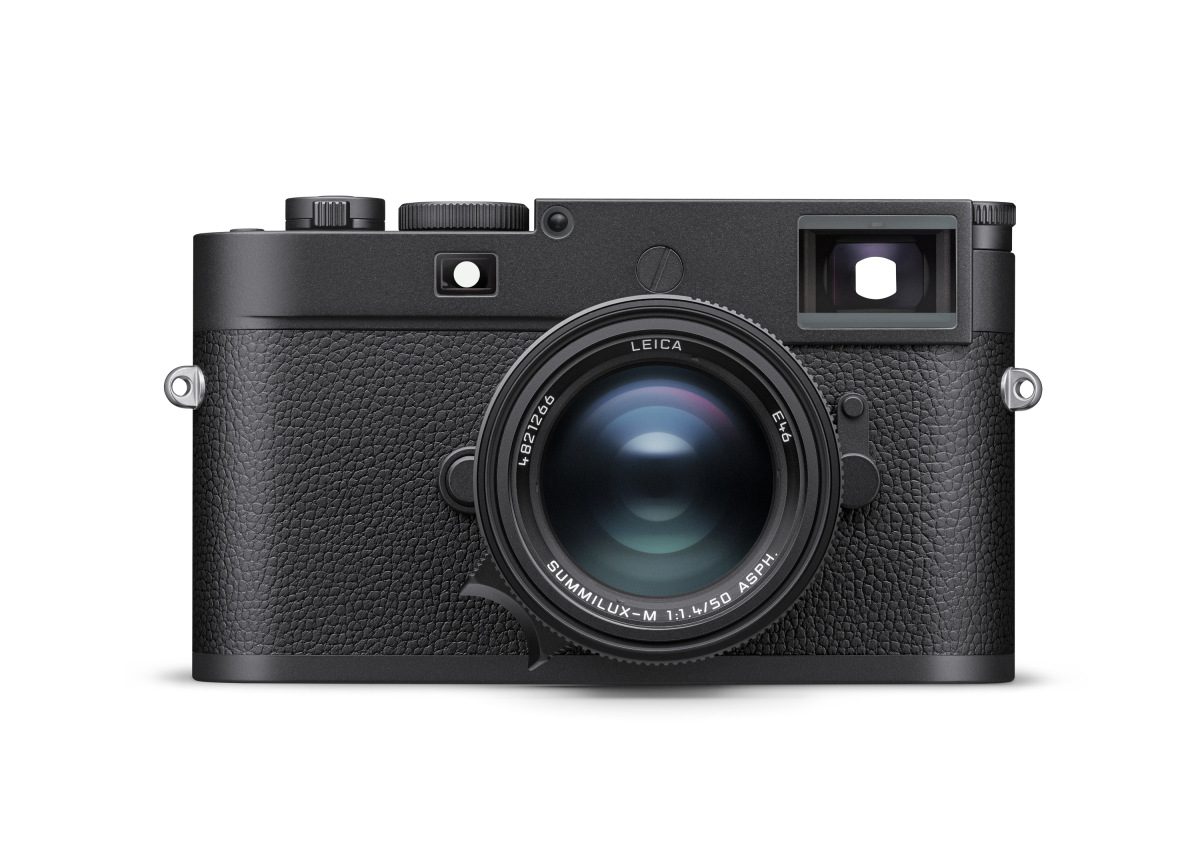
Now in its fourth generation of M Monochrom, Leica’s dedicated black and white system continues to evolve and exceed expectations. There are no naysayers this time around, as the concept continues to prove itself time and again. Each Monochrom introduction has been built on the underlying color digital M, benefiting from platform improvements along the way. The M Monochrom (Typ 246) gained live view, a 33% resolution increase and a massive bump in high ISO capabilities thanks to the change to a CMOS sensor. The M10M utilized the more modern M10-R as a foundation, further improving low light sensitivity and raising resolution up to 40 megapixels, while gaining all the technical advances of that generation. Now, with the Leica M11 Monochrom, this trend continues.
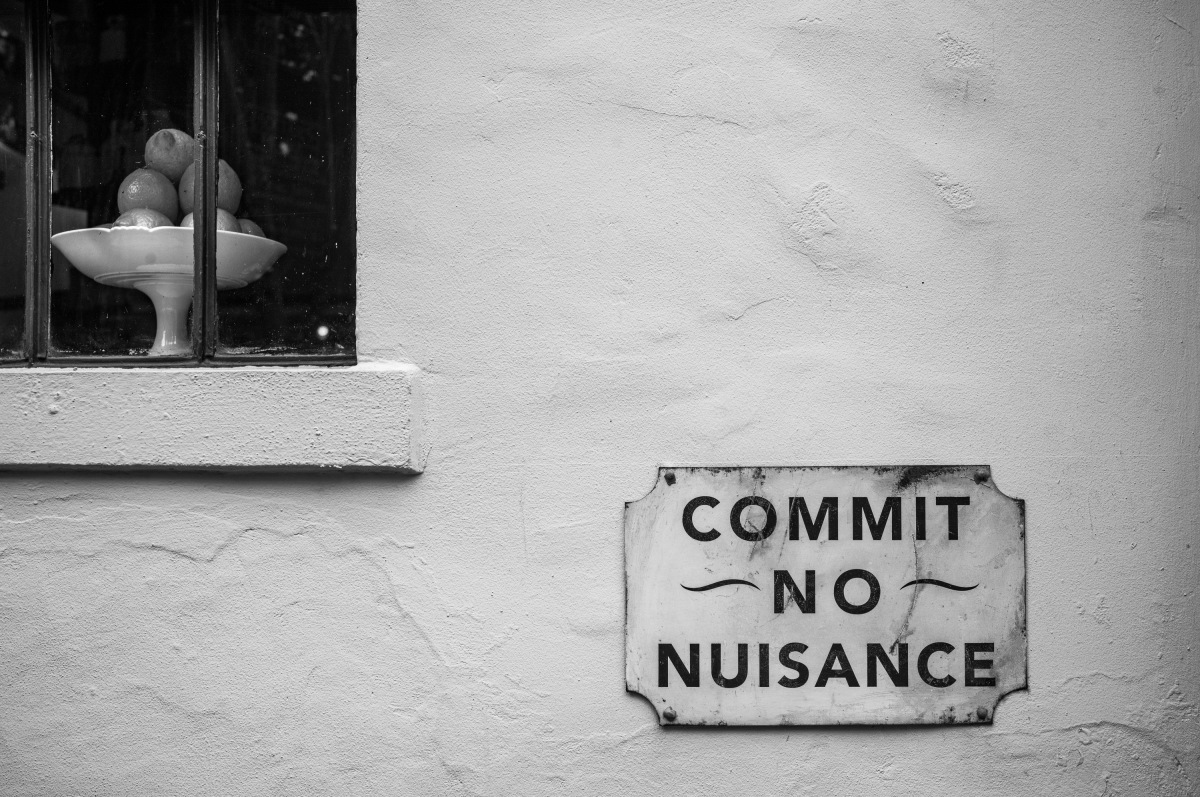
1/320th @ f/4, ISO 200
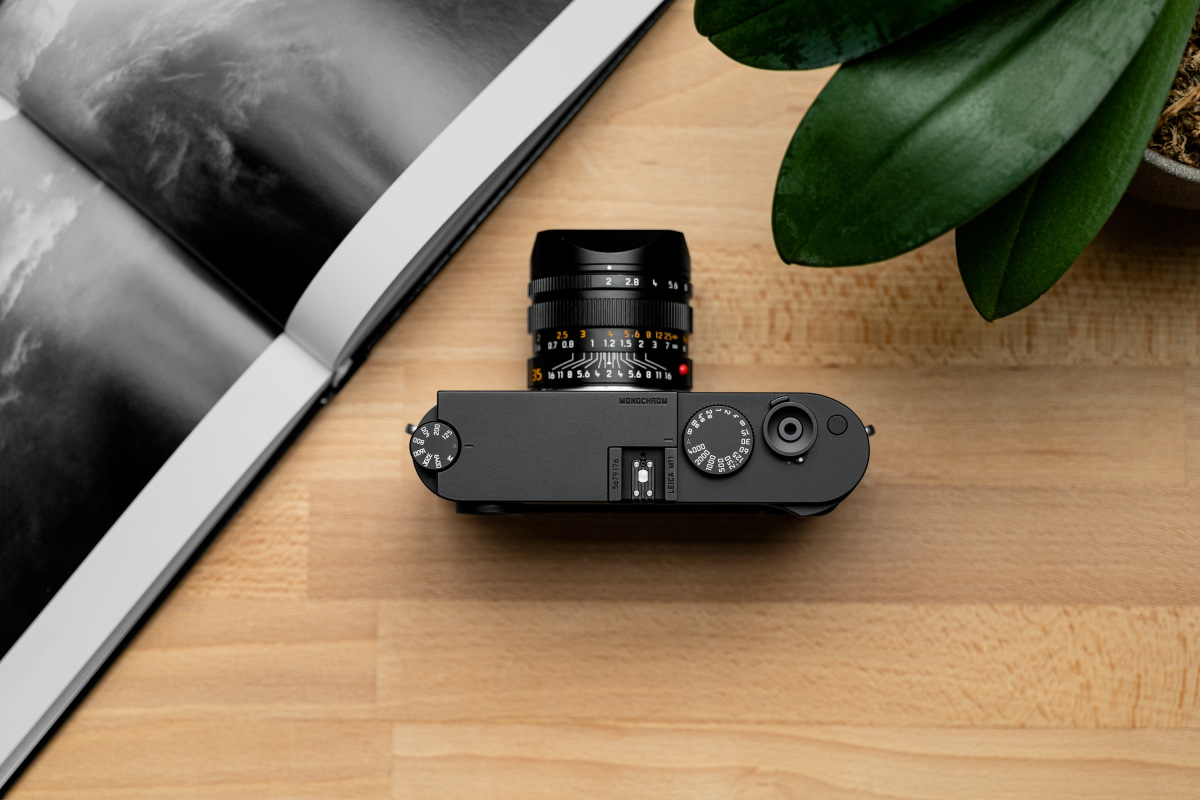
The M11 Monochrom is exactly what you’d expect, and that’s a good thing. It’s a Leica M11 that only shoots in black and white. Yes, there are some nice surprises too, which we’ll get to, but at its core, the M11 and M11M are essentially the same camera. Sure, the M11M omits the red Leica dot on the front of the camera and features blacked-out accents rather than the contrasting chrome ones of the M11. The top and bottom silver trim in the optical viewfinder is darker as well, and the black leatherette covering is just a slightly different texture. But cosmetics aside, the M11M houses all that stellar tech developed for the M11. To see all the tech specs, check out our M11M announcement article.
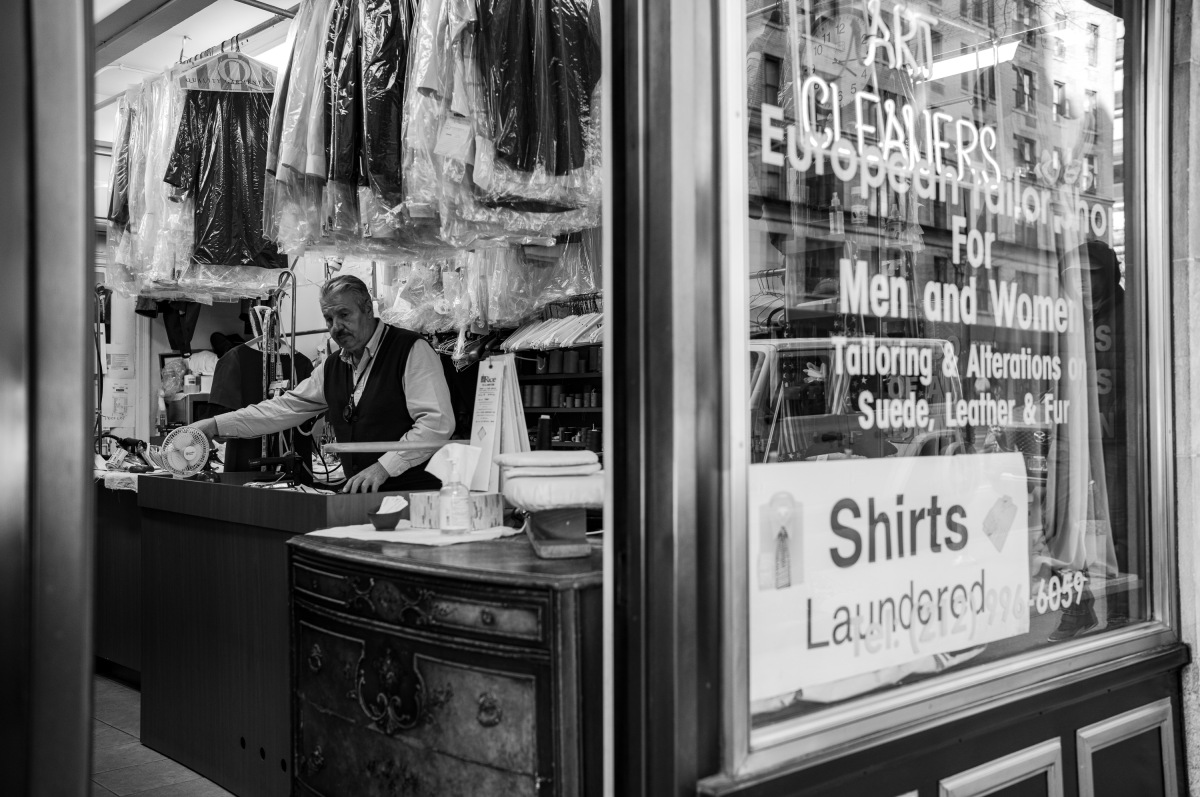
1/1,000th @ f/5.6, ISO 800
Why Monochrom?
Sensors in digital cameras are inherently monochromatic capture devices. Color recording is only possible by employing a Bayer color filter array over the sensor, which is comprised of a pattern of red, green and blue filters. This means that each pixel can only capture luminance data for one color channel. The missing information is then filled in by a complex algorithm, called demosaicing or debayering, which does an excellent job guessing the color from surrounding pixels.
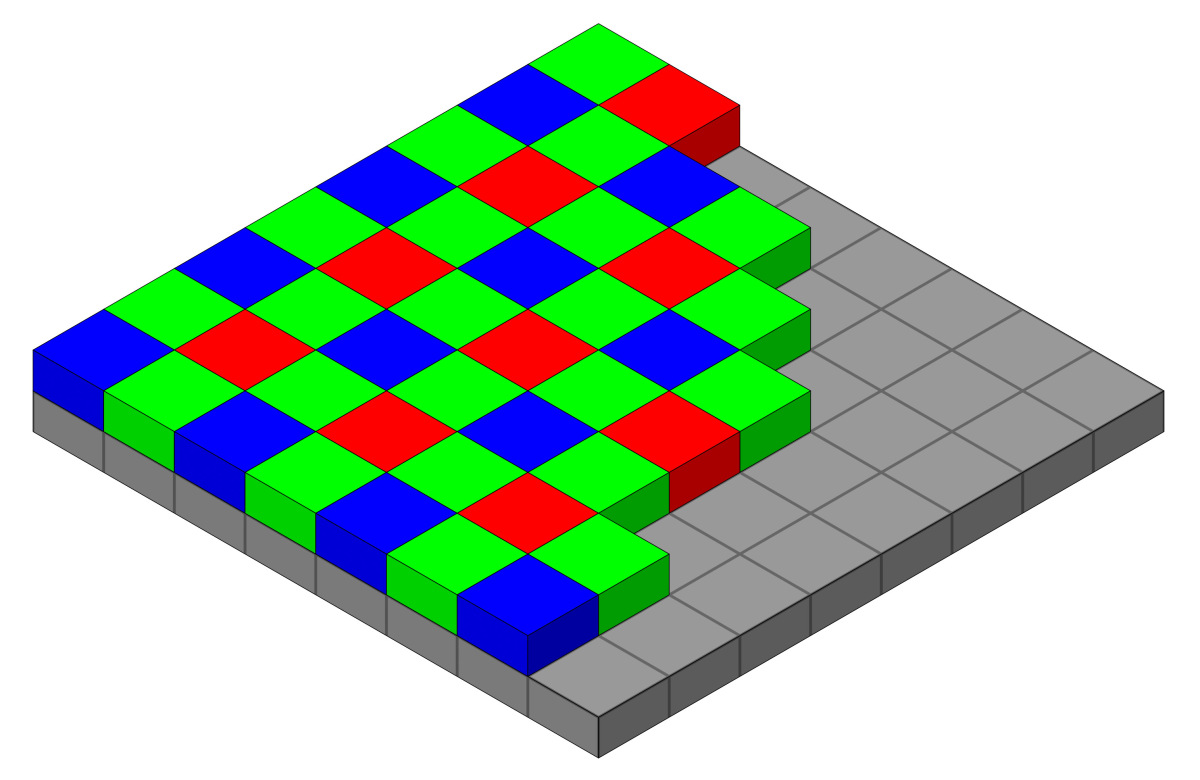
Considering a digital camera is only capturing one third of the color in a photo, the results are actually quite impressive. But this interpolation isn’t perfect since final pixel data is averaged from adjacent pixels. And just as color information is averaged from a larger area, so too is noise. Sharp, defined digital noise isn’t limited to the pixel from where it originated, but is spread, creating smeary detail-robbing clumpy noise patterns.
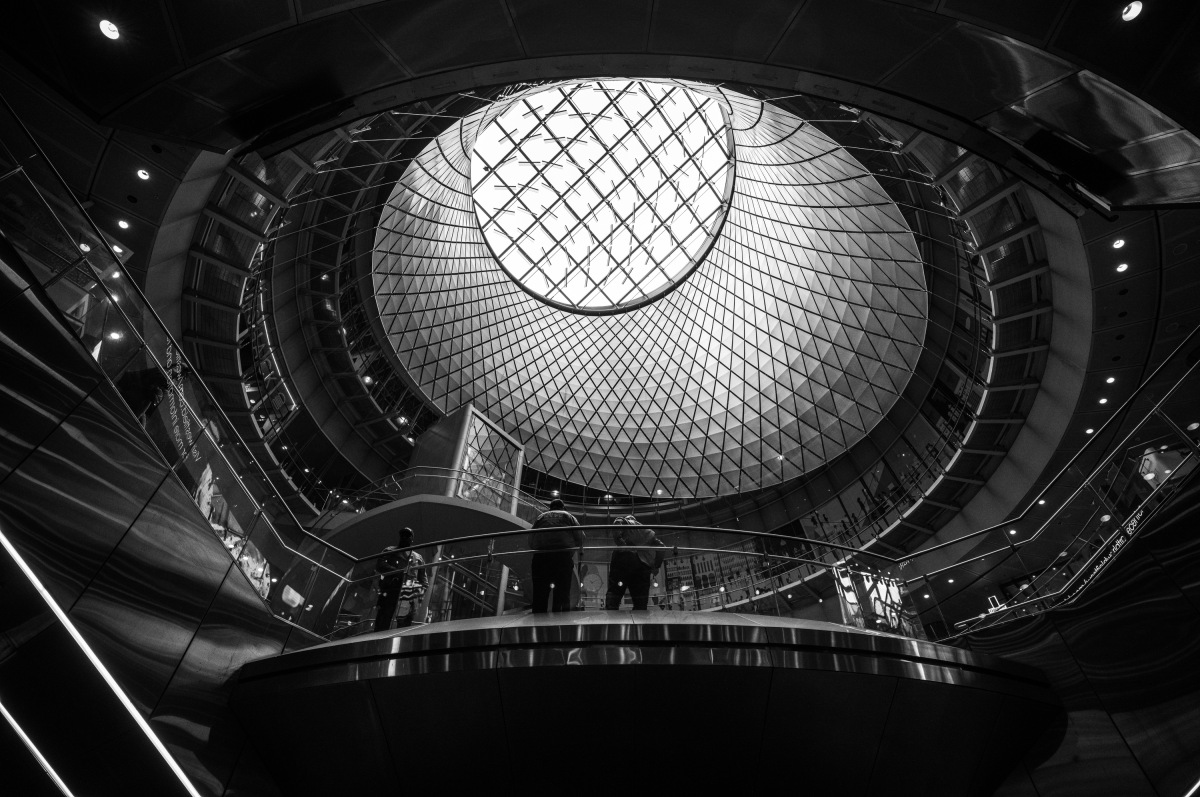
1/250th @ f/5.6, ISO 800
Another factor to consider is that different colors have varying levels of light loss, so the Bayer filter is not uniform. Comprised of 50% green, 25% red and 25% blue, the filter favors the lighter green photosites which only limit one stop of light. By comparison, red cuts two stops and blue a whopping three stops of light. And since additional gain needs to be applied to the red and blue channels, these tend to show noise more readily than the baseline green channel. Back in the CCD days, blue channel noise was particularly horrific. Thankfully, the move to CMOS has helped minimize this issue.
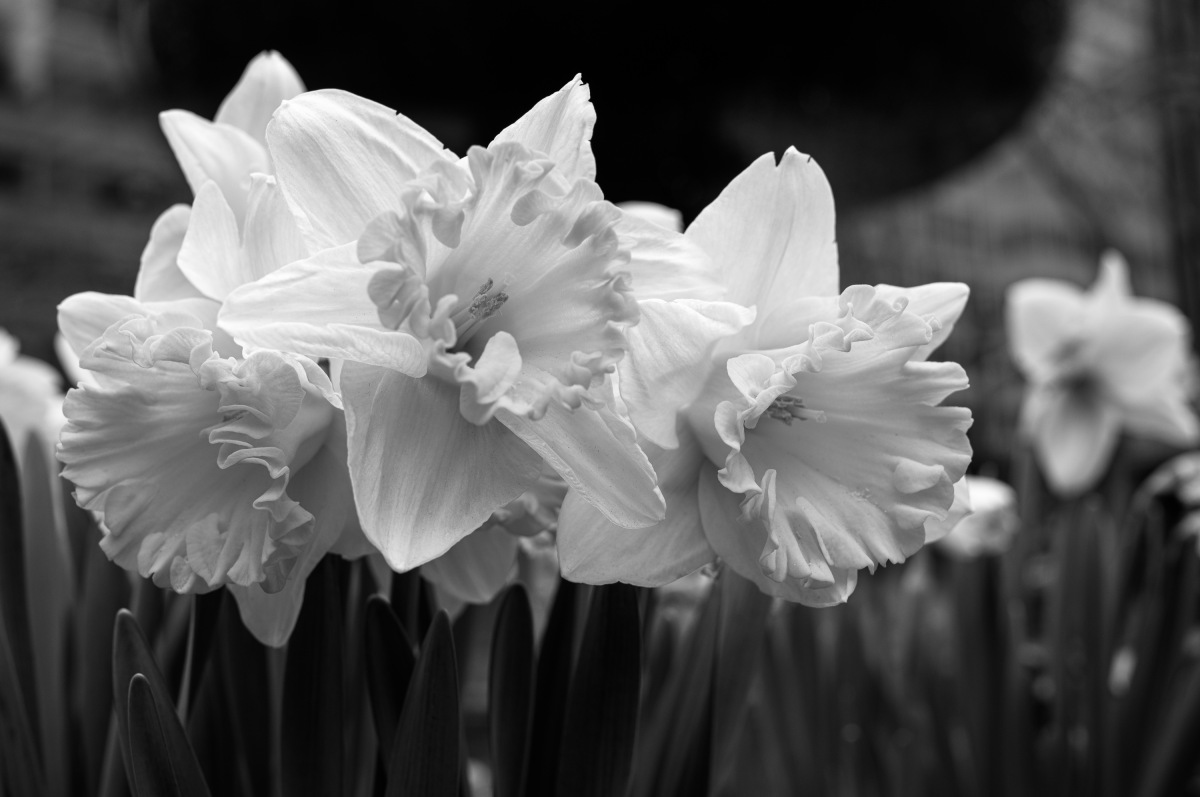
1/350th @ f/4, ISO 250
The sensor in the M11 Monochrom has had the Bayer filter removed. This immediately increases the base sensitivity, as the green pixels no longer define the lower limit. Hence why the base ISO increases from ISO 64 on the M11 to ISO 125 on the M11M. But it also means the high end gets a commensurate bump as well. That addresses the green pixels, but the removal of the red and blue are even more significant since every pixel now receives uniform treatment and reduces the maximum per-pixel gain from three stops to zero at base ISO. Which is why the average noise performance of the M11M increases two stops over the color M11.
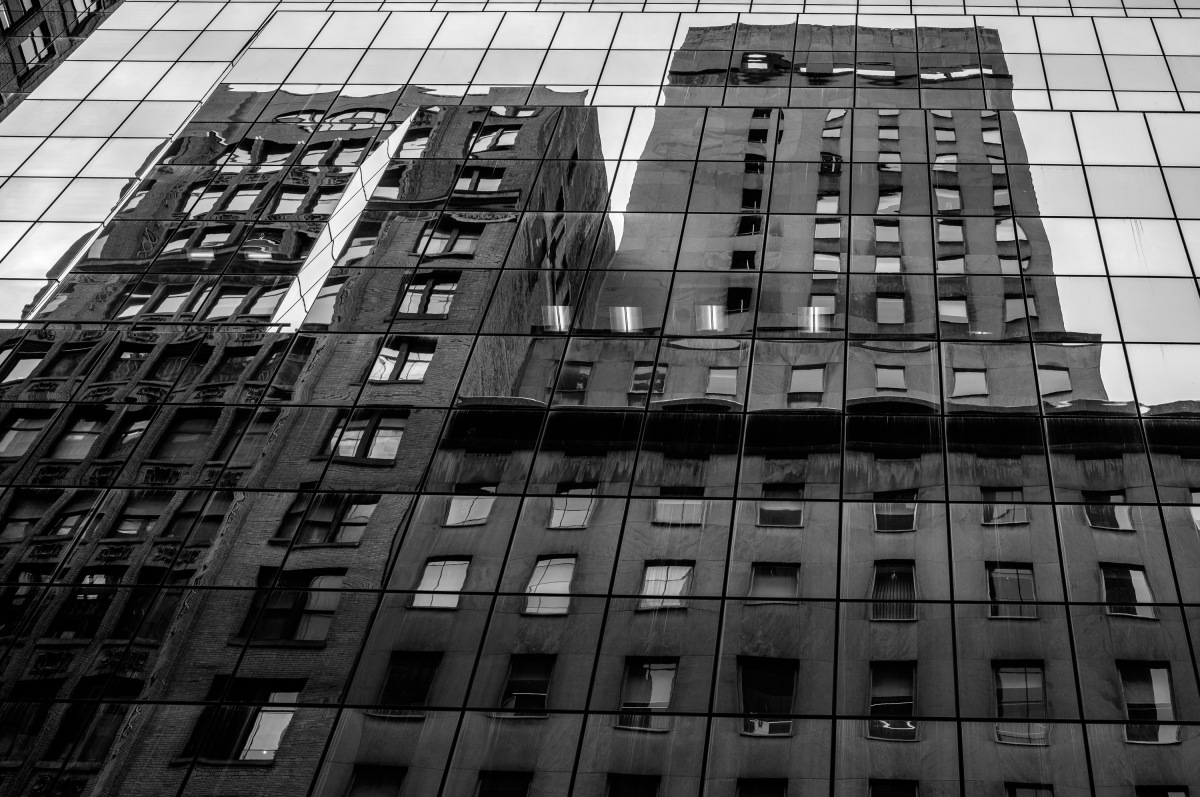
1/640th @ f/5.6, ISO 125
Even when you convert a color sensor to black and white, the filtration and interpolation has already occurred, meaning the darker red and blue pixels will always be a negative factor in low light performance. The upside to color is that highlights can often be better preserved due to the multichannel nature of the files. Even if the red and green channels are blown, for example, there still might be data in the blue channel used for recovery.
Changes from the M10M
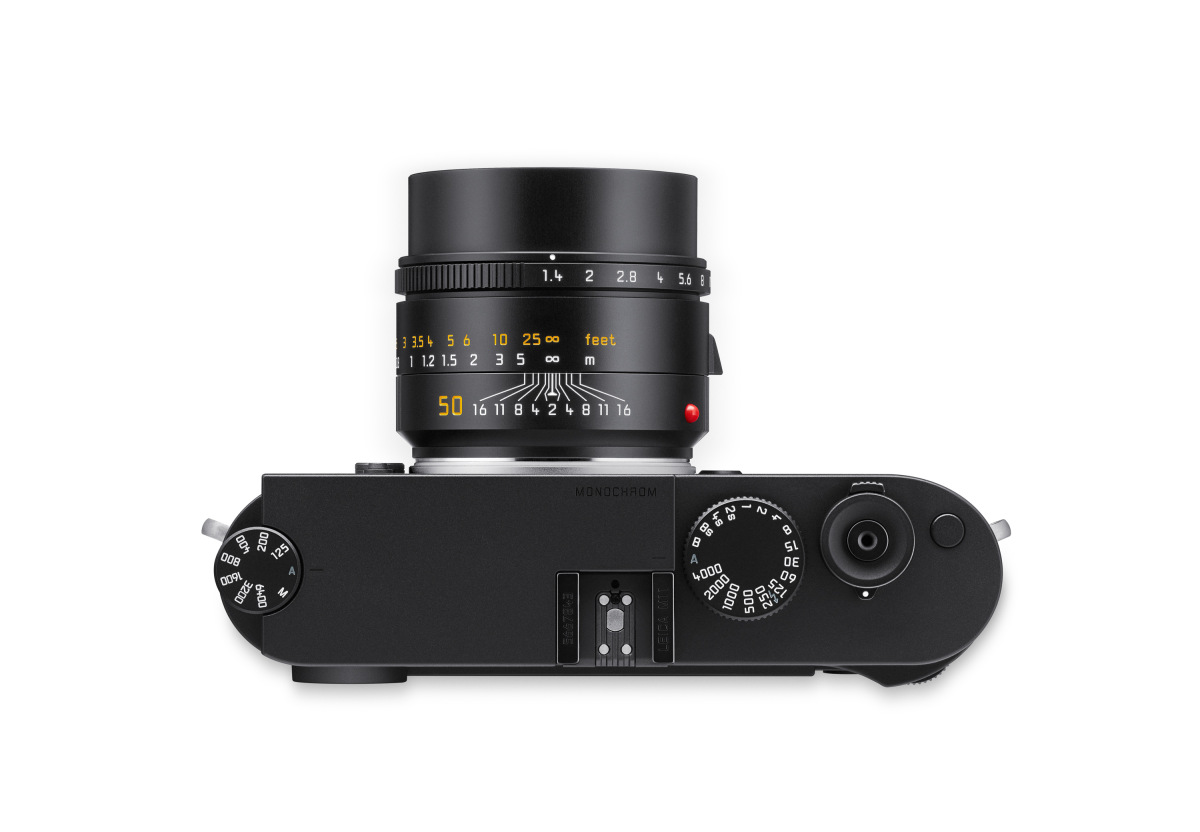
From the top, front and back, the M11M and M10M look remarkably similar. The ISO and shutter speed dials up top, the on/off switch at the base of the perfectly weighted shutter release, along with the iconic viewfinder and rangefinder windows. On closer inspection you might notice some minor tweaks here and there, like moving the front focus assist button to the top plate next to the shutter speed dial, a slightly different button layout flanking the rear LCD in a new floating configuration, a slightly shallower top plate, and of course, a LEICA M11 engraving in the hot shoe. And if you examine the leatherette cladding, the M11M has a bit different texture. But a revolutionary change wasn’t needed here. The M11M just like the M11 that it’s based on is an evolution of the already exemplary design language of the M10 generation.
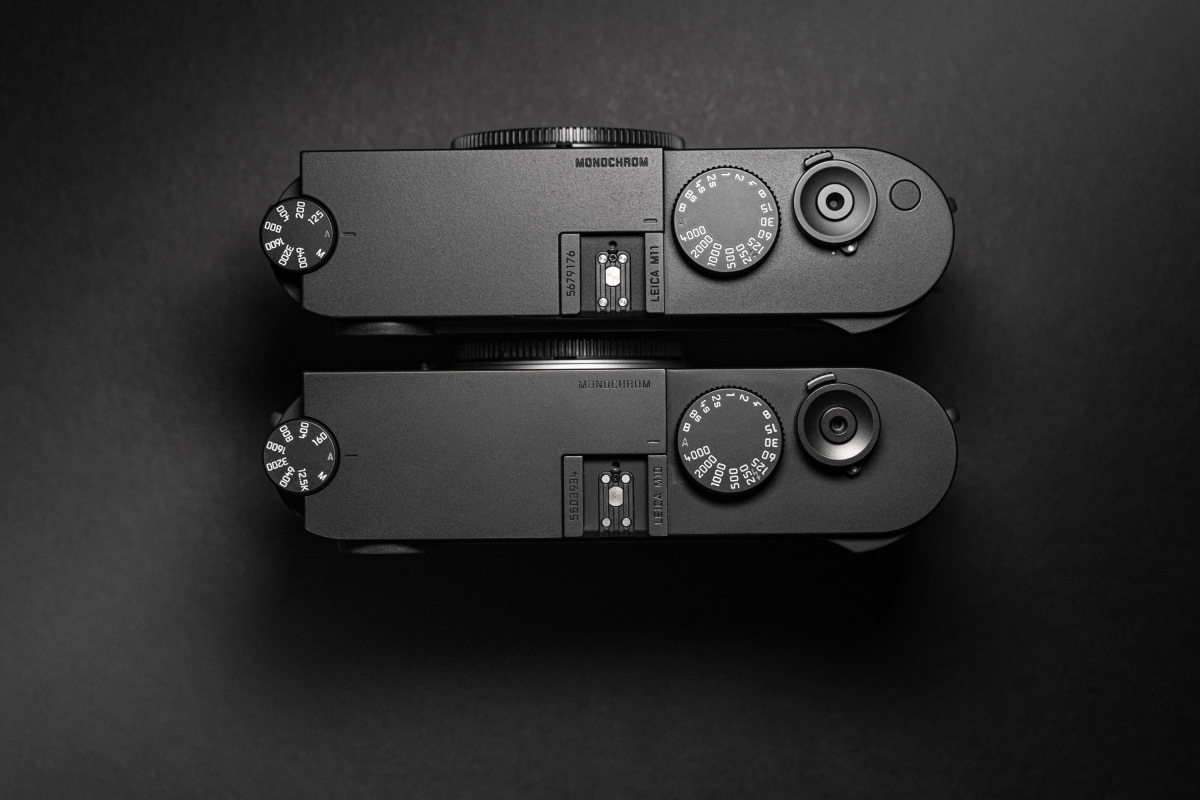
Now, pick up the camera and you will immediately feel the difference in heft. If you haven’t held a black M11 before, you might be surprised. Leica went with a machined aluminum top plate, shaving about 110g, for a roughly 20% reduction in weight. The lighter-than-it-looks feel echoes the sensation of a long-time M shooter holding a Q2 for the first time. Don’t worry. The camera is just as solid as previous generations and ultimately makes for a more pleasant carrying experience.
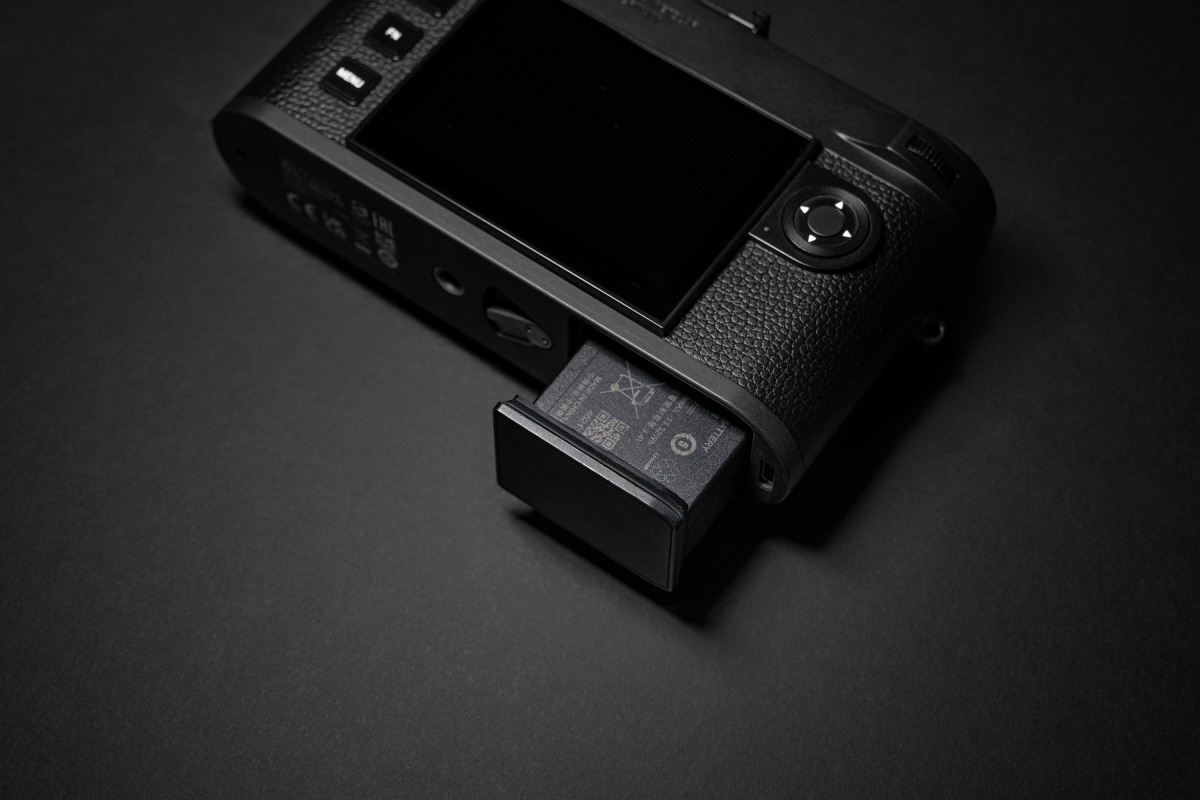
Once you’ve got the camera in hand, flip it over and you’ll see the most significant and obvious change. Yep, the M11M has no baseplate. Heresy, I know. How could Leica fly in the face of almost 70 years of tradition? Every M going back to the M3 has rocked a baseplate. How dare they! Look, I’ve been an M shooter for the better part of 20 years. But I’ve grown accustomed to the design on the M11 over the last year. So, no, I don’t miss the baseplate. The convenience of the quick battery release and memory card access easily outweighs whatever nostalgia I personally held on to. I got used to the new normal within minutes of first using the M11. I think most everyone else will too.
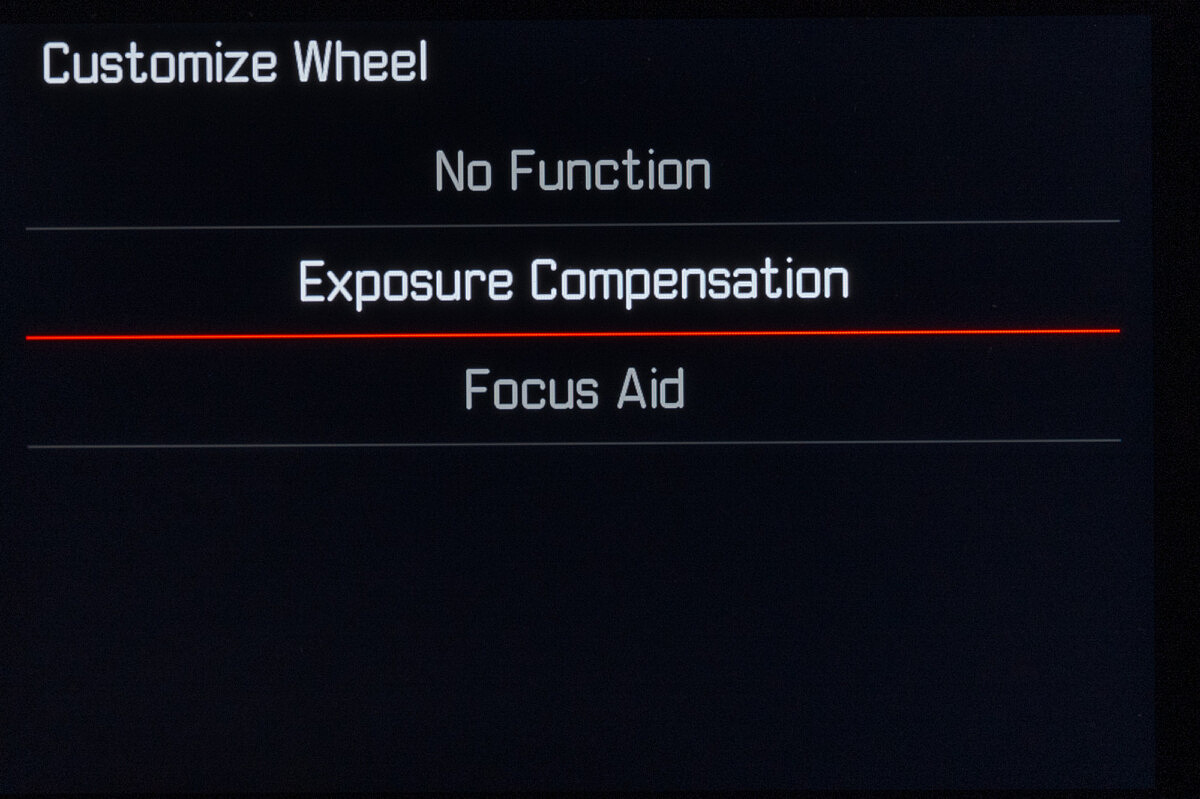
A subtle yet wonderful change that could easily go overlooked is the now clickable rear thumbwheel. Assignable to a custom function, Leica was able to add this additional control without cluttering up the minimalist design. Just like the rear FN button and top button, a long press brings up a list of selectable functions and a short press activates that option. During my testing, I assigned it to bring up exposure compensation, then used the wheel to quickly adjust. If you’re more inclined to have direct and nuanced control over ISO than the large whole steps on the dedicated ISO dial, you could assign M-ISO to the thumbwheel and have far more precise 1/3 steps. Or, for both functions, use the Customize Wheel menu to set the wheel to Exposure Compensation, then long-press to assign it to M-ISO. In this scenario, simply rotating left or right directly changes EV, but a short press in will activate the M-ISO menu on screen so you can select an ISO. Choices, choices.
New and Improved
When the M11 launched early last year, it notched meaningful upgrades over the M10 and M10-R before it. The improvements of the M11 Monochrom over the M10 Monochrom echo those between the M11 and the M10-R, but are numerous and certainly worthy of a recap. Even though I’ve been using the M11 over the past year and wrote an in-depth review on it just last year, I was still amazed at the myriad advances from the previous generation.
New Sensor
Without a doubt, the headlining feature of the M11 Monochrom is the custom sensor under the hood. Delivering all the magic you’d expect is the 60-megapixel BSI CMOS sensor, sans color filter array, meaning that it can only capture black and white. Using a 14-bit architecture, each pixel captures 16,384 shades of gray. Combined with an amazing 15 stops of dynamic range, the most we’ve ever seen on a Monochrom M, the resulting images are simply stunning.
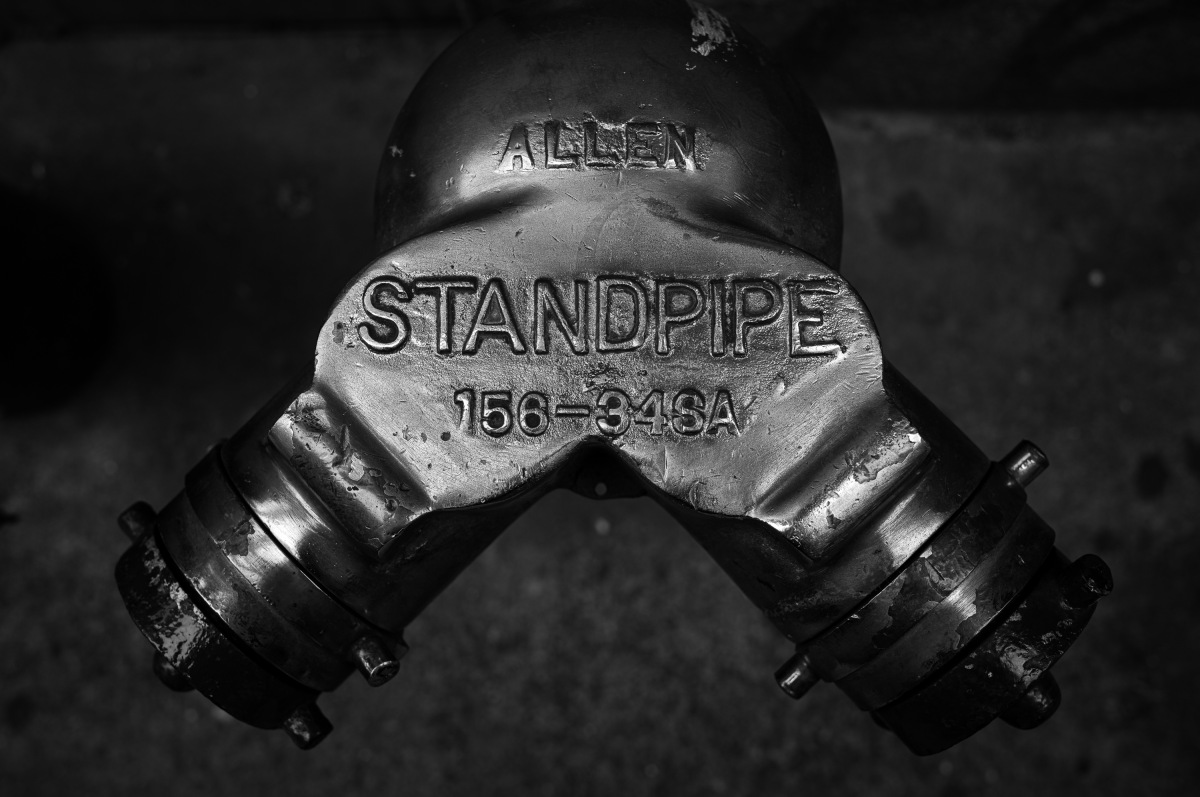
1/320th @ f/4, ISO 200
With its diminutive 3.73-micron pixel pitch, conventional wisdom might suggest less light gathering capacity than the 40-megapixel sensor in the M10M. But by utilizing BSI sensor tech, the M11M gains resolution and boasts even better low light performance over its predecessor. Back Side Illuminated sensors move the supporting electronics to the rear of the chip, allowing for significantly more photosensitive surface area and shallower pixel wells. This results in no sacrifice versus a lower-resolution traditionally-designed sensor with larger pixels and its electronics in the top or middle substrate layers. As a result, the Leica M11M delivers both extremely high resolution and exceptional low-light performance without sacrificing either.
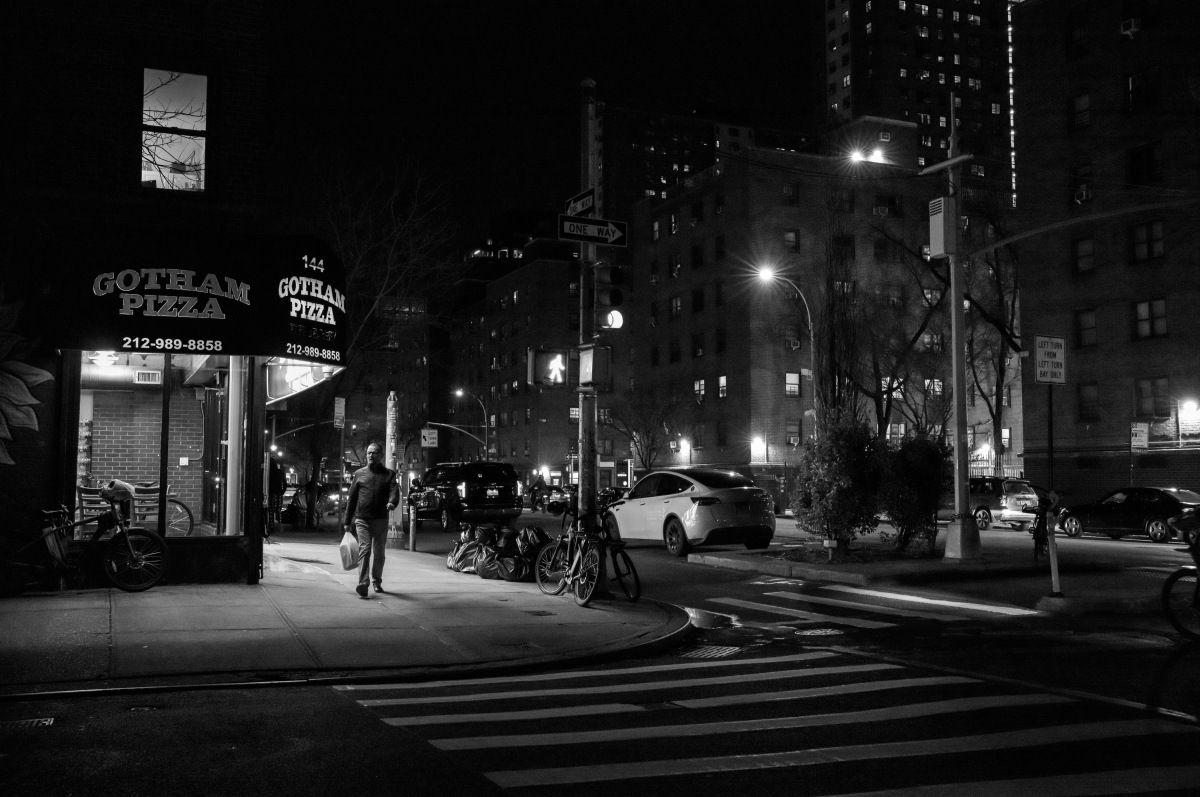
1/250th @ f/8, ISO 32,000
A custom microlens structure boosts light gathering and optimizes for the high-incidence angle of non-retrofocus M lenses. By using one of the thinnest dual layer high-absorption UV/IR cover glasses ever made, light transmission is maximized even more, while minimizing corner shading. The sensor features a dual-gain architecture, with two native ISO settings. This allows for a base sensitivity all the way down to a native ISO 125 without foregoing the high end, which goes up to an eye-watering ISO 200,000. This is the widest ISO range we’ve seen in a Monochrom to date.
The lower base ISO comes in particularly handy when compared to previous Monochrom models. The M10M came close at ISO 160 but the original M9-based Monochrom and the Typ 246 bottomed out at ISO 320. With a top shutter speed of 1/4,000th, an ND filter was required to shoot fast aperture lenses wide open in bright light. On the M11M, the lower base ISO and an electronic shutter eliminate the need for ND filters altogether.
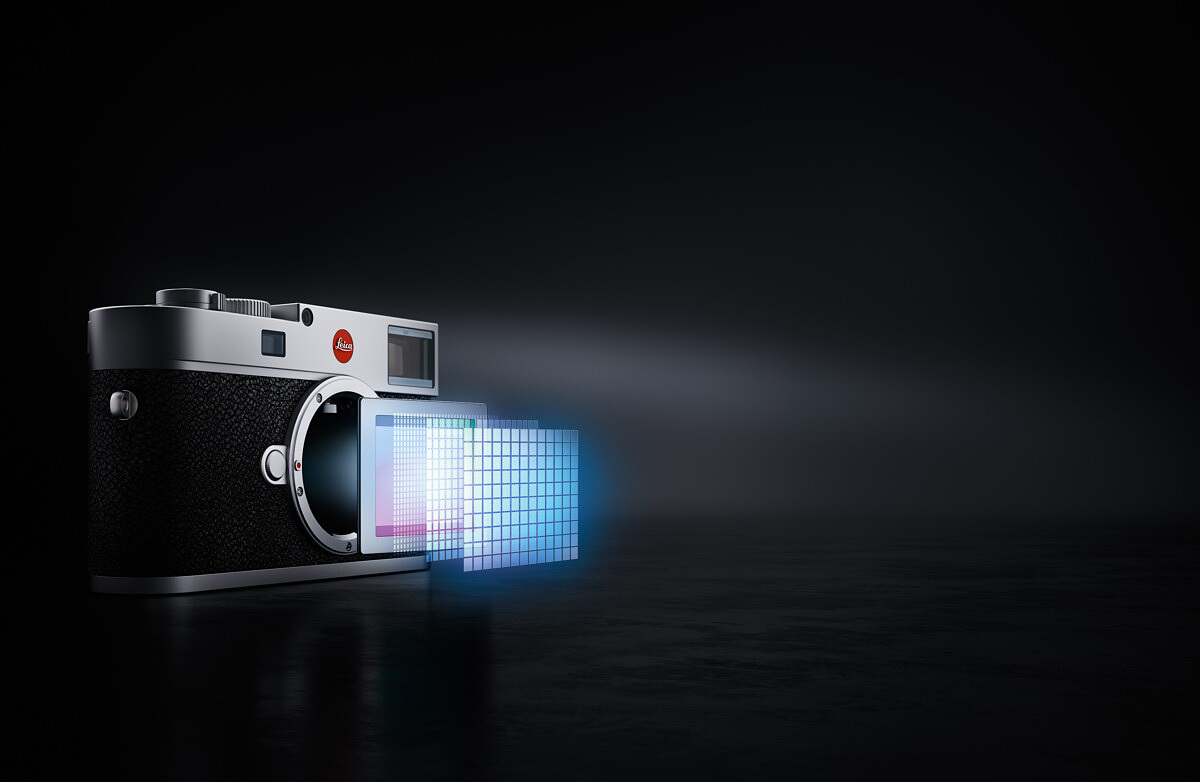
We’ve already seen what this beast of a sensor can do when paired with the best M lenses. The M11 puts out some of the best image quality we’ve ever seen on a Leica digital camera. By removing the color filter array, the chip in the M11 Monochrom takes this performance to the next level. No interpolation or per-channel variable gain yields exceedingly clean files, with breathtaking detail and nuance.
Triple Resolution
Another carryover from the M11, the M11M offers variable resolution with hardware-based pixel binning. At the full 60 megapixels L-DNG setting, the camera churns out 14-bit files with 15-stops of dynamic range at base ISO, previously the exclusive territory of the medium format Leica S (Typ 007) and S3. Don’t need the full resolution? M-DNG at 36 megapixels nets a small dynamic range boost along with improved burst depth. If you don’t care about the high resolution but need burst shooting, S-DNG offers up 18-megapixel files and unlimited buffer depth.
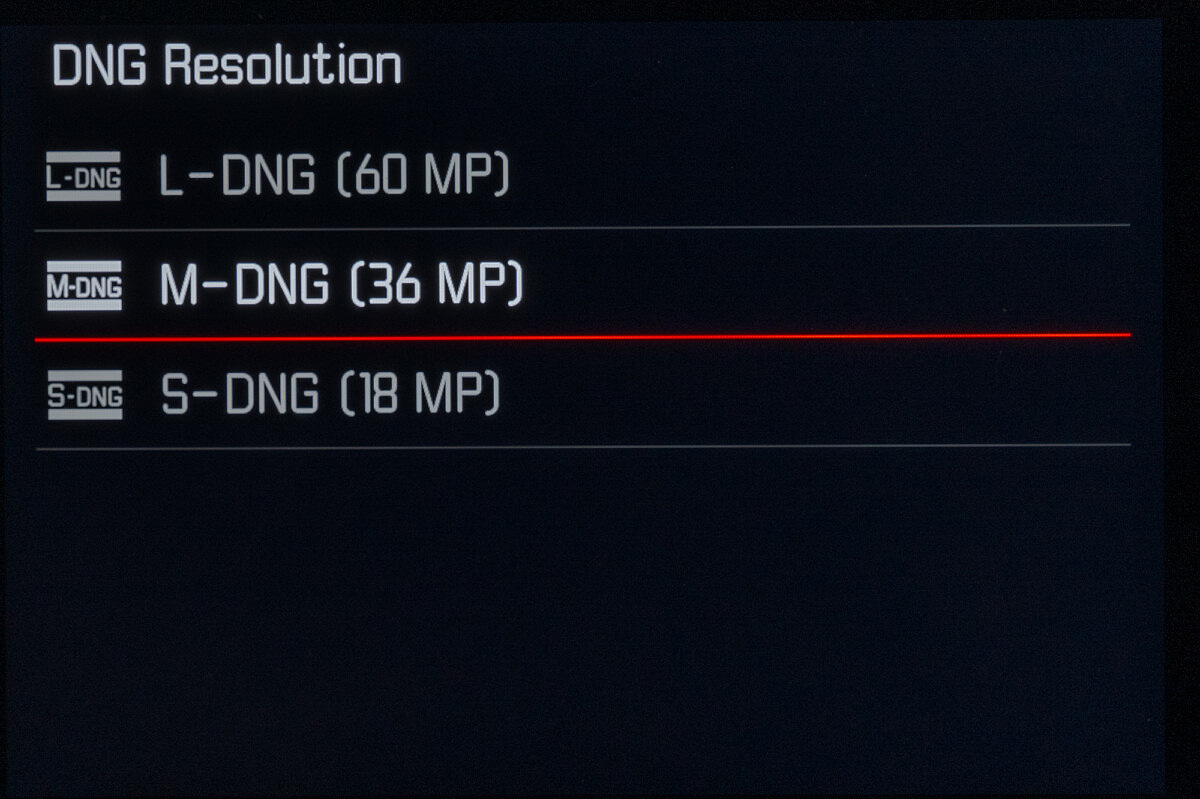
During my testing of the M11 last year, I found high ISO performance and file malleability appears to be identical in real-world scenarios for L-DNG and M-DNG. Since then, I simply leave the M11 set to L-DNG all the time. Personally, I prefer the highest resolution available, especially for testing, so I opted for L-DNG for all my M11 Monochrom images as well. If your workflow would benefit from smaller files, choose the 36MP M-DNG setting.
In the coming months I will be conducting a new B&W ISO Showdown once firmware and Lightroom profiles settle out and will test the different DNG resolutions in controlled head-to-head conditions. Stay tuned for that.
New Maestro III Processor
Processing all those pixels, we’ve got the capable Maestro III processor, paired up with a generous 3GB image buffer and full UHS-II SD card compatibility. Snappy and responsive, from menu operation to playback, everything just feels quicker than the M10M. Firing off a burst in high-speed mode at 4.5 frames per second results in no waiting time. Images are immediately available for review and the camera is always ready to shoot more. Maximum DNG burst depth is 15 frames at full resolution, 30 shots at 36 megapixels, and unlimited at 18 megapixels. To put the speed bump into context, the M10M also captures 4.5 frames per second but is limited to a maximum burst of just 10 shots. The M11 achieves the same frame rate with 50% longer bursts despite the 50% increase in pixel count. At a more comparable apples-to-apples resolution of M-DNG, the M11 manages a 300% improvement in burst depth. Impressive.
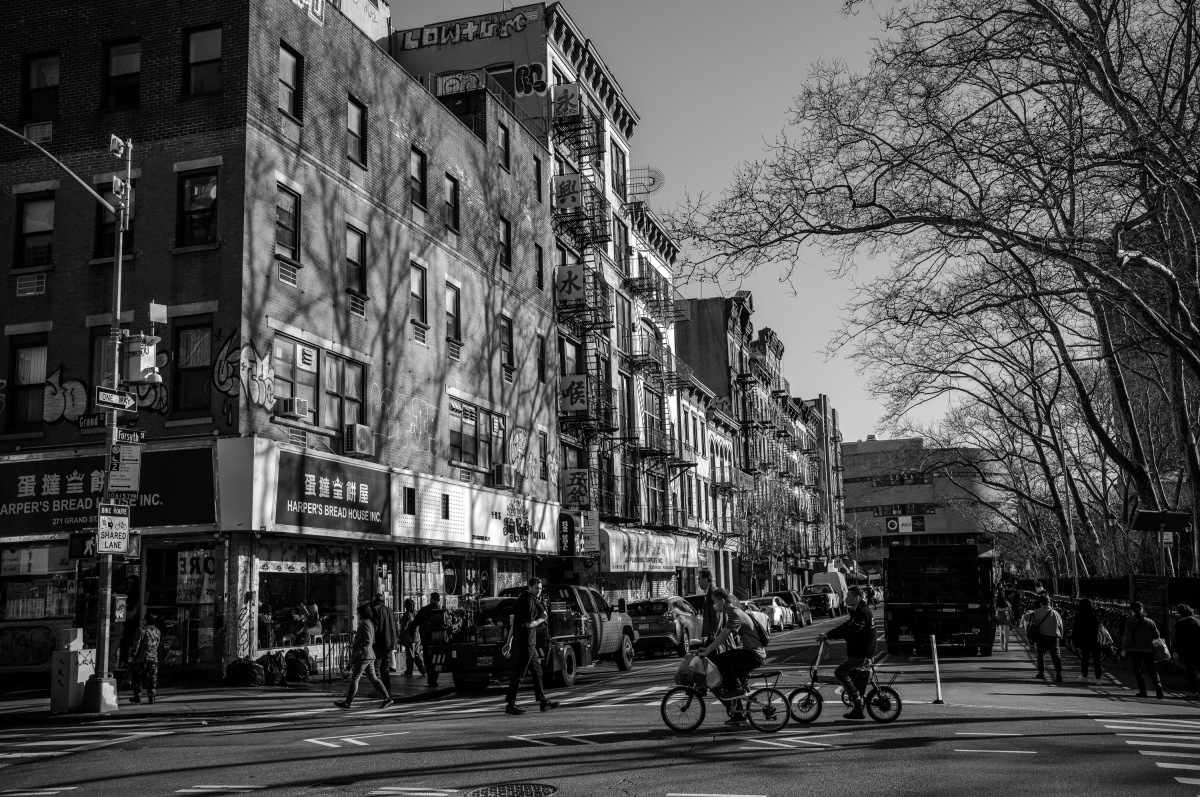
1/400th @ f/5.6, ISO 125
Even chewing through around 300 megapixels per second, Leica’s latest custom silicon is remarkably power efficient. Combined with the same 1800 mAh BP-SCL7 battery introduced for the M11, the M11 Monochrom can go all day on a single charge. Yes, really. During my testing, I carried three batteries and shot several hundred images a day over the course of 10-12 hours, using the Visoflex 2 EVF the entire time. Typically, the third battery would never leave my camera bag. Only on a particularly active street photography day where I fired off over 900 images did I ever fully drain two batteries and go on to the third. Again, this was all with live view utilizing the EVF. If I was sticking to the optical rangefinder, I doubt that I’d ever need more than one battery to cover even the busiest shooting day.
USB-C Port for Data and Power
The USB-C port on the bottom of the M11M can connect directly to an iOS device for use with the Leica FOTOS app. Either use the included Apple MFi certified USB-C to Lightning cable for an iPhone or a standard USB 3.1 Type-C to Type-C cable for an iPad Pro. Be sure to always use the bundled Leica USB-C to Lightning cable since a standard charging cord will not work for data transfer. Likewise, the Leica cable can’t be used for charging your phone as it isn’t designed for power delivery.
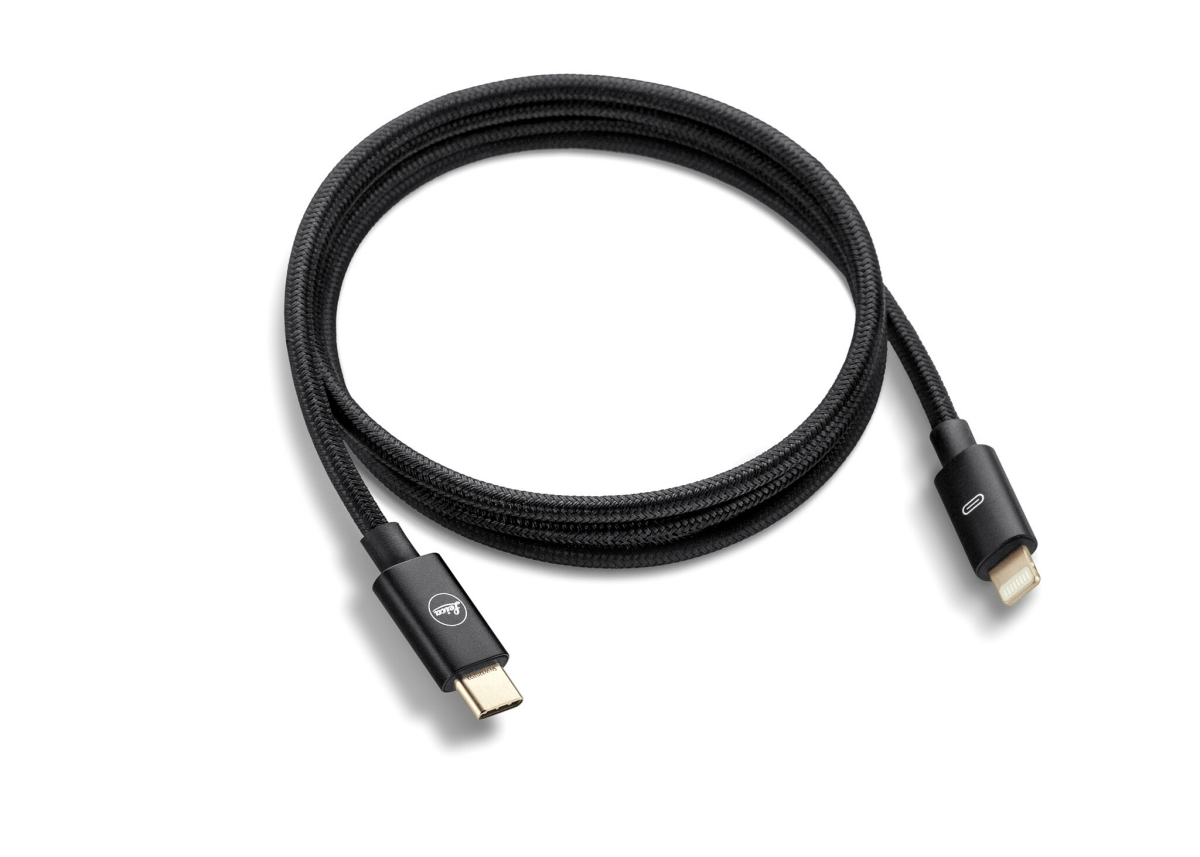
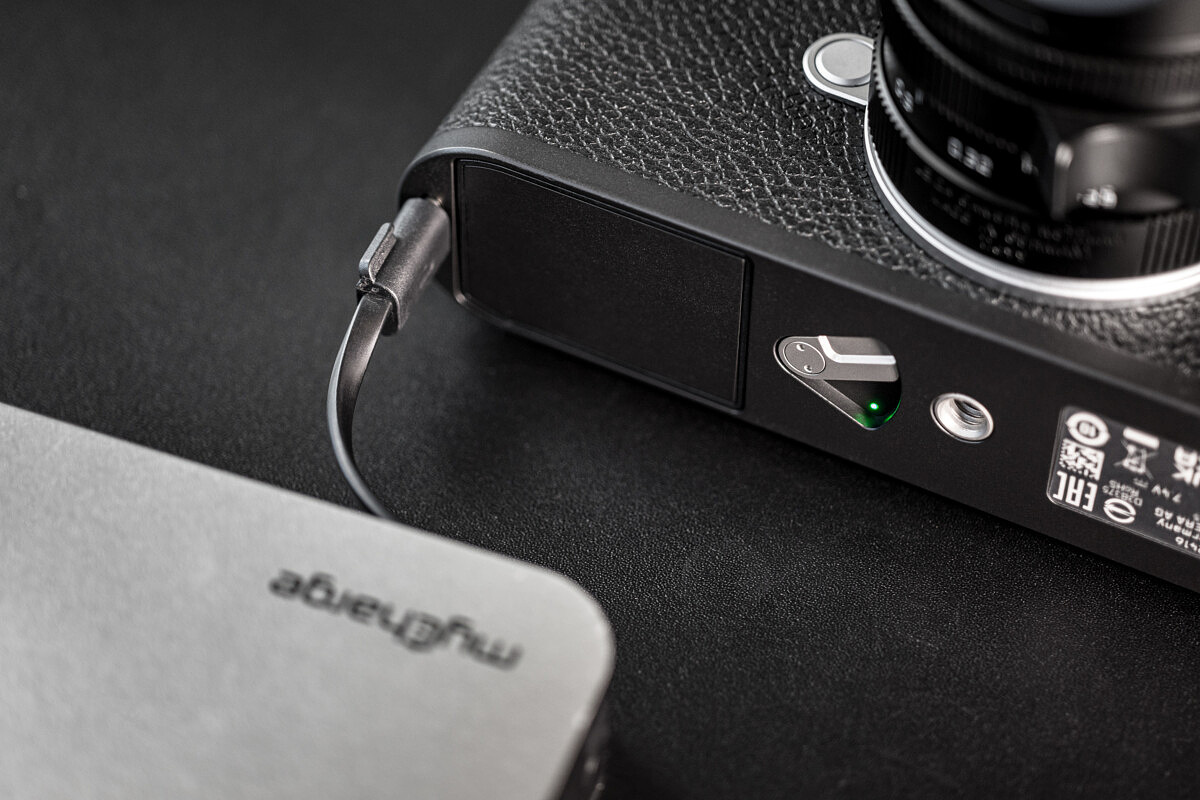
You can also import directly into Lightroom with a standard USB 3.1 Type-C or Thunderbolt 3 cable by setting the camera to PTP mode in the menu. A word of caution here. Be wary of the much slower USB 2.0 Type-C charging cables that are now ubiquitous and make sure you use one that’s specifically certified as USB 3.1, USB 3.2, Thunderbolt 3 or simply indicates a 10Gbs data rate. And since the port supports power delivery, the battery will charge from your computer while you have it connected. In fact, just about any USB-C power source will charge the camera, either while being used or when powered off. I routinely use the port on the M11 to plug in a myCharge portable power pack to keep the camera battery in fighting shape while out and about, and I did the same with the M11M.
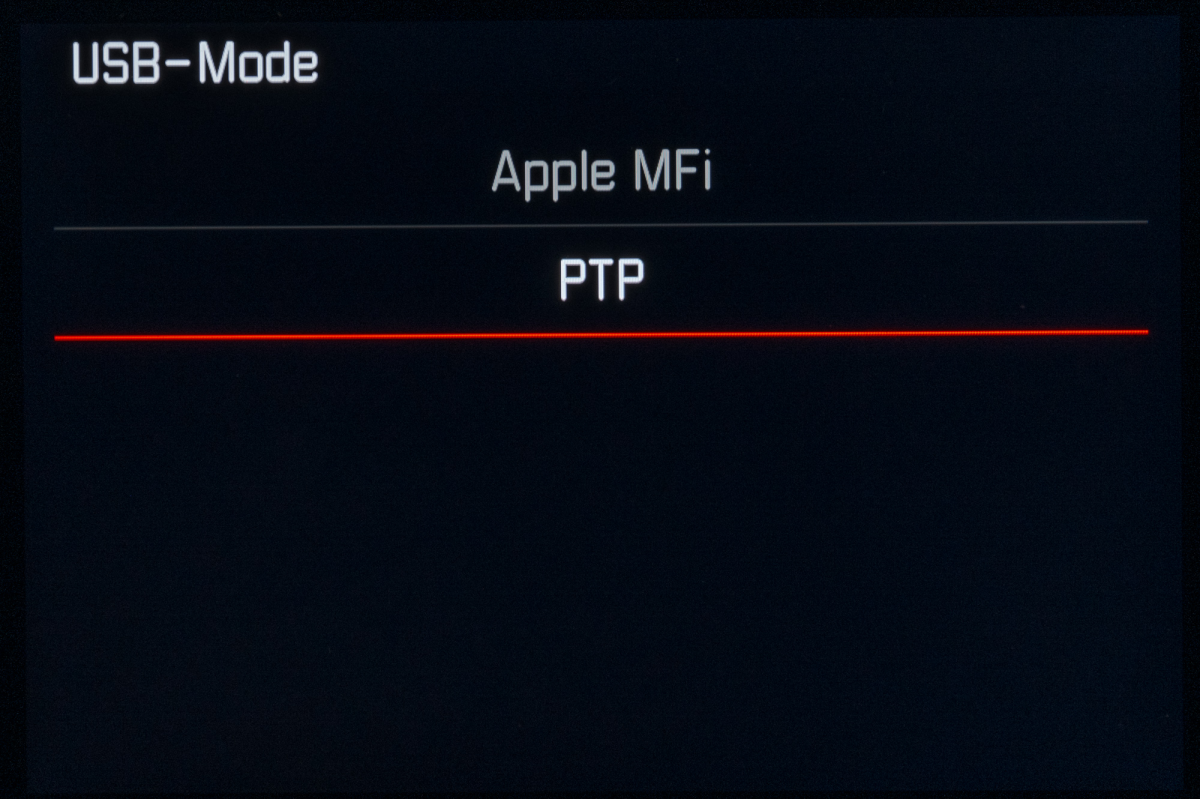
Currently, like the M11, the M11M only has options for Apple MFi and PTP modes. While Mass Storage mode might be added in future firmware, it’s not an option right now. PTP, or Point-to-Point USB mode enables data transfer for software that specifically supports the camera, including Adobe Lightroom, Adobe Bridge Photo Downloader, Apple Image Capture Utility, and Apple Photos. But the camera won’t show up as a drive in MacOS or Windows without Mass Storage mode. The SL2 has options for both PTP and Mass Storage, so hopefully this is added sooner rather than later.
Updated Connectivity to FOTOS app
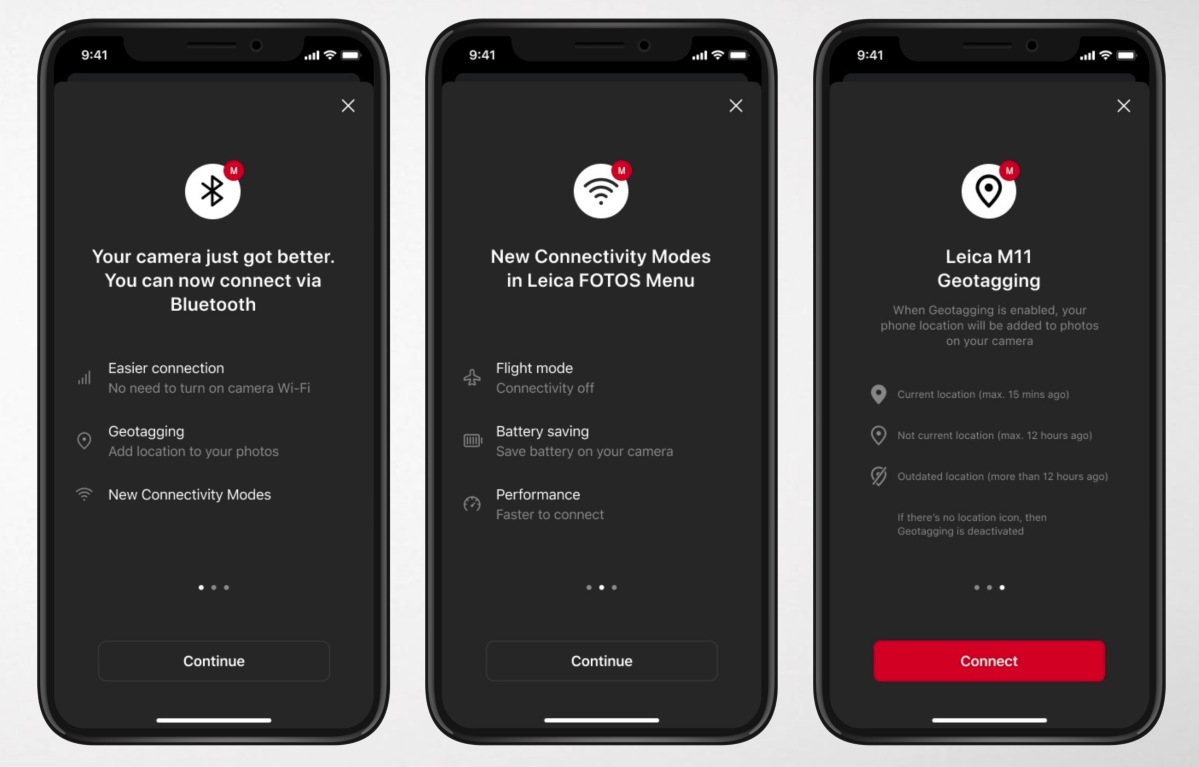
The M11 Monochrom is an Apple ‘Made for iPhone and iPad’ Certified accessory. To receive this certification, Apple ultimately signed off on the camera and its supplied cable to work seamlessly with iOS devices. Leica released v1.6.0 firmware in late 2022 to make the most of this enhanced connectivity with the Leica FOTOS app, including location data-based geotagging, access via Bluetooth, increased data transfer rates and the ability to update camera firmware via the app. Make sure to stay on top of firmware and FOTOS app updates to take advantage of the latest features and improvements.
Wireless upgrades
The M11M comes loaded with all the wireless goodies to smoothly connect to the Leica FOTOS app without the need for a cable. Inside, the camera is packing both dual-band 2.4/5Ghz 802.11 a/b/g/n/ac Wave2 Wi-Fi 5 and Bluetooth 4.2 BR/EDR/LE modules. Initial setup is still managed by pointing your phone’s camera at the QR code displayed on the rear LCD after selecting to add an M11 in the FOTOS app. The process is simple and only needs to be performed the first time you connect the camera. After that, you can view and download images from the camera, or even remotely control the M11M for wireless shooting. The entire experience is much smoother than with the M10M.
New battery and charger
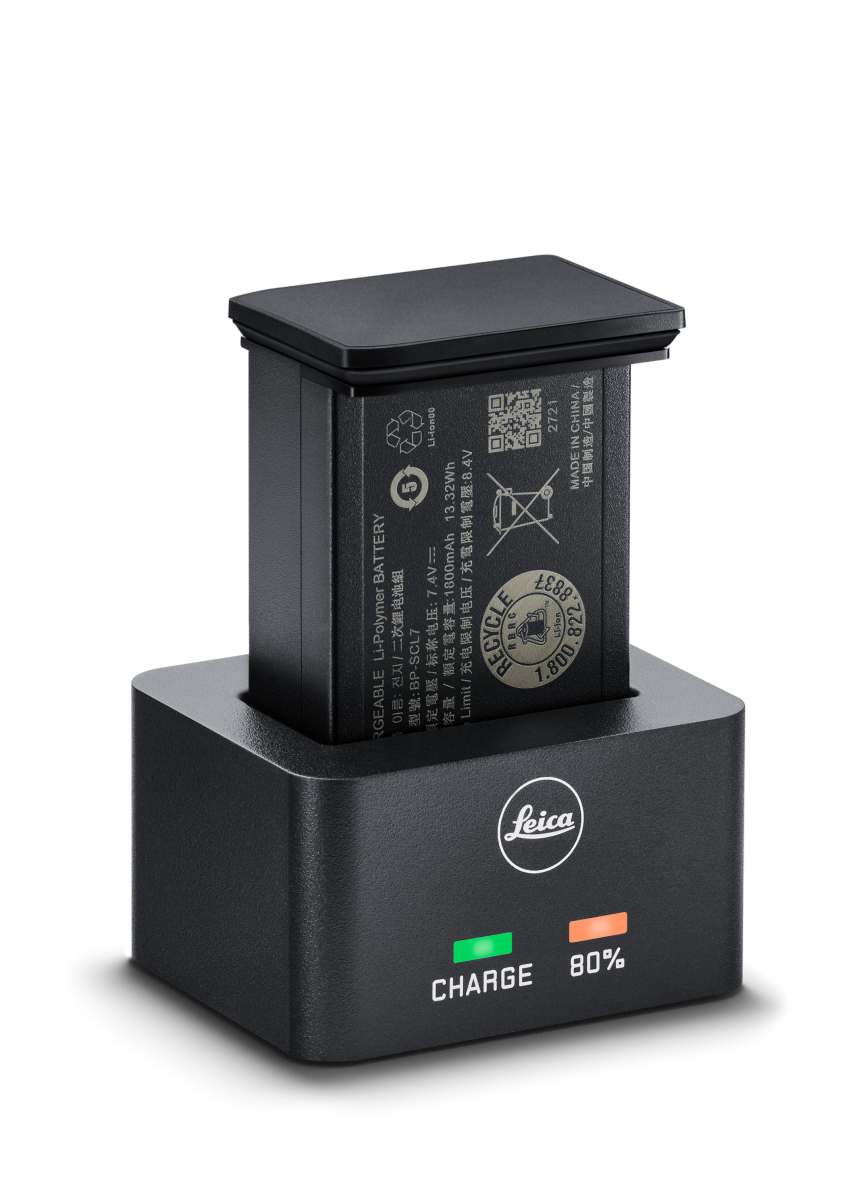
The BP-SCL7 used in the M11, and now M11 Monochrom, offers almost the same capacity as the BP-SCL4 from the SL2, a solid 1800mAh at the same 8.4v, yielding 13.32Wh. For comparison, the M10M’s BP-SCL5 is rated at 1100mAh at 8.25v for a total of 8.2Wh, an impressive 63% increase in total battery power. Side-by-side, the difference is obvious with the new battery showing its pumped-up proportions, but so is the practical battery life.
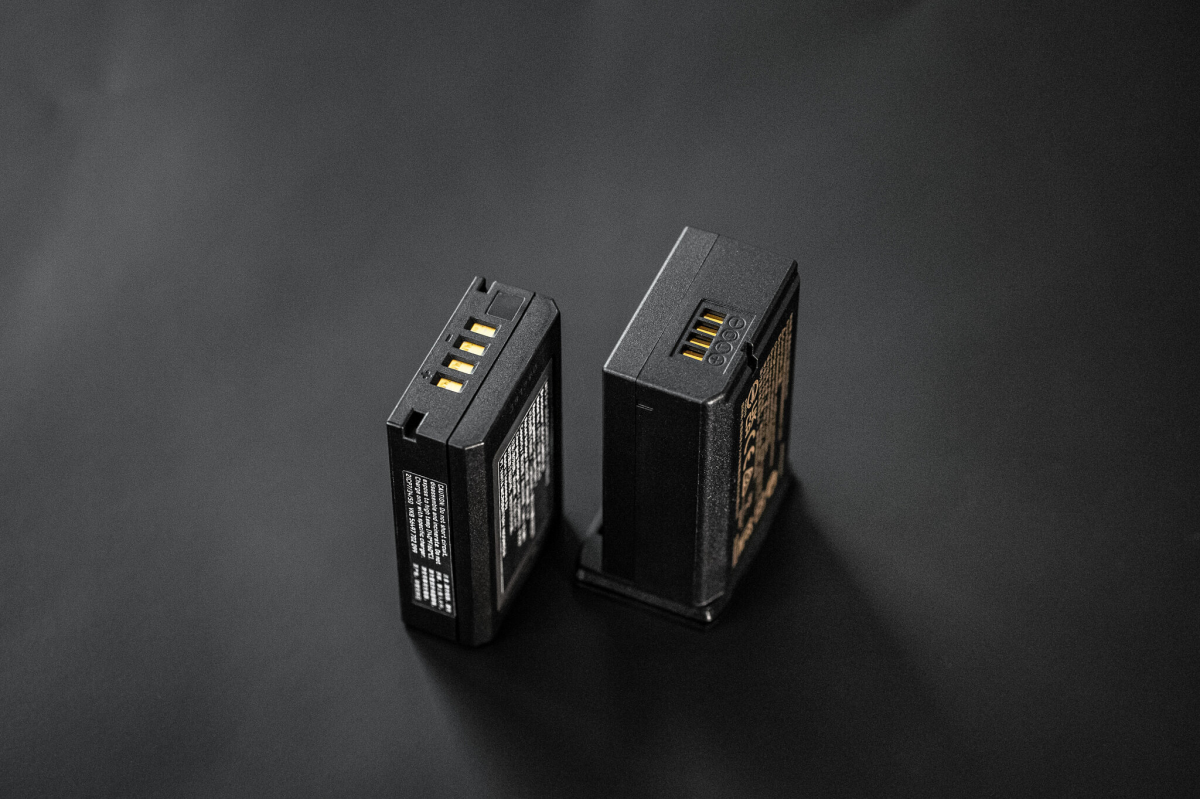
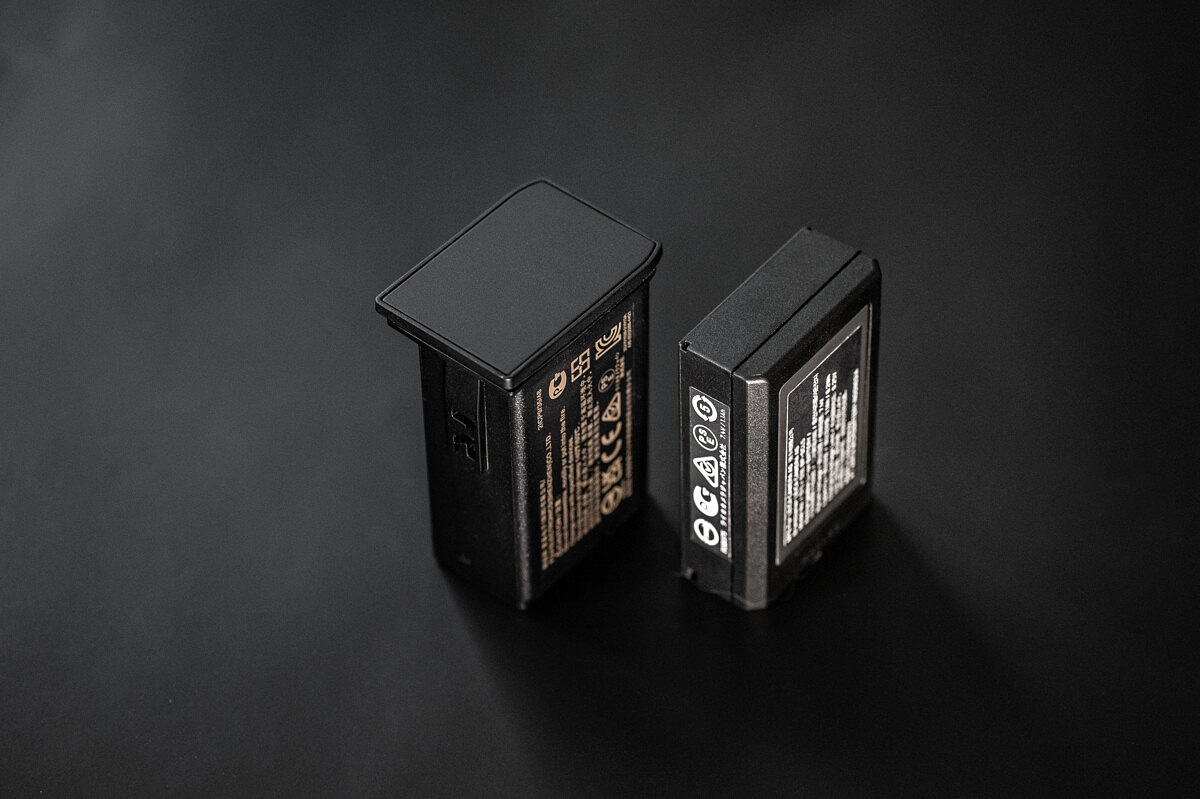
Combined with advances in power efficiency, the M11M can get you through a full day of shooting on a single battery. Leica estimates a downright-impressive 1700 images per charge when using the optical rangefinder. Naturally, activating live view will cut into battery life, but a solid 700 captures by CIPA standards for 100% live view shooting is nothing to scoff at. Given my experience, the CIPA number is a bit on the optimistic side. I was averaging 300-400 shots per battery using live view and disabling power savings. We’ve come a long way from needing four or five batteries for a single day’s live view shooting on the M (Typ 246).
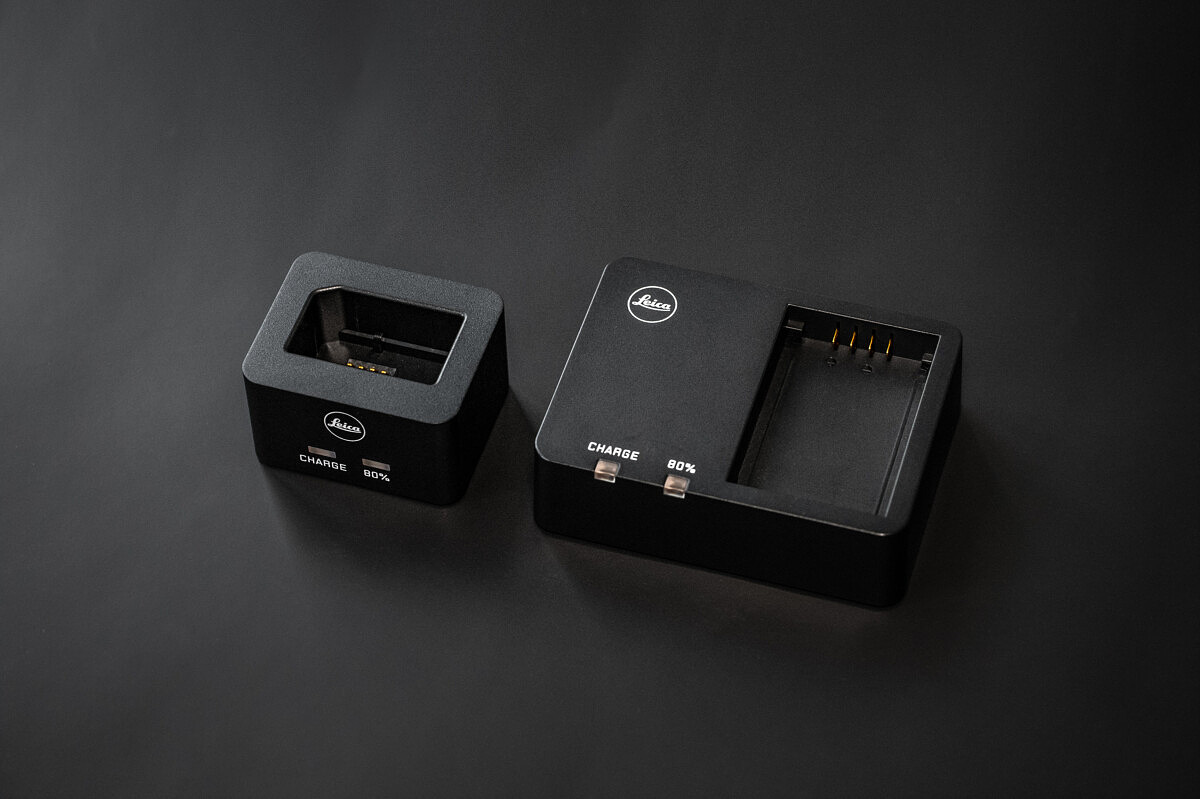
While the battery is noticeably larger, the new BC-SCL7 battery charger is quite compact and hopefully a sign of things to come for other systems. By ditching the standard figure-eight mains power AC connector in favor of a USB-C PD port, the charger doesn’t require an internal transformer. While this allows for a much smaller design, it also means you can use a wide array of USB-C power adapters, including one you might already have for your laptop, iPad or myriad digital devices. In fact, while the camera does come with a 10W Leica-branded USB power adapter, I’d just use a more svelte and higher-power aftermarket unit with or without space-saving flip-out prongs. I used the Anker Powerport III 20W Cube, with twice the power output in half the size of the included wall adapter.
Because the BP-SLC7 charger is so lightweight and small, you could easily bring along an extra to charge two batteries from a dual-port charging brick like the Anker 521 40W Nano Pro. Alternatively, top up one battery in the charger and the second one in the camera, again all with USB-C.
The charger itself is nicely designed, with two LED lights on the front, a single USB-C power-in port on the back, a slot for the battery on top, along with a set of low-profile anti-slip rubber feet on the bottom. When you insert the battery, gently press down on it and catches on either side snap into two small detents on the battery, securing it with a satisfying click. The battery is held in place and won’t fall out of the charger, even when inverted, yet the system doesn’t require a release. Just pull the battery while holding the charger and out it comes with minimal force. Two rectangular LED indicators function just like other modern Leica chargers. The amber charge light will flash with decreasing frequency as the battery nears completion, with the second green LED illuminating when reaching 80% capacity.
256GB Internal Memory
Here, Leica made a seemingly small on paper, but large upgrade in practice from the M11 to M11M. The 64GB of high-speed onboard memory on the M11 is a nice convenience but not large enough for a true 1:1 backup when using 128 and 256GB cards, nor does it have the capacity to serve as your primary storage for a full photo trip. Thankfully, the M11 Monochrom now comes loaded with 256GB of internal storage, making it far more useful in a wider range of scenarios.
While I still recommend using high-speed UHS-II SD cards for storage as they are both faster for downloading and higher capacity (I personally use the Lexar Professional 1667x UHS-II 128GB cards), the built-in storage could be a lifesaver for those times when you either forget to put an SD card in the camera before heading out or simply run out of space on the one you’re using. Having a large reserve tank offers nice peace of mind.
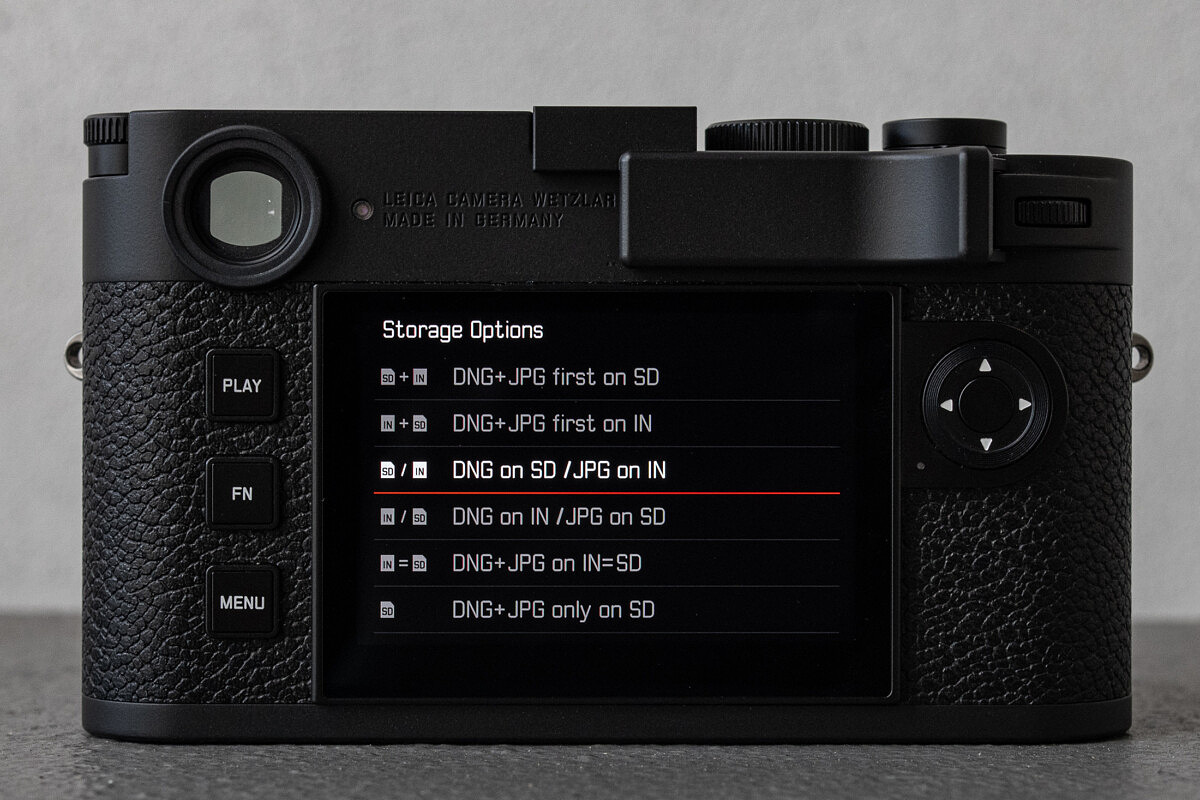
Beyond the covering-your-butt duty, Leica has added in some extra functionality. Due to space constraints in the slender M body, there simply isn’t room for a second SD card slot like in the SL2 and SL2-S. But you can set the camera to utilize the built-in memory like you would a second card slot. Use the default DNG+JPG first on SD setting to take advantage of the extra capacity once the SD card is full. The status menu display will show you the total combined capacity of your SD card and the internal memory. Or, select the DNG+JPG on IN=SD option to record a backup copy to the internal memory. If you shoot DNG+JPG, you can opt to saveDNG files to the internal memory and JPGs to the SD card with DNG on IN / JPG on SD or vice versa with DNG on SD / JPG on IN. And if you simply don’t want to mess around with the internal memory, select DNG+JPG only on SD. Here, the internal space will be ignored, flagging you when your SD card is full. The nomenclature in this menu can be a little confusing with all the options showing DNG+JPG, even if you have the camera set to shoot DNG only. Rest assured that your file format setting is not dictated by your storage setup.
With a USB 3.1 Type-C or Thunderbolt 3 cable, images stored on internal memory can be downloaded to a computer in PTP mode or to an iOS device using the MFi setting. You can also offload pictures from the built-in storage to an SD card using the Backup memory (IN => SD) function in the Storage Management menu. Transferring 300 images (16.7GB) from the internal memory to a Lexar Pro 1667x 64GB card in camera took 3 minutes and 43 seconds for an average speed of 76MBs. Importing the same batch of photos directly into LR over a USB 3.1 cable was a bit faster at 3 minutes and 10 seconds due to a slightly higher 90MBs average data rate. Definitely serviceable, but for comparison, I imported the same 300 DNG files from the Lexar SD card using the built-in UHS-II card reader on my 16-inch MacBook Pro. Here, it flew at 185MBs for a total import time of just one minute flat. In other words, the built-in memory isn’t slow, but it’s nowhere near as fast as a 250MBs UHS-II SD card and compatible reader.
Rear LCD Screen
Occupying most of the real estate on the backside of the M11 Monochrom, the LCD is sure to please. With double the resolution of the M10M, now 2.3 megapixels, 800 nits of maximum brightness, the 2.95-inch display slightly edges out the already excellent one on the SL2 and SL2-S to be the best currently offered in the Leica lineup.
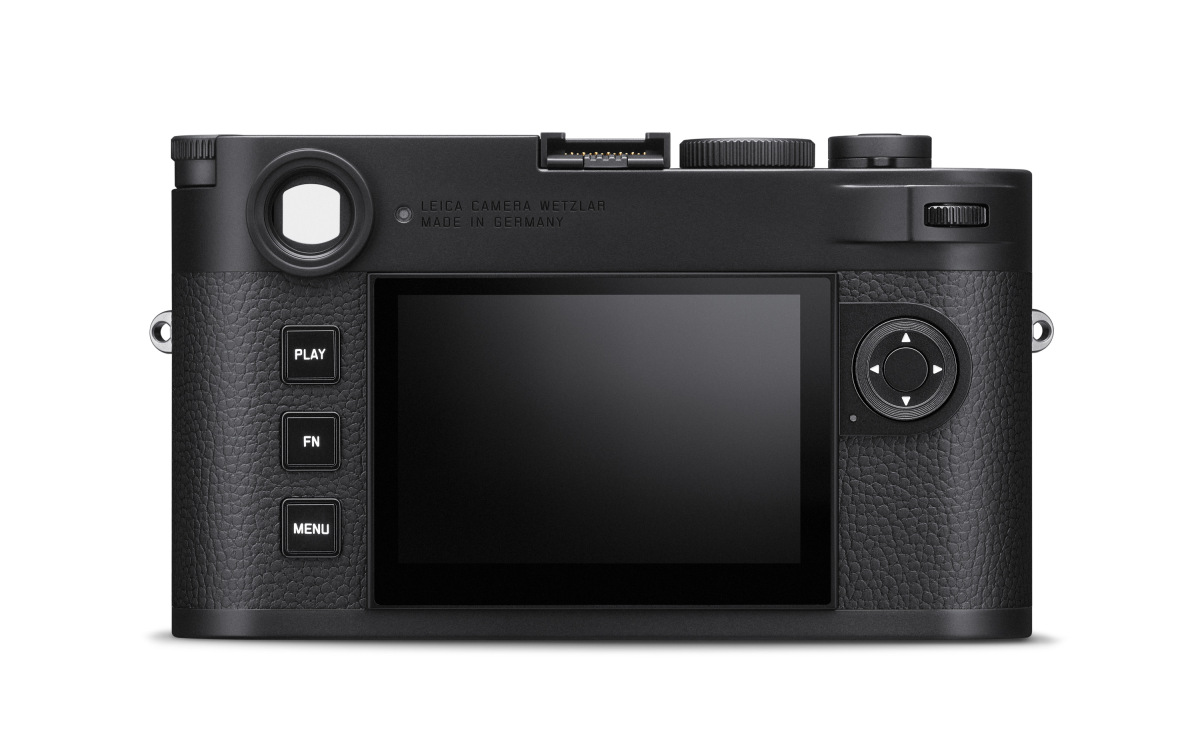
Sapphire Glass
Missing since the M Monochrom (Typ 246), Leica has reintroduced a sapphire glass covering on the LCD screen. Absent on every single variant of the M10 generation, the scratch-resistant glass is a welcome addition, especially for a pure-bred street photography machine like the M11 Monochrom. And while it lacks the little diamond engraving seen on all previous models sporting a sapphire glass screen, it’s just as durable.
Visoflex 2 EVF
Launched with the M11, the Visoflex 2 provides a fantastic live view experience. The somewhat rectangular and boxy EVF offers up a 3.68-megapixel OLED panel, built-in -4 to +3 adjustable diopter, ample eye relief and three positioning steps at 0°, 45° and 90°. The all-metal housing feels premium and ups durability. And while the Visoflex 2 is backwards compatible with the M10M, the experience isn’t the same you’ll get on the M11M.
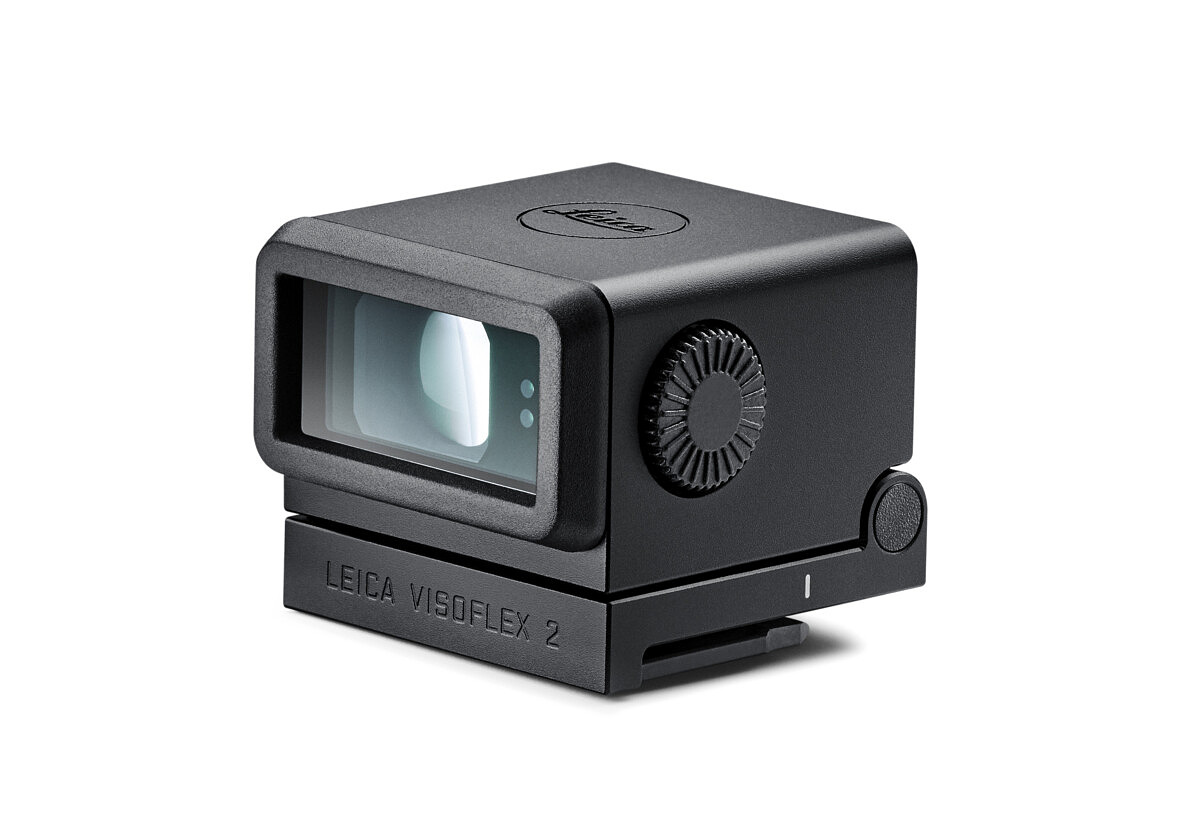
Given camera hardware limitations, the 3.7-megapixel Visoflex 2 displays a slightly smaller image at 2.4 megapixels when mounted on an M10M, the same resolution as the original Visoflex (Typ 020). This results in the same pixel density, but a smaller image overall. Many M10 generation owners have opted to stick with their older EVFs for the larger magnification. For those hoping to use your M10M EVF on the M11M…sorry, that won’t work either. The older Visoflex (Typ 020) is not forwards compatible.
Also, the M11M features a little extra trick for EVF users that M10M shooters won’t get. With such high resolution on the new camera, the focus aid’s 100% view could have been a tad jittery, and possibly nauseating, so Leica includes digital image stabilization when in magnified live view. Just to be clear, this isn’t the same kind of sensor-based IBIS of the SL2 or lens-based OIS in the Q2. The feature only smooths out the live view experience for easier critical focusing but does not offer any advantage for shot stability. Immediately apparent during my testing, I’d love to see this implemented across the entire product range.
Electronic Shutter
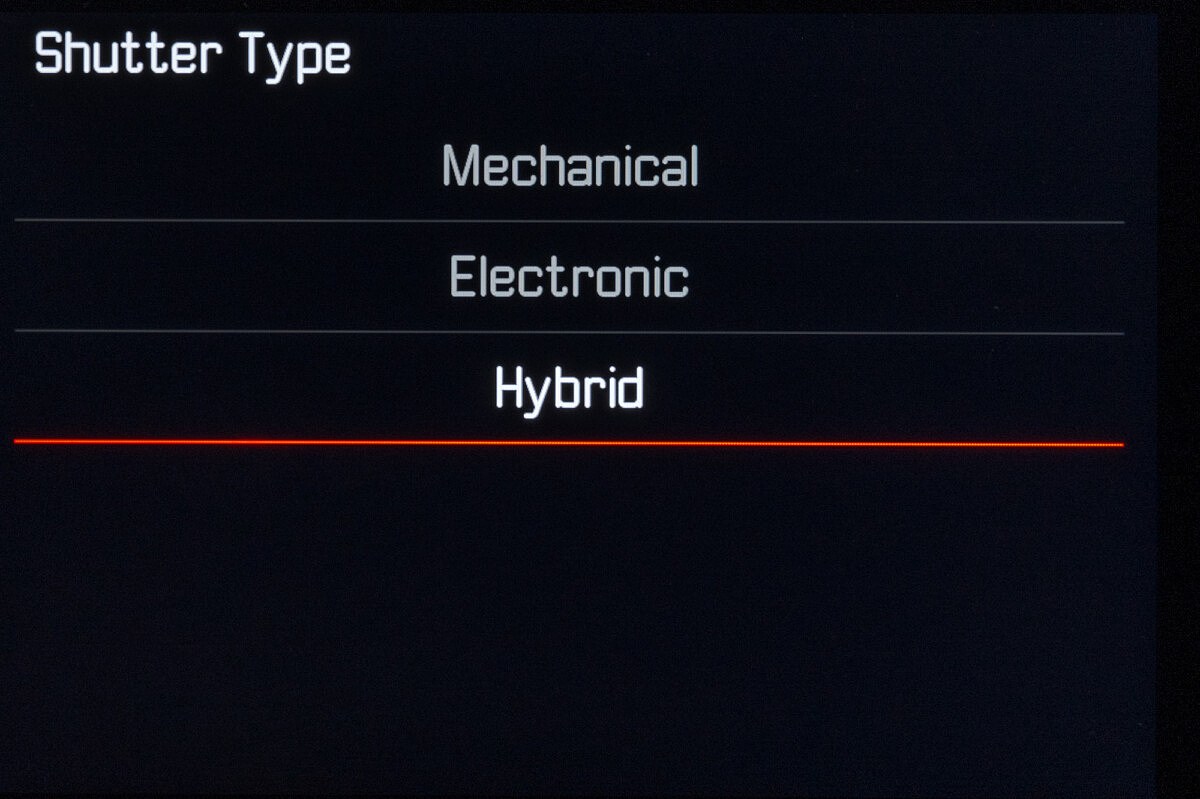
Starting with firmware v2.0 for the SL (Typ 601) in early 2016, all Leica digital cameras since have featured electronic shutter capability…except the M system. The M system gained this extremely useful functionality in the M11 and is carried over to the M11M. Just like the M10 generation, mechanical speeds still top out at 1/4,000th, but in Hybrid or Electronic modes, electronic shutter speeds up to 1/16,000th are now available. In practical terms that means you can shoot an f/0.95 Noctilux wide open in full sun without an ND filter. Or, switch to Electronic only to eliminate all shutter vibration and shoot in complete silence. Sure, the ultra-quiet shutter carried over from the M10-P, M10-R, M10M and M11 is barely audible in most circumstances, but sometimes the situation calls for no noise at all.
Longer shutter speeds
On the other end of the spectrum Leica has lengthened the maximum exposure time to a full 60 minutes. Considerably longer than the M10M’s 16-minute and double the SL2’s 30-minute limit, the hour-long exposures open up previously unobtainable night photography options. Just like on the SL2 and M11, Long Exposure Noise Reduction can be disabled if you don’t want to wait for another hour before being able to take the next shot. But before turning it off for all your pictures, remember that LENR isn’t just there as an inconvenience. By capturing and analyzing an equivalent-length dark frame exposure, image quality on long exposures improves dramatically by subtracting out any hot pixels or thermal noise.
Multifield and Highlight Weighted metering
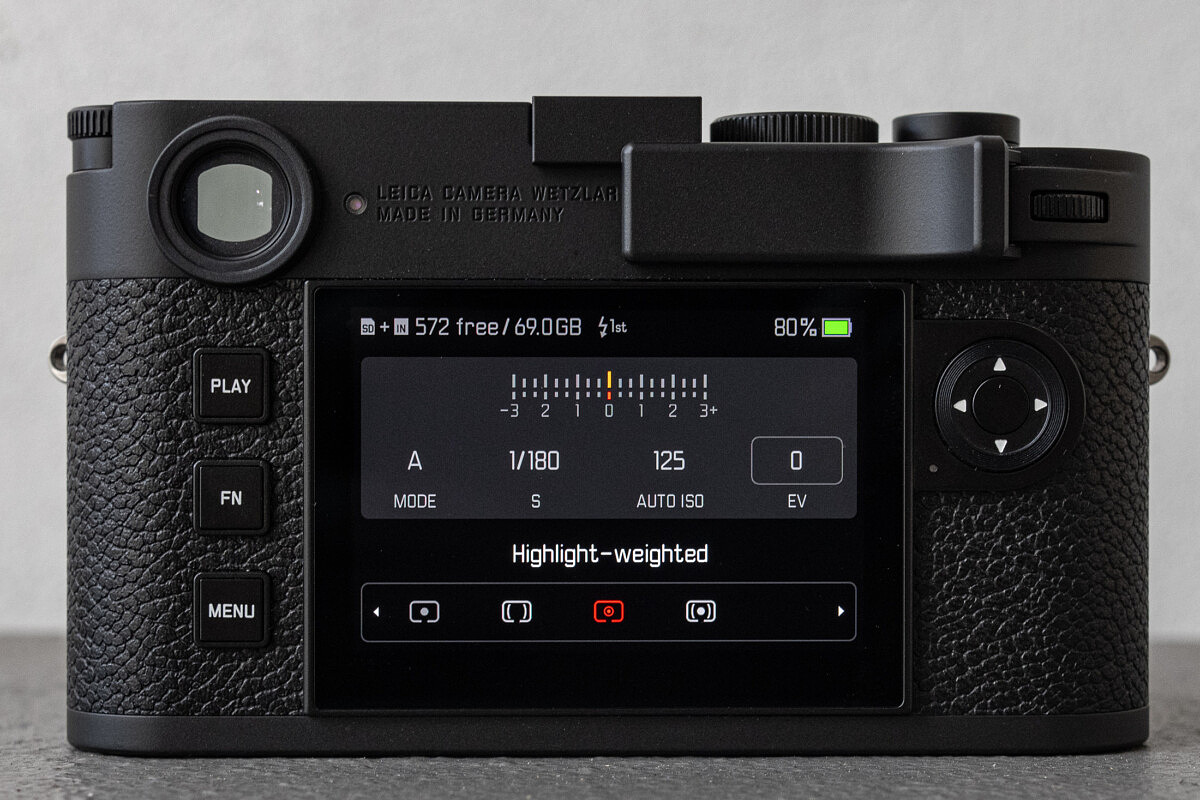
Removing the lens with the camera powered on reveals another subtle change. The sensor is exposed, with the shutter curtain opened. Even when not in Live View, the camera analyzes the scene based on information directly from the sensor rather than a traditional meter measuring light reflected off the shutter blades. In fact, the M11M has no internal light meter. Regardless of metering mode, Center-weighted, Highlight-weighted, Multifield or Spot, the sensor is actively being used to measure luminance of the scene. This makes the exceptional battery life even that much more impressive, and of course, the metering system is now as accurate as that in an advanced mirrorless system like the SL2. As I do with any camera that offers it, I prefer highlight-weighted metering. Protecting highlights is even more critical on the M11M with almost no highlight recoverability but 3-4 stops of reach in the shadows.
Handgrip
Despite my appreciation for the near-perfect ergonomics of the SL2 and its chunky grip, I’ve never been a huge fan of the add-on handgrips for M cameras. I had one for my M7 yet didn’t use it much. I toyed with grips on the M240 generation, then later the M10, but still didn’t really use them. Instead, I much preferred a simple Thumbs Up or Leica Thumb Support. But Leica’s latest M11 hand grip has made me a convert. The grip secures onto the base of the camera with a flip-out, captive screw. Finger-tighten and the connection between camera and grip is rock solid, with no play whatsoever. A rubber cover hinges to grant access to the battery and the SD card slot within. No unscrewing necessary. Likewise, the USB-C port is always accessible. And the grip itself is ergonomic, fitting in the hand wonderfully.
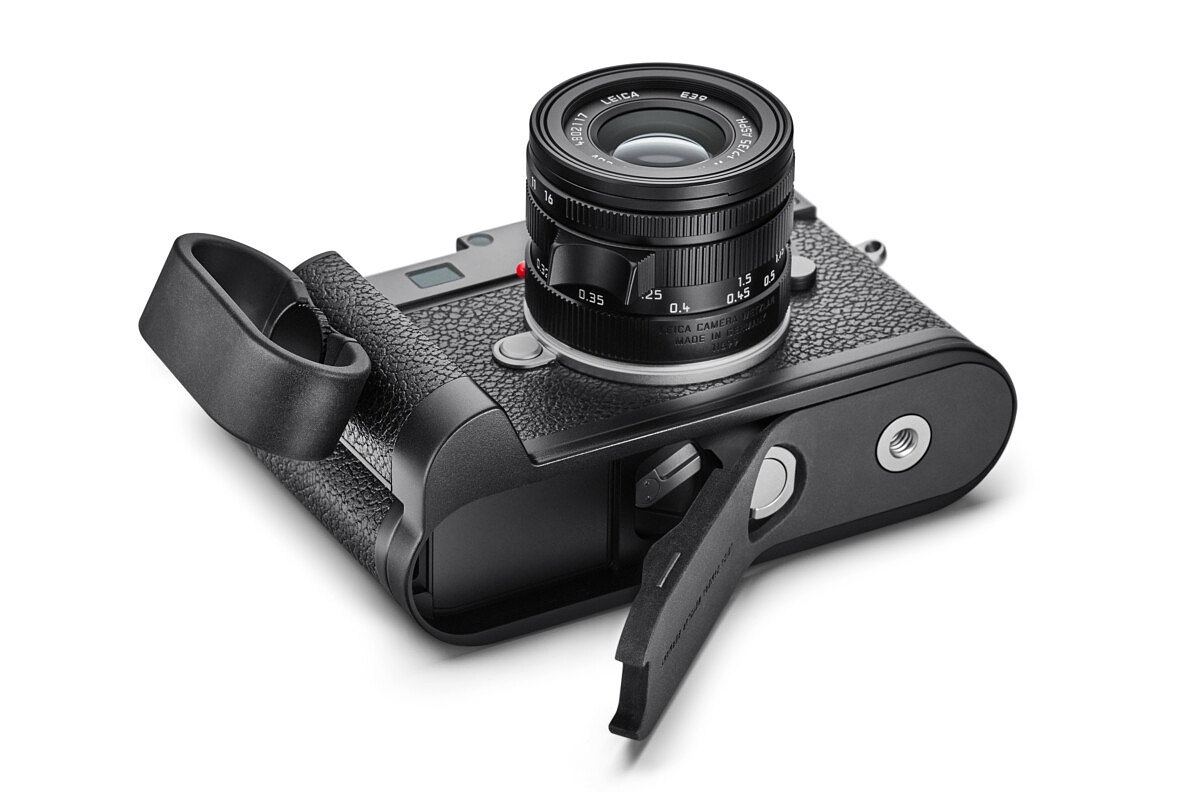
But the biggest win here is for those looking to mount the M11M on a tripod. The front and rear edges combine to form a universal Arca-style quick release plate that extends the full length of the grip. Granted, this design is far from revolutionary, with Really Right Stuff offering such add-on full-length plates with optional handgrip since the days of the M9. But kudos to Leica for seeing the need and implementing a first-party solution, like their rollout of the Thumb Support for the M10 after years of users mounting Match Tech’s Thumbs Ups on their Leica M cameras. If you don’t plan on using the handgrip but also want to use the M11M on a tripod, be prepared for a less-than-ideal placement of the 1/4”-20 socket – with a quick release plate, you won’t be able to access the battery release lever.
Tech from other Leica cameras
In order to improve the M11M on all fronts, Leica pulled from advancements they made on other recent cameras in the roster. They’ve done this with almost every launch in recent years. If technology or a great feature is developed for one product, it’s then made available for all subsequent ones. In taking this product engineering approach, each camera retains its individual personality yet feels immediately familiar with very little learning curve.
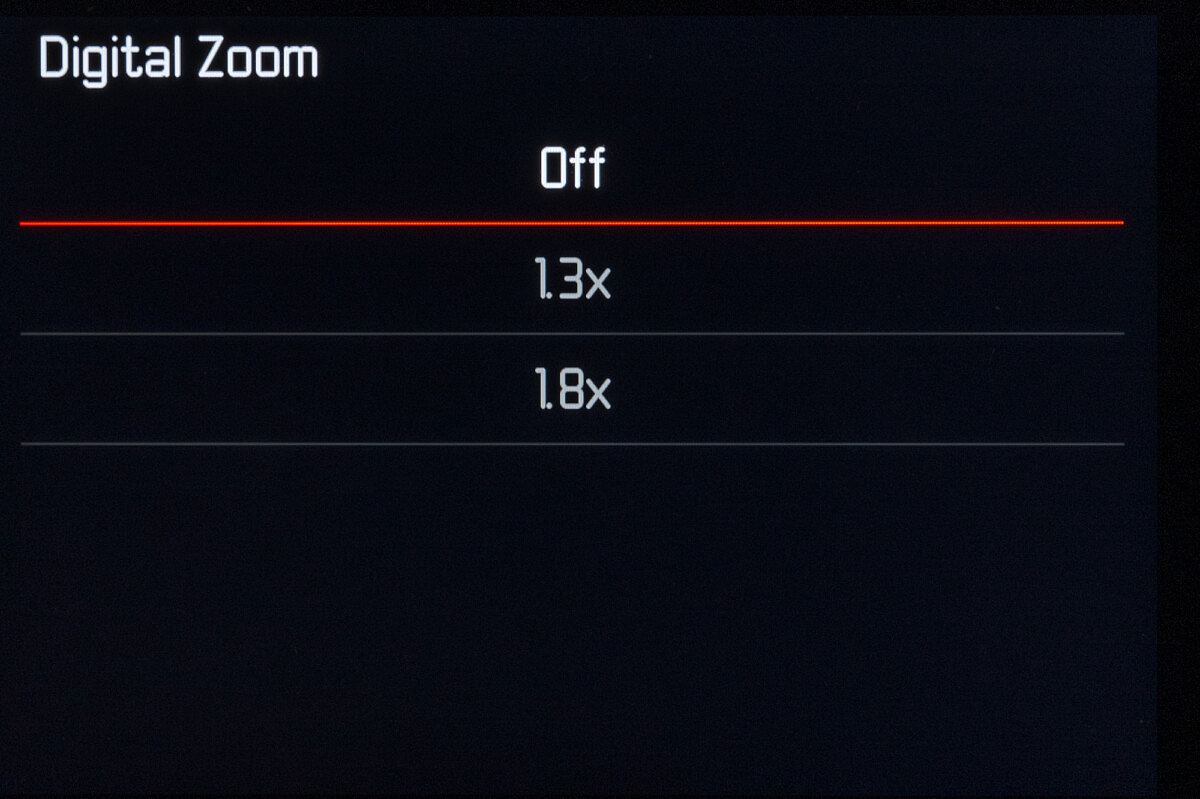
The baseplate design echoes that of the TL2 or SL2 with a battery release lever and the bottom of the battery sitting flush with the camera’s baseplate. Lighter weight aluminum top plate construction first pioneered with the M (Typ 262) is put to good use here. The three buttons flanking the left side of the rear LCD are lifted directly from the Q2 and SL2, as is the handy touchscreen quick menu. The clickable thumbwheel – another takeoff of the SL2, was first used on the groundbreaking S2. And the three assignable function buttons, again featured from the SL2 and Q2, speed up real-world shooting. Digital crop modes of 1.3x and 1.8x work the same as those on the Q2, with overlayed framing boxes to see what’s happening outside the frame. Also on other cameras in the line-up, the electronic shutter is a welcome addition, as is the off-sensor mirrorless metering methodology pioneered on the SL.
Testing in NYC
Leica was nice enough to loan me a camera for a few days so I could put the M11M through its paces. While waiting for the camera to arrive, I ran through possible shooting destinations. And after considering everywhere from Amsterdam to Seattle, I decided on one of my favorite spots – New York City. For a street photography and low light tool like the M11 Monochrom, I figured few places could offer the sheer variety of subject matter of NYC.
Given the clear ISO advantages afforded by the M11M, I swapped out my usual 90mm Elmarit-M for the slower, but more compact 90mm Macro-Elmar-M. The rest of my kit stayed the same, with the wide end covered by the dynamic duo of the 18mm Super-Elmar-M and 24mm Elmar-M and the normal range deftly handled by the top-tier 35mm APO-Summicron-M and 50mm APO-Summicron-M lenses. I would definitely characterize this selection of optics in the high-performance category, not the vintage or ‘look lens’ camp. I did play with the idea of using some retro glass, like the 35mm Summilux v1 Steel Rim, but ultimately decided not to split my focus. For this test, I wanted to exact the highest level of performance from the camera as possible. And that meant razor-sharp lenses. Also along for the ride were the Visoflex 2 EVF, M11 Handgrip and a couple extra batteries.
Since I have photographed in New York so many times, I made a conscious effort to visit new areas in the city that I hadn’t been to or at least spent much time in. After all, how interesting would it be if I just took the same pictures as my M11 review, which I also shot in NYC? If you haven't seen that review, be sure to check it out here.
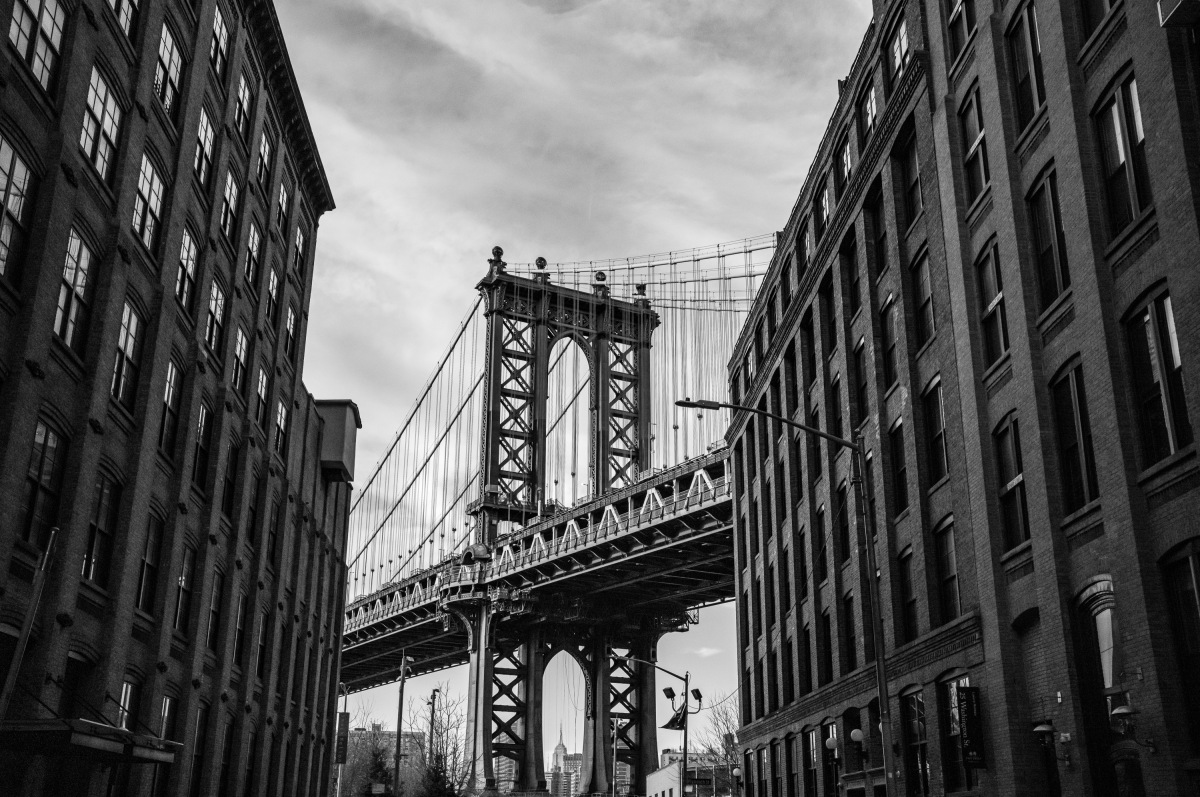
1/1000th @ f/8, ISO 4000
This initiative took me to new spots like Chinatown, Little Italy, Meatpacking District, Chelsea, DUMBO, and the East Village, along with old favorites such as Central Park, Midtown, the West Village and Bryant Park. When I told my aunt, who lives in Manhattan, what neighborhoods I had been to, she exclaimed that I had seen more of the City in three days than she had in thirty years. Got my steps in during this trip, that’s for sure.
A note on images in this review
Fair warning – I've included a lot of pictures in this review, maybe too many. This is partly because I always aim to provide a wide variety of real-world samples over a range of subject matter and lightning conditions. The other factor was that I had a really difficult time narrowing down my selections. Perhaps this a bit of a spoiler, but the M11 Monochrom proved so capable in almost any scenario I put it in that I always came away with decent shots. And that resulted in hundreds of shots that made the first cut from just a few days of shooting.
Be sure to click on images to see a larger view and get a better feel for image quality. The downsized thumbnails don't really do the files justice. I've included technical data for each image, with the lens used and if I used a filter. And if you're interested in my approach file processing, I've covered it below.
First Shots
Aftering checking in to my hotel, I grabbed my kit and hit the streets. The sun had just set and I was anxious to see if the new Monochrom was going to match my expectations for high ISO shooting. I wasn't looking for prizewinners at this point. Just wanted a little warm-up to get used to the camera and get some files for so I could satisfy my curiosity. This would also serve as a baseline test for the remainder of my testing.
Every time Leica ratchets up the maximum ISO on a camera, there is an adjustment period. Not for the camera, mind you, but for the photographer. After shooting with your current setup your years, you base your mental parameters from that learned experience. So, yeah, reflexively I got a bit uneasy when seeing ISO 50,000 show in the viewfinder. I took a few deep breaths and remembered that's why I approach this phase of a testing a new camera with the mindset that the pictures don't matter and it's simply a warm-up round. So, I roamed about midtown in no particular direction.
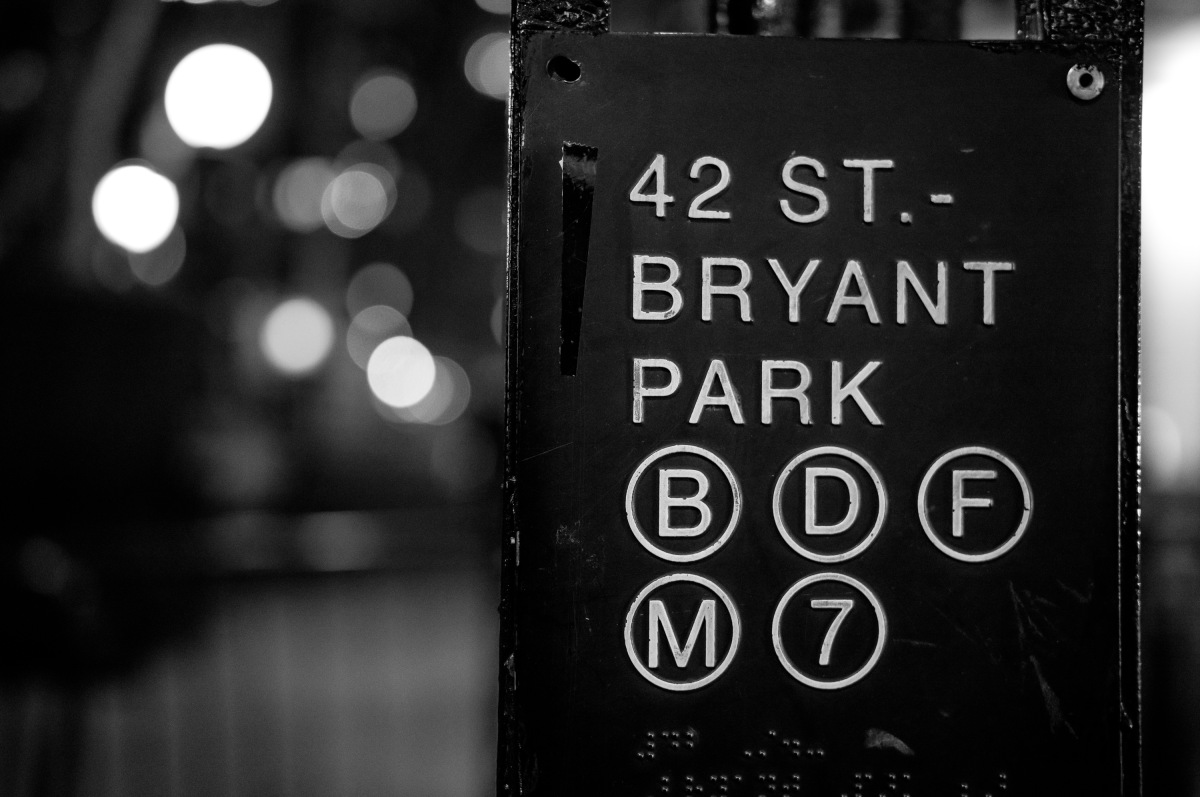
1/320th @ f/2.8, ISO 8000
After a quick review on the laptop back in my hotel, I had mixed feelings. ISO 50,000 wasn't quite the panacea I was hoping for. I dived into Lightroom and started playing with the files. If I added too much clarity, a bit of extra shadow recovery, a tad too much sharpening, the shadows got too messy for standard noise reduction. I'm not saying the results weren't good. I was just hoping for more. Granted I was just getting the hang of the files and ultimately, dialing back the processing did make for some extremely usable images.
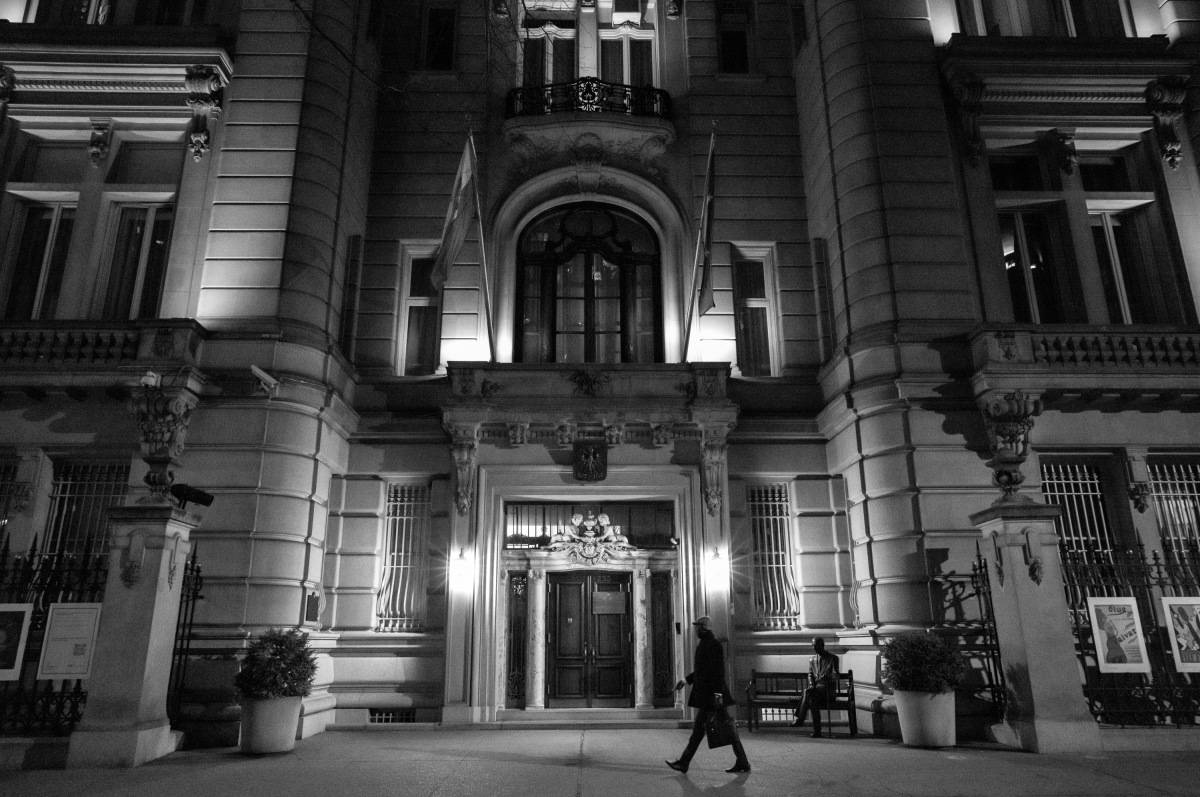
1/100th @ f/5.6, ISO 50,000
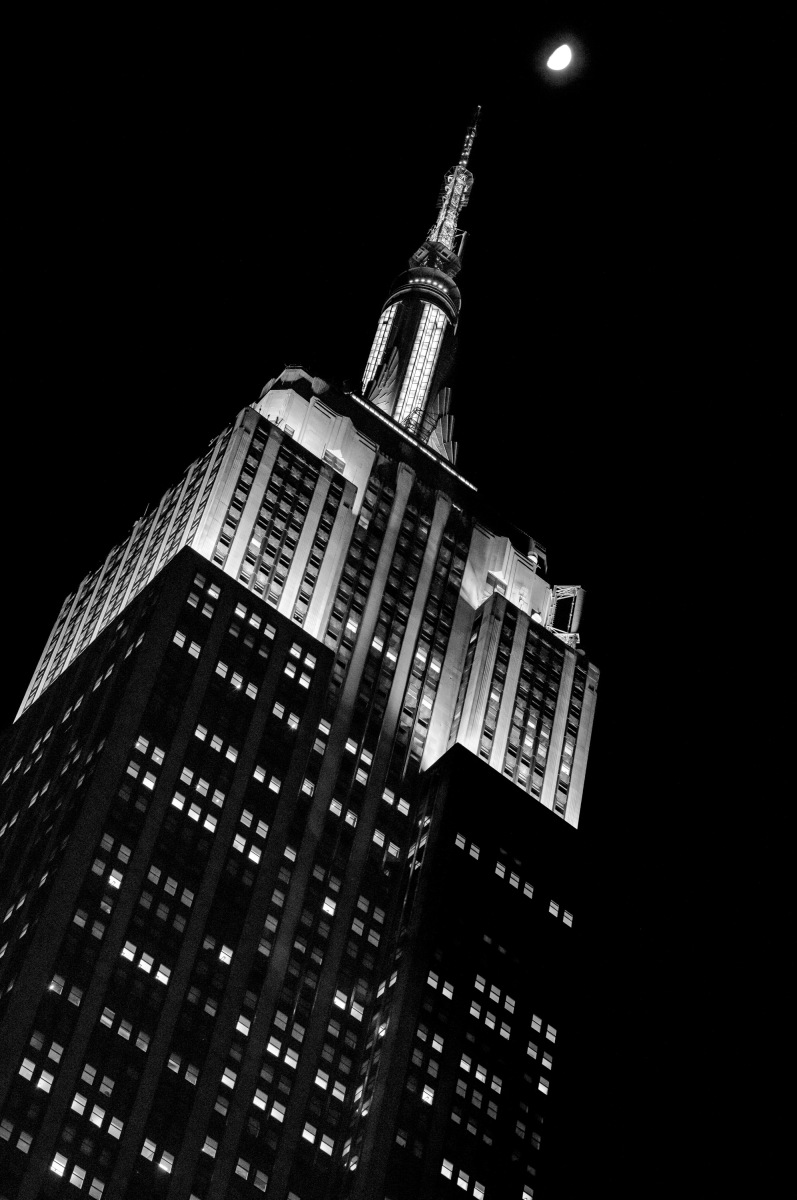
Below ISO 50,000 impressed though. I could immediately see improvement from the already capable M10 Monochrom, especially in malleability. Underexposing in camera and pushing exposure in Lightroom to protect highlights worked shockingly well. This shot of the Empire State Building looks pretty good for ISO 10,000, but when you realize that I boosted exposure four stops in LR, it looks fantastic. That's an equivalent ISO of 160,000! Now, I'm not totally sure why post-exposure gain like this would yield cleaner results than native high ISO. This is something I plan to explore when I can test in a controlled setting.
Based on this initial “warm-up” test and my early post processing efforts, I decided to limit my maximum ISO to 50,000 for my “real” photographs, saving 100,000 and 200,000 for controlled studio tests (stay tuned for those). I also took the underexposure findings to heart, routinely running between -1 and -3 EV for most of the later shots. Here's another shot, pushed three stops.
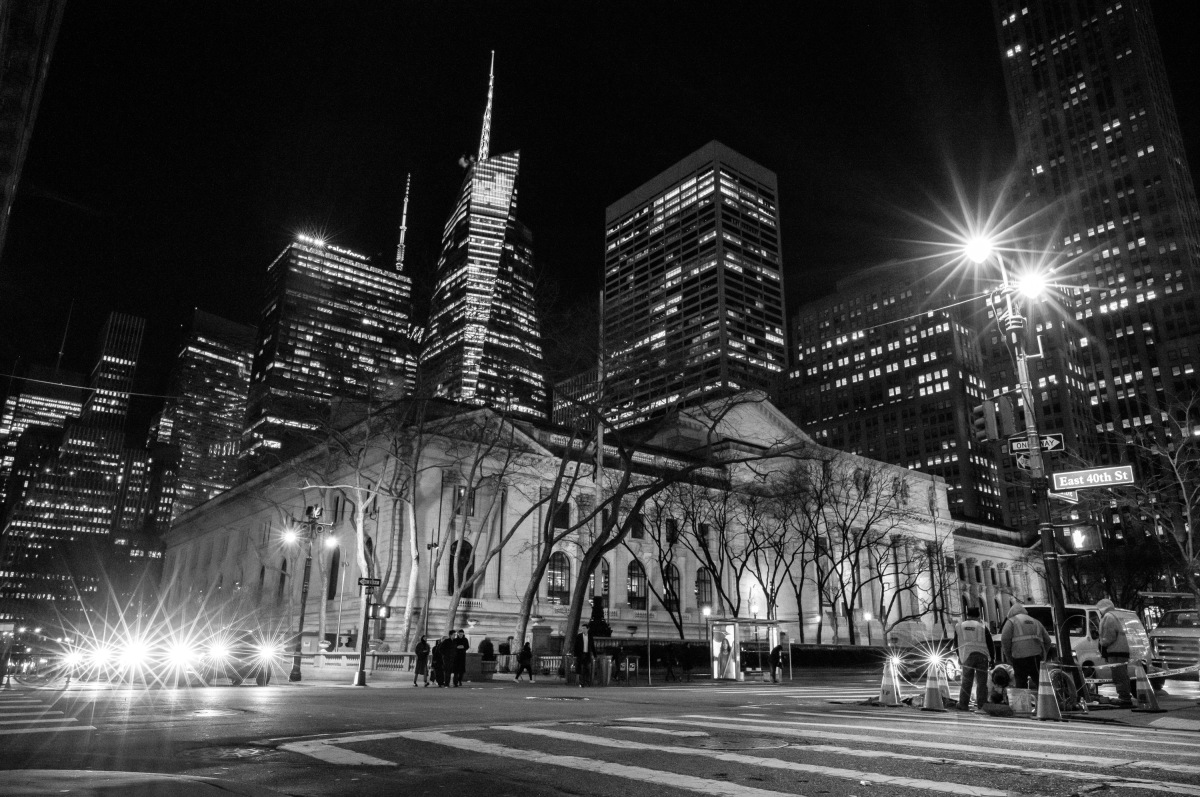
1/100th @ f/8, ISO 6400 | Pushed 3 stops in LR
A stroll through Central Park with Nathan
The next day was gloomy and overcast. A perfect opportunity to test in flat light. I was meeting up with Nathan Kellum, Product Communication Specialist at Leica USA. He was in town meeting with press and product reviewers in preparation for the M11M launch. Nathan is an accomplished photographer himself, generating many of the official proof of performance images you may have seen on recent camera introductions. Amazingly though, we never had a chance to go shooting together. Luckily, our schedules aligned and we connected outside the Metropolitan Museum of Art, where I immediately got distracted by the excellent street photography opportunities and sidewalk pigeons.
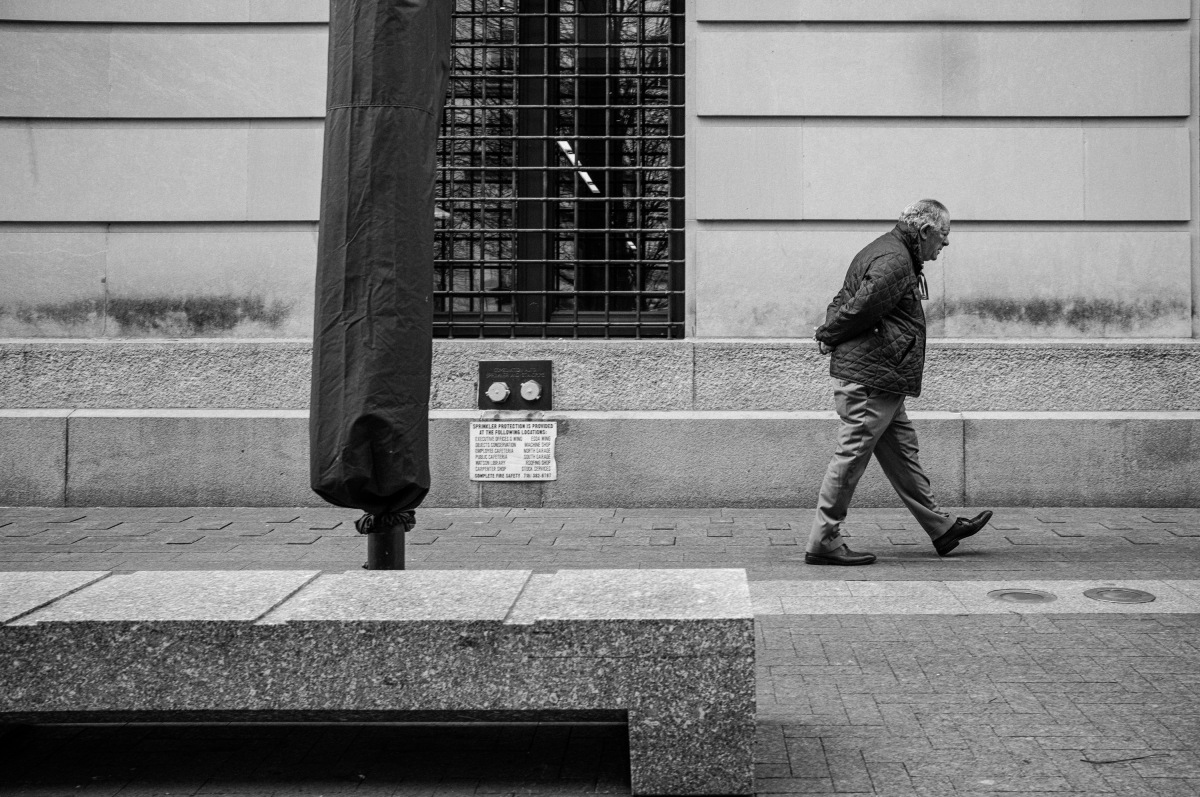
1/320th @ f/8, ISO 500
Channeling my inner Matt Stuart, I did my best to get something worthwhile. Nathan spotted me and joined in. That's the great thing about walking around with other photographers – they don't consider it strange or rude when you suddenly stop mid-conversation and start taking pictures of seemingly random things.
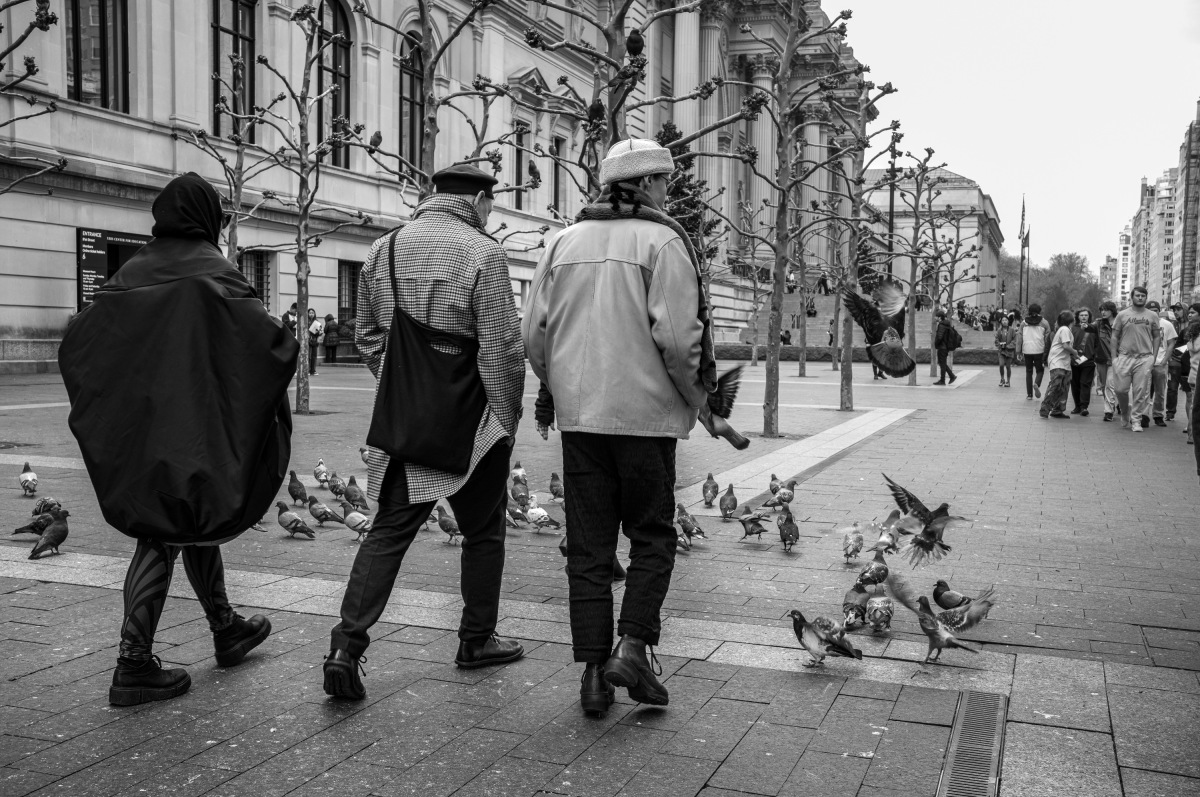
1/320th @ f/8, ISO 800
From the Met, we began our leisurely stroll through Central Park. While the seasons are sometimes obscured in the urban jungle of skyscrapers and brownstones, the Park is the great revealer. Winter, with its brisk air and leafless branches reaching to the sky, was starting to give way to Spring's budding blossoms and warmer days ahead. The flat lighting persisted as we continued to explore. Of course, this leads to much more subdued tones, light gray skies and softer shadows. Certainly not my favorite conditions, but I do think the M11M handled the cloudy day well.
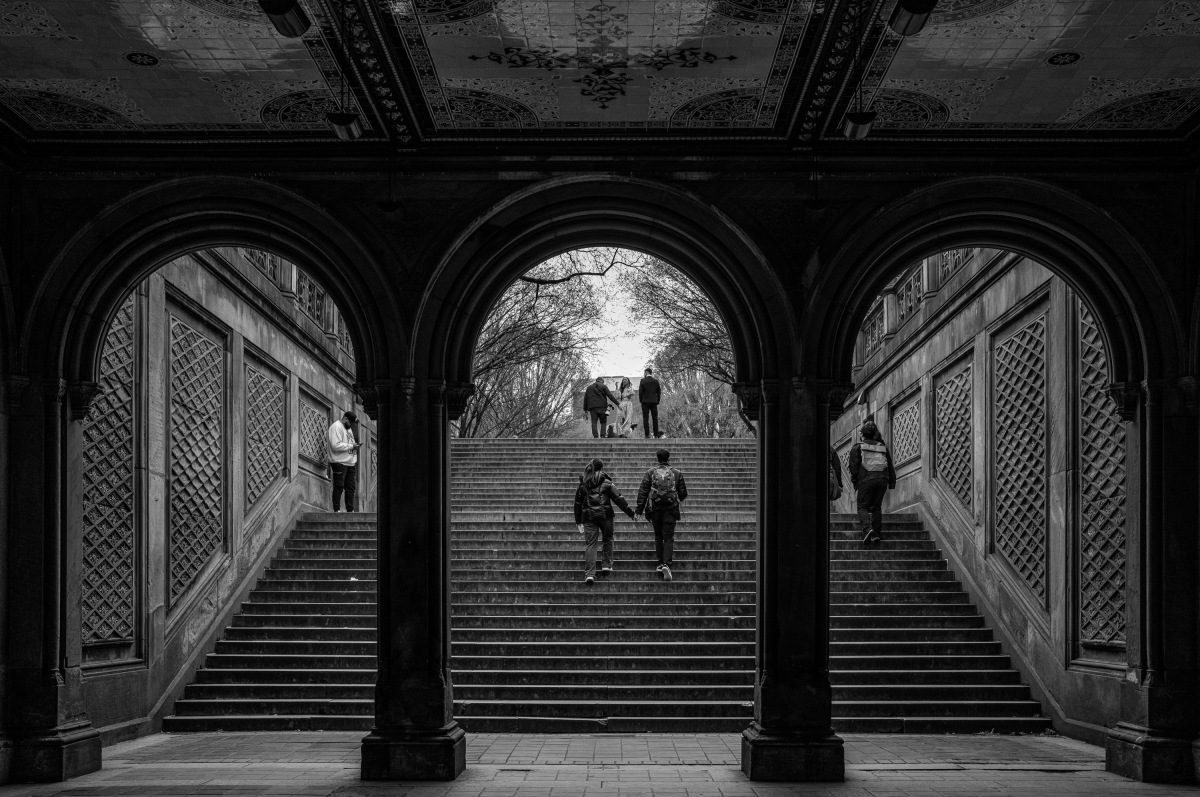
1/1000th @ f/5.6, ISO 800
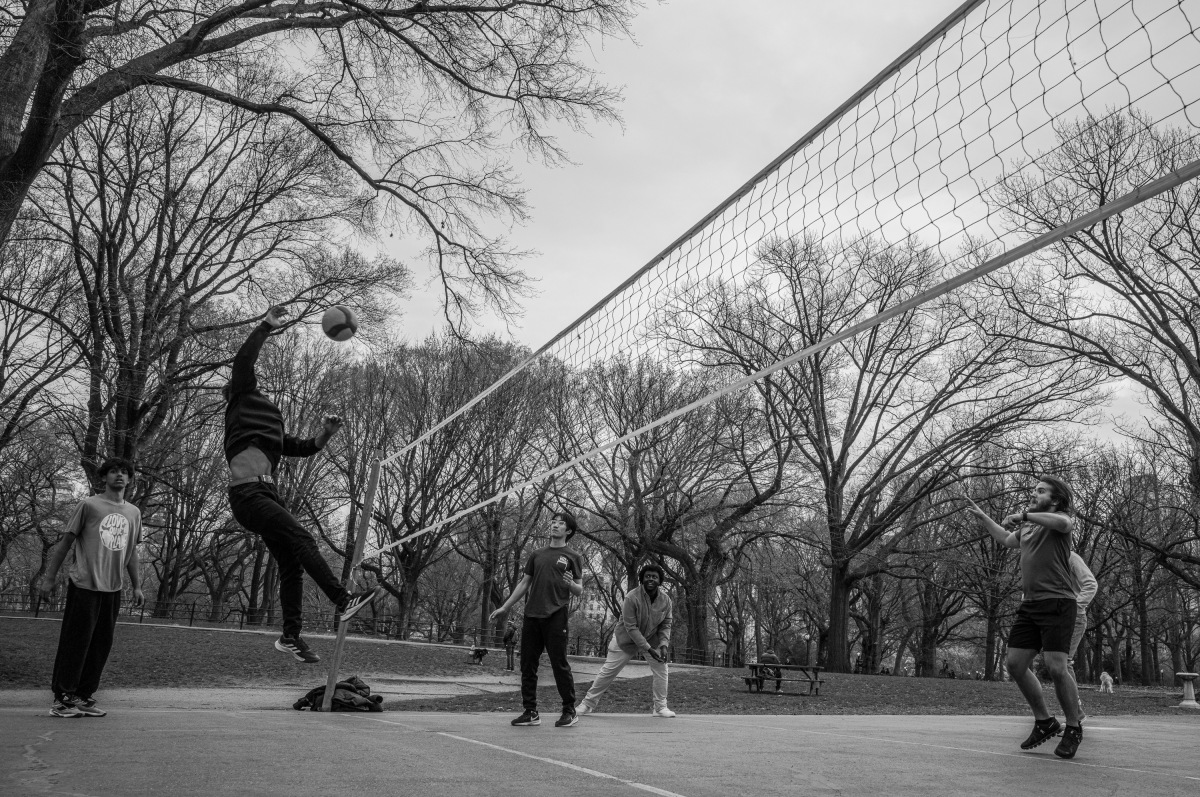
1/1000th @ f/5.6, ISO 250
In the case of macro and flower photography, flat light is actually preferable, and allowed me to break out the 90mm Macro for the first time. Focusing and lining up the composition, even wide open at minimum distance, proved hassle-free with the electronically-stabilized live view image in the Visoflex 2. This is where the generational improvements of the M11 really come to the fore.
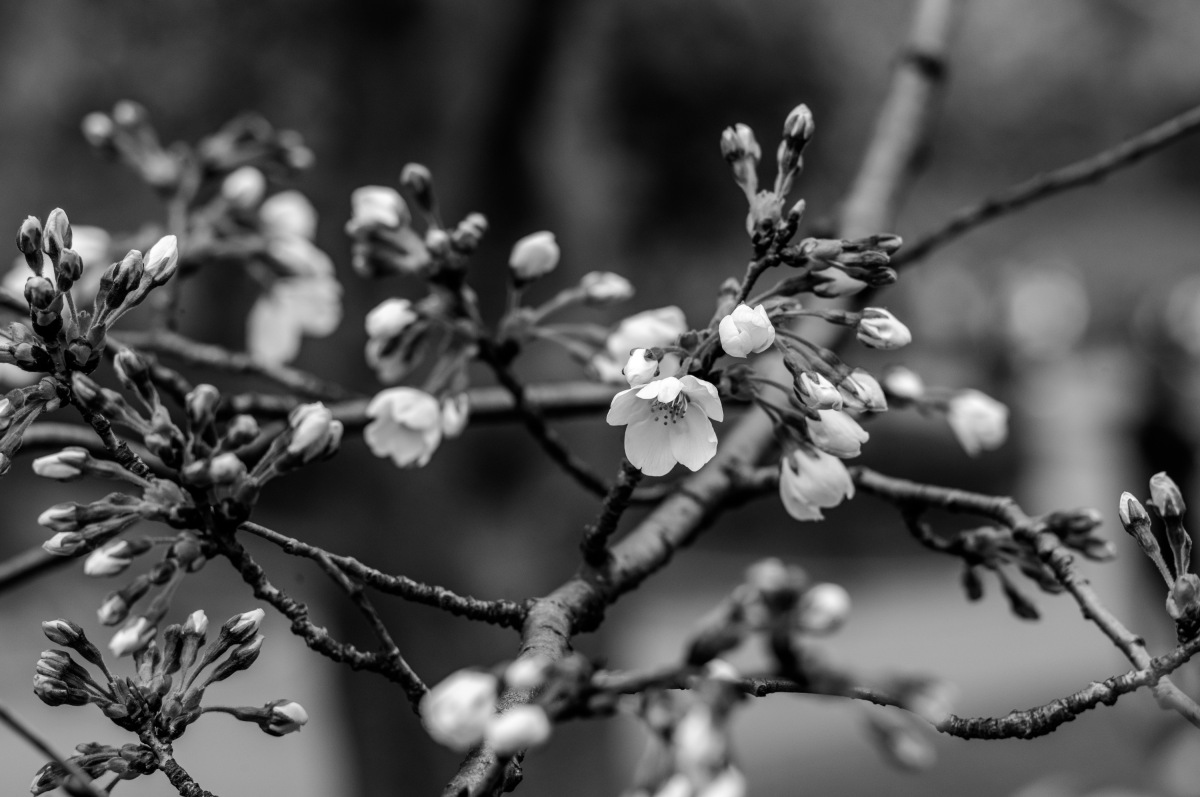
1/100th @ f/4, ISO 2000
Another interesting takeaway for overcast shooting is that exposure metering can be somewhat counterintuitive. You might assume that harsher, more direct light would pose a greater risk of highlight clipping. But with such bright overcast conditions, the entire sky is often on the edge of overexposure. On a sunny, cloudless day, the blue tones in the sky lead to much richer, darker tonal values, while the subject generally has more illumination. An orange or red filter will, of course, amplify the effect even further. So, while it might seem backwards, you might find that some additional negative EV compensation will be necessary without direct sunshine.
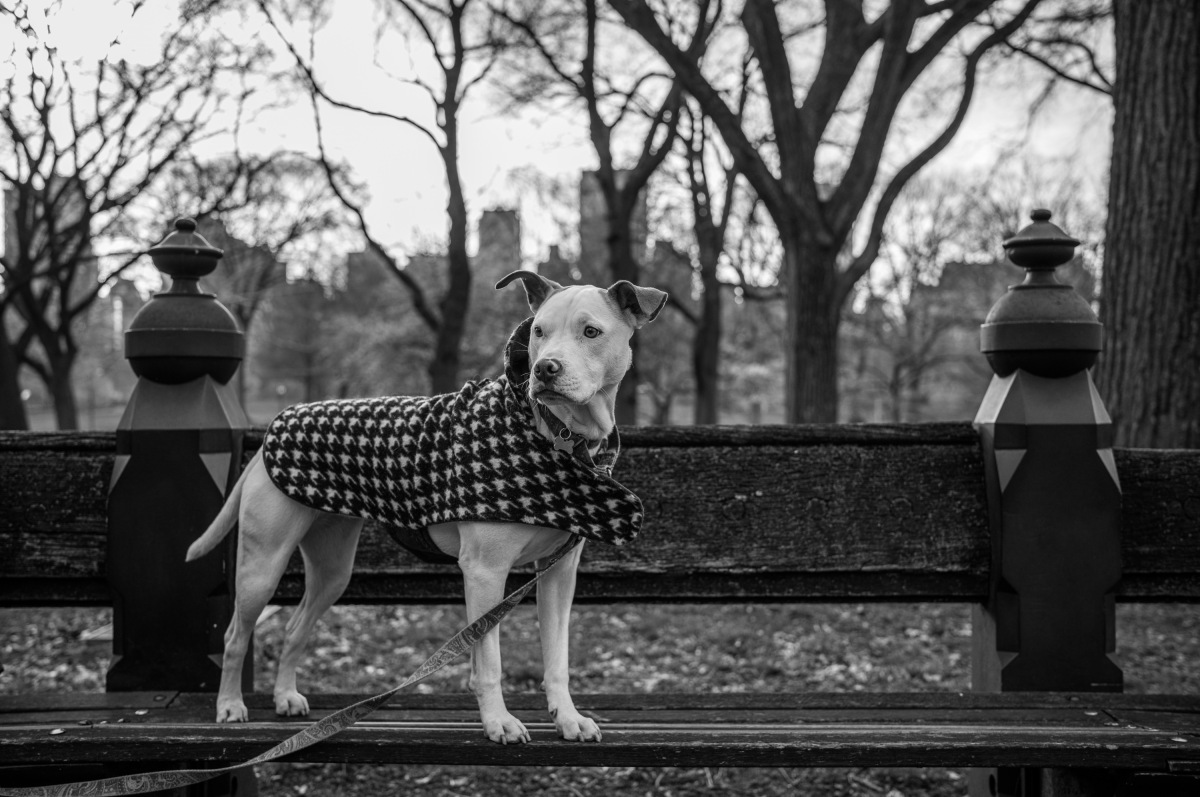
1/1000th @ f/4, ISO 160

1/1000th @ f/5.6, ISO 2500
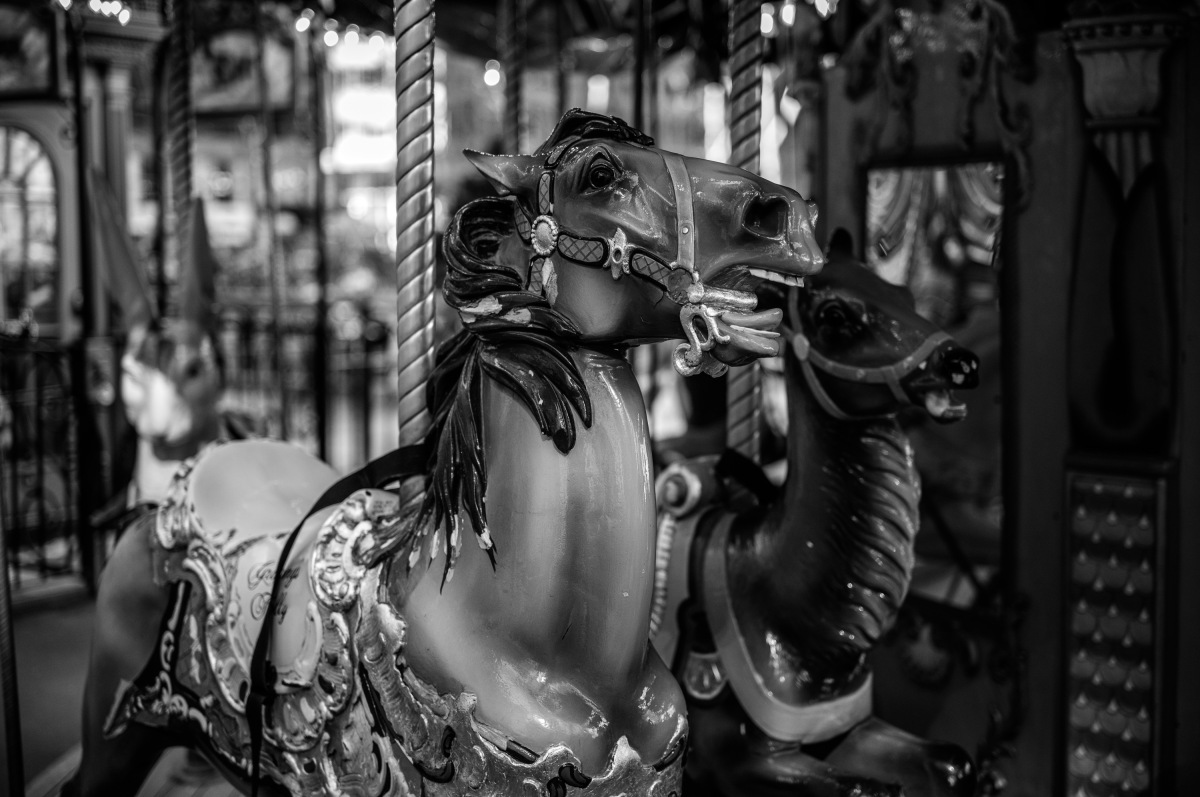
Light was finally just starting to break through the cloud cover when we approached the carousel. But it wasn't a summer day, bustling with children just yet. One lone little girl had the entire ride to herself, and she didn't seem to mind one bit. And with the sun, came the contrast and reflections I so missed. A welcome change for sure.
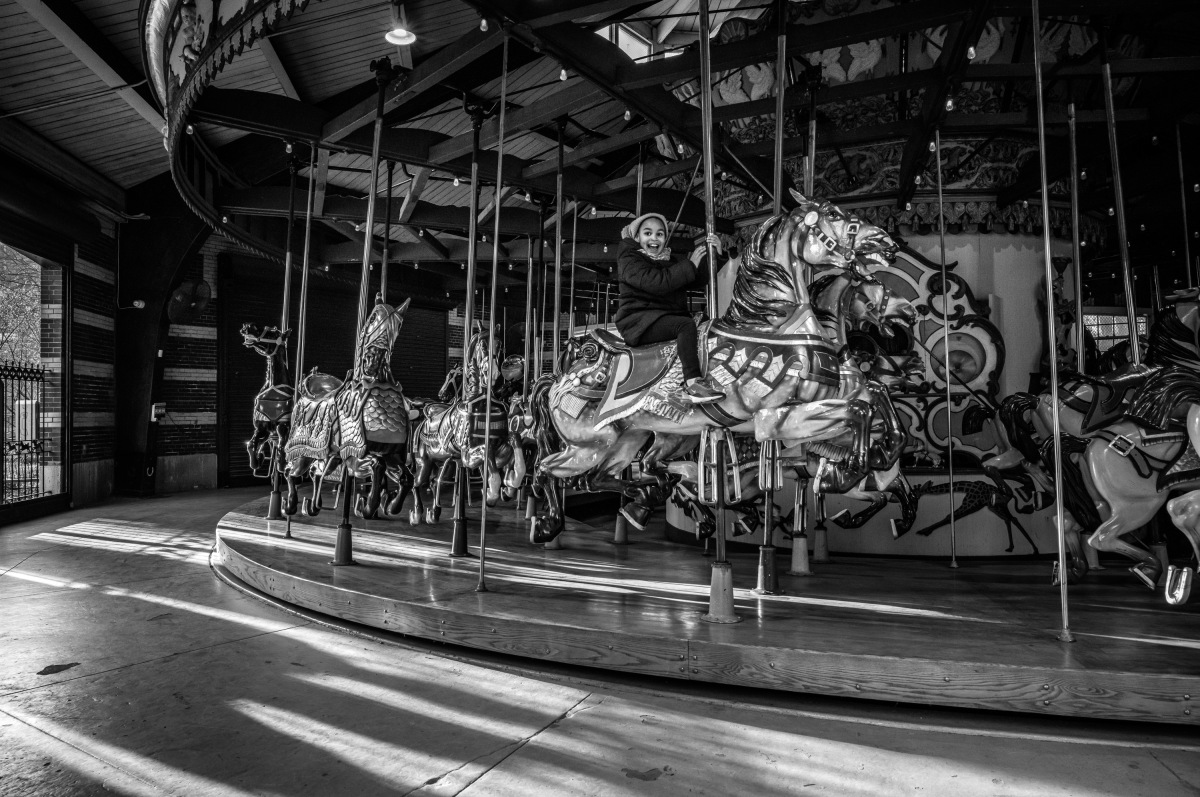
1/320th @ f/8, ISO 2500

1/1000th @ f/4, ISO 1000
After our stroll through the Park, we headed downtown for a gallery show, then out for a bite. After a lovely chat running the gamut from classic movies to Japanese kitchen knives over some brick oven pizzas, we parted ways. Nathan had an early morning ahead, and I had some night photography to get to. I stayed downtown, snaking my way through the East Village.
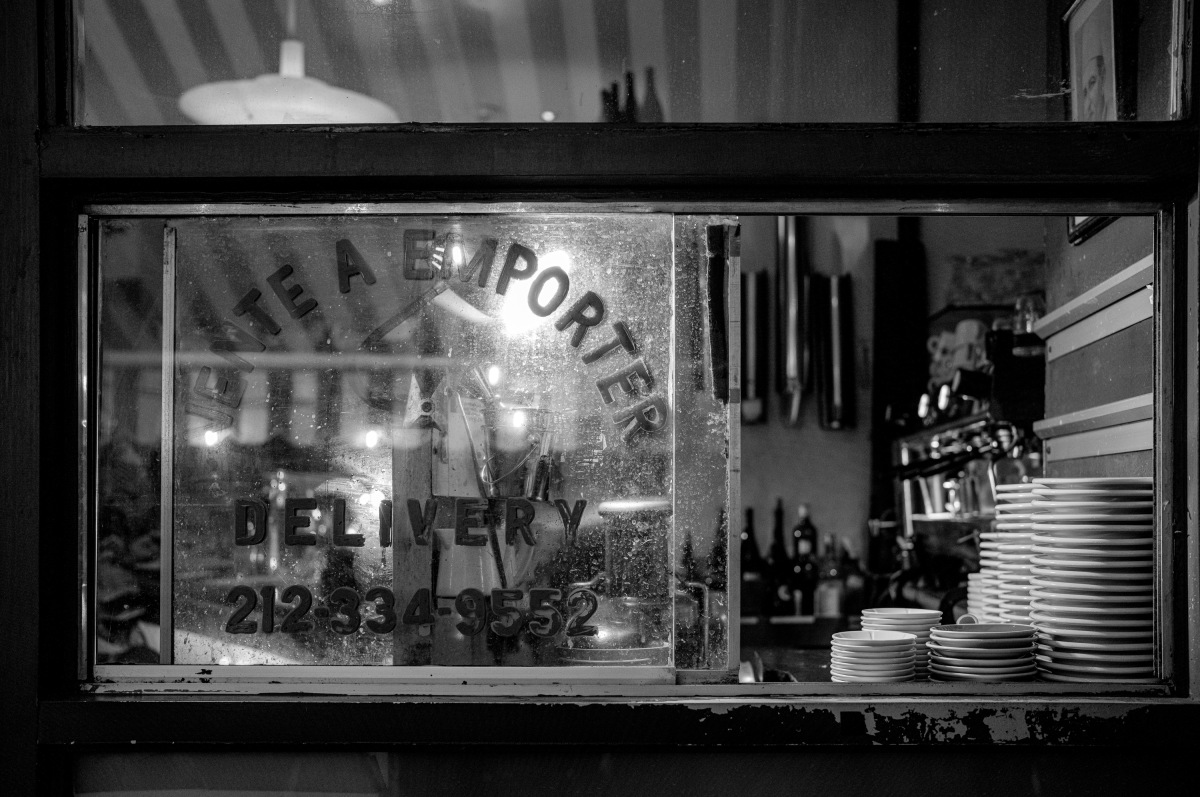
1/125th @ f/4, ISO 2000
Night shooting in the East Village
Armed with a little more insight into the M11M nighttime performance, I adjusted my approach slightly. I kept my ISO settings down a bit but didn't shy away from drastic underexposures to protect highlights. And the results were great. From this shot at ISO 16,000 to next at ISO 200, but pushed four stops, the M11M blew me away with how deftly it handles high contrast night shooting. Sure, I was out looking for decent pictures, but this particular mini-session was an exercise in mastering highlight control.
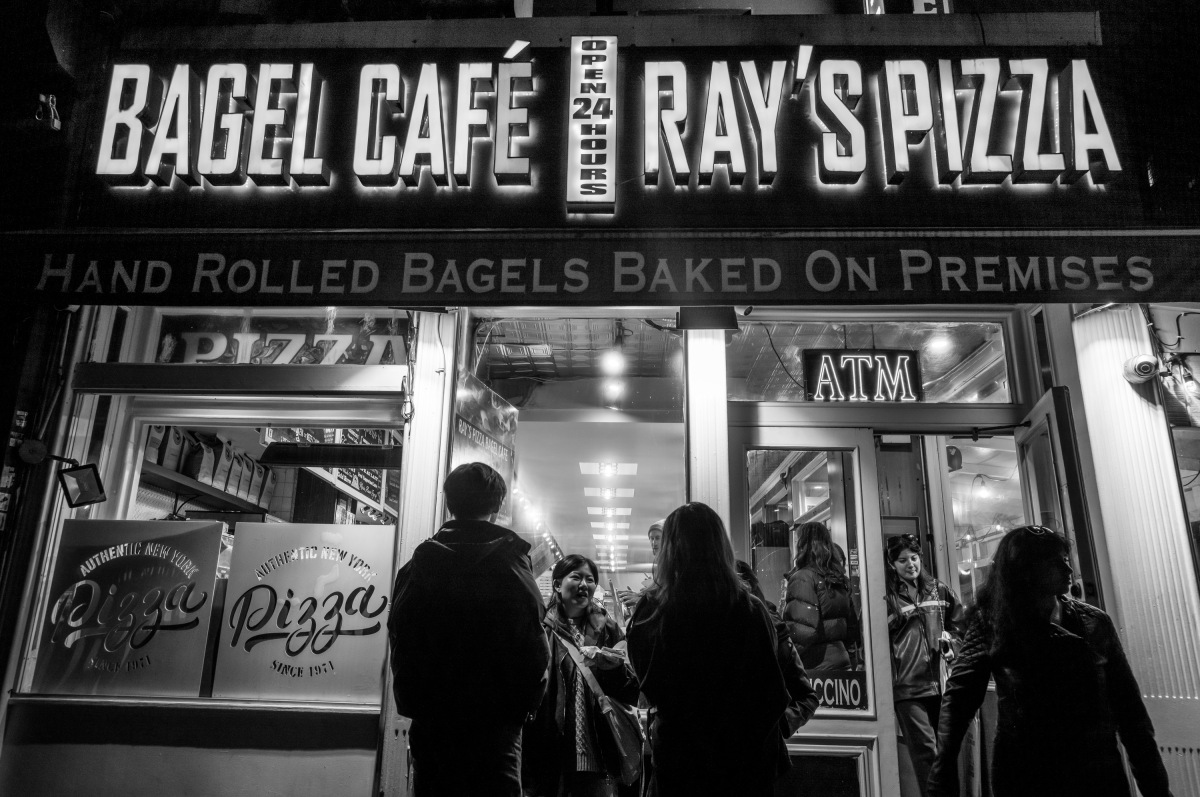
1/125th @ f/5.6, ISO 200 | Pushed 4 stops in LR
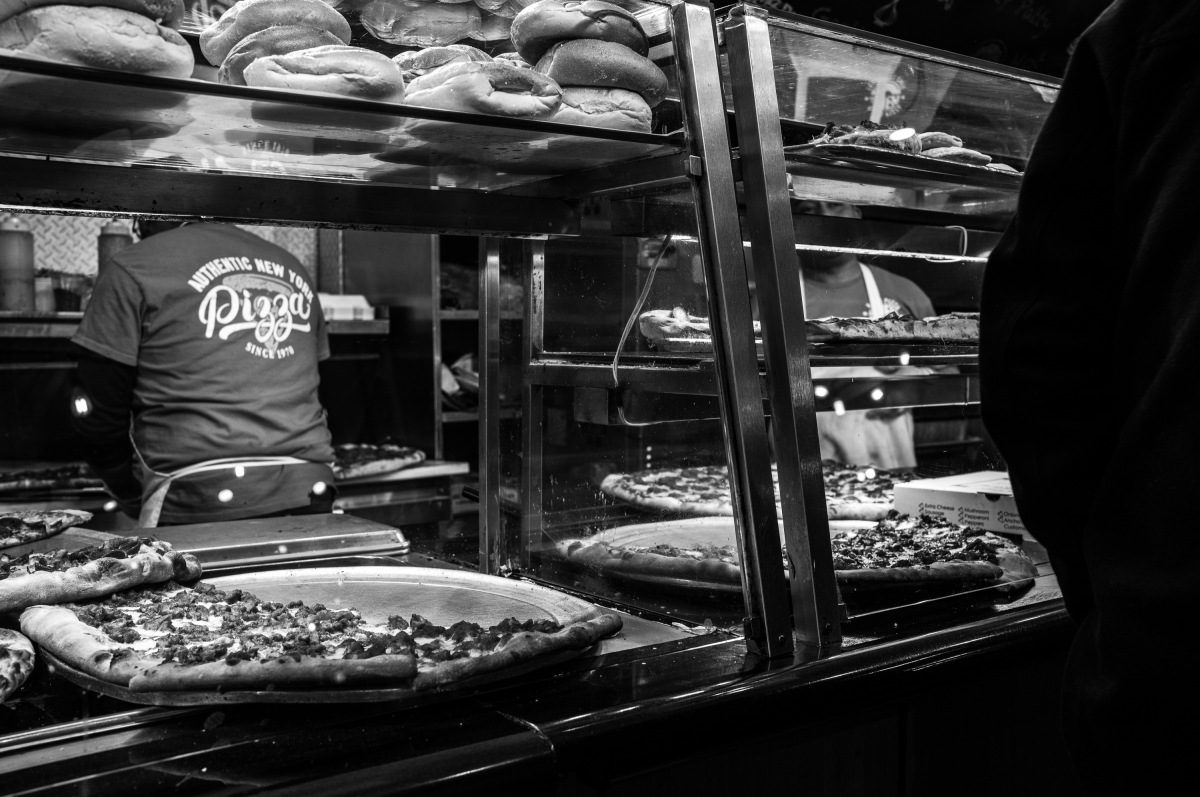
1/125th @ f/5.6, ISO 320
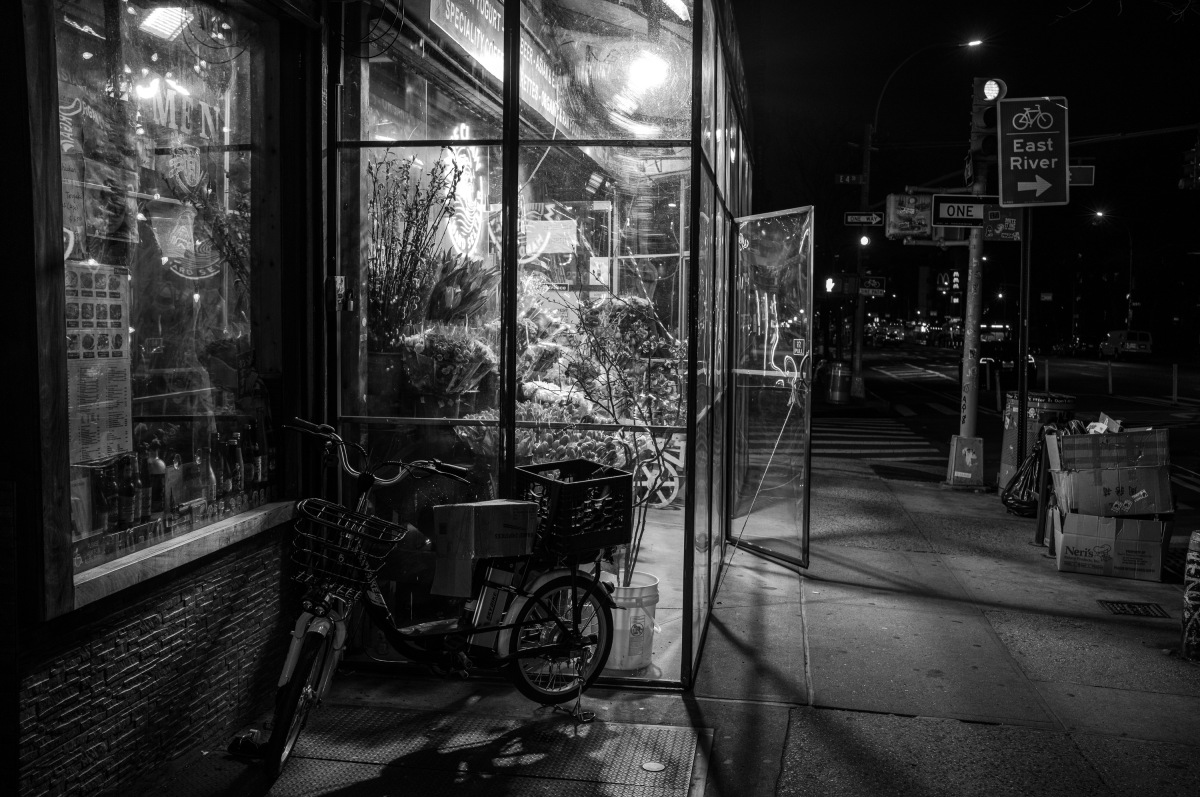
1/125th @ f/5.6, ISO 500
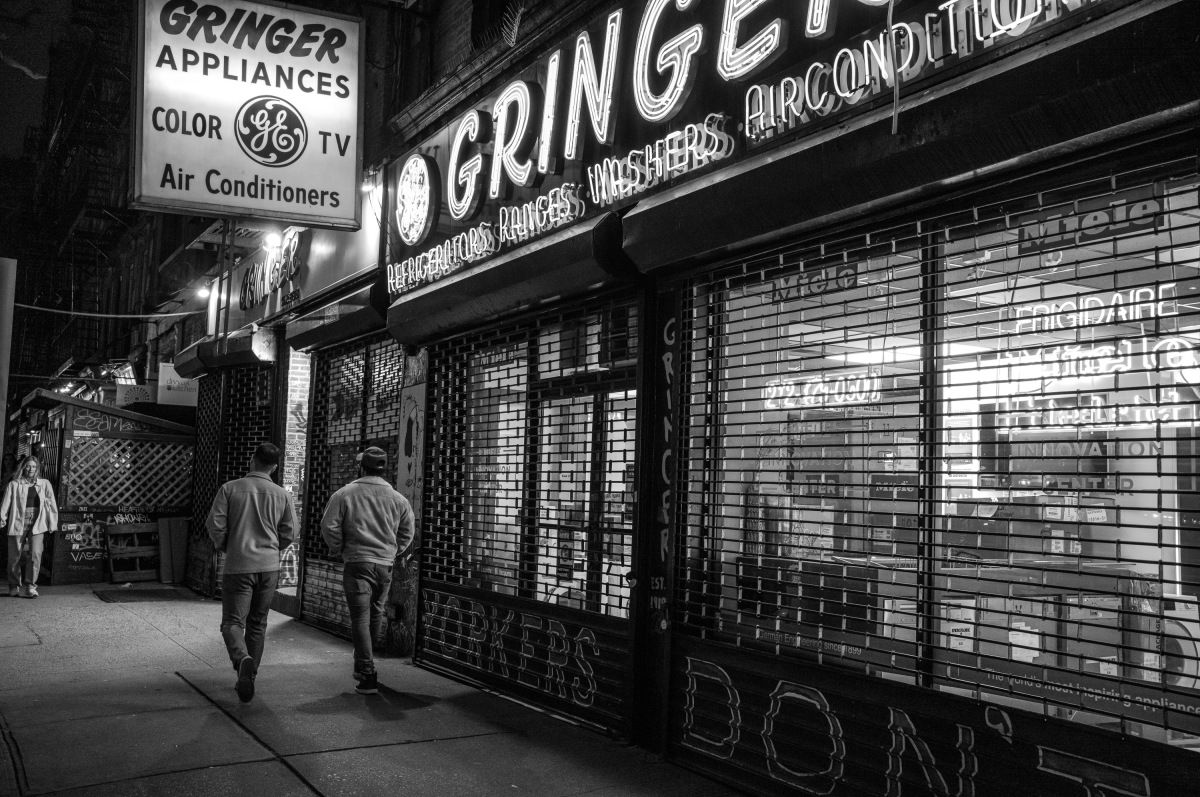
1/125th @ f/8, ISO 3200
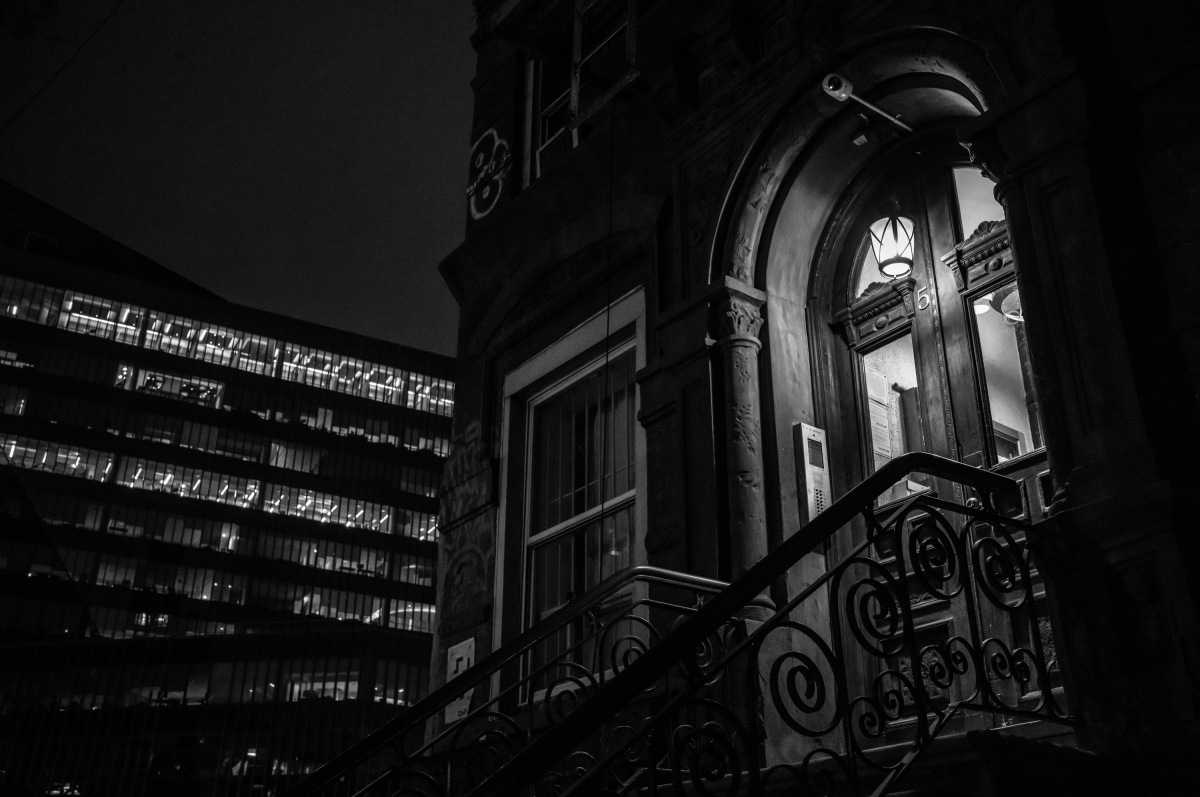
1/125th @ f/8, ISO 5000
A sunny day in Bryant Park
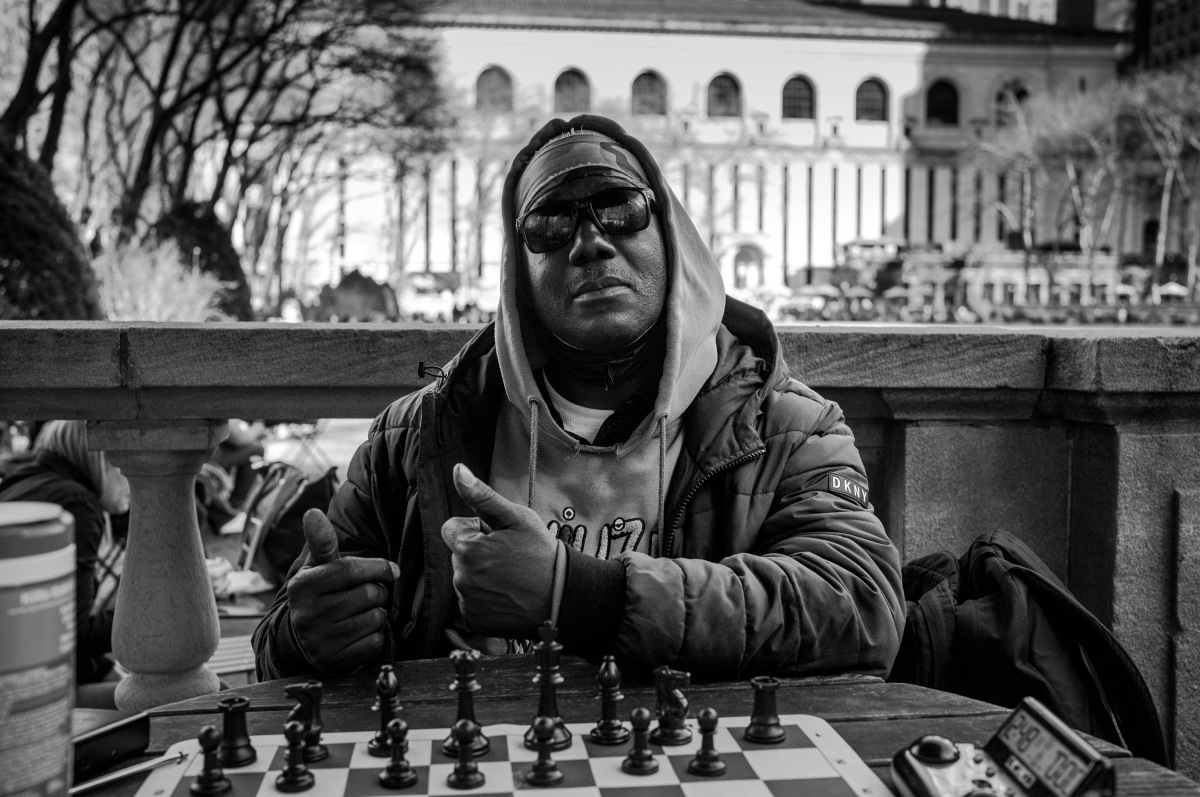
The next day started again at Bryant Park, where the sunshine and unseasonably warm weather drew some crowds. I took full advantage of the clear blue skies and broke out the red filter, for those inky black skies and eye-popping contrast. Some early-morning showers even provided for some nice reflections. Between the great light and some red filter magic, I love how this set just pops off the screen, while still holding tons of detail.
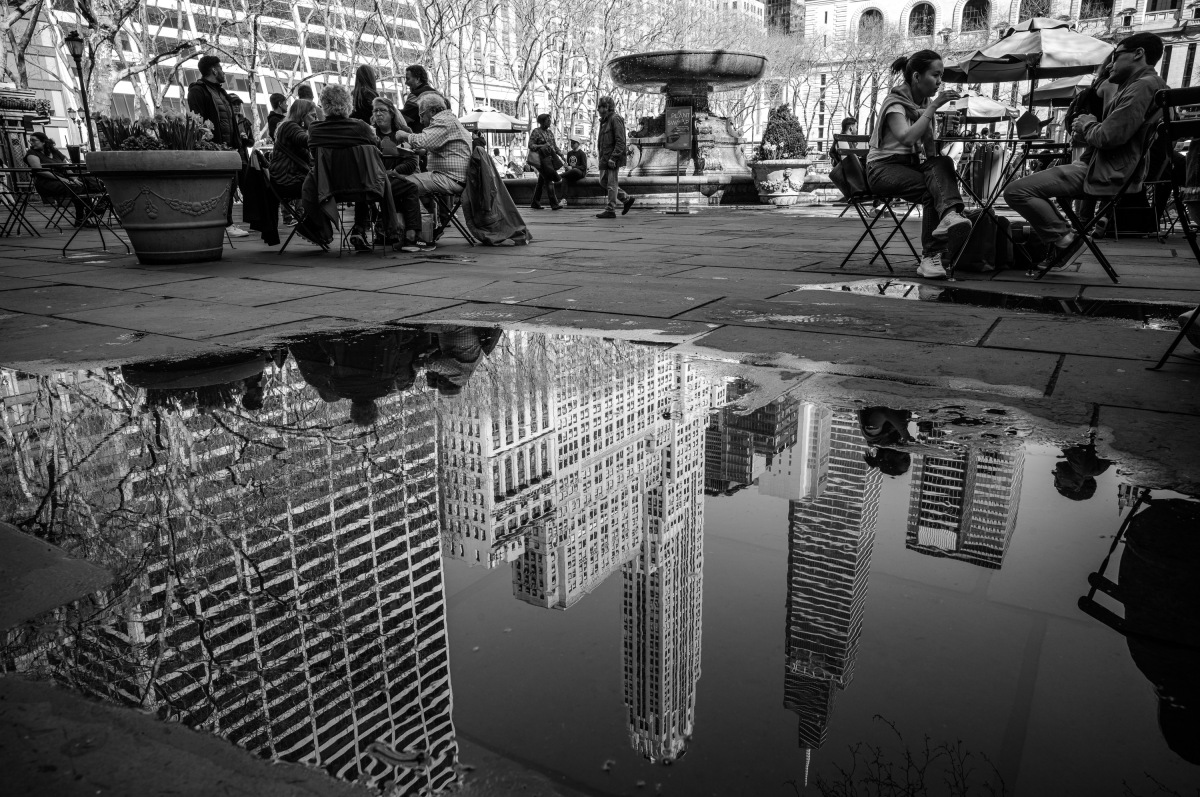
1/320th @ f/8, ISO 250
1/320th @ f/5.6, ISO 320
1/320th @ f/2.8, ISO 1000
Chinatown
Looking for a change of scenery, I hopped on the D Express train. Just a few quick stops later and I felt transported. New York City's sprawling Chinatown is a world unto itself. With fantastic afternoon light and plentiful subject matter, I began exploring a part of the City that I hadn't previously photographed. From street scenes to Peking ducks hanging in greasy windows, there was no shortage of photo opportunities.
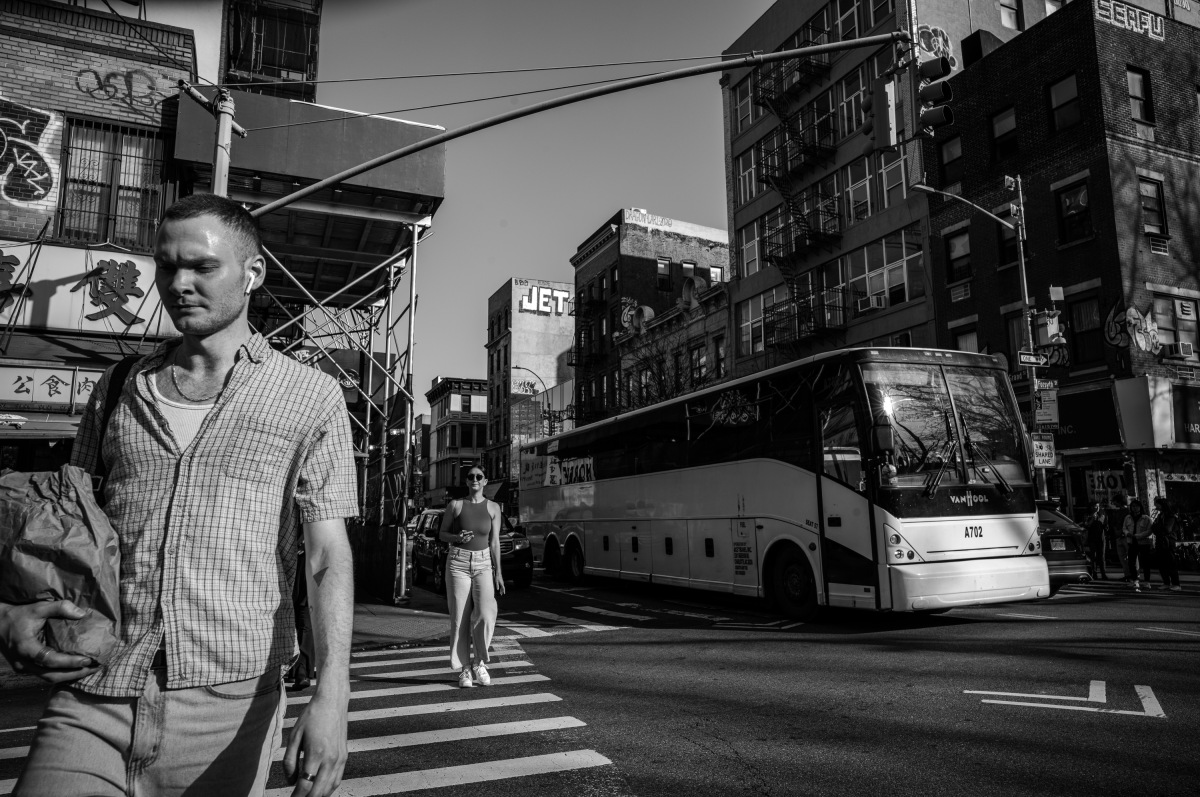
1/750th @ f/5.6, ISO 125
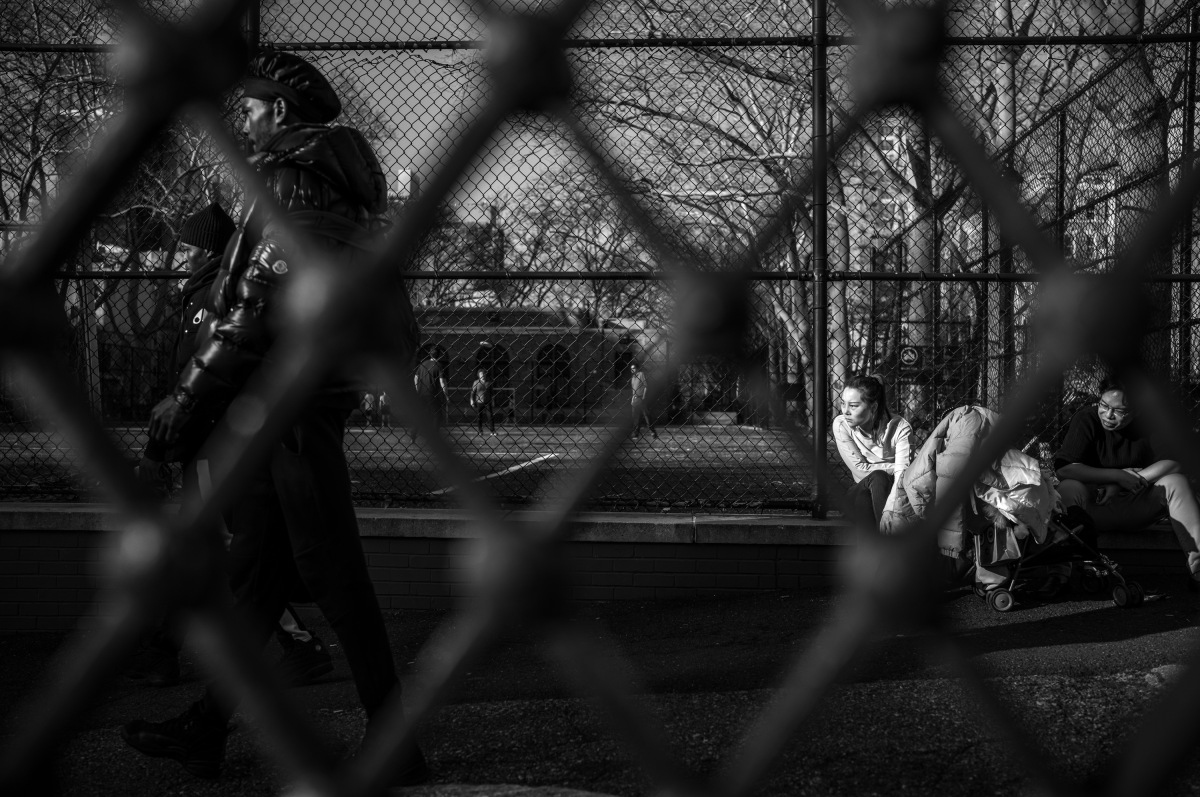
1/2000th @ f/2.8, ISO 640
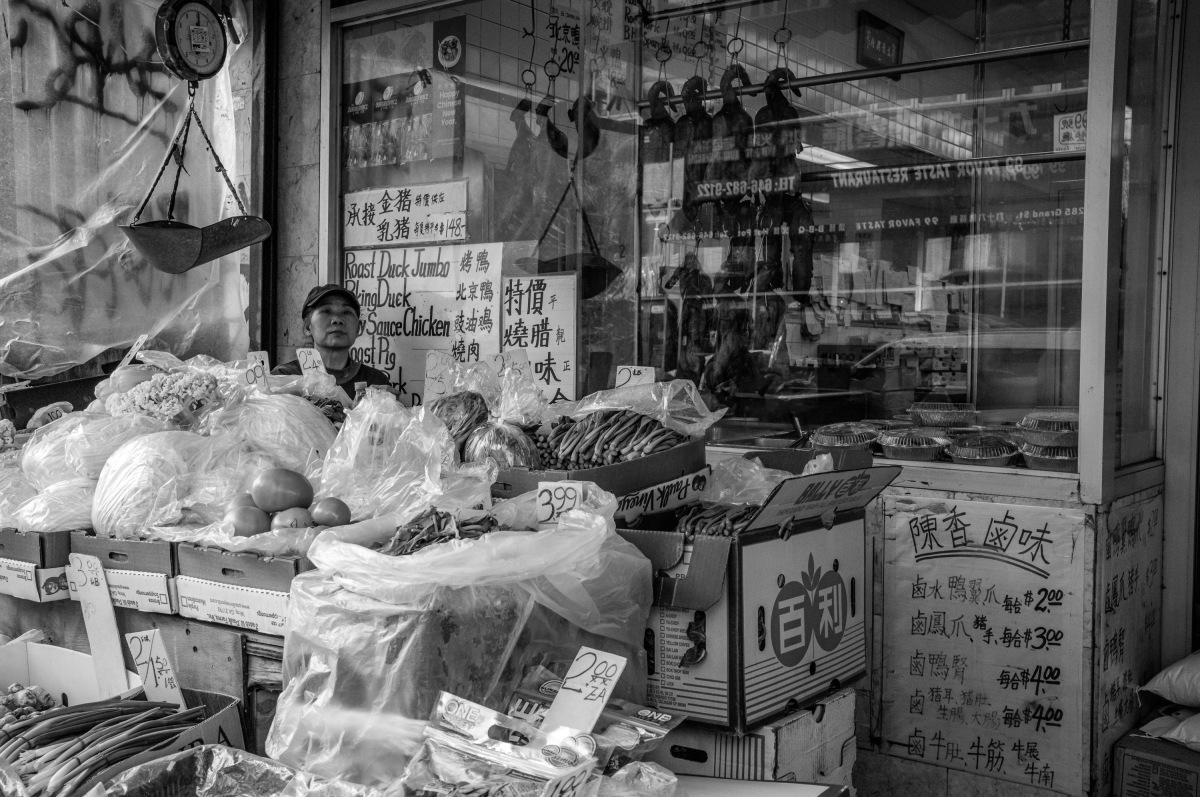
1/320th @ f/8, ISO 6400
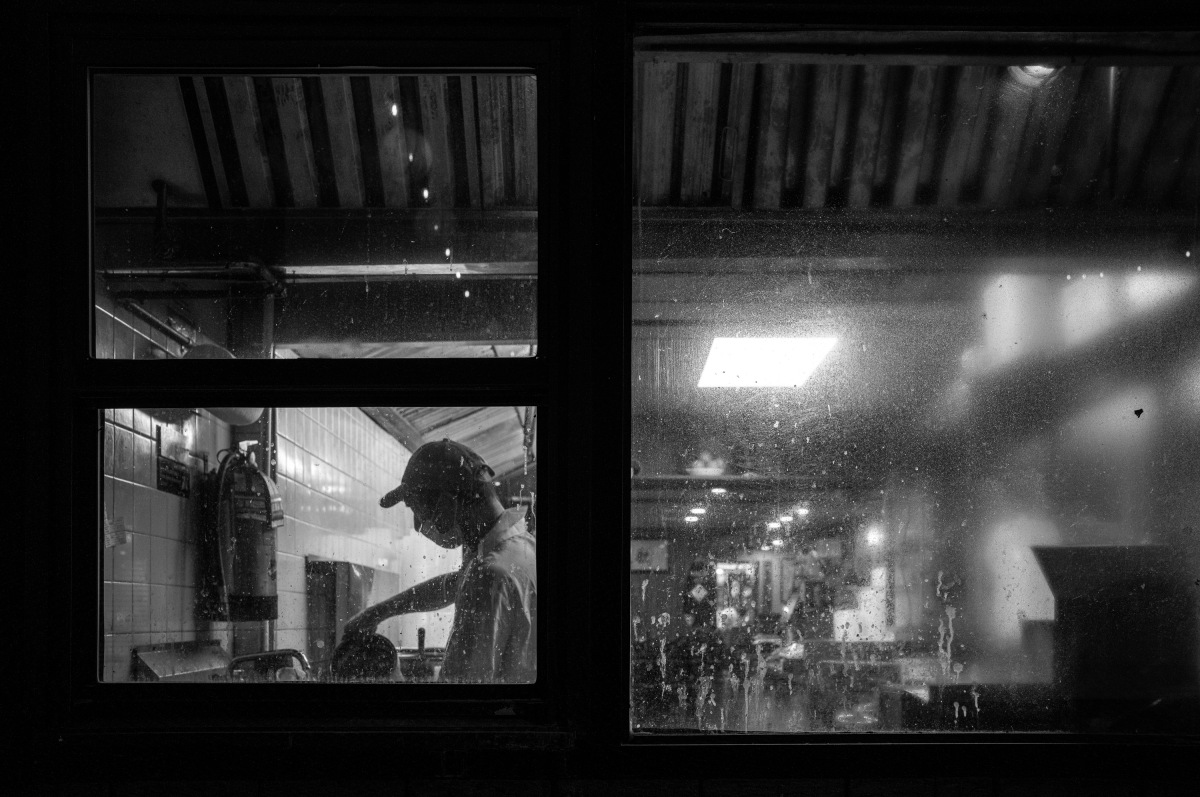
1/250th @ f/4, ISO 640
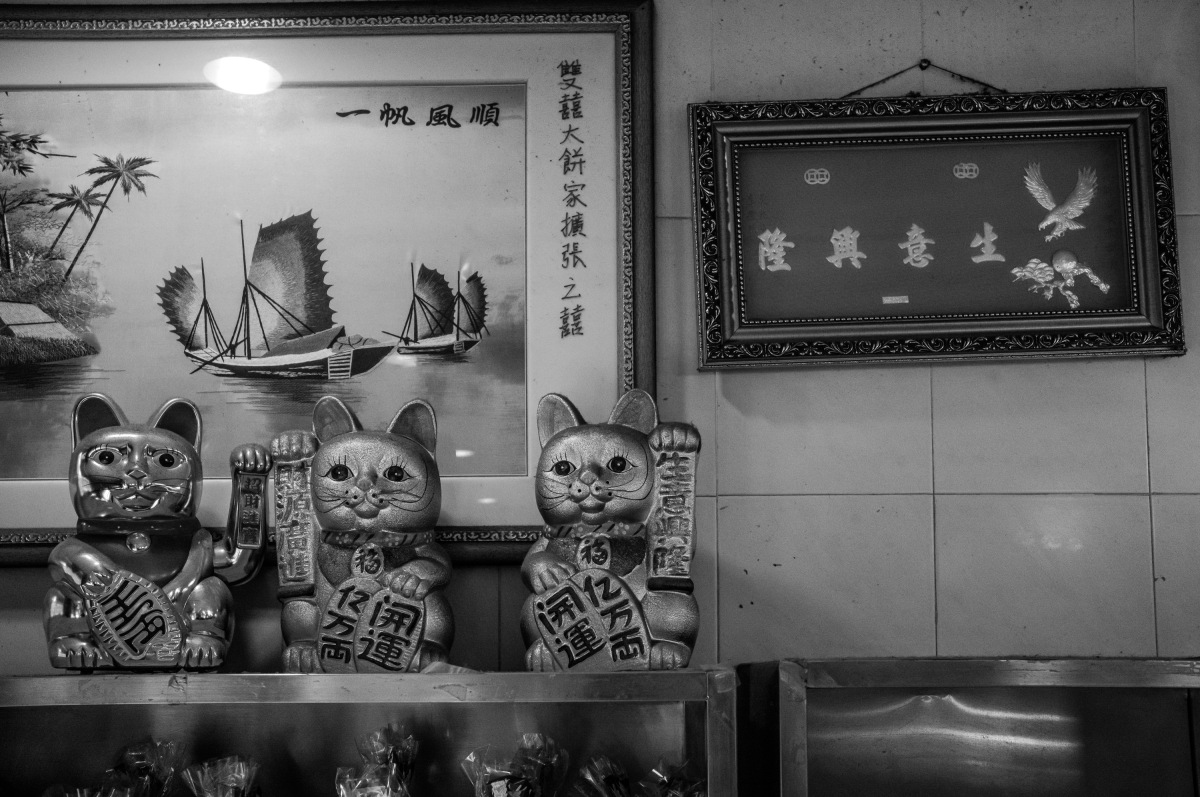
1/320th @ f/5.6, ISO 12,500
Seeking a little different perspective after wandering the streets for a while, I ventured out on the pedestrian path of the Manhattan Bridge. Poking the small M lens through the chain-link fencing along the walkway, I was rewarded with the unusual ability to shoot down the center of streets from an elevated position. The only drawback was the near-constant subway train traffic on the track just feet behind me. The vibration was so strong each time a train roared by that the camera's orientation sensor was shaken to the point of determining those pictures were taken upside down or sideways. Thankfully, my high shutter speed negated any ill effects, and a quick click in Lightroom turned the pictures right-side up.
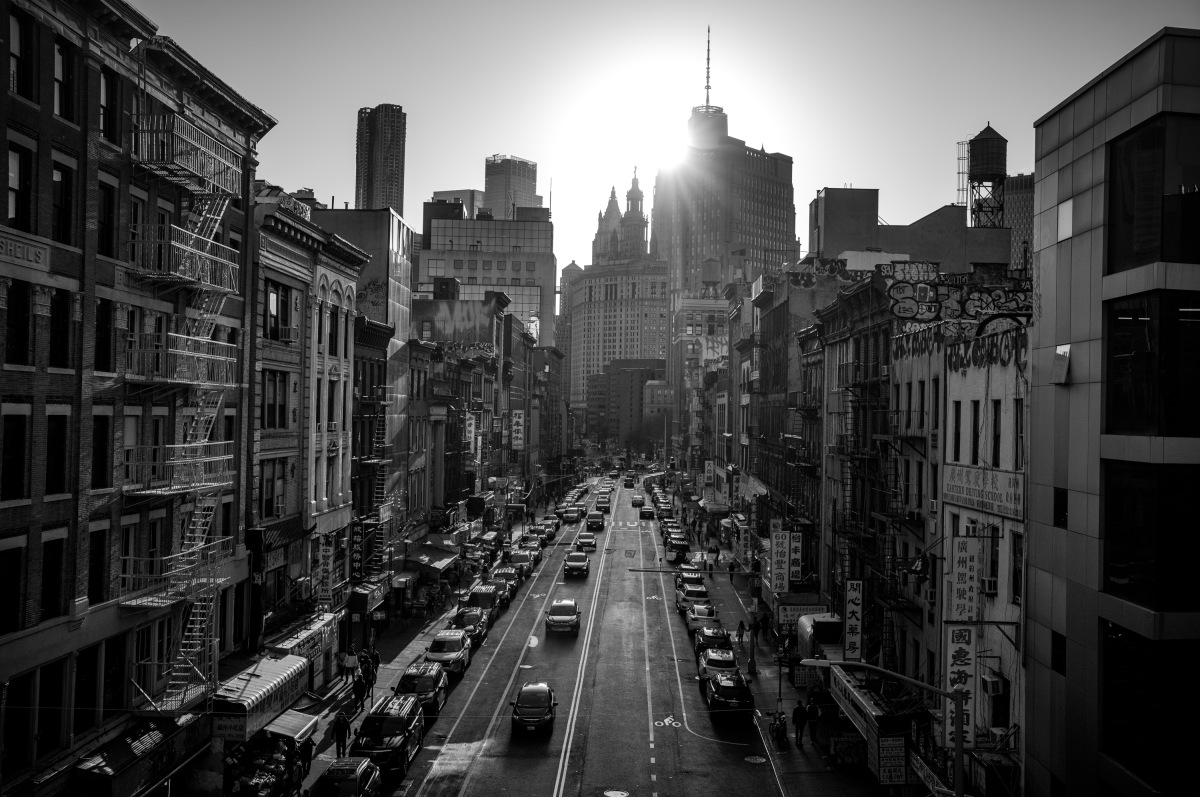
1/4000th @ f/5.6, ISO 125
With the sun getting low and light fading quickly, I continued winding through Chinatown's busy streets. Here, I took full advantage of the excellent Auto ISO capability, knowing that I'd be able to handle the highly variable and rapidly changing lighting conditions. I especially liked all the windows into various kitchens.
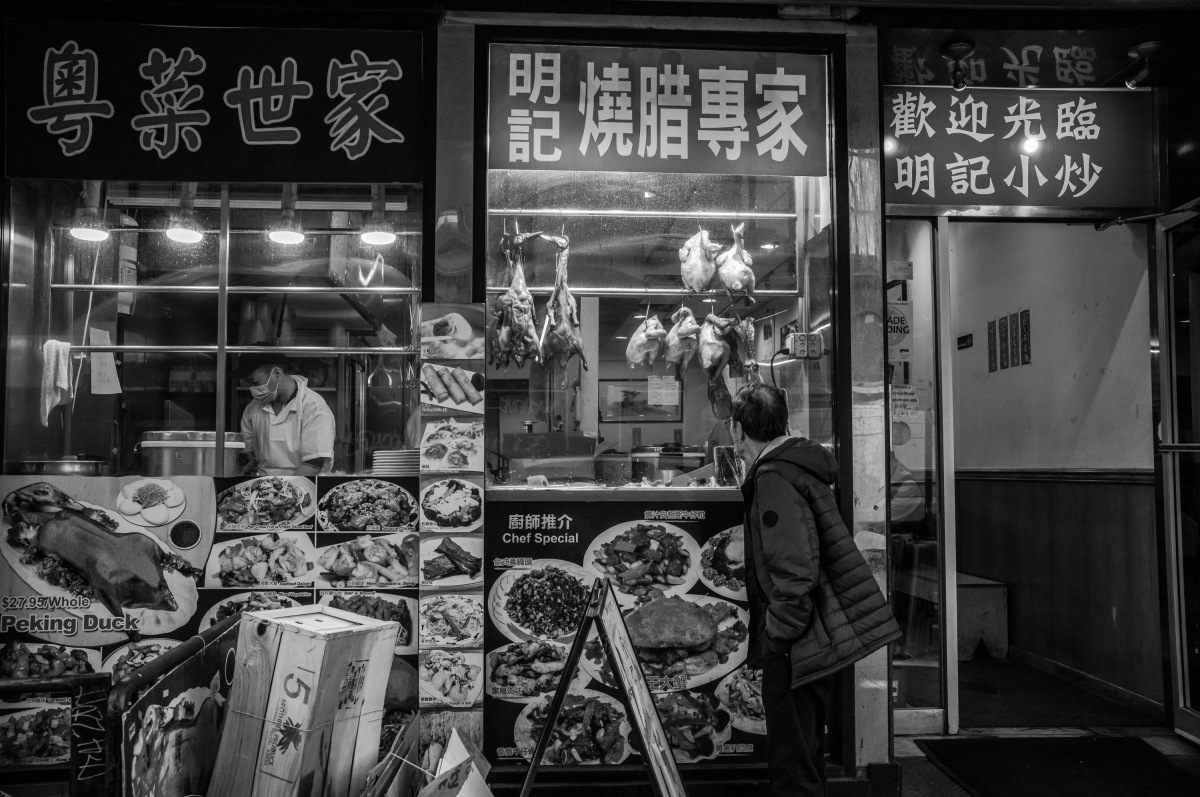
1/1000th @ f/5.6, ISO 8000
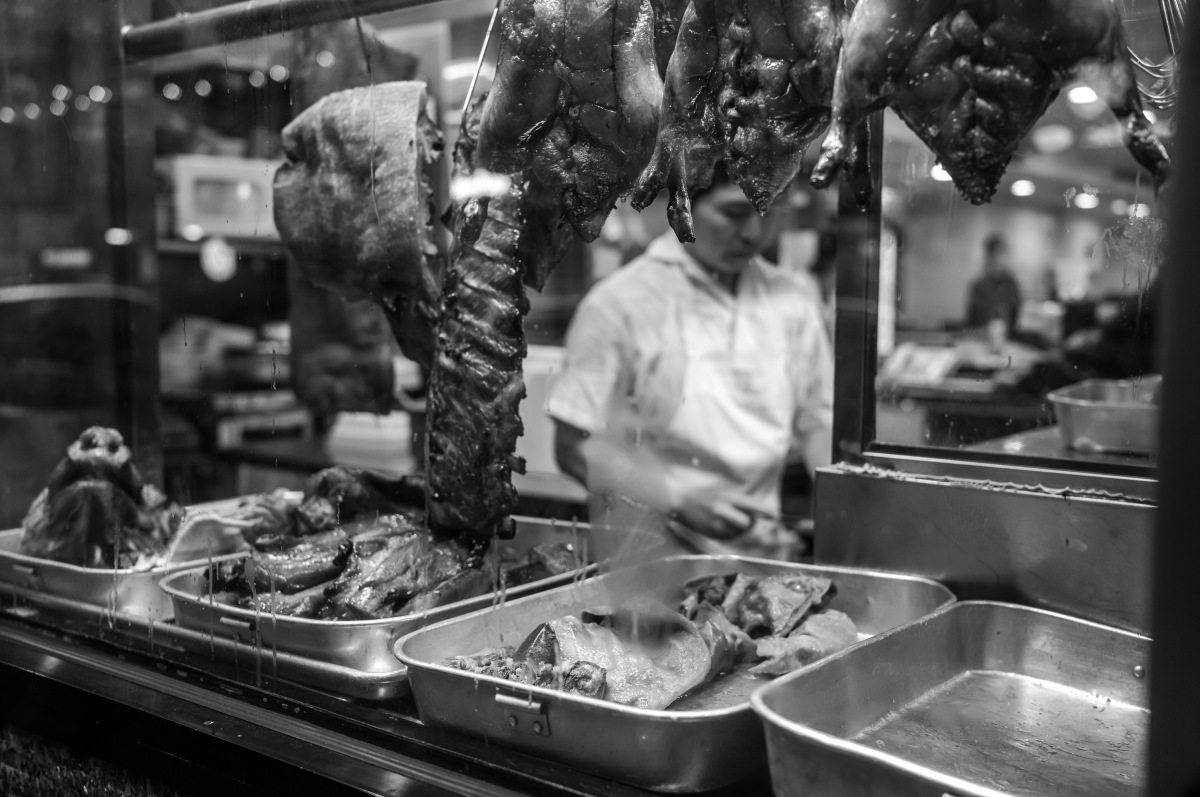
1/250th @ f/5.6, ISO 1250
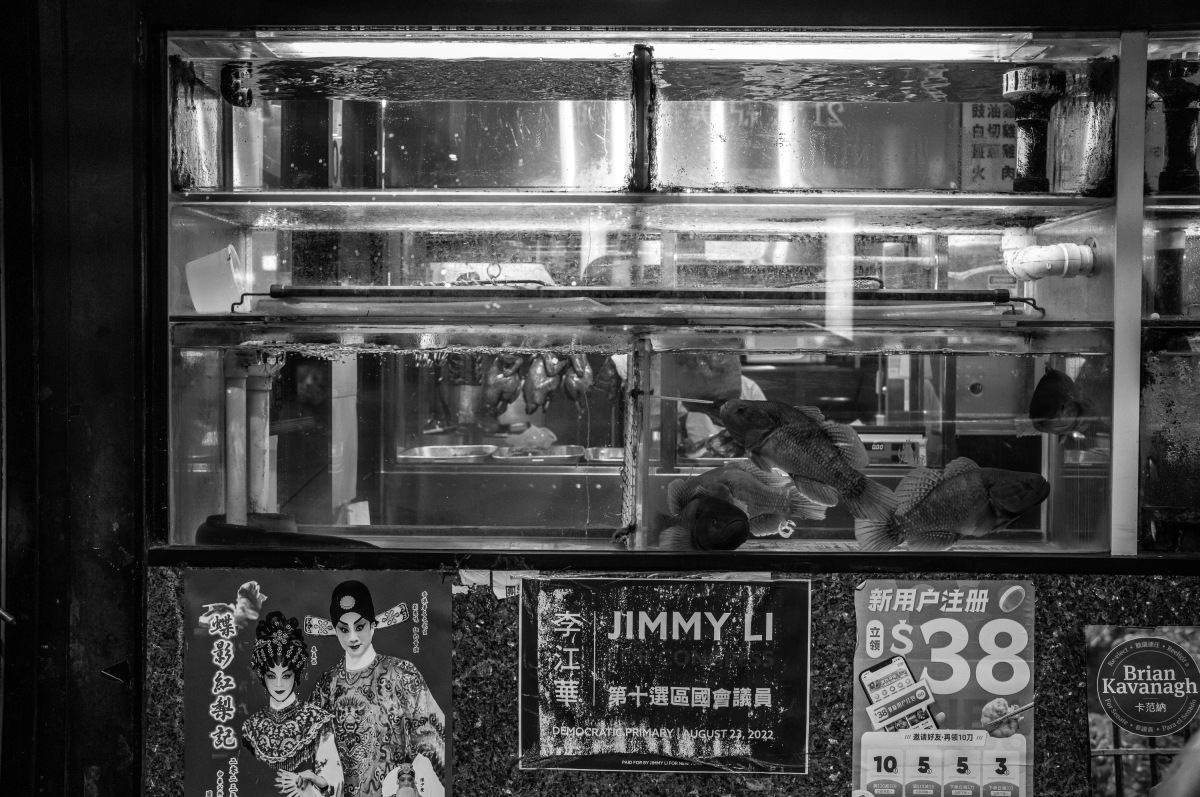
1/250th @ f/4, ISO 2000
After a little more wandering, I took a break to indulge into some authentic Dim Sum just off Mott Street. And when I popped my head out of the restaurant, not only had day turned to night, but the previously clear, warm weather was now a chilly torrential downpour. And I couldn't have been happier. The wet streets and lights of Chinatown were just what I wanted – a B&W shooter's paradise.
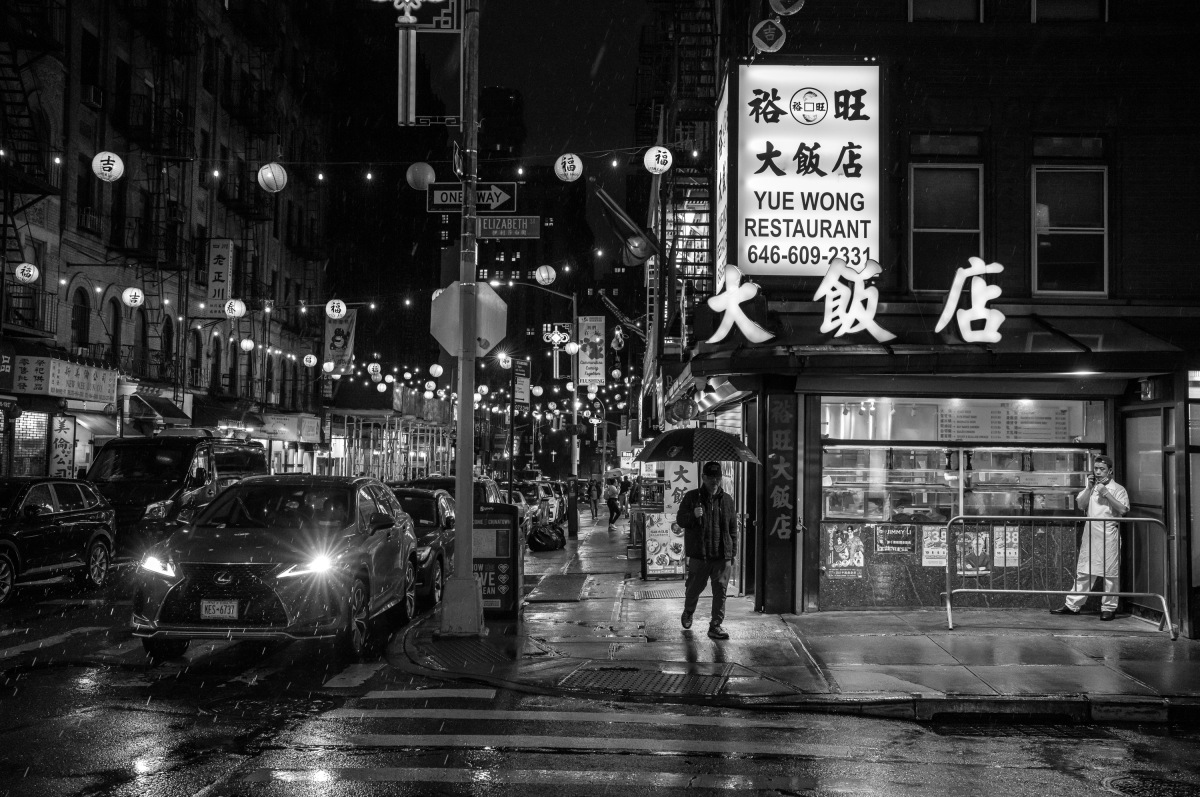
1/2500th @ f/8, ISO 4000
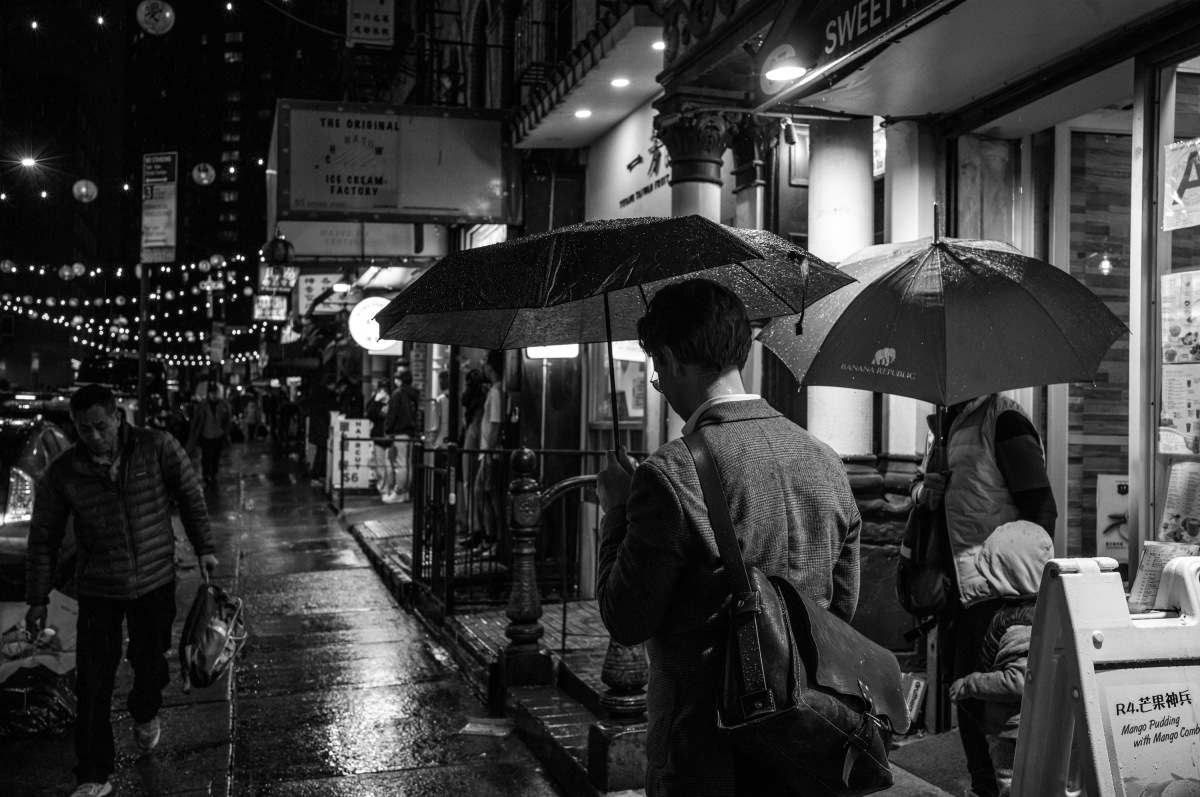
1/250th @ f/2.8, ISO 1000
No, the M11M isn't weather sealed. Yes, I walked around for quite some time shooting in the rain. Obviously, the camera survived. I did end up with a bit of condensation inside the Visoflex 2 viewfinder, but after drying out in the hotel room overnight, it was fine for the rest of the trip. Other than wearing a baseball cap to keep my head and face as dry as possible since I didn't have a proper rain jacket with a hood, I didn't take any special precautions. Do I advise shooting in the rain with a non-weather-sealed camera like the M11 Monochrom? Creatively, yes. Technically, no.
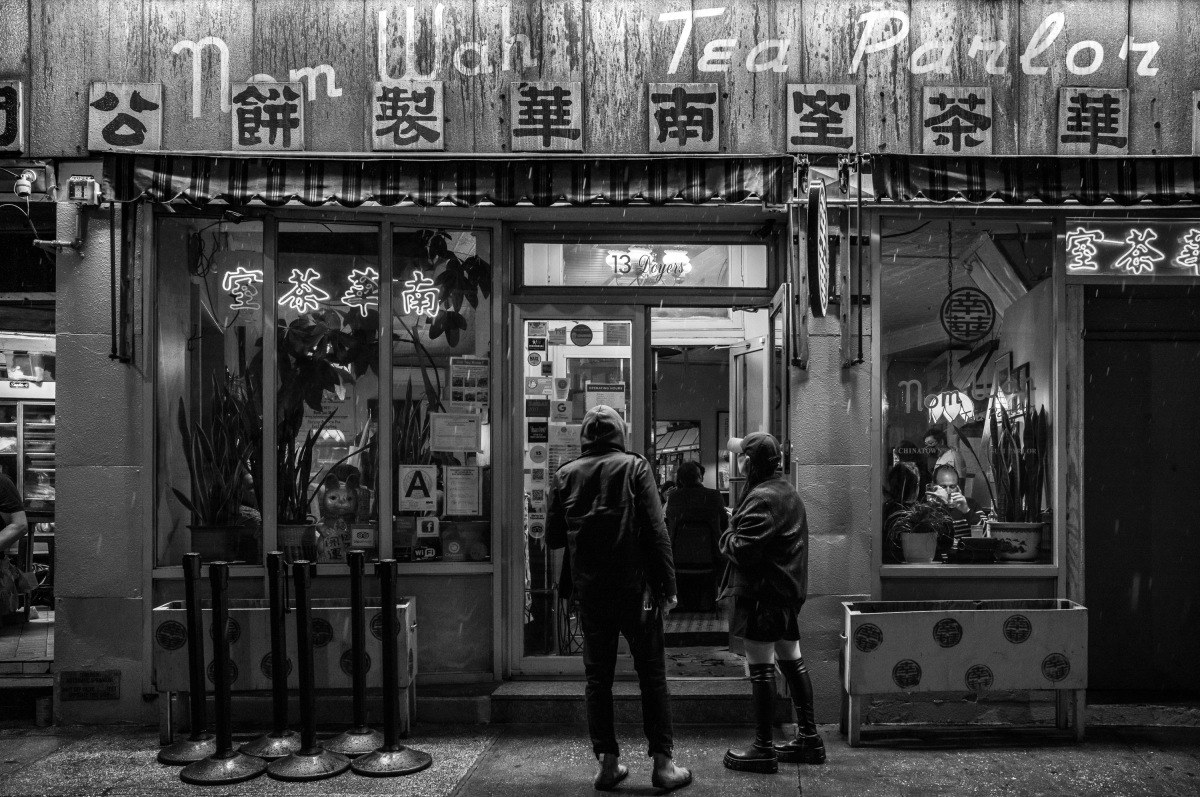
1/250th @ f/5.6, ISO 800 | Pushed 3 stops in LR
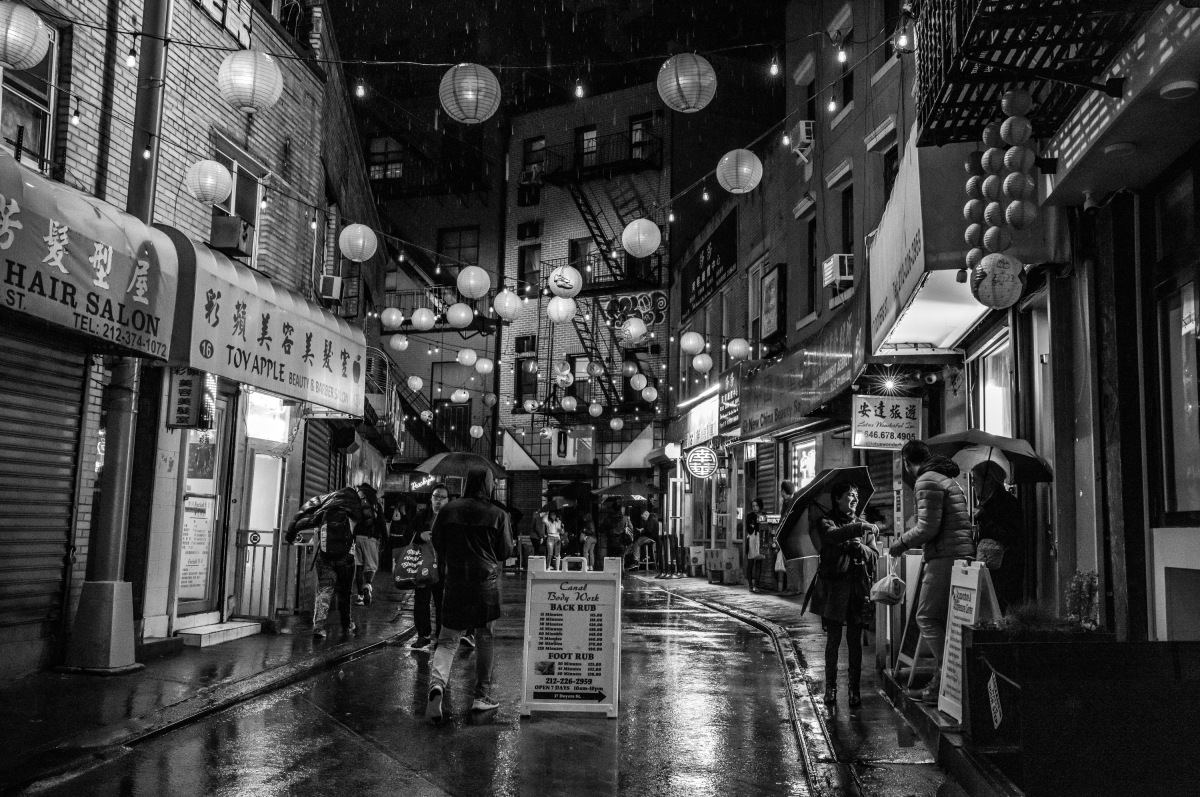
1/250th @ f/8, ISO 16,000
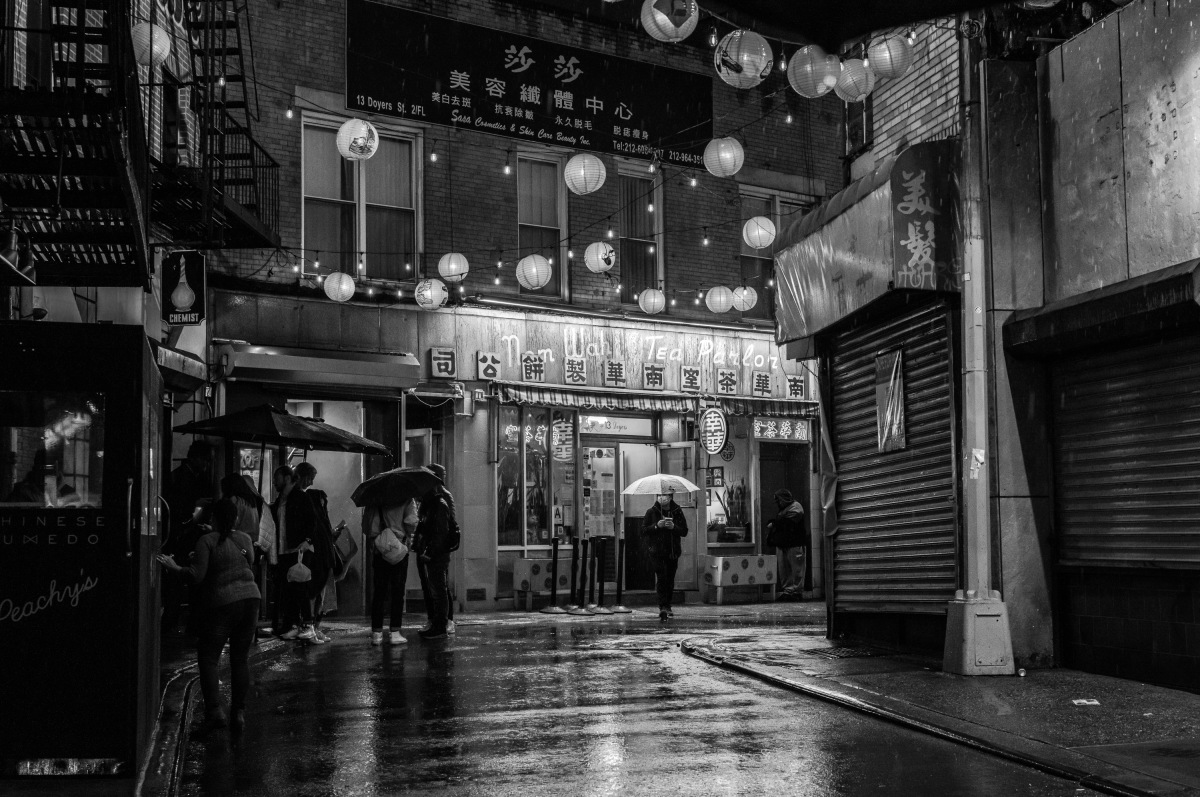
1/250th @ f/5.6, ISO 2000
The rain let up and having spent the better part of the day in one neighborhood, I was ready for a different locale. Bordering Chinatown, Little Italy seemed the logical choice. As I crossed Canal Street, there was no mistaking the change. Noodle shops and dim sum parlors gave way to old world Italian ristorantes and sidewalk cafes.
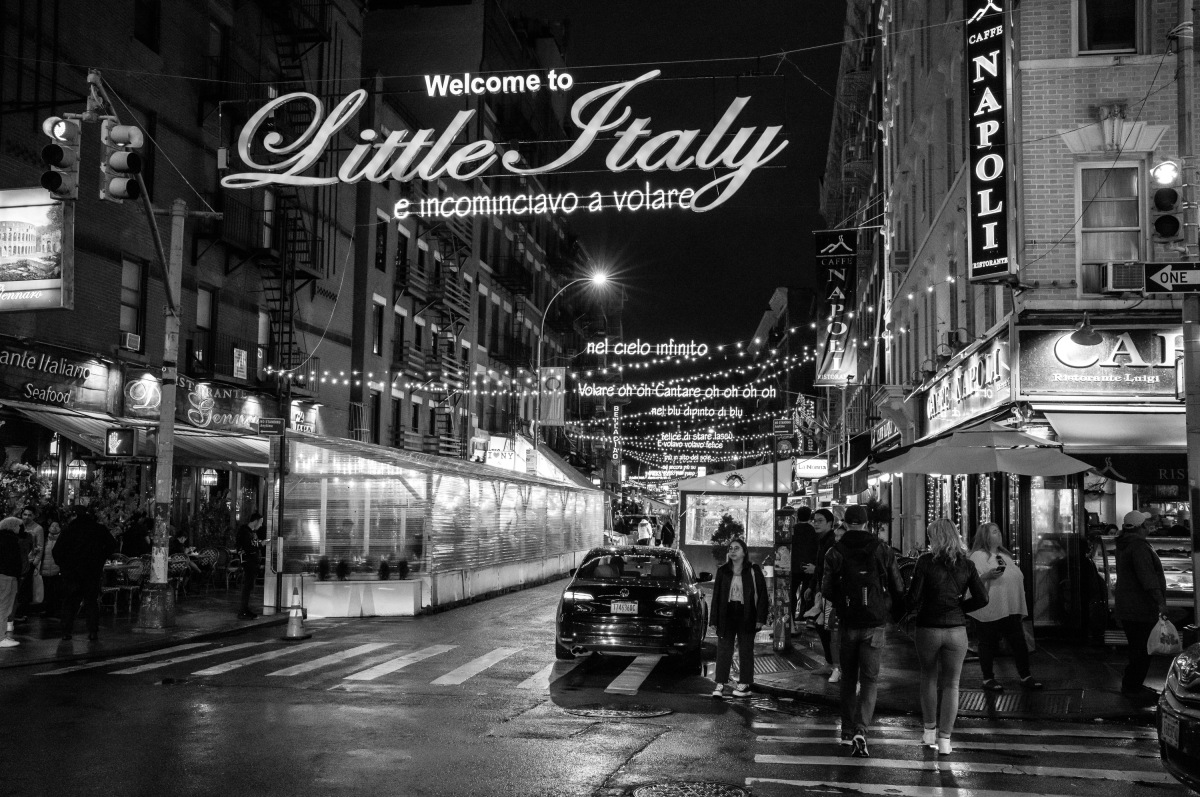
1/250th @ f/8, ISO 12,500
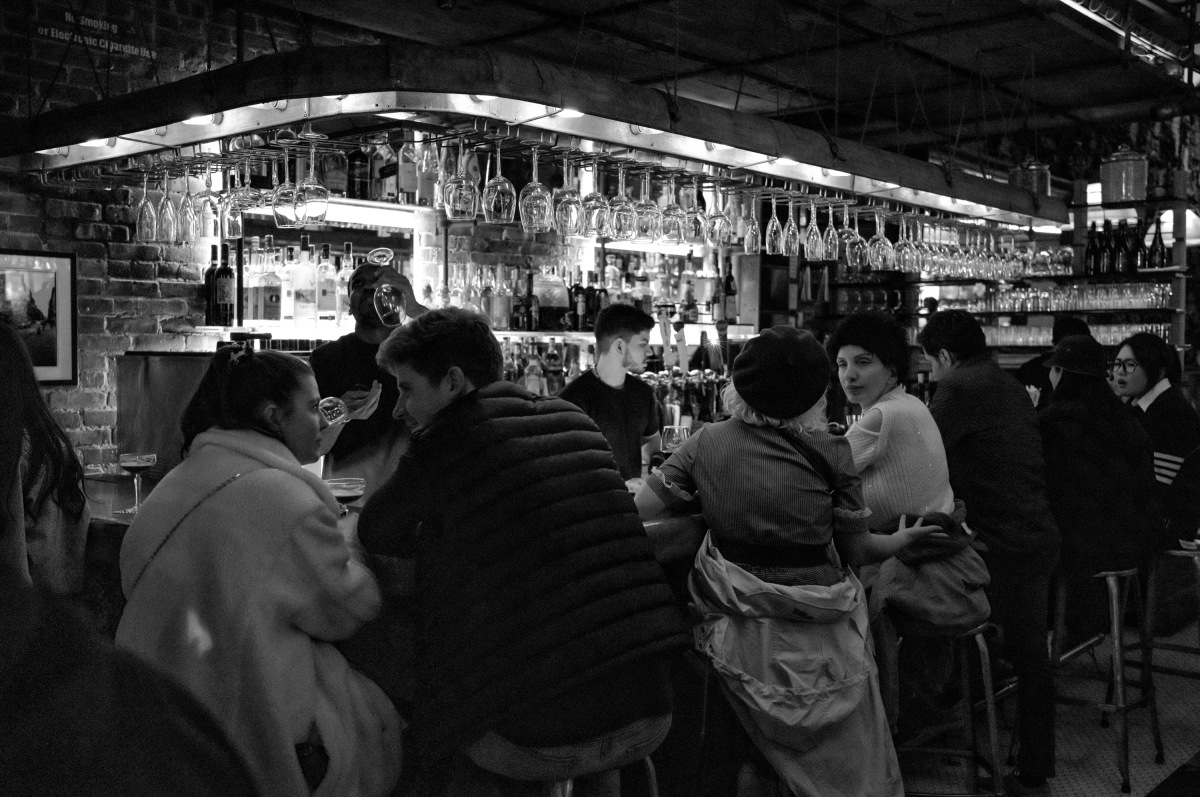
1/250th @ f/5.6, ISO 50,000
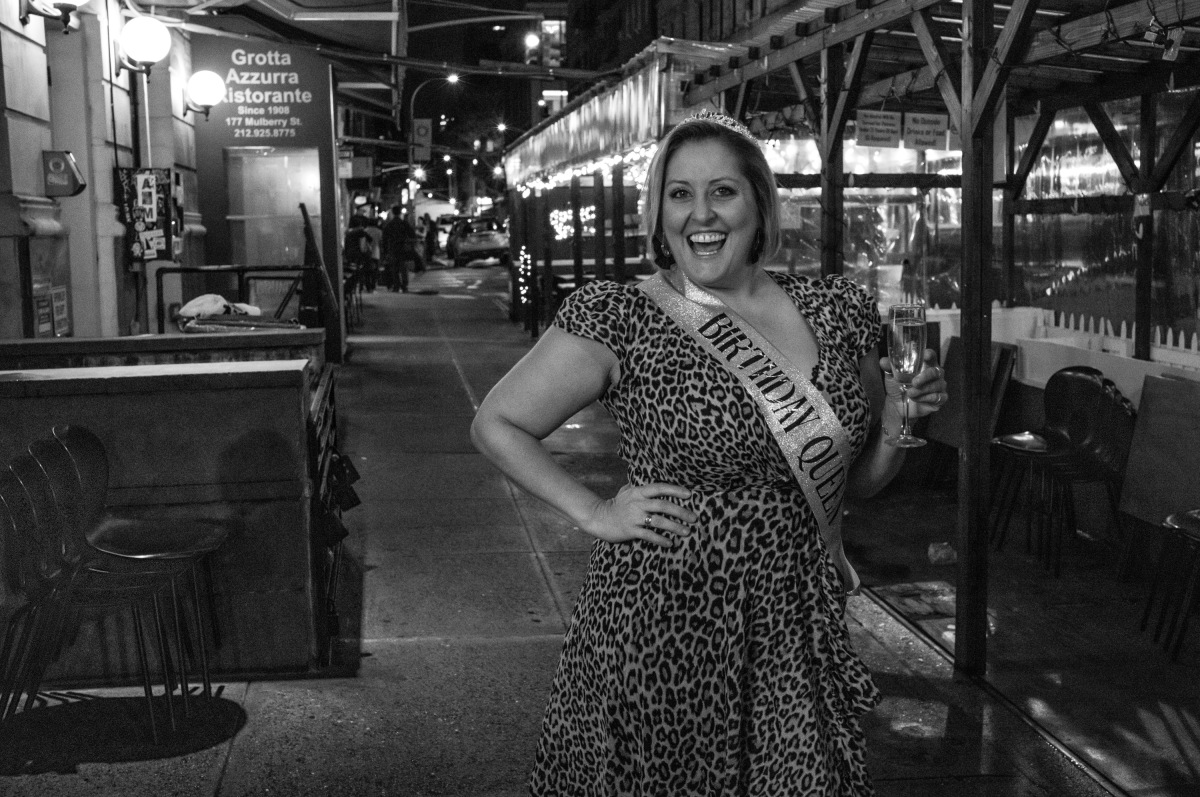
1/250th @ f/5.6, ISO 16,000
A quick stop in FiDi
After my walkthrough of Little Italy, and a stop for some artisinal gelato, I pressed on, looking to capitalize on the still-wet streets. Another hop back on the subway and two stops later, I was at the foot of the historic Trinity Church at the end of Wall Street. While at first glance, the Financial District might seem an odd choice for nighttime activity, a small cobblestoned street is often abuzz with bars and live music clubs. I did pop into one such venue, but couldn't get anywhere near the stage. And I definitely wasn't feeling the 20-something party scene, so I pushed on.
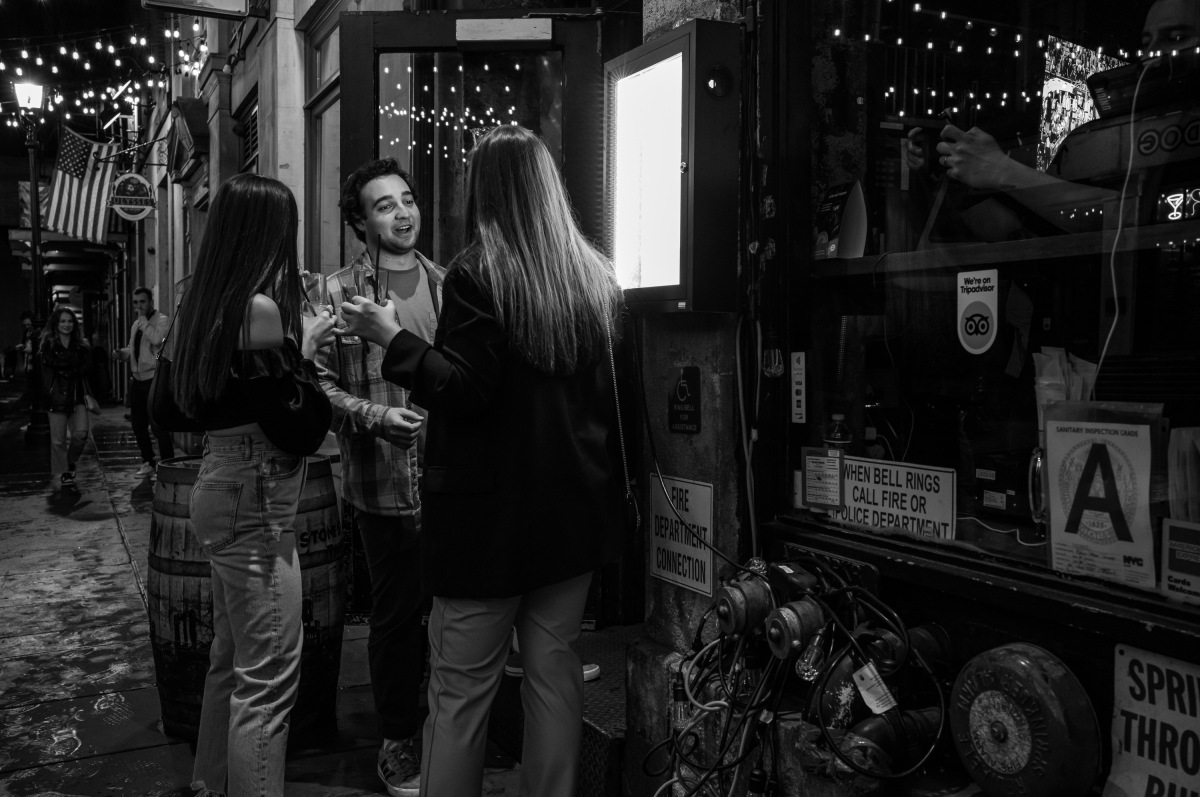
1/125th @ f/4, ISO 5000
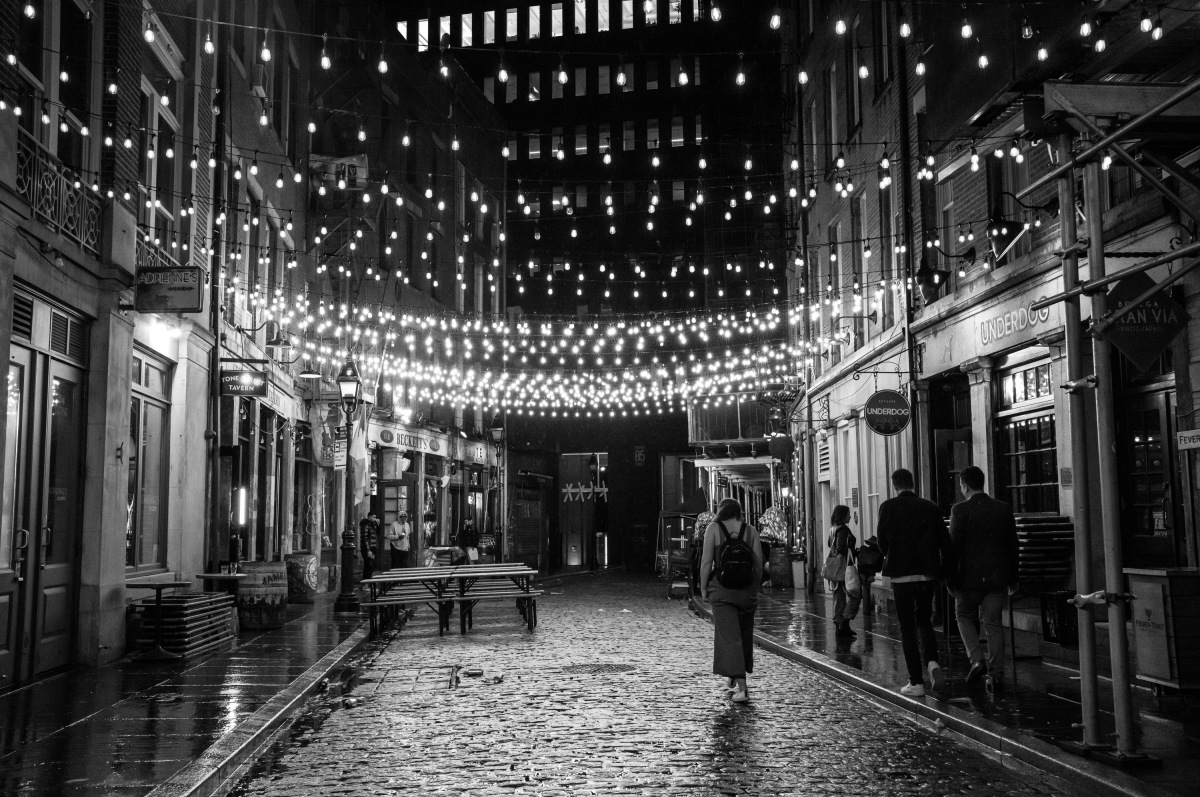
1/250th @ f/8, ISO 12,500
Late night music scene in the West Village
From there, I decided to finish up the night with some live jazz in the West Village. A photographer friend tipped me off to a historic 1950s club that reopened a couple years ago. Down a flight of stairs into the basement of a larger bar, Cafe Bohemia is your classic West Village intimate jazz venue, having hosted the likes of Charles Mingus and Miles Davis. That night Saxophonist Mike DiRubbo was fronting a simple trio of sax, piano and drums, finishing up their late night set. I grabbed a seat at the front, enjoying the music and snapping some shots.
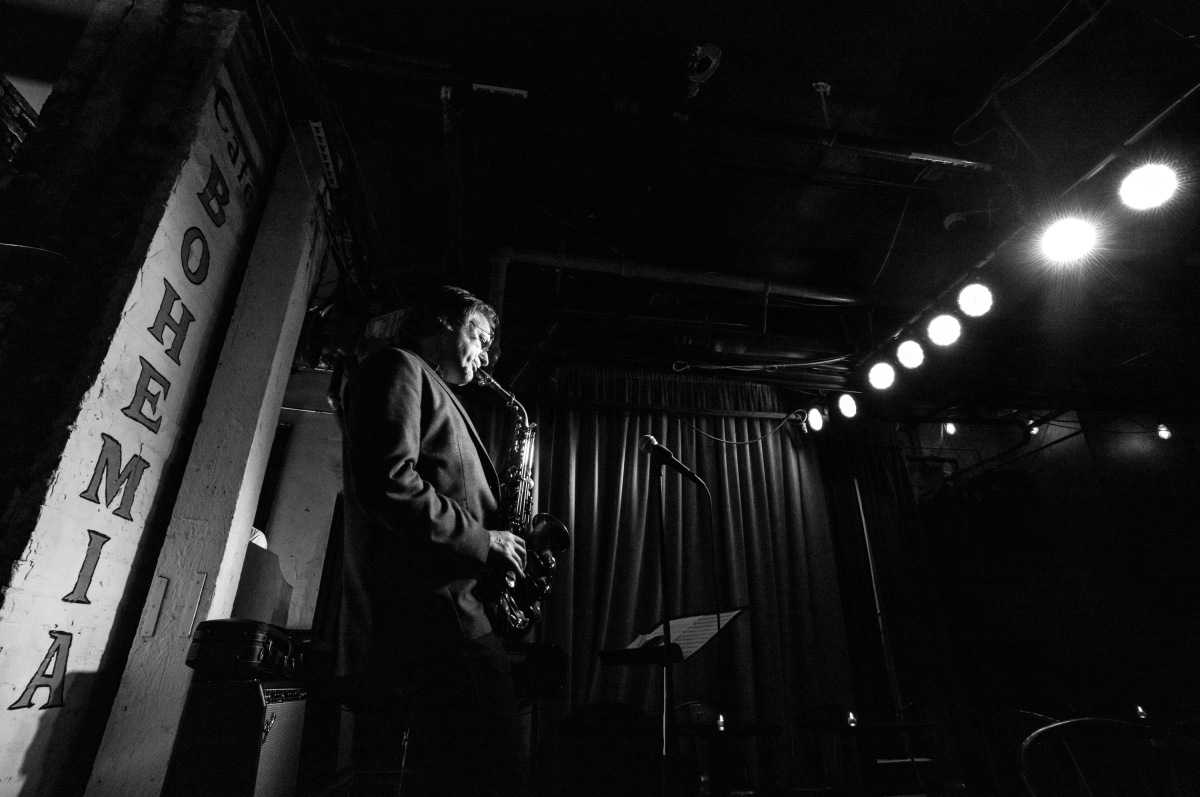
1/180th @ f/8, ISO 50,000
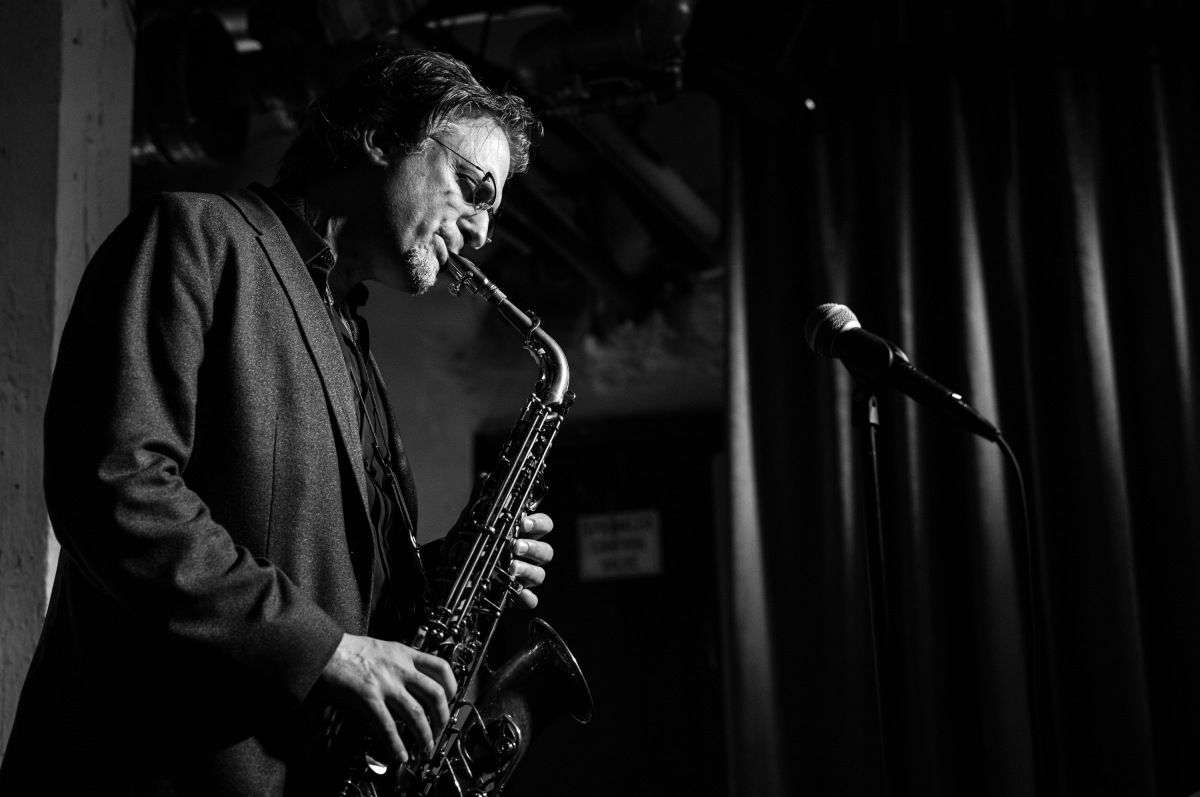
1/250th @ f/2.8, ISO 5000
The show wrapped at 1am and I thought I was done. But wait, there's more. Walking to the train station, I heard some gritty blues spilling out onto the sidewalk from another legendary West Village spot. The bouncer, sensing my interest, smoothly opened the door, waved me inside and said, “why not go in and see if you like it?” Providing libations and live music since the late 1930s, Arthur's Tavern was hosting a somewhat different act than its usual fare.
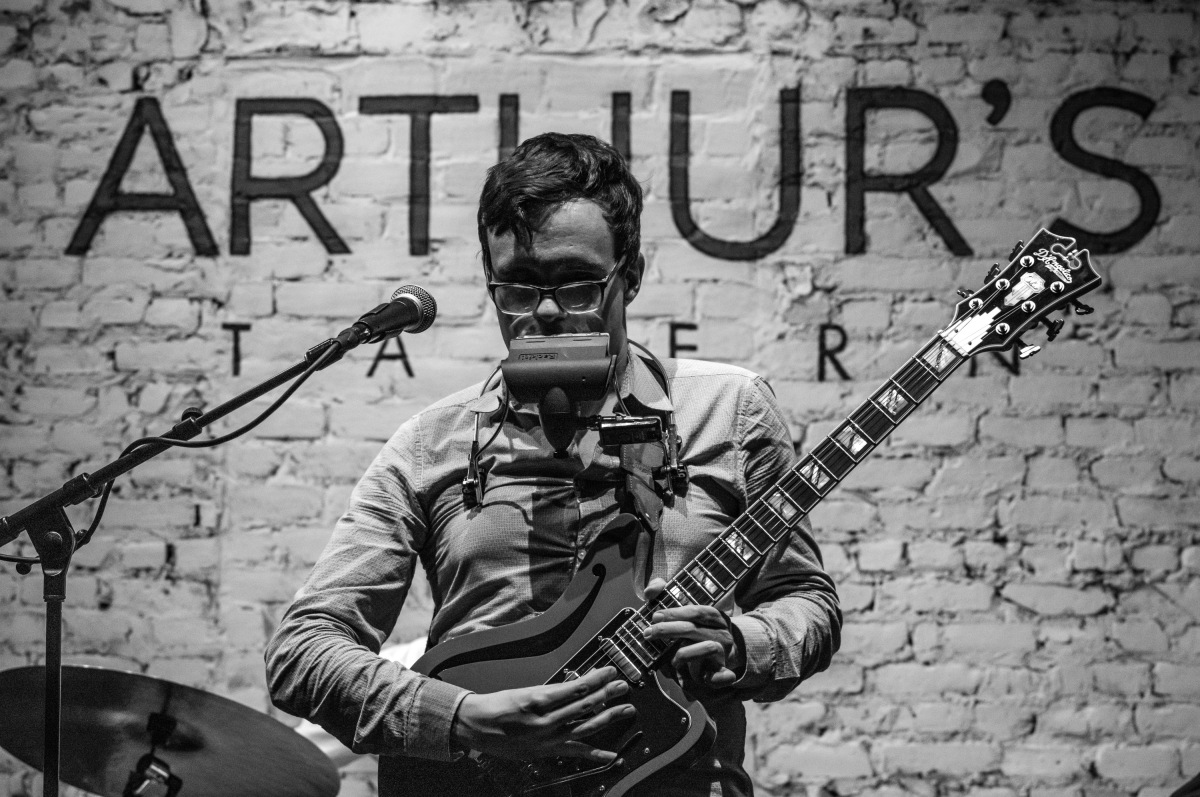
1/180th @ f/5.6, ISO 20,0000
The New York Gremmies, a trio of guitar, bass and drums, was kicking up some serious blues riffs and fast paced surf rock. I took a seat at the bar and marveled at the musicianship on display. On lead guitar and harmonica, Italian-born Noé Socha was dancing over his fretboard with masterful fluidity and style. Even the drummer, Josh Davis, had to stop and watch in awe during a particularly gnarly solo.
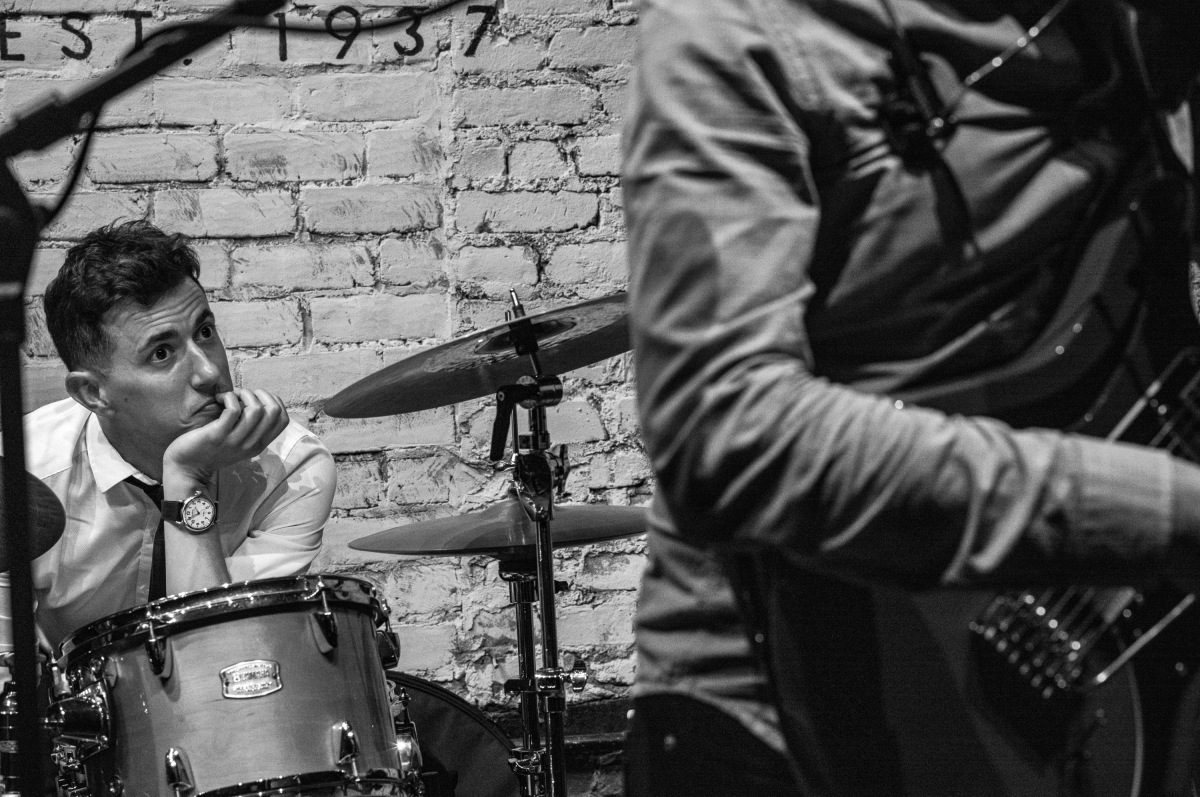
1/180th @ f/5.6, ISO 16,0000
With the band signing off at 2am, I figured it was time to for me to call it a night as well. Of course, I wasn't the only one. The subway was filled with other denizens of the City, taking their last ride on the train to close out the day. Whoever said the City never sleeps hasn't ridden the subway at 2:30am.
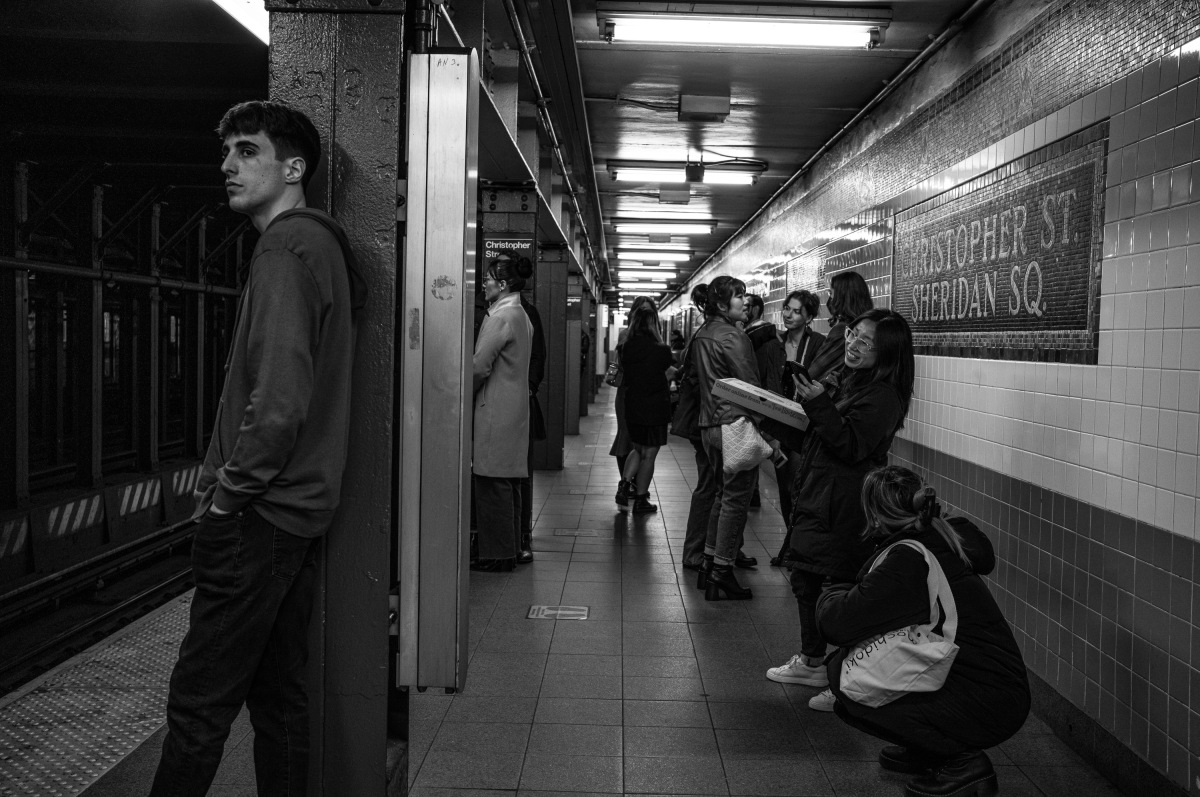
1/180th @ f/2.8, ISO 1250
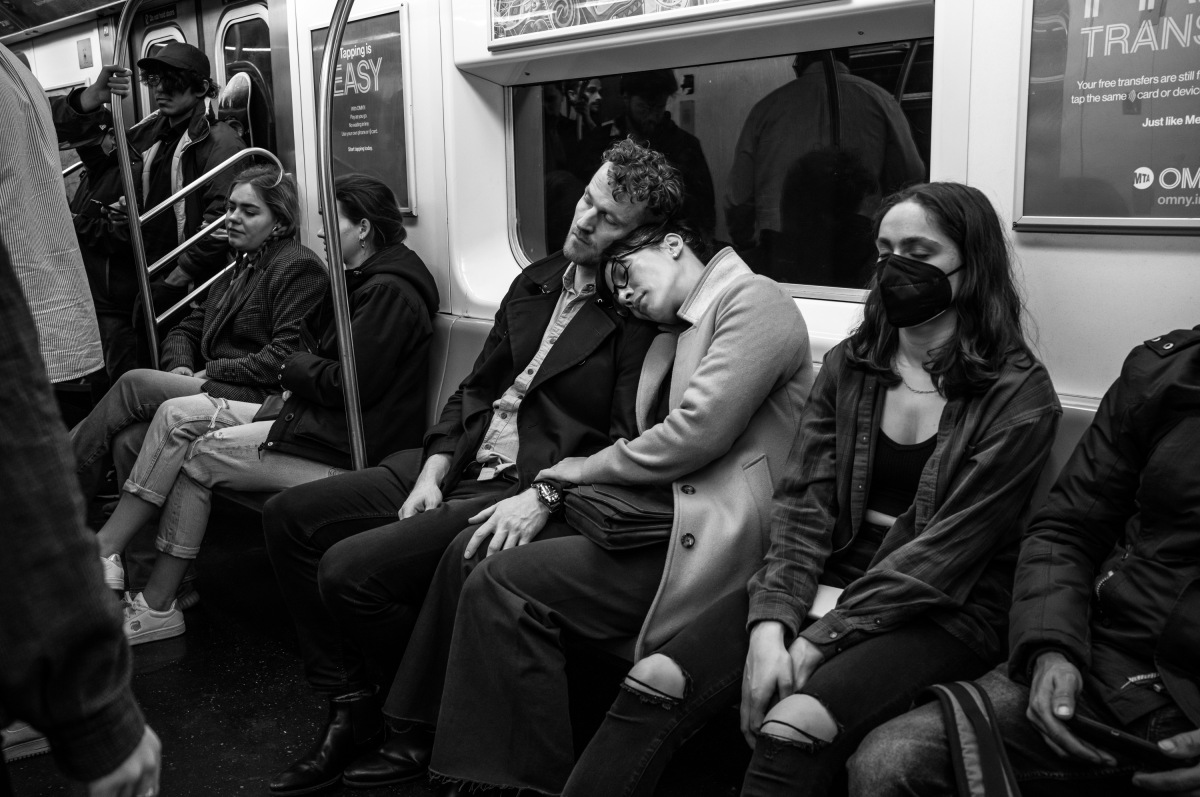
1/180th @ f/5.6, ISO 4000
Meatpacking District
The next day called for another destination, and a much shorter shooting day. I spent most of the morning sleeping in and working on image editing, then met up with a friend for coffee. Given the sheer amount of ground covered the day before, I think I earned a little time off. But I still wanted to shoot something new. During my M11 testing last year, I had spotted Little Island while walking the High Line, and the unique urban park seemed like a perfect spot for some casual photography.
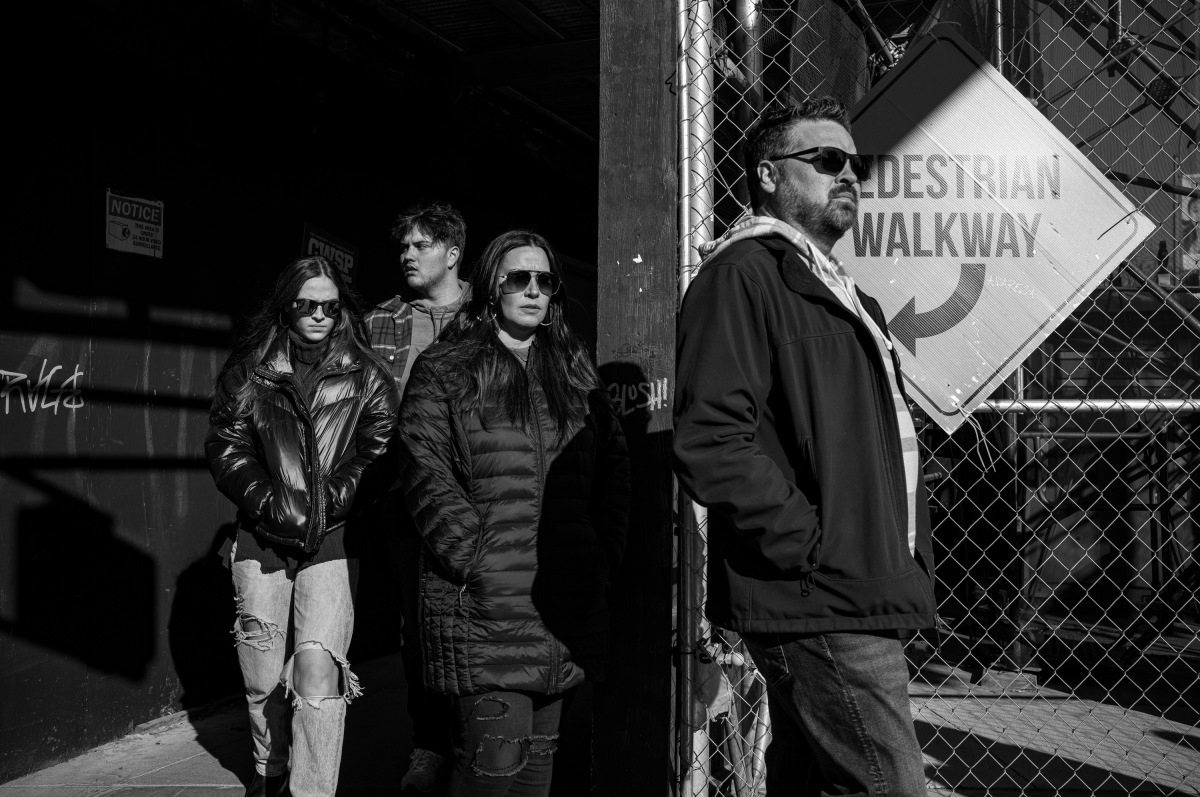
1/640th @ f/8, ISO 125
I made my way through the vibrant Meatpacking District, past the ever-hopping Standard Hotel and to Little Island. After Hurricane Sandy decimated historic Pier 54, the Diller-von Furstenberg Family Foundation and the Hudson Park Trust set out to reimagine what an urban public space could be. Opened in 2021, this two acre floating park held up by concrete pylons in the Hudson River attracted one million visitors in its inaugural year.
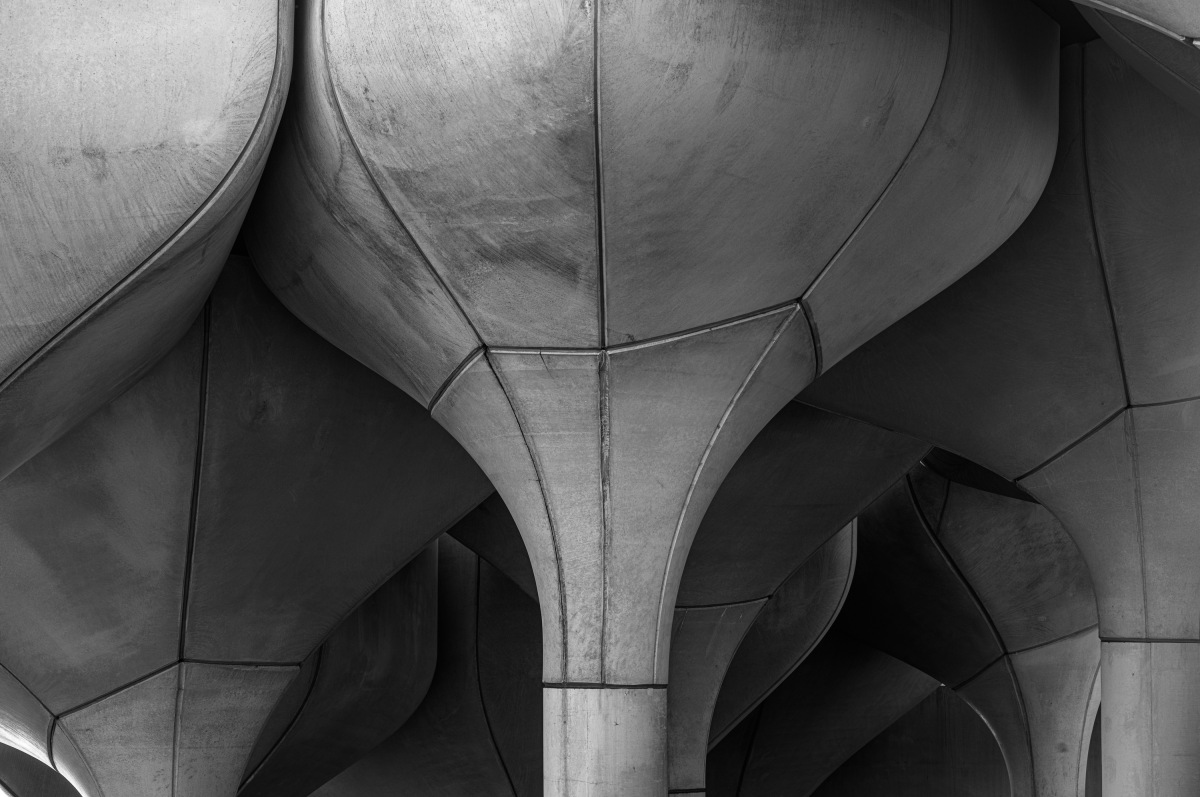
1/320th @ f/8, ISO 250
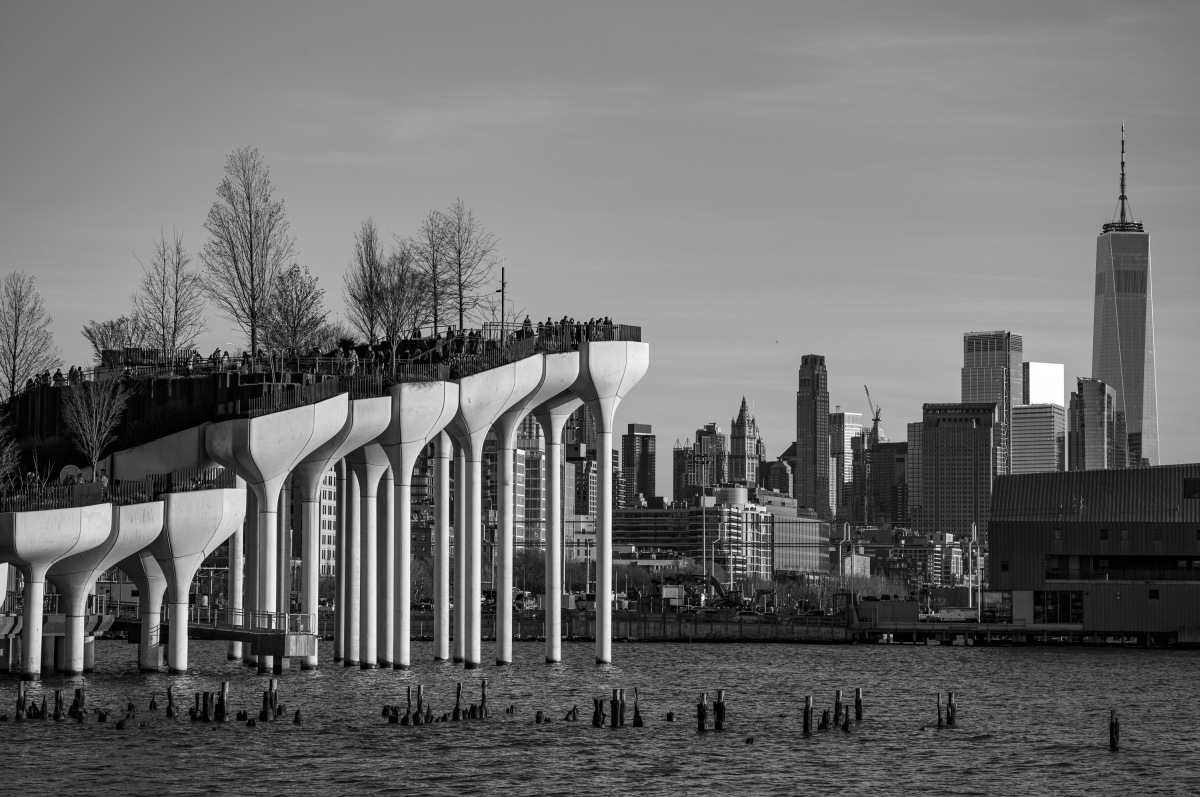
1/250th @ f/5.6, ISO 125
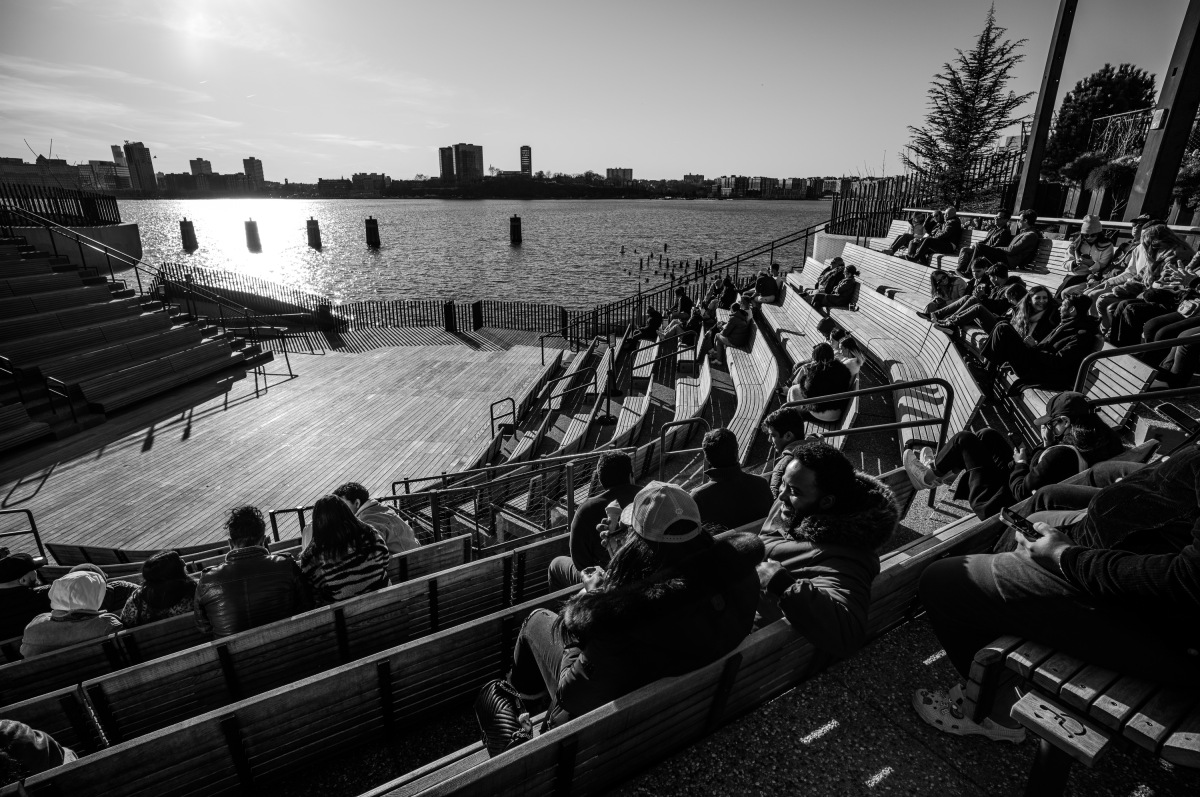
1/800th @ f/8, ISO 125
One of the advantages of not using a color camera is that you can simply skip sunsets. What I'm sure would have been a stunning sunset in color, just looks like daytime in B&W. What I needed wasn't the golden hues of sunset, but the stark contrast of artificial light at night. Which meant that I head plenty of time to go next door to Pier 57 and grab a bite to eat at one of the numerous food stalls inside. Then, I headed up to the Rooftop Park to take advantage of the change in perspective, before calling it a night.
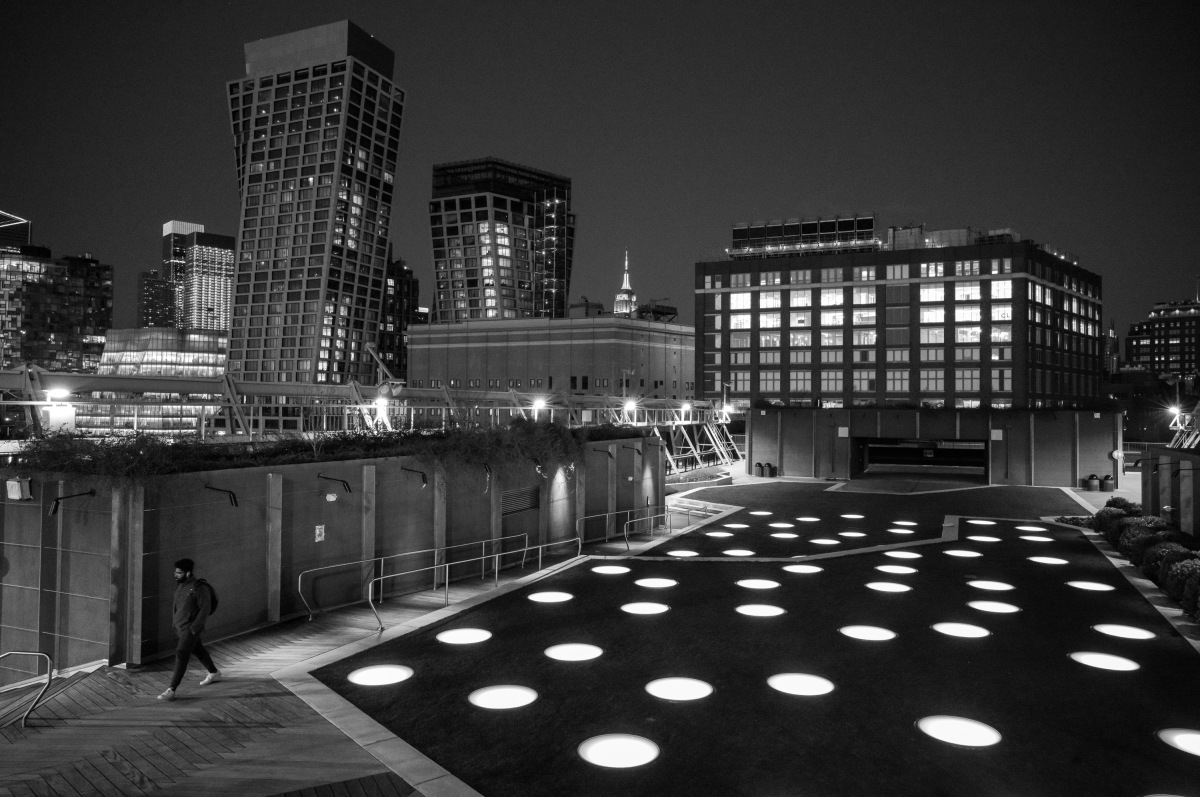
1/90th @ f/8, ISO 20,000
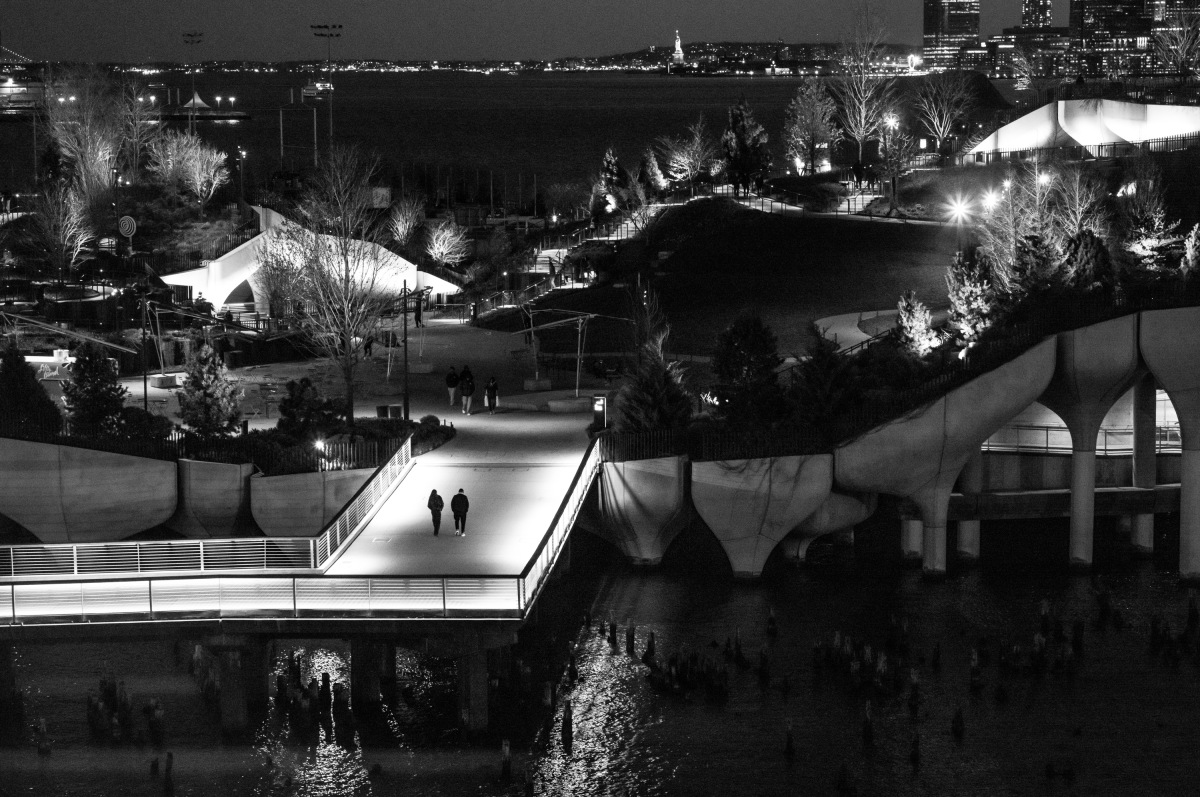
1/125th @ f/8, ISO 16,000
DUMBO
For my last full shooting day in New York, I decided I'd finish things out in Brooklyn. And while I often just like to wander around and see what catches my eye as I go, I had a mission. Or rather two. First, I wanted to check out Gleason's Gym, the oldest active boxing gym in the United States. Second, I had never shot the NYC skyline from across the East River.
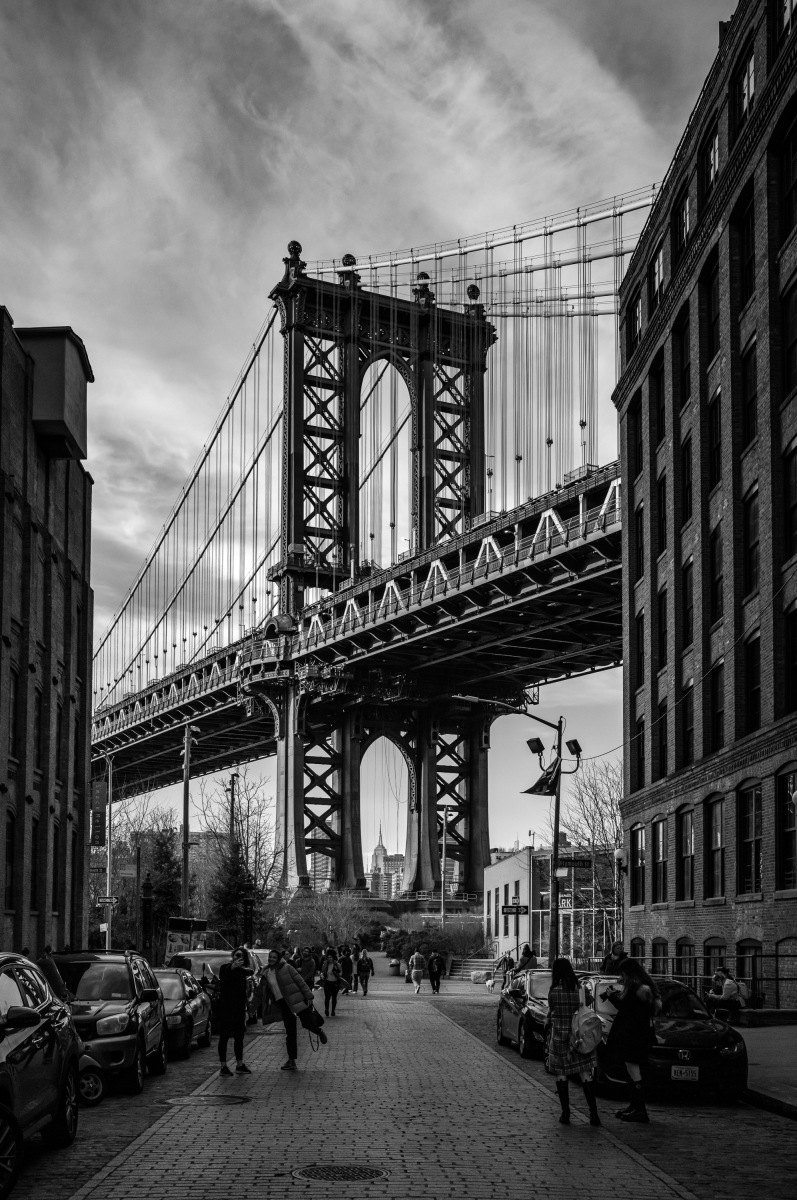
One neighborhood would provide both opportunities. DUMBO, or Down Under the Manhattan Bridge Overpass, has seen massive changes since the former Brooklyn industrial area started its transformation to public green spaces, condos and artist lofts in the 1990s. Thankfully, the original charm of the imposing Manhattan Bridge towering overhead cobblestoned streets hasn't been sacrificed in the revitalization effort.
Gleason's Gym
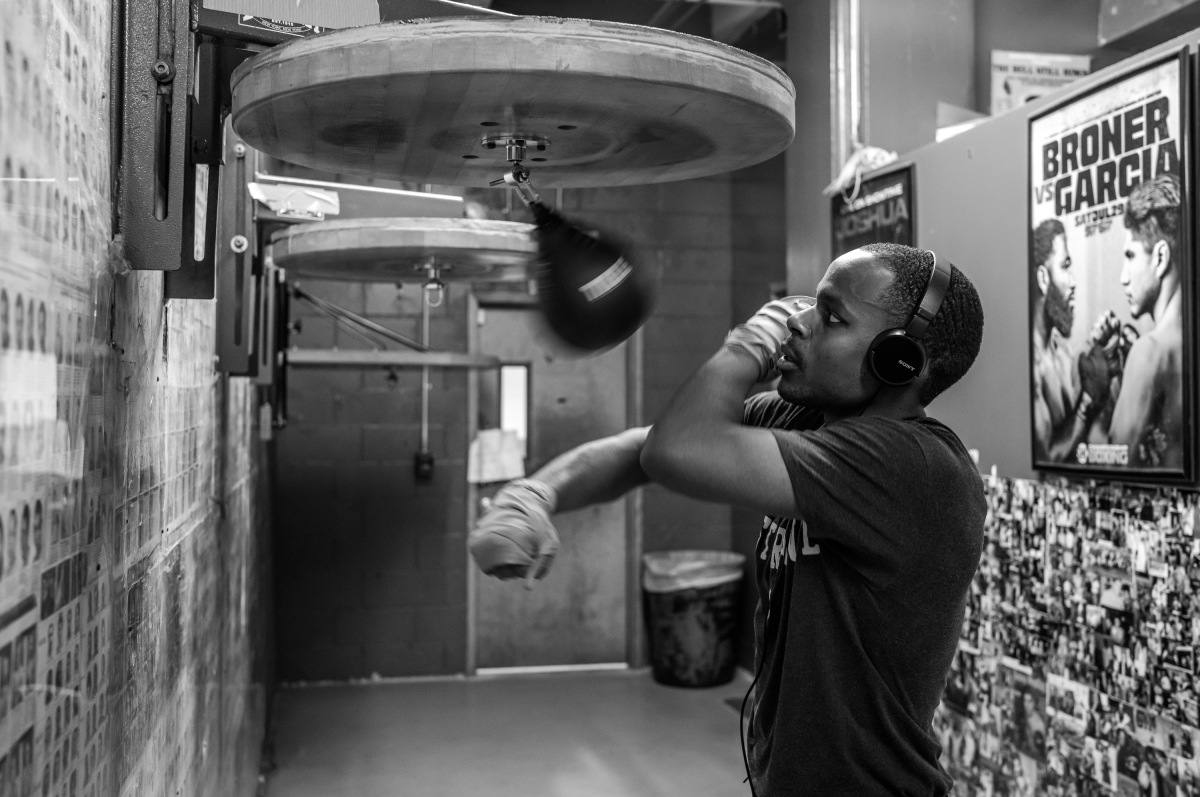
Just around the corner from the iconic views of the Manhattan Bridge, Gleason's Gym is a pugilistic New York institution. Founded by Bantamweight boxer Bobby Gleason in 1937, the gym has changed homes several times over the decades, moving from its original location in The Bronx to Manhattan, then ultimately to Brooklyn. The latest location on Water Street opened in late 2016. But in spite of its recent move, the gym has all the grit and character you'd expect of the near-century-old legendary establishment that is housed within these walls.
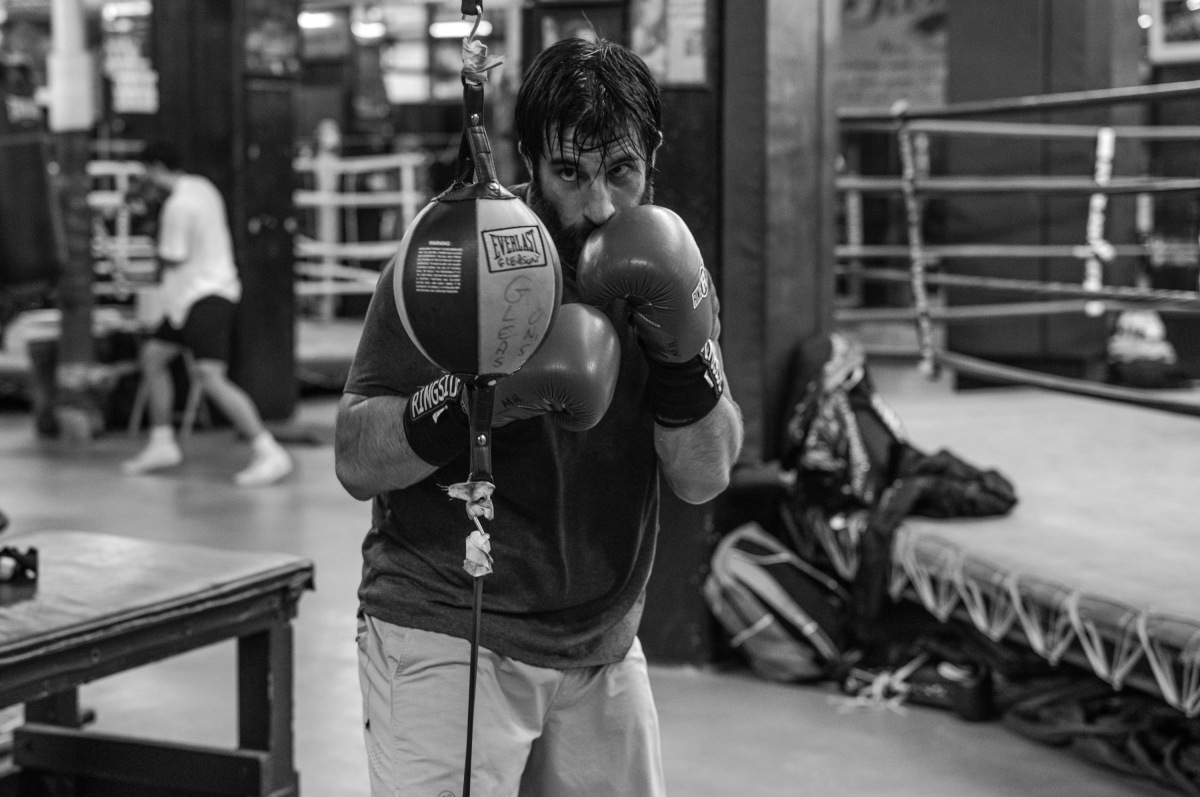
1/500th @ f/4, ISO 5000
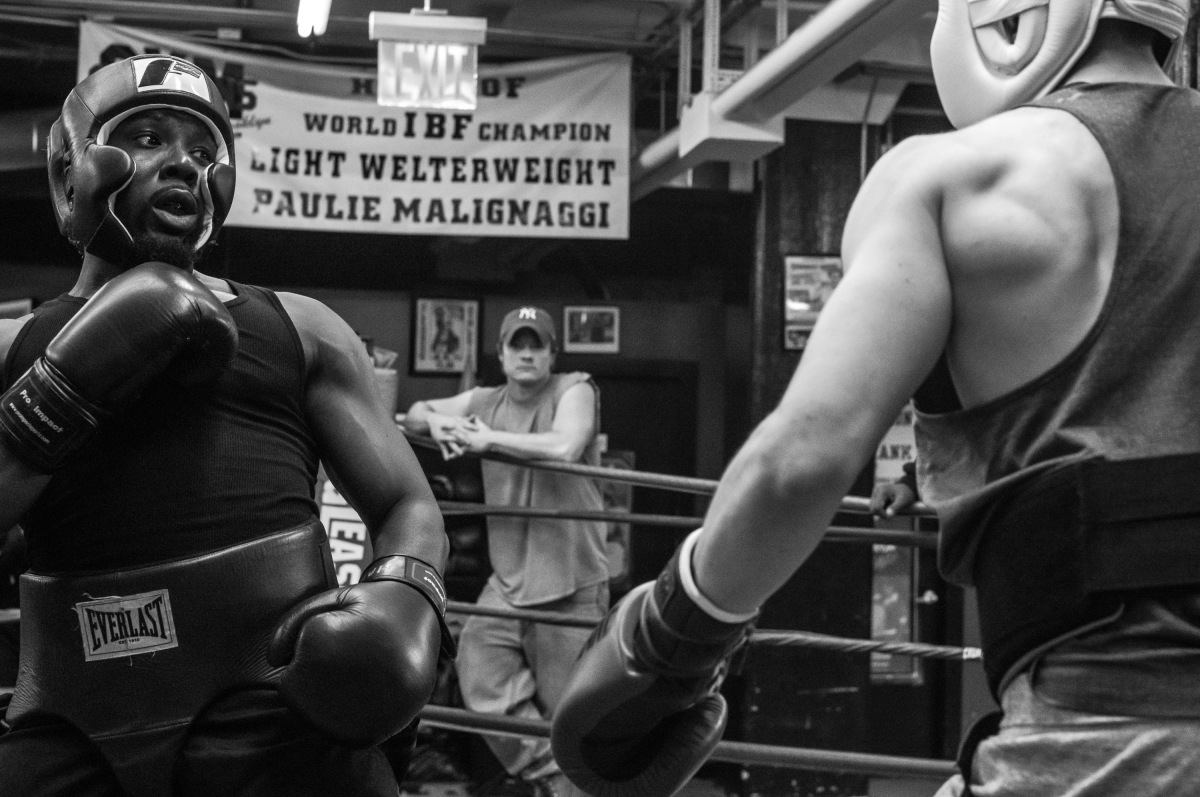
1/1,000th @ f/5.6, ISO 16,000
Home to over 130 champions, everyone from Ali to Foreman to Tyson has trained there. Banners hanging from the ceiling display its current crop of champion fighters, with the memorabilia plastering the walls a reminder of the ones in decades past.
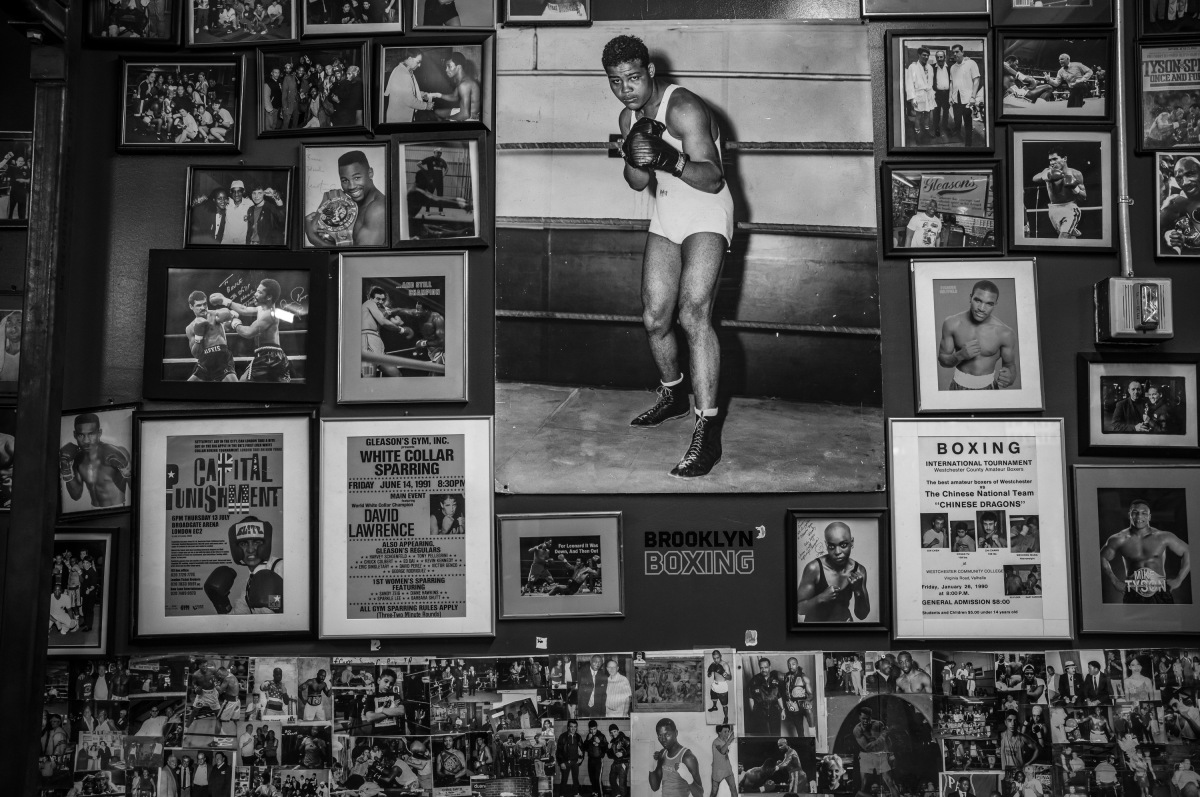
1/350th @ f/2.8, ISO 2000
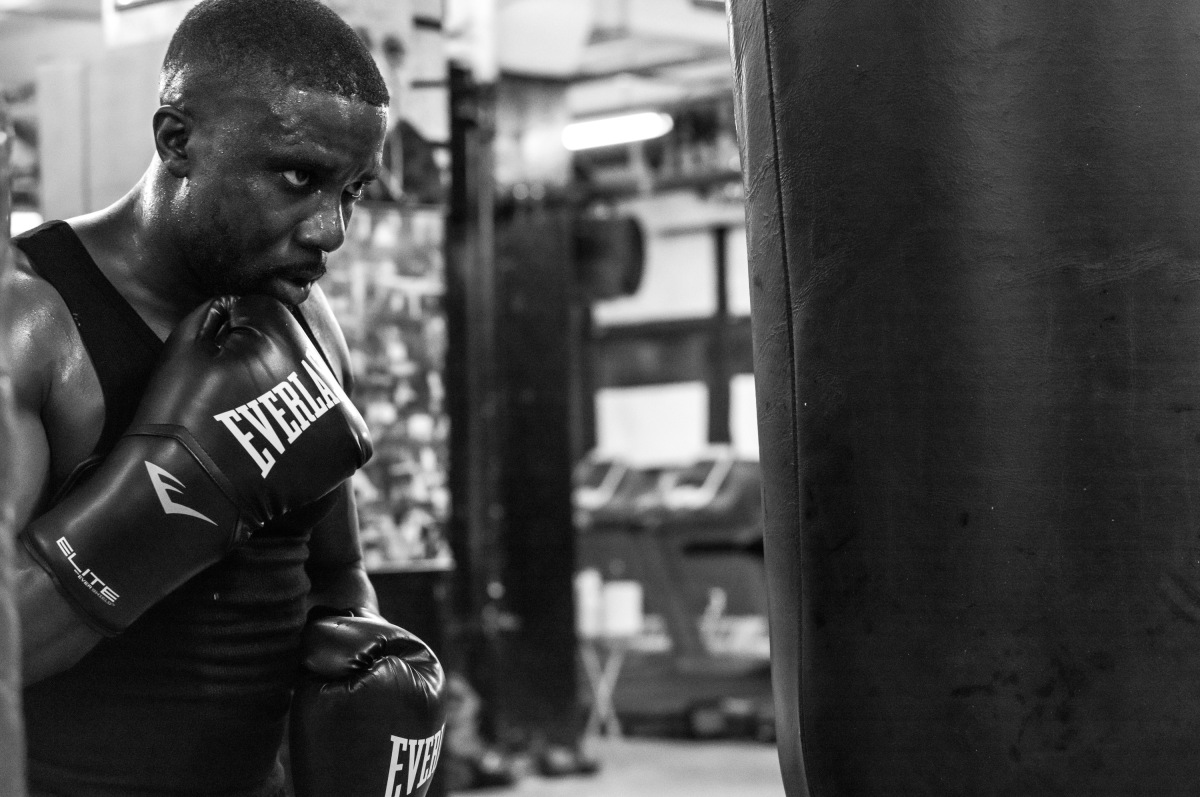
1/500th @ f/4.8, ISO 32,000
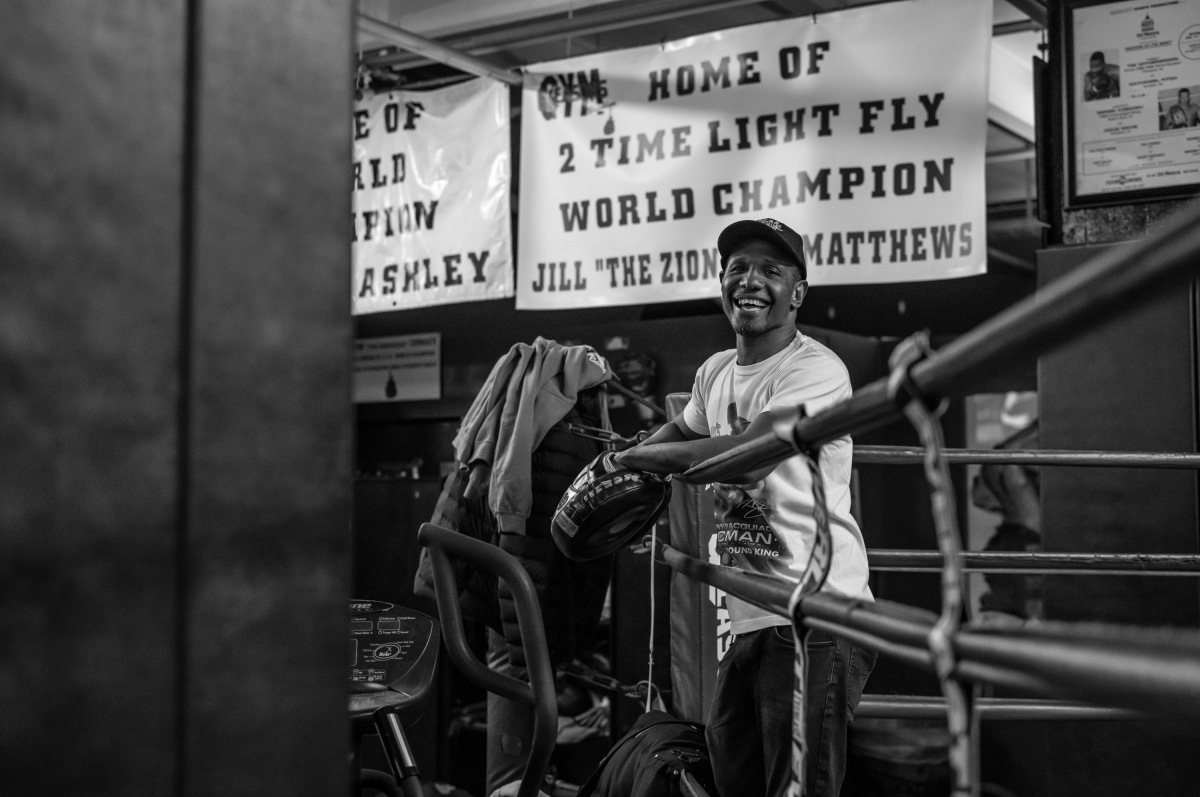
1/1000th @ f/2.8, ISO 4000
Even as someone who is reasonably fit, I felt lazy. These guys and gals were training with a fevered intensity that was exhausting just to watch. The bell would ring and for three minutes, every boxer in the gym was giving everything that they had, sparring, hitting heavy bags, working speed bags or running drills. The bell would ring again, and everyone had one minute rest, pacing, panting, or just sweating before the onslaught began anew.
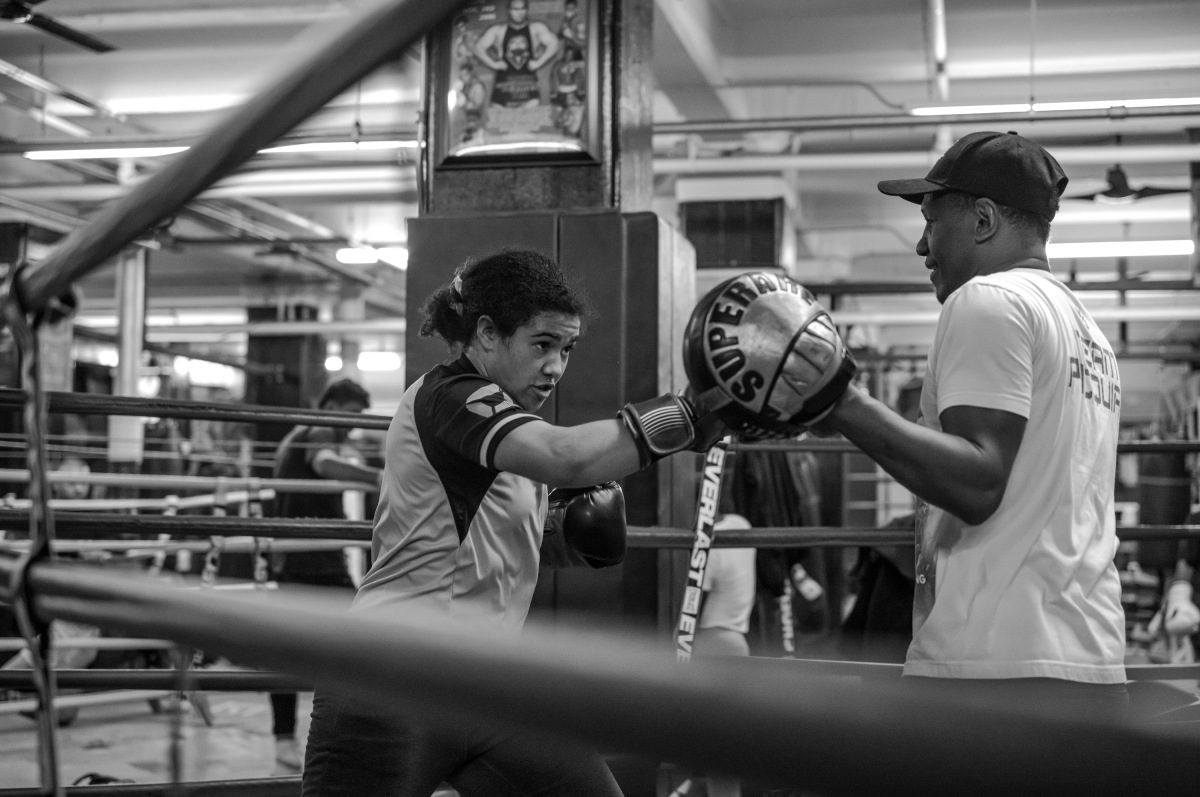
1/1000th @ f/2.8, ISO 6400
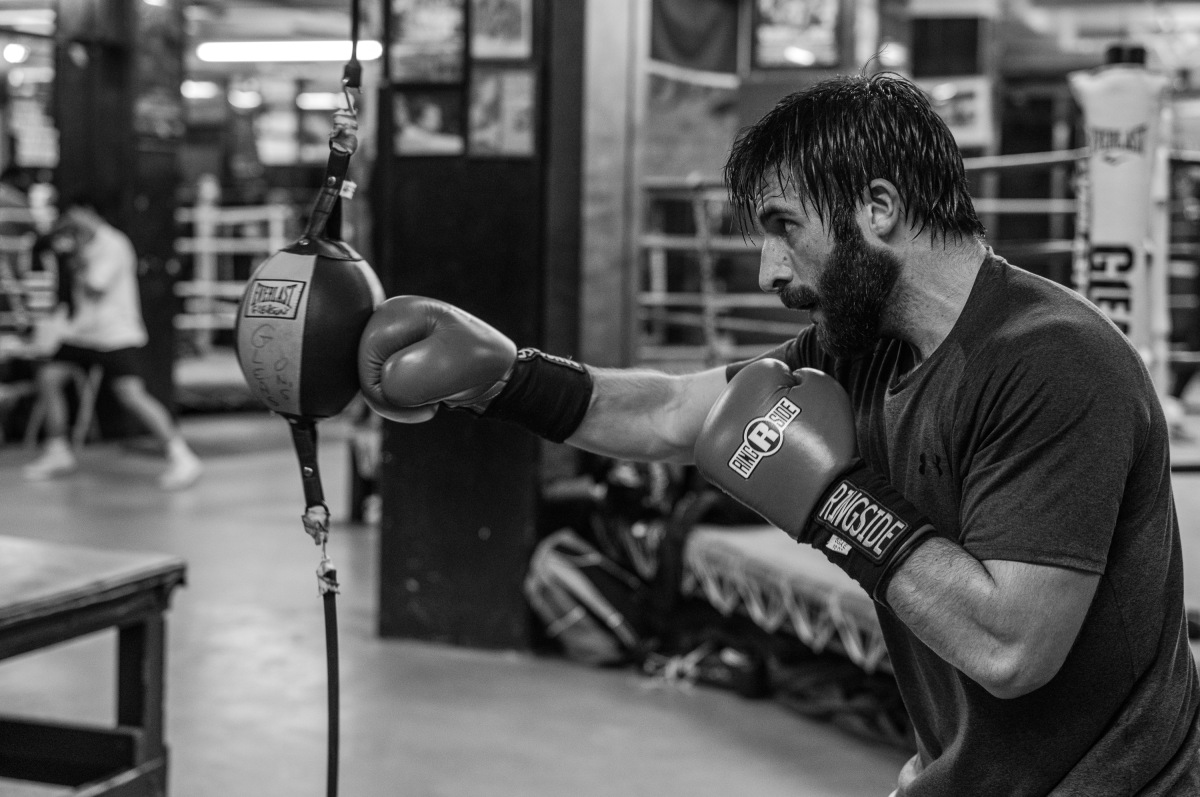
1/500th @ f/4, ISO 4000

1/1000th @ f/2.8, ISO 5000
I continued to wander around, and probably could have stayed there an entire day and never run out of photographic opportunities. The setting, the subjects, the action. Just a phenomenal spot for documentary/reportage work. But I still had one more photo objective remaining before I could call it night.
1/125th @ f/2.8, ISO 3200
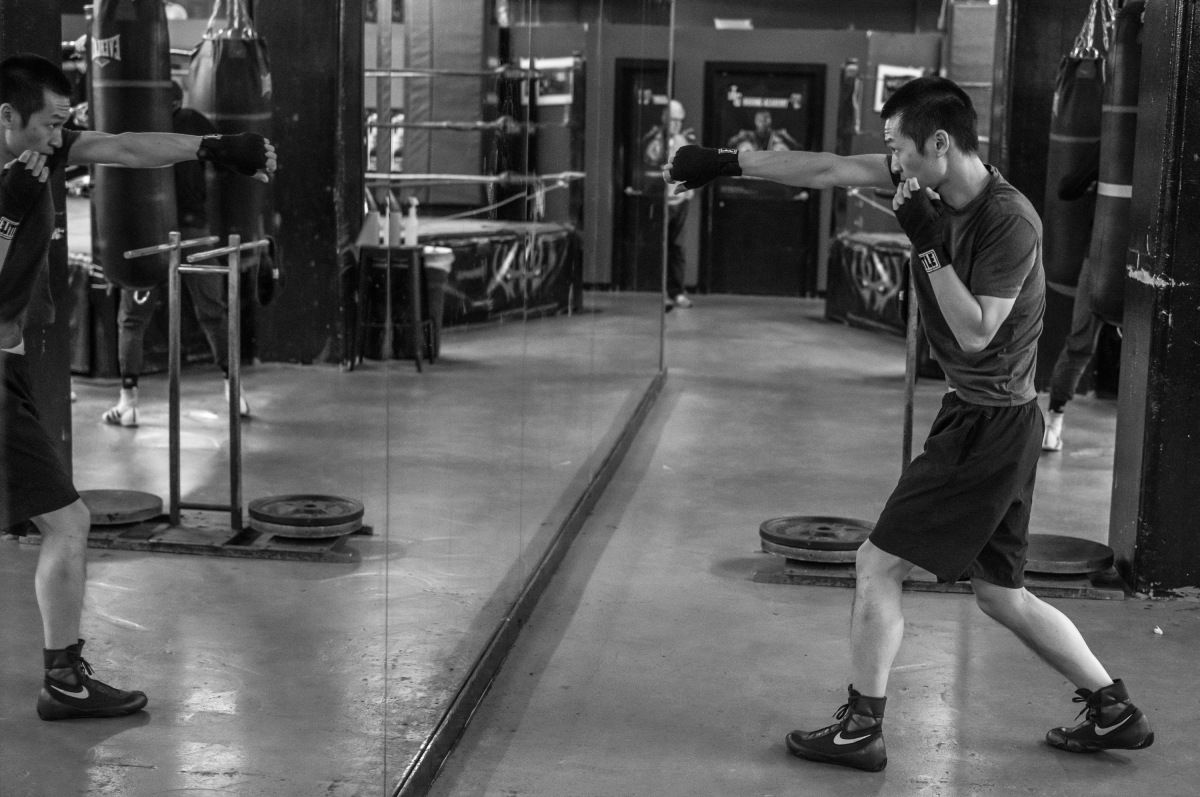
1/1000th @ f/3.4, ISO 20,000
NYC Skyline
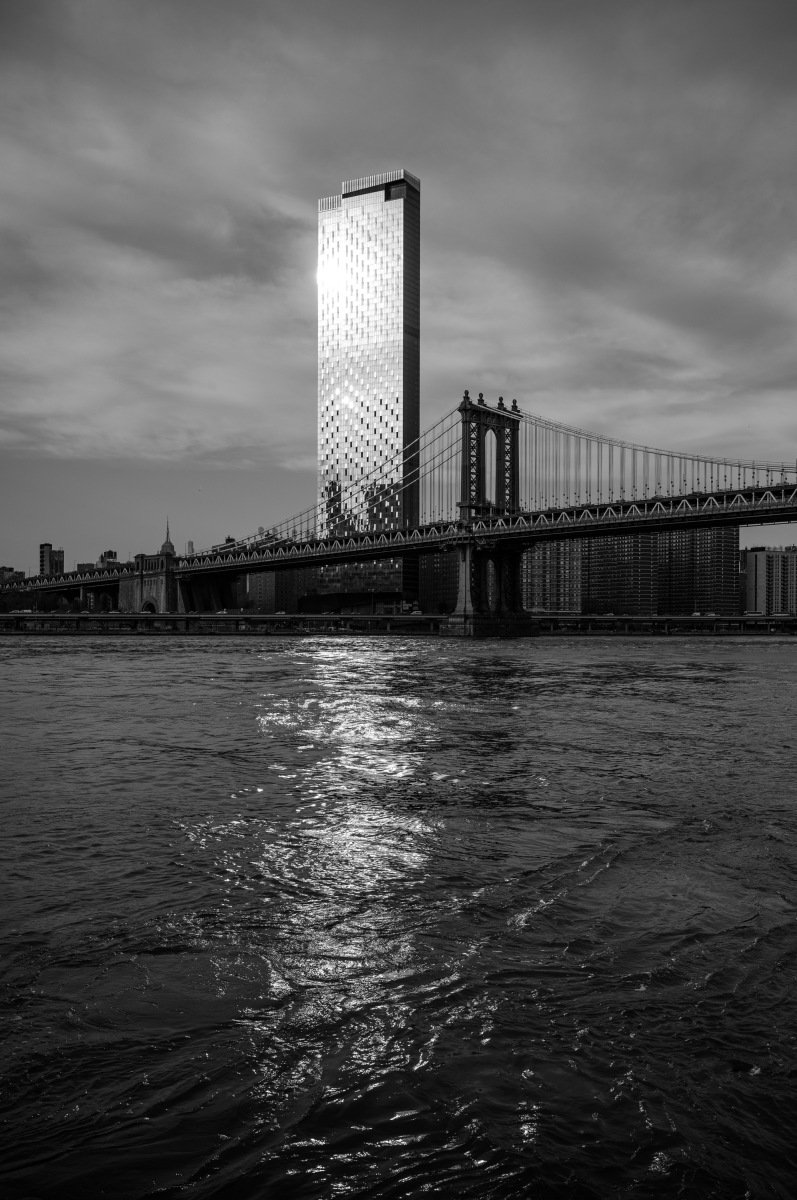
After the gym, I walked back out into the cool night air. City skyline shoots were next on the agenda. I started in the park just a couple blocks away, photographing the Manhattan Bridge, with the Brooklyn Bridge and downtown behind it. Wanting to blur the choppy East River a bit, I realized that while I had packed a tabletop tripod in my bag, I didn't bring any ND filters. But I did have a red filter, and that would act similarly to a 3-stop ND. Popping the filter on, I was able to get 15-30 second exposures at f/8, which worked quite nicely.
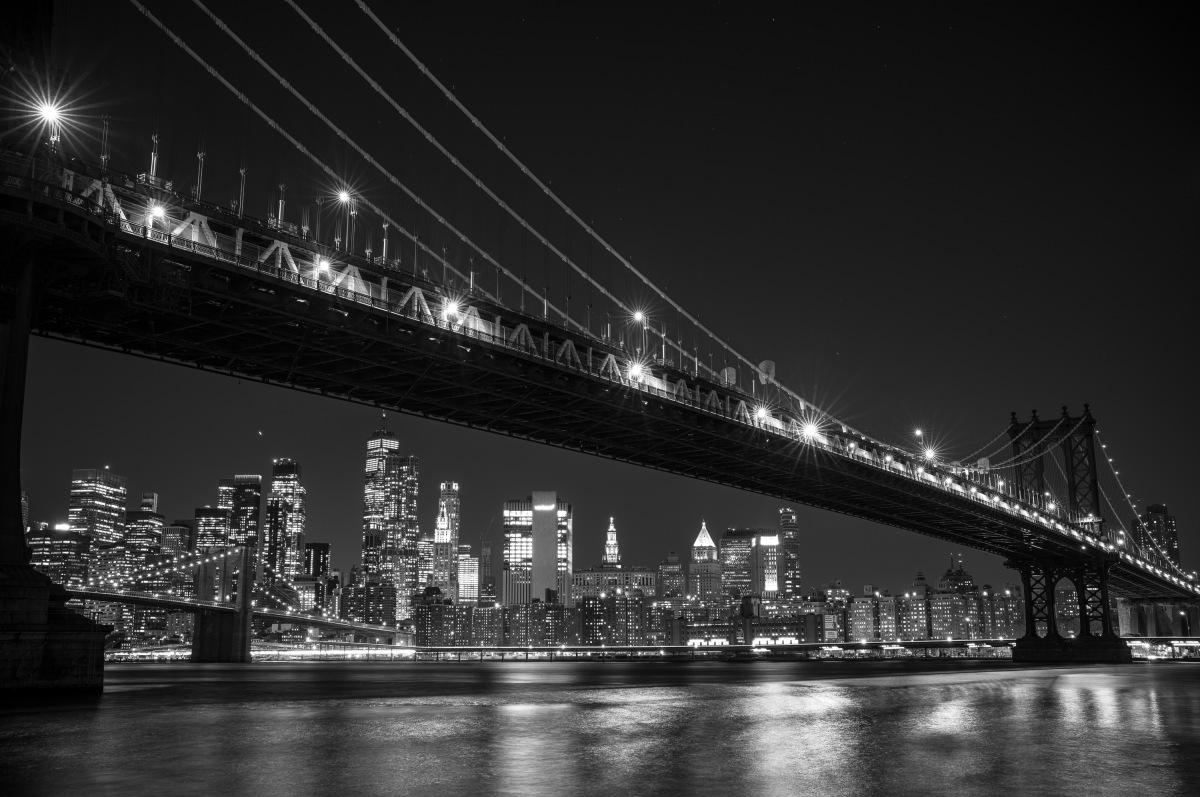
30 sec @ f/8, ISO 125
Unfortunately, my next shot was thwarted. I had done my research and saw that Pebble Beach in Brooklyn Bridge Park was an ideal vantage point for a classic skyline composition. With the historic Jane's Carousel in the foreground and the Brooklyn Bridge spanning across the frame with the city behind, it would have been a perfect shot. But I can't show it…because I couldn't take it. There was an ugly construction barge parked right in the middle of the foreground, blocking the carousel. Instead of a wide angle, I changed to the 50mm and cut out the offending barge for a little tighter composition.
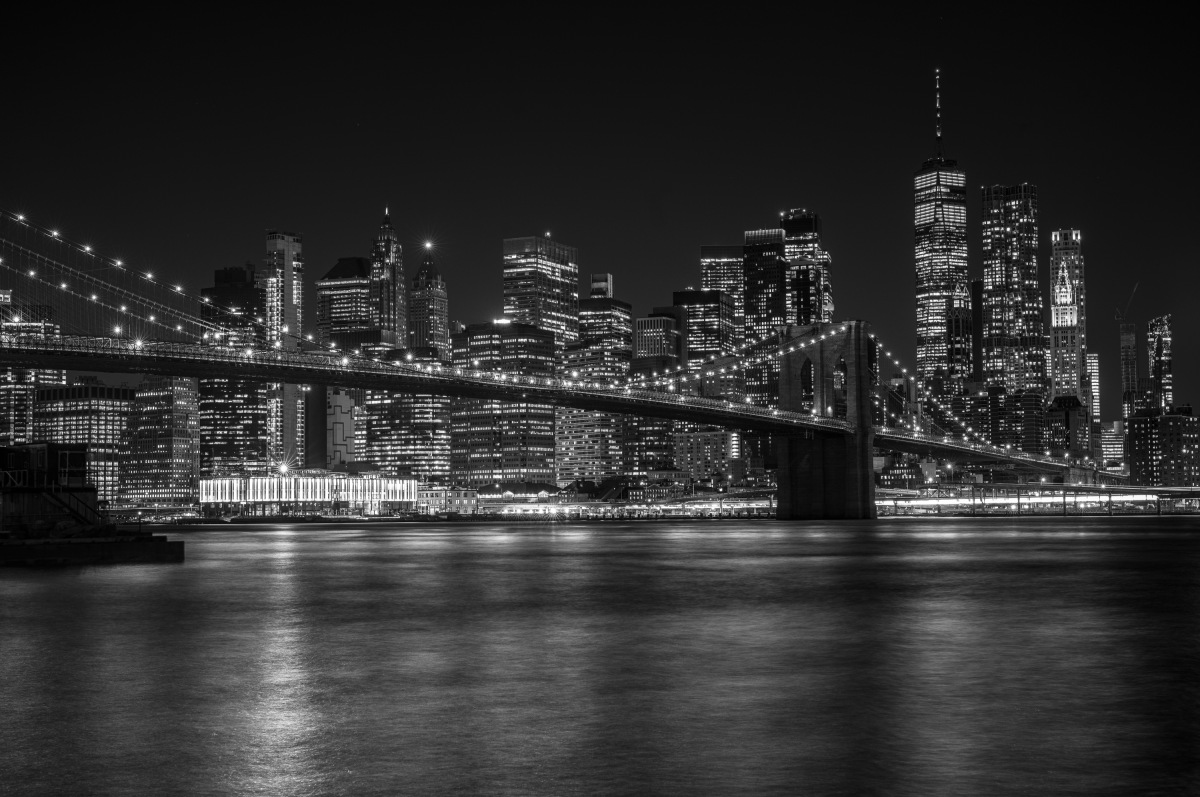
30 sec @ f/8, ISO 125
Onward to the last location. Another classic spot, Old Pier One is way on the other side of the Brooklyn Bridge. The old pilings make for great foreground, with the southernmost tip of Manhattan across the water. After grabbing a few different angles, I called an Uber and headed back. And with that, another successful photo outing to NYC. Always good to end on a high note.
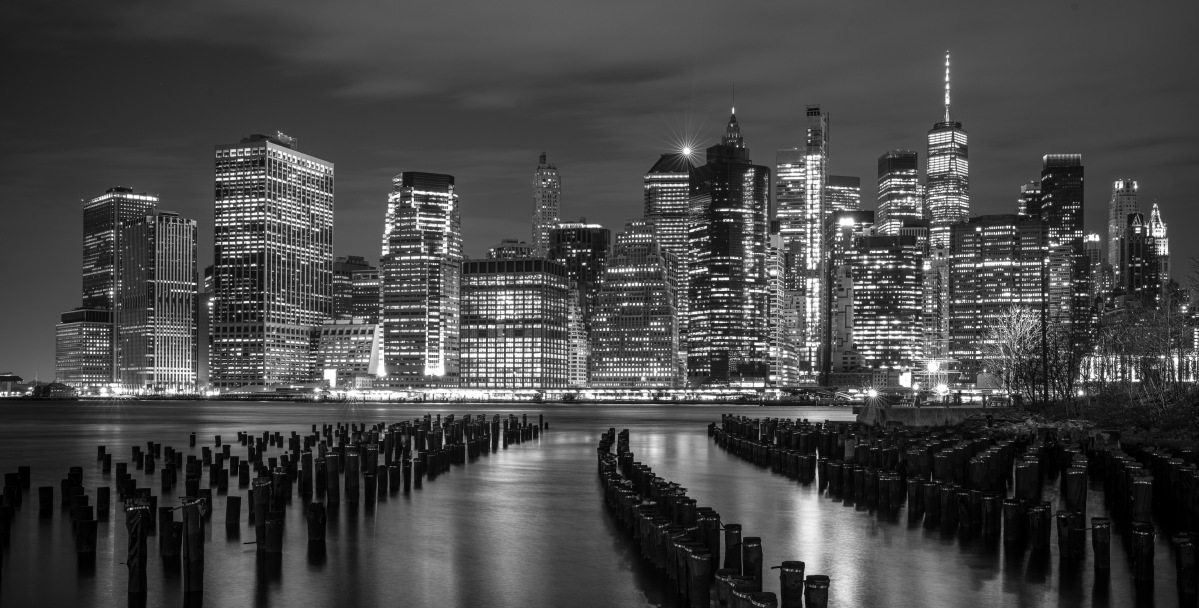
15 sec @ f/8, ISO 125
Do you really need 60 megapixels?
Before the M11, I had been perfectly content with 24 megapixels for a long time. It’s a sweet spot of file manageability and detail. Easy to handhold and works well with lenses new and old. Sure, the three generations of 37.5 MP Leica S cameras were my landscape workhorses for years, as is the 47 MP SL2 now. And more pixels are usually welcome for that kind of work. But for family, travel and street photography, I found 24 to be just right. Whether grabbing my CL for a family rock climbing and hiking trip, using an M10-P for documentary work or shooting night scenes with the SL2-S, I rarely yearned for more resolution.
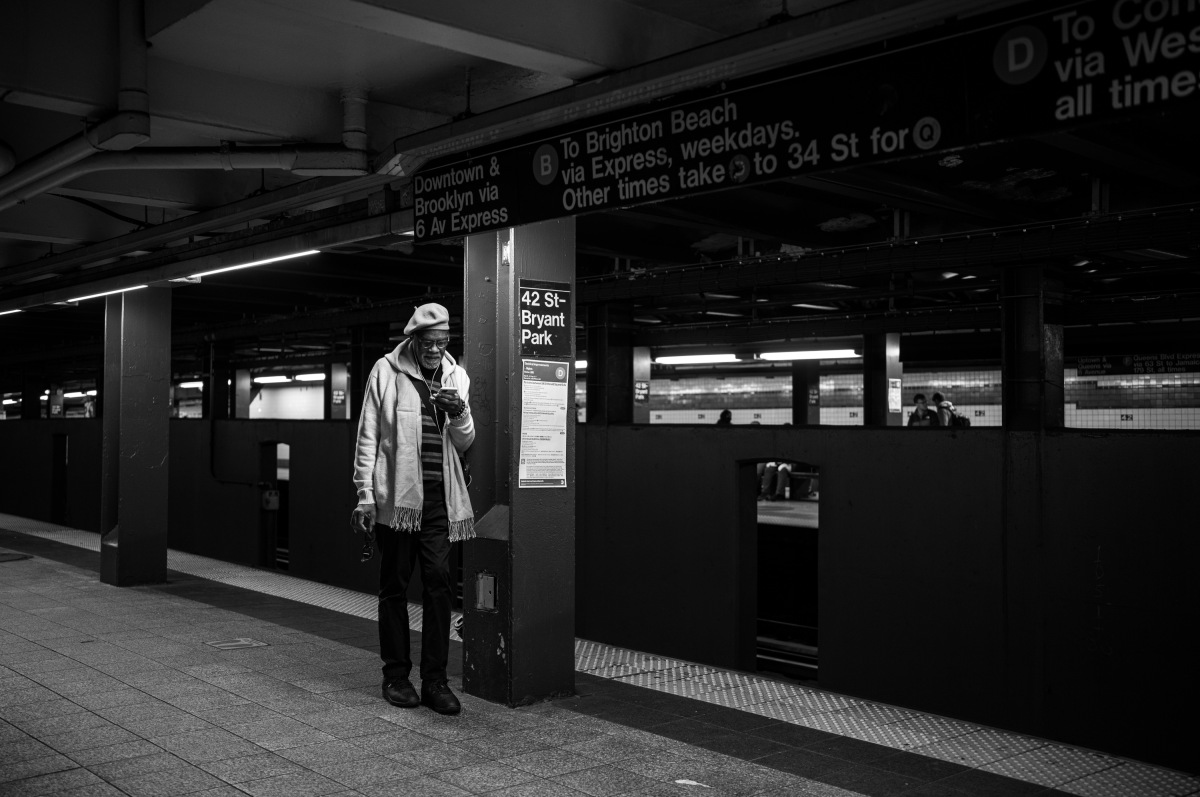
1/320th @ f/2.8, ISO 800
Along the way, the 40-megapixel M10-R and M10 Monochrom became the new standard for M photography just as the 47-megapixel SL2, Q2 and Q2 Monochrom took hold on the AF side of the lineup. And, yeah, sometimes that added detail is welcome. But is 60 really necessary? In an M camera no less. With no image stabilization or autofocus, would it even matter?
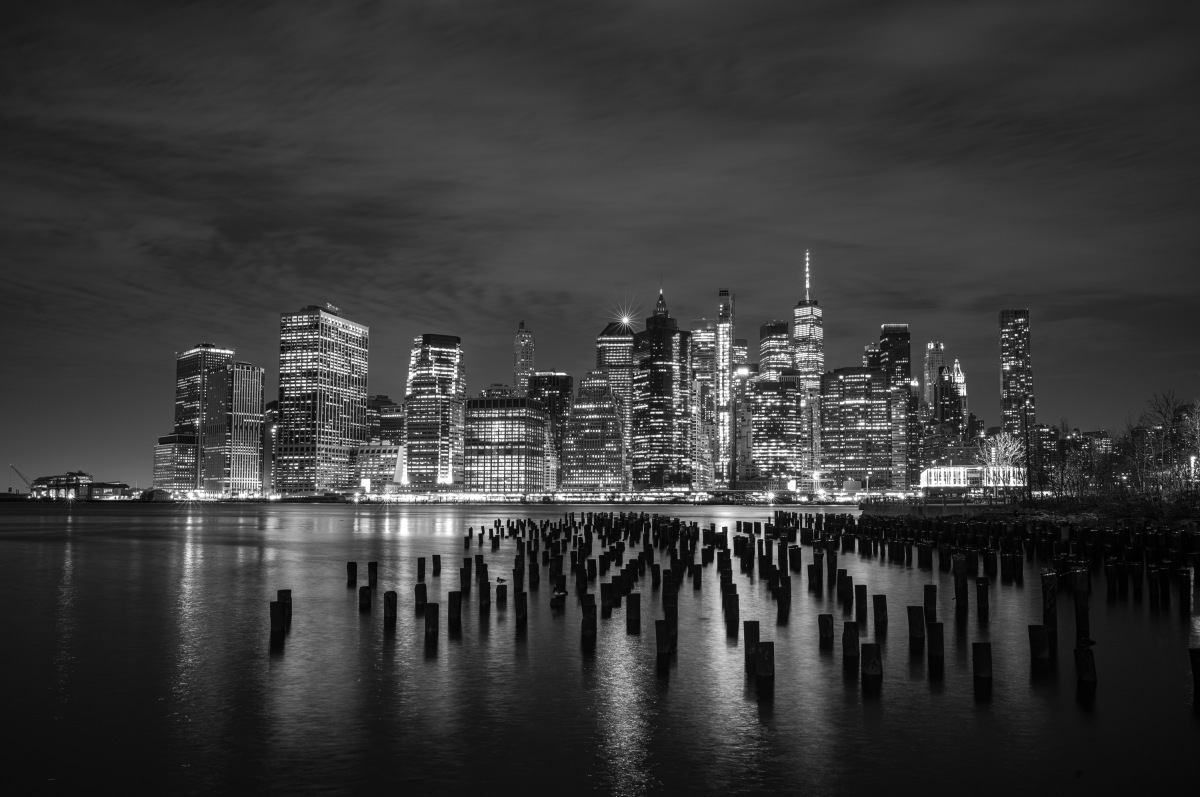
10 sec @ f/9.5, ISO 125
After testing the M11 last year, I came to conclusion that while I don’t need 60 megapixels, I’d be lying if I said that I don’t want 60 megapixels. With the right lenses, the detail is simply astounding. And now that I’m used to that level of detail on the color side, having 60 megapixels on the M11 Monochrom just feels right. Besides absolute image quality and resolving more detail than you even knew you needed, there are three practical reasons for the added resolution.
Digital Cropping
The first should be obvious to anyone who’s either used the Q2’s digital zoom or APS-C mode on the SL2. With more pixels, you can crop later in post while still maintaining adequate detail for whatever your final use might be. I’m a big believer in precise framing and getting it right in camera. But sometimes, especially with fixed-focal length M lenses topping out at 135mm, and most users including myself only packing up to a 90mm in the bag, you sometimes can’t get close enough for the shot you want. Or, you’re shooting wide angle street photos from the hip. You can focus on the moment, while benefiting from the larger depth of field and more forgiving field of view knowing that you can simply crop later.
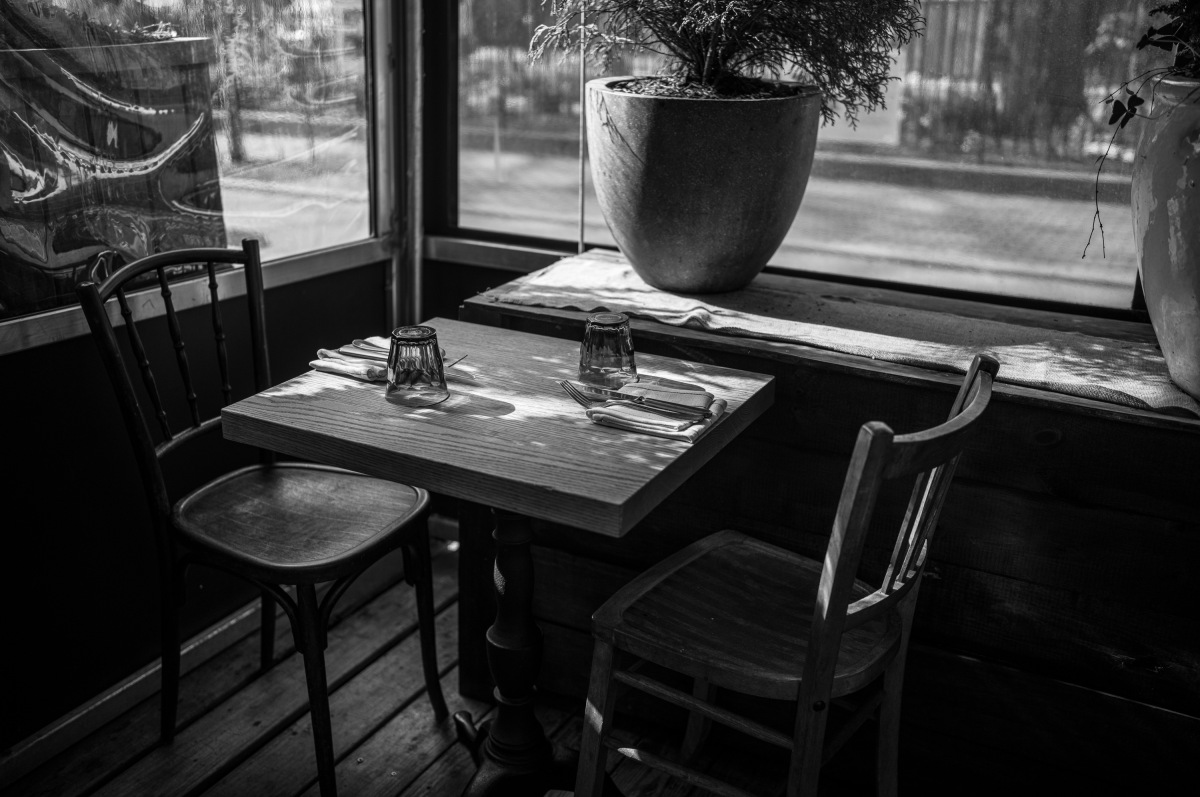
1/4000th @ f/2, ISO 400
The M11M has two digital crop modes, with settings for 1.3x and 1.8x. Like the M11, when activated, a white bounding box shows the virtual crop in live view. And same as in the M11, the crop is merely embedded as metadata. So, while the image appears in Lightroom with the crop applied, it can be adjusted, or even undone to reveal the full frame capture as long as you shoot in L-DNG. When shooting in JPG or even in DNG+JPG, the JPG images will be permanently cropped.
More information for perspective control
I’m a big fan of geometry in pictures, and am often drawn to windows, doors and patterns. But I’m not usually that fond of keystoning, the natural propensity of lines to converge towards a vanishing point when shooting off-perpendicular at a flat subject. An unexpected benefit to the M11M’s massive resolution is when editing these types of images. Even after heavy perspective correction and cropping in Lightroom, I’m left with files in excess of 35 megapixels that look fantastic.
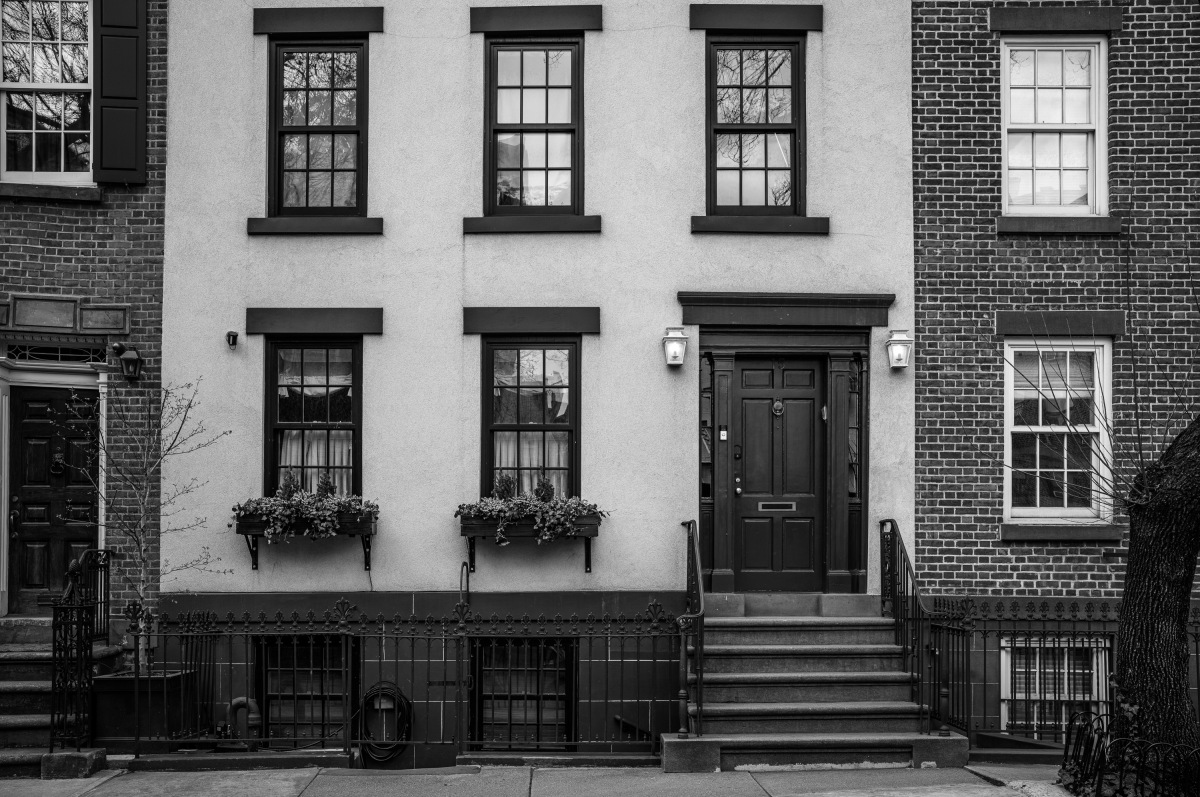
1/320th @ f/5.6, ISO 160
If I were starting with far lower resolution, there wouldn’t be much left over for the final product. Maybe more than digital zooming / cropping, this is the strongest justification for more pixels. To take full advantage of geometry correction in real time, you can enable Leica Perspective Control in the menu. This will provide a real-time overlay showing you the resulting cropped area.
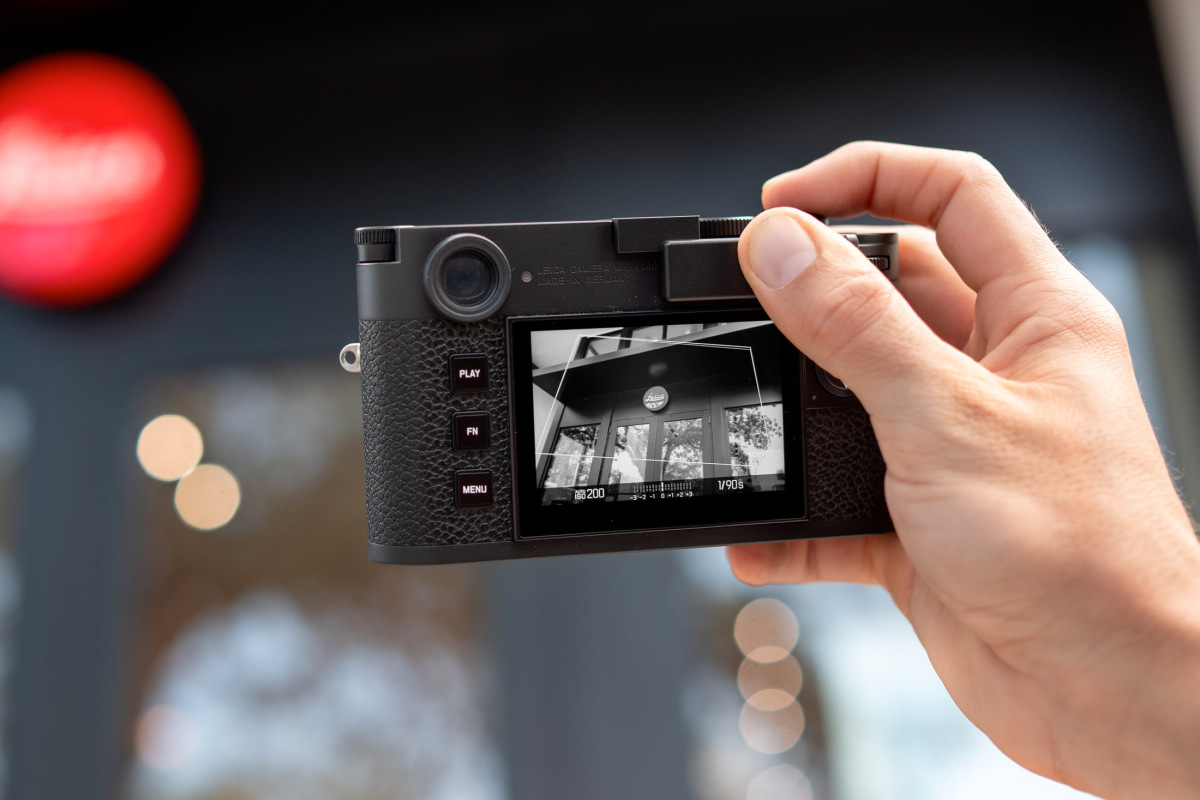
Better noise reduction
The M11M files respond extremely well to noise reduction at higher ISOs in L-DNG. The combination of uniform noise, lack of per-channel gain and excellent signal to noise ratio with the high pixel density all contribute to the ability to clean up files when necessary. Where I generally shy away from dialing in more than 10-20 NR in Lightroom due to the destruction of fine detail, L-DNGs from the M11M can easily take up to 40-50 with almost no visible loss of sharpness. And the noise is so effectively eliminated in shadow areas that it seems like magic. Granted, at low ISO up to medium ISO settings, the files are already so clean that you’ll be rewarded with even more acuity in fine details like hair and textures by taking the NR slider back to zero.
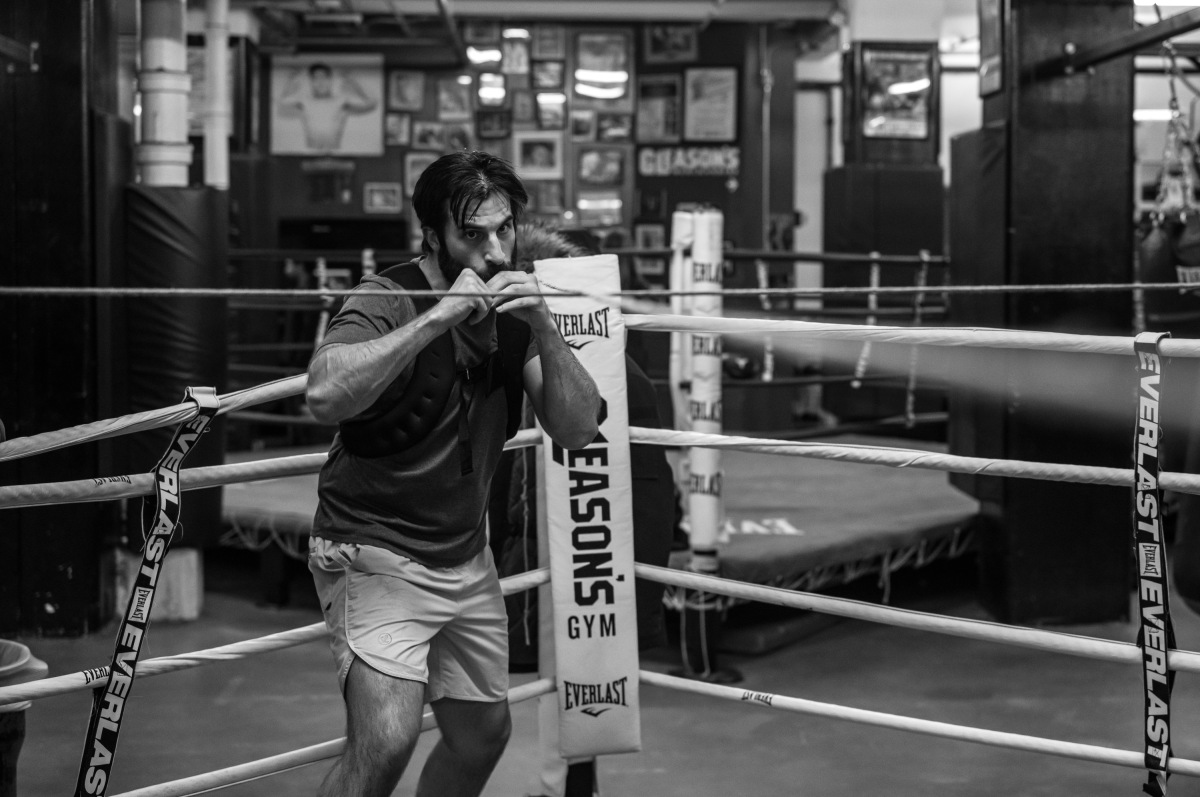
1/1000th @ f/2.8, ISO 5000
Why bother with variable resolution?
When I first tested out the M11, I kept wondering when, or even if, I should drop the resolution from the full-on 60 megapixels L-DNG to 36 megapixels M-DNG or 18 megapixels S-DNG. The triple resolution feature was new and unknown at the time, but a year’s worth of shooting and real-world image evaluation has borne out my recommendation to just stick with the full-size L-DNG and call it a day. The quality at M-DNG on the M11 is nothing to sneeze at. Quite the contrary. But more is more. My advice remains the same for the M11 Monochrom as it does on the M11, leave the camera set to L-DNG and capture the maximum available quality. You’re paying for all those pixels – use them!
File size
Admittedly, the high-res files take up more space, both on your SD card and computer’s SSD, but not as much as you might think. Leica’s lossless DNG compression is remarkably efficient. Across the wide variety of images taken during testing, my L-DNG files ranged widely in file size from a mere 48MB to a whopping 95MB, averaging around 70MB. If you opt for 36 megapixels in M-DNG, expect sizes from 30MB up to 55MB, with the average coming in about 45MB.
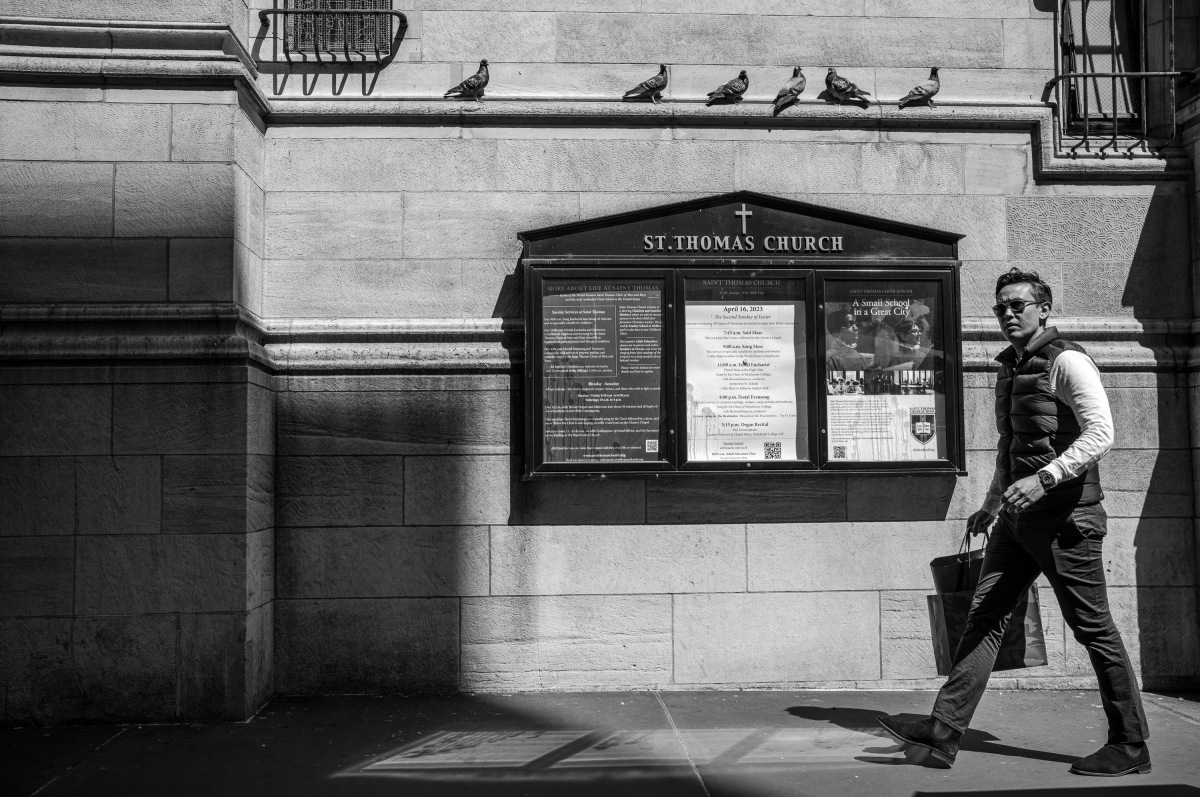
1/2000th @ f/5.6, ISO 320
Interestingly, and perhaps unsurprisingly, pictures taken at higher ISO settings have increasingly larger file sizes due to the less compressible fine noise in otherwise contiguous shadow areas. The relationship is near linear, with low ISO images clocking in at the lower end of the range and high ISO images at the top.
Low light performance
While in theory, pixel binning to lower resolutions should lead to superior light gathering, increased dynamic range and improved high ISO performance, I haven’t seen any tangible difference in my real-world shooting with the M11 over the past year. As both cameras are based on the same underlying technology, I wouldn’t expect it on the M11M either. Of course, new processing algorithms and possible firmware updates could change this calculus in the future. I’ve already been blown away by how much better my old M9 and S2 files look with the latest version of Lightroom than when I first processed them.
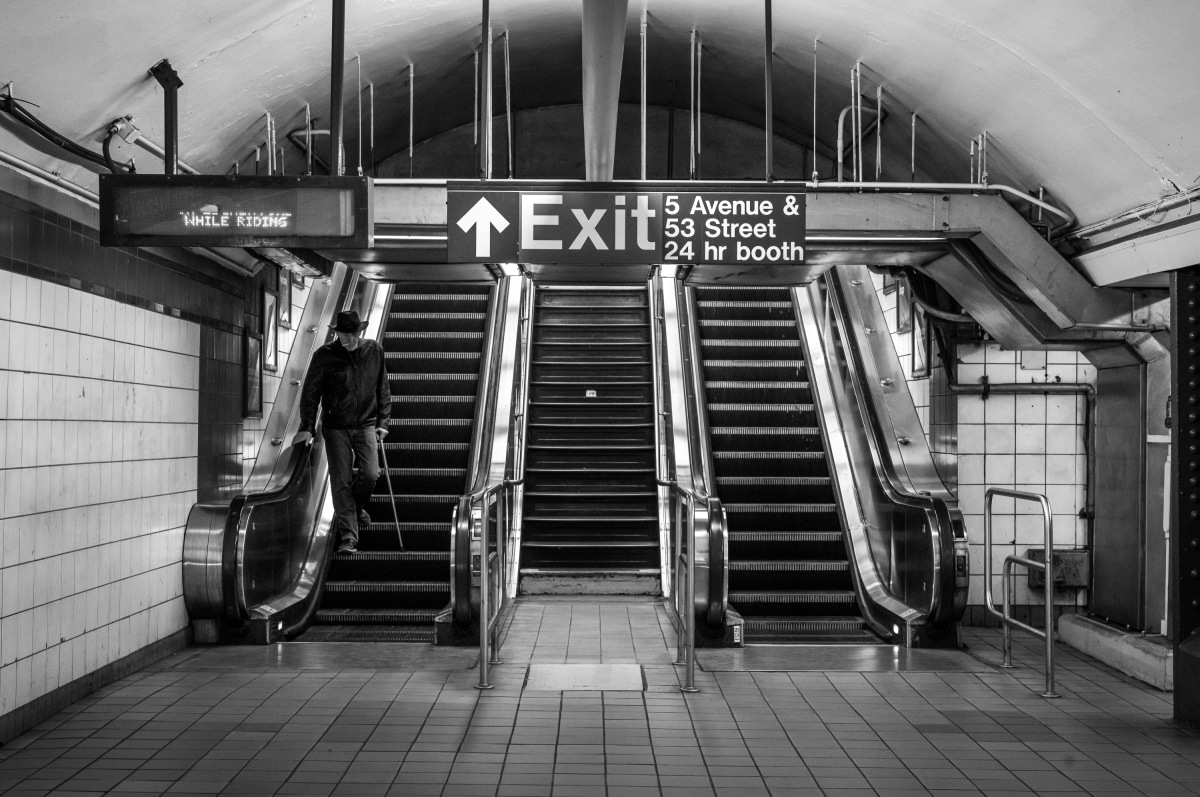
1/250th @ f/5.6, ISO 8000
Computing power
I’d acknowledge that file handling of such large images could be problematic, but in 2023 this shouldn’t even be a consideration. My one-generation-old 16-inch MacBook Pro with its M1 Max processor made light work of the files, as did my even older Dell XPS 17 with an Intel 11th Gen i9 chip. If you’re spending this much on a high-end photographic tool like the M11 Monochrom, and you’re struggling with the files, just get a new computer. Apple silicon M2 Pro or M2 Max systems are incredible for photo editing, but so are PCs with the latest Intel and AMD CPUs. Just make sure not skimp on the RAM – I’d advise at least 32GB. Bottom line – don’t let limited computing power be a reason to hold yourself back photographically, or to make sacrifices with image quality. And think of all the extra time you’ll have to go shoot when you’re not staring at an hourglass or spinning beach ball.
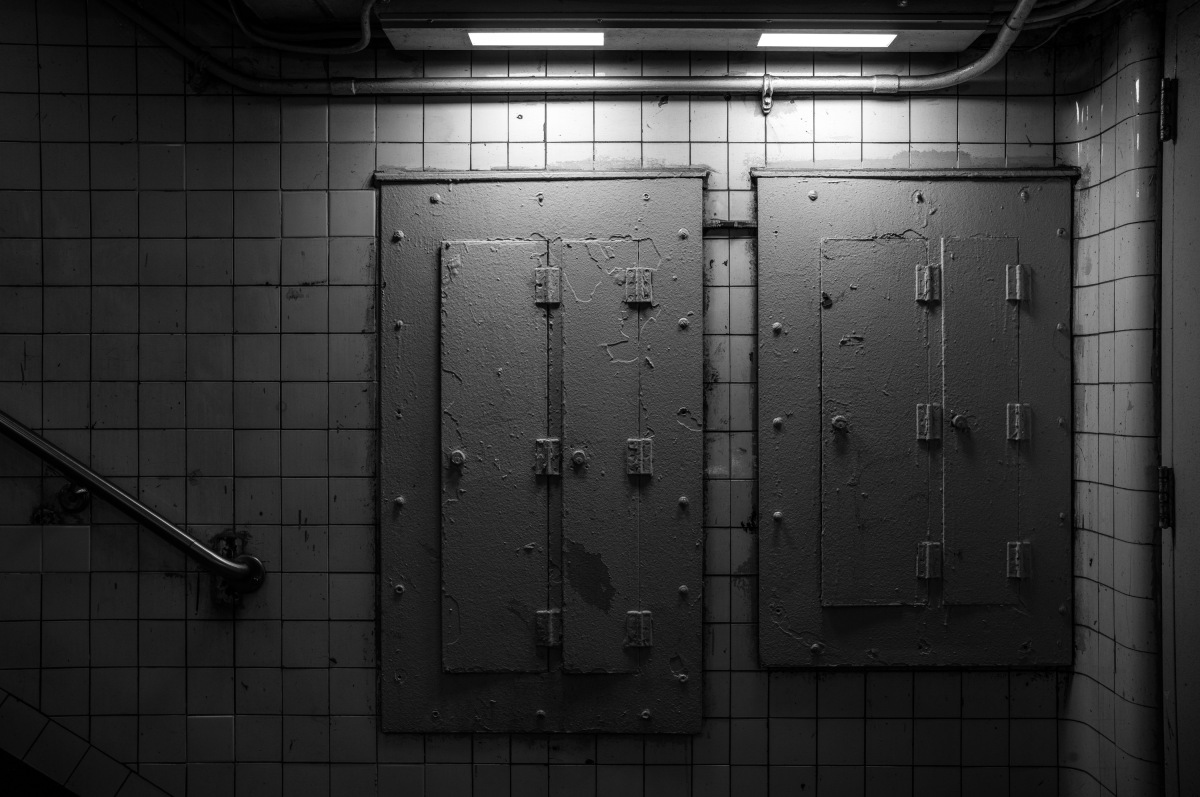
1/320th @ f/4 ISO 800
File handling
I don’t evaluate images in a vacuum, nor do I care what pictures look like SOOC (straight out of camera). I’ve covered this topic ad nauseum in previous articles and reviews. I’m simply concerned with what I can achieve as a finished result. So, yes, all the images in this review have been processed and optimized in the latest version of Adobe Lightroom Classic. Why wouldn’t they be? I would never deliver unfinished photographs to a client, hang them on my wall, or present in a published article like this one.
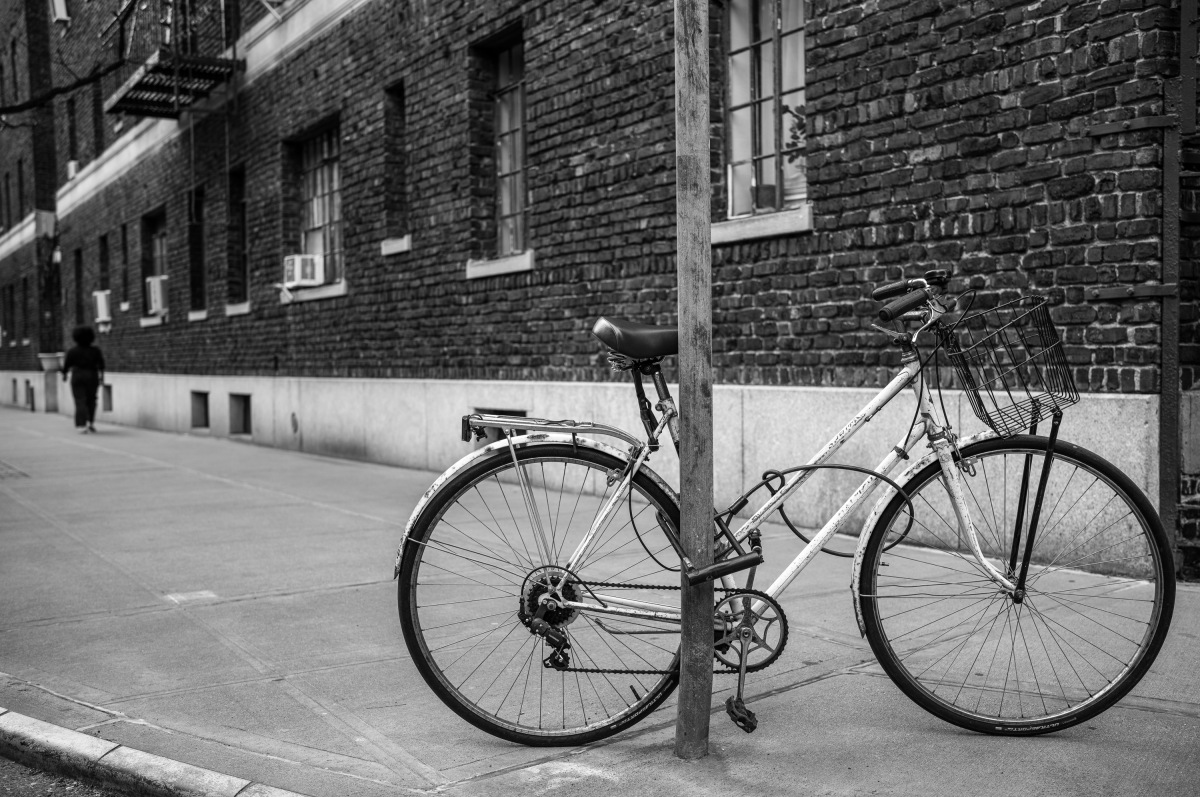
1/500th @ f/2, ISO 125
Admittedly, at first, I struggled with the M11M files. Black and white toning is such a subjective art form. Some prefer darker, more moody images, others soft and low contrast. Me, I like punchy images with deep shadows and contrasty highlights, but with plenty of shadow and highlight detail. After playing around with the images, I settled on a look that worked for me. With no processing, the Monochrom files are a blank canvas. In other words, flat. Especially images taken in low contrast light. Bright daylight or nighttime shots with strong artificial lighting have more pop but have the potential for blown highlights.
I found the M11M files needed a decent amount of clarity, contrast and sharpening to pull out the details and create more dynamic images. I employed general tonal sliders, as well as tone curve adjustments to increase contrast while preserving shadow and highlight information. When processing very high ISO images, I did have to give up some shadow information in order to preserve blacks and suppress noise.
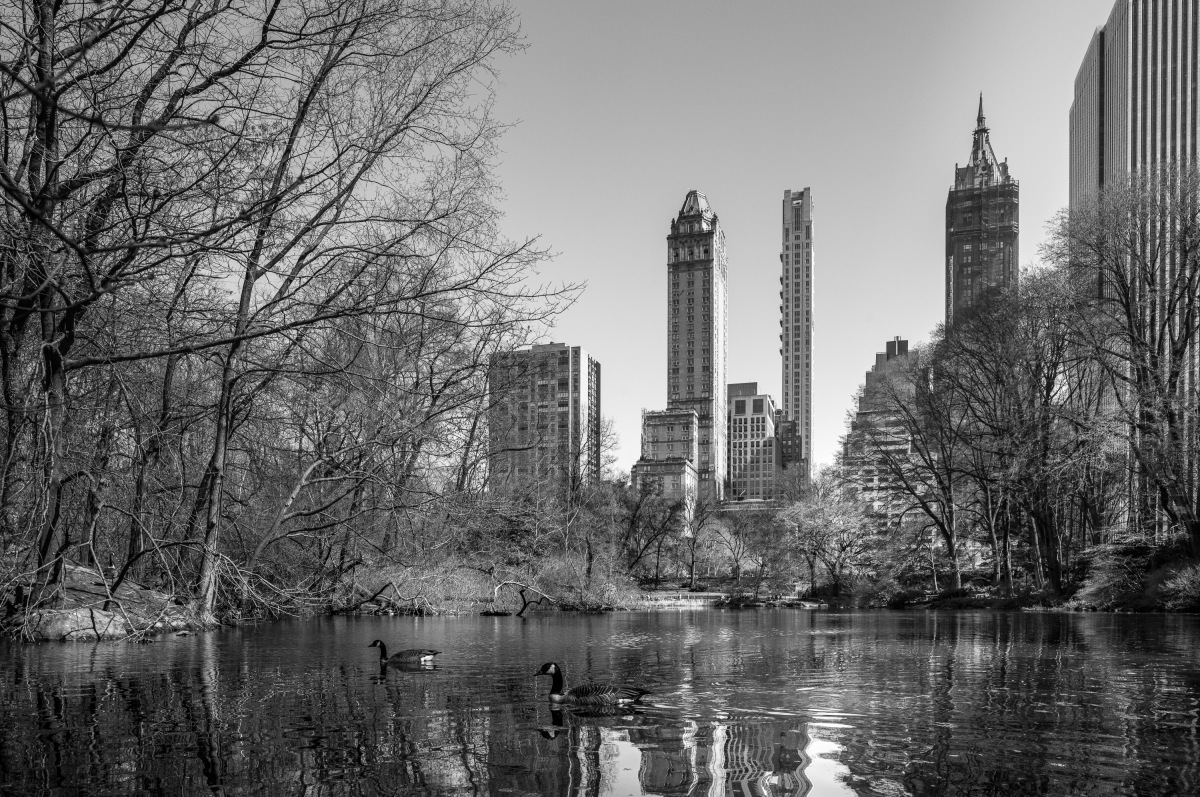
1/2000th @ f/8, ISO 1000
And in contrasty scenes which required underexposing 2 or 3 stops in camera to hold highlights, I had no issue in pulling up the exposure the commensurate amount. The files do require a bit more finesse than those from the M11 or SL2, but once dialed in, the results are more than worth the extra effort.
Why no S-DNG or M-DNG?
During my testing, I never once committed to trying out S-DNG. Sure, I’ve been happy with 24 megapixels for the last decade, but have moved on from sub-20 megapixel cameras long before that. For me, limiting the camera to 18 megapixels simply isn’t worth it. Along the same lines, I can’t speak to the quality of the in-camera JPGs, because I never take any. I’m shooting with a Leica because I want the absolute best image quality. That means DNG only and in the case of the M11M, L-DNG.
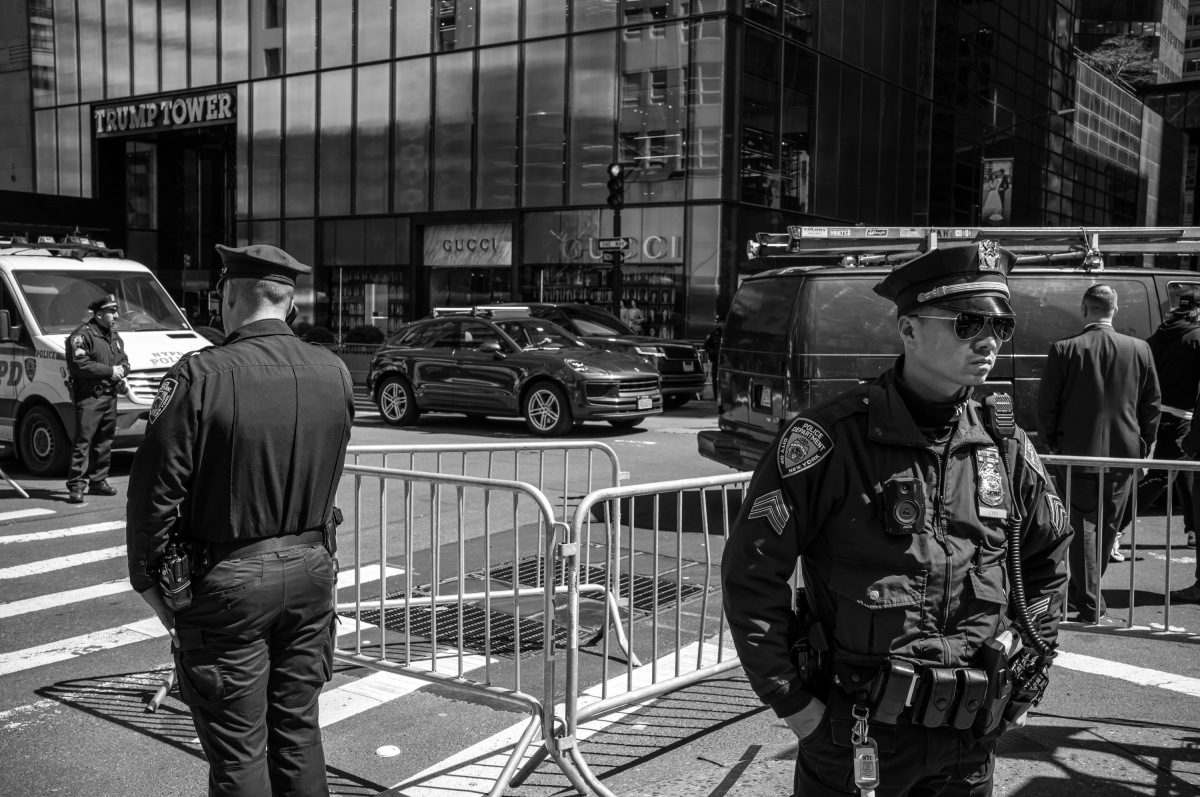
1/2000th @ f/8, ISO 1000
Image Quality
Let’s get right to it, the image quality out of the M11 Monochrom is simply stunning on every level. Details, tonal gradations, dynamic range. It’s all there. Here’s how it all breaks down. And keep in mind that all the images here and my evaluations of them are based on pre-release beta firmware.
ISO Performance and Dynamic Range
The base sensitivity of ISO 125 is a real ISO 125 and not a PULL as on other cameras. At this setting, the sensor will deliver its full 15-stops of dynamic range to handle even the most demandingly contrasty scenes. Of course, you will need to use exposure compensation along with the highlight warning capture assistant to make sure that you err on the side of underexposing, then pull up the shadows in post.
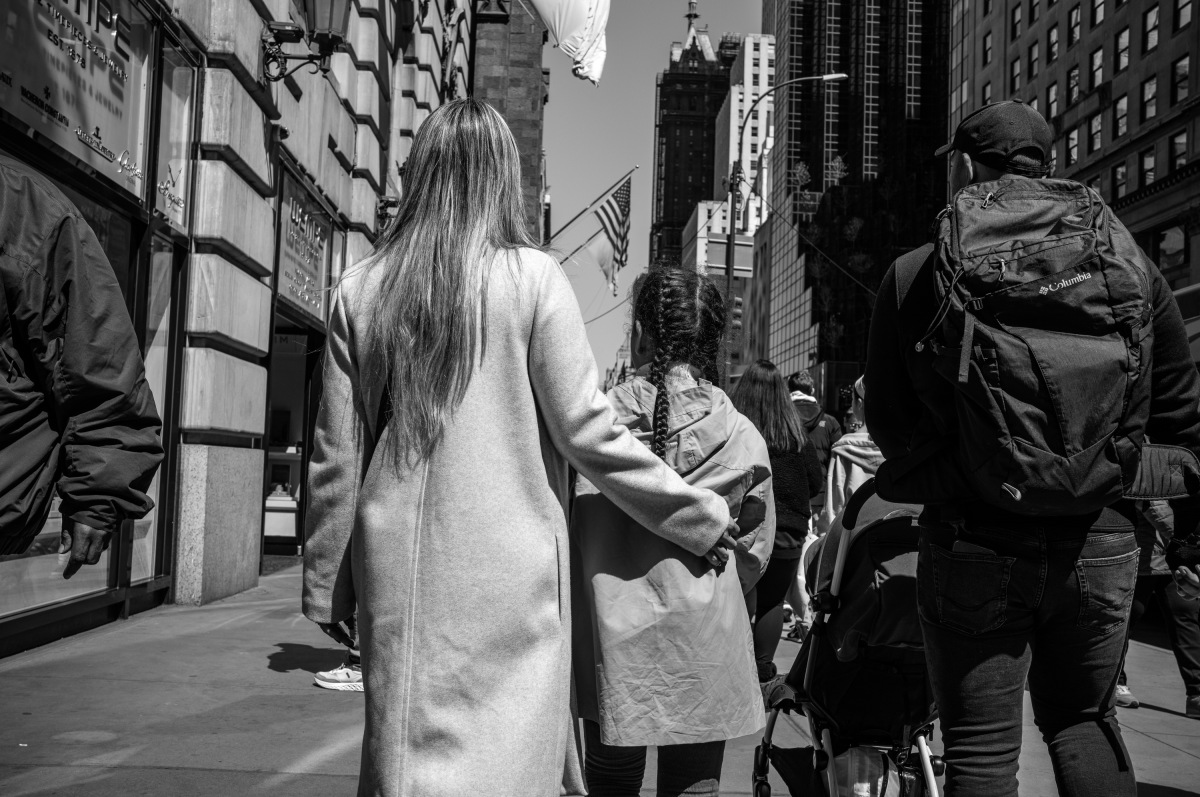
1/2000th @ f/5.6, ISO 250
The M11M impresses when it comes to dynamic range and file malleability. Like most Leica cameras, there is massive amounts of shadow detail, especially at lower ISO settings. At base ISO, the detail and tonal information seems endless. But unlike those other cameras, on the M11M that adjustability continues up the ISO range. I have shots at ISO 16,000 that I bumped the exposure 2 stops and they are still quite usable.
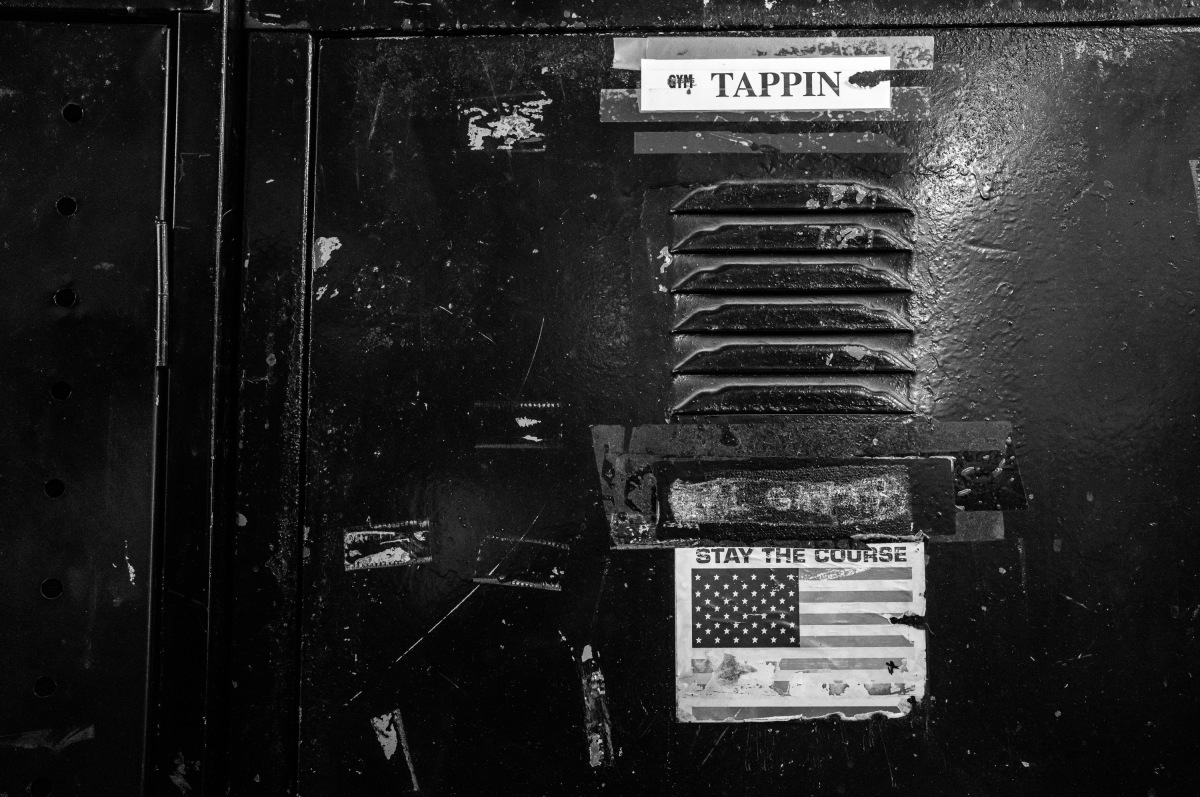
1/125th @ f/5.6, ISO 20,000
If you want even more latitude for demanding scenes when shooting on a tripod, a little auto-bracketing can go a long way. Set the camera to three shots at 2-stop increments and the combined HDR DNG in Lightroom will have a jaw-dropping 19-stops of DR.
Quality holds tight even as the ISOs climb with ultra-clean results up to ISO 8,000. At this setting, I was still able to pull up my exposure +3 stops and still get an amazing image with just a bit of noise reduction. ISO 12,500 continues to look awesome but has a tad less malleability.
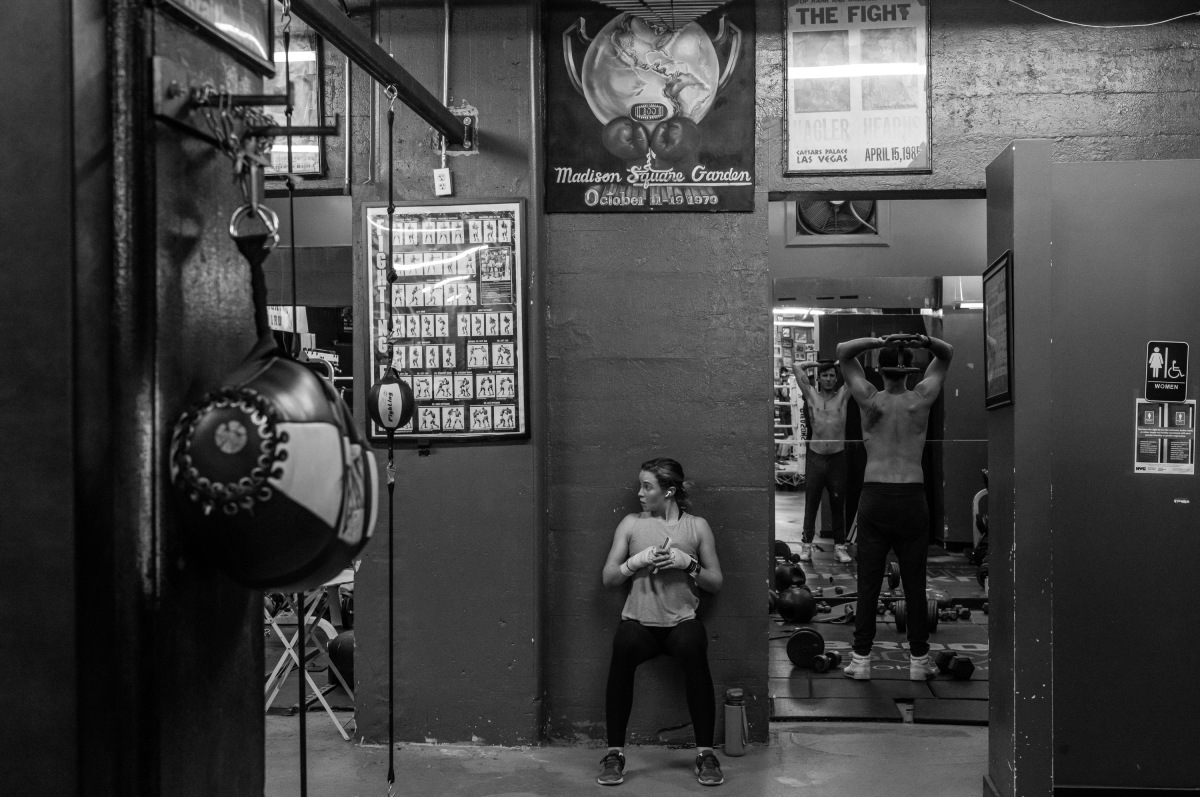
1/350th @ f/5.6, ISO 8000
And going even further, ISO 16,000 still impresses with a uniform and tight grain that is all but invisible at any normal output size. ISO 20,000 is solid but with just a tiny bit more noise. I’d say ISO 25,000 is the highest ISO I’d recommend without sacrificing detail due to noise, or excessive noise reduction.
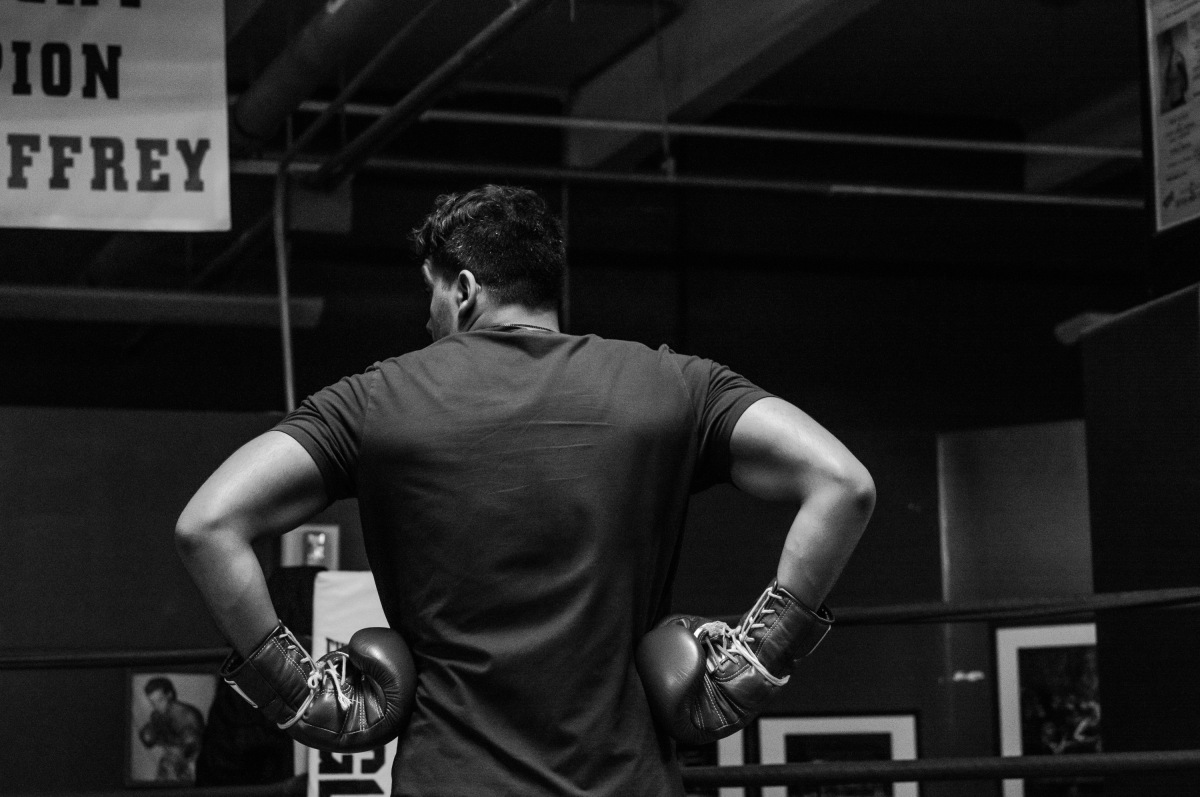
1/750th @ f/5.6, ISO 40,000
Sure, ISO 40,000 and ISO 50,000 are completely usable but will have some visible noise in the final output. Even though the M11M offers settings up to ISO 200,000, I’d avoid going past ISO 50,000 unless absolutely necessary. Here's an example of pushing the camera to its limits, taken at ISO 50,000 then pushed two stops in Lightroom – equivalent to ISO 200,000.
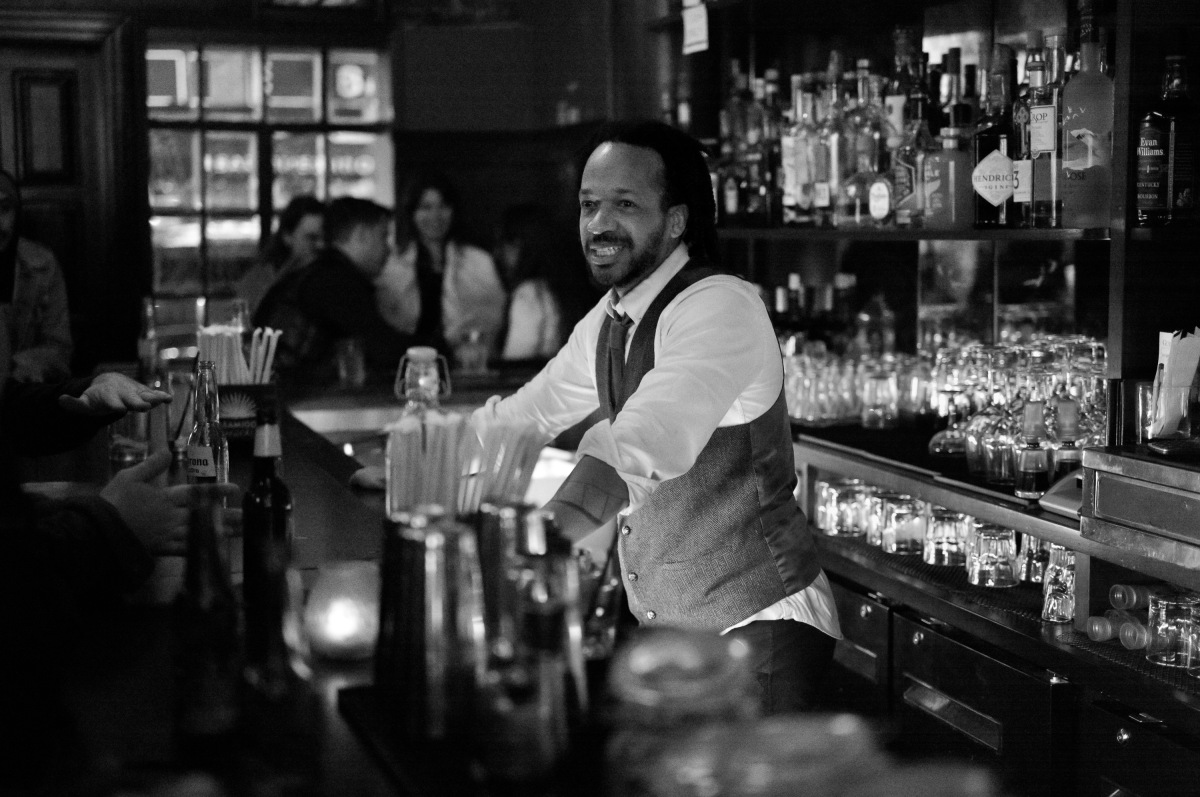
1/180th @ f/2.8, ISO 50,000 | Pushed 2 stops in LR
Without a side-by-side, my feeling is that ISO 50,000 on the M11M is ever so slightly better than ISO 32,000 on the M10M. That might not seem significant, but just as I was with the M11, I’m blown away that the M11M at 60 megapixels can edge out the high ISO performance of the M10M at 40 megapixels, while also offering a lower base ISO of 125 versus 160 on the M10M. And I would venture to say that at all settings below that, there is definitely more shadow recovery available in the M11M.
Resolution and Detail
The resolving power of the M11M is off the charts. Resolution of the color M11 is already class leading, so it’s not surprising that the M11 Monochrom’s sensor with no color filter array can notch even higher performance.
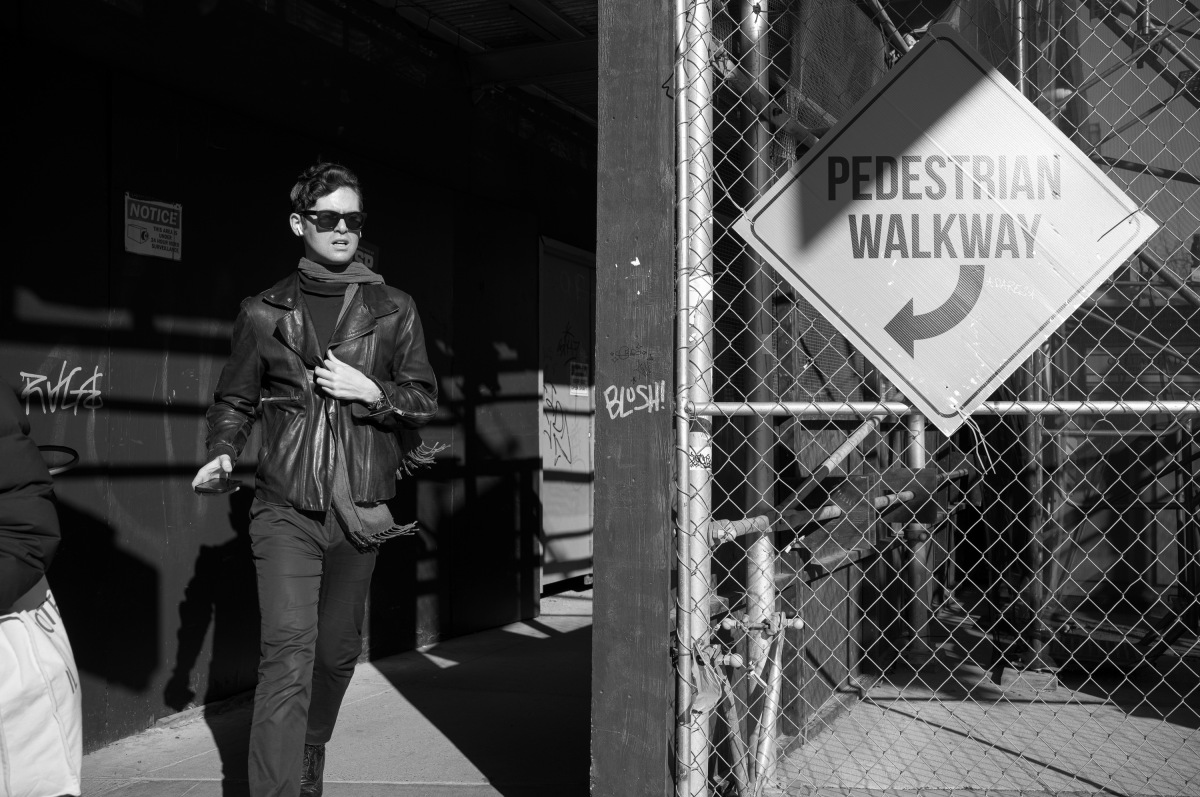
1/1000th @ f/6.8, ISO 125
Paired with some of the highest-performing modern Leica M lenses like the 35mm or 50mm APO-Summicrons, the camera captures details and textural nuance invisible to the naked eye. Sharpness across the frame and into the corners is exceptional. And while I didn’t shoot with any vintage glass or Leica Classic Line lenses like the 35mm Summilux v1 Steel Rim, I’d be interested to see how lower-resolving pre-modern lenses behave on such a high-megapixel sensor. Perhaps that would be an ideal use case for M-DNG, where resolution of the sensor and lenses can be more closely matched.
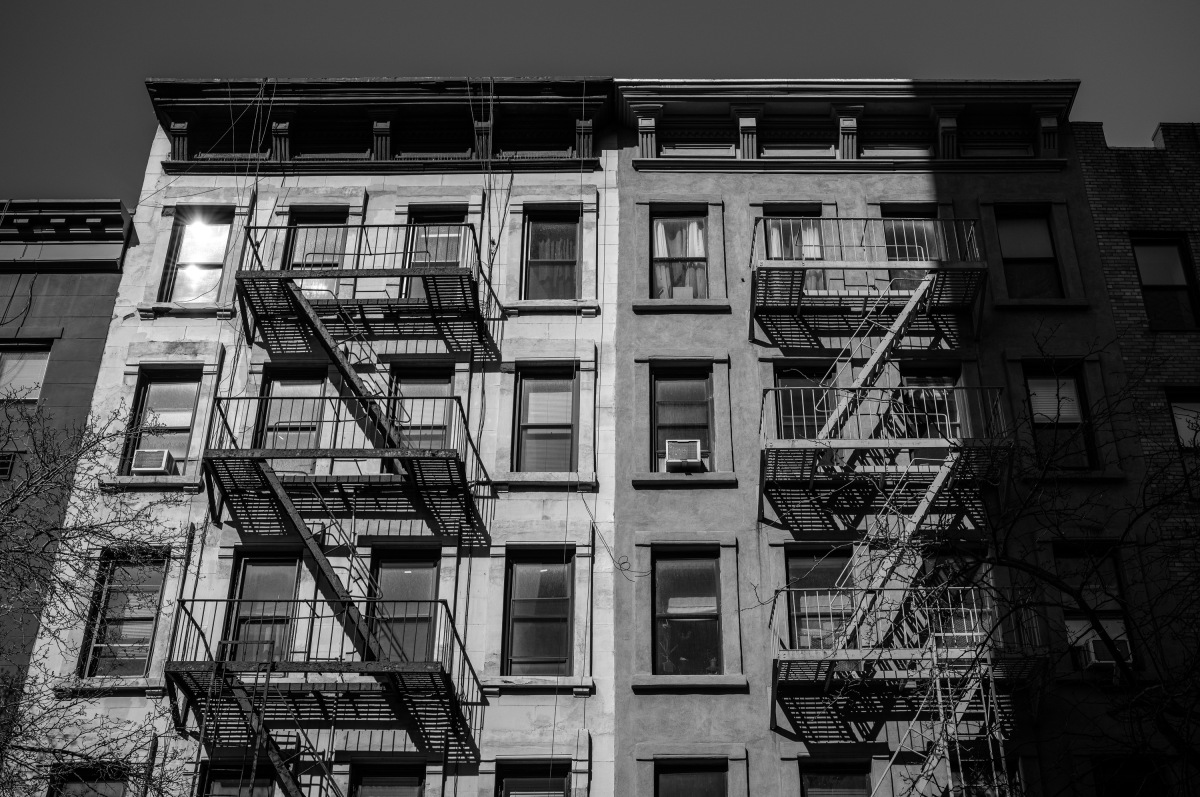
1/3200th @ f/5.6, ISO 125
Besides the choice of what glass to mount on the M11M, technique is essential to take full advantage of the image quality on tap here. After all, the M11M is a manual focus camera. If you don’t nail focus, it doesn’t matter how many pixels you’re packing. Lenses need to be properly calibrated for rangefinder alignment. Personally, I’m a big fan of live view, which negates any mechanical calibration inaccuracies. Magnified to 100% with focus aid turned on, the live view stabilization and higher res Visoflex 2 makes nailing critical focus a breeze.
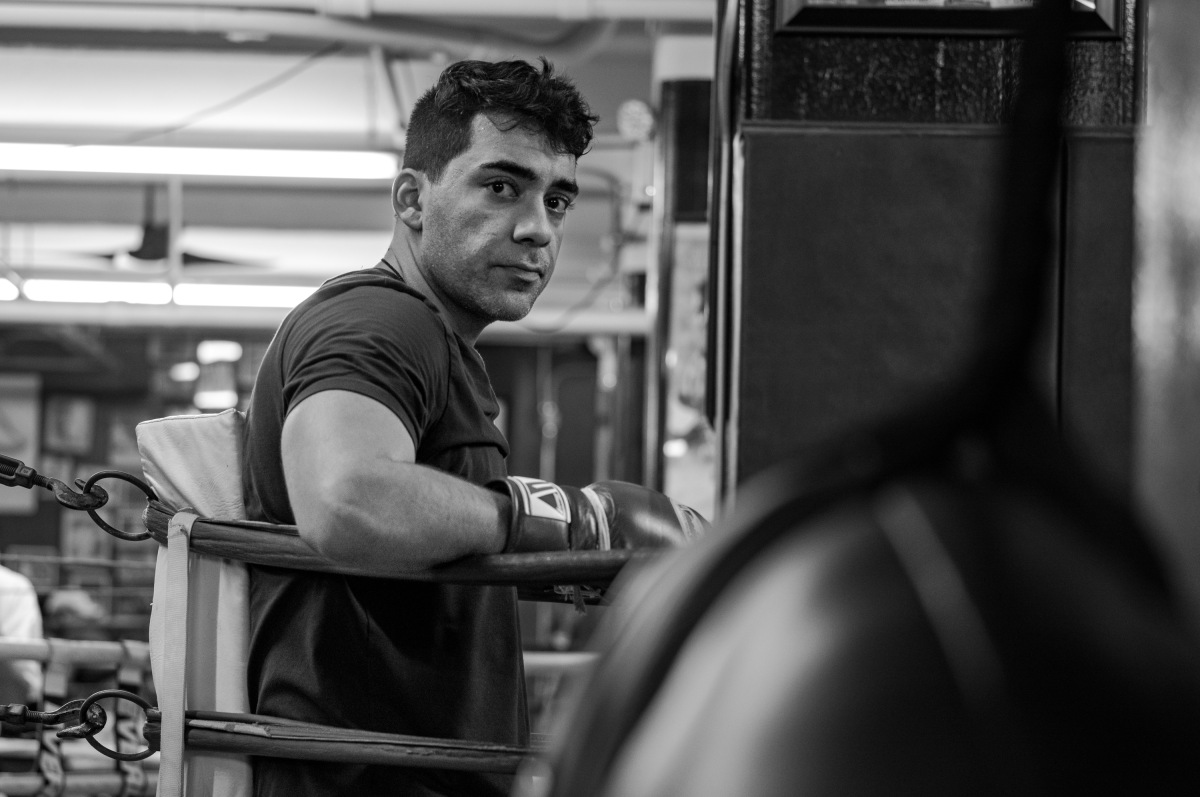
1/180th @ f/4, ISO 1250
Accurate focus isn’t the whole story. With such high resolution and small pixels, you also need to pay attention to camera shake. The solution is easy given the M11M’s ridiculous high ISO performance. I employed Auto ISO with a maximum ISO of 50,000, then set my shutter speed manually, utilizing a range from 1/250th to 1/3000th depending on conditions. Looking at Lightroom metadata, a lot of my shots are at 1/1000th of a second. With these parameters, the camera will always give you adequate shutter speed at the lowest possible ISO for best image quality, ratcheting up sensitivity when you need it and dropping it down when you don’t. On the few occasions I wanted to take control of ISO for myself, a simple lift to unlock and a turn of the ISO dial did the trick. Once I got what I needed, I turned back to Auto and snapped it back down to lock in place.

1/750th @ f/2.8, ISO 2500
Should you upgrade from an M10M to an M11?
The short answer is yes. While the ISO performance difference isn’t massive, the M11M has so many improvements over the M10M that they are impossible to ignore. The camera is better in every way, from battery life, to live view, to image quality. Heck, half this article is dedicated to just covering the differences between the two. But keep in mind, the M10M is a great camera. The existence of the M11M doesn’t make the M10M any less of an incredible tool that it was a month ago. If you’re happy with the usability, feature set and performance of your M10M, then keep it. But if you read through the list of improvements and one or more of those addresses a particular pain point, or if you just want to push the image quality envelope as far as possible, upgrade.
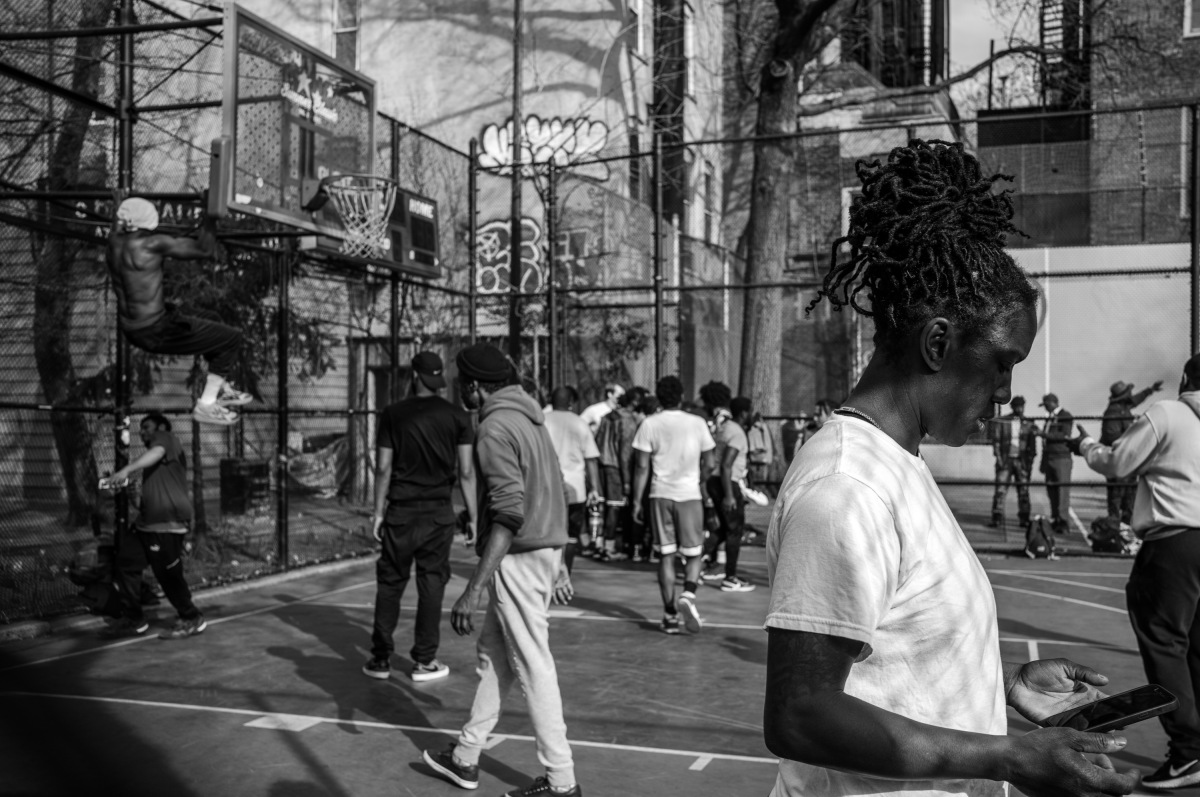
1/1000th @ f/5.6, ISO 200
Is it worth adding an M11M to an existing M11 kit?
This is tough. The M11 is exceptional. Rarely have I ever felt it lacking in any way, including low light ability. Yes, the M11M offers two stops better ISO performance, and that difference is tangible. But is it necessary? For some, perhaps. For others, no.
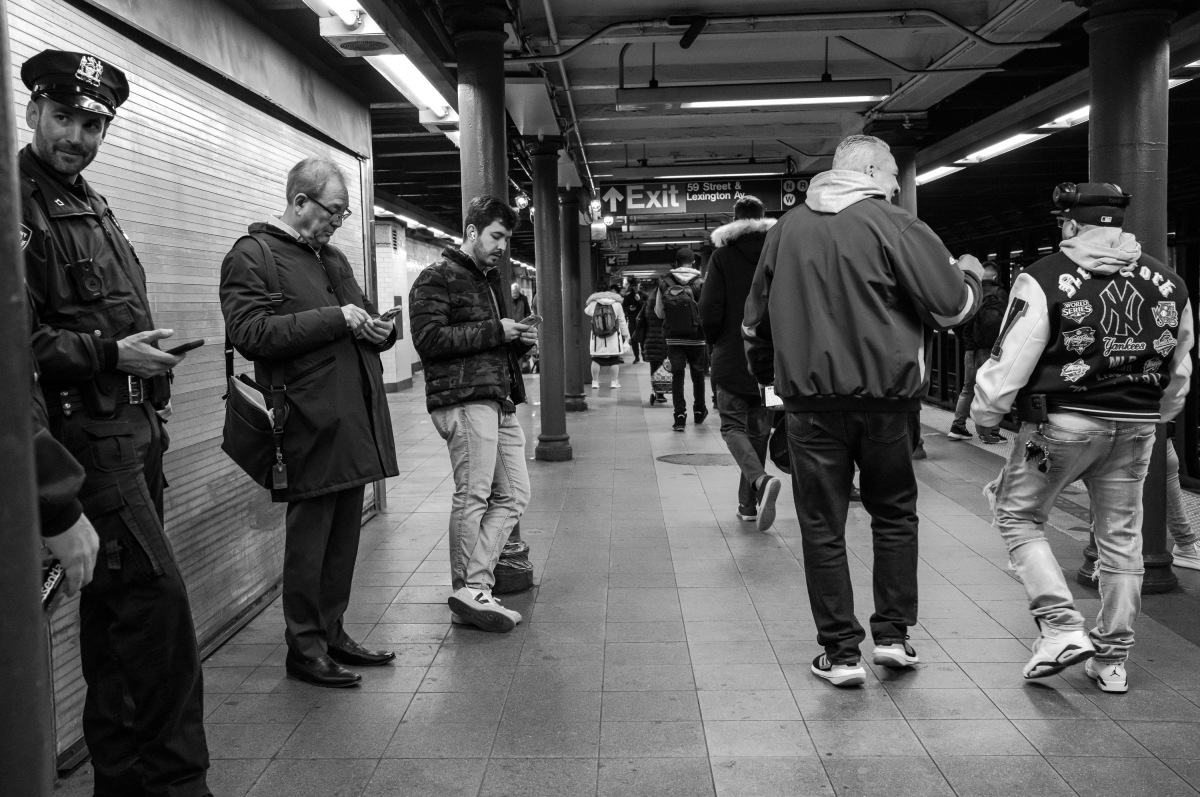
1/320th @ f/5.6, ISO 8000
My best advice is that if your work is primarily black and white, then by all means, go for the M11 Monochrom. You can’t find a better image-making tool. Full stop. If just a small percentage of your photography is black and white and you’re primarily a color photographer, the M11 remains the best choice. Then, if your budget allows for it, go for both. All the accessories and batteries can be shared between the two.
If getting both is out of the question, consider adding an M10 Monochrom. The ISO performance isn’t too far behind the M11M and I’m sure used prices are sure to be a relative bargain in the near term. Or, continue to convert your M11 color files to B&W. While the results won’t be quite what you can get with the M11M, they won’t be anything to scoff at either.
Final Thoughts
Just like its color sibling the Leica M11, the M11 Monochrom builds on the successes of its predecessor in every way that matters. Retaining the wonderful M body design with small refinements like button placement as well as more significant ones like the omission of the bottom plate, the M11M still evokes the iconic M aesthetic while improving where it makes the most sense.
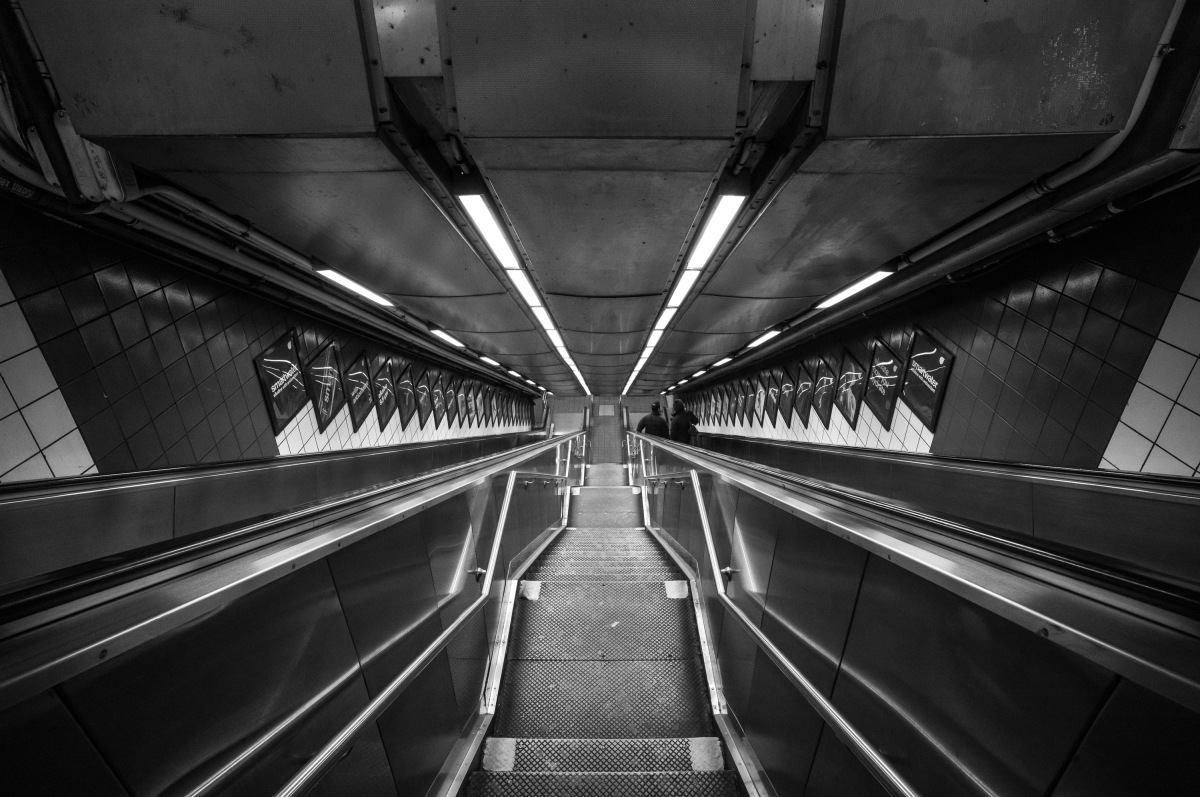
1/250th @ f/8, ISO 10,000
The new 60-megapixel BSI CMOS sensor is a marvel and provides for unmatched imaging prowess in any lighting situation with incredible dynamic range. The upgraded Maestro III processor feels responsive and snappy. The new high-capacity battery and impressive power efficiency deliver all-day battery life, while the USB-C port allows for on-the-go charging, or downloading directly to a computer. A generous 256GB of internal memory has you covered for forgotten or full SD cards, or for backing up critical assignments. And the 3.68MP OLED Visoflex 2 with electronic stabilization elevates the live view shooting experience. Electronic shutter, sensor-based metering, excellent high ISO, variable resolution, strong burst performance, upgraded Wi-Fi, Apple MFi certification. The list goes on.
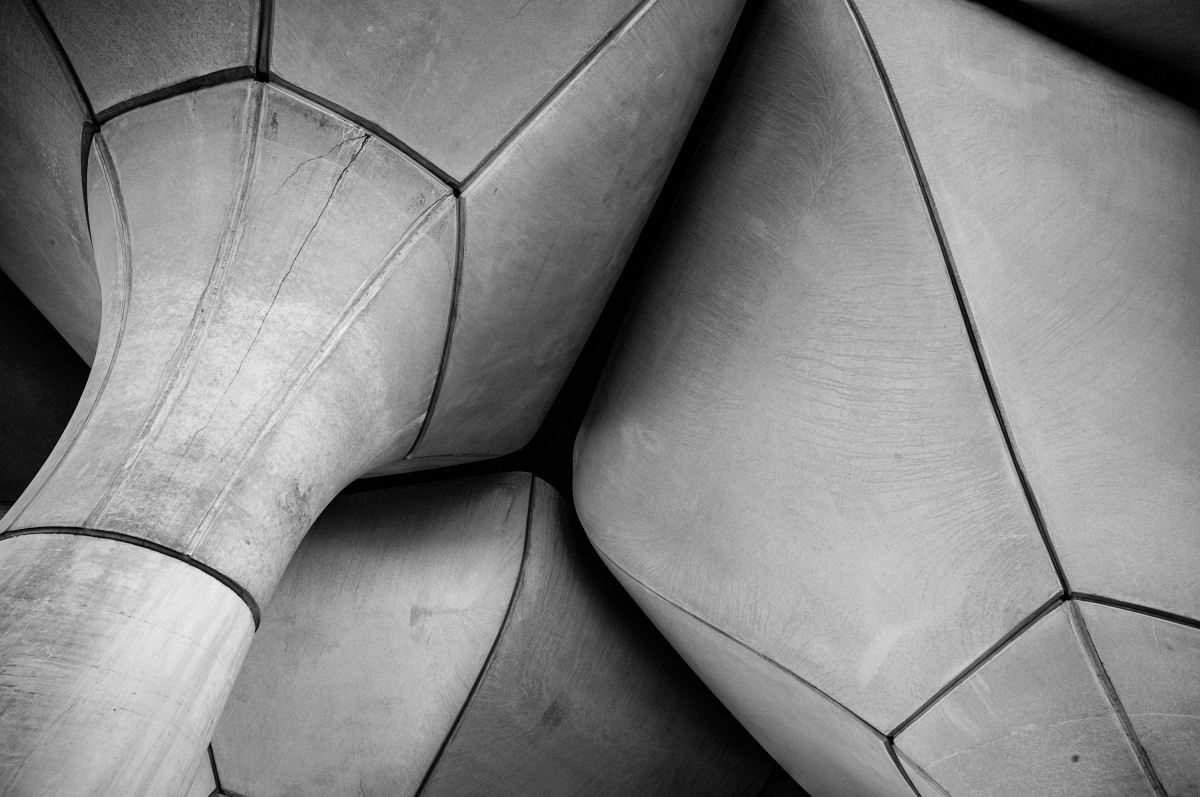
1/320th @ f/8, ISO 1250
And yet with all the upgrades, the M11M is still an M Monochrom through and through. Iconic design and straightforward to use, either as a traditional rangefinder or as a high-performance live view mirrorless camera. Shoot with the M11M on the street or indoors in the lowest of light and it will exceed your expectations. Let it loose in full daylight for landscape, architecture or street photography and the camera will blow you away. If black and white photography is your passion, there simply isn’t a better tool available than the Leica M11 Monochrom.


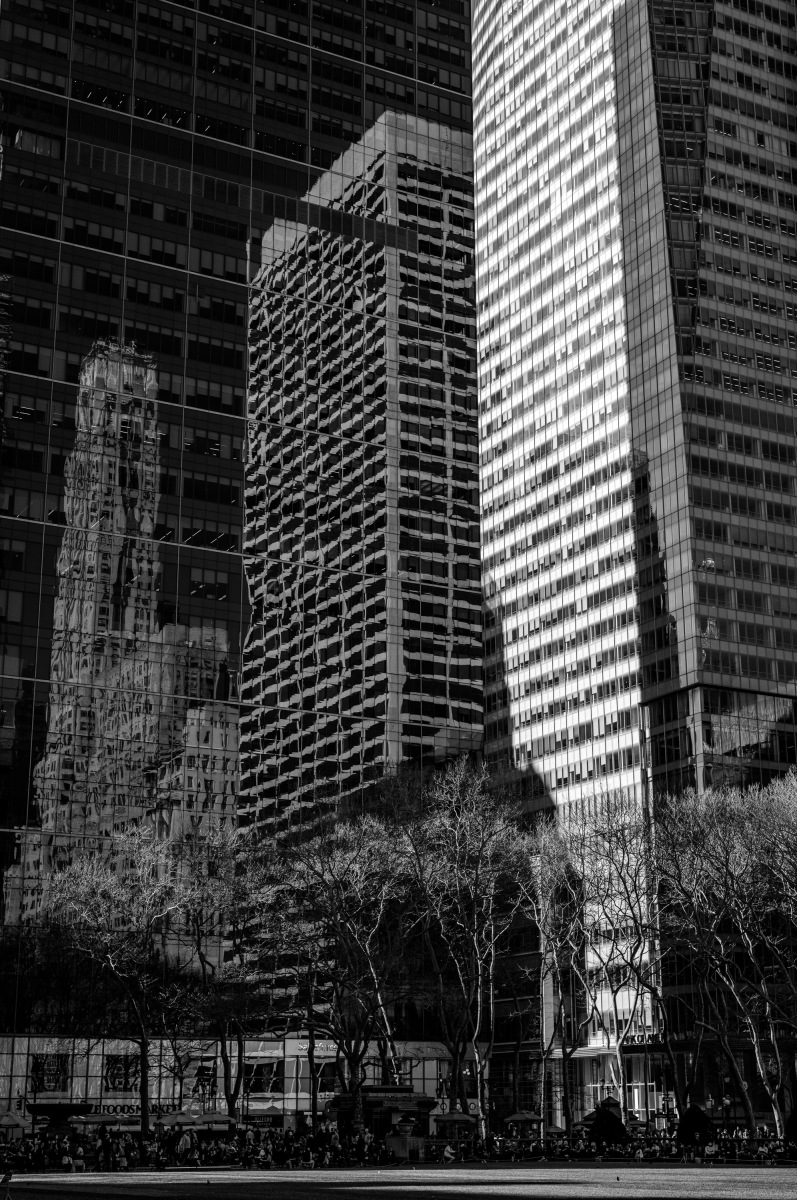
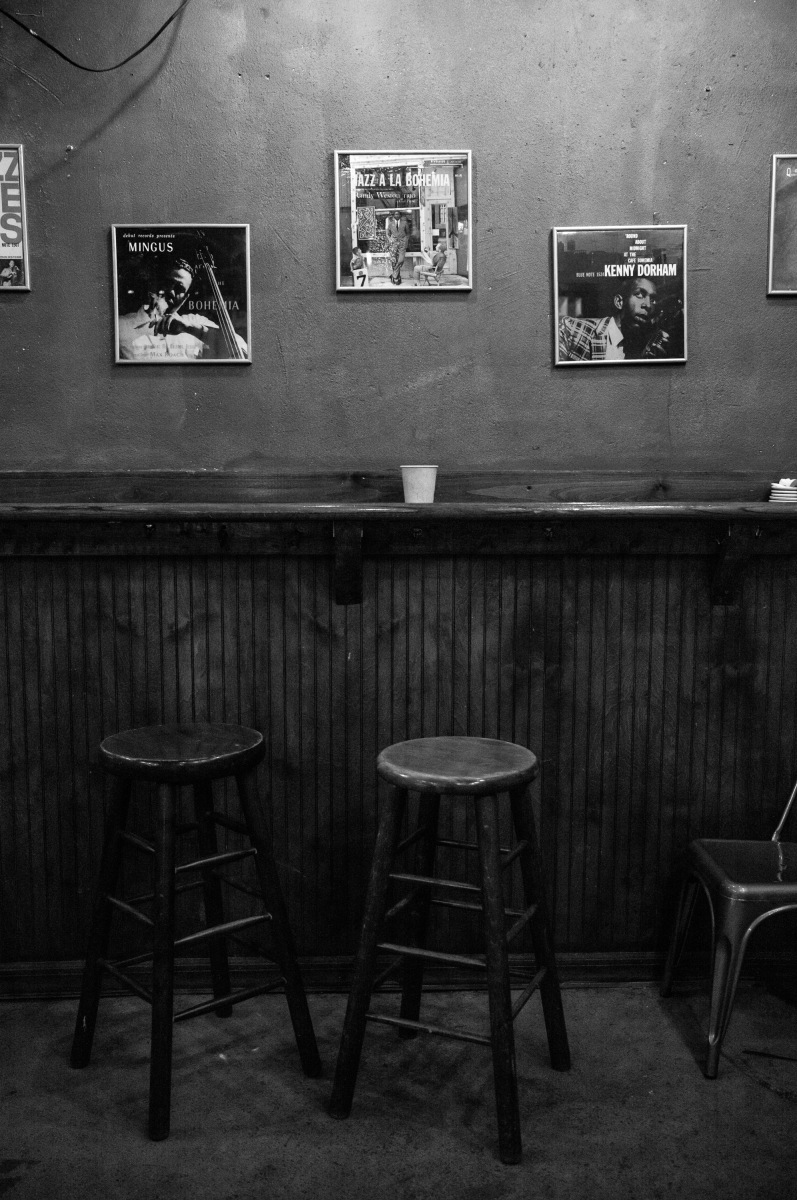
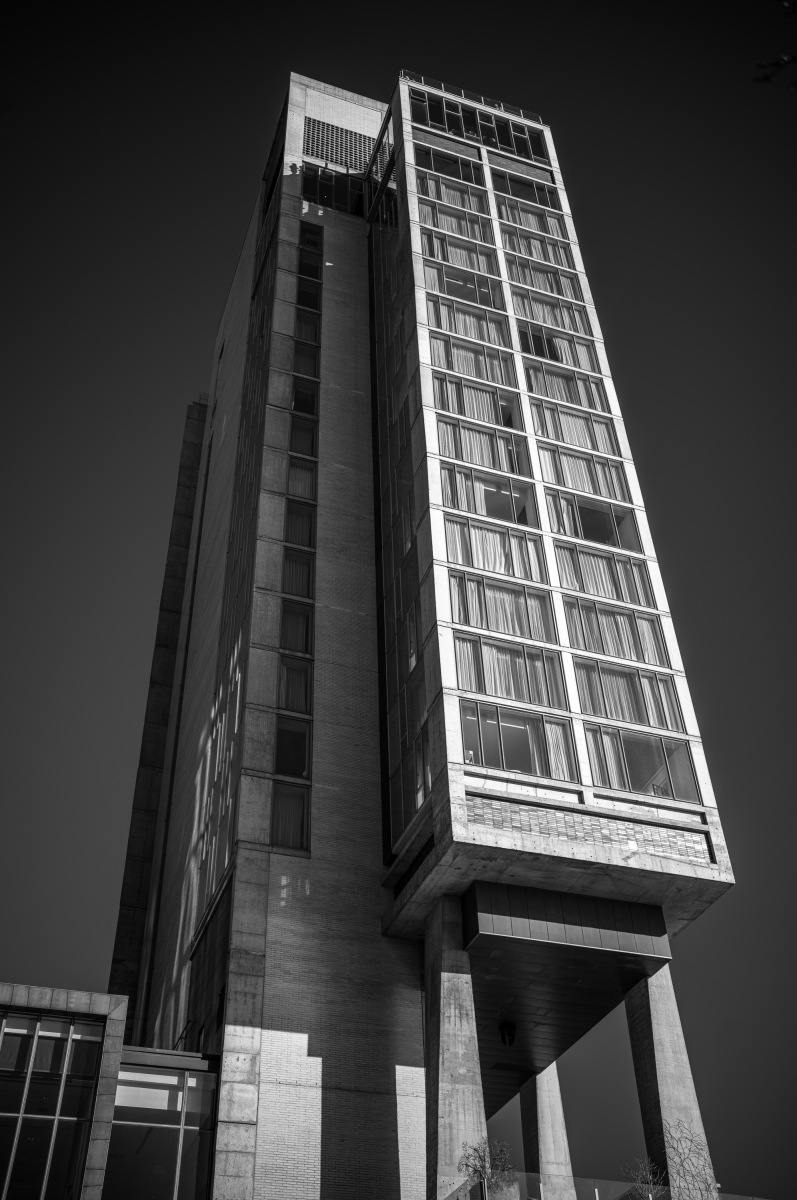
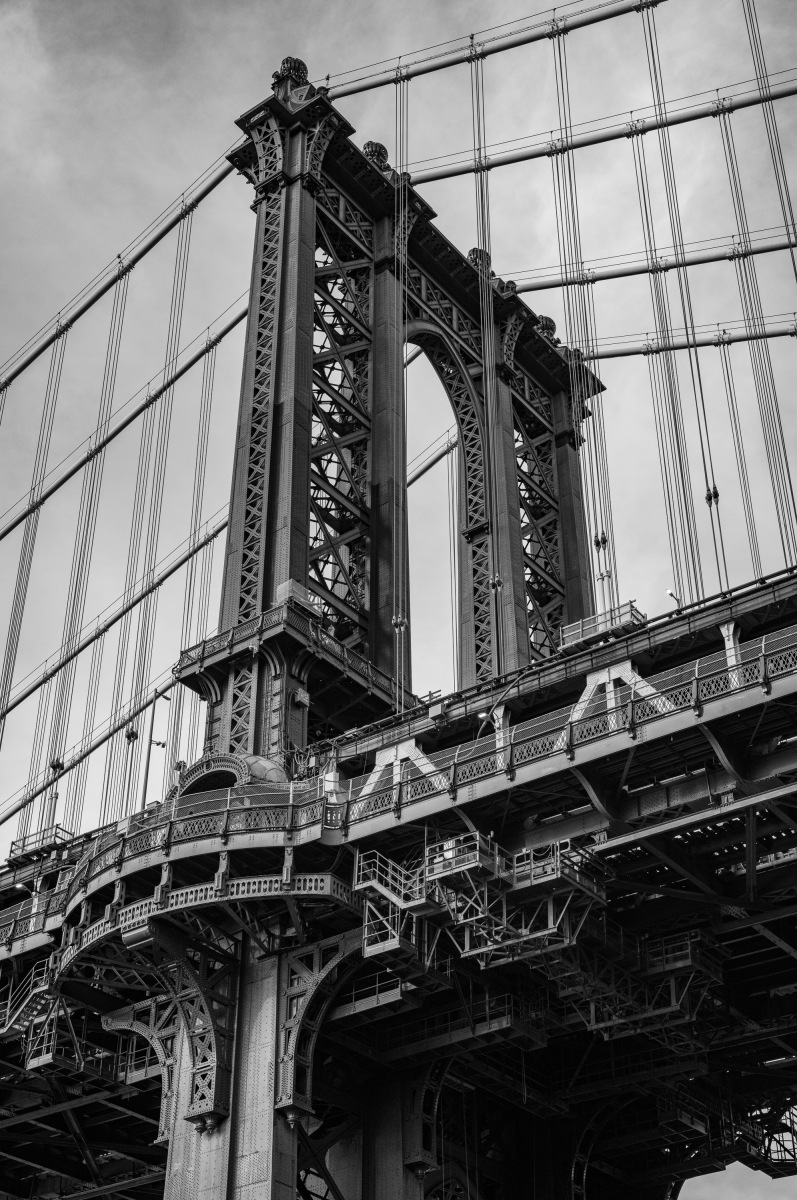
Great review as usual. I was a little disappointed that you didn’t cover diffraction limits at smaller apertures.
We talked about diffraction limits with the 60MP sensor on our Red Dot Forum Camera talk M11 Monochrom episode. Definitely best practice to avoid stopping down past f/5.6 for most shooting on the M11M. I found that stretching to f/8 for times I really needed the extra depth of field was still okay. But for sure, I would not recommend f/11-f/16, as there will be noticeable diffraction and softening of details.
Great review and detail. Dumb question. What controls do you use to “push” in Lightroom? How do you measure # stops there? Thanks
Here, I’m just referring to the exposure slider in Lightroom. Each whole integer number represents one stop. So, if I’m pushing 3 stops that means that that exposure slider is set to +3.00. Hope that clarifies.
Magnifique review . Vous avez choisi à dessein les optiques M qui permettent d’exploiter la résolution exceptionnelle du capteur . J’imagine que vous avez testé d’autres optiques , celles de la Classic Line ou d’authentiques optiques vintages . Quelles sont selon vous les optiques qui offrent le rendu le plus intéressant sur le M11M , en distinguant le rendu Sharp d’un rendu plus doux . Merci par avance
Wonderful review. You have deliberately chosen the M optics which make it possible to exploit the exceptional resolution of the sensor. I imagine that you have tested other optics, those of the Classic Line or authentic vintage optics. What do you think are the optics that offer the most interesting rendering on the M11M, distinguishing the sharp rendering from a softer rendering. thanks in advance
Incredibly complete review, as usual, David.
I shoot 2/3 of my work in black and white, but own a M11 and still don’t know if this investment worth the financial effort or maybe saving my dollars for the future SL3 (2024) is a wiser option.
David,
thank you for this great review and the guide how to get the most out of this camera.
I think that user experience with M11(M) and now Q3 (ie with 60MPs sensors camera) may indicate:
M camera version with in-build electronic viewfinder and image stabilisation (IS) would make it better, even stronger work horse when coupled with sensor of 60+MPs. It would provide up to 5 stops improvement related to “ISO performance”. I note you hardly use shutter speed slower than 1/320s even with 35mm lens, to ensure sharpness of final pictures. With in-built IS up to 5 times lower ISO setting could be used to achieve yet better results in low light situations – one of key selling points for this camera. I note that to ensure tack precise focus you also relied mostly on use of EVF given details that 60MPs sensor can reveal and is made for. In the low light situations where this camera offers the main competitive advantage EVF is a must for focus anyhow. Even if RF had to be eliminated from such a camera it could still be called “M” for “manual”. I note that many photographers use M lenses on SL cameras (for small factor and weight advantage these lenses offer compared to their SL counterparts) and appreciate focusing and IS mechanism of SL bodies. This coupling I believe is suboptimal solution (perhaps splitting hair a bit here for most use cases) in the world of Leica where we pay hefty premium for excellence to be achieved via M lens – M body matching manufacturing perfection. I would not hesitate to bet on that demand for such camera would exceed that for M11M and hence no bigger risk for Leica company business to take than they are used to taking already…
At low ISOs when converting color photos to b/w, I personally don’t see the difference between m11 and m11m. If you zoom in to 400%, the M11m is a little sharper, but it’s like using different lenses. On M9 and M9m the difference was visible to the eyes.
And you didn’t compare the pictures with M11 and M11m side by side.